Home>Home Security and Surveillance>How To Get A Wireless Security Cam To Record

Home Security and Surveillance
How To Get A Wireless Security Cam To Record
Modified: October 29, 2024
Learn how to get a wireless security cam to record in your home. Ensure your home security and surveillance with these useful tips and tricks.
(Many of the links in this article redirect to a specific reviewed product. Your purchase of these products through affiliate links helps to generate commission for Storables.com, at no extra cost. Learn more)
Introduction
Welcome to the world of wireless security cameras, where you can enjoy the peace of mind that comes with knowing your home and loved ones are protected. With the advancements in technology, setting up a wireless security camera system to record crucial moments has become easier than ever before. Gone are the days of complicated installations and messy wires.
In this comprehensive guide, we will walk you through the steps to get a wireless security camera to record. Whether you want to keep an eye on your property while you’re away or monitor the activities within your home, a wireless security camera can provide you with the reassurance you need.
Before we dive in, it’s important to note that there are various types of wireless security cameras available on the market. Some are designed for indoor use, while others are built to withstand outdoor conditions. Additionally, some cameras offer advanced features like night vision, two-way audio, and motion detection.
So, without further ado, let’s explore the steps to set up your wireless security camera to record!
Key Takeaways:
- Setting up a wireless security camera to record is easier than ever. Choose the right camera, connect it to Wi-Fi, and adjust settings for recording to enjoy peace of mind and added security for your home.
- After setting up your wireless security camera, regularly test and troubleshoot its recording functionality. Ensure smooth operation, review footage, and make adjustments as needed for effective surveillance.
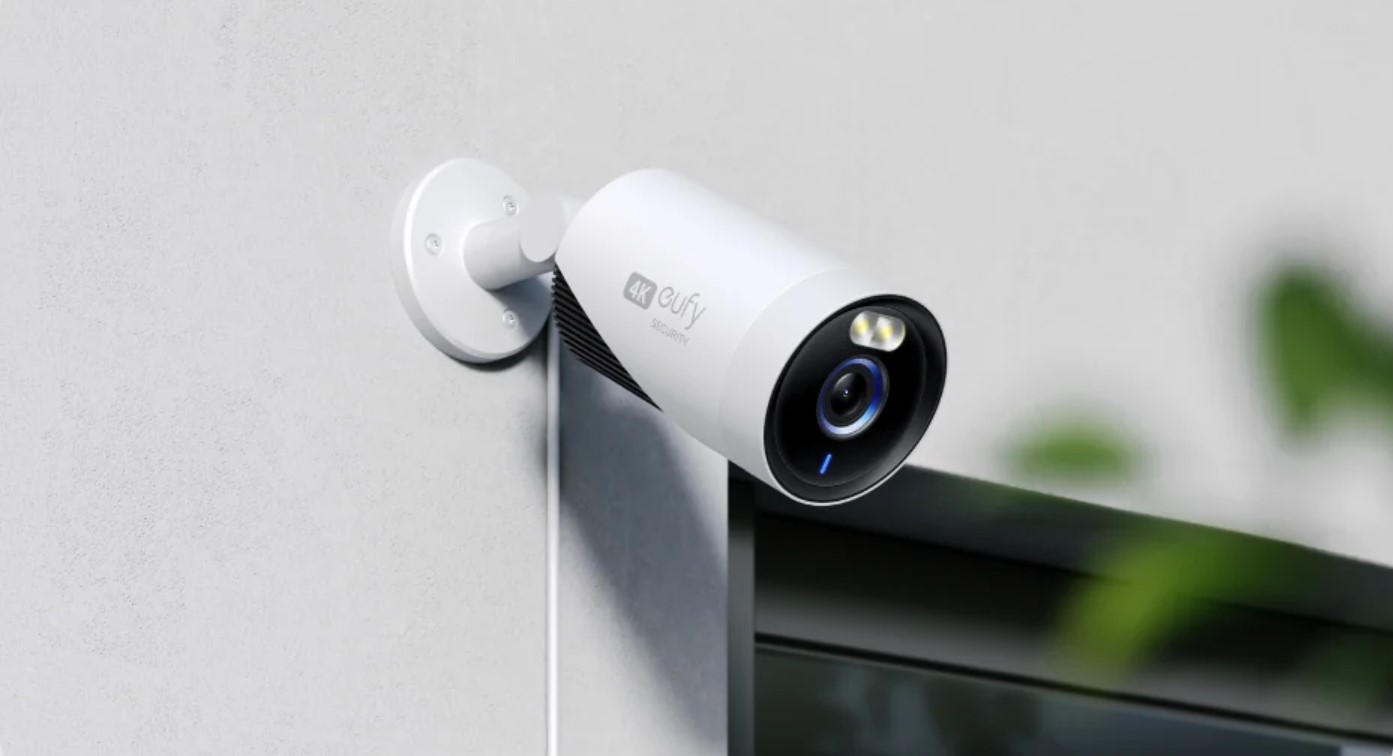
Step 1: Choose the Right Wireless Security Camera
Choosing the right wireless security camera is crucial for ensuring optimal performance and meeting your specific needs. Here are some key factors to consider:
- Indoor or outdoor: Determine where you want to install the camera. If it’s for indoor use, you can opt for a smaller, more discreet camera. For outdoor surveillance, look for a camera that is weatherproof and has a wide viewing angle.
- Resolution: The resolution of the camera determines the quality of the video footage. Higher resolutions, such as 1080p or 4K, provide clearer and more detailed images.
- Night vision: If you need to monitor your property at night, choose a camera with infrared LEDs or night vision capabilities. This will allow the camera to capture clear footage even in low-light conditions.
- Two-way audio: Some security cameras come equipped with built-in speakers and microphones, allowing you to communicate with anyone near the camera. This can be handy for identifying visitors or speaking to family members at home.
- Motion detection: Look for a camera with motion detection technology. This feature alerts you when the camera detects any movement, ensuring you never miss important events.
- Cloud storage or local storage: Decide whether you want to store your recorded footage in the cloud or on a local storage device. Cloud storage offers convenience and accessibility, while local storage provides more control over your data.
Once you have identified your specific requirements, do some research and read customer reviews to find the best wireless security camera that fits your needs and budget.
Now that you have chosen the right wireless security camera, it’s time to move on to the next step: setting up the camera.
Step 2: Set Up the Camera
Now that you have your wireless security camera in hand, it’s time to set it up for recording. Follow these steps to ensure a smooth setup process:
- Choose the ideal location: Find the perfect spot to install your camera. Make sure it provides a clear view of the area you want to monitor.
- Mount the camera: Depending on the type of camera you have, you may need to mount it on a wall or ceiling. Follow the manufacturer’s instructions for proper installation.
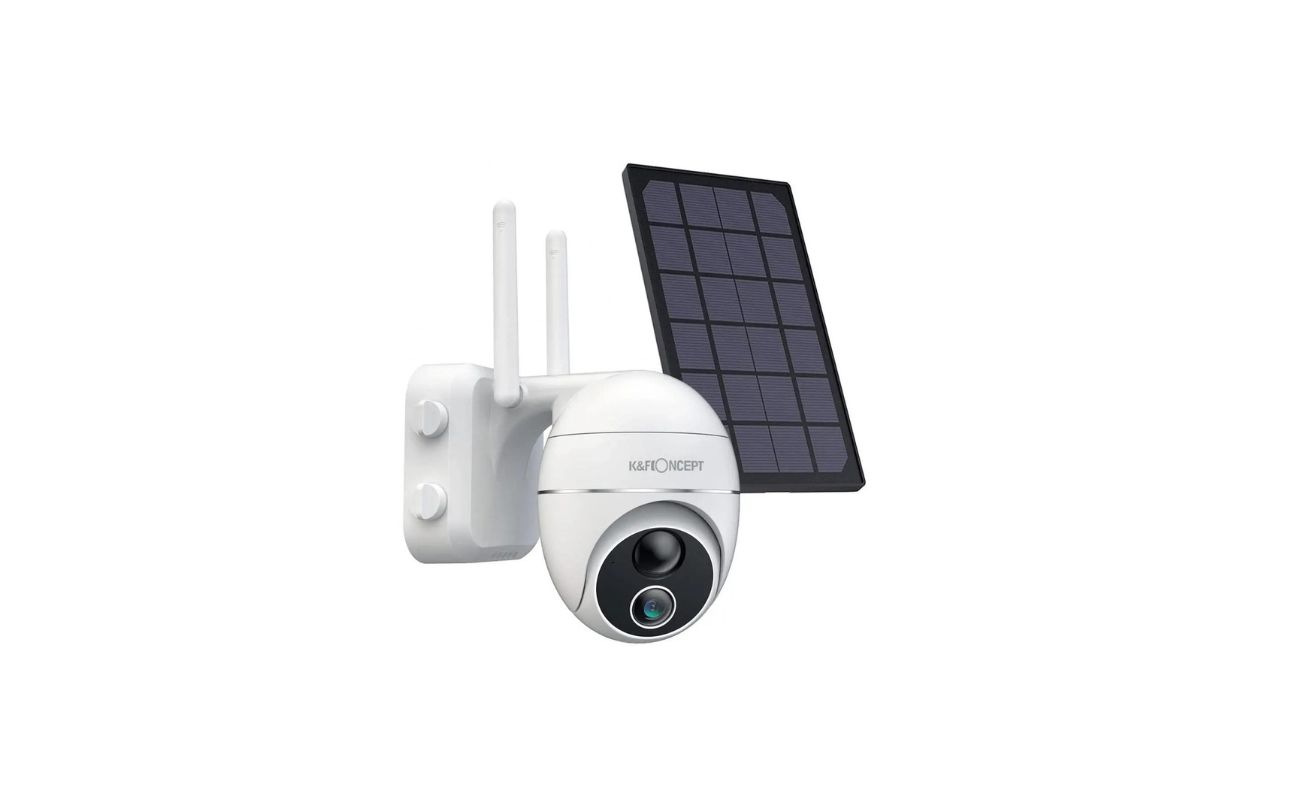
- Power up the camera: Connect the camera to a power source. Some cameras come with a power adapter, while others can be powered with batteries or solar panels.
- Adjust the camera angle: Once the camera is powered up, adjust the angle to capture the desired field of view. You may need to use the camera’s pan, tilt, and zoom controls to get the best positioning.
- Secure the camera: Ensure that the camera is securely mounted and won’t be easily tampered with. This is particularly important for outdoor cameras.
With the camera physically set up, you can now move on to connecting it to your Wi-Fi network. This will allow you to access the camera remotely and enable the recording feature.
In the next step, we will guide you through the process of connecting your wireless security camera to a Wi-Fi network, so that you can start recording and monitoring your property with ease.
Step 3: Connect the Camera to a Wi-Fi Network
Connecting your wireless security camera to a Wi-Fi network is essential for remote access and continuous recording. Follow these steps to ensure a successful connection:
- Check camera compatibility: Before you begin, confirm that your camera is designed to connect to a Wi-Fi network. Some cameras may require an Ethernet connection for initial setup.
- Access camera settings: Each camera has its own method of accessing its settings. Typically, this is done through a dedicated mobile app or a web interface. Refer to the camera’s user manual for instructions on accessing its settings.
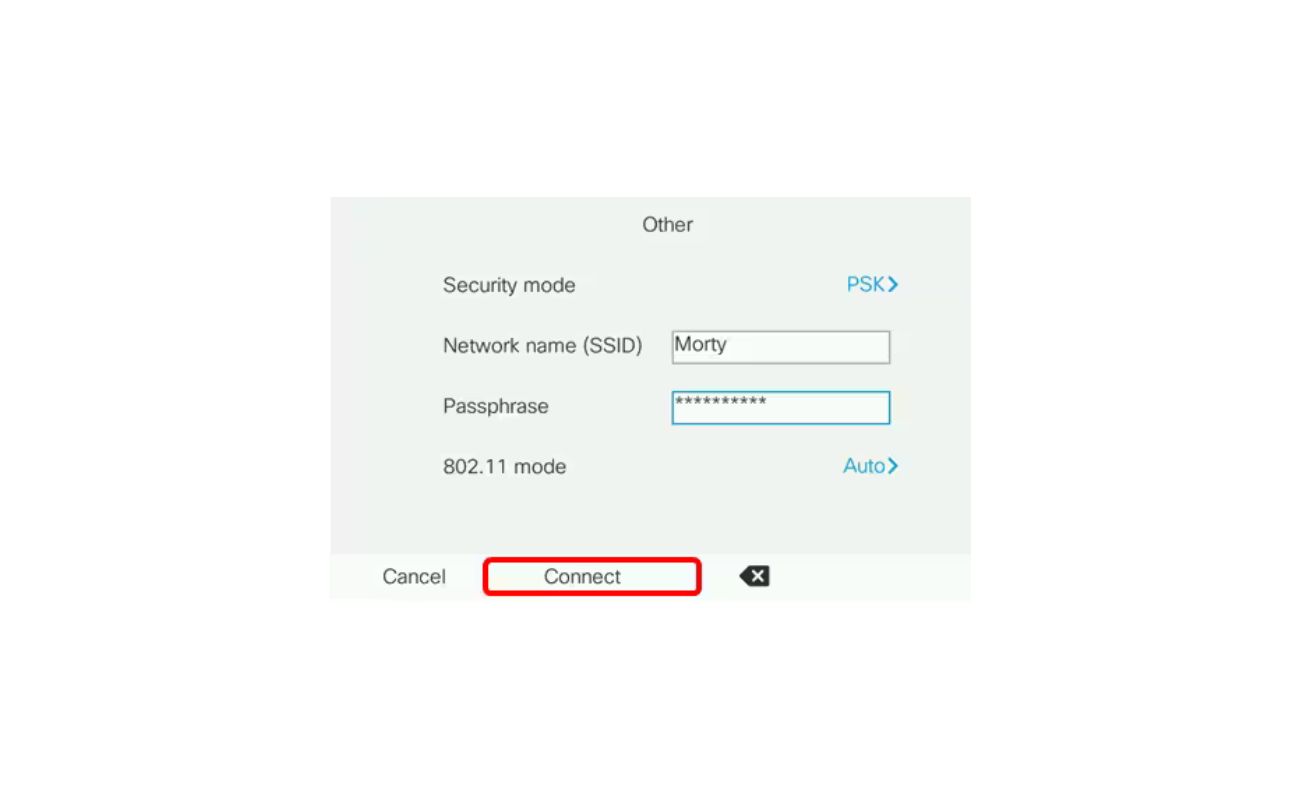
- Select Wi-Fi setup: Once you are in the camera’s settings, look for the option to connect to a Wi-Fi network. This may be labeled as “Wi-Fi setup” or something similar.
- Choose your network: Select your Wi-Fi network name from the list of available networks. If your network is hidden, manually enter the network name and password.
- Enter Wi-Fi credentials: Provide the necessary Wi-Fi credentials, including the password, to allow the camera to connect to your network. Double-check the information to ensure accuracy.
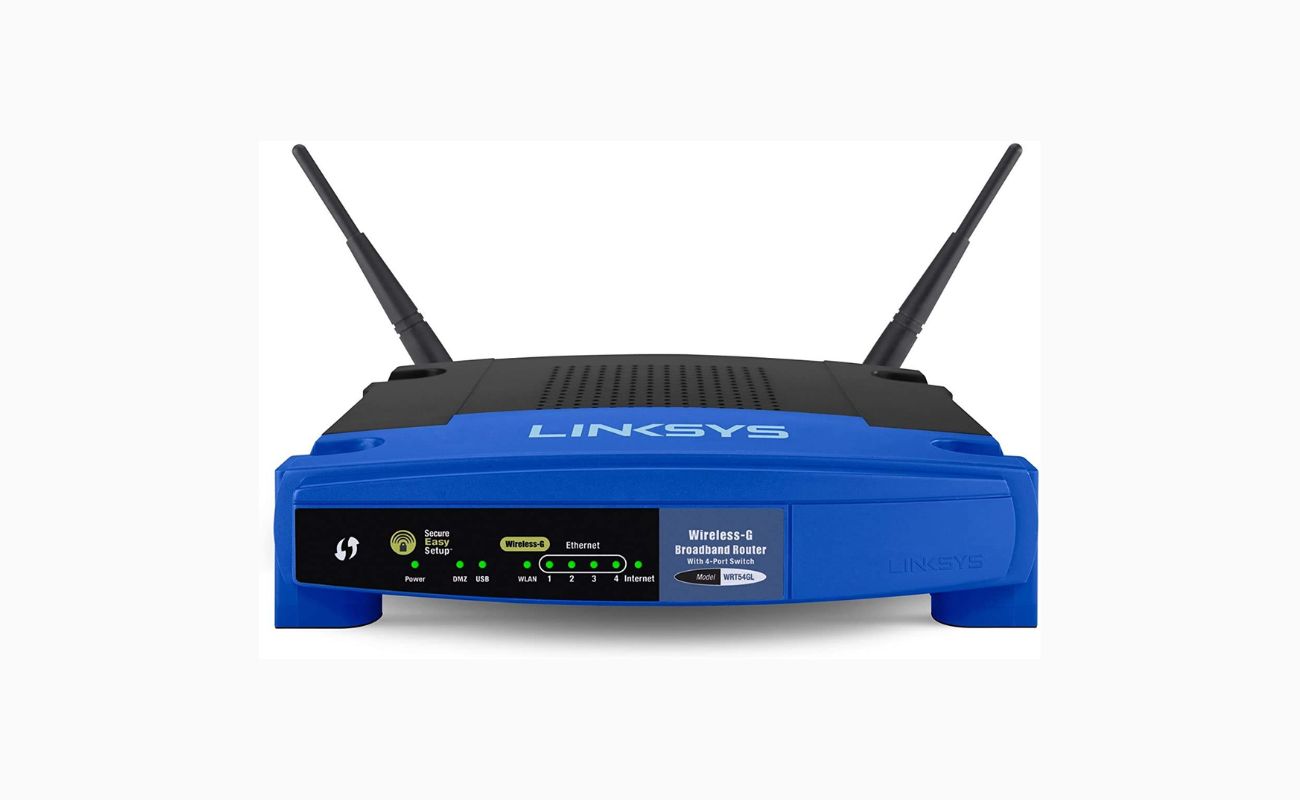
- Wait for connection: After entering the Wi-Fi credentials, the camera will attempt to establish a connection to your network. This may take a few moments, so be patient.
- Confirm connection: Once the camera successfully connects to the Wi-Fi network, you will typically see an indication in the camera’s settings or app interface.
Now that your wireless security camera is connected to your Wi-Fi network, you can move on to the next step: installing the camera’s mobile app for easy access to live feeds and recordings.
In the following step, we will guide you through the process of installing the camera’s mobile app and explain how to adjust camera settings to enable recording.
Step 4: Install the Camera’s Mobile App
To fully utilize the features of your wireless security camera and enable recording, you will need to install the camera’s dedicated mobile app. Follow these steps to get the app up and running:
- Identify the app: Check the documentation or the camera’s packaging for the name of the mobile app associated with your camera. It may be available for download on both iOS and Android platforms.
- Download the app: Open the App Store or Google Play Store on your smartphone or tablet and search for the camera’s app by its name. Once found, tap the “Download” or “Install” button to begin the installation process.
- Launch the app: After the installation is complete, locate the app on your device’s home screen or app drawer and tap on it to launch the app.
- Create an account: Some camera apps require you to create an account to access their features. Follow the on-screen prompts to create an account using your email address and a secure password.
- Add your camera: Once you have created an account, follow the app’s instructions to add your wireless security camera to the app. This typically involves scanning a QR code or entering the camera’s unique identification number.
- Connect the app to your camera: The app may prompt you to connect your smartphone or tablet to your camera’s Wi-Fi network temporarily. Follow the app’s instructions to establish this temporary connection.
- Confirm connection: Once the app successfully connects to your camera, you should see a live feed from the camera in the app interface. This indicates that the app is installed and connected properly.
With the camera’s mobile app installed and connected to your camera, you are now ready to adjust the camera settings to enable recording. In the next step, we will guide you through the process of configuring the camera settings for recording.
Keep in mind that the specific steps may vary depending on the brand and model of your camera, so refer to the camera’s user manual or online support resources for detailed instructions.
Make sure the camera is connected to a reliable Wi-Fi network and has enough storage space. Set up motion detection and schedule recording times in the camera’s app. Keep the camera’s firmware updated for optimal performance.
Read also: 10 Incredible Home Security Cam for 2025
Step 5: Adjust Camera Settings for Recording
Now that you have the camera’s mobile app installed, it’s time to adjust the settings to enable recording. Follow these steps to configure the camera settings:
- Open the mobile app: Launch the camera’s mobile app on your smartphone or tablet. Make sure you are connected to the same Wi-Fi network as the camera.
- Access camera settings: Look for the settings menu or icon within the app and tap on it to access the camera’s settings.
- Recording mode: Locate the option that allows you to enable recording mode. This setting may be named “Record,” “Video Recording,” or something similar.
- Video quality: Adjust the video quality setting according to your preference. Higher quality settings may result in larger file sizes, so consider your storage capabilities and internet bandwidth.
- Video format: Choose the video format that is compatible with your needs and devices. Common formats include MP4, AVI, and MOV.
- Audio recording: If desired, enable the option to record audio along with video footage. Keep in mind the legal restrictions regarding audio recording in your area.
- Motion detection: Determine whether you want to enable motion detection for recording. This feature triggers the camera to start recording when it detects movement in the designated area.
- Continuous recording: Decide if you prefer continuous recording or scheduled recording. Continuous recording captures footage round the clock, while scheduled recording allows you to specify specific time frames for recording.
- Save settings: Once you have adjusted the camera settings to your liking, be sure to save or apply the changes within the mobile app.
By adjusting these camera settings, you can ensure that the camera is optimized for recording and capturing the footage you need. In the next step, we will guide you through the process of setting up a recording schedule.
Remember that the available settings and their exact locations may vary depending on the camera model and app interface. Refer to the camera’s user manual or online support resources for further guidance.
Step 6: Configure Recording Schedule
Configuring a recording schedule for your wireless security camera ensures that it records during specific timeframes when you need it the most. Follow these steps to set up a recording schedule:
- Open the mobile app: Launch the camera’s mobile app on your smartphone or tablet.
- Access camera settings: Navigate to the settings menu within the app to access the camera’s settings for recording.
- Scheduled recording: Look for the option that allows you to set up scheduled recording. This may be labeled as “Recording Schedule” or something similar.
- Choose days and time: Select the specific days of the week and time intervals during which you want the camera to record. For example, you may choose Monday to Friday from 9:00 AM to 5:00 PM for recording.
- Repeat or customize: Determine whether you want the schedule to repeat weekly or if you need to customize the recording schedule for specific dates or times.
- Save settings: Once you have configured the recording schedule to your liking, be sure to save or apply the changes within the app.
- Testing: After setting up the recording schedule, perform a test by checking the camera during the designated recording periods to ensure that it is indeed recording as intended.
Configuring a recording schedule allows you to capture the footage you need without recording unnecessary or redundant footage. It also helps conserve storage space and bandwidth by only activating recording during specific times.
In the next step, we will explore the options for storing the recorded footage, whether through cloud storage or local storage.
Remember that the available options for recording schedules may vary depending on the camera model and the app interface. Consult the camera’s user manual or online support resources for specific instructions related to your camera.
Step 7: Set Up Cloud Storage or Local Storage
Once you have set up the recording schedule for your wireless security camera, it’s important to determine how you want to store the recorded footage. There are typically two options: cloud storage and local storage. Here’s how to set up each option:
- Cloud storage: Cloud storage allows you to securely store your recorded footage in remote servers, providing accessibility from anywhere with an internet connection. Follow these steps to set up cloud storage:
- Check if your camera manufacturer offers a cloud storage service. If yes, sign up for a subscription plan that suits your needs.
- Install the cloud storage app associated with your camera’s manufacturer on your smartphone or tablet.
- Link the cloud storage app with your camera’s mobile app by following the instructions provided.
- Configure the settings within the cloud storage app to automatically upload and store your camera’s recorded footage.
- Ensure you have a reliable internet connection for seamless uploading and access to your recorded footage.
- Local storage: Local storage involves saving the recorded footage directly onto a local device, such as a network-attached storage (NAS) device or a dedicated hard drive connected to your camera. Here’s how to set up local storage:
- Check if your camera supports local storage options, such as a microSD card slot or USB port for external storage devices.
- Insert the microSD card into the camera or connect the external storage device.
- Access the camera’s settings through the mobile app and configure it to save the recorded footage to the local storage device.
- Ensure that the local storage device has sufficient storage capacity for the amount of footage you expect to record.
- Regularly transfer and backup the recorded footage from the local storage device to another secure location to prevent data loss.
Choosing between cloud storage and local storage depends on your preferences, storage requirements, and budget. Cloud storage offers convenience and accessibility, while local storage provides more control over your data and eliminates ongoing subscription costs.
In the final step, we will address how to test and troubleshoot the recording functionality of your wireless security camera to ensure it is working as intended.
Keep in mind that specific setup procedures and compatibility may vary depending on the camera model and manufacturer. Consult the camera’s user manual or online support resources for detailed instructions related to your camera’s specific storage options.
Step 8: Test and Troubleshoot Recording Functionality
After completing the setup process for your wireless security camera, it’s important to test and troubleshoot the recording functionality to ensure everything is working as expected. Follow these steps:
- Verify live streaming: Open the mobile app and check if you can view the live feed from your camera. Ensure the camera is capturing the desired area and that the image quality is satisfactory.
- Trigger motion detection: Move within the camera’s field of view or intentionally create movement to test the motion detection feature. Verify that the camera starts recording when motion is detected.
- Check scheduled recording: Verify that the camera begins recording at the specified times according to your recording schedule. Review the recorded footage to ensure it is accurate and of good quality.
- Test remote access: Check if you can access the camera’s live feed and recorded footage remotely, such as through the mobile app or a web portal. Ensure the remote access is smooth and reliable.
- Review playback: Periodically review the recorded footage to confirm the camera is capturing all the desired events and areas. Look out for any potential blind spots or issues with the camera’s placement.
- Troubleshooting tips: If you encounter any issues with the recording functionality, try the following troubleshooting steps:
- Restart the camera and the mobile app to refresh the connection.
- Check the Wi-Fi signal strength and ensure the camera is within range.
- Verify that the camera’s firmware and the mobile app are up to date.
- Ensure the camera’s memory card or storage device has sufficient space.
- Double-check the camera’s settings, including motion detection sensitivity and recording mode.
- Contact customer support or consult the camera’s user manual for further assistance if needed.
By thoroughly testing and troubleshooting the recording functionality of your wireless security camera, you can ensure that it is effectively capturing the desired footage and providing the security and peace of mind you desire.
With these steps completed, you are now equipped with the knowledge to get your wireless security camera to record. Remember to regularly maintain and review the camera’s settings and performance to ensure continuous and reliable recording.
Congratulations on setting up your wireless security camera for recording, and may it provide you with the protection and surveillance you need for your home or property!
Read more: How To Record Security Camera To PC
Conclusion
In today’s modern world, ensuring the safety of our homes and loved ones is of utmost importance. The installation of a wireless security camera system with recording capabilities provides an effective solution for monitoring and protecting your property. With the steps outlined in this guide, you can confidently set up your wireless security camera to record crucial moments and enjoy the peace of mind that comes with knowing you have an extra layer of security.
Throughout this comprehensive guide, we have covered key steps, including choosing the right wireless security camera, setting up the camera, connecting it to a Wi-Fi network, installing the camera’s mobile app, adjusting camera settings for recording, configuring a recording schedule, and setting up storage options.
By carefully selecting the right camera, mounting it in an optimal location, connecting it to your Wi-Fi network, installing the mobile app, adjusting settings for recording, and setting up a storage option that suits your needs, you are well on your way to creating a robust and reliable surveillance system.
Remember to regularly test and troubleshoot the recording functionality to ensure smooth operation and address any potential issues. Keep an eye on the camera’s live feed, review the recorded footage, and make adjustments as necessary to capture the desired events and areas effectively.
With a properly configured wireless security camera system, you can have peace of mind, whether you’re away from home or inside your house. You can monitor activities, deter potential intruders, and have valuable evidence in the event of any unfortunate incidents.
Always refer to the camera’s user manual and manufacturer’s instructions for specific setup procedures and troubleshooting tips related to your camera model. If you need further assistance, don’t hesitate to reach out to customer support or consult online resources for additional guidance.
Now that you are equipped with the knowledge and steps to set up a wireless security camera for recording, take action and start enhancing the security of your home or property today!
Frequently Asked Questions about How To Get A Wireless Security Cam To Record
Was this page helpful?
At Storables.com, we guarantee accurate and reliable information. Our content, validated by Expert Board Contributors, is crafted following stringent Editorial Policies. We're committed to providing you with well-researched, expert-backed insights for all your informational needs.