
Articles
How To Soundproof Interior Walls
Modified: October 28, 2024
Learn how to soundproof your interior walls with these informative articles. Discover effective techniques to reduce noise and create a peaceful environment in your home.
(Many of the links in this article redirect to a specific reviewed product. Your purchase of these products through affiliate links helps to generate commission for Storables.com, at no extra cost. Learn more)
Introduction
Welcome to our comprehensive guide on how to soundproof interior walls. Whether you live in a busy urban area, have noisy neighbors, or simply want to create a peaceful and quiet environment within your home or office, soundproofing your interior walls can make a significant difference. Soundproofing is the process of reducing or eliminating the amount of sound that travels between rooms or from outside sources into a particular space. This can greatly enhance the comfort and privacy of your living or working environment.
Understanding the principles and techniques of soundproofing is crucial before embarking on any soundproofing project. It involves identifying problem areas, assessing potential solutions, selecting the right materials, and making necessary preparations. In this guide, we will take you through each step in detail, providing you with the knowledge and tools to soundproof your interior walls successfully.
Identifying problem areas is the first step to effectively soundproof a room. By determining where sound is entering or escaping, you can target those specific areas for soundproofing. Common problem areas include thin walls, gaps around doors and windows, and even potential structural weaknesses. Once the problem areas are identified, you can move on to assessing various soundproofing solutions.
There are several soundproofing solutions available, ranging from affordable DIY options to more advanced professional methods. The choice will depend on your budget, time constraints, and the level of soundproofing you desire. Some common solutions include adding insulation, installing soundproofing materials, and creating air gaps for sound absorption.
When it comes to selecting soundproofing materials, there are numerous options available on the market. From acoustic foam panels to mass-loaded vinyl, each material has its own unique properties and advantages. It’s important to consider factors such as thickness, density, and absorption coefficients when choosing the right materials for your soundproofing needs.
Key Takeaways:
- Properly identifying problem areas and selecting the right soundproofing materials are crucial steps in achieving effective soundproofing for interior walls. Understanding the principles of soundproofing and carefully preparing the walls are essential for a successful project.
- Soundproofing is a comprehensive process that involves assessing solutions, installing insulation, mass-loaded vinyl, and acoustic panels, and adding finishing touches. It’s an ongoing journey that requires periodic maintenance and staying informed about the latest soundproofing advancements.
Read more: How To Cover Stucco Interior Walls
Understanding Soundproofing
Before diving into the world of soundproofing, it’s important to have a basic understanding of how sound travels and how it can be controlled. Sound is transmitted as waves through the air, and when it encounters an object or surface, it can be absorbed, reflected, or transmitted to the other side. When sound waves pass through walls or other structures, they can cause vibrations that transmit sound to adjoining rooms or outside environments.
Soundproofing aims to disrupt or minimize these vibrations, effectively reducing the amount of sound that passes through walls. It involves creating barriers and adding materials that can absorb or block sound waves, thus preventing them from passing through to the other side.
To be effective, soundproofing measures often require a combination of two principles: mass and insulation. Mass refers to the thickness and density of a material, while insulation refers to the ability of a material to absorb or dampen sound waves. In many cases, a heavier and denser material will provide better soundproofing capabilities. However, it’s important to note that soundproofing is not about eliminating sound completely, but rather reducing it to a more tolerable level.
It’s also worth mentioning that soundproofing is a two-way process. Not only does it aim to prevent sound from entering a room, but it also prevents sound from leaving the room and disturbing adjacent spaces. This is particularly important in areas such as home theaters, recording studios, or shared living spaces where privacy and peace are paramount.
There are two main types of sound that soundproofing addresses: airborne sound and impact sound. Airborne sound refers to sound transmitted through the air, such as voices, music, or traffic noise. Impact sound, on the other hand, is caused by physical vibrations, such as footsteps, dropping objects, or structural movements. Both types of sound require specific approaches to effectively reduce their transmission.
It’s essential to note that while soundproofing can significantly reduce the amount of sound transmission, it may not completely eliminate it. There may still be some residual noise that makes its way through, especially in extreme cases or with certain frequencies. However, a well-executed soundproofing project can greatly enhance the acoustic isolation and overall comfort of a space.
Identifying Problem Areas
When it comes to soundproofing interior walls, the first step is to identify the specific problem areas where sound is entering or escaping. By determining these areas, you can focus your soundproofing efforts and implement the most effective solutions. Here are some common problem areas to look for:
- Thin Walls: Thin walls are a primary source of sound transmission. If you can hear conversations or noises from adjoining rooms, it’s a clear indication of thin walls. Pay close attention to shared walls between apartments or rooms that require privacy.
- Doors and Windows: Gaps and cracks around doors and windows can allow a significant amount of sound to enter a room. Check for proper seals and weatherstripping, as these can greatly reduce sound transmission. Also, consider the type of door or window itself – solid doors and double-pane windows tend to provide better sound insulation.
- Electrical Outlets and Switches: Electrical outlets and switches can act as sound conduits. Insufficient insulation or gaps around these fixtures can allow sound to travel through the walls. Make sure to address these areas during the soundproofing process.
- Vents and Ducts: HVAC vents and ducts can carry sound vibrations throughout a building. Check for any loose or poorly sealed ducts that could be contributing to sound transmission.
- Structural Weaknesses: Structural elements, such as gaps in wall studs or ceiling joists, can also contribute to sound leakage. Inspect the walls and ceilings for any visible gaps or weaknesses that may need to be addressed.
It’s important to note that every space is unique, and the problem areas may vary depending on the structure and layout of your building. Take the time to carefully assess the specific characteristics of your interior walls and identify any weak points where sound is likely to penetrate.
An effective method for identifying problem areas is to perform a sound test. Play music or generate noise in different areas of the building and listen for any disturbances or clarity in adjoining rooms. You can also have someone speak or make noises while you move around the premises to identify areas where sound is more pronounced.
By identifying these problem areas, you can develop a targeted soundproofing plan that addresses the specific needs of your space. This allows you to implement the most appropriate soundproofing solutions and achieve the desired level of acoustic isolation.
Assessing Soundproofing Solutions
Once you have identified the problem areas in your interior walls, it’s time to assess the various soundproofing solutions available to you. The choice of solution will depend on factors such as your budget, desired level of sound reduction, and the feasibility of implementation. Here are some common soundproofing solutions to consider:
- Insulation: Adding insulation to your interior walls can significantly reduce sound transmission. Fiberglass insulation, in particular, is commonly used for its ability to absorb sound waves. It is installed between wall studs or in the ceiling to create a barrier against sound.
- Acoustic Panels: Acoustic panels are designed to absorb sound and reduce reverberation within a room. These panels are typically made from materials such as foam or mineral wool and can be installed on the walls to improve sound quality and reduce sound transmission.
- Mass-Loaded Vinyl (MLV): Mass-loaded vinyl is a dense and flexible material that acts as a sound barrier when applied to walls or ceilings. It effectively blocks sound waves from passing through, offering enhanced soundproofing capabilities.
- Soundproof Curtains: Soundproof curtains are thick, heavy curtains that are designed to absorb and block sound. They can be installed over windows or used as room dividers to minimize sound transmission.
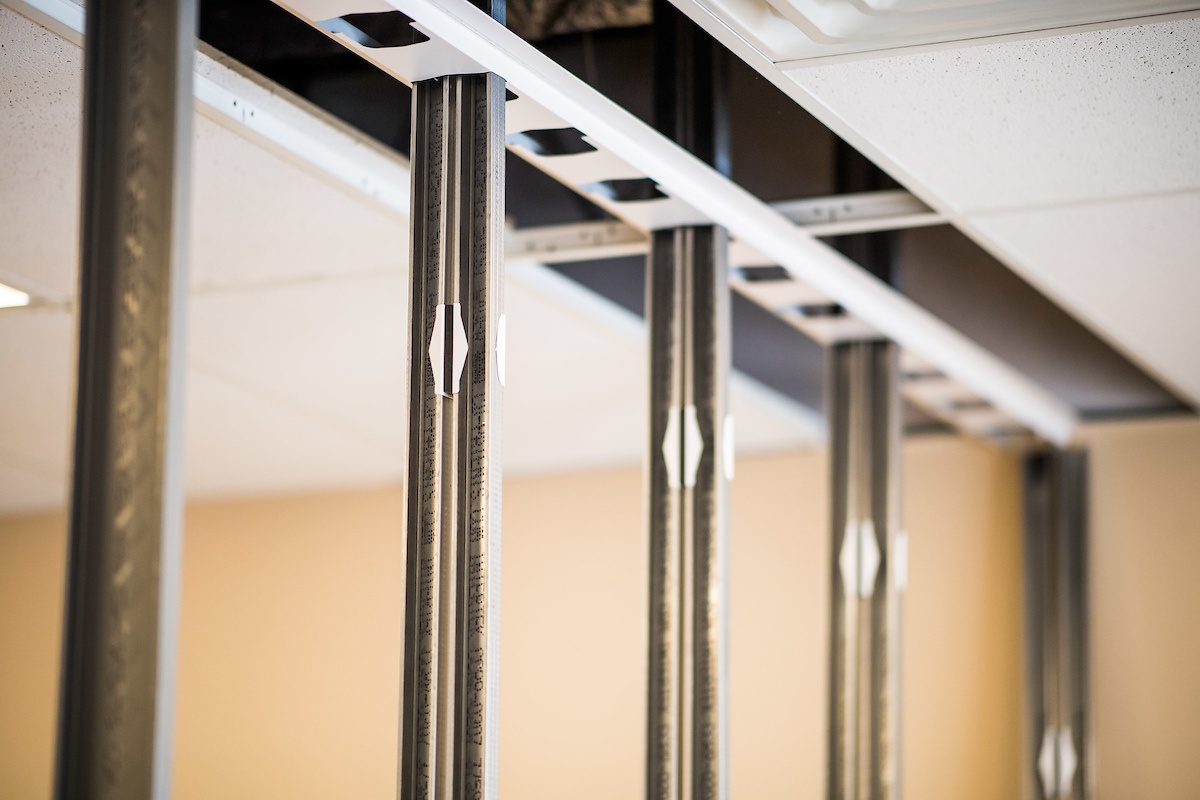
- Resilient Channel: Resilient channels are metal strips that are installed horizontally on wall studs before attaching drywall. These channels help to decouple the drywall from the studs, reducing the transmission of sound vibrations through the wall.
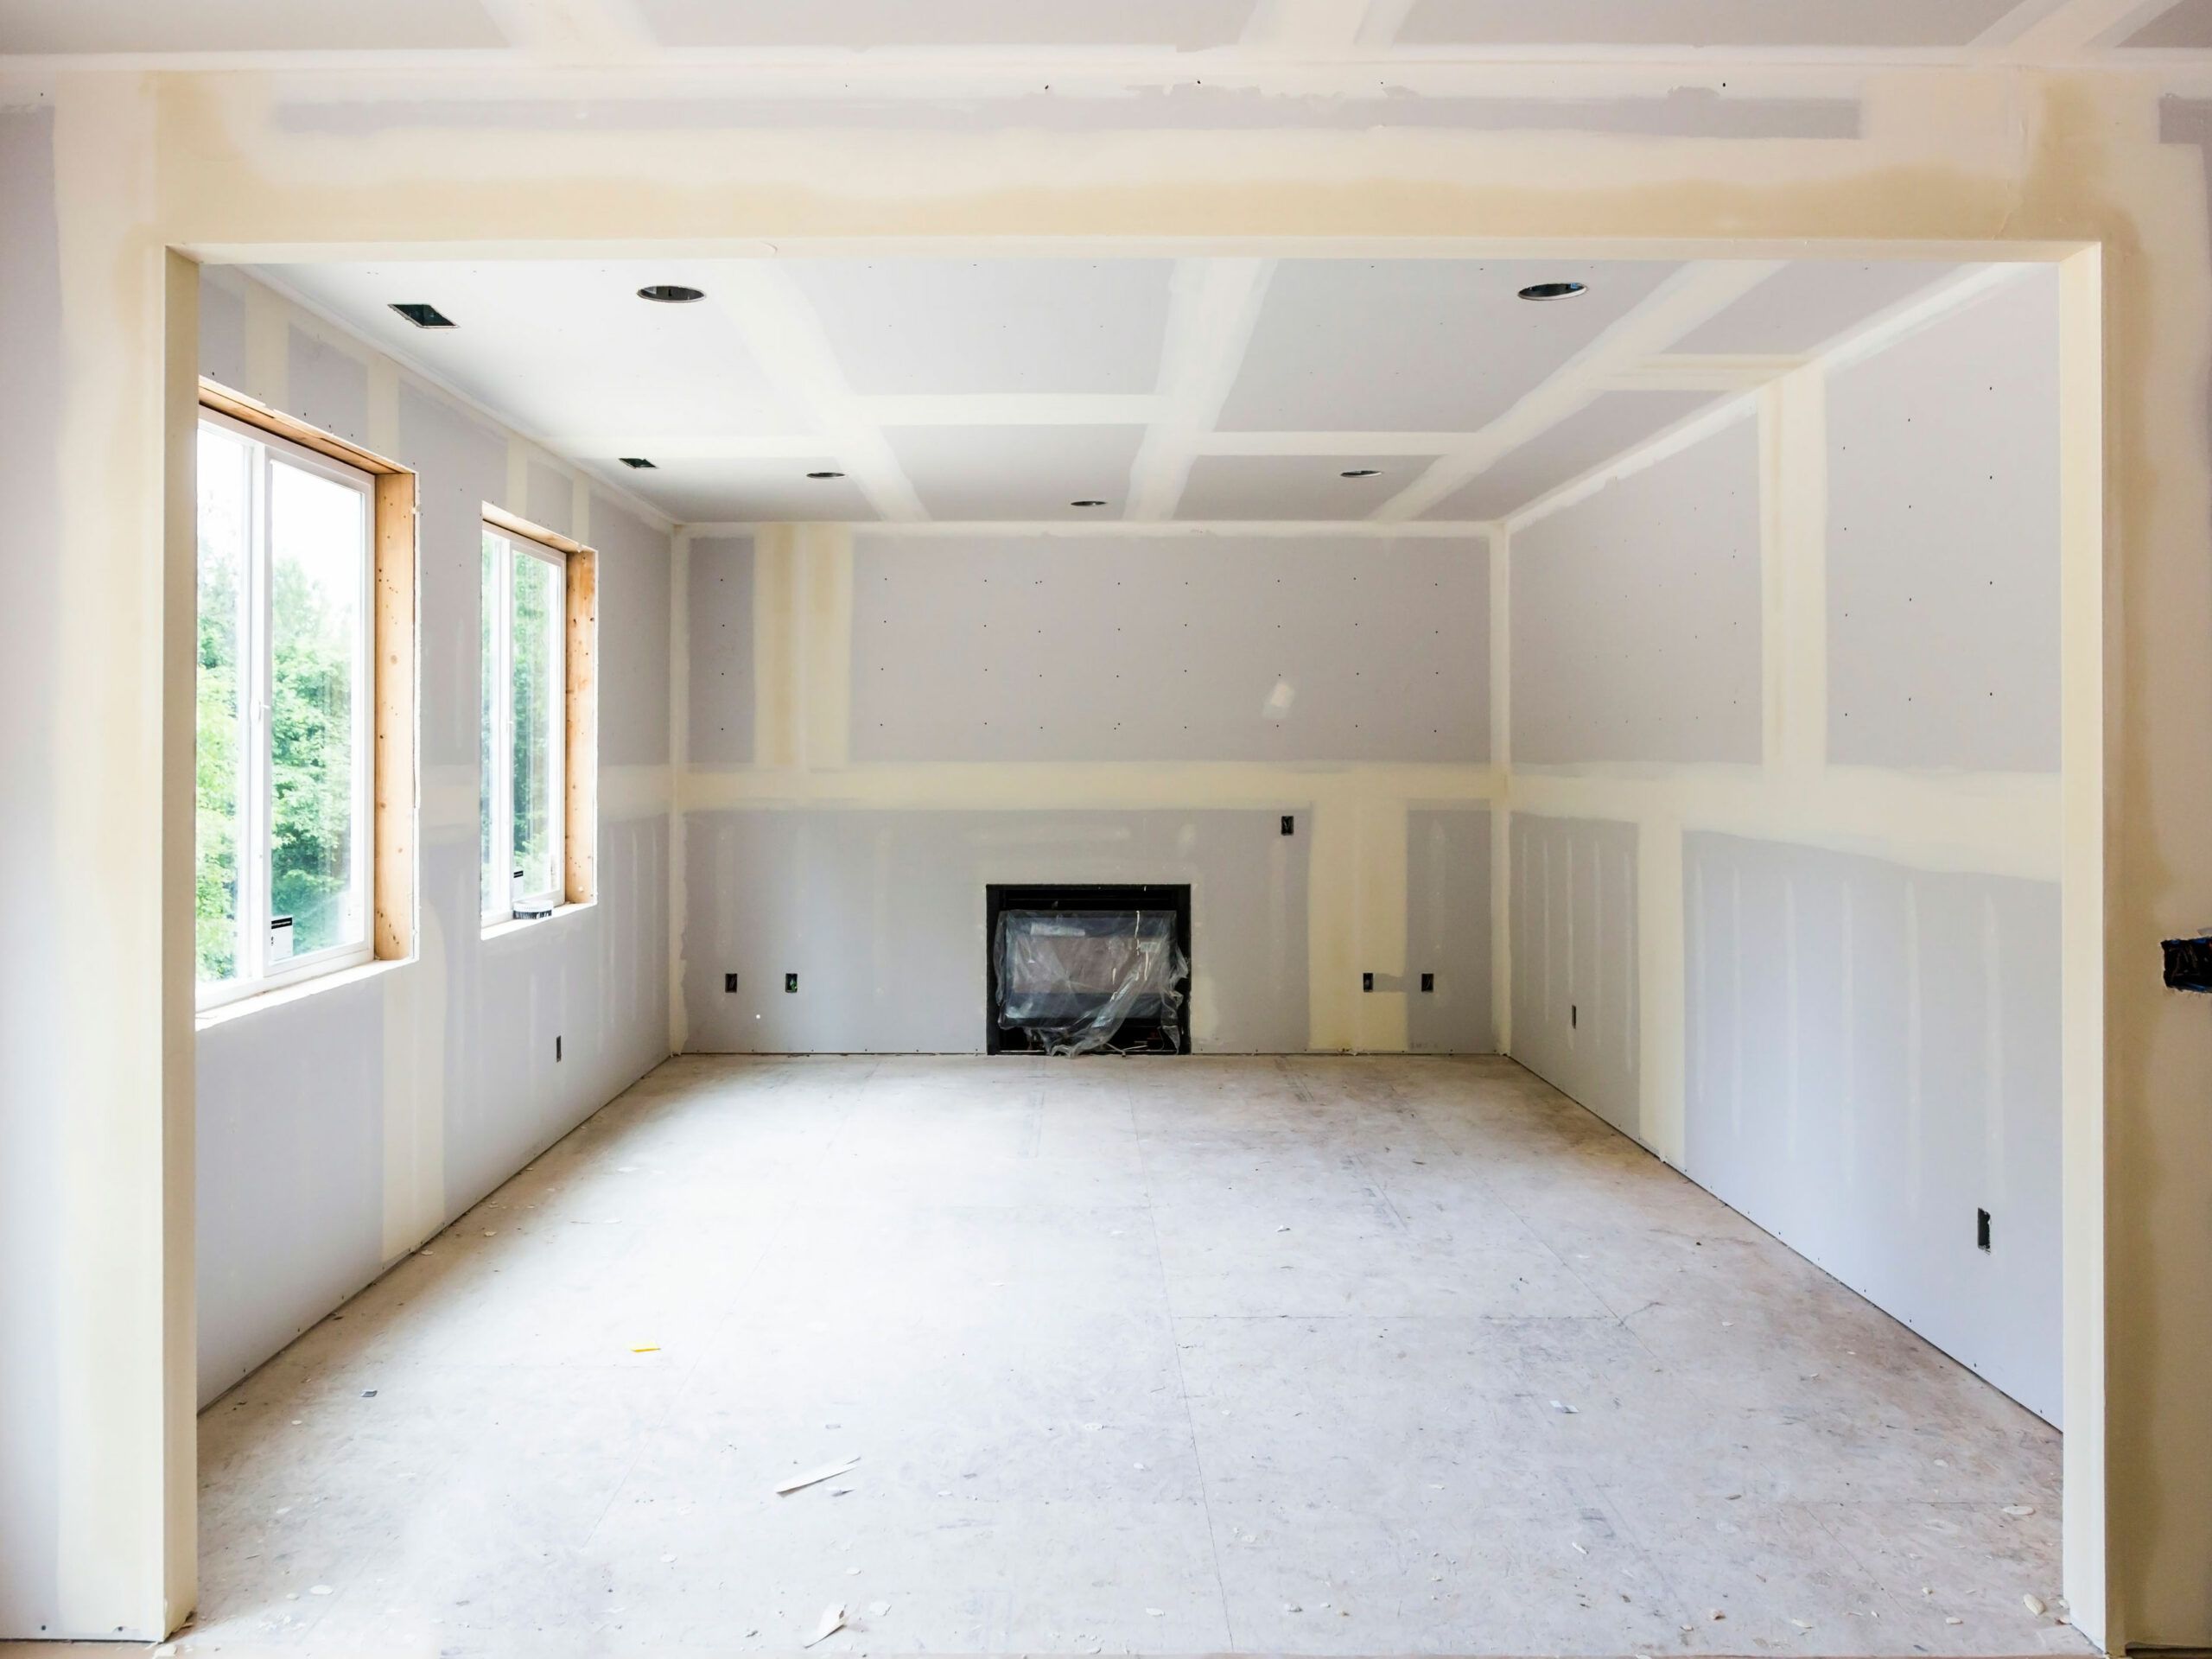
- Soundproof Drywall: Soundproof drywall, also known as soundboard or quiet board, is specifically designed to reduce sound transmission. It is composed of multiple layers of gypsum and other sound-dampening materials, offering superior soundproofing properties compared to traditional drywall.
When assessing soundproofing solutions, it’s essential to consider their effectiveness, cost, and ease of installation. Research different products and materials, read reviews, and consult with professionals if necessary. Additionally, consider the specific requirements and limitations of your space when selecting the most appropriate solution.
Combining multiple soundproofing solutions often yields the best results. For example, combining insulation with acoustic panels or using a combination of mass-loaded vinyl and soundproof curtains can provide comprehensive sound reduction.
It’s also important to note that different soundproofing solutions may be more suitable for specific problem areas. For instance, insulation may be more effective for reducing airborne noise, while mass-loaded vinyl or resilient channels may be more effective for reducing impact noise.
By carefully assessing and selecting the right soundproofing solutions for your interior walls, you can create a more peaceful and comfortable environment, free from the intrusion of unwanted noise.
Selecting Soundproofing Materials
When it comes to soundproofing your interior walls, selecting the right materials is crucial for achieving optimal results. There is a wide range of soundproofing materials available on the market, each with its own unique properties and advantages. Here are some key factors to consider when choosing the right soundproofing materials:
- Thickness and Density: The thickness and density of the material play a significant role in its soundproofing capabilities. Generally, thicker and denser materials offer better sound absorption and blocking properties. Look for materials with higher weight per square foot (e.g., mass-loaded vinyl or soundproof drywall) to effectively reduce sound transmission.
- Absorption Coefficients: The absorption coefficient measures how well a material absorbs sound. It is commonly represented as a value between 0 and 1, with higher values indicating better absorption. Look for materials with high absorption coefficients, especially for areas with significant reverberation or echo issues.
- Air Resistance: Soundproofing materials with high air resistance can effectively block sound transmission. Mass-loaded vinyl, for example, is known for its high air resistance, making it an excellent choice for reducing airborne noise.
- Sound Transmission Class (STC) Rating: The STC rating is a standardized measure of a material’s ability to block sound transmission. Higher STC values indicate better soundproofing capabilities. Consider the desired level of sound reduction and choose materials with appropriate STC ratings for your specific needs.
- Soundproofing Solutions Combination: Consider combining different soundproofing materials and techniques to achieve comprehensive sound reduction. For example, using insulation in conjunction with mass-loaded vinyl or combining soundproof drywall with acoustic panels can provide a more effective soundproofing solution.
- Budget and Application: Assess your budget and the specific requirements of your space when selecting soundproofing materials. Some materials, such as high-density foam panels, can be more affordable and suitable for DIY projects. Others, like soundproof drywall, may require professional installation but offer superior soundproofing performance.
It’s also worth noting that not all soundproofing materials are suitable for every application. Consider the specific sound transmission issues in your space. For example, if you’re primarily dealing with airborne noise, focusing on materials with excellent absorption and blocking properties would be ideal. If impact noise is the main concern, materials with vibration-damping capabilities, such as resilient channels or decoupling clips, may be more suitable.
Before making a final decision, it can be helpful to consult with soundproofing professionals or experts. They can provide guidance on the best materials for your specific needs and ensure you select the most effective soundproofing solution within your budget.
By carefully considering these factors and selecting the right soundproofing materials, you can significantly reduce sound transmission and create a more peaceful and enjoyable living or working environment.
Use soundproofing materials such as acoustic foam, mass-loaded vinyl, or soundproof drywall to reduce noise transmission through interior walls. These materials can be installed during construction or added later as a retrofit.
Preparing the Walls
Once you have identified the problem areas and selected the appropriate soundproofing materials, it’s time to prepare the walls for installation. Proper preparation is essential for ensuring that the soundproofing measures are effective and long-lasting. Here are some steps to help you prepare your walls:
- Clear the Area: Before starting any work, clear the room and remove any furniture or obstacles from the walls. This will give you ample space to work and prevent any damage or obstruction during the installation process.
- Remove Wall Decorations: Take down any pictures, mirrors, or wall decorations that are mounted on the walls. This will allow you to access the entire wall surface and ensure that the soundproofing materials are installed evenly.
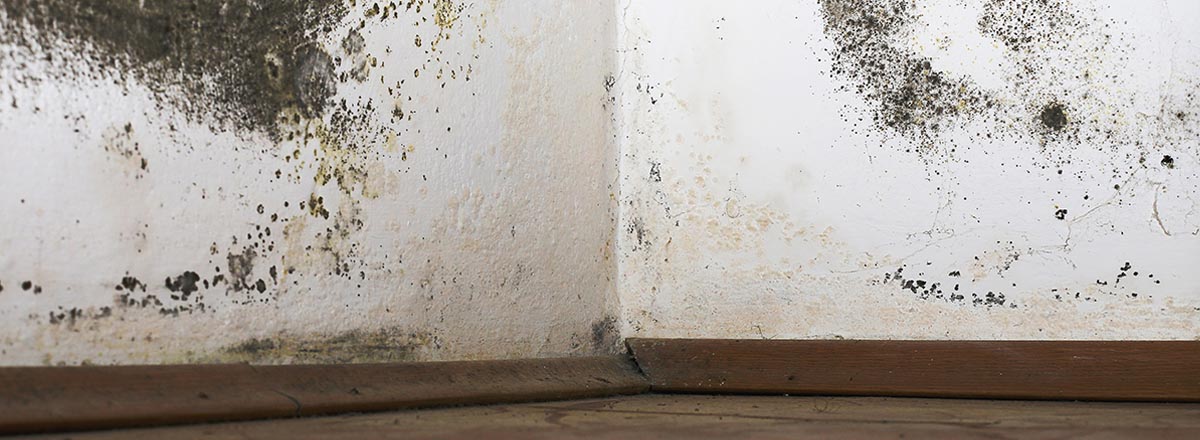
- Repair Any Damage: Inspect the walls for any cracks, holes, or other damage. Fill in these areas with spackling compound or wall putty and smooth them out with sandpaper. This will ensure a clean and even surface for the soundproofing materials.
- Cover Electrical Outlets and Switches: To protect the electrical components, cover outlets and switches with masking tape or plastic covers. This will prevent any materials or debris from entering the outlets during the installation process.
- Remove Baseboards and Trim: If necessary, remove the baseboards and trim from the walls. This will allow you to install the soundproofing materials seamlessly and ensure a more professional finish. Be careful when removing the trim to avoid causing any damage.
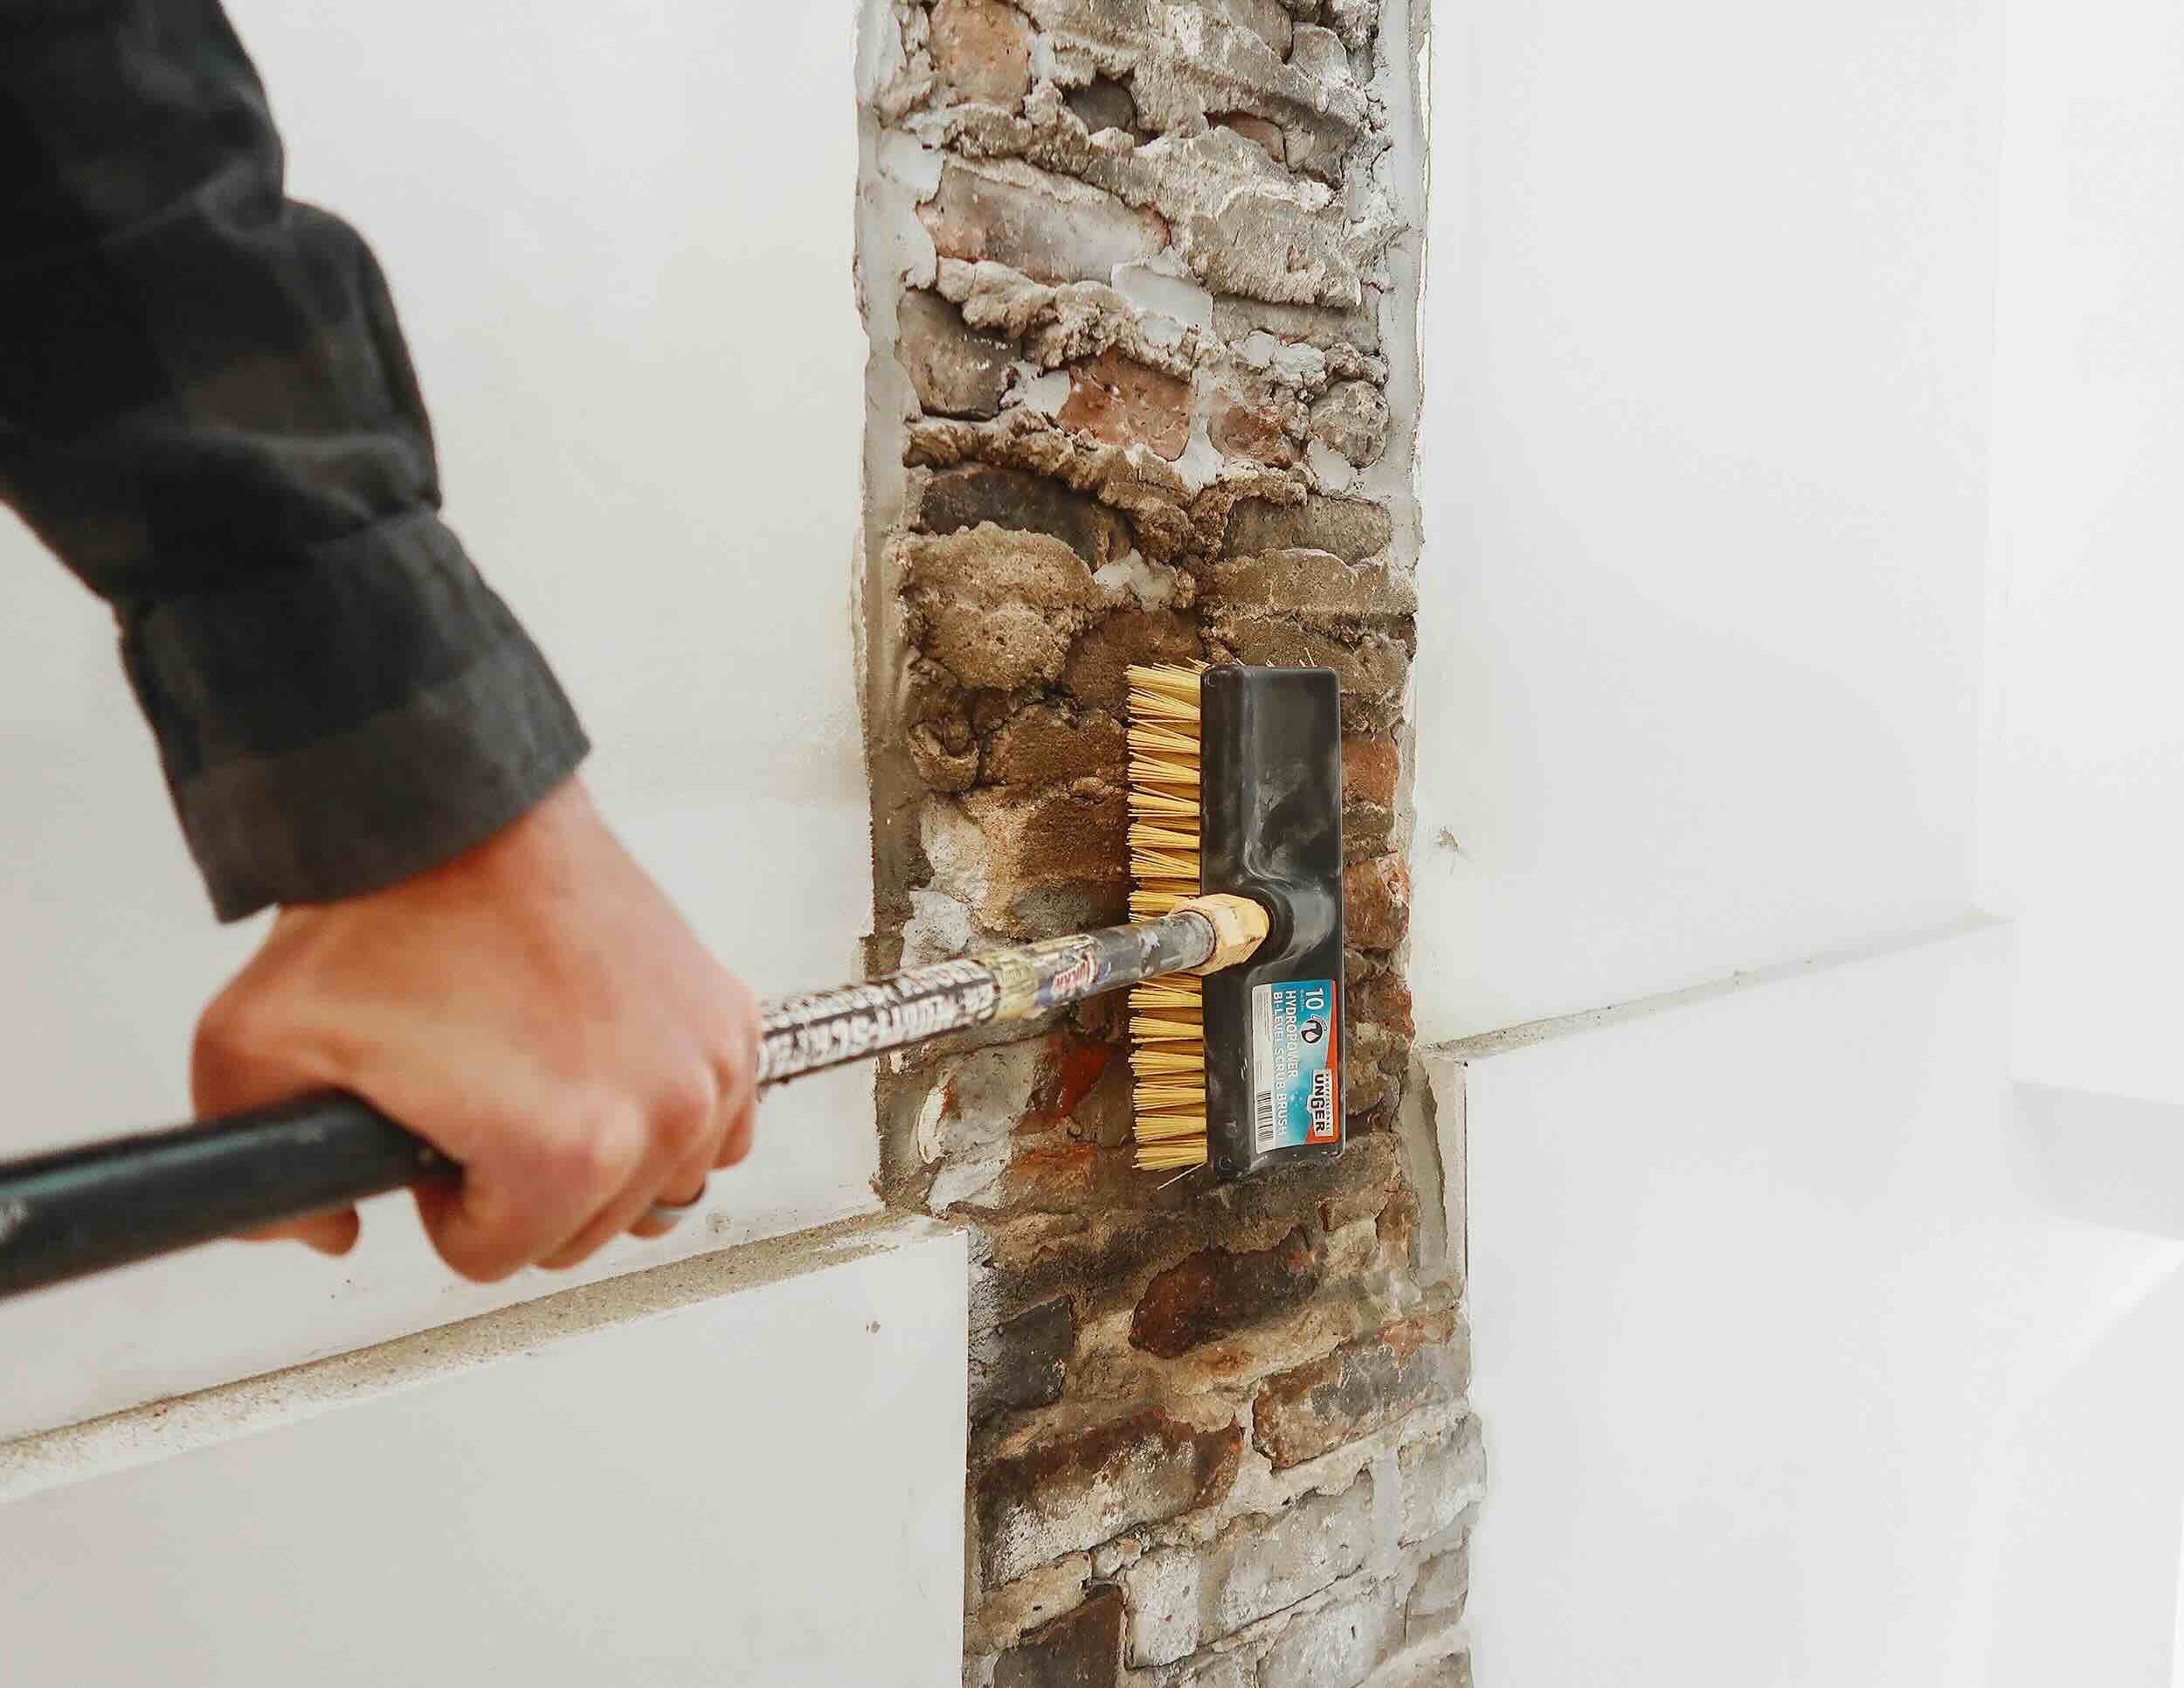
- Clean the Walls: Thoroughly clean the walls to remove any dirt, dust, or grease. Use a mild detergent and warm water to wipe down the surface. This will ensure proper adhesion of the soundproofing materials and help them adhere securely to the walls.
- Measure and Mark: Measure the dimensions of the walls and mark the areas where the soundproofing materials will be installed. Accurate measurements will help you determine the quantity of materials needed and ensure proper coverage on the walls.
It’s important to follow these preparation steps carefully to create an ideal surface for the soundproofing materials to be installed. Taking the time to prepare your walls properly will not only enhance the effectiveness of the soundproofing measures but also contribute to a more polished and professional end result.
Once the walls are prepared, you can proceed with the installation of the selected soundproofing materials, whether it’s adding insulation, applying mass-loaded vinyl, or putting up acoustic panels. Following the proper installation procedures will further enhance the soundproofing qualities and ensure a successful soundproofing project.
Insulation and Soundproofing Installation
Now that you have prepared the walls, it’s time to move on to the installation of insulation and other soundproofing materials. This step plays a crucial role in reducing sound transmission and improving the overall soundproofing performance of your interior walls. Here’s a general guide for the installation process:
- Insulation: If you have chosen to add insulation to your interior walls, start by measuring and cutting the insulation materials to fit between the wall studs. Wear appropriate protective gear, such as gloves and a mask, to avoid any irritation from the insulation fibers. Place the insulation panels snugly between the studs, ensuring there are no gaps or spaces.
- Mass-Loaded Vinyl: If you are using mass-loaded vinyl (MLV) as a soundproofing material, it can be installed directly over the insulation or the existing wall. Measure and cut the MLV to the desired dimensions, leaving a slight overlap at the edges. Attach the MLV to the wall using adhesive or staples, making sure it is securely fastened. For better soundproofing performance, consider applying multiple layers of MLV.
- Acoustic Panels: When installing acoustic panels, carefully measure and mark the desired locations on the walls. Use appropriate mounting hardware, such as screws or adhesive, to securely attach the panels. Pay attention to spacing and alignment to achieve an aesthetically pleasing arrangement. Follow the manufacturer’s instructions for the specific type of acoustic panels you are using.
- Resilient Channels and Soundproof Drywall: If you have opted for resilient channels or soundproof drywall, consult professional installers or follow the manufacturer’s guidelines for proper installation. These materials may require specific techniques to ensure their effectiveness, such as attaching resilient channels to the wall studs before installing the drywall.
- Sealing and Caulking: To enhance the soundproofing properties and seal any gaps or cracks, use acoustic caulk or sealant to fill in any joints or seams between the installed soundproofing materials. Pay close attention to areas such as electrical outlets, corners, and edges to ensure a tight seal.
Remember to follow all safety precautions and manufacturer’s instructions when installing soundproofing materials. If you are unsure about any aspect of the installation process, it’s always advisable to consult with professionals or seek assistance from experienced individuals.
Keep in mind that the installation methods may vary depending on the specific soundproofing materials you have chosen, as well as the nature of your walls and the desired level of sound reduction. It’s essential to customize the installation process to suit your specific needs and follow the recommended practices for the chosen materials. This will ensure that your soundproofing efforts yield the best possible results and maximize the overall soundproofing performance of your interior walls.
Finishing Touches
After successfully installing the soundproofing materials, it’s time to add the finishing touches to your interior walls. These final steps will not only enhance the overall aesthetic appeal but also contribute to the effectiveness of your soundproofing efforts. Here are some important finishing touches to consider:
- Replace Baseboards and Trim: If you removed baseboards and trim during the installation process, now is the time to reinstall them. Carefully attach them to the walls, ensuring a clean and seamless appearance. Use appropriate nails, screws, or adhesive to secure the baseboards and trim in place.
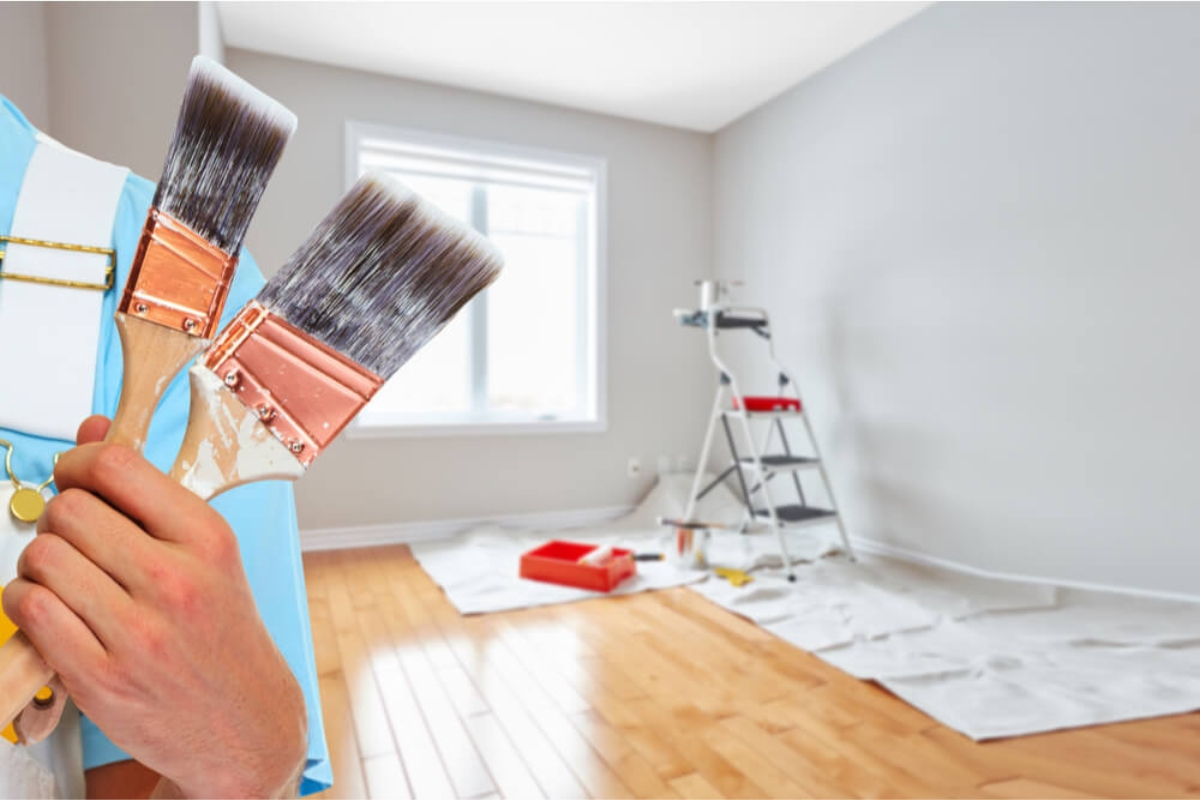
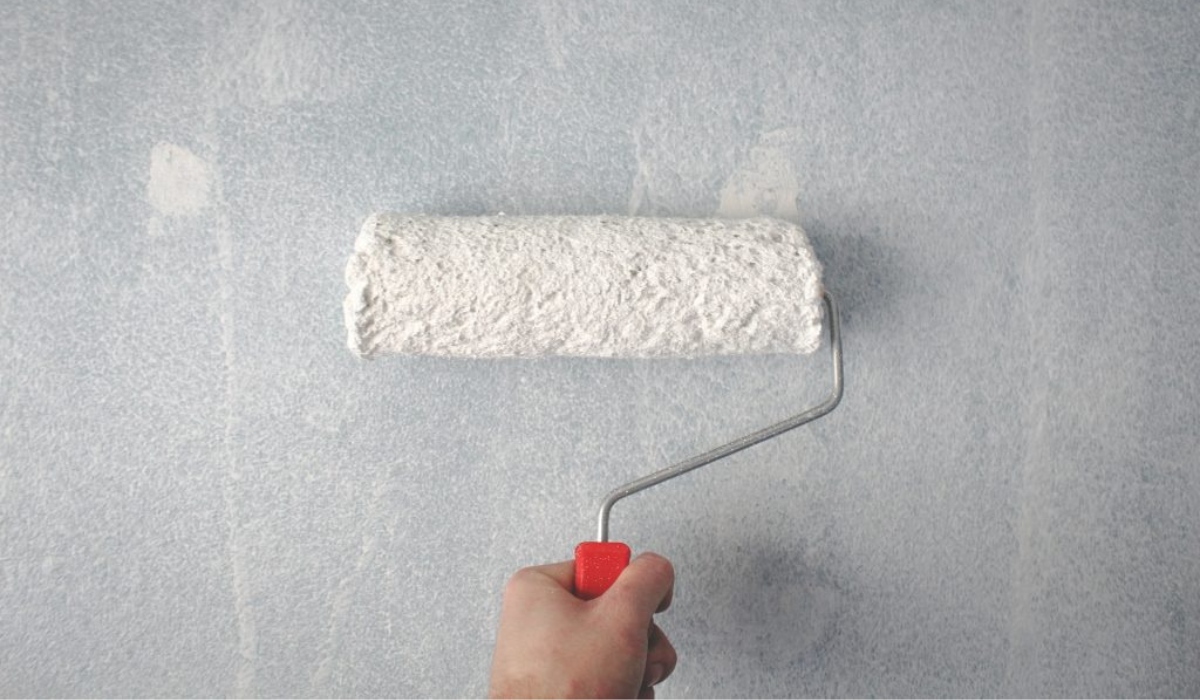
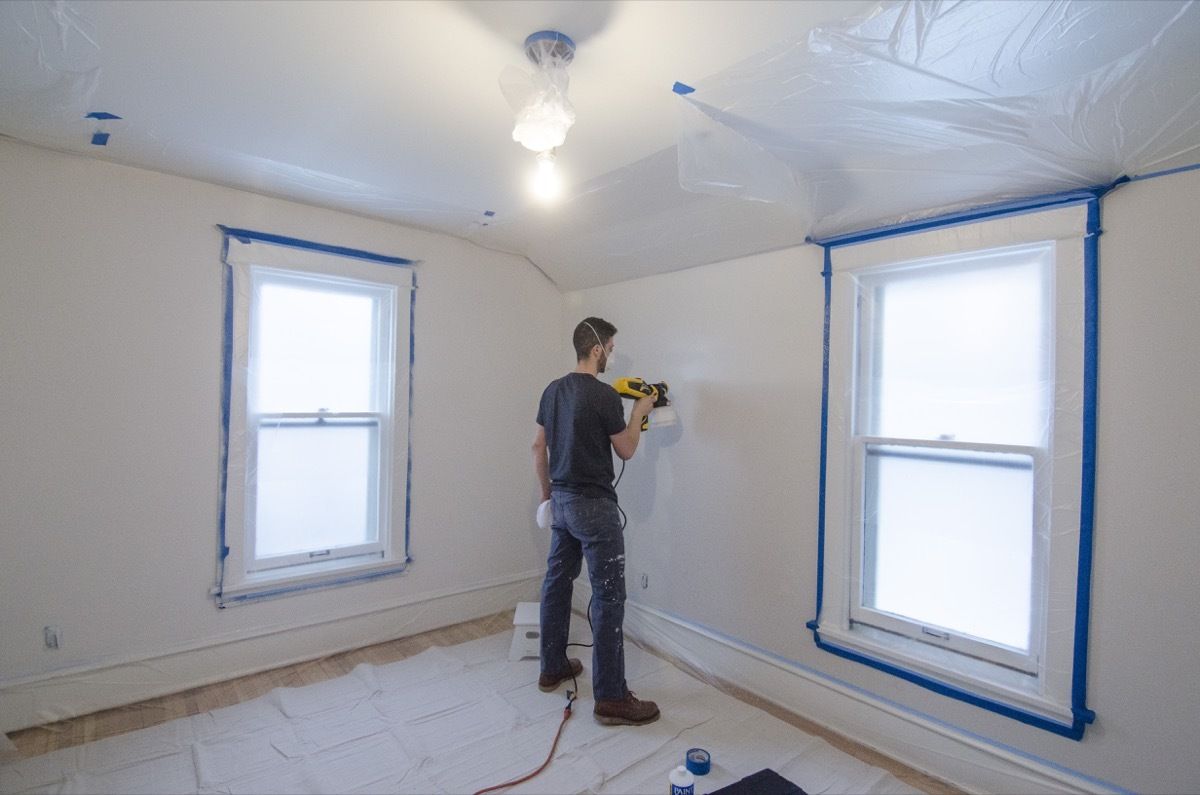
- Paint or Wallpaper: Apply a fresh coat of paint or wallpaper to your interior walls to complete the visual transformation. Choose paint with sound-absorbing properties or consider using textured wallpaper, as these can help further reduce sound reflections and improve sound quality within the room.
- Seal Cracks and Gaps: Inspect the walls and soundproofing materials for any remaining gaps or cracks. Use acoustic sealant or caulk to fill in these areas, ensuring a tight seal. This will help prevent any sound leakage and ensure the soundproofing materials are functioning optimally.
- Consider Additional Soundproofing Measures: Depending on the level of sound reduction desired, you may want to explore additional soundproofing options. This could include adding thick curtains, rugs, or furniture to absorb sound and minimize echoes. Place acoustic panels strategically on other walls or the ceiling to further enhance the soundproofing capabilities.
- Test the Soundproofing: Once the finishing touches are complete, it’s important to test the effectiveness of your soundproofing efforts. Play music or generate noise in nearby rooms or the surrounding environment and observe the sound transmission. If you notice significant improvements in sound isolation and reduced sound transfer, then you have successfully soundproofed your interior walls.
Don’t forget that maintaining the soundproofing measures is equally important. Periodically inspect the walls and soundproofing materials for any signs of wear or damage. Address any issues promptly to ensure the continued efficacy of the soundproofing measures.
Remember that soundproofing is an ongoing process, and it may require adjustments or additional measures over time. Stay knowledgeable about the latest advancements in soundproofing technology and techniques to continually improve the acoustic performance of your space.
By completing these finishing touches, you can enjoy a more peaceful and isolated environment, free from external disturbances and unwanted sound. Your interior walls will not only look visually appealing but also provide the desired level of soundproofing for enhanced comfort and privacy.
Conclusion
Soundproofing interior walls is a valuable investment that can greatly enhance the comfort and tranquility of your living or working environment. By implementing the proper soundproofing techniques, you can effectively reduce sound transmission and create a space where silence and privacy can be enjoyed to the fullest.
In this comprehensive guide, we’ve explored the various steps involved in soundproofing interior walls. From understanding the principles of soundproofing to identifying problem areas, assessing soundproofing solutions, selecting the right materials, and preparing the walls, each step is crucial in achieving successful soundproofing results.
We’ve highlighted the importance of selecting the appropriate soundproofing materials based on factors such as thickness, density, absorption coefficients, and air resistance. The choice of materials will depend on your specific needs and the desired level of sound reduction.
Throughout the process, careful preparation and installation are vital. Taking the time to properly prepare the walls, install insulation, mass-loaded vinyl, acoustic panels, or other soundproofing materials, and applying the finishing touches will ensure the soundproofing measures are effective and long-lasting.
It’s worth noting that while soundproofing can significantly reduce sound transmission, it may not eliminate it entirely. However, with a well-executed soundproofing project, you can achieve a significant reduction in noise levels, creating a more serene and comfortable environment.
Remember to periodically assess and maintain your soundproofing measures to ensure they continue to function optimally. Additionally, stay informed about the latest advancements in soundproofing technology and techniques to continuously improve the acoustic performance of your space.
With some knowledge, careful planning, and a little bit of effort, you can transform your interior walls into barriers against unwanted noise, providing you with the peace and privacy you desire. So, get started on your soundproofing journey and enjoy the benefits of a quieter, more serene living or working space!
Frequently Asked Questions about How To Soundproof Interior Walls
Was this page helpful?
At Storables.com, we guarantee accurate and reliable information. Our content, validated by Expert Board Contributors, is crafted following stringent Editorial Policies. We're committed to providing you with well-researched, expert-backed insights for all your informational needs.


0 thoughts on “How To Soundproof Interior Walls”