Home>Ideas and Tips>Home Theater Acoustic Panels: DIY Sound Improvement Project
Ideas and Tips
Home Theater Acoustic Panels: DIY Sound Improvement Project
Modified: October 31, 2024
Enhance your home theater sound with DIY acoustic panels. Follow our step-by-step guide to reduce echoes and improve audio clarity.
(Many of the links in this article redirect to a specific reviewed product. Your purchase of these products through affiliate links helps to generate commission for Storables.com, at no extra cost. Learn more)
Introduction
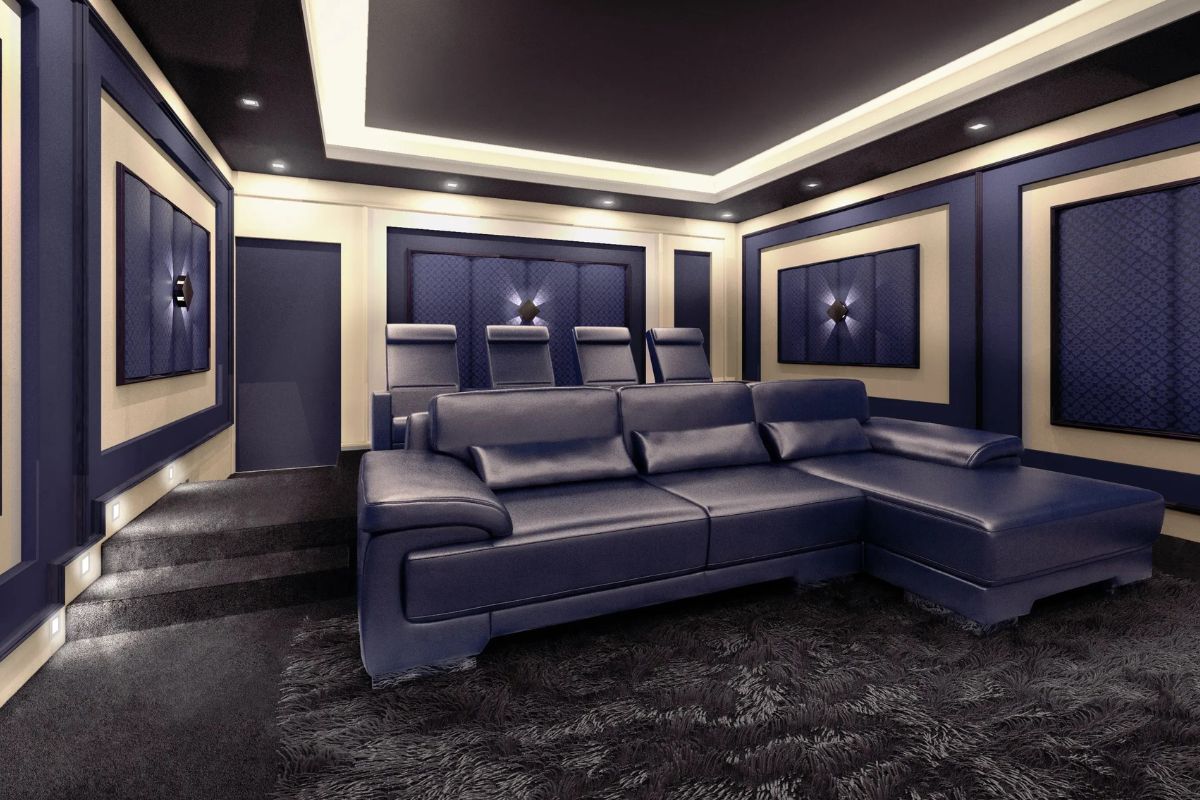
Creating a home theater or recording studio can be an exciting and rewarding experience, but one of the most critical aspects often overlooked is sound quality. Poor acoustics can lead to echoes, reverberations, and a generally unimpressive listening experience. Fortunately, you can significantly improve the sound quality in your home theater or recording studio by making your own acoustic panels. In this article, we will guide you through the process of building your own DIY acoustic panels, providing you with the necessary materials, tools, and step-by-step instructions to achieve professional-grade sound absorption.
Why Acoustic Panels Matter
Acoustic panels are designed to trap sound waves and prevent them from reflecting off surfaces in a room. This process reduces echoes and reverberations, which can muddle or color amplified music and speech. By installing sound absorption material, you can create a more accurate listening environment for both music and speech.
Suitable Applications
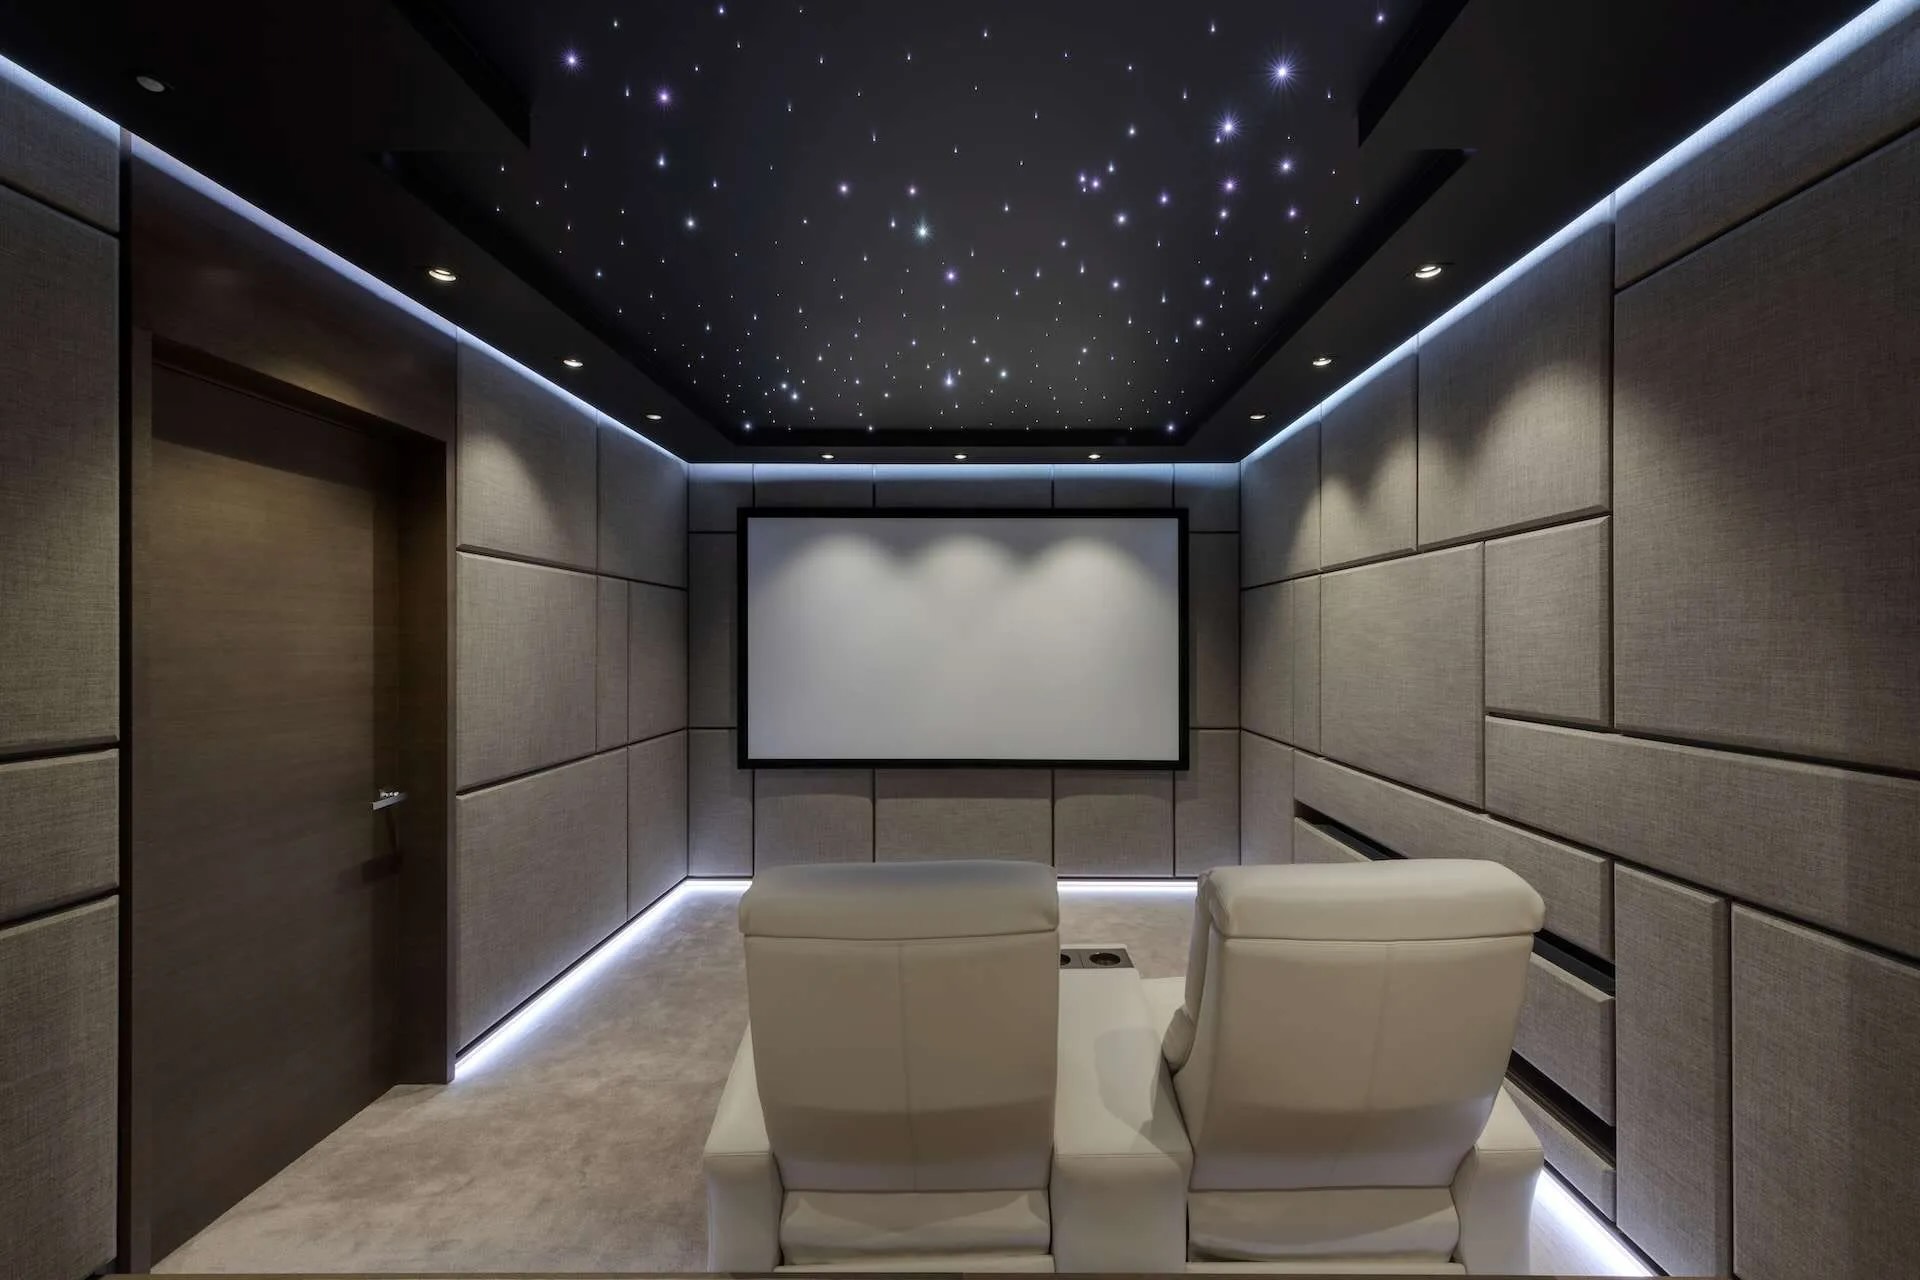
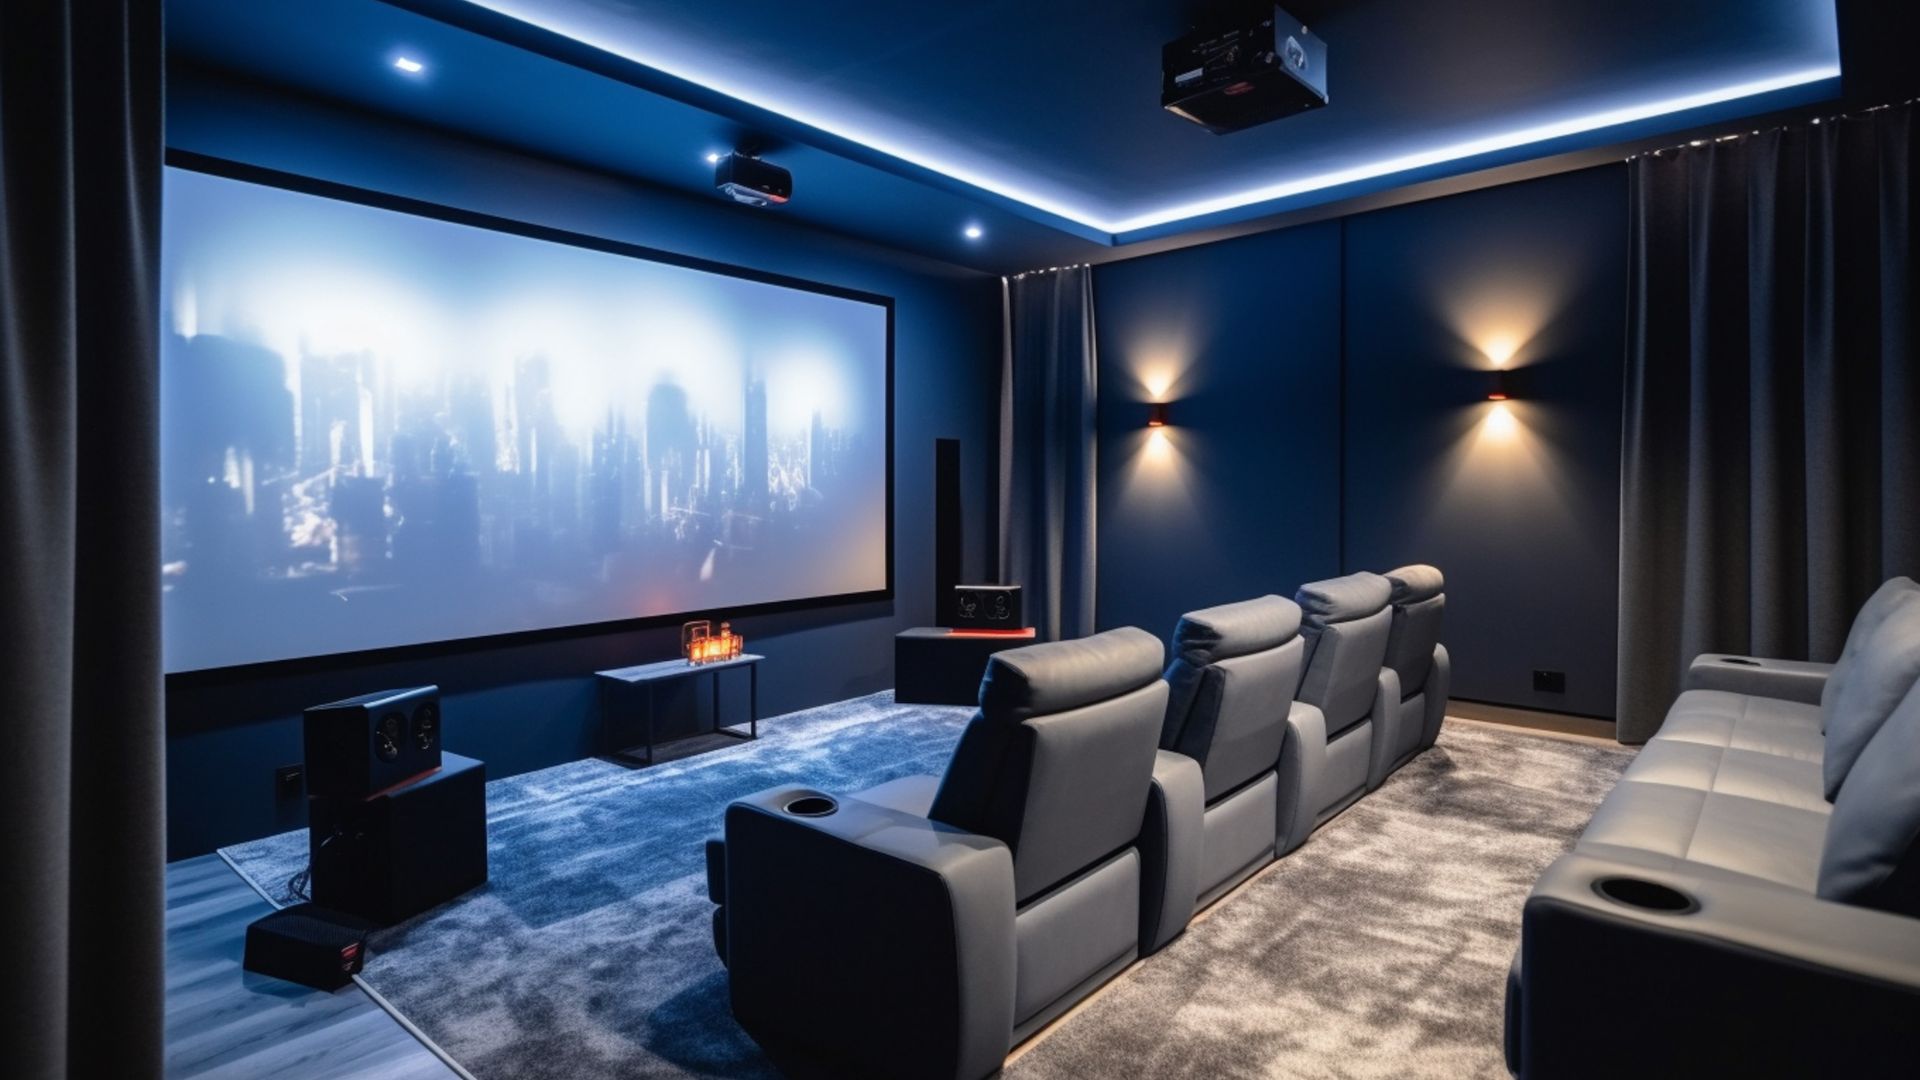
- Home Theater: Improving surround-sound imaging and clarity for DVD/Blu-ray movies, sports, or video games.
- Recording Studios: Providing more accurate listening conditions in recording studios and control rooms.
- Large Halls and Auditoriums: Reducing slap-back echo and reverberation.
- Contemporary Churches: Enhancing the sound quality for worship services.
- Crowded Gathering Spaces: Reducing chatter, din, and noise in restaurants, bars, and other crowded areas.
Note on Reverberation
While acoustic panels are excellent for reducing reverberation, it's important to note that some applications benefit from reasonably reverberant acoustics. For example, choral music, piano, orchestral instruments, group singing, and pipe organ performances often require reflective surfaces to maintain their natural sound quality. Therefore, installation of sound absorption material can potentially harm musician performance and sound quality for these specific applications.
Materials Needed
To build your own acoustic panels, you'll need the following materials:
-
Fiberglass or Rockwool Absorption Panel:
- A 2 ft. x 4 ft. x 2 in. fiberglass or rockwool absorption panel (approximately $10-$15 per panel).
-
Wood Furring Strips:
- Two 1 in. x 2 in. x 8 ft. wood furring strips (approximately $5-$10).
-
Wood Glue:
- A small bottle of wood glue (approximately $2-$5).
-
Wood Screws:
- Four #6 x 1-1/4″ flat head Phillips wood screws (approximately $2-$5).
-
Picture Frame Hangers:
- Two 20-lb rated picture frame hangers (approximately $5-$10).
-
Heavy Duty D-Ring Hangers:
- Two heavy-duty D-ring hangers with screws (approximately $10-$15).
-
Fabric:
- A minimum of 62” length of fabric with a minimum width of 36” (approximately $5-$10).
-
Spray Adhesive:
- A can of spray adhesive (approximately $5-$10).
Tools Required
To assemble your acoustic panels, you'll need the following tools:
-
Circular Saw or Hand Saw:
- For cutting the wood furring strips and any additional wood needed for the frame.
-
Drill and Drill Bits:
- For drilling pilot holes and securing the screws.
-
Hammer and Nails (Optional):
- For tapping the screws into place if needed.
-
Stapler (Optional):
- For attaching the fabric to the frame if you prefer not to use spray adhesive.
-
Mask and Gloves:
- For protecting yourself from dust and debris during the woodworking process.
Step-by-Step Instructions
Step 1: Prepare the Frame
-
Cut the Wood Furring Strips:
- Cut four pieces of wood furring strips into the required lengths. For a standard panel, you'll need two pieces at 1200mm (48 inches) and two pieces at 530mm (21 inches).
-
Assemble the Frame:
- Use wood glue and #6 x 1-1/4″ flat head Phillips wood screws to assemble the frame. Make sure it is sturdy and can hold the weight of the absorption material.
Step 2: Attach the Sides
-
Cut Additional Wood (Optional):
- If you need additional support or want to create a more complex frame design, cut extra pieces of wood furring strips accordingly.
-
Attach Side Panels:
- Use wood glue and screws to attach the side panels to the frame. Ensure they are securely attached but not too tight as this can cause the panel to warp.
Step 3: Seal the Back
-
Apply Wood Glue:
- Apply a thin layer of wood glue along the edges where the side panels meet the frame.
-
Secure with Screws:
- Use screws to secure the side panels in place, making sure they are tightly attached but not over-tightened.
Step 4: Add Acoustic Materials
-
Choose Your Insulation:
- Select a suitable acoustic insulation material such as fiberglass, rockwool, recycled denim insulation, hemp/wood fiber insulation, or cellulose batt insulation. For this example, we'll use rockwool.
-
Fill the Panel:
- Fill the panel with rockwool insulation material, ensuring it is evenly distributed and not compacted too much.
Step 5: Wrap with Fabric
-
Select Sound-Transparent Fabric:
- Choose a sound-transparent fabric such as black duck canvas or any other breathable fabric suitable for acoustic panels.
-
Wrap the Panel:
- Wrap the fabric around the panel, ensuring it covers all sides evenly. Use spray adhesive to secure the fabric in place.
-
Add Additional Fabric Layers (Optional):
- If desired, add additional layers of fabric for extra protection and sound absorption.
Step 6: Attach Mounting Hardware
-
Attach Picture Frame Hangers:
- Attach picture frame hangers to the back of each panel, ensuring they are securely fastened with screws.
-
Add Heavy Duty D-Ring Hangers:
- Attach heavy-duty D-ring hangers with screws to provide additional support and make hanging easier.
Step 7: Hang Your Panels
-
Choose Hanging Locations:
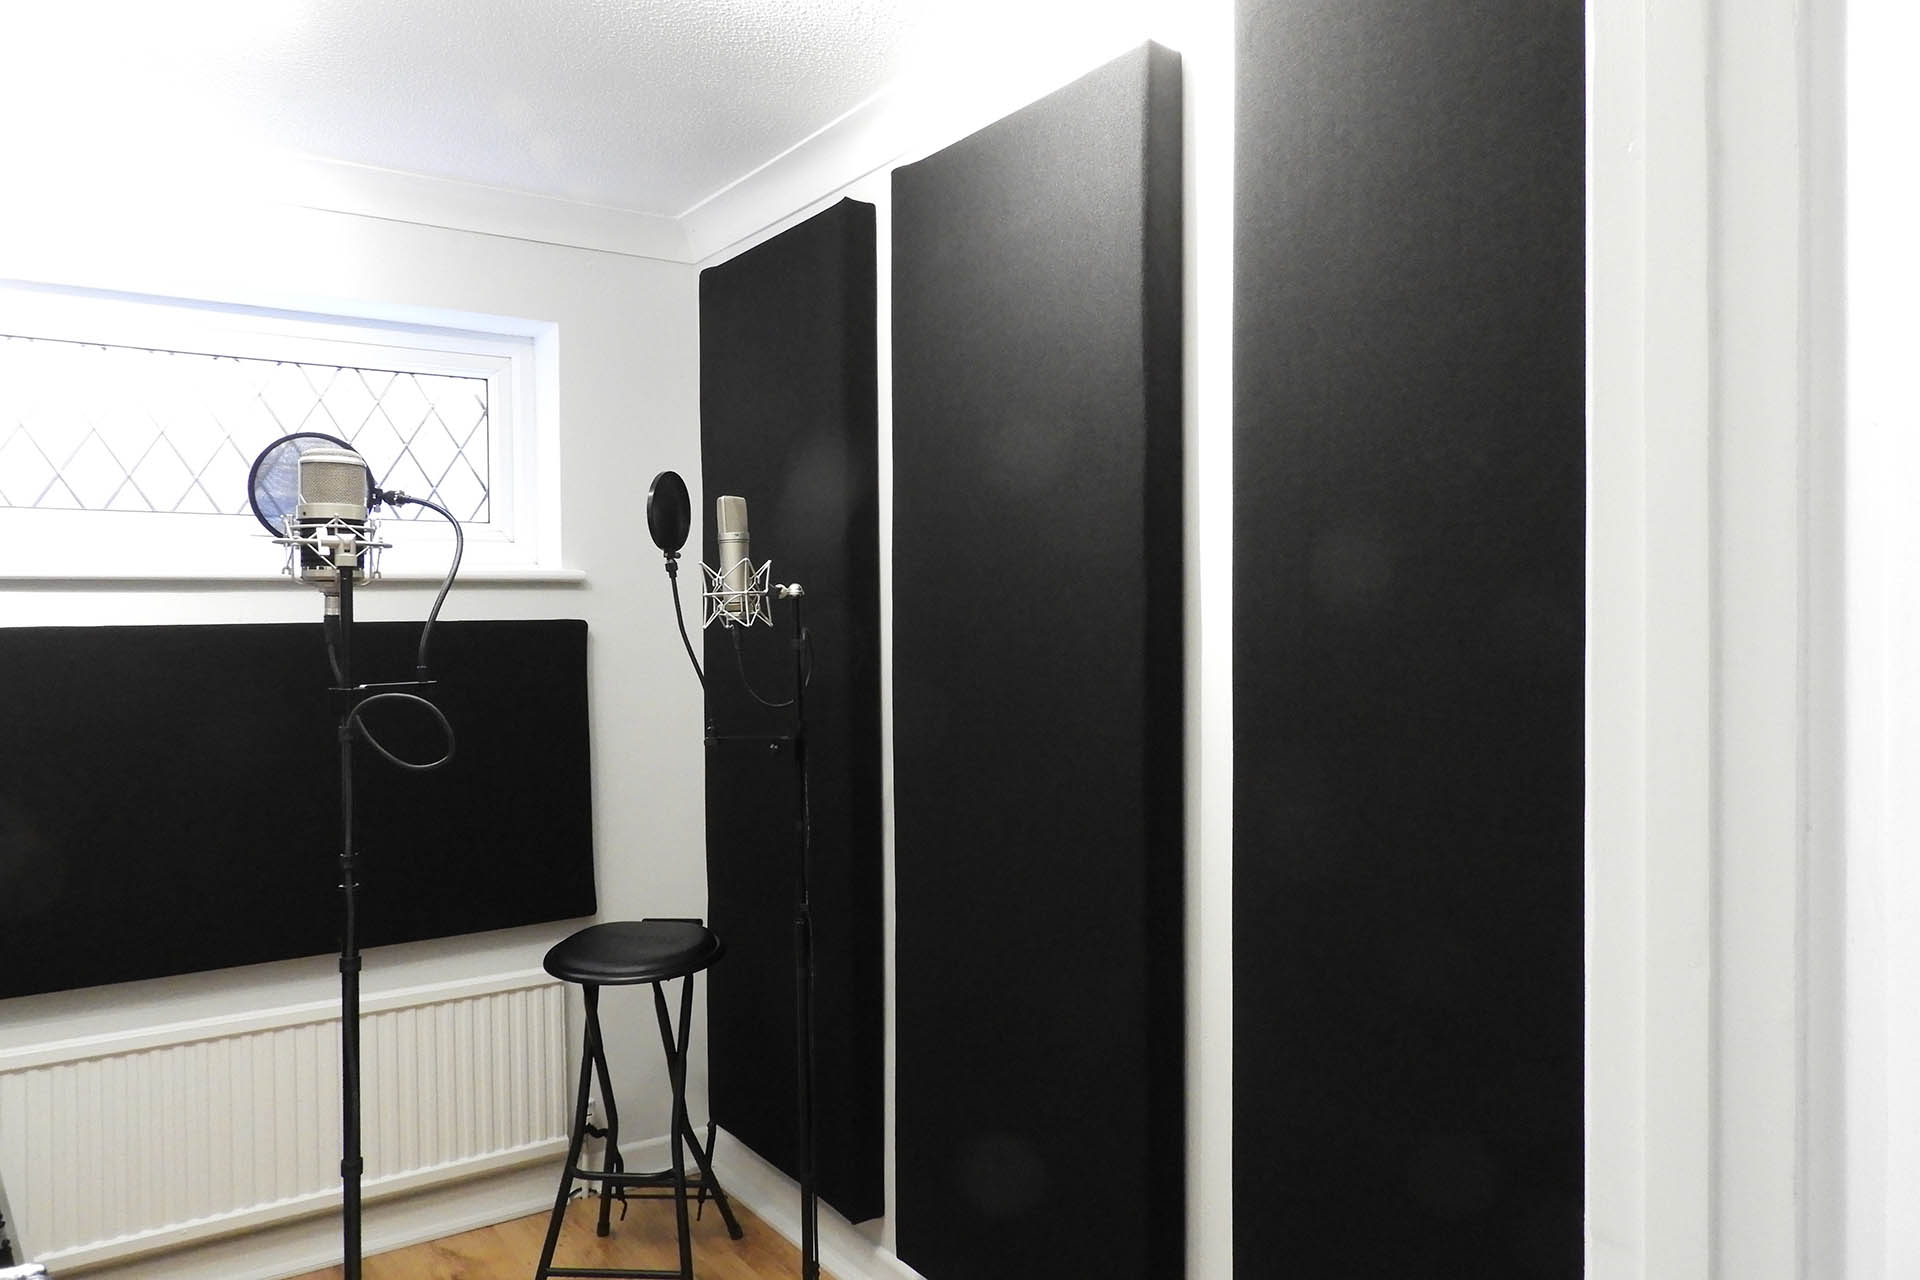
- Identify strategic locations in your room where sound reflections are most prominent. Typically these areas include corners and walls opposite speakers or microphones.
-
Hang Your Panels:
- Hang your acoustic panels in these locations using the mounting hardware provided.
Additional Tips and Considerations
Fabric Selection
When selecting fabric for your acoustic panels, it's crucial to choose a sound-transparent material that allows sound waves to pass through while maintaining its structural integrity. Common fabrics include black duck canvas, jute burlap coffee sacks, and other breathable materials.
Fabric Changeability
If you ever need to change the fabric on your acoustic panels, be cautious not to damage the glued portion of the fabric as this could compromise the structural integrity of the panel.
Panel Size and Thickness
While standard panels are typically 120cm x 60cm (4 ft x 2 ft), you can adjust the size and thickness based on your specific needs and room dimensions. Ensure that your panels are sturdy enough to hold their weight and maintain their shape over time.
Tools and Equipment
While professional tools like circular saws and drills are ideal for this project, you can also use hand tools or borrow equipment from friends if necessary. For example, using a hand saw or getting timber cut at a shop can simplify the process.
Budget-Friendly Options
Creating your own acoustic panels is significantly cheaper than buying commercial ones. With materials costing approximately $20 per panel, you can achieve professional-grade sound absorption without breaking the bank.
Before and After Comparison
To demonstrate the effectiveness of your DIY acoustic panels, conduct a before-and-after sound test in your room. Record a clap or any other sound source without any panels and then with the panels installed. The difference in sound quality will be noticeable, with reduced reverberation and improved clarity.
Conclusion
Improving sound quality in your home theater or recording studio is within reach without breaking the bank. By following these steps and using readily available materials, you can create high-performance acoustic panels that significantly enhance your listening experience. Whether you're an audiophile or a music producer, investing time and effort into DIY acoustic panels will yield impressive results and provide a more accurate listening environment for years to come.
Additional Resources
For further guidance and detailed plans, consider the following resources:
- AcousticsFREQ: Provides a comprehensive guide on how to build your own acoustic panels, including equipment lists and step-by-step instructions.
- YouTube Channels: Channels like Home Theater Gamer and Michael in the Mix offer detailed video tutorials and tips on making acoustic panels.
- DIY Plans: Websites like Music by Mattie offer free DIY plans for acoustic panels, including shopping lists and step-by-step guides.
By following these steps and utilizing the resources provided, you'll be well on your way to creating professional-grade acoustic panels that enhance your home theater or recording studio experience.
Was this page helpful?
At Storables.com, we guarantee accurate and reliable information. Our content, validated by Expert Board Contributors, is crafted following stringent Editorial Policies. We're committed to providing you with well-researched, expert-backed insights for all your informational needs.


0 thoughts on “Home Theater Acoustic Panels: DIY Sound Improvement Project”