Home>Gardening & Outdoor>Outdoor Structures>How To Wire A Shed From The House
Outdoor Structures
How To Wire A Shed From The House
Modified: October 20, 2024
Learn how to wire a shed from the house with our comprehensive guide. Ensure safety and functionality for your outdoor structures.
(Many of the links in this article redirect to a specific reviewed product. Your purchase of these products through affiliate links helps to generate commission for Storables.com, at no extra cost. Learn more)
Introduction
Adding electricity to a shed can significantly expand its functionality, allowing for lighting, power tools, and various other electrical devices. Wiring a shed from the house may seem like a daunting task, but with the right guidance and precautions, it can be a rewarding project that adds value and convenience to your property. This comprehensive guide will walk you through the essential steps of wiring a shed from the house, ensuring safety, compliance with electrical codes, and optimal functionality.
Before embarking on this project, it’s crucial to familiarize yourself with the local building codes and regulations. Additionally, always prioritize safety by turning off the power at the main breaker and using appropriate personal protective equipment throughout the process. By following this guide and exercising caution, you can successfully wire your shed from the house and create a versatile space that meets your electrical needs.
Key Takeaways:
- Plan carefully and prioritize safety when wiring a shed from the house. Consider power needs, choose the right wire, and install a subpanel if necessary to create a reliable and compliant electrical system.
- Follow essential steps and adhere to safety measures to wire a shed from the house successfully. Thorough planning, proper wire selection, and meticulous testing ensure a safe and functional electrical connection.
Read more: How To Wire A Subpanel In A Shed
Planning and Safety
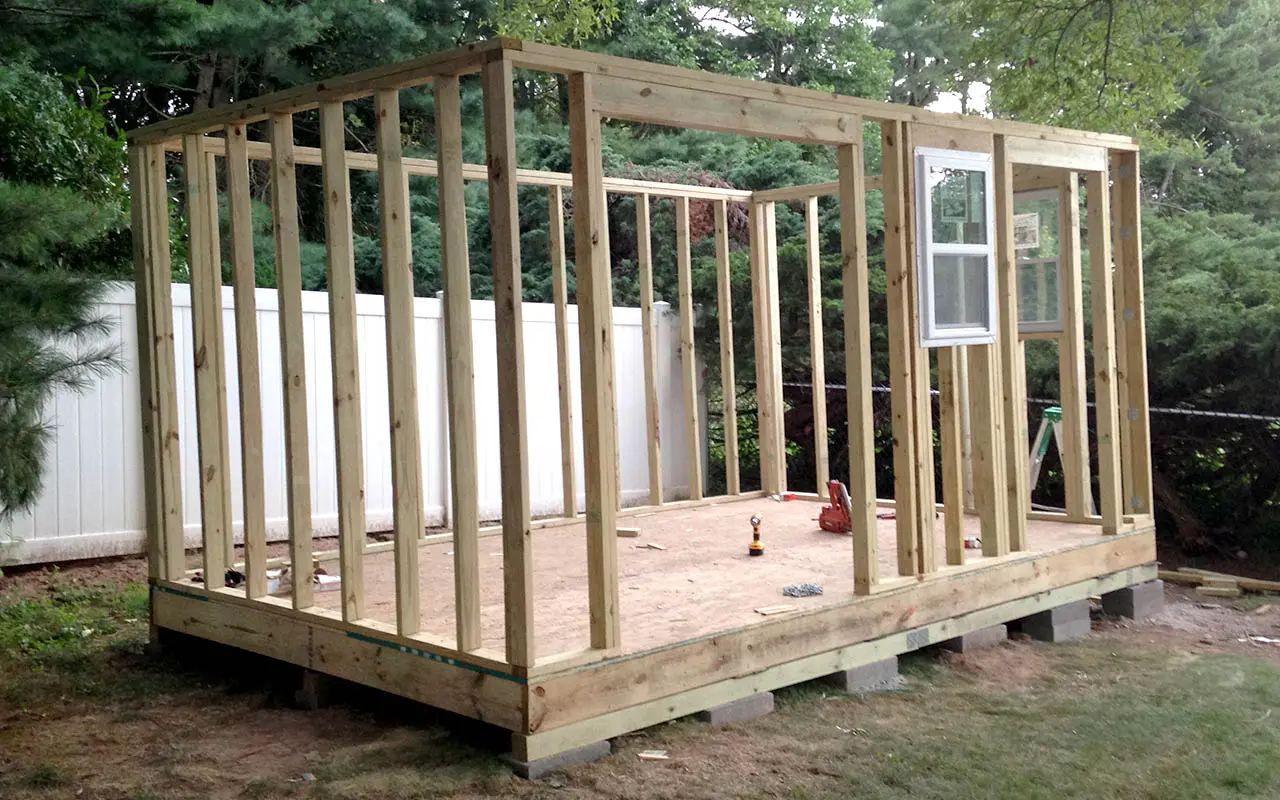
Before diving into the electrical work, meticulous planning is essential to ensure a smooth and safe installation process. Start by sketching a detailed plan that outlines the layout of your shed, the location of the main house electrical panel, and the route the wiring will take. Consider factors such as the distance between the house and the shed, the power requirements of the shed, and any future electrical needs.
When planning the wiring route, prioritize safety by avoiding areas prone to moisture or physical damage. Additionally, ensure that the wiring is well-protected from the elements and potential hazards. It’s advisable to consult a professional electrician or your local building department to obtain guidance on the most suitable wiring route and methods for securing the wiring to prevent accidental damage.
As with any electrical project, safety should always be the top priority. Before starting the installation, turn off the power at the main breaker in the house to eliminate the risk of electric shock. Use a voltage tester to confirm that the power is indeed off before handling any electrical components. Throughout the installation, wear appropriate personal protective equipment, including insulated gloves and safety goggles, to minimize the risk of injury.
Furthermore, familiarize yourself with the relevant electrical codes and regulations in your area to ensure compliance with the required standards. Adhering to these codes not only ensures the safety of the installation but also prevents potential issues during inspections or future maintenance.
By meticulously planning the wiring route and prioritizing safety at every step, you can lay the groundwork for a successful and secure electrical installation for your shed.
Assessing Power Needs
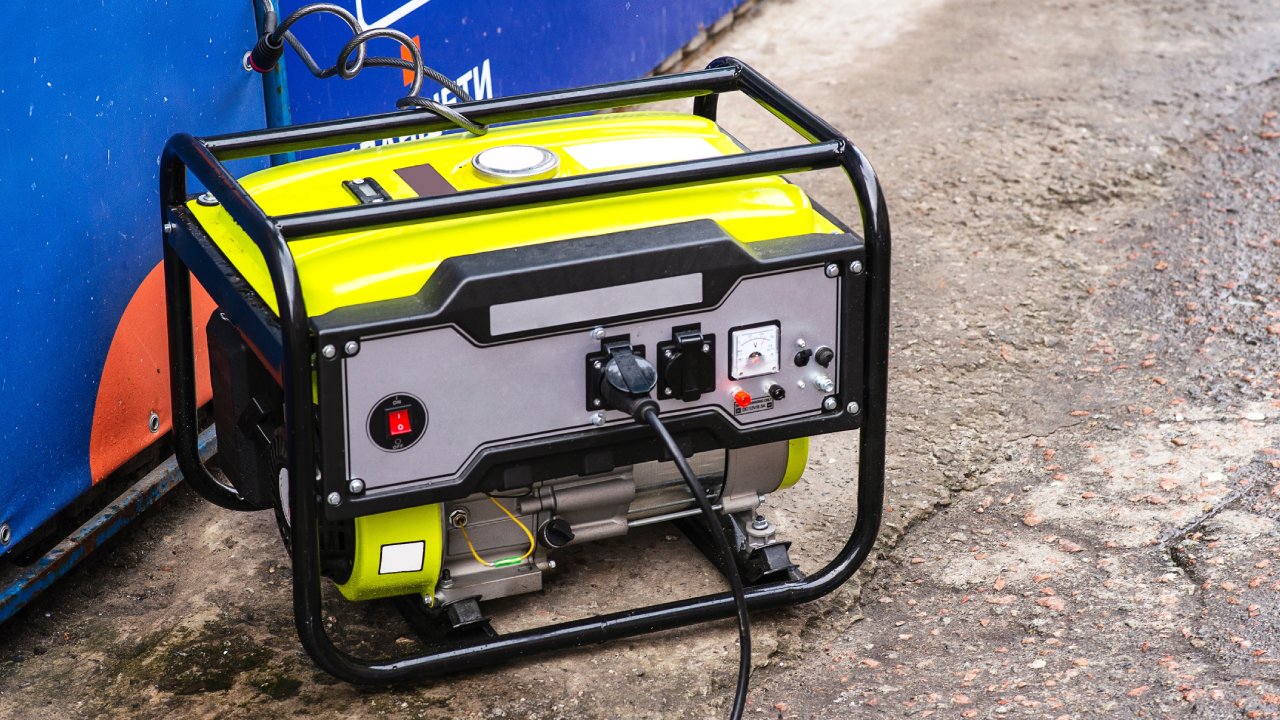
Understanding the power requirements of your shed is crucial for determining the appropriate electrical setup. Start by listing all the electrical devices and appliances you plan to use in the shed, including lighting fixtures, power tools, and any other equipment. Consider their individual power ratings, and calculate the total wattage to estimate the overall power consumption.
Once you have a clear picture of the power needs, assess whether the existing electrical service from the house can accommodate the additional load. If the current electrical system has ample capacity, you may be able to extend a branch circuit from the house to the shed. However, if the existing service is near its capacity or if the shed’s power needs are substantial, installing a subpanel in the shed may be the most practical solution.
When determining the power requirements, also consider any future expansions or additions to the shed that may increase the electrical demand. It’s advisable to plan for potential future needs to avoid the inconvenience and cost of rewiring or upgrading the electrical system at a later stage.
By thoroughly assessing the power needs of your shed and considering potential future expansions, you can make informed decisions regarding the electrical setup, ensuring that it adequately meets your current and future electrical demands.
Choosing the Right Wire
Selecting the appropriate wire for the shed’s electrical installation is essential for ensuring safety, efficiency, and compliance with electrical codes. The wire type and size are determined by factors such as the distance between the house and the shed, the anticipated electrical load, and the installation method. When choosing the wire, consider the following key aspects:
- Wire Type: For underground wiring between the house and the shed, it’s crucial to use direct burial cable designed for below-ground installations. This type of cable is specifically engineered to withstand moisture and soil conditions, providing long-term reliability. Conversely, if the wiring will be above ground or in a conduit, standard non-metallic (NM) cable may be suitable.
- Wire Size: The wire size, often referred to as the gauge, is determined by the electrical load and the distance the wire will span. Consult the National Electrical Code (NEC) or a qualified electrician to determine the appropriate wire gauge for your specific application. Using the correct wire size minimizes voltage drop and ensures the safe and efficient delivery of electricity to the shed.
- Conductors: Consider the number of conductors required based on the electrical load and the type of circuit you plan to install. For a typical 120-volt circuit, two conductors (plus a ground wire) are needed, while a 240-volt circuit requires an additional hot conductor.
- Insulation and Protection: Ensure that the chosen wire is suitable for the intended installation environment, providing adequate insulation and protection against moisture, abrasion, and other potential hazards. This is especially critical for underground wiring, where the cable is exposed to soil and moisture.
By carefully considering these factors and selecting the appropriate wire type, size, and configuration, you can lay the foundation for a reliable and code-compliant electrical wiring system for your shed.
Installing a Subpanel
When the power needs of the shed exceed the capacity of a simple branch circuit from the house, installing a subpanel in the shed becomes a practical and efficient solution. A subpanel, also known as a breaker box, provides a dedicated electrical distribution point in the shed, allowing for the connection of multiple circuits and providing ample space for future expansions.
Before installing the subpanel, carefully plan its location within the shed, ensuring convenient access and sufficient clearance around the panel for maintenance and operation. It’s crucial to adhere to the electrical code requirements regarding the installation location and clearances for the subpanel.
When selecting the subpanel, consider factors such as the anticipated electrical load, the number of circuits needed, and potential future expansions. The subpanel should have enough circuit spaces to accommodate the present requirements as well as any additional circuits that may be needed in the future.
During the installation process, it’s essential to follow the manufacturer’s instructions and the applicable electrical codes. Begin by mounting the subpanel securely on the wall of the shed and then connect it to the main power supply, either by extending a branch circuit from the house or by running a dedicated feeder cable from the main electrical panel.
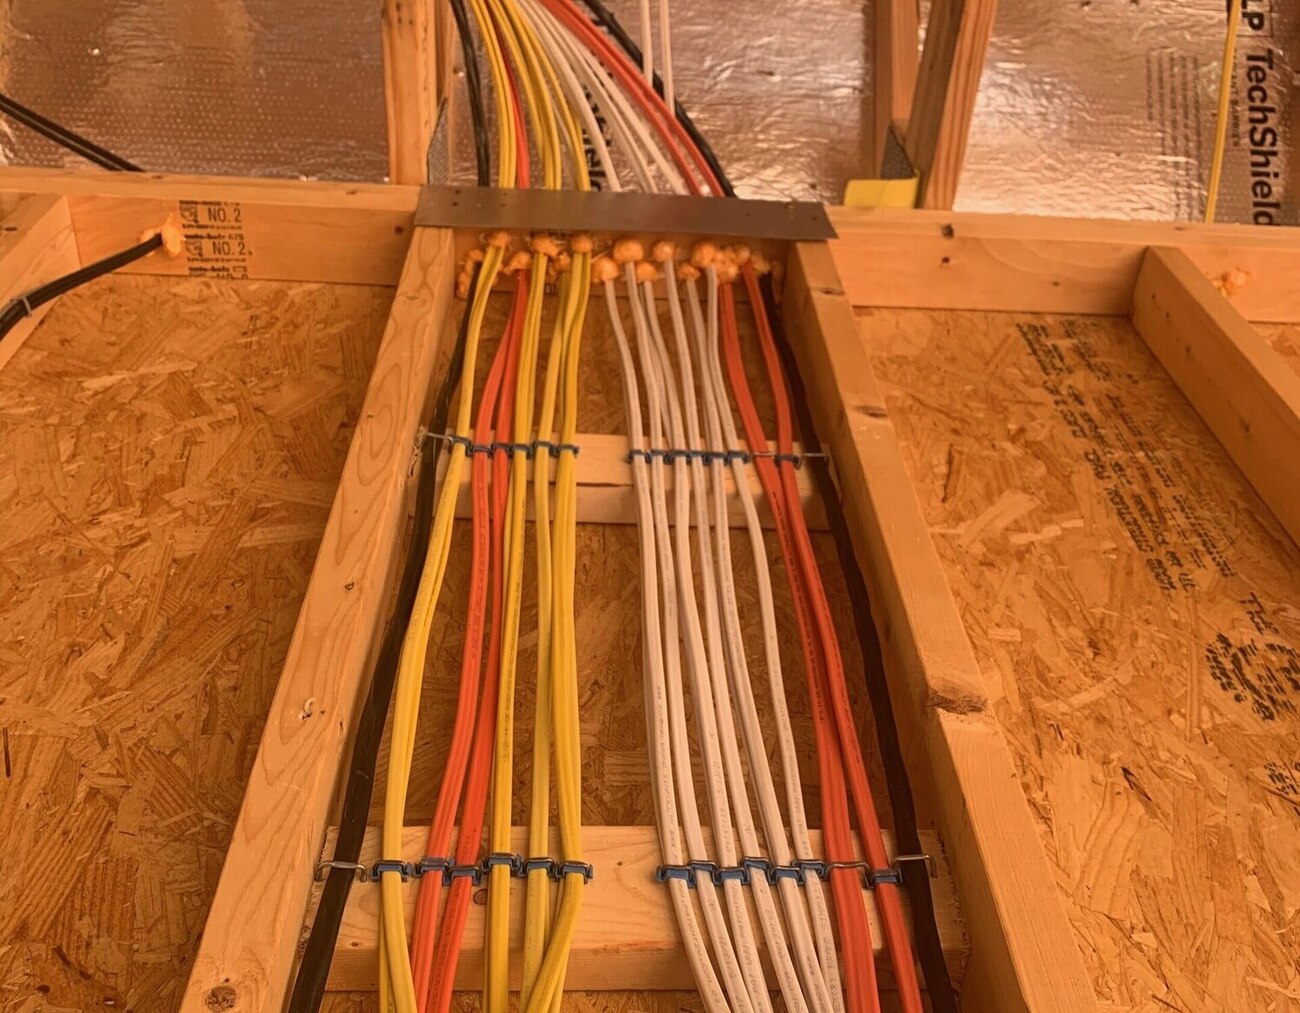
Once the subpanel is in place, carefully route and connect the individual circuits, ensuring that each circuit is properly sized, protected by the appropriate breaker, and labeled for easy identification. It’s also important to ensure that the neutral and ground bars in the subpanel are properly isolated and that the grounding system complies with the electrical code requirements.
By installing a subpanel in the shed, you can create a versatile and robust electrical distribution system, providing the capacity and flexibility to meet the present and future power needs of the shed while maintaining compliance with electrical codes and safety standards.
When wiring a shed from the house, make sure to use outdoor-rated cables and conduit to protect the wiring from the elements. It’s also important to install a ground fault circuit interrupter (GFCI) outlet to prevent electrical hazards.
Read more: How To Wire A Shed For Electricity
Running the Wiring
Once the planning and subpanel installation are complete, the next crucial step in wiring a shed from the house is running the electrical wiring. Whether the wiring is above ground, in a conduit, or buried underground, meticulous attention to detail and adherence to safety practices are essential throughout the process.
If the wiring will be underground, it’s imperative to dig a trench to the appropriate depth, as specified by the local building codes, to accommodate the direct burial cable. The trench should be sufficiently deep to protect the cable from damage and to comply with the required burial depth regulations. Additionally, it’s important to place warning tape above the buried cable to alert future excavators to the presence of electrical wiring.
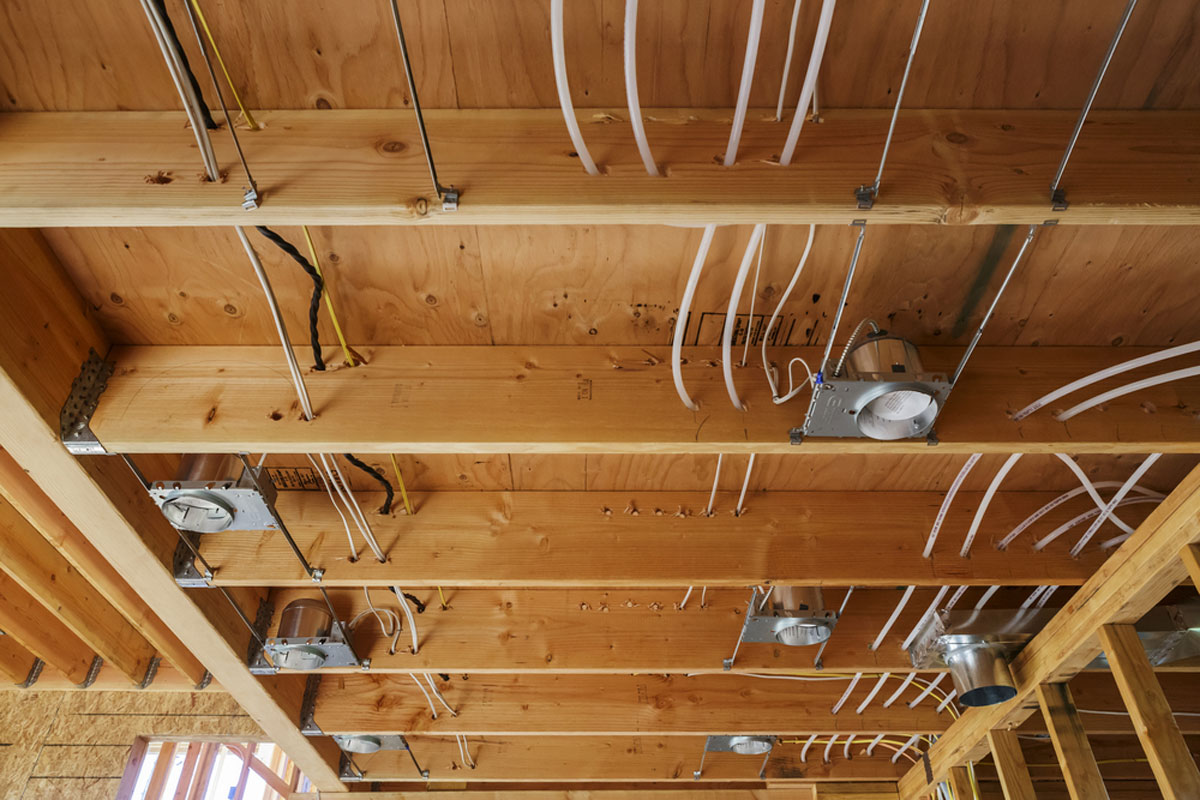
When running the wiring above ground or in a conduit, ensure that the cable is adequately supported and protected from physical damage. Secure the wiring to the walls or ceiling of the shed using appropriate fasteners and conduit straps, maintaining the required clearance from the edges and corners to prevent potential damage to the wiring.
For underground installations, it’s essential to use direct burial cable designed for below-ground use, providing the necessary protection against moisture and soil conditions. Properly secure the cable in the trench, ensuring that it follows a direct and smooth path from the house to the shed, with gentle, sweeping bends to prevent sharp kinks that could damage the cable.
Throughout the wiring installation, it’s crucial to maintain the integrity of the cable insulation and protect the wiring from potential damage caused by sharp objects, abrasion, or excessive bending. Additionally, always adhere to the recommended bending radius for the cable to prevent strain and damage to the conductors.
By meticulously running the wiring with careful attention to safety and compliance with electrical codes, you can establish a reliable and well-protected electrical connection between the house and the shed, laying the groundwork for a functional and safe electrical system.
Connecting to the House
Connecting the shed’s electrical wiring to the house’s electrical system is a critical step that requires precision and adherence to safety protocols. Before making any connections, it’s essential to ensure that the power is turned off at the main breaker in the house. Use a voltage tester to confirm that the power is indeed off before proceeding with the connection.
Begin by identifying a suitable entry point into the house for the wiring. This entry point should provide a secure and weatherproof penetration for the cable, ensuring that it is protected from the elements and potential damage. It’s crucial to seal any gaps around the entry point to prevent moisture and pests from entering the house.
When making the connection to the house’s electrical system, it’s important to follow the recommended wiring methods and use approved electrical fittings and enclosures to secure and protect the wiring. If the wiring will enter the house through an exterior wall, a weatherproof conduit or cable connector should be used to maintain the integrity of the building envelope.
Inside the house, the wiring should be carefully routed to the main electrical panel or the designated connection point. Properly secure the cable to the walls or ceiling using approved fasteners and maintain the required clearances from potential obstructions and hazards.
Once the wiring is routed to the main electrical panel, it’s time to make the necessary electrical connections. This may involve installing a new circuit breaker or connecting the shed’s wiring to an available breaker, depending on the specific requirements and the capacity of the existing electrical service.
Throughout the connection process, it’s crucial to adhere to the electrical code requirements and manufacturer’s specifications for the wiring and electrical components. Ensure that all connections are secure, properly terminated, and adequately protected to prevent electrical hazards and ensure reliable performance.
By meticulously connecting the shed’s wiring to the house’s electrical system while prioritizing safety and compliance with electrical codes, you can establish a robust and reliable electrical link between the house and the shed, enabling the safe and efficient transfer of power to the shed’s electrical system.
Testing and Troubleshooting
After completing the installation of the shed’s electrical wiring and connecting it to the house, thorough testing and troubleshooting are essential to ensure the safety and functionality of the electrical system. Prior to conducting any tests, double-check that all connections are secure, the wiring is properly terminated, and the subpanel, if installed, is correctly configured.
Begin by turning on the power at the main breaker in the house and then proceed to test the shed’s electrical circuits. Using a non-contact voltage tester or a multimeter, carefully verify that power is reaching the shed’s subpanel or the main electrical panel, depending on the installation configuration. Test each circuit individually to confirm that power is reaching the outlets, light fixtures, and any other electrical devices in the shed.
If any circuit fails to receive power, systematically inspect the wiring, connections, and components to identify and rectify the issue. Common troubleshooting steps include checking for loose or damaged connections, verifying the integrity of the wiring, and confirming the proper functioning of the circuit breakers and other protective devices.
In the case of a subpanel installation, ensure that the subpanel is correctly grounded, and the neutral and ground bars are properly isolated as per the electrical code requirements. Additionally, verify that the individual circuits in the subpanel are correctly wired and protected by the appropriate circuit breakers.
During the testing and troubleshooting process, it’s crucial to exercise caution and adhere to electrical safety practices. Avoid working on live circuits whenever possible, and use insulated tools when handling electrical components. If you encounter any complex or persistent issues during testing, consider seeking the assistance of a qualified electrician to ensure a thorough and accurate diagnosis.
By conducting comprehensive testing and troubleshooting of the shed’s electrical system, you can identify and address any potential issues, ensuring that the installation is safe, functional, and compliant with the required electrical standards.
Conclusion
Wiring a shed from the house is a rewarding endeavor that can significantly enhance the versatility and utility of the shed space. By following the essential steps outlined in this guide, you can create a safe, reliable, and compliant electrical connection between the house and the shed, providing power for lighting, tools, and various electrical devices.
Thorough planning, meticulous attention to safety, and adherence to electrical codes are fundamental to the success of the project. Prioritize safety at every stage, from planning the wiring route to making the final connections, and always ensure that the power is turned off at the main breaker before handling any electrical components.
Assessing the power needs of the shed, selecting the appropriate wire, and, if necessary, installing a subpanel are critical steps that lay the foundation for a robust electrical system. Carefully running the wiring, connecting it to the house, and conducting comprehensive testing and troubleshooting are equally essential to ensure the functionality and safety of the installation.
Throughout the process, it’s essential to consult relevant electrical codes and regulations, seek guidance from professionals when needed, and exercise caution when working with electrical components. By doing so, you can create a reliable and compliant electrical connection that meets the power needs of the shed while ensuring the safety of the installation.
With the completion of the wiring project, the shed becomes a versatile and well-equipped space, ready to support a variety of activities and electrical devices. Whether used as a workshop, storage area, or recreational space, the addition of electricity expands the possibilities for using the shed, making it a valuable and functional asset on your property.
By following the guidelines presented in this comprehensive guide, you can confidently undertake the task of wiring a shed from the house, creating a safe and efficient electrical system that enhances the usability and convenience of your outdoor space.
Frequently Asked Questions about How To Wire A Shed From The House
Was this page helpful?
At Storables.com, we guarantee accurate and reliable information. Our content, validated by Expert Board Contributors, is crafted following stringent Editorial Policies. We're committed to providing you with well-researched, expert-backed insights for all your informational needs.


0 thoughts on “How To Wire A Shed From The House”