Home>Ideas and Tips>Upgrading Your Home’s Attic Insulation: DIY Tips
Ideas and Tips
Upgrading Your Home’s Attic Insulation: DIY Tips
Modified: October 23, 2024
Upgrade your home's attic insulation with DIY tips to boost energy efficiency, save on bills, and enhance comfort. Learn step-by-step methods and avoid common mistakes.
(Many of the links in this article redirect to a specific reviewed product. Your purchase of these products through affiliate links helps to generate commission for Storables.com, at no extra cost. Learn more)
Introduction
Upgrading your home's attic insulation is one of the most effective ways to improve energy efficiency, reduce energy bills, and enhance the overall comfort of your living space. The attic is often overlooked, but it plays a crucial role in maintaining a consistent indoor temperature and preventing heat loss during winter and heat gain during summer. In this article, we will guide you through the process of upgrading your attic insulation, highlighting the importance of proper insulation, common mistakes to avoid, and step-by-step DIY tips.
Why Upgrade Your Attic Insulation?
Energy Efficiency
Attic insulation is a critical component in maintaining energy efficiency. Properly insulated attics can reduce heat loss in winter and heat gain in summer, which translates to significant savings on your energy bills. According to the Building Performance Institute, nearly 50% of conditioned air is lost through leaks in the attic, making it a prime area for improvement.
Cost Savings
Upgrading your attic insulation can lead to substantial cost savings. Insulation helps to trap warm air in the winter and cool air in the summer, reducing the need for your HVAC system to work overtime. This can shave off 10-20% of your energy bill each month and cut electricity use by approximately 5% and natural gas by over 10%.
Health and Comfort
Proper attic insulation also improves indoor air quality and reduces noise levels. By preventing moisture buildup, insulation helps to prevent mold growth and related health issues. Additionally, well-insulated attics can reduce drafts and hot spots, ensuring a more comfortable living environment.
Long-Term Benefits
Investing in attic insulation offers long-term benefits. It prolongs the life of your roof by reducing heat buildup, which can cause shingles to swell and crack. Proper insulation also deters pest invasions and reduces the risk of ice dams forming on your roof, which can lead to costly repairs.
Evaluating Your Current Attic Insulation
Before you start upgrading your attic insulation, it's essential to evaluate the current state of your insulation. Here’s how to do it:
Inspecting Insulation
Grab a flashlight and head up to your attic. Look around for any areas where insulation is missing, damaged, or looks wet. These signs indicate that your insulation isn't doing its job effectively.
Measuring Thickness
Next, grab a ruler or tape measure and gently press it down into the insulation until you hit the attic floor. Write down the measurement. This tells you how thick your insulation is, which is a big clue about its effectiveness. If your insulation is just level with or below your floor joists, you should add more.
Steps to Upgrade Your Attic Insulation
Step 1: Sealing Air Leaks
Before adding new insulation, it’s crucial to seal any air leaks. These leaks let warm air escape in the winter and enter in the summer, making your HVAC system work harder. Common spots include around light fixtures, at the top of interior walls, and where wires or pipes go through the ceiling. Use caulk for small gaps and expanding foam for larger spaces. Don’t forget to seal the attic hatch or door!.
Step 2: Choosing Insulation Material
Decide on the type of insulation you want to use. Each type has its pros and cons:
-
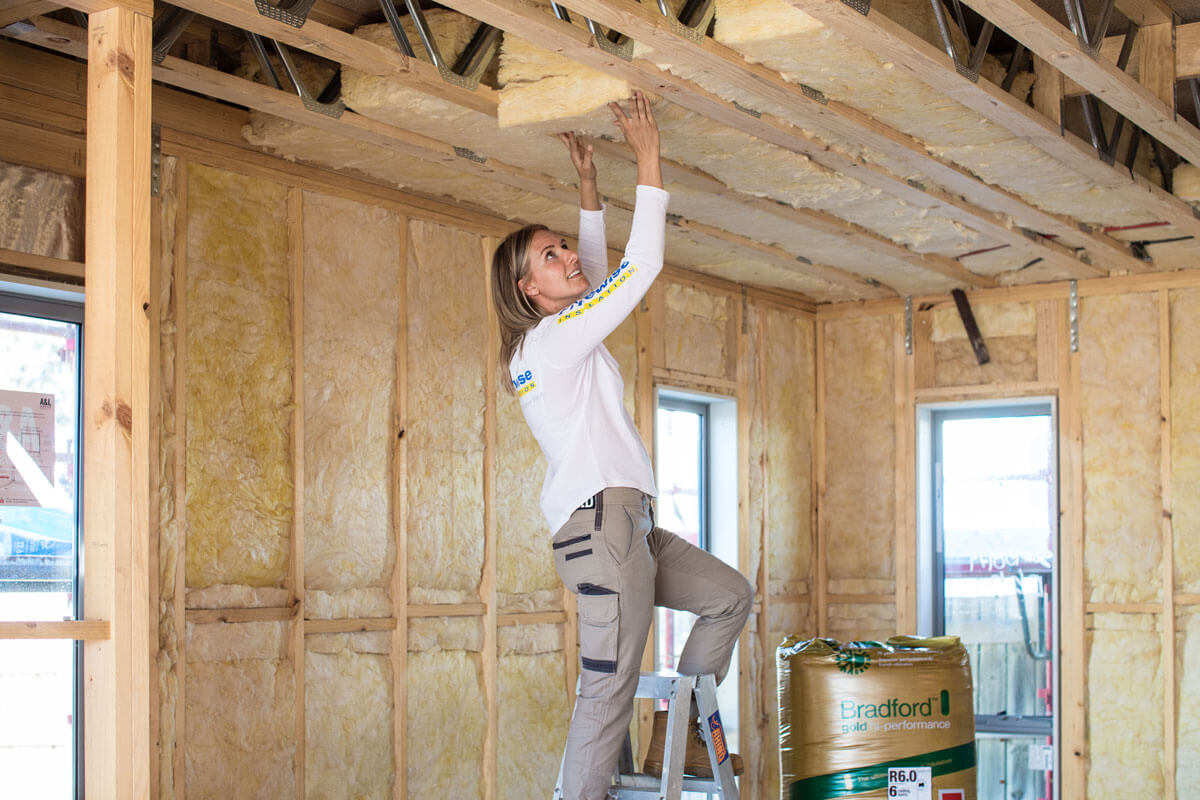
Fiberglass Batt Insulation: This is eco-friendly and easy to install yourself. It’s also soundproof. However, it can be irritating to the skin and hazardous when breathed in without proper protective gear.
-
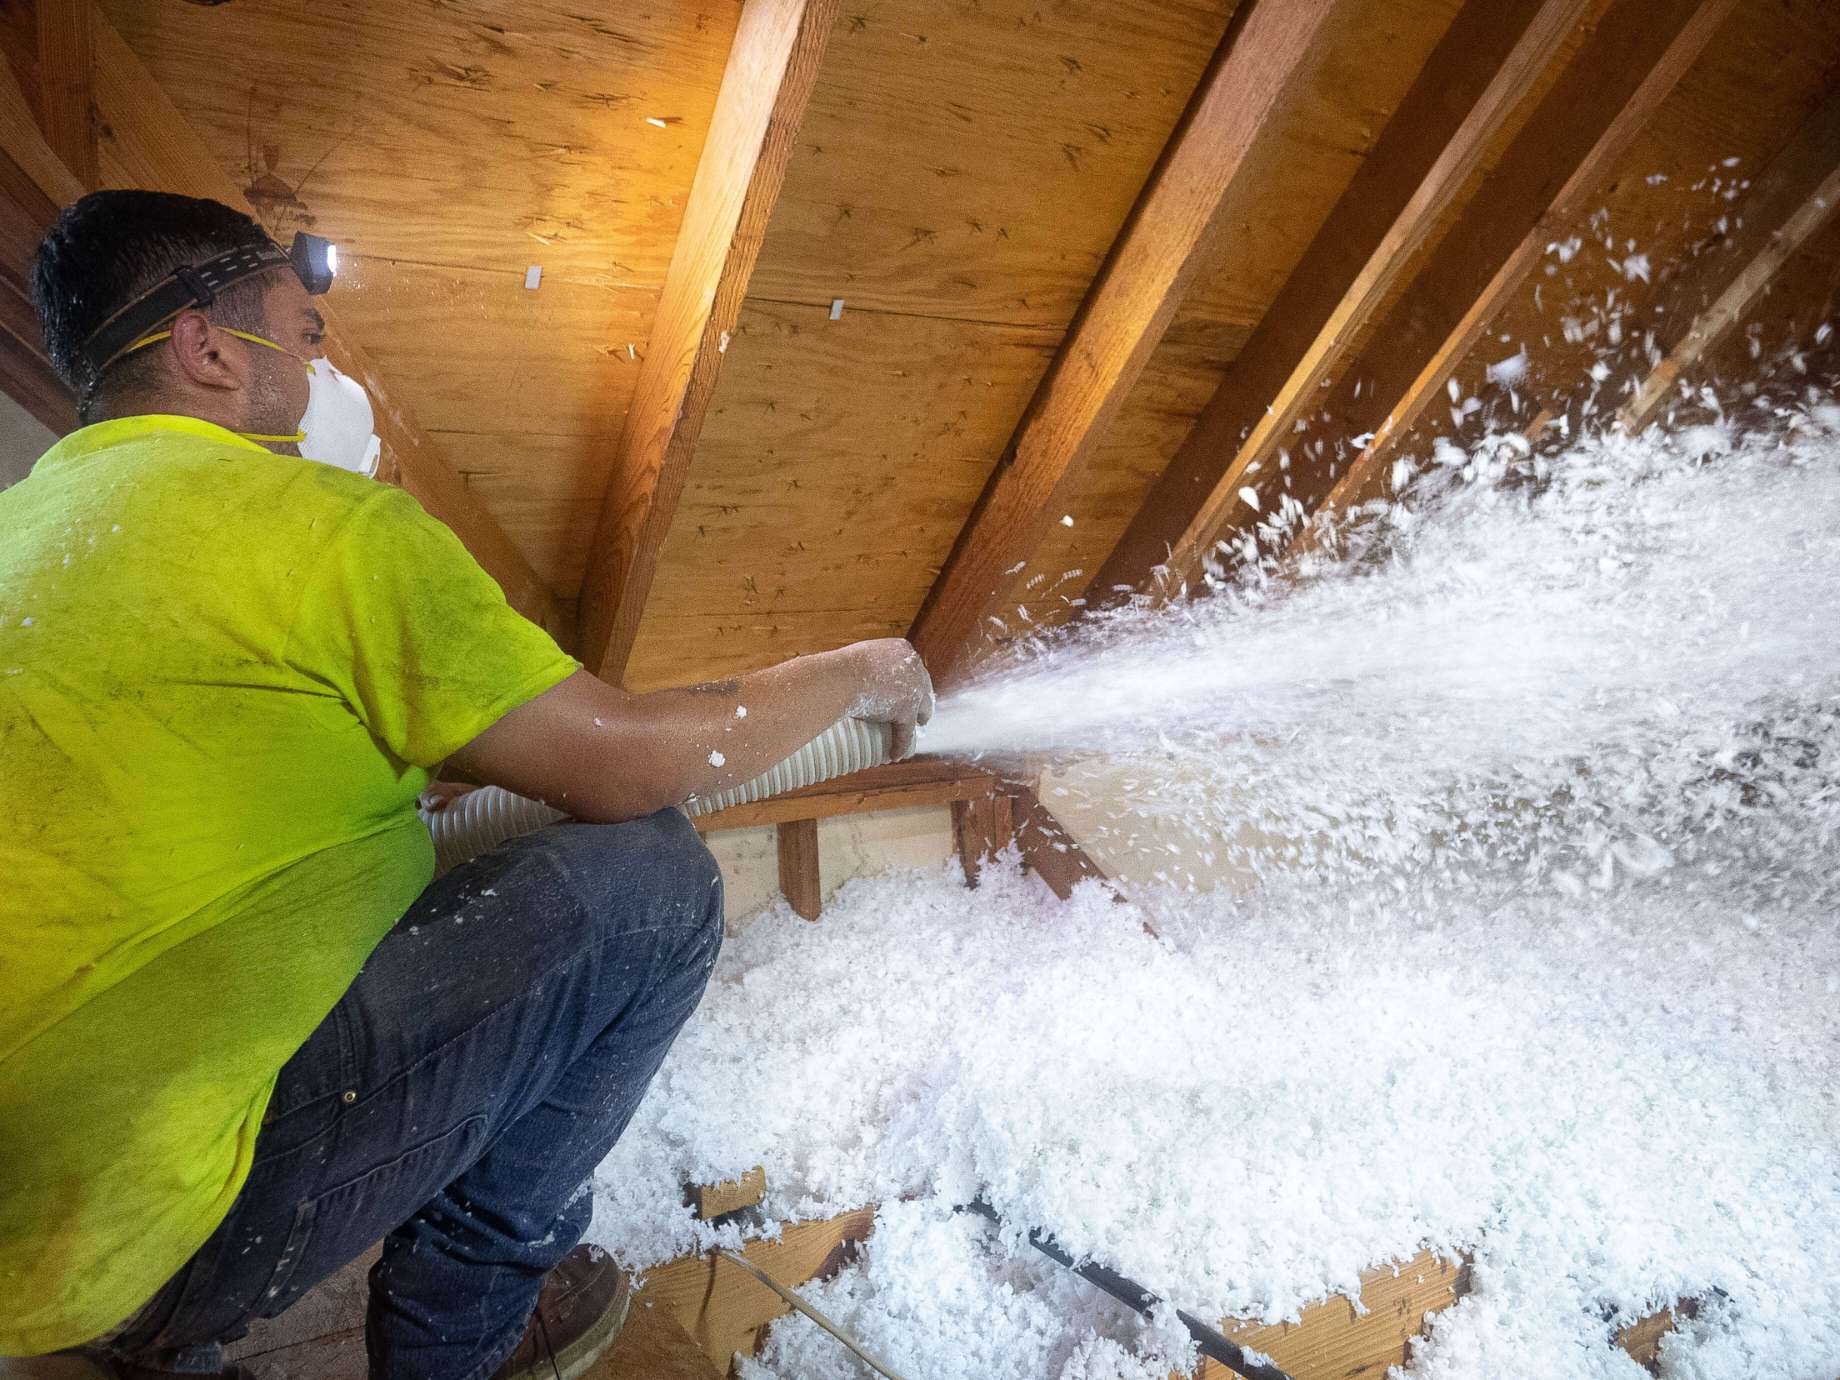
Blown-In Fiberglass Insulation: This offers excellent energy efficiency and fills the attic better, ensuring an air-tight seal. However, it requires specialized equipment and can be messy.
-
Blown-In Cellulose: Made from recycled materials, this type of insulation has a higher R-value, reducing wind-washing. It’s also eco-friendly but may require professional installation due to the need for specialized equipment.
-
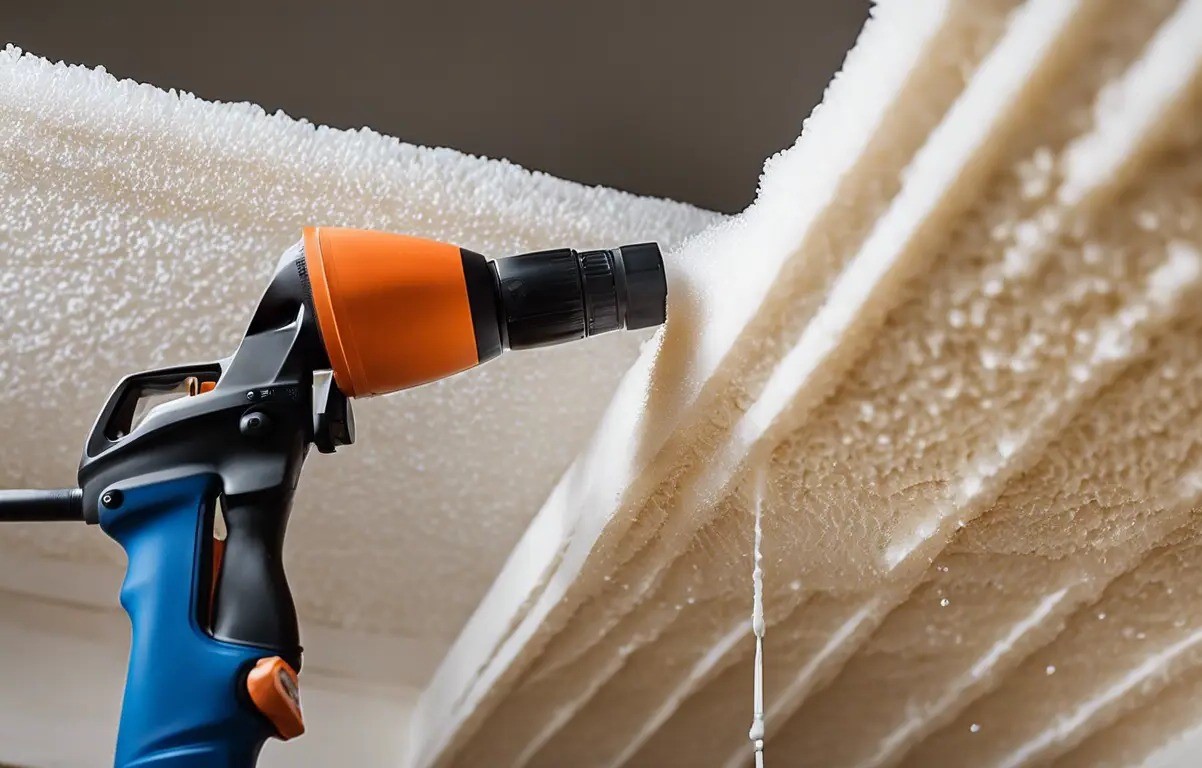
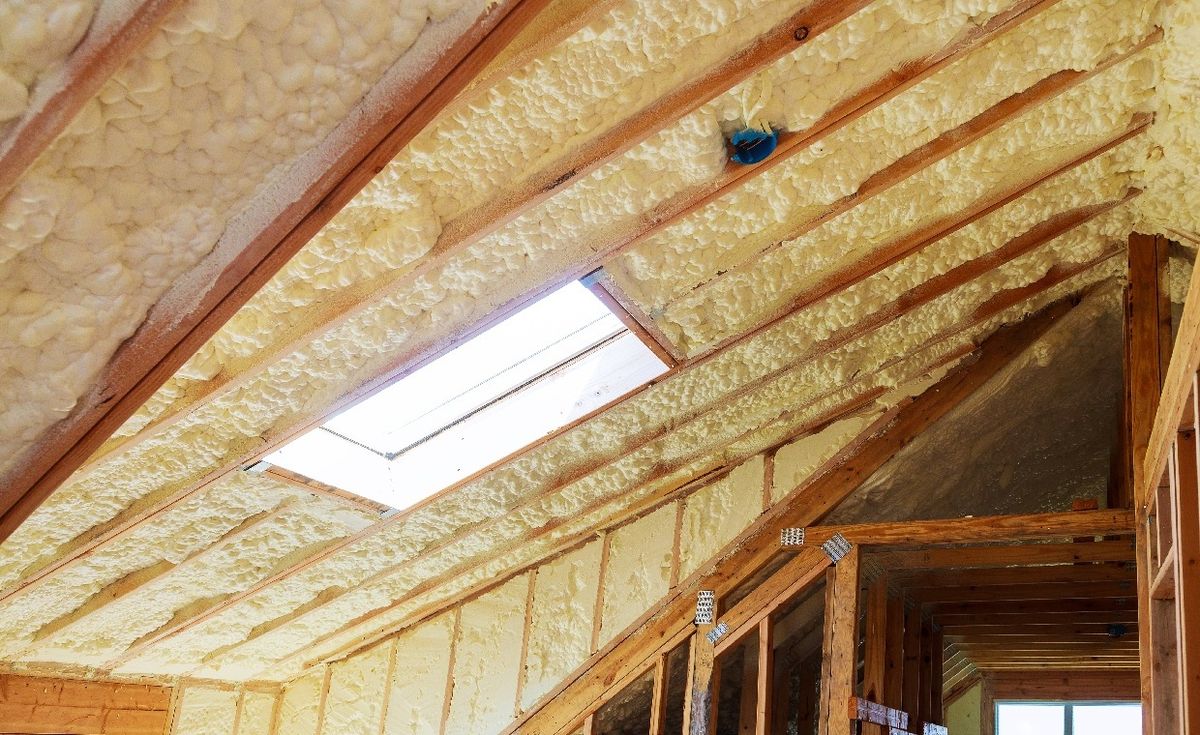
Spray Foam Insulation: This provides long-term performance, adds structural support, and has a high R-value. However, it’s more expensive and requires professional installation.
Step 3: Preparing Your Attic
Whether you’re going DIY or hiring help, your attic needs to be ready. Clear the space by removing any stored items and provide clear access to the areas needing insulation. Ensure your attic has proper ventilation to prevent moisture buildup, which can lead to mold.
Step 4: Installation
If you decide to DIY, follow these steps carefully:
- Clear the Area: Remove any stored items and ensure the area is clear of debris.
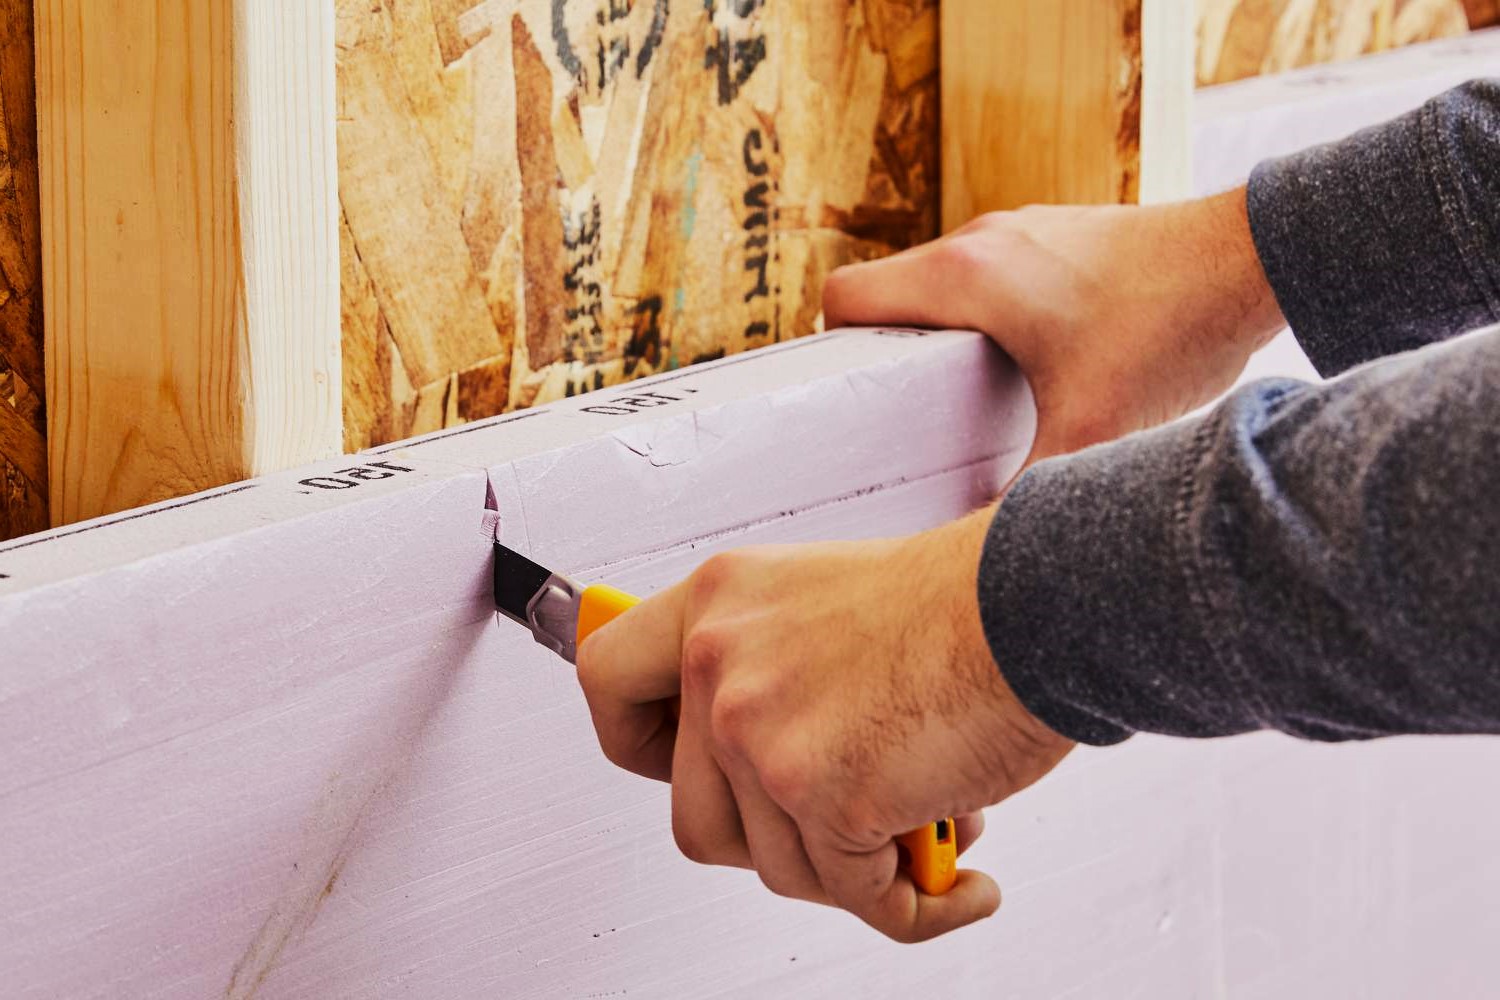
- Measure and Cut: Measure the width between your joists and mark where you’ll cut your insulation. Use a utility knife or boxcutter to cut the insulation, or use pre-measured perforated batting and tear at seams.
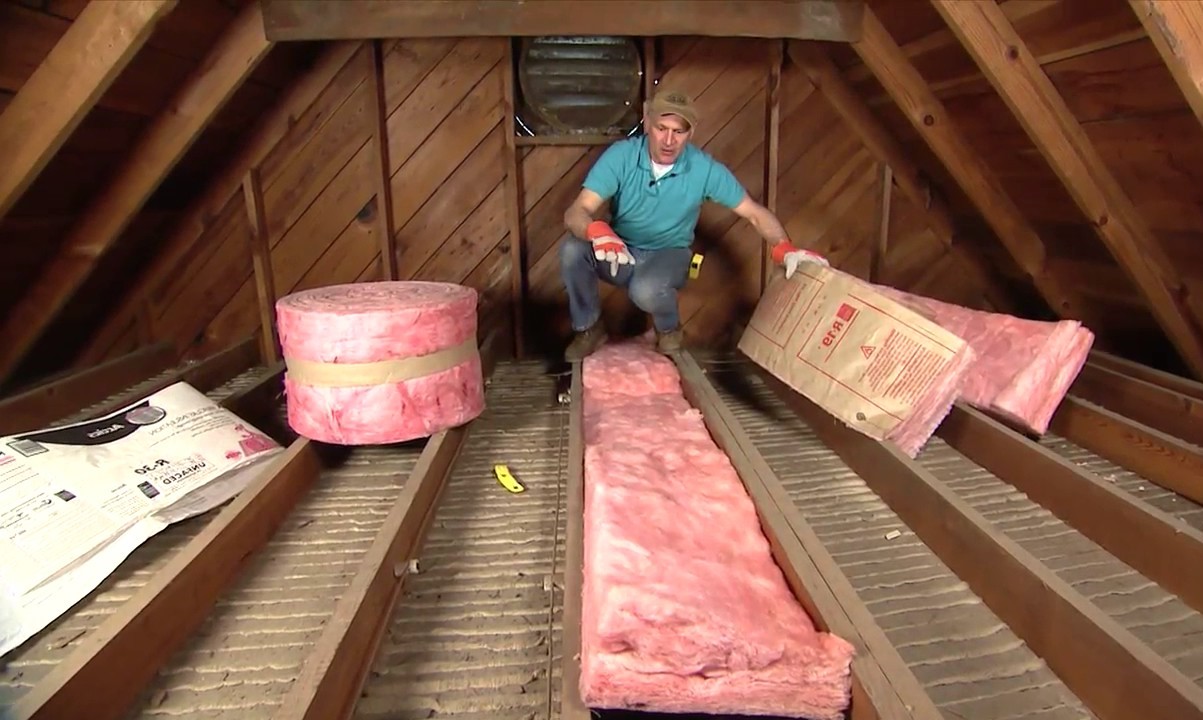
- Install Fiberglass Batt: Align the fiberglass batt with the joists length-wise and install it with the vapor barrier removed. Apply all around the attic, then start laying your second layer perpendicular to the joists. Pack tightly.
- Add Loose Fill: Dump out cellulose insulation strategically around the attic and rake it around until it’s level, similar to how you’d spread mulch. Add enough that covers the top of your joists.
If you prefer hiring a professional, they will assess your attic, prepare the space, and install the insulation. They’ll also take care of any tricky spots and ensure everything is up to code.
Common Mistakes to Avoid
1. Covering Soffit Vents
Do not cover soffit vents. Your attic needs ventilation to prevent moisture and mold buildup under the insulation.
2. Insufficient Measurement
Improperly measuring the existing insulation can result in adding too much or too little insulation. This can lead to inefficiency and potential health issues.
3. Lack of Protective Gear
Fiberglass insulation is extremely irritating to the skin and hazardous when breathed in without proper protective equipment. Always wear protective gear when handling insulation.
4. Damaging Home Structures
Improperly accessing the walls, ceiling, or floor of the attic can damage joists, rafters, and other structures. Hiring a reputable insulation company is the best way to keep your home in pristine condition.
Additional Tips
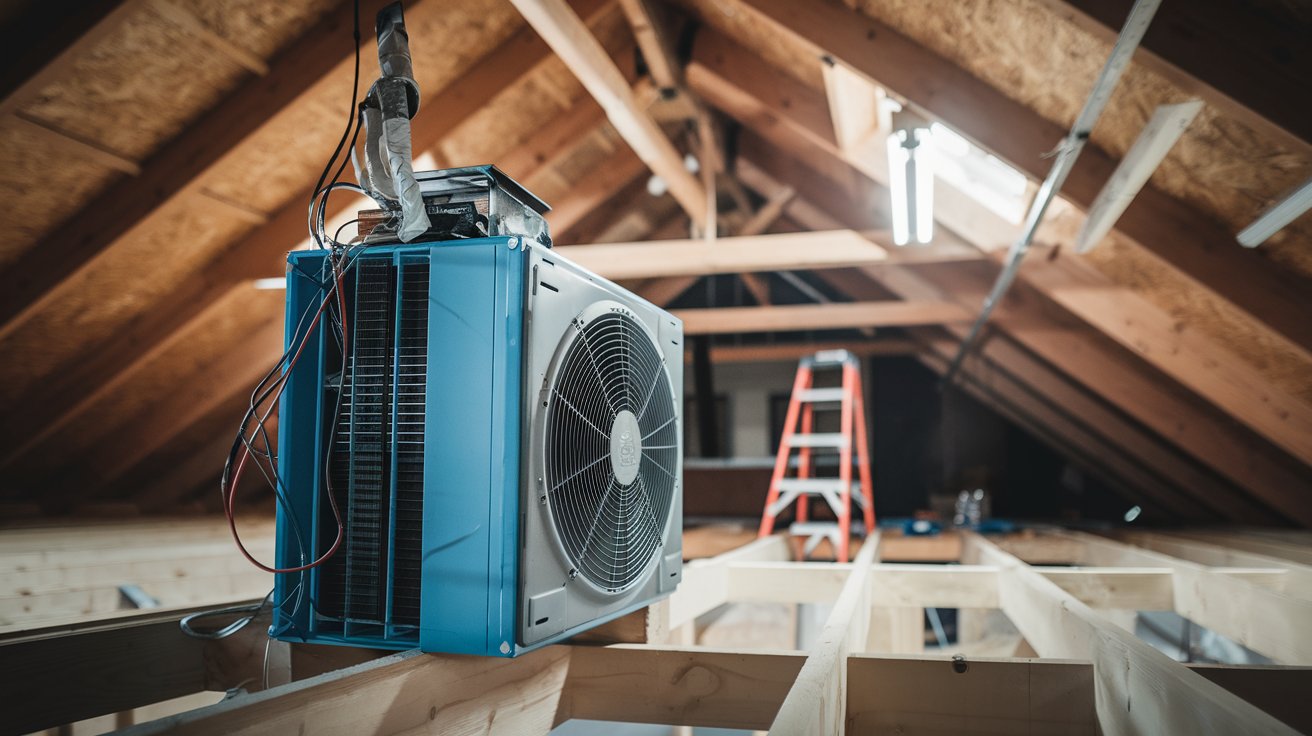
Using a Blower Machine
To speed up the installation process, consider renting a blower machine. This can help you blow loose-fill insulation into cavities more efficiently. However, be cautious not to blow insulation into areas where it shouldn’t be, such as soffit vents.
Vapor Barriers
Always remove vapor barriers between layers of insulation to ensure proper airflow and prevent moisture buildup.
Insulation Thickness
The recommended level for most attics is to insulate to R-38 or about 10 to 14 inches, depending on insulation type. Ensure that your insulation is evenly distributed with no low spots, as this can affect its effectiveness.
Conclusion
Upgrading your home's attic insulation is a worthwhile investment that offers numerous benefits, including energy savings, improved comfort, and long-term cost savings. By following these DIY tips and avoiding common mistakes, you can ensure that your attic is well-insulated and sealed. Whether you choose to DIY or hire a professional, the important thing is to ensure that your attic is well-insulated and sealed, leading to significant energy savings and a more comfortable home year-round.
Remember, proper attic insulation is not just about saving money; it’s about creating a healthier and more comfortable living environment for you and your family.
Was this page helpful?
At Storables.com, we guarantee accurate and reliable information. Our content, validated by Expert Board Contributors, is crafted following stringent Editorial Policies. We're committed to providing you with well-researched, expert-backed insights for all your informational needs.


0 thoughts on “Upgrading Your Home’s Attic Insulation: DIY Tips”