Articles
How To Press Seams On Quilt Blocks
Modified: August 22, 2024
Learn how to press seams on quilt blocks with our informative articles. Discover tips and techniques for achieving crisp and professional results.
(Many of the links in this article redirect to a specific reviewed product. Your purchase of these products through affiliate links helps to generate commission for Storables.com, at no extra cost. Learn more)
Introduction
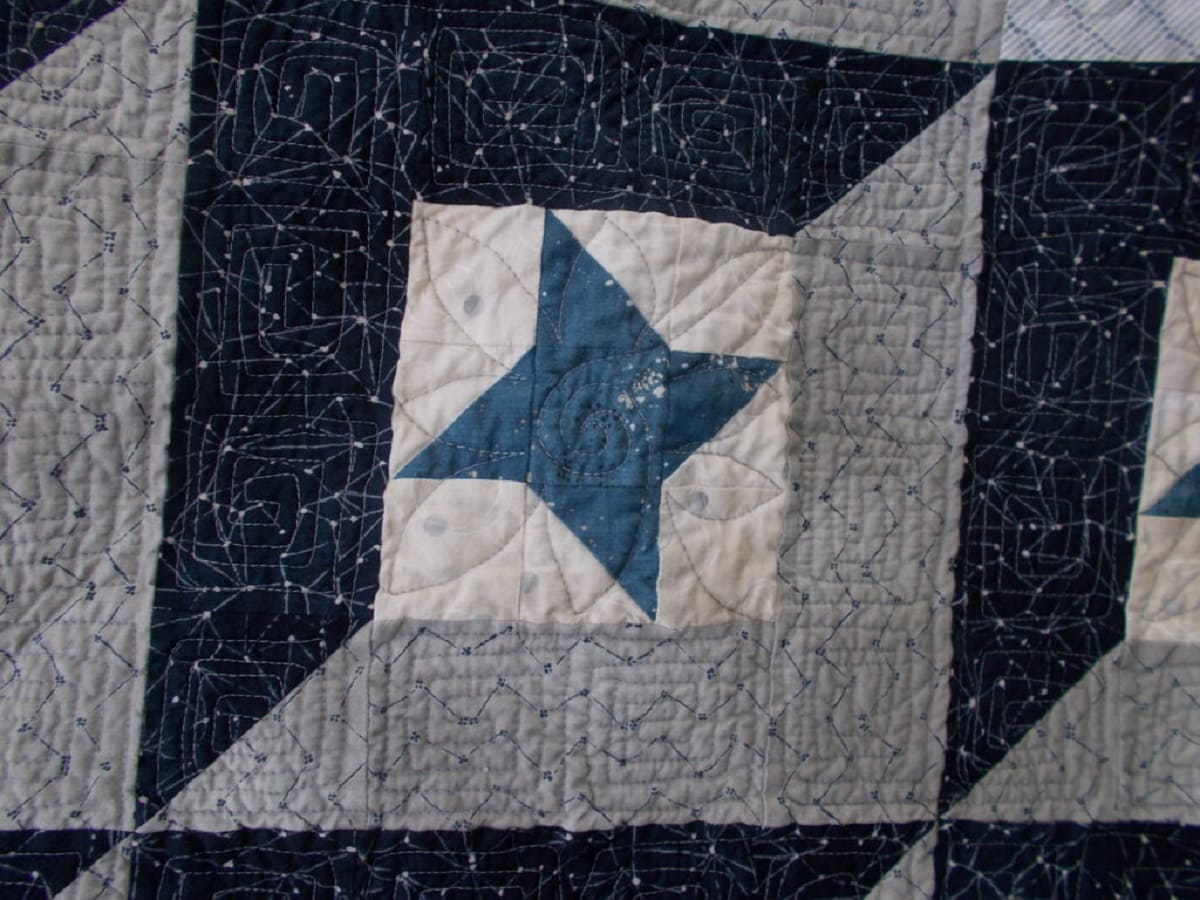
When it comes to quilting, one of the most important steps in achieving professional-looking results is pressing the seams on your quilt blocks. Pressing the seams not only helps to set the stitches and flatten the fabric, but it also ensures that your blocks lie flat and line up correctly when piecing them together.
In this article, we will guide you through the process of pressing seams on quilt blocks, providing you with tips and techniques to help you achieve crisp and neat results. Whether you’re a beginner or an experienced quilter, mastering the art of pressing seams will take your quilting projects to the next level.
Before we dive into the pressing process, let’s take a look at the tools and materials you will need.
Key Takeaways:
- Mastering the art of pressing seams on quilt blocks is crucial for achieving professional-looking quilting results. Proper preparation, efficient pressing techniques, and attention to detail can elevate the overall appearance of your quilting projects.
- Gathering the necessary tools and materials, properly preparing quilt blocks, and implementing effective pressing tips and techniques are essential for achieving beautifully pressed quilt seams. Attention to detail and careful execution will enhance the overall success of your quilting projects.
Tools and Materials
Before you begin pressing the seams on your quilt blocks, gather the following tools and materials:
- Iron: A good quality iron is essential for effective pressing. Make sure your iron is clean and in good working condition to avoid any stains or damage to your fabric.
- Ironing board: Choose a sturdy and heat-resistant ironing board that provides a smooth and flat surface for pressing. Ensure that the cover is clean and free from any wrinkles or debris.
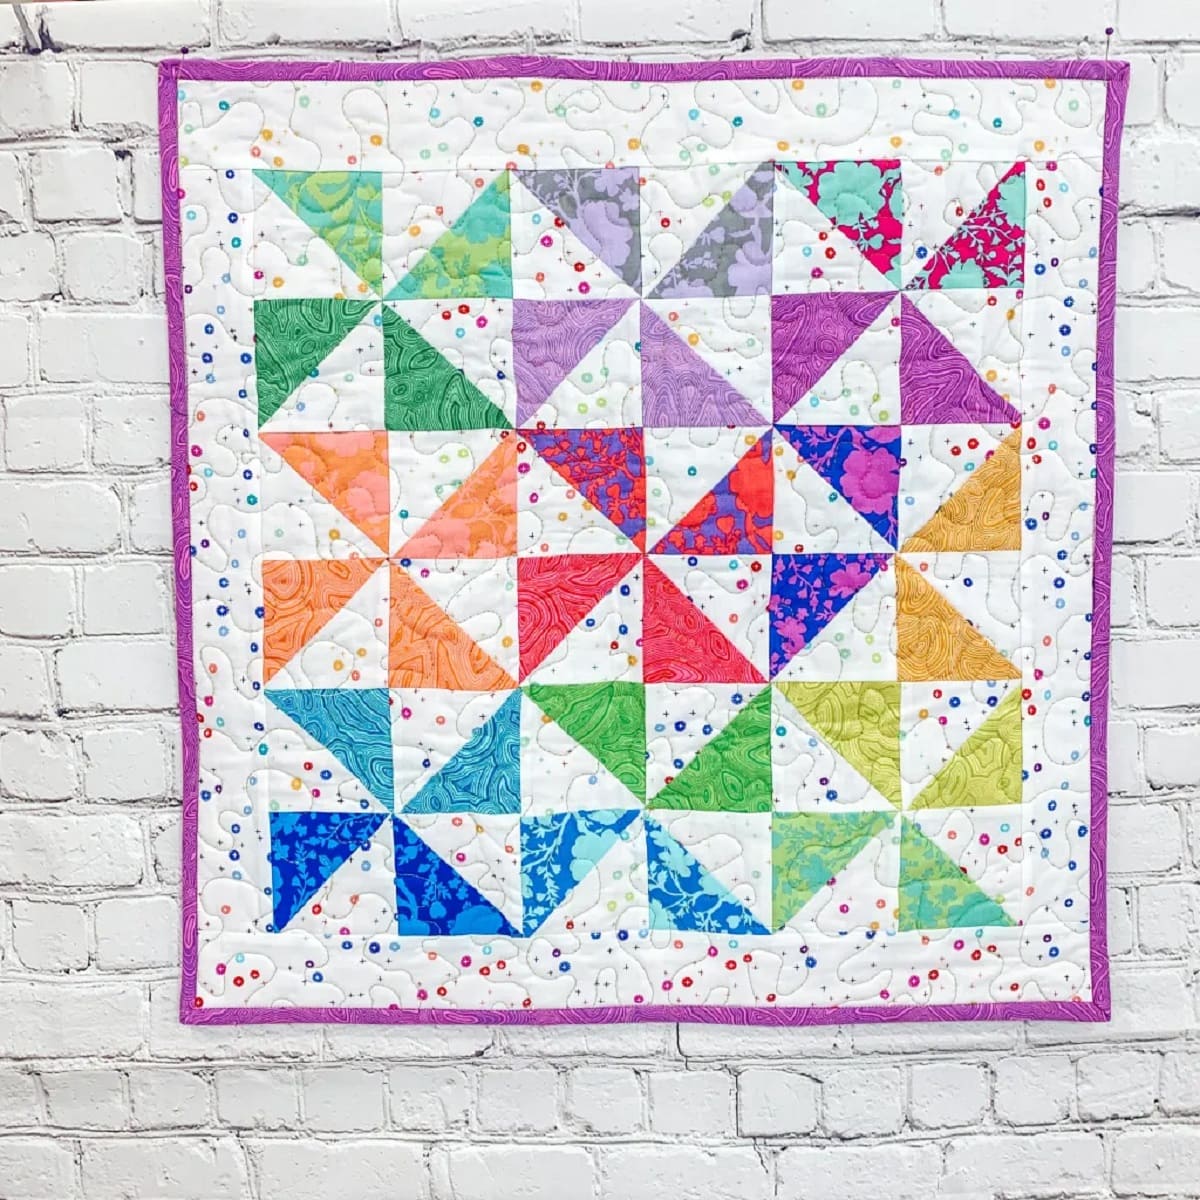
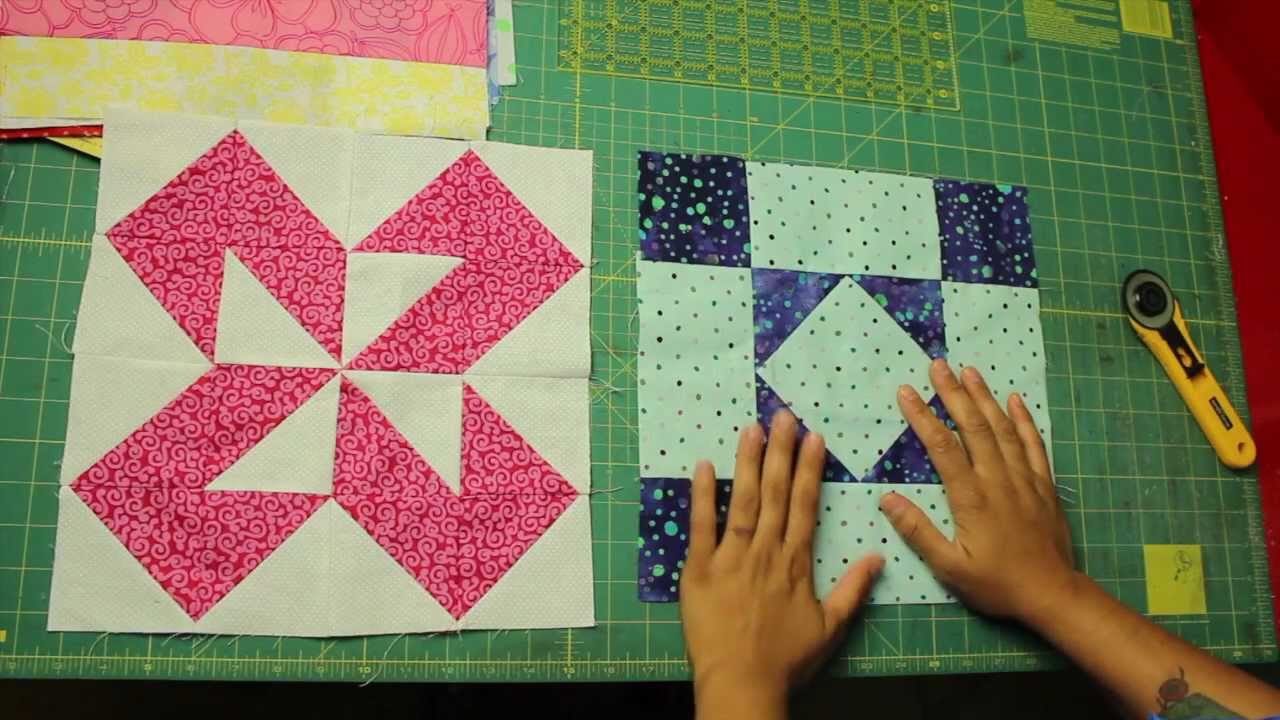
- Quilt blocks: These are the individual pieces that make up your quilt top. Ensure that your quilt blocks are properly pieced together and trimmed before you begin the pressing process.
Having these tools and materials ready will ensure that you can press your seams efficiently and achieve professional-looking results.
Preparing the Quilt Blocks
Before you start pressing the seams on your quilt blocks, it’s important to ensure that they are properly prepared. This involves piecing the blocks together and trimming them to the correct size.
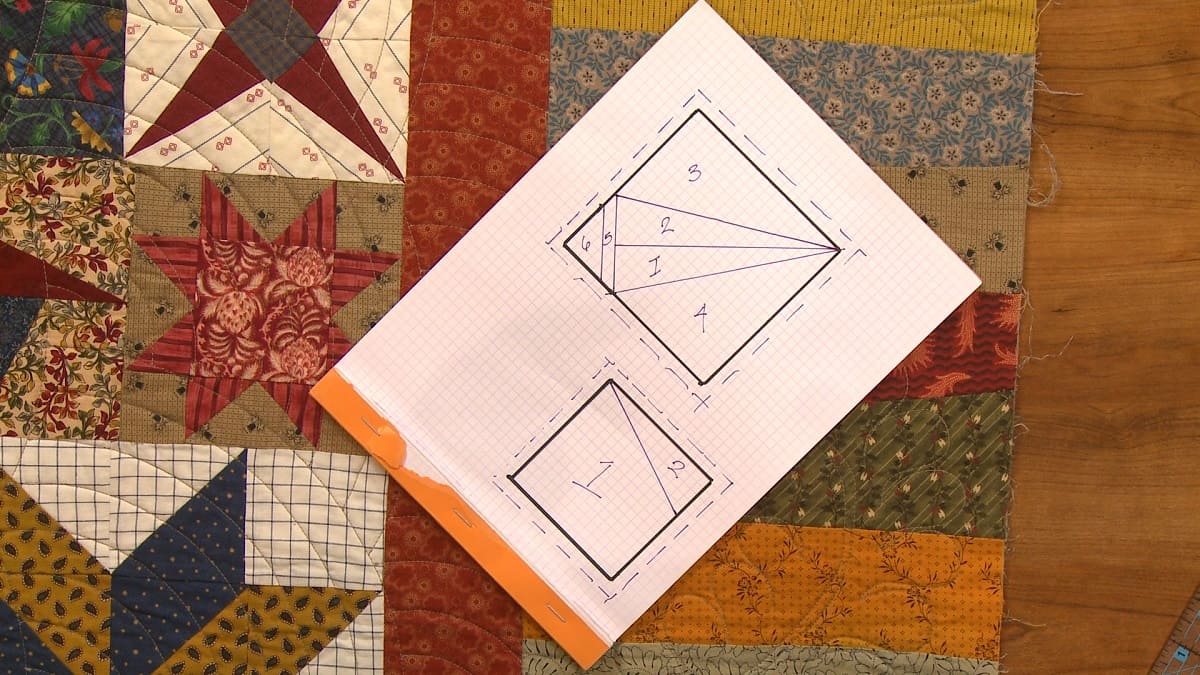
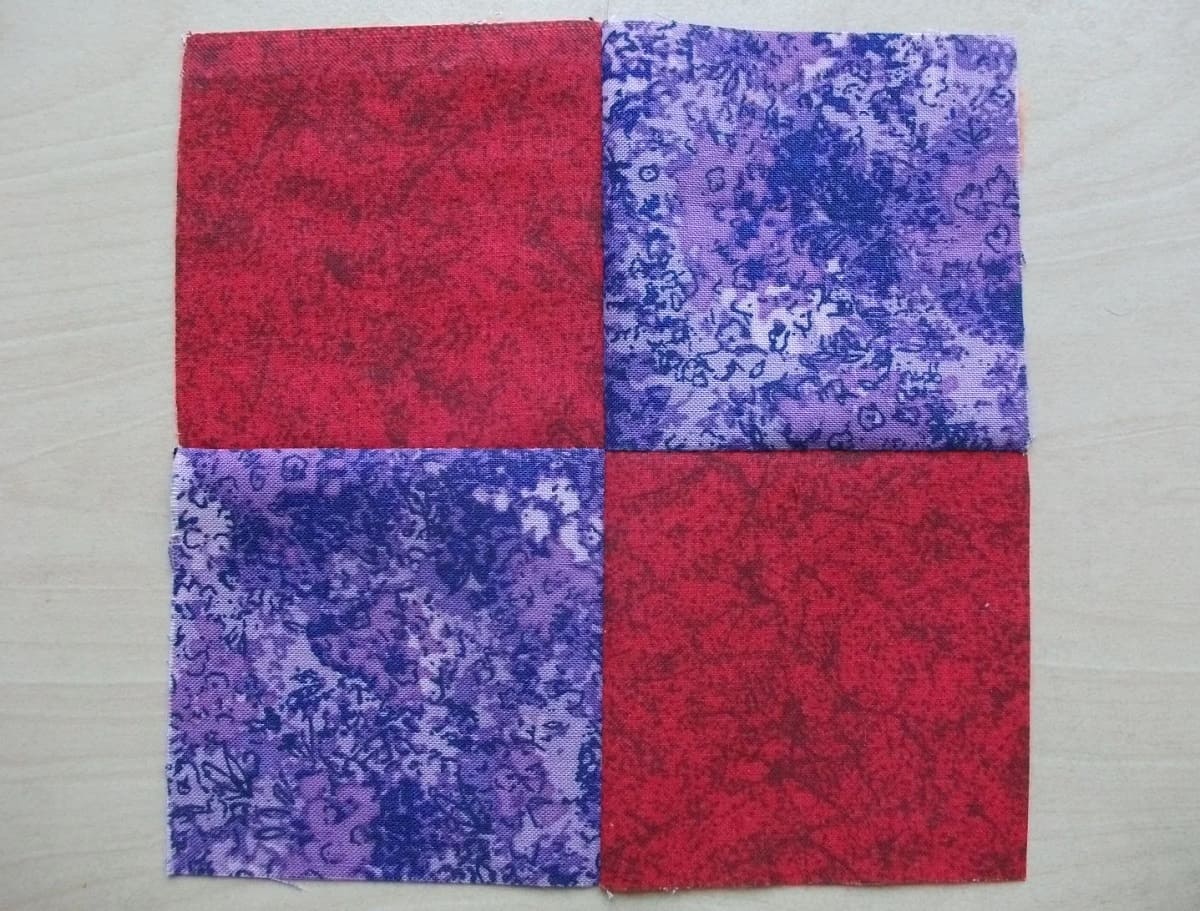
Piecing the Quilt Blocks
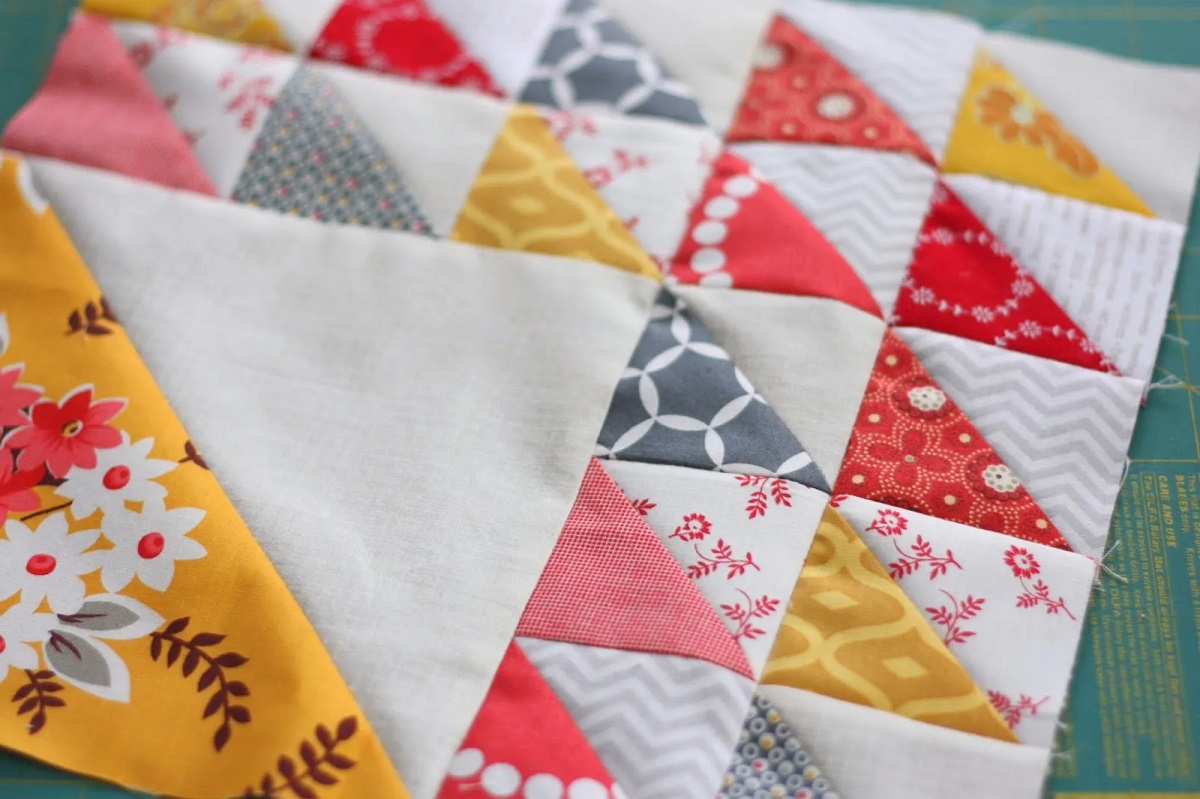
Piecing the quilt blocks involves sewing together the individual fabric pieces to create the desired quilt block design. Take your time to carefully align the edges and stitch with an accurate seam allowance, typically ¼ inch. Pressing the seams as you piece the blocks will help set the stitches and keep the fabric flat.
Trimming the Quilt Blocks
After piecing the blocks, it’s essential to trim them to the correct size. Using a rotary cutter, ruler, and cutting mat, carefully trim away any excess fabric to ensure that all the blocks are uniform in size. This step is crucial to ensure that the seams align properly and the blocks fit together seamlessly when assembling the quilt top.
Now that your quilt blocks are properly pieced and trimmed, you are ready to move on to the next step: pressing the seams.
Read more: How To Make A Block Quilt
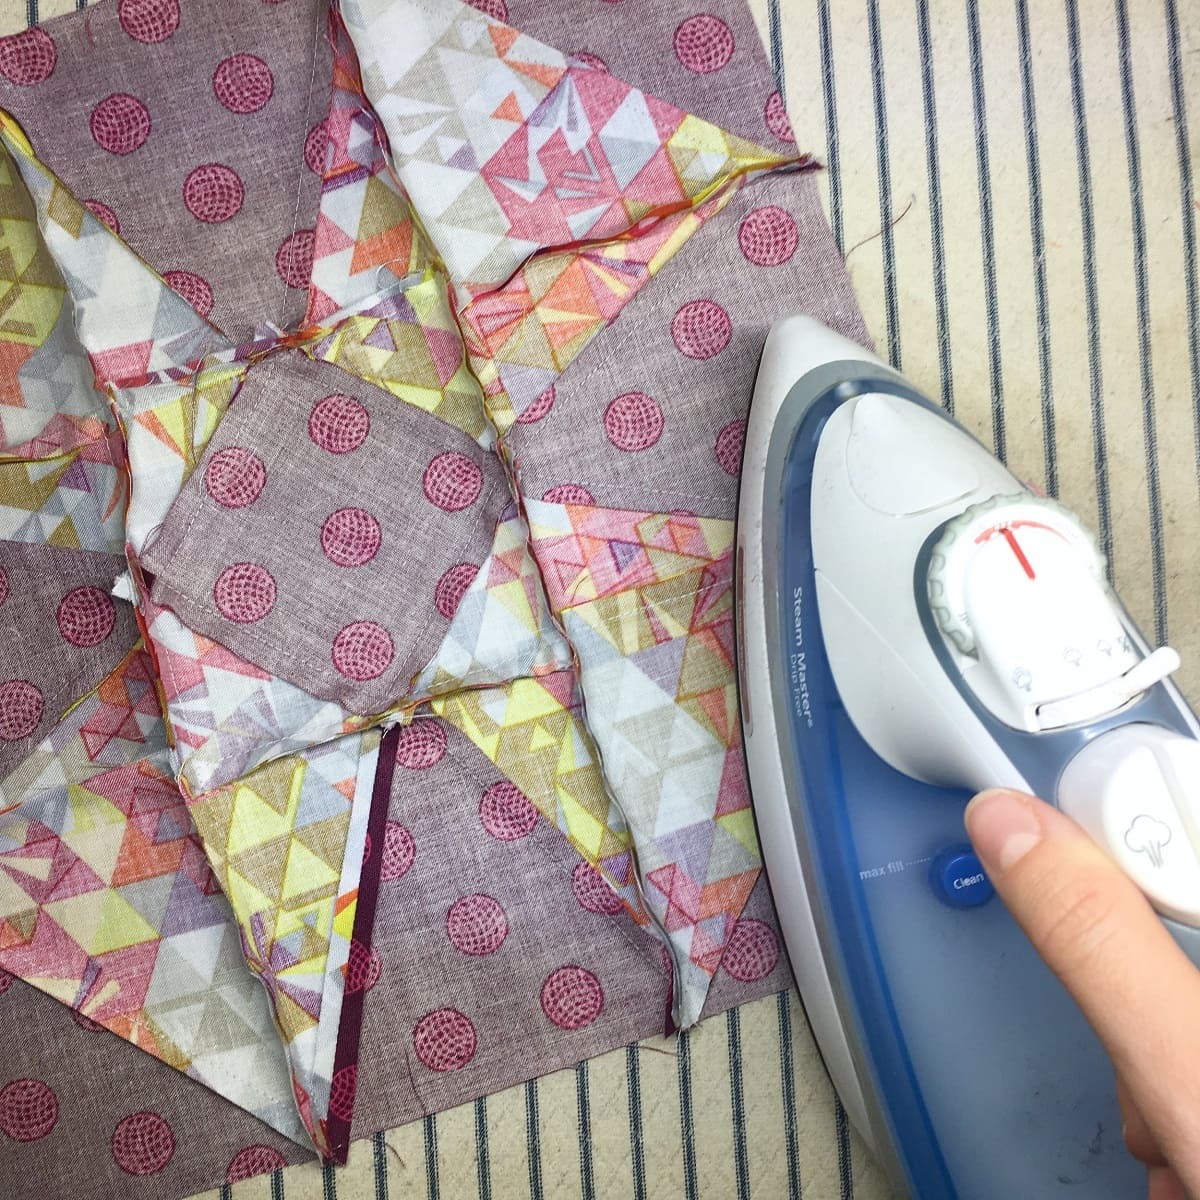
Pressing the Seams
Now that your quilt blocks are prepared, it’s time to focus on pressing the seams. Proper pressing techniques can make a significant difference in the overall appearance of your quilt. Let’s explore the step-by-step process of pressing the seams on your quilt blocks.
Set up your ironing station
Before you start pressing, ensure that your ironing board is set up and the iron is heated to the appropriate temperature for your fabric. It’s important to choose the correct temperature setting to prevent scorching or damaging your fabric.
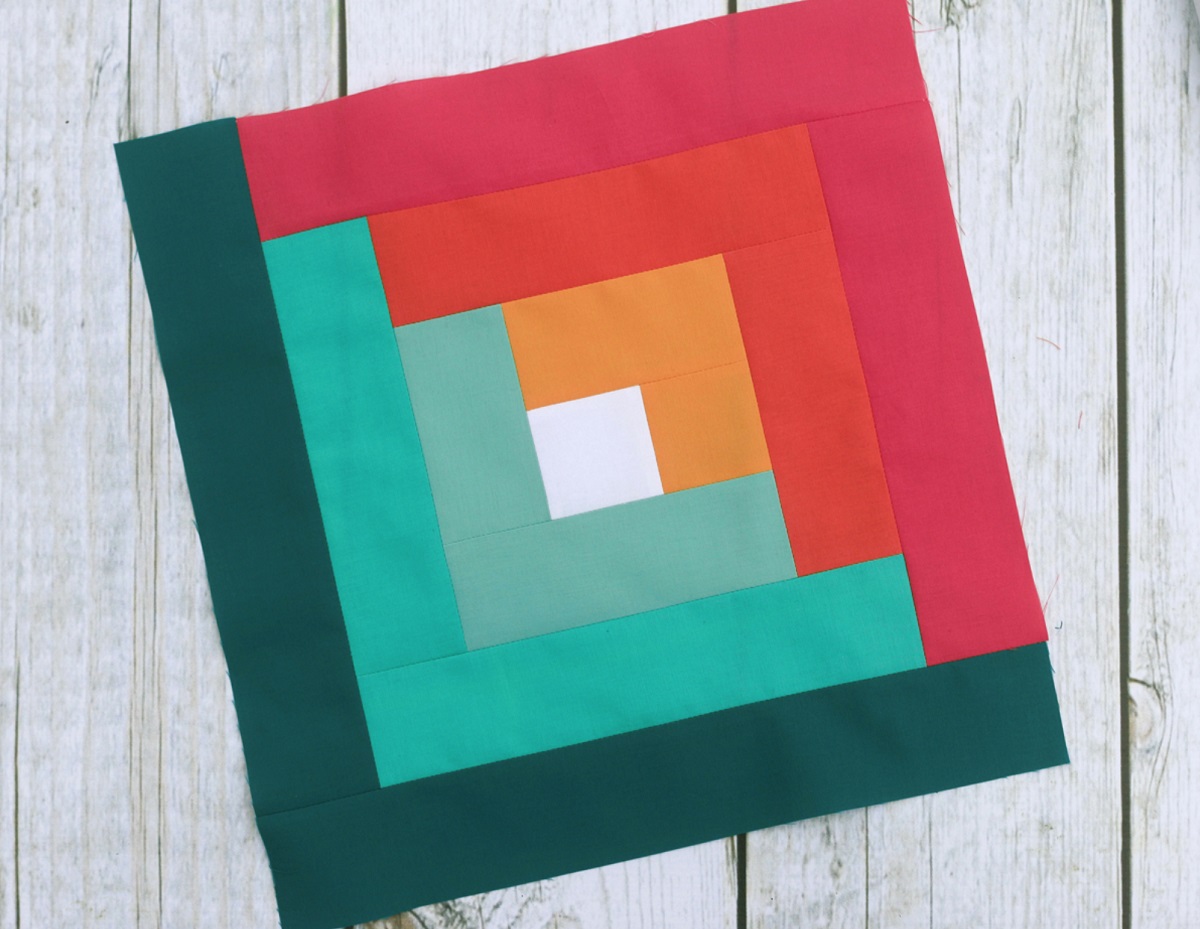
Pressing the seams open
One option for pressing quilt seams is to press them open. This technique helps reduce bulk and creates a flatter finished quilt. Place the quilt block wrong side up on the ironing board and carefully press the seams open using the tip of the iron. Use a gentle up-and-down motion to avoid stretching the fabric.
Pressing the seams to one side
Another common method for pressing quilt seams is to press them to one side. This technique creates nesting seams, which allows for easier matching of points when joining quilt blocks together. To do this, place the block wrong side up and press the seams to one side using the tip of the iron. Be sure to press from the right side of the fabric to set the stitches.
Read more: How To Make Snowball Quilt Block
Using steam for pressing
Using steam can be beneficial when pressing quilt seams, as it helps to relax the fabric fibers and create a crisp finish. Fill your iron with distilled water and use the steam function according to the manufacturer’s instructions. Keep in mind that steam may not be suitable for all fabrics, so check the care instructions before using steam.
Experiment with both pressing methods to find the technique that works best for your quilt blocks and fabric choices. Remember to always test your chosen pressing method on a scrap piece of fabric before applying it to your quilt blocks.
Pressing Tips and Techniques
Pressing seams may seem like a simple task, but there are a few tips and techniques that can elevate your results. Let’s explore some of the best practices when it comes to pressing quilt seams.
Pressing from the right side
When pressing quilt seams, it’s crucial to press from the right side of the fabric. This helps to set the stitches and create a crisp, professional look. Always place a pressing cloth or a piece of scrap fabric between the iron and your quilt blocks to prevent any direct heat or shine from the iron.
Using a pressing cloth
A pressing cloth is a thin, lightweight fabric that you place over your quilt blocks before pressing. It acts as a protective barrier between your fabric and the iron, preventing any direct heat or shine on delicate fabrics. It also helps to distribute heat evenly and minimizes the risk of scorching or damaging your quilt blocks.
Read more: How To Make A Heart Quilt Block
Avoiding stretching the fabric
Be cautious when pressing your quilt blocks to avoid stretching the fabric. Apply gentle pressure and use a lifting motion instead of sliding the iron across the fabric. This helps to maintain the shape and integrity of the blocks, especially if you have bias edges or stretchy fabrics.
Securing the pressed seams
After pressing the seams, it’s a good idea to secure them in place to ensure they stay flat and neat. You can use a tailor’s ham, pressing tool, or even your fingers to shape the seams and hold them in position until they cool down. This step helps to set the pressed seams and prevents them from springing back or shifting during the quilting process.
Checking for flat and neat seams
Before moving on to the next step in your quilting project, always take the time to check that your pressed seams are flat and neat. Lay the quilt blocks on a flat surface and inspect them from different angles to ensure there are no puckers, waves, or unevenness in the seams. This attention to detail will contribute to a polished and professional-looking quilt top.
By implementing these pressing tips and techniques, you can achieve beautifully pressed quilt seams that enhance the overall appearance of your quilt.
Conclusion
Pressing the seams on your quilt blocks is an essential step in the quilting process. It not only ensures that your quilt top looks neat and professional but also helps the blocks fit together seamlessly when assembling the quilt. By following the tips and techniques discussed in this article, you can achieve crisp and flat seams that elevate the overall appearance of your quilting projects.
Remember to gather the necessary tools and materials, such as a quality iron and ironing board, before starting the pressing process. Take the time to properly prepare your quilt blocks by piecing them together accurately and trimming them to the correct size. Then, set up your ironing station and choose whether to press the seams open or to one side, depending on your design and preference.
As you press, keep in mind the importance of pressing from the right side of the fabric, using a pressing cloth, and avoiding stretching the fabric. Use steam wisely and secure the pressed seams to ensure they stay flat and neat. Finally, always check your seams for any irregularities before proceeding with your quilting project.
By incorporating these pressing techniques and paying attention to detail, you’ll be able to achieve beautiful and professional-looking quilt blocks that will enhance the overall success of your quilting projects. So grab your iron, heat up your ironing board, and enjoy the process of pressing seams on your quilt blocks to create stunning quilts that you’ll be proud of.
Frequently Asked Questions about How To Press Seams On Quilt Blocks
Was this page helpful?
At Storables.com, we guarantee accurate and reliable information. Our content, validated by Expert Board Contributors, is crafted following stringent Editorial Policies. We're committed to providing you with well-researched, expert-backed insights for all your informational needs.


0 thoughts on “How To Press Seams On Quilt Blocks”