Articles
How To Seal Attic Hatch
Modified: October 20, 2024
Learn how to effectively seal your attic hatch with these informative articles. Improve energy efficiency and prevent drafts with our step-by-step guides.
(Many of the links in this article redirect to a specific reviewed product. Your purchase of these products through affiliate links helps to generate commission for Storables.com, at no extra cost. Learn more)
Introduction
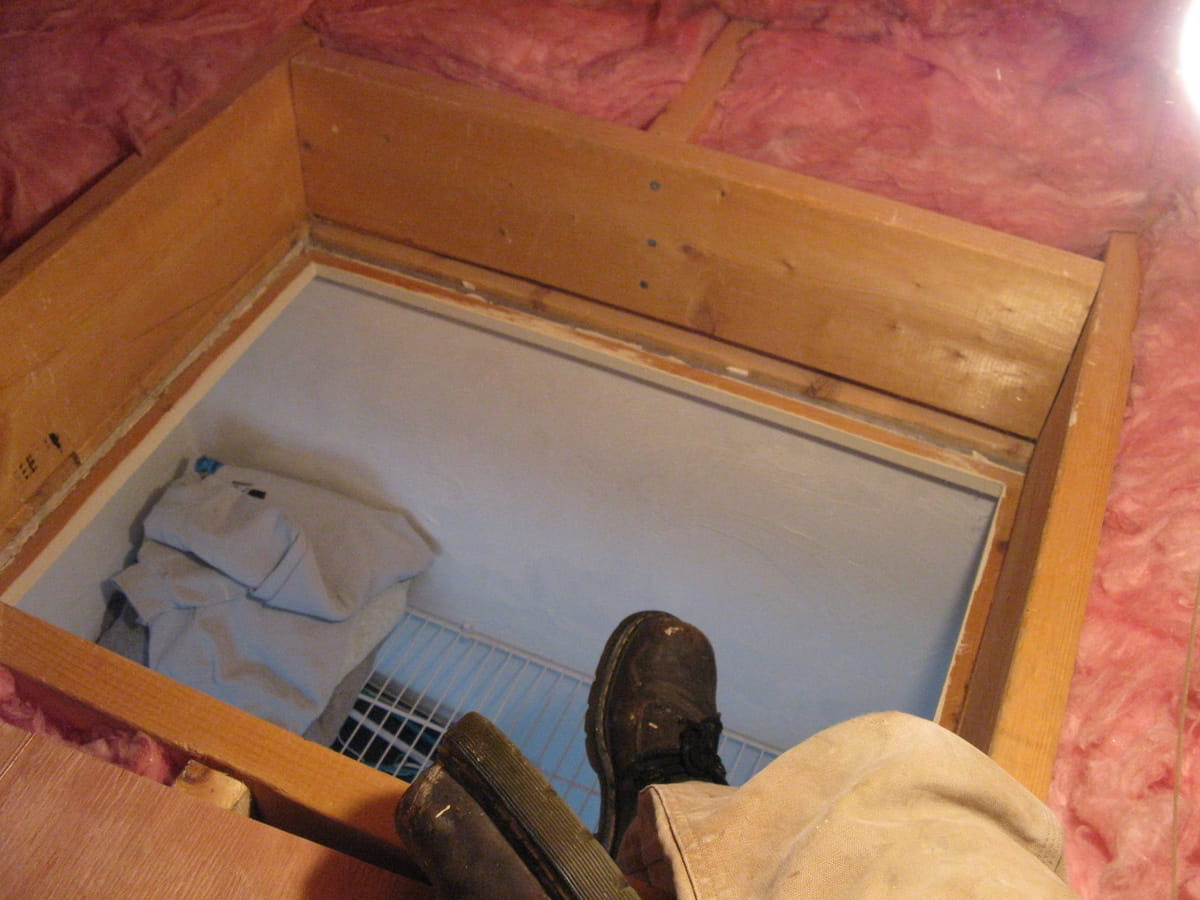
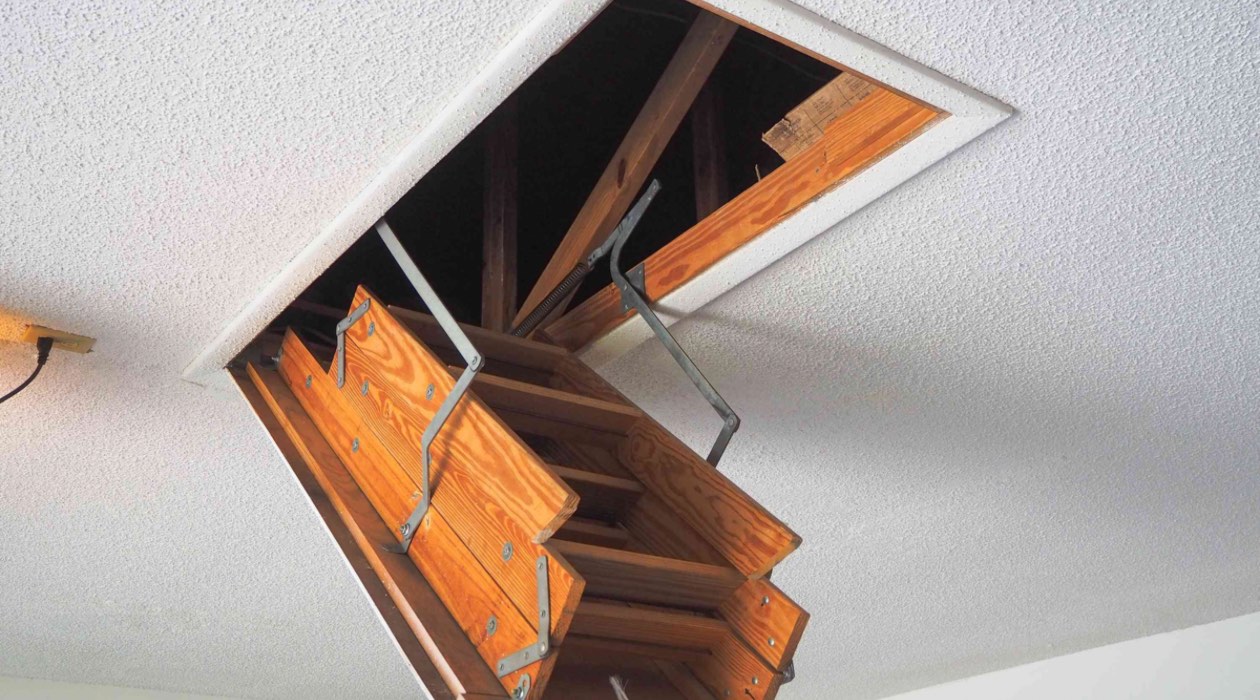
Welcome to our guide on how to seal an attic hatch! If you’ve noticed drafts, increased energy bills, or a lack of temperature control in your home, it’s likely that your attic hatch is the culprit. The attic hatch is a common area where air leaks occur, allowing conditioned air to escape and unwanted air to enter. By properly sealing the attic hatch, you can improve energy efficiency, increase comfort, and save money on heating and cooling costs.
In this article, we will walk you through the step-by-step process of sealing your attic hatch. You will learn about the materials needed, how to clean the hatch, measure and cut insulation, install weatherstripping, and seal the edges effectively. Additionally, we will discuss how to test for air leaks and identify if additional insulation is necessary.
Sealing your attic hatch is a straightforward and cost-effective project that can make a significant difference in your home’s energy efficiency. By following these steps, you can create a more comfortable living space and reduce your carbon footprint. So, let’s dive in and get started with sealing your attic hatch!
Key Takeaways:
- Seal your attic hatch to improve energy efficiency, save on heating and cooling costs, and create a more comfortable living space. Follow the step-by-step process to properly seal the hatch and prevent air leakage.
- Use the right materials, measure and cut insulation accurately, and test for air leaks to ensure a fully sealed attic hatch. Enjoy the benefits of improved energy efficiency and reduced carbon footprint in your home.
Read more: How To Air Seal An Attic
Materials Needed
Before you begin sealing your attic hatch, gather the necessary materials to ensure a smooth and successful project. Here is a list of items you will need:
- Weatherstripping
- Caulk or foam sealant
- Insulation (preferably foam board or fiberglass batts)
- Utility knife or scissors
- Tape measure
- Clean cloth or sponge
- Screwdriver or drill (if needed for removing and reinstalling the hatch)
It’s important to choose the right materials for sealing based on the size and type of your attic hatch. Weatherstripping is a key component and comes in various forms such as adhesive-backed foam tape or V-strip. Caulk or foam sealant is used to fill any gaps or cracks around the hatch frame. Insulation is essential for preventing air leakage and maintaining temperature control.
Make sure to measure the dimensions of your attic hatch before purchasing weatherstripping and insulation. This will ensure you have the right amount of material and avoid any waste. Additionally, gather your tools such as a utility knife or scissors for cutting insulation, a tape measure for precise measurements, and a clean cloth or sponge for cleaning the hatch area.
Having these materials ready beforehand will save you time and allow for a more efficient sealing process. Now that you have everything you need, let’s move on to the next step: cleaning the attic hatch!
Step 1: Clean the Attic Hatch
Before you start sealing your attic hatch, it’s important to ensure that the area is clean and free from any debris or dirt. Here’s a step-by-step guide on how to clean the attic hatch:
- First, put on a pair of gloves to protect your hands.
- Use a clean cloth or sponge dampened with water to wipe away any dust or dirt on the surface of the hatch. This will help the weatherstripping and insulation adhere properly.
- If there are stubborn stains or adhesive residue, you can use a mild detergent or adhesive remover to clean the area. Be sure to follow the manufacturer’s instructions and rinse thoroughly.
- Inspect the hatch for any cracks, gaps, or damage that may need to be repaired before sealing. If you notice any significant issues, it’s best to address them before proceeding.
By cleaning the attic hatch, you create a clean and smooth surface for the weatherstripping and insulation to adhere to. This step ensures a more effective seal and improves the overall insulation performance.
Once you’ve completed the cleaning process, you’re ready to move on to the next step: measuring and cutting the insulation. Let’s continue with the sealing process to make your attic hatch air-tight!
Step 2: Measure and Cut Insulation
Now that you’ve cleaned the attic hatch, it’s time to measure and cut the insulation. Properly insulating the attic hatch will help prevent air leakage and maintain consistent temperatures in your home. Follow these steps to measure and cut the insulation:
- Start by measuring the dimensions of your attic hatch using a tape measure. Take accurate measurements of both the length and width.
- Transfer the measurements onto the insulation material. If you’re using foam board insulation, mark the dimensions directly on the board. If you’re using fiberglass batts, use a utility knife or scissors to cut the material to the appropriate size.
- Be sure to leave extra insulation on all sides to ensure a proper seal. A good rule of thumb is to add 2-3 inches to each measurement.
- If your attic hatch has a frame or lip, measure the depth as well. Cut strips of insulation to fit along the sides of the frame to create a complete seal.
- If your attic hatch is hinged, consider cutting the insulation into sections that can be easily lifted when accessing the attic. This will allow you to maintain the seal while still being able to open and close the hatch as needed.
By accurately measuring and cutting the insulation, you ensure that it fits snugly around the attic hatch, leaving no gaps or openings for air leakage. This step plays a crucial role in creating an airtight seal and maximizing energy efficiency in your home.
Once you’ve measured and cut the insulation, it’s time to move on to the next step: installing weatherstripping. Let’s continue with the sealing process to make your attic hatch more energy efficient!
Step 3: Install Weatherstripping
Installing weatherstripping is an essential part of sealing your attic hatch. Weatherstripping helps create a tight seal around the edges of the hatch, preventing air leaks and improving energy efficiency. Follow these steps to properly install weatherstripping:
- Start by cleaning the edges of the attic hatch with a clean cloth or sponge to ensure a clean surface for the weatherstripping to adhere to.
- Measure the length of each side of the hatch that will come into contact with the frame. Cut the weatherstripping material to match the measurements, ensuring a precise fit.
- Apply adhesive-backed weatherstripping to the edges of the attic hatch, starting from one corner and continuing along the sides. Press firmly to ensure strong adhesion.
- For the top and bottom edges, you may need to use V-strip weatherstripping or another appropriate type to create a complete seal. Cut the weatherstripping to fit and attach it securely.
- Make sure the weatherstripping is snug but not too tight, as this may affect the opening and closing of the attic hatch.
Weatherstripping creates an airtight seal around the edges of the attic hatch, preventing air leakage and minimizing drafts. It’s crucial to install the weatherstripping correctly to ensure maximum energy efficiency and comfort.
Now that you’ve successfully installed weatherstripping, let’s move on to the next step: attaching insulation to the attic hatch. With every step, you’re getting closer to having an airtight attic hatch!
Apply weatherstripping around the edges of the attic hatch to create a tight seal. This will help prevent air leakage and improve energy efficiency in your home.
Read more: How To Store Eggs For Hatching
Step 4: Attach Insulation to the Hatch
Attaching insulation to the attic hatch is a crucial step in creating an airtight seal and preventing air leakage. Here’s a guide on how to properly attach insulation to the hatch:
- Position the cut insulation pieces onto the attic hatch, ensuring they cover the entire surface of the hatch.
- If you’re using foam board insulation, press it firmly against the hatch, making sure it adheres well to provide an effective seal.
- If you’re using fiberglass batts, insert them between the joists or rafters in the attic, covering the hatch area. Make sure the insulation is snug and fills any gaps or voids.
- Secure the insulation in place using adhesive or tape. This will prevent it from shifting or coming loose over time.
- If your attic hatch is hinged, make sure the insulation allows for the hatch to open and close smoothly without compromising the seal. Consider using flexible insulation materials or cutting the insulation into sections if needed.
Attaching insulation to the attic hatch is crucial for maintaining proper insulation and preventing air leakage. It helps to create a barrier that minimizes heat transfer between your living space and the attic.
Now that you’ve successfully attached insulation to the attic hatch, it’s time to move on to the next step: sealing the edges of the hatch. Let’s continue with the sealing process to make your attic hatch airtight and energy-efficient!
Step 5: Seal the Edges of the Hatch
Sealing the edges of the attic hatch is a critical step in ensuring an airtight seal and preventing air leakage. Here’s a step-by-step guide on how to effectively seal the edges of the hatch:
- Inspect the edges of the attic hatch and identify any gaps or cracks.
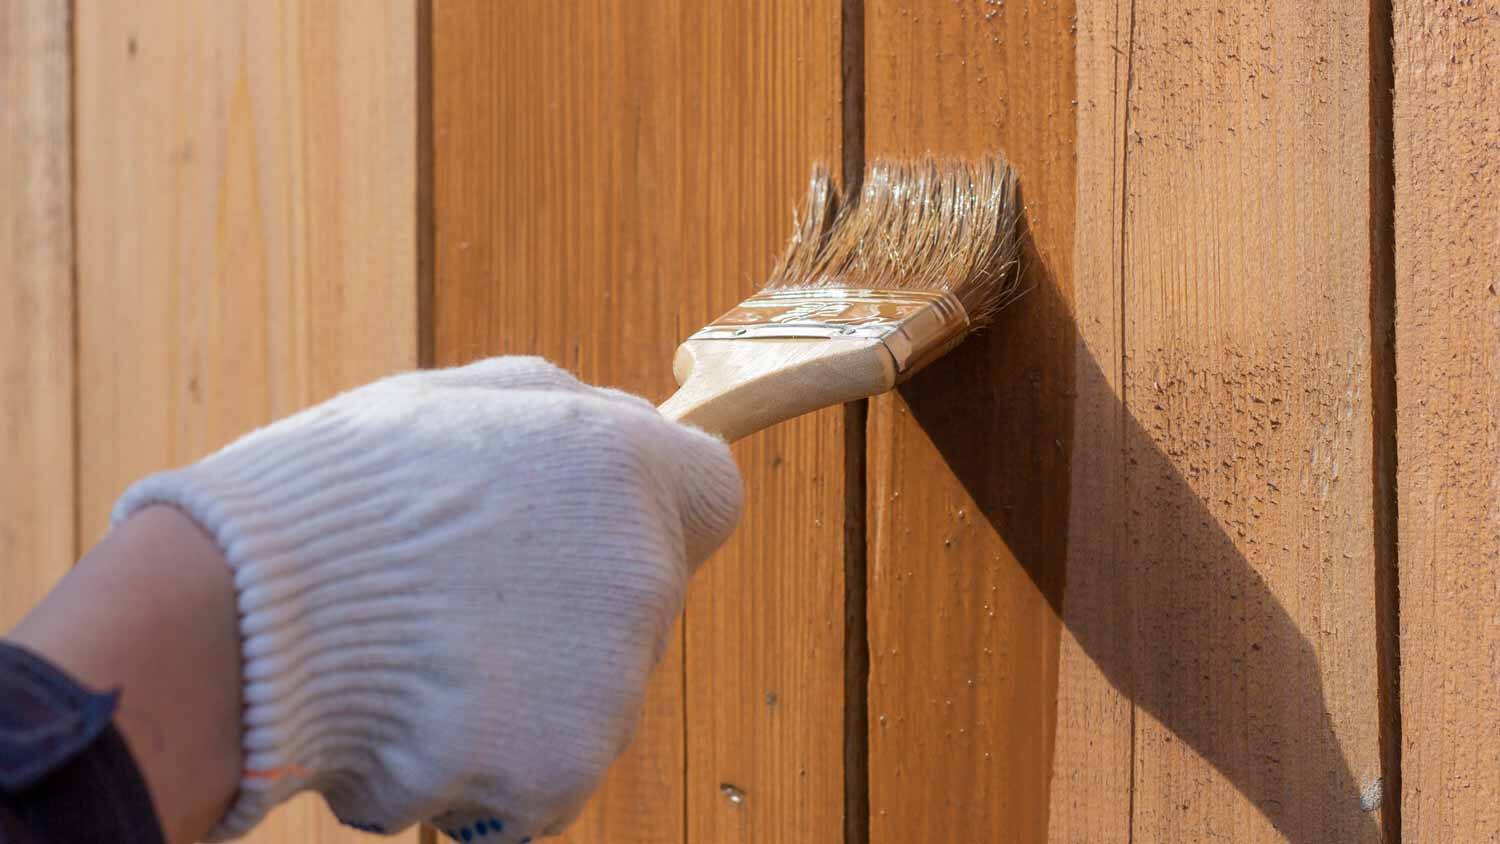
- Apply caulk or foam sealant to fill in any gaps or cracks around the edges of the hatch. Be sure to choose a sealant that is appropriate for your specific type of attic hatch.
- Smooth out the caulk or foam sealant with a putty knife or your fingers to create an even and consistent seal.
- Allow the sealant to dry or cure according to the manufacturer’s instructions.
- Once the sealant is dry, check for any remaining gaps or areas that may need additional sealing. Apply more sealant as needed to ensure a complete and effective seal.
Sealing the edges of the attic hatch is essential to prevent air leakage and maintain consistent temperatures in your home. It helps to create a barrier that prevents conditioned air from escaping and outside air from entering.
Now that you’ve successfully sealed the edges of the hatch, let’s move on to the next step: adding additional insulation if needed. With each step, you’re getting closer to having a fully sealed and energy-efficient attic hatch!
Step 6: Add Additional Insulation if Needed
Adding additional insulation to your attic hatch can further improve energy efficiency and enhance the overall insulation performance. If you feel that the existing insulation is insufficient or if you have identified areas that require extra insulation, follow these steps to add more:
- Inspect the attic hatch area and assess the existing insulation. Look for any gaps, thin spots, or areas that may require additional insulation.
- If you notice any gaps or thin spots, measure the dimensions and cut insulation material to fit those areas.
- Insert the additional insulation into the identified areas, ensuring a snug fit and full coverage.
- If you’re using fiberglass batts, gently separate the existing insulation to create space for the additional insulation. Be careful not to compress the existing insulation too much, as this can reduce its effectiveness.
- Secure the additional insulation in place using adhesive or tape if necessary.
Adding extra insulation to your attic hatch helps to enhance its thermal performance and minimize heat transfer between your living space and the attic. This step is particularly beneficial if you’ve noticed significant temperature differences or higher energy consumption in your home.
Now that you’ve added any necessary additional insulation, let’s move on to the final step: testing for air leaks. By conducting this test, you can ensure that all your sealing efforts have been successful in creating an airtight attic hatch.
Step 7: Test for Air Leaks
Testing for air leaks is the final step in sealing your attic hatch. This step helps to ensure that you have effectively sealed all areas and created an airtight barrier. Follow these steps to test for air leaks:
- Choose a windy day or create artificial airflow by using a fan.
- Turn off any heating or cooling systems to ensure accurate detection of air leaks.
- Light a candle or use a smoke pencil near the edges of the attic hatch.
- Move the candle or smoke pencil along the edges, paying close attention to areas that were sealed or areas that you suspect might still have leaks.
- If the flame flickers or the smoke wavers, it indicates the presence of an air leak.
- Note the locations where air leaks are detected and make the necessary additional sealing.
By conducting this simple test, you can identify any remaining air leaks and address them promptly. This will ensure that your attic hatch is fully sealed, improving energy efficiency and maintaining a comfortable living environment.
Congratulations! You have successfully sealed your attic hatch and created an airtight barrier. By following these steps and implementing the necessary measures, you have taken a significant step towards improving energy efficiency, reducing heating and cooling costs, and increasing comfort in your home.
Remember, regular maintenance and periodic checks for air leaks will help ensure that your attic hatch remains sealed and continues to provide optimal insulation benefits. Enjoy the improved energy efficiency and comfort of your home!
Read more: How To Store Hatching Eggs
Conclusion
Sealing your attic hatch is a valuable home improvement project that can have a significant impact on energy efficiency and comfort. By following the step-by-step process outlined in this guide, you have learned how to properly seal your attic hatch and prevent air leakage.
Throughout the process, we discussed the importance of using the right materials, such as weatherstripping, caulk or foam sealant, and insulation. We also emphasized the significance of measuring, cutting, and attaching the insulation accurately to create an airtight seal. Additionally, we covered the steps to seal the edges of the attic hatch and how to add additional insulation if needed.
To ensure the effectiveness of your sealing efforts, we guided you through the process of testing for air leaks. This final step helps identify any remaining gaps or cracks that need further sealing, ensuring that your attic hatch is completely airtight.
By taking the time to properly seal your attic hatch, you will experience numerous benefits. Improved energy efficiency will lead to lower heating and cooling costs, while a more consistent temperature will enhance overall comfort in your home. Additionally, sealing your attic hatch contributes to a reduced carbon footprint by minimizing energy consumption.
Remember, periodic maintenance and inspection of your attic hatch are essential to ensure that the seal remains intact over time. Regularly check for any signs of wear or damage and address them promptly to maintain optimal performance.
We hope that this guide has provided you with the knowledge and confidence to seal your attic hatch successfully. Enjoy the improved energy efficiency and comfort that a properly sealed attic hatch brings!
Frequently Asked Questions about How To Seal Attic Hatch
Was this page helpful?
At Storables.com, we guarantee accurate and reliable information. Our content, validated by Expert Board Contributors, is crafted following stringent Editorial Policies. We're committed to providing you with well-researched, expert-backed insights for all your informational needs.


0 thoughts on “How To Seal Attic Hatch”