Home>Ideas and Tips>Upgrading Your Home’s Attic With DIY Foam Insulation Panels
Ideas and Tips
Upgrading Your Home’s Attic With DIY Foam Insulation Panels
Modified: October 23, 2024
Upgrade your home's attic with DIY foam insulation panels to boost energy efficiency, reduce utility bills, and enhance comfort. Learn how in our step-by-step guide.
(Many of the links in this article redirect to a specific reviewed product. Your purchase of these products through affiliate links helps to generate commission for Storables.com, at no extra cost. Learn more)
Introduction
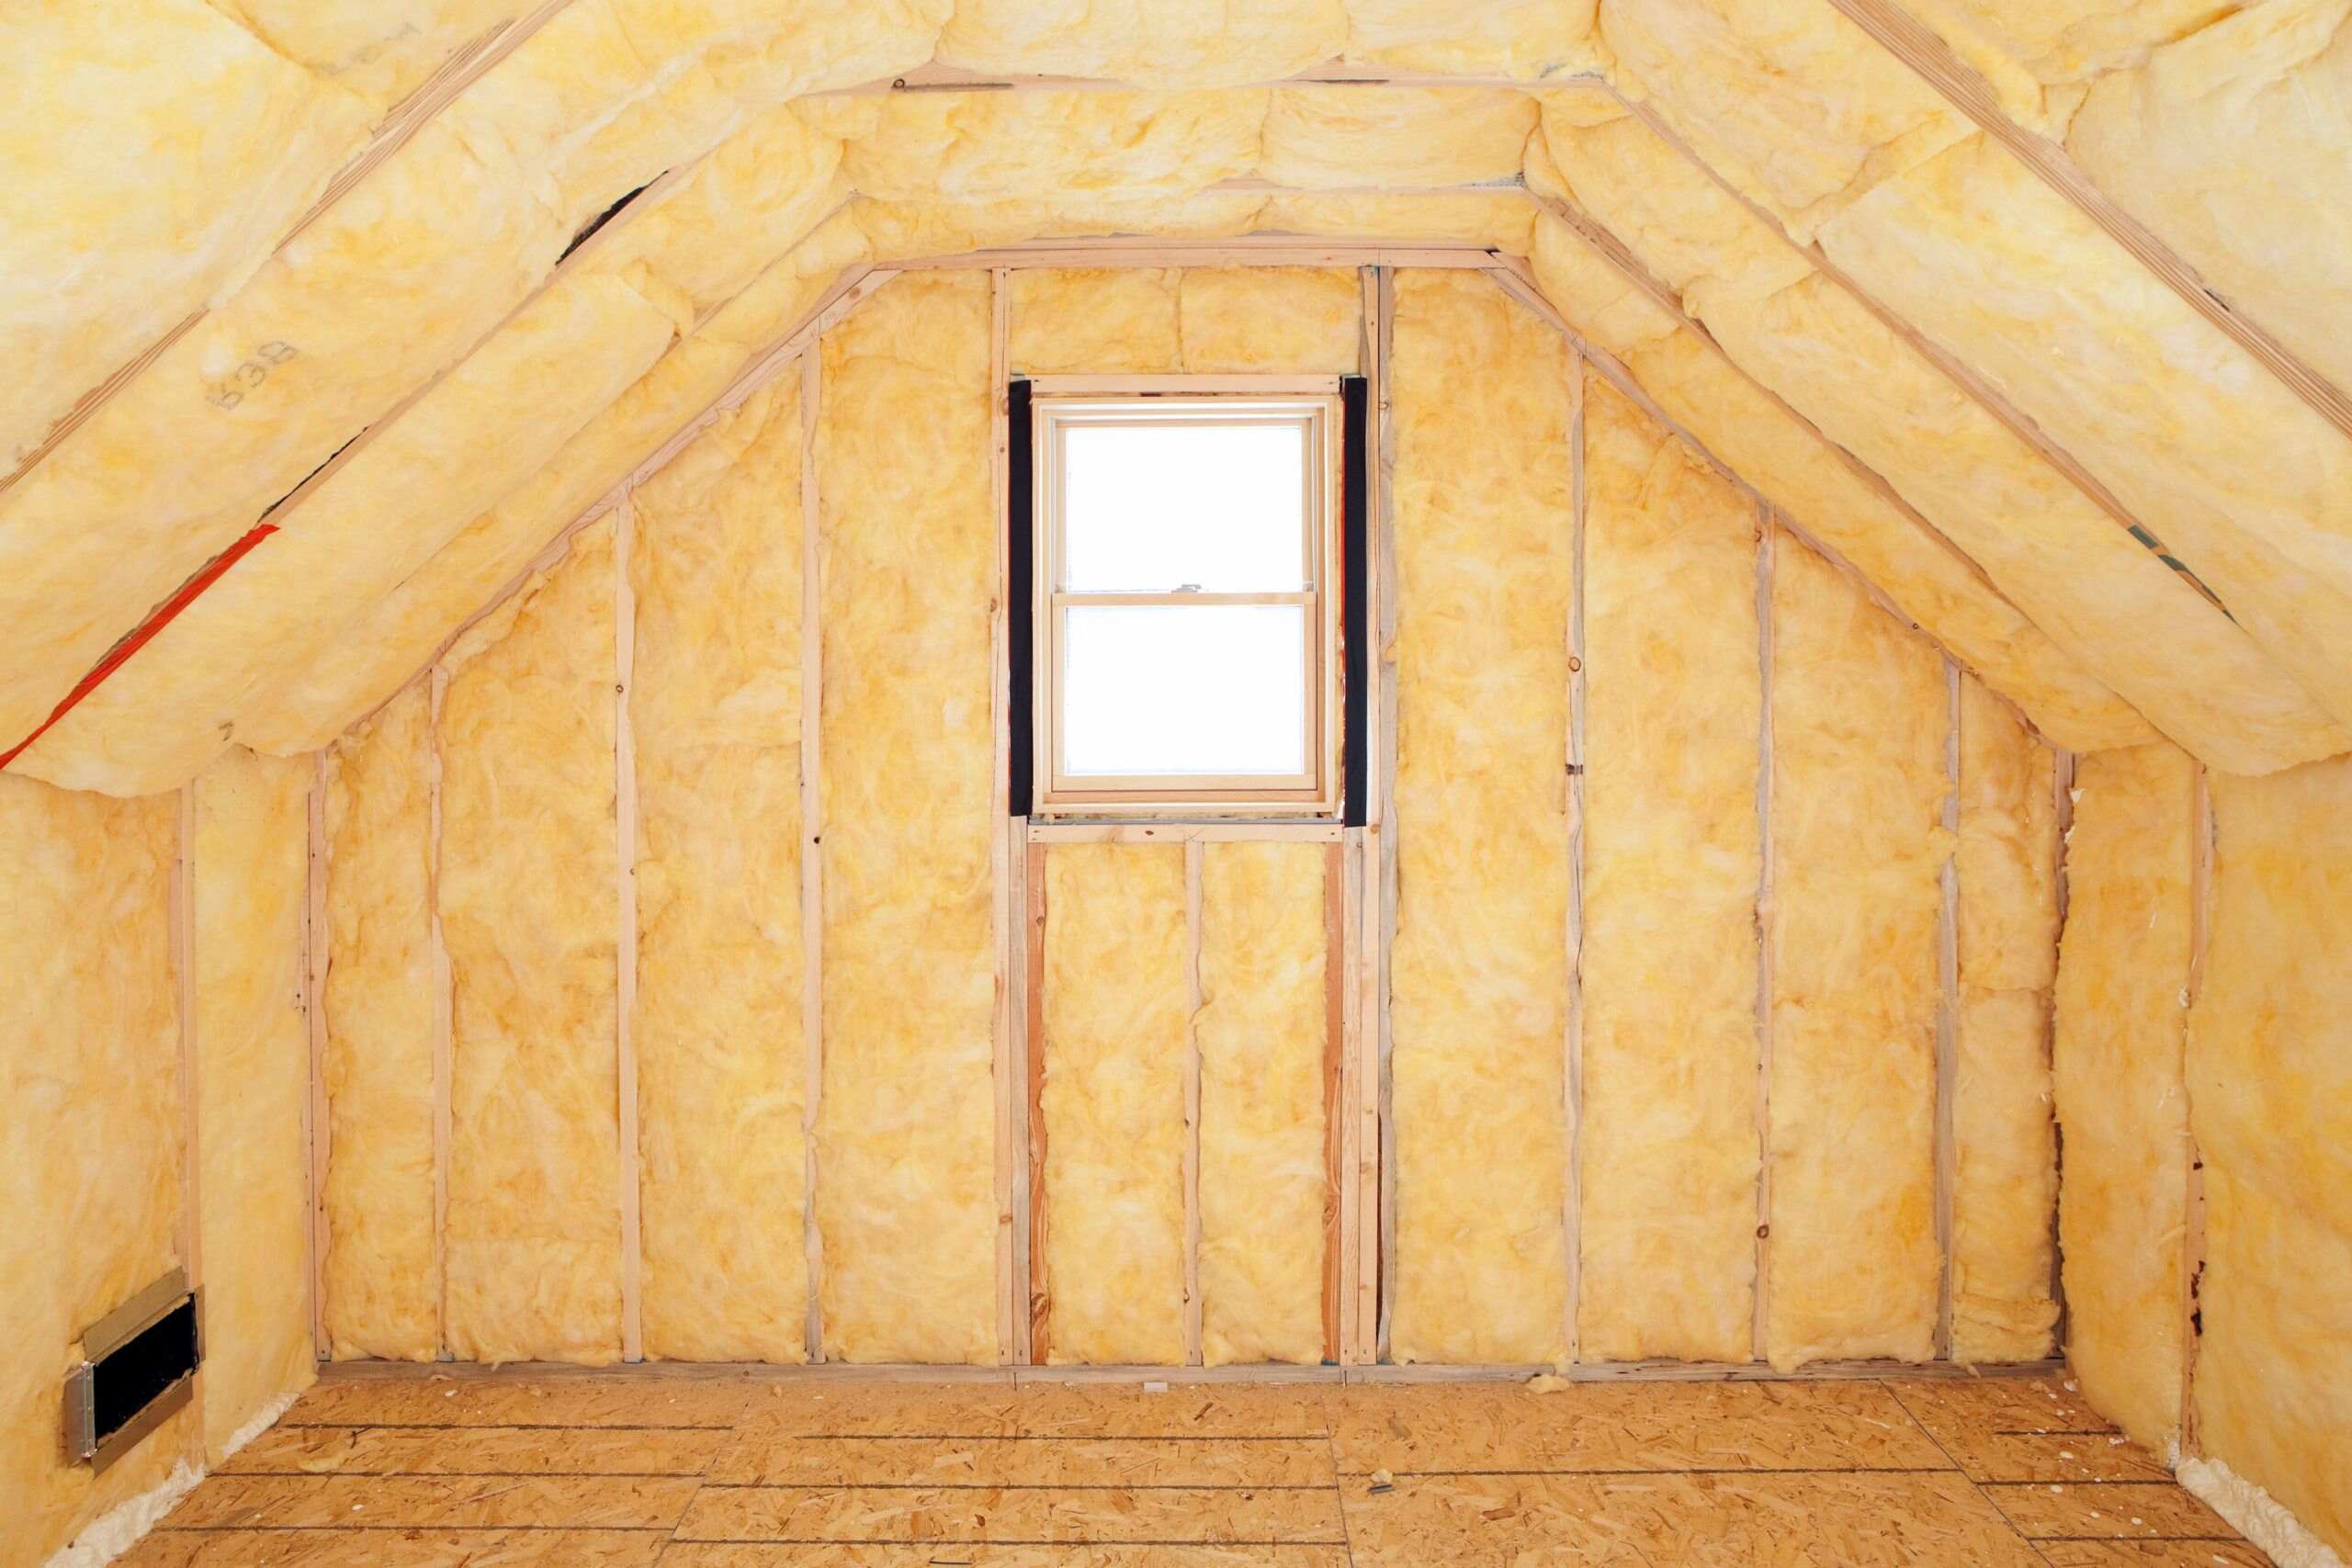
Upgrading your home's attic insulation is one of the most effective ways to improve energy efficiency, reduce utility bills, and enhance overall comfort. The attic is a critical area in your home, as it plays a significant role in maintaining a consistent indoor temperature. Proper insulation in the attic can help prevent heat from escaping during winter and entering during summer, thereby reducing the workload on your HVAC system. In this article, we will guide you through the process of upgrading your attic insulation using DIY foam insulation panels, highlighting the benefits, steps involved, and common considerations.
Why Insulate Your Attic?
Insulating your attic is crucial for several reasons. First off, energy efficiency is a big deal. When your attic is well-insulated, it helps keep the heat inside during winter and outside during summer. This means your heating and cooling systems don't have to work as hard, which can save you a ton on energy bills.
Comfort is another reason. Imagine not having to constantly adjust your thermostat because your home stays at a comfy temperature all year round. Proper insulation makes that possible. Plus, it can help reduce noise from outside, making your home a quieter place to live.
Then there's the cost savings. According to the U.S. Department of Energy, proper attic insulation can save homeowners up to $700 annually on energy costs. That's a nice chunk of change that could go towards something fun or important.
Lastly, home value gets a boost. Well-insulated homes are more attractive to potential buyers. If you ever decide to sell your house, having good insulation can make it more appealing and possibly increase its value.
Choosing the Right Insulation Material
When it comes to picking insulation materials for your attic, you’ve got options. Here are some common types:
-
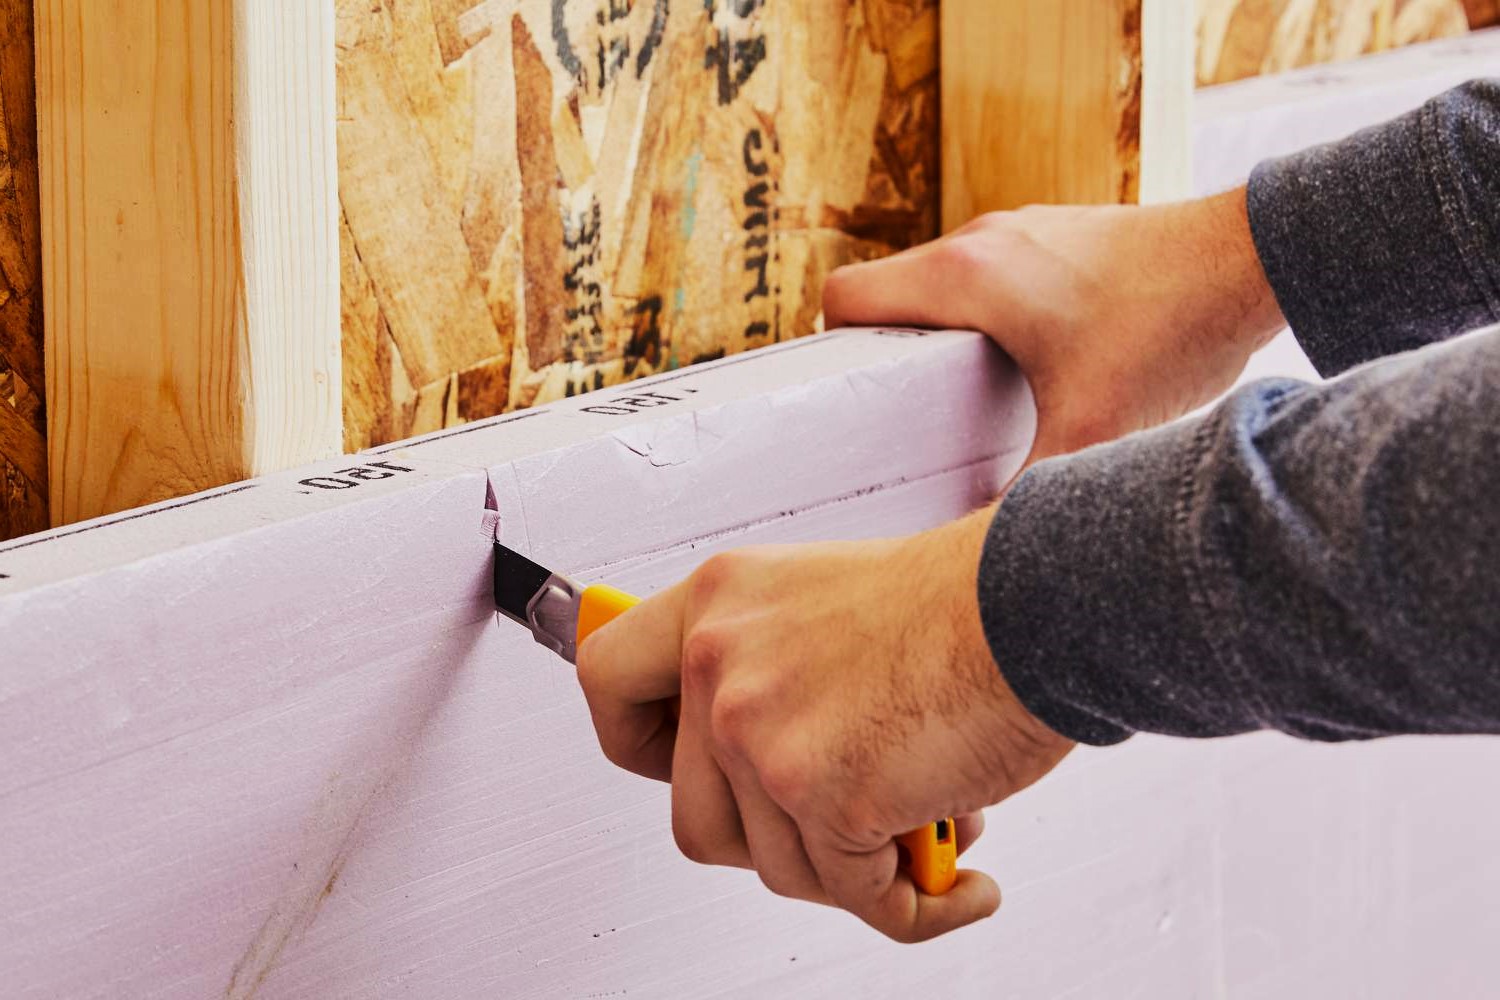
Expanded Polystyrene (EPS) Foam:
- R-value: EPS foam has a high R-value, which measures its ability to resist heat flow. It’s often used in DIY insulation kits because it’s lightweight and easy to install.
- Moisture Resistance: EPS foam is moisture-resistant, making it ideal for areas prone to dampness.
- DIY Friendly: EPS foam can be cut with basic tools like a table saw or a straight edge and a knife, making it suitable for DIY projects.
-
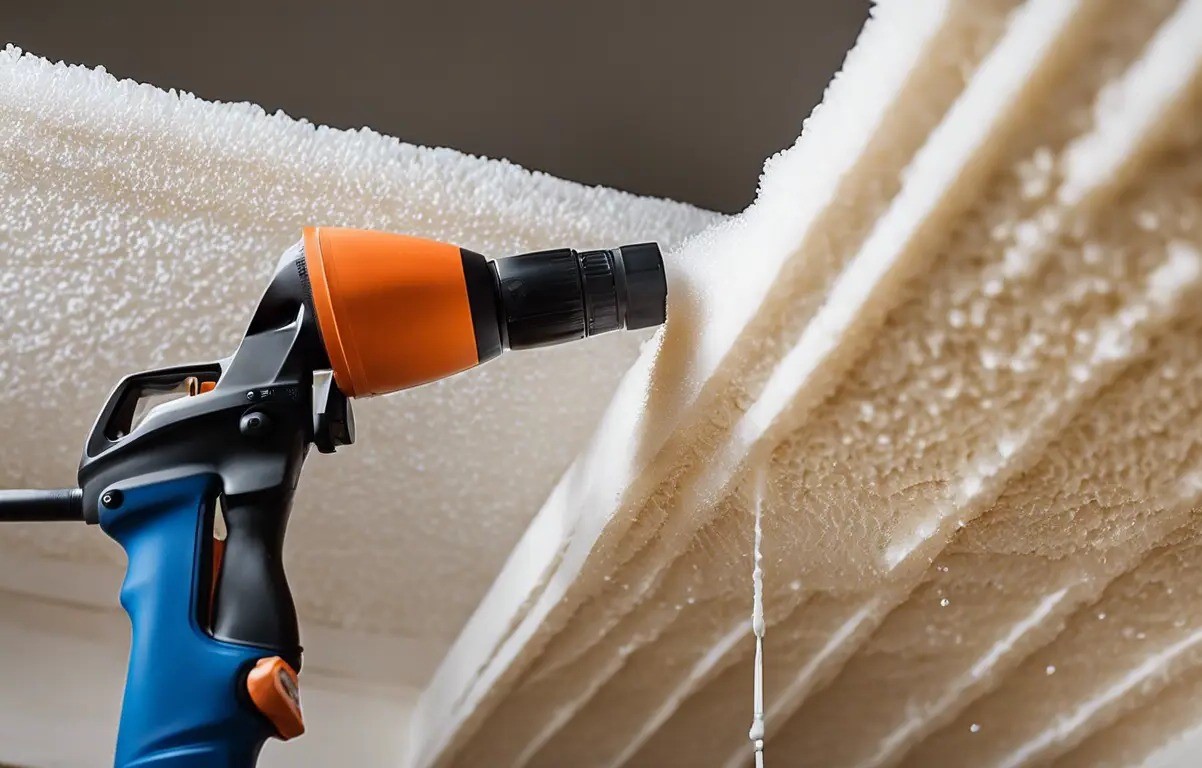
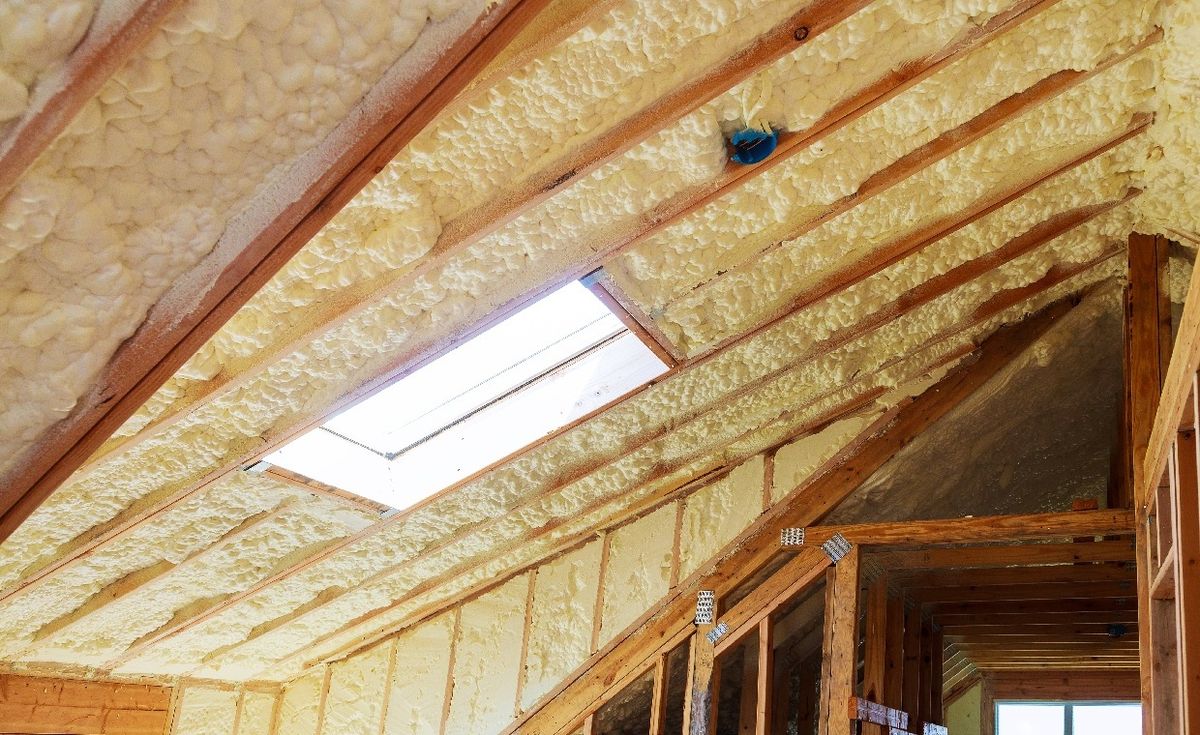
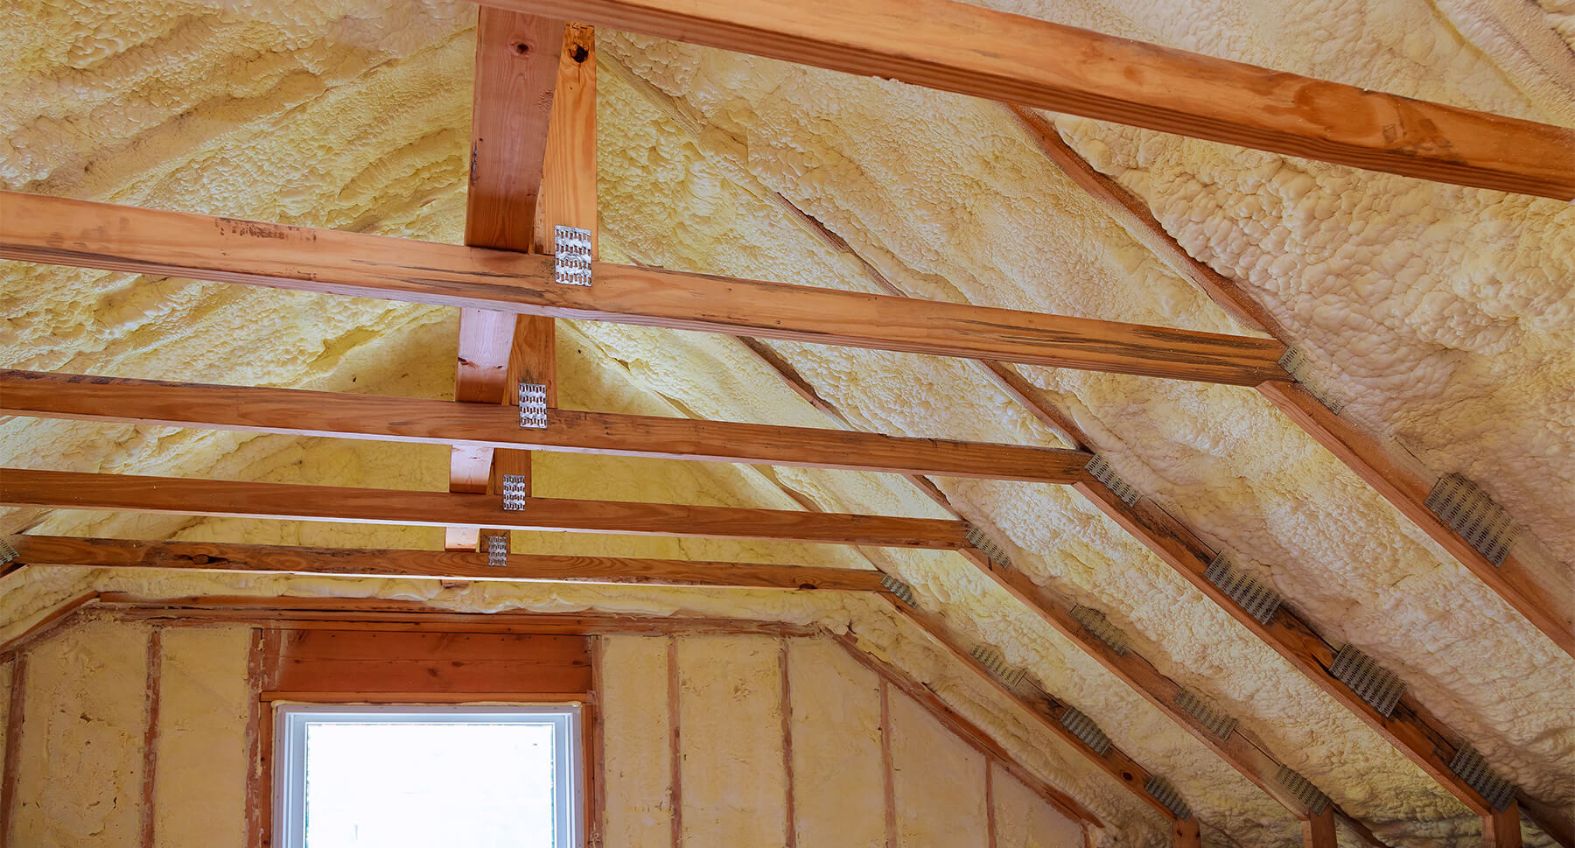
Spray Foam Insulation:
- R-value: Spray foam insulation offers high R-values and provides both insulation and an air barrier.
- Moisture Resistance: It’s highly resistant to moisture and can help prevent mold growth.
- Professional Installation: While spray foam is highly effective, it typically requires professional installation due to its complex application process.
-
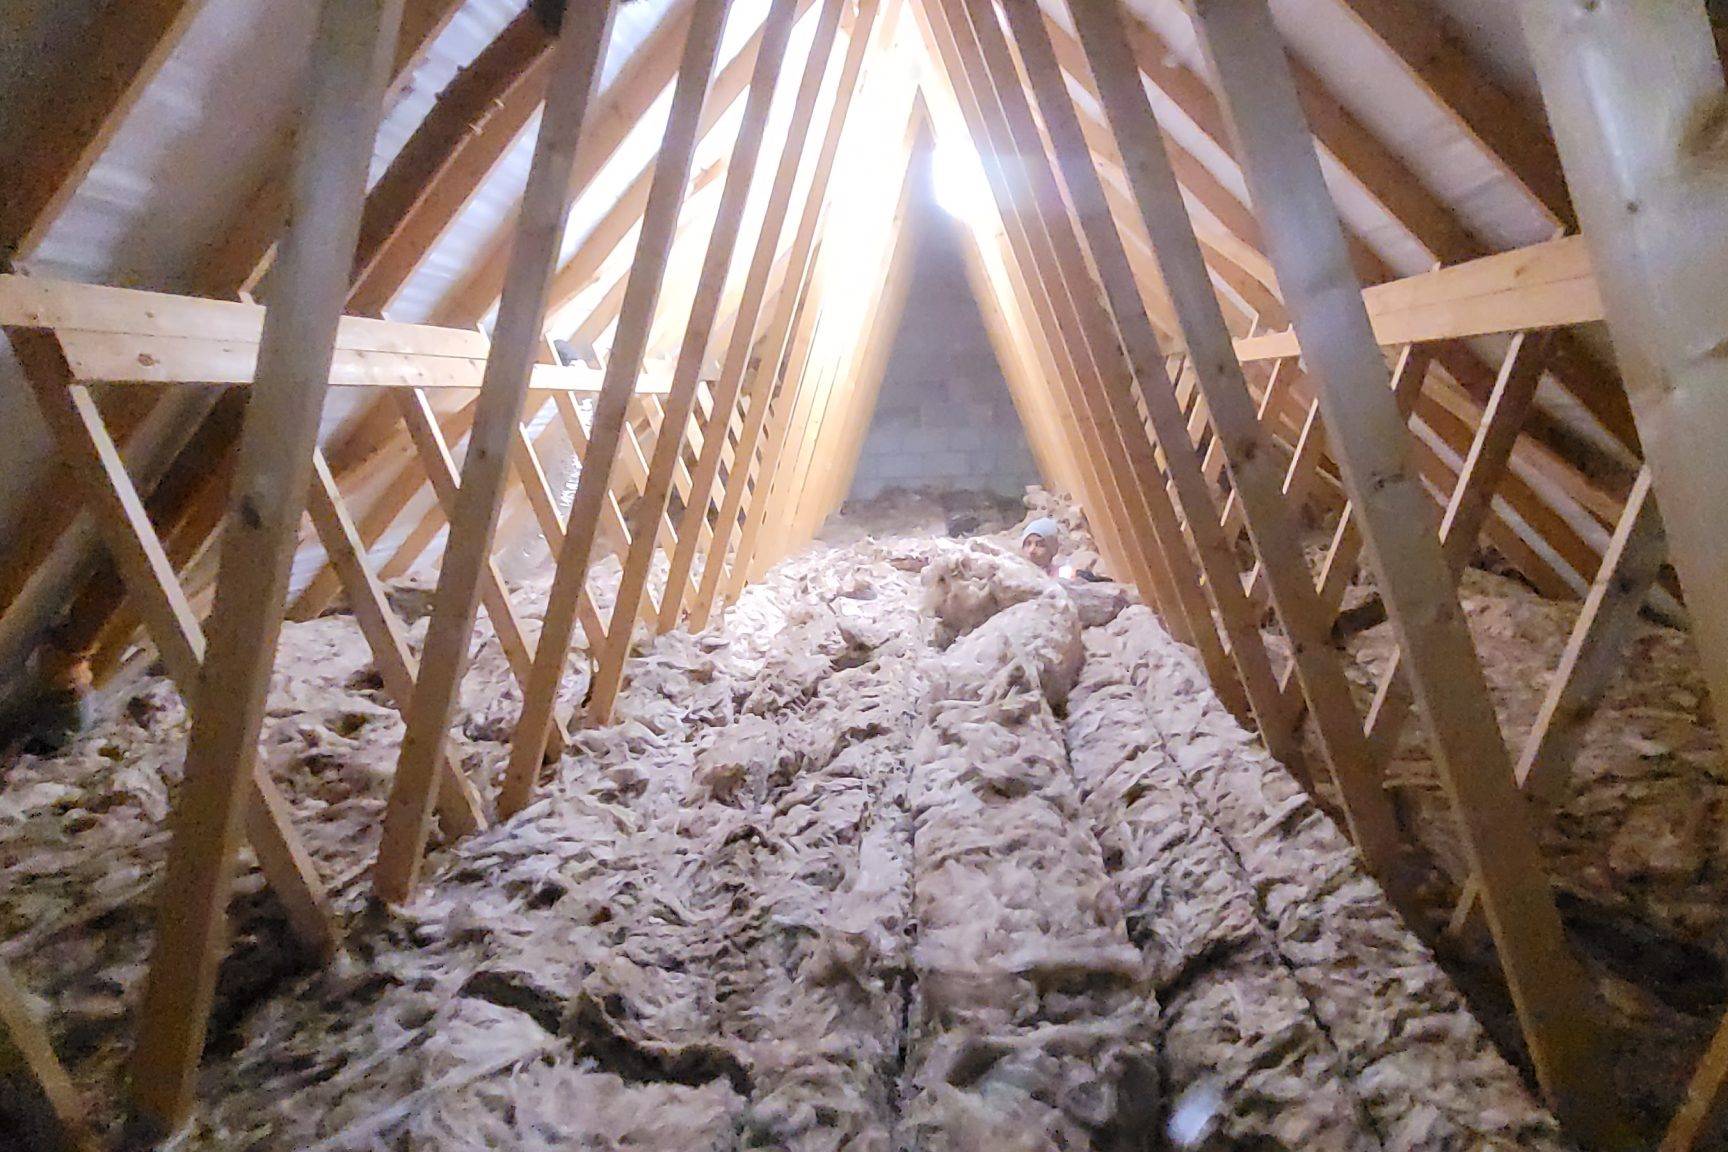
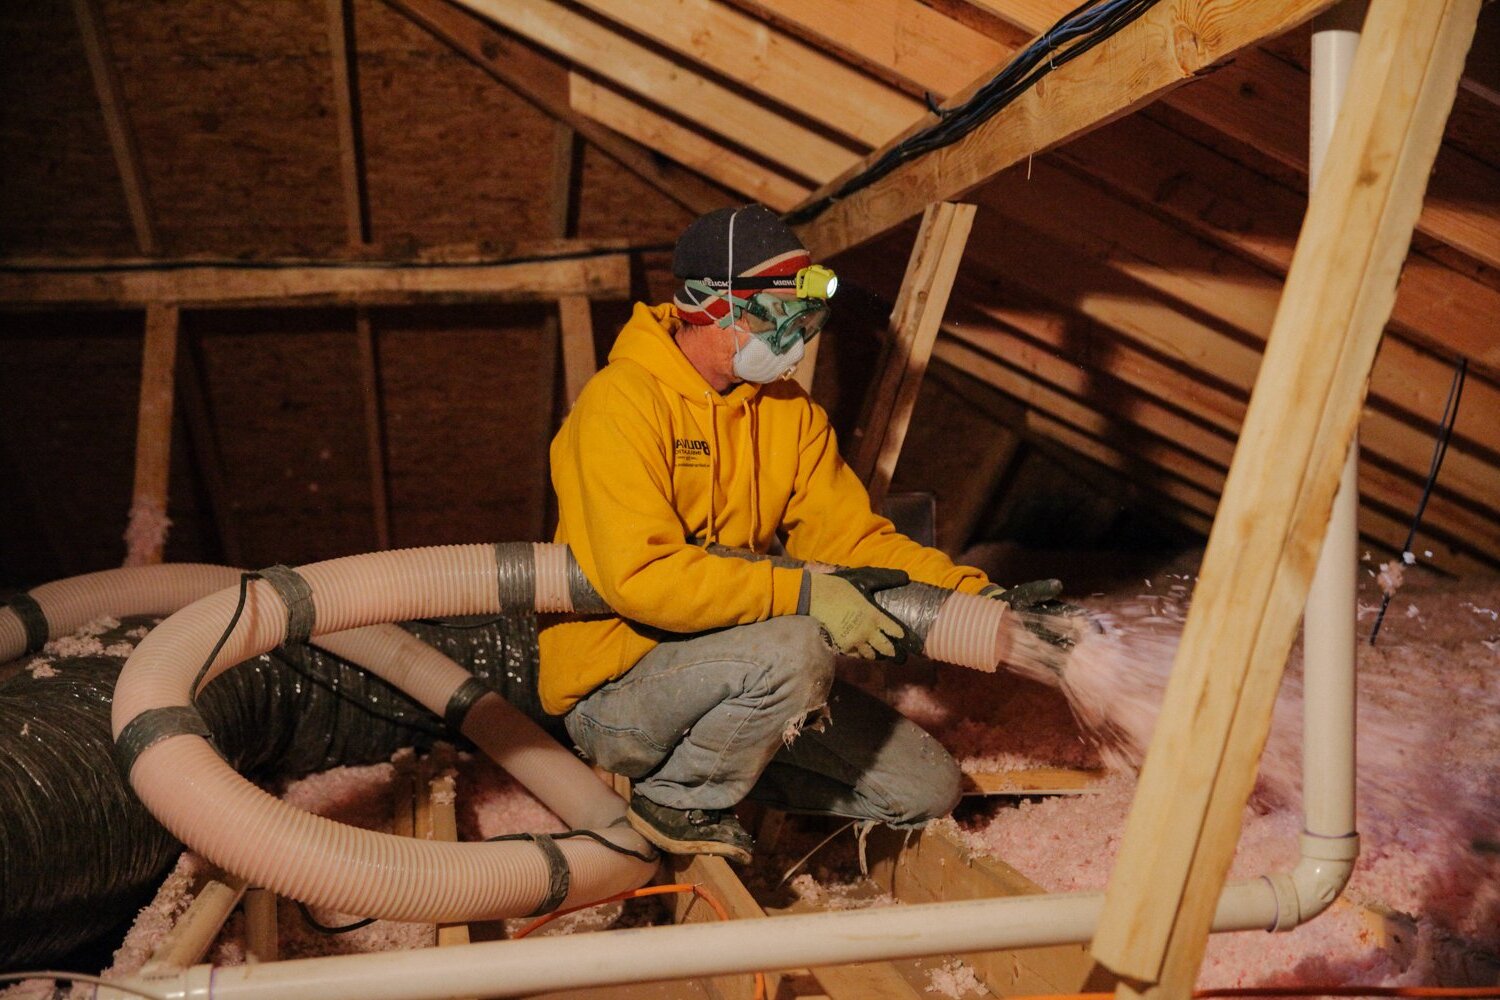
Blown-In Cellulose:
- R-value: Blown-in cellulose has a high R-value and is often used in attics where space is limited.
- Moisture Resistance: It’s made from recycled materials and has good moisture resistance properties.
- DIY Friendly: Blown-in cellulose can be installed DIY with the right equipment.
-
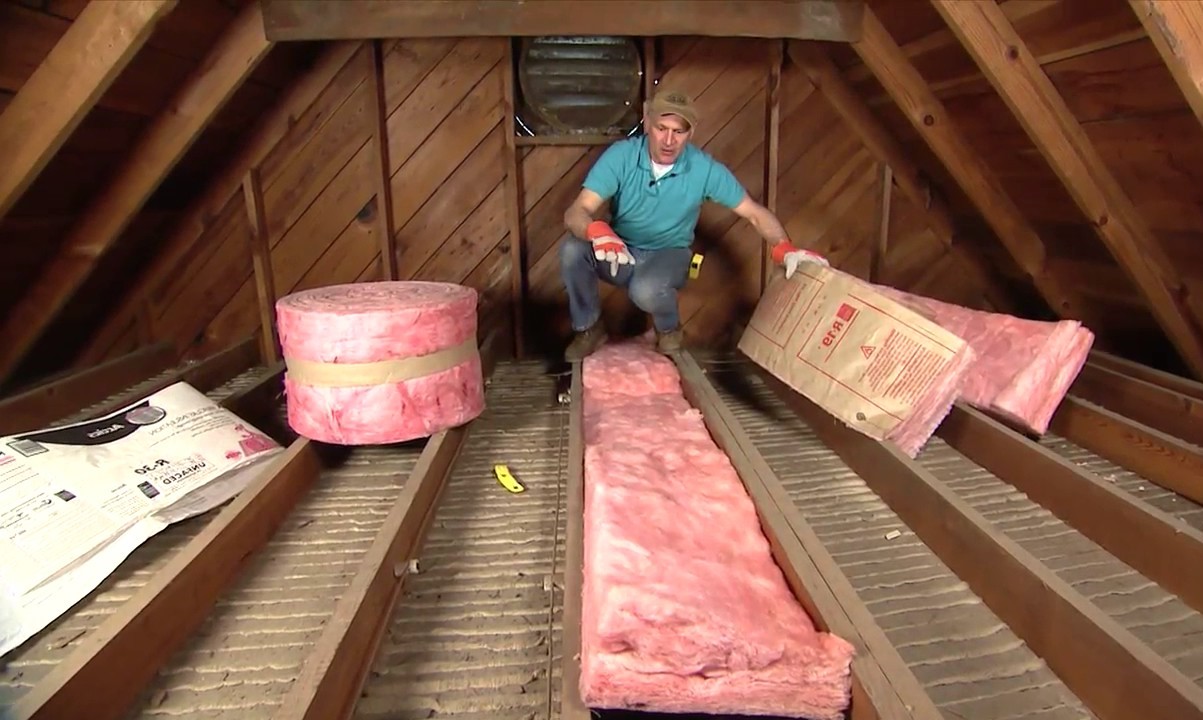
Fiberglass Batt Insulation:
- R-value: Fiberglass batt insulation has a moderate R-value and is easy to install.
- Moisture Resistance: It’s not as moisture-resistant as other options but is still effective in most climates.
- DIY Friendly: Fiberglass batt insulation is one of the most common DIY insulation choices due to its ease of installation.
Steps to Upgrade Your Attic Insulation
Upgrading your attic insulation involves several steps that ensure optimal energy efficiency and comfort. Here’s a detailed guide:
1. Sealing Air Leaks
Before adding new insulation, it’s crucial to seal any air leaks in your attic. These leaks let warm air escape in the winter and enter in the summer, making your HVAC system work harder. Common spots include around light fixtures, at the top of interior walls, and where wires or pipes go through the ceiling. Use caulk for small gaps and expanding foam for larger spaces. Don’t forget to seal the attic hatch or door!
2. Preparing Your Attic
Clear the space by removing any stored items and provide clear access to the areas needing insulation. Ensure your attic has proper ventilation to prevent moisture buildup, which can lead to mold growth.
3. Choosing Your Insulation Material
Decide on the type of insulation material based on your needs and preferences. Each type has its pros and cons:
- EPS Foam: Ideal for DIY projects due to its lightweight and easy-to-install nature.
- Spray Foam: Provides long-term performance but typically requires professional installation.
- Blown-In Cellulose: Effective in tight spaces and made from recycled materials.
- Fiberglass Batt Insulation: Easy to install but not as moisture-resistant as other options.
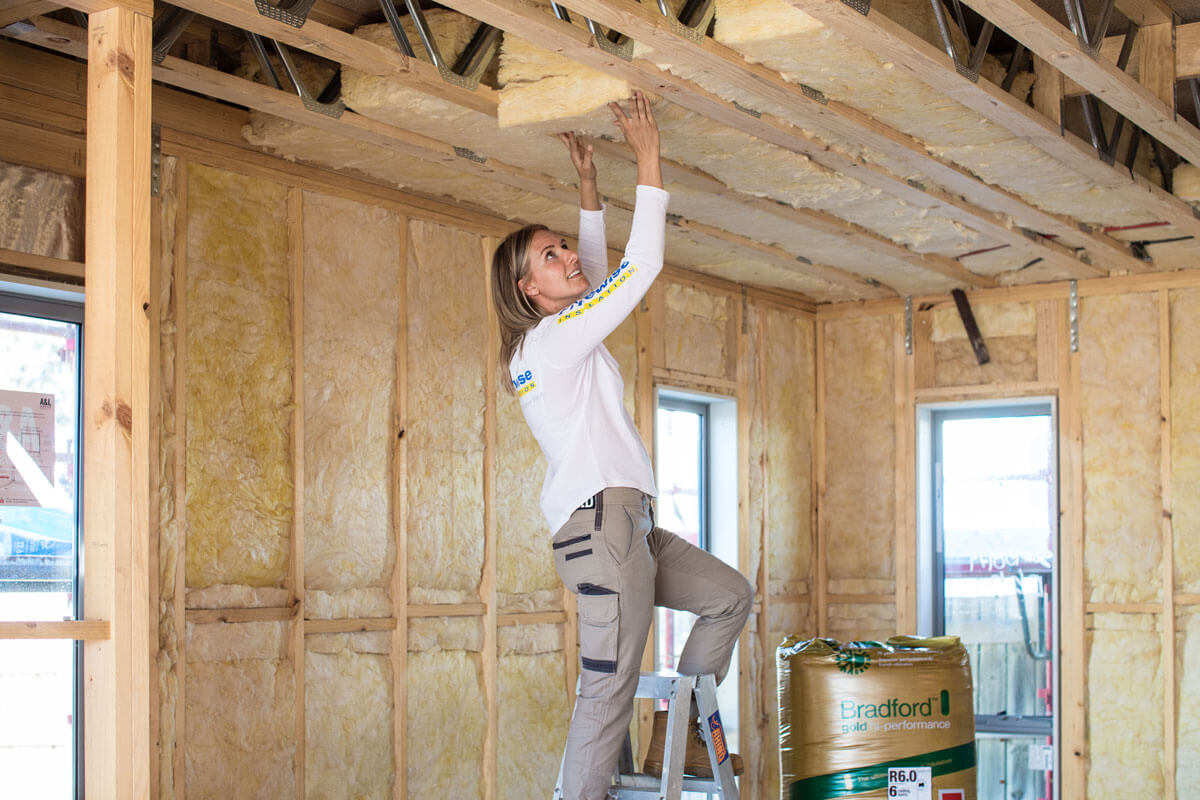
4. Installing Your Insulation
DIY Installation:
If you’re comfortable moving around in your attic and handling the installation, DIY can save you money. Here’s how you can proceed:
- Follow Manufacturer’s Instructions: Carefully follow the manufacturer’s instructions for your chosen insulation material.
- Wear Protective Clothing: Wear protective clothing including gloves, safety glasses, and a mask to avoid exposure to potential hazards.
- Evenly Distribute Insulation: Ensure that the insulation is evenly distributed across the attic floor and walls to maximize its effectiveness.
Professional Installation:
For those who prefer not to crawl around in attics or deal with the nitty-gritty of insulation, hiring a professional is the way to go. Professionals can handle everything quickly and efficiently while ensuring everything is up to code.
5. Adding Insulation Panels
Once you have chosen your insulation material, it’s time to add the insulation panels:
- Cutting Panels: If using EPS foam or fiberglass batts, cut them according to your attic’s dimensions using a table saw or straight edge and knife.
- Laying Panels: Lay out the panels across the attic floor ensuring they fit snugly between joists.
- Sealing Gaps: Use caulk or expanding foam to seal any gaps between panels and the attic structure.
Additional Tips for Optimal Performance
Air Sealing
Air sealing is crucial for ensuring that your attic remains well-insulated throughout the year:
- Check Light Fixtures: Ensure that light fixtures are properly sealed with caulk around their edges.
- Inspect Window Trim: Check window trim for any gaps that could let warm air escape.
- Seal Outlets/Switch Covers: Seal outlets/switch covers with caulk to prevent air leaks.
Ventilation
Proper ventilation helps maintain a stable attic temperature by allowing hot air to escape:
- Install Attic Fans: Consider installing attic fans which can help circulate air through your attic.
- Check Soffit Vents: Ensure soffit vents are clear of debris so they can function properly.
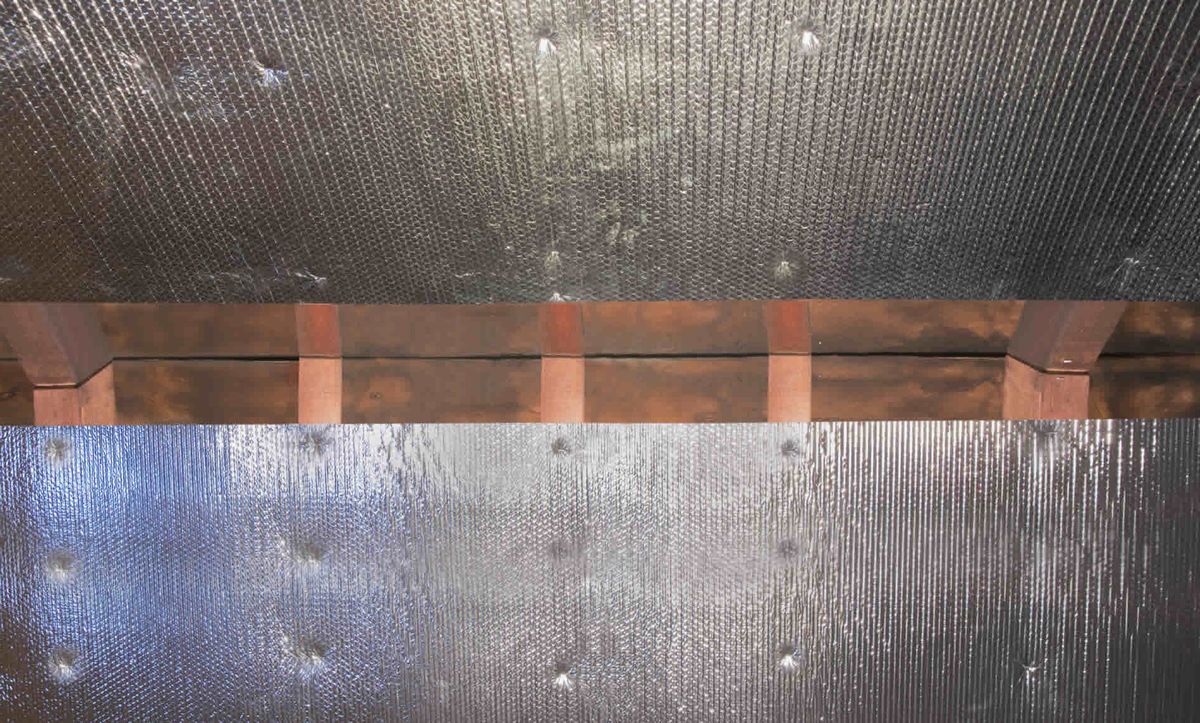
Radiant Barrier Installation
A radiant barrier can help reflect heat rather than absorb it:
- Purchase Radiant Barrier Rolls: Buy radiant barrier rolls specifically designed for attic use.
- Install Radiant Barrier: Staple the radiant barrier rolls onto the underside of your roof decking using a handheld staple gun.
Common Considerations
Moisture Issues
While most insulation materials are resistant to moisture, it's still important to consider potential moisture issues:
- EPS Foam: EPS foam is generally resistant but should be used in areas where moisture is minimal.
- Spray Foam: Spray foam provides excellent moisture resistance but requires professional installation.
- Blown-In Cellulose: Blown-in cellulose has good moisture resistance properties but may not be as effective as spray foam in extremely humid environments.
Cost Considerations
The cost of insulation materials varies widely depending on the type and quantity needed:
- EPS Foam Kits: DIY EPS foam kits are generally affordable and can be purchased at most hardware stores.
- Spray Foam: Spray foam requires professional installation which increases its cost significantly.
- Blown-In Cellulose: Blown-in cellulose can be more expensive than EPS foam but offers higher R-values.
Conclusion
Upgrading your attic insulation with DIY foam insulation panels is a simple yet effective way to improve energy efficiency and enhance comfort in your home. By following these steps—sealing air leaks, preparing your attic space, choosing the right insulation material, installing it correctly, ensuring proper ventilation—and considering additional tips like radiant barrier installation—you can significantly reduce your utility bills while maintaining a comfortable indoor environment year-round.
Remember that while DIY projects can save money upfront, they may require more time and effort compared to hiring professionals who have the expertise and equipment needed for optimal results. Regardless of whether you choose to go the DIY route or hire professionals, upgrading your attic insulation is an investment that will pay off in both short-term savings and long-term comfort improvements for years to come.
Was this page helpful?
At Storables.com, we guarantee accurate and reliable information. Our content, validated by Expert Board Contributors, is crafted following stringent Editorial Policies. We're committed to providing you with well-researched, expert-backed insights for all your informational needs.

0 thoughts on “Upgrading Your Home’s Attic With DIY Foam Insulation Panels”