Home>Ideas and Tips>Upgrading Your Home’s Attic With DIY Radiant Barrier
Ideas and Tips
Upgrading Your Home’s Attic With DIY Radiant Barrier
Published: September 19, 2024
Learn how to install a DIY radiant barrier in your attic to improve energy efficiency, reduce cooling costs, and enhance home comfort.
(Many of the links in this article redirect to a specific reviewed product. Your purchase of these products through affiliate links helps to generate commission for Storables.com, at no extra cost. Learn more)
Introduction
As homeowners, we’re always on the lookout for ways to make our homes more energy-efficient and comfortable. One spot that often gets overlooked is the attic. This space can be a major source of heat gain and loss. Radiant barriers are a popular solution for cutting down attic temperatures and lowering cooling costs. So, what exactly is a radiant barrier, and how can you install one yourself? Let’s dive in and find out.
What is a Radiant Barrier?
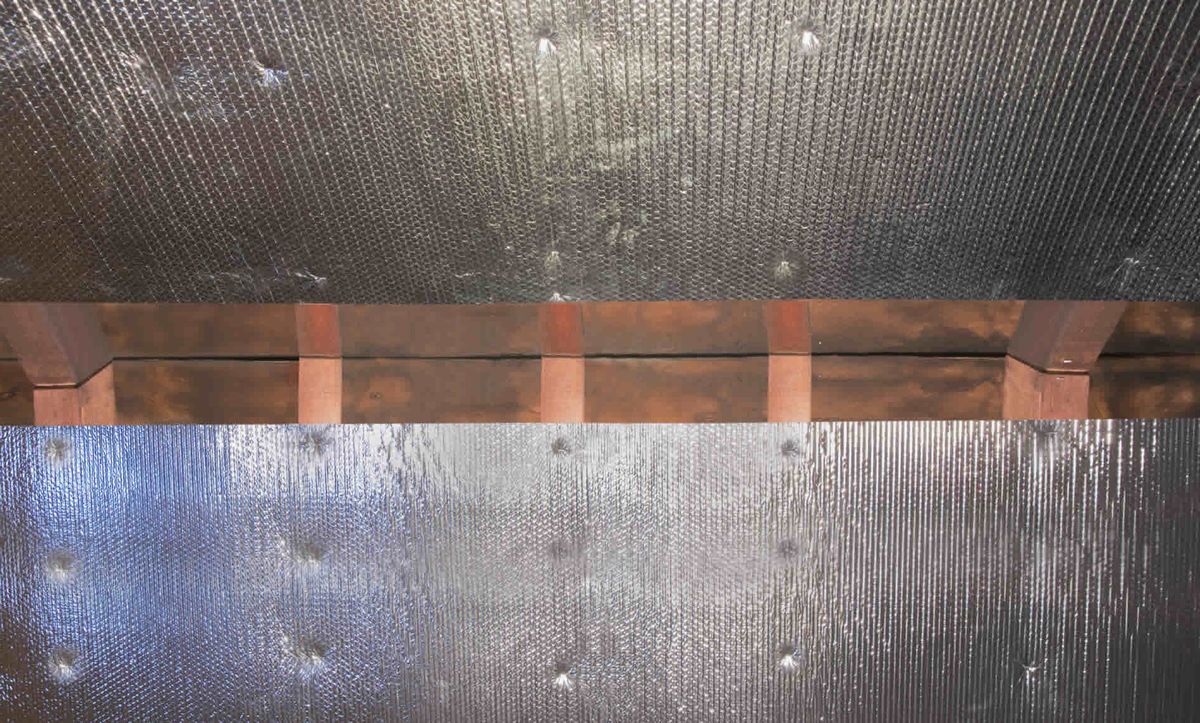
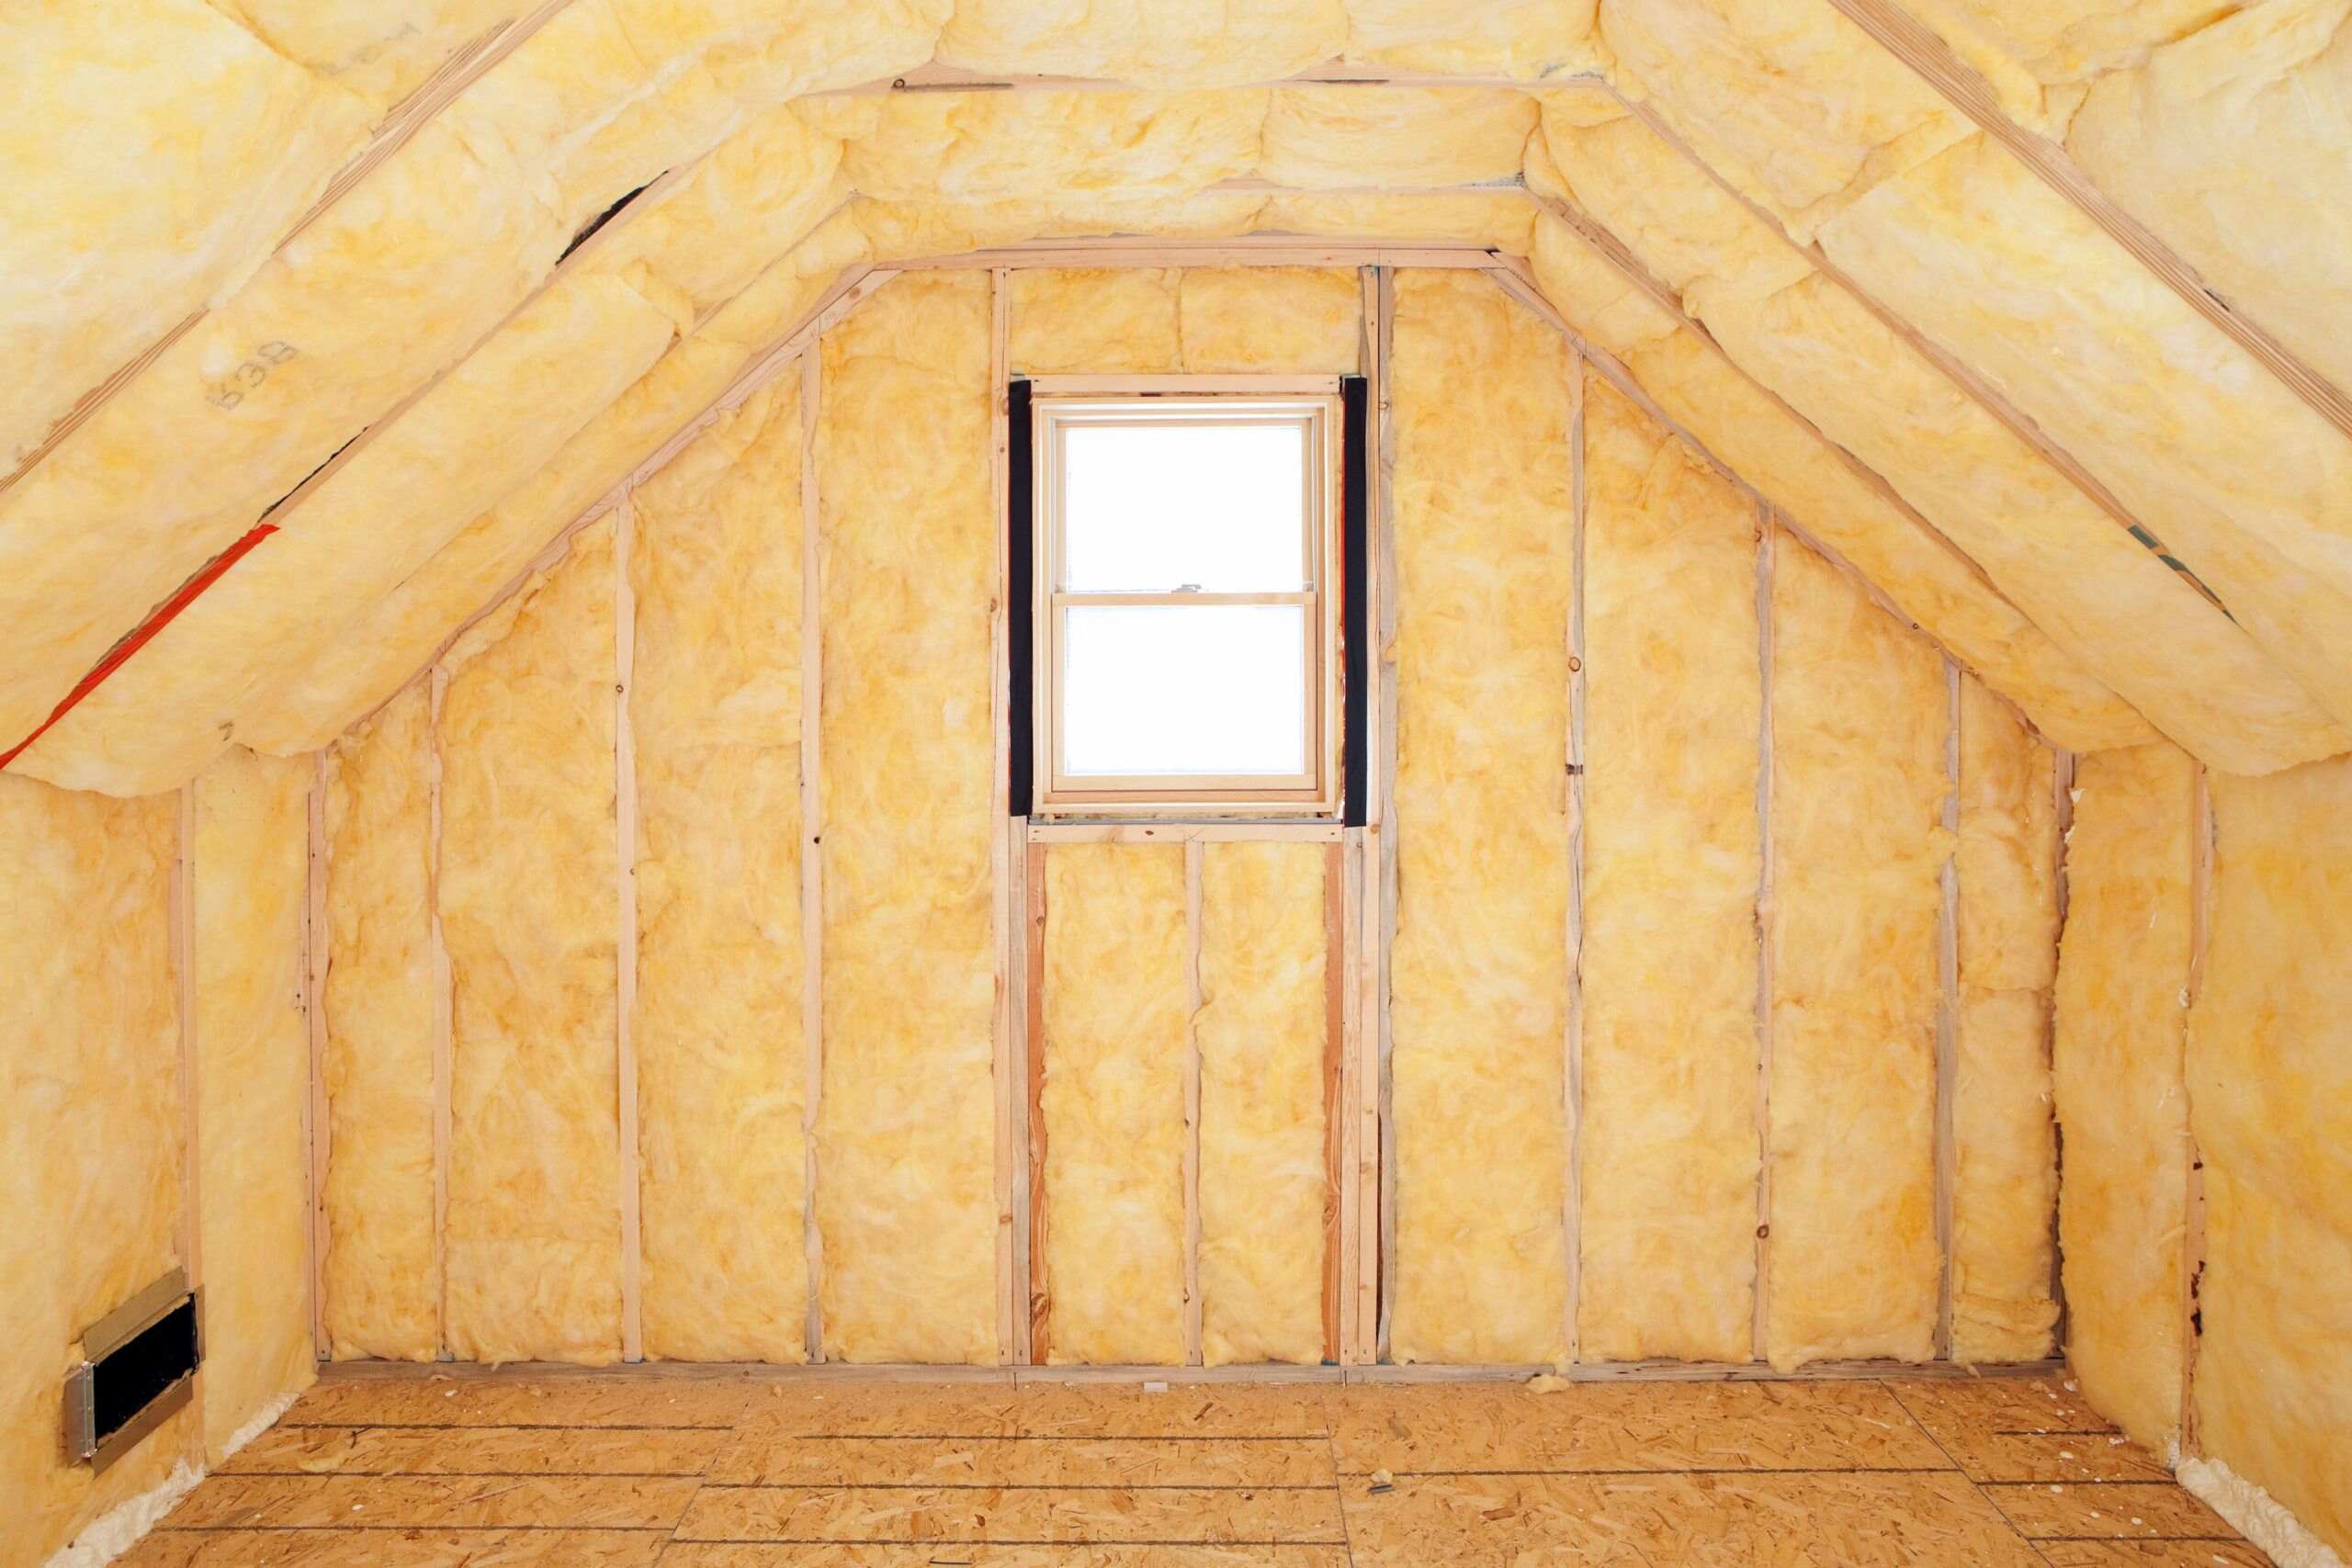
A radiant barrier is a type of insulation that reflects radiant heat instead of absorbing it. Usually made from a highly reflective material like aluminum foil, it’s installed on the underside of the roof or attic floor. The main job of a radiant barrier is to cut down the amount of radiant energy that enters the attic, which helps lower the temperature and reduce cooling costs.
How Does a Radiant Barrier Work?
Radiant barriers work by turning a high emissive surface, like raw wood sheathing, into a low emissive surface, such as reflective foil. When the sun’s energy hits the roof, it warms the wood sheathing. This warm energy then radiates down to the attic floor and ducts. By covering the underside of the roof with reflective foil, you’re essentially turning this high emissive surface into one that reflects most of this radiant energy back towards the roof, cutting down the amount of heat that enters the attic.
Benefits of Installing a Radiant Barrier
Energy Savings
Radiant barriers are super effective in hot climates where cooling costs can skyrocket. By cutting down the amount of radiant heat that enters the attic, these barriers can lower cooling costs by up to 10% in hot climates. They also help with energy efficiency by preventing heat loss during winter, though their impact might not be as big in colder climates.
Enhanced Comfort
By stabilizing indoor temperatures, radiant barriers can make your home more comfortable all year round. This is especially helpful for homes with attic HVAC systems and ductwork. The barrier helps cut down heat gain and loss through the ducts, ensuring a more consistent indoor temperature.
Environmental Benefits
Radiant barriers boost energy efficiency, which means less energy is needed to heat and cool your home. This leads to lower greenhouse gas emissions and helps promote more sustainable living practices.
Types of Radiant Barriers
Foil-Based Radiant Barriers
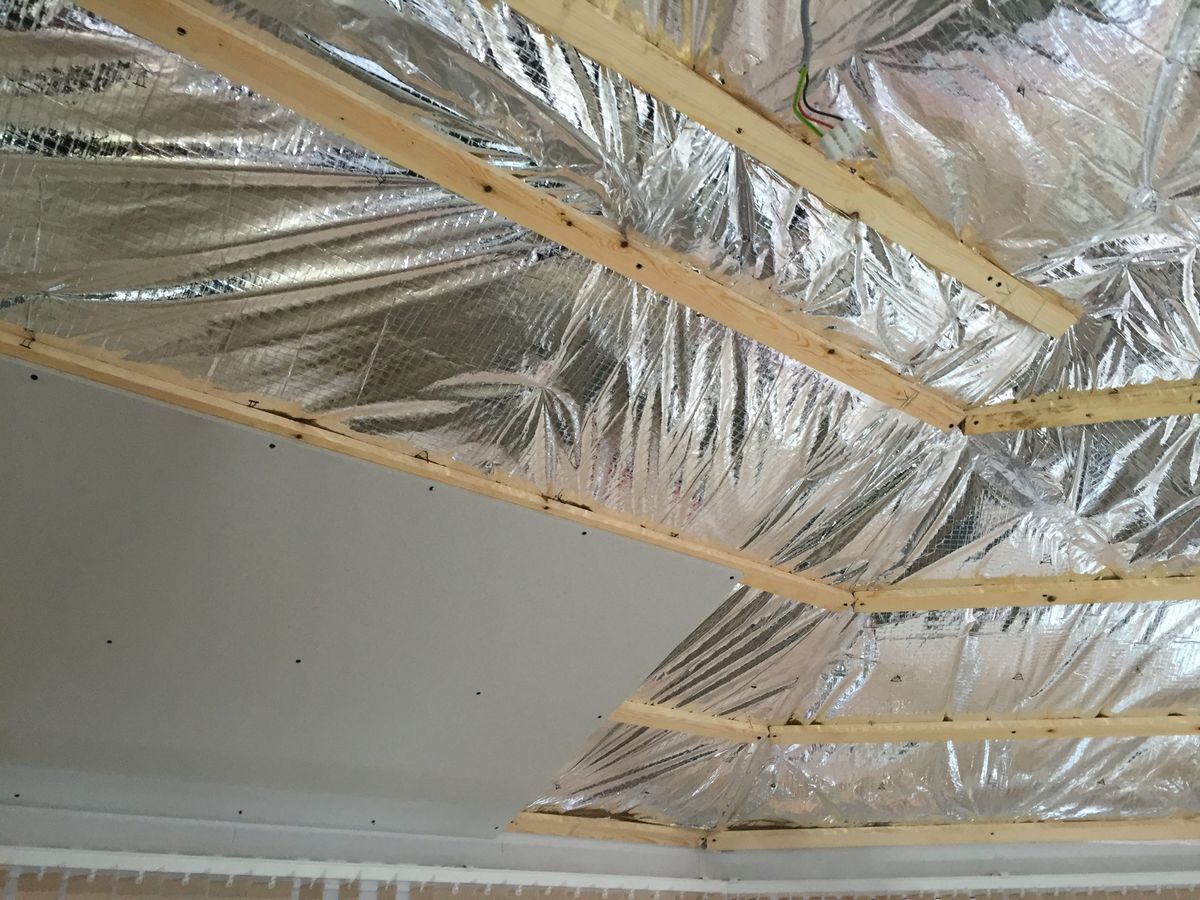
Foil-based radiant barriers are the most common type. They consist of a thin layer of reflective material, usually aluminum foil, attached to a backing material like cardboard, plastic film, or plywood. These barriers are easy to install and can be applied directly to the underside of the roof rafters or attic floor.
Spray-On Radiant Barriers
Spray-on radiant barriers involve applying a reflective paint or coating directly to the roof deck or other surfaces in the attic. These barriers are generally not recommended for DIY installation due to the specialized equipment and expertise needed for proper application.
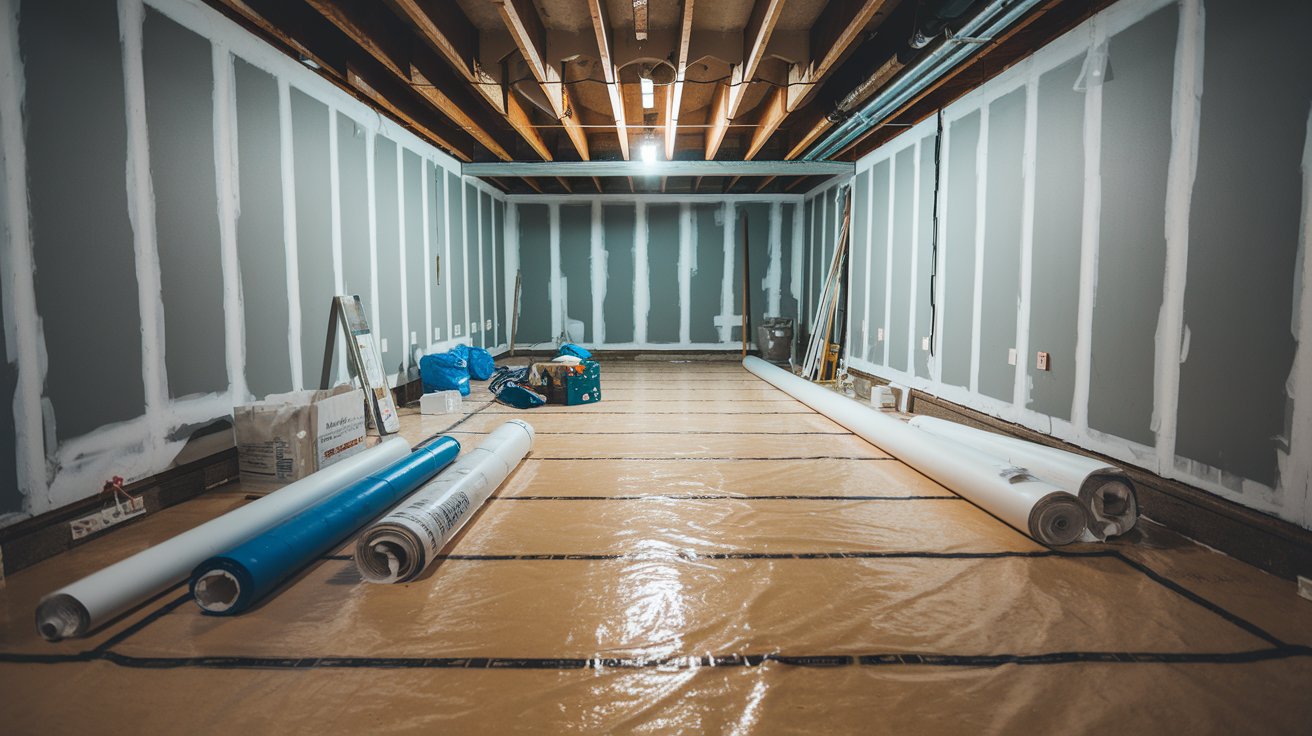
DIY Installation of a Radiant Barrier
Installing a radiant barrier can be a DIY project if you’ve got the right materials and follow the correct steps. Here’s a step-by-step guide:
Materials Needed
- Painter’s Masking Paper: One roll (36" x 33.3 yards)
- Aluminum Foil: Two rolls (12" x 75')
- 3M Super 77 Spray Adhesive: Two cans
- Tape Measure
- Broom
- Razor Blade
- Staple Gun with Staples
Steps for Installation
-
Prepare the Area: Clear the attic space of any debris or obstructions. Make sure the area is clean and dry.
-
Measure and Cut the Materials: Measure out the lengths of masking paper and aluminum foil needed for your attic space. Cut them into manageable sections.
-
Apply Adhesive: Spray the 3M Super 77 adhesive onto the masking paper in a 2-foot wide pattern.
-
Attach Aluminum Foil: Roll out the aluminum foil over the adhesive-covered masking paper. Make sure the shiny side of the foil faces downwards towards the attic floor.
-
Secure the Barrier: Use staples to secure the radiant barrier to the underside of the roof rafters or attic floor. Make sure there’s an air gap on both sides of the barrier for optimal performance.
Read more: How To Install Radiant Barrier In Attic
Considerations Before Installing a Radiant Barrier
Climate and Insulation
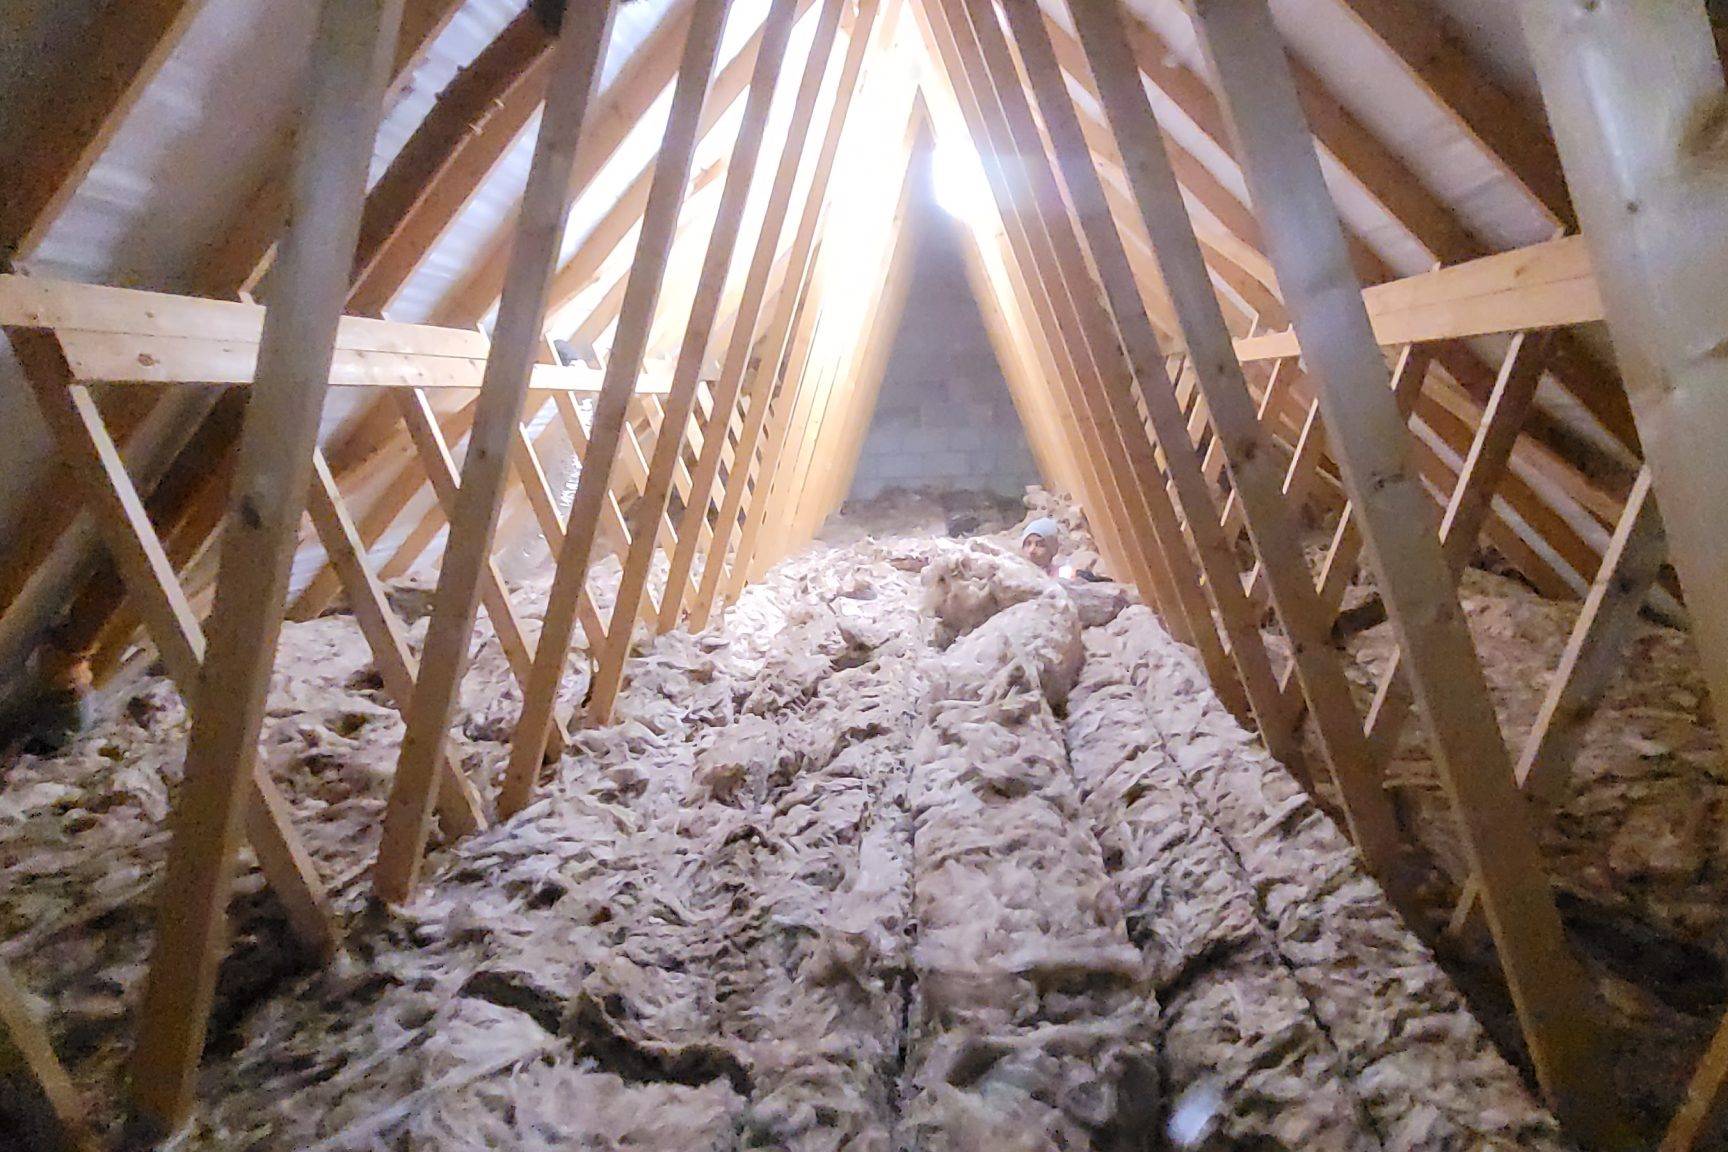
The effectiveness of a radiant barrier depends on several factors including climate, amount of insulation in the attic, and home orientation. In hot climates with minimal attic insulation, radiant barriers can be particularly effective in reducing cooling costs.
HVAC Systems and Ductwork
Radiant barriers are most beneficial for homes with HVAC systems and ductwork running through the attic. They help cut down heat gain and loss through these ducts, ensuring a more consistent indoor temperature.
Retrofit vs. New Construction
While radiant barriers can be installed in both new and existing homes, they’re more effective in new construction where they can be integrated into the building envelope from the start. In retrofit applications, it might be more challenging to achieve optimal results due to existing insulation and structural conditions.
Read more: What Is Radiant Barrier Insulation
Additional Tips for Maximizing Energy Efficiency
Air Sealing and Insulation
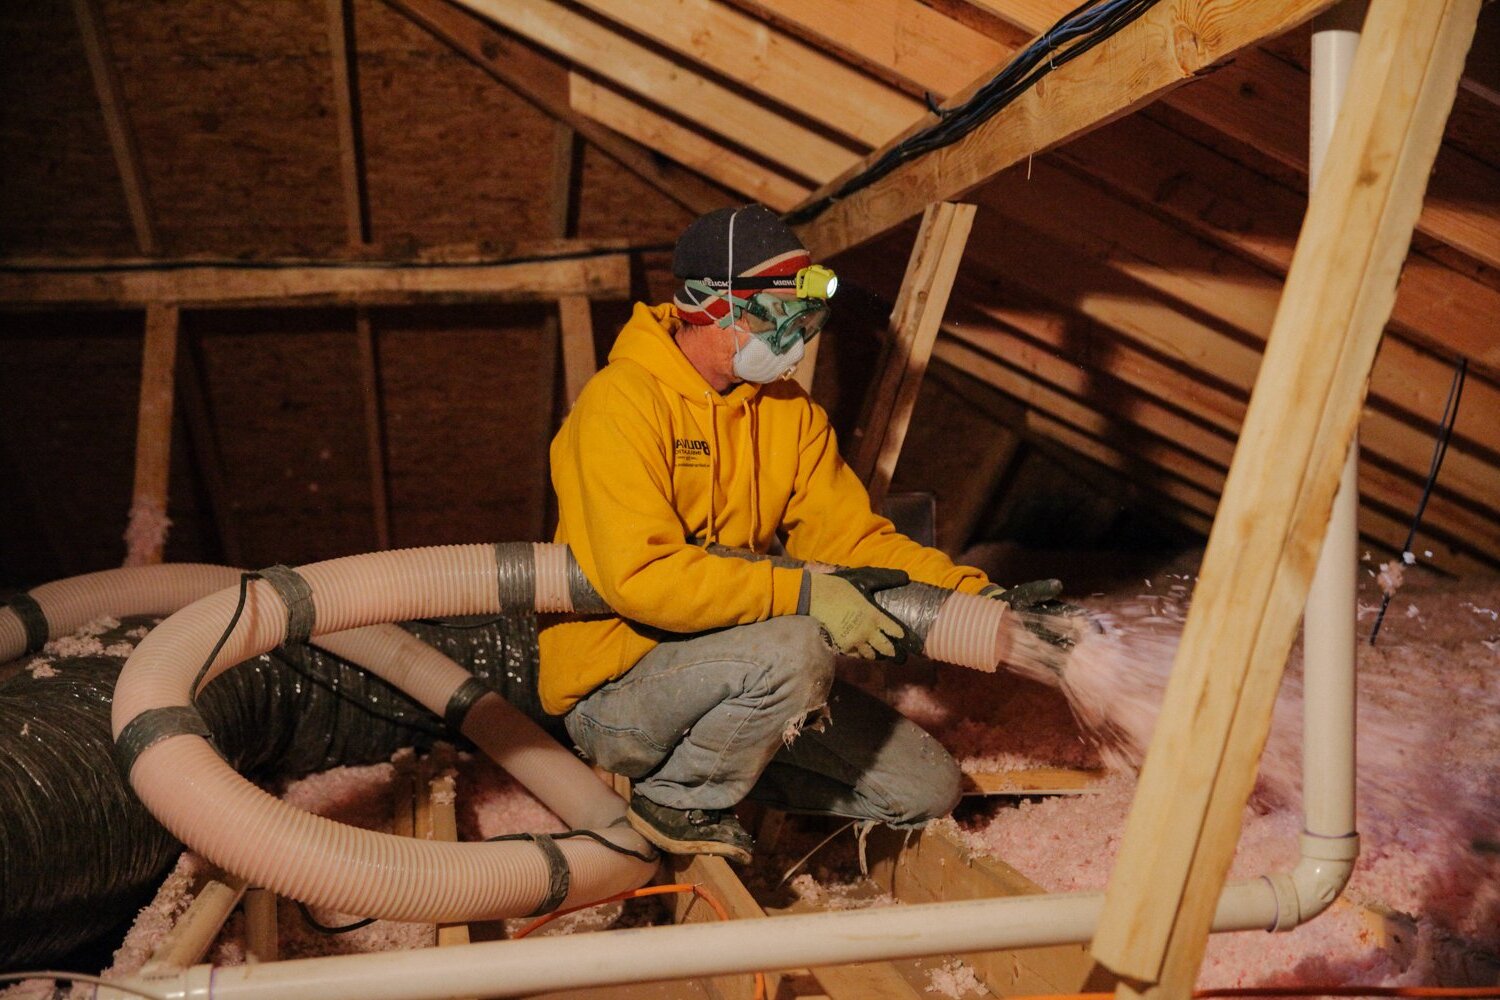
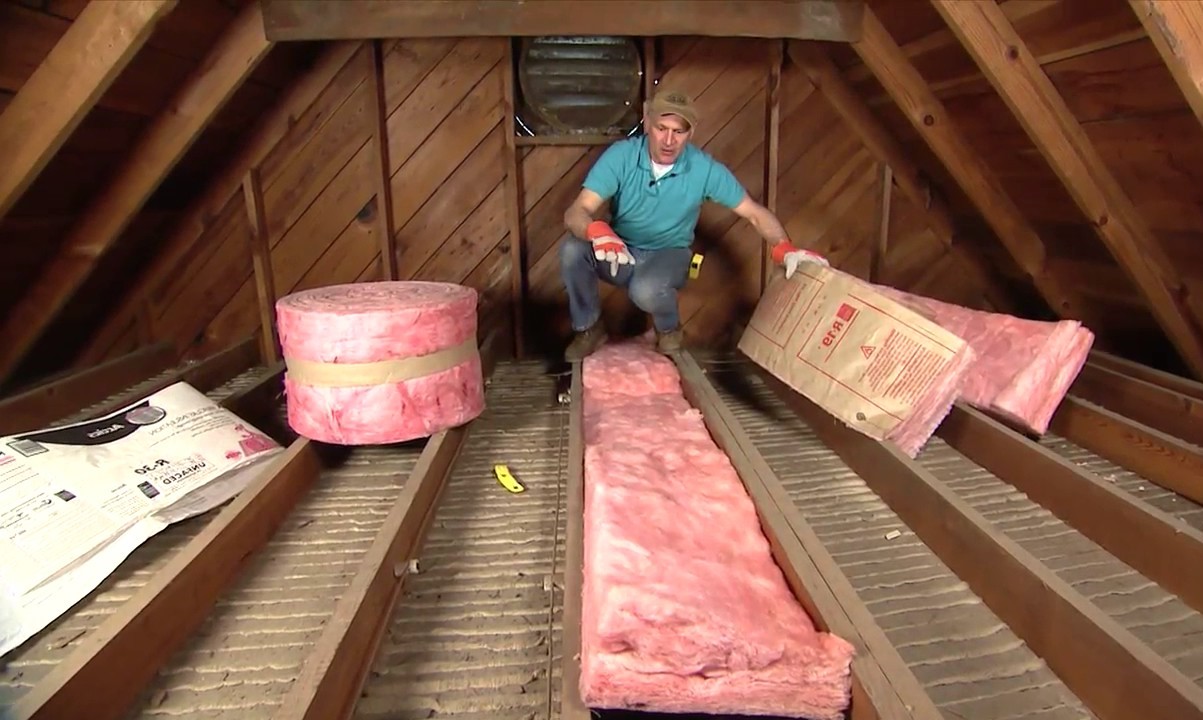
In addition to installing a radiant barrier, it’s crucial to ensure that your attic space is well-insulated and air-sealed. This includes sealing any gaps or cracks around vents, chimneys, and other openings to prevent air leaks.
Ventilation
Proper ventilation is also essential for maintaining a healthy attic environment. Consider installing a ridge vent or other ventilation systems to ensure adequate airflow and prevent moisture buildup.
Reflective Roofing
Another effective way to reduce attic temperatures is by using reflective roofing materials like light-colored shingles or metal roofing. These materials reflect solar radiation rather than absorbing it, cutting down heat gain in the attic.
Read more: How To Install Radiant Barrier Insulation
Conclusion
Upgrading your home's attic with a DIY radiant barrier can be a cost-effective way to improve energy efficiency and reduce cooling costs. By understanding how radiant barriers work and following the steps outlined above, you can create an effective barrier that reflects radiant heat away from your living spaces. While they might not be the best solution for every home or climate, they’re particularly beneficial for homes with HVAC systems and ductwork running through the attic. Combine this with proper insulation, air sealing, and ventilation for maximum energy savings and a more comfortable living environment.
Was this page helpful?
At Storables.com, we guarantee accurate and reliable information. Our content, validated by Expert Board Contributors, is crafted following stringent Editorial Policies. We're committed to providing you with well-researched, expert-backed insights for all your informational needs.

0 thoughts on “Upgrading Your Home’s Attic With DIY Radiant Barrier”