Home>Ideas and Tips>Upgrading Your Home’s Exterior Trim DIY Painting Guide
Ideas and Tips
Upgrading Your Home’s Exterior Trim DIY Painting Guide
Published: September 17, 2024
Enhance your home's curb appeal with our DIY exterior trim painting guide. Learn step-by-step techniques for a professional finish.
(Many of the links in this article redirect to a specific reviewed product. Your purchase of these products through affiliate links helps to generate commission for Storables.com, at no extra cost. Learn more)
Introduction
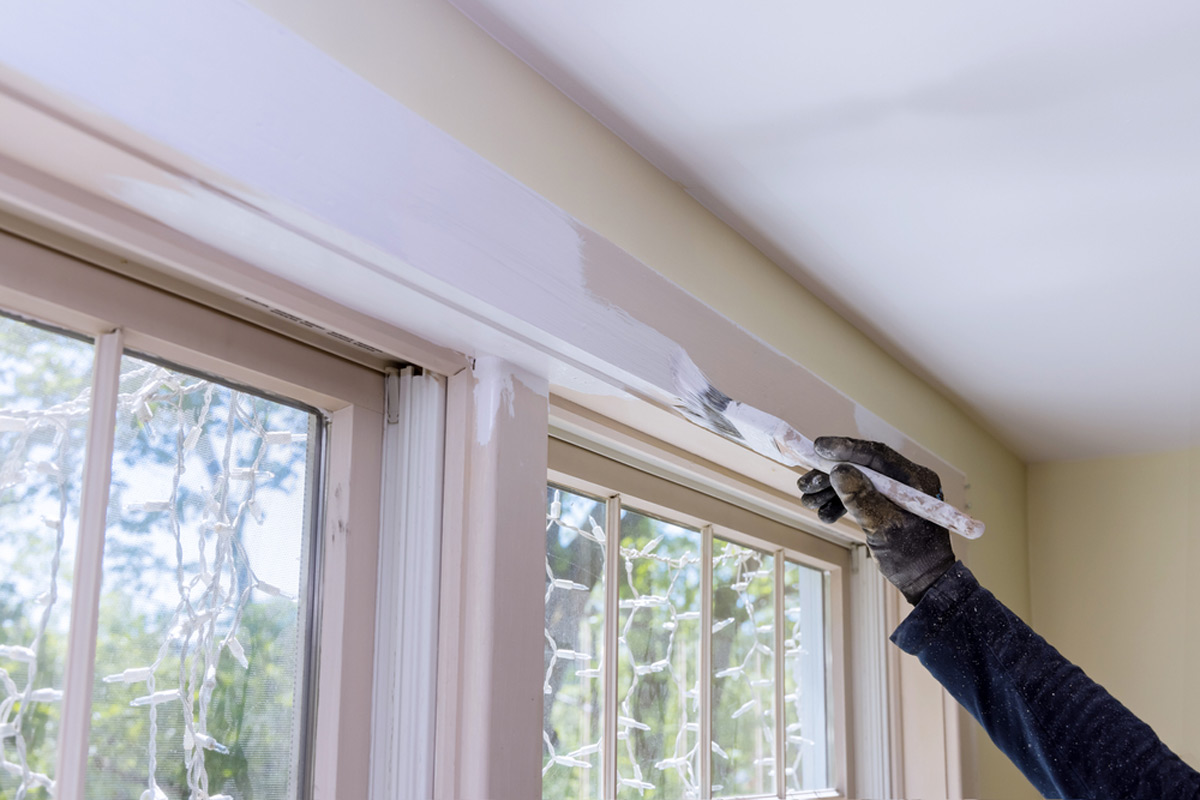
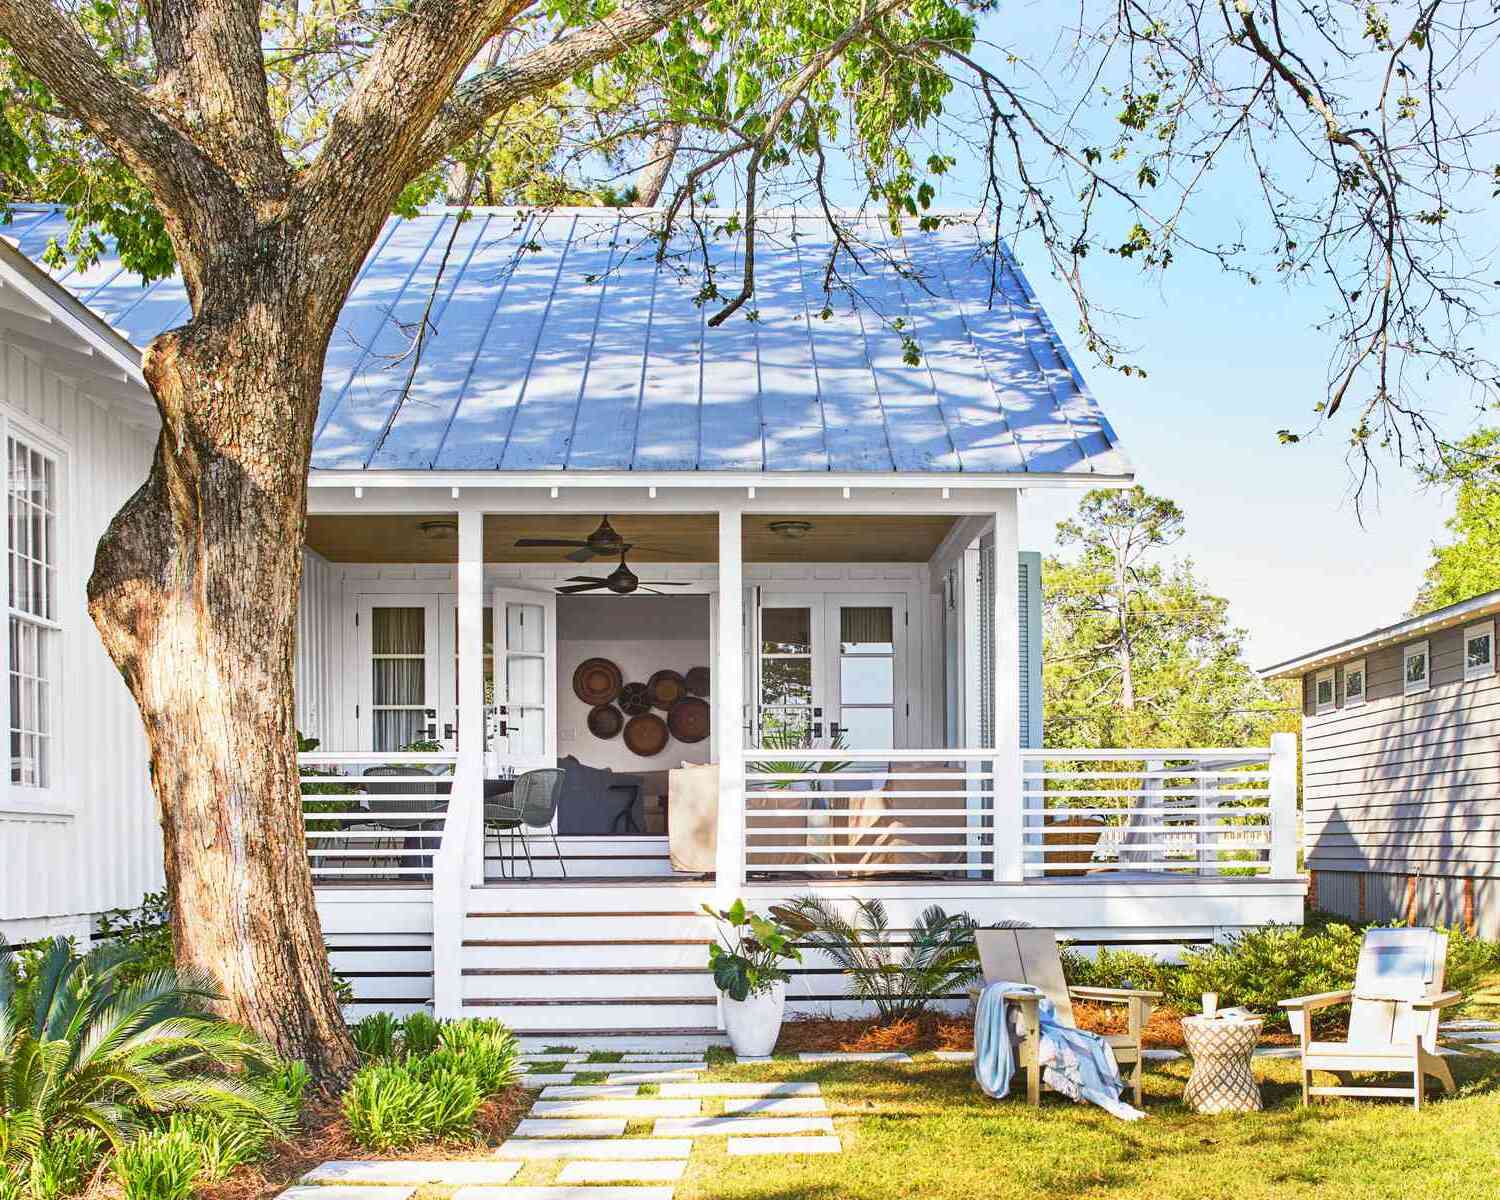
Upgrading the exterior trim of your home is one of the most effective ways to enhance its curb appeal and protect it from the elements. The exterior trim, which includes the edging surrounding windows, doors, and roof, plays a crucial role in both the aesthetic and structural integrity of your house. In this article, we will guide you through the process of painting your home's exterior trim, providing detailed steps and essential tips to ensure a professional-looking finish.
Understanding the Exterior Trim
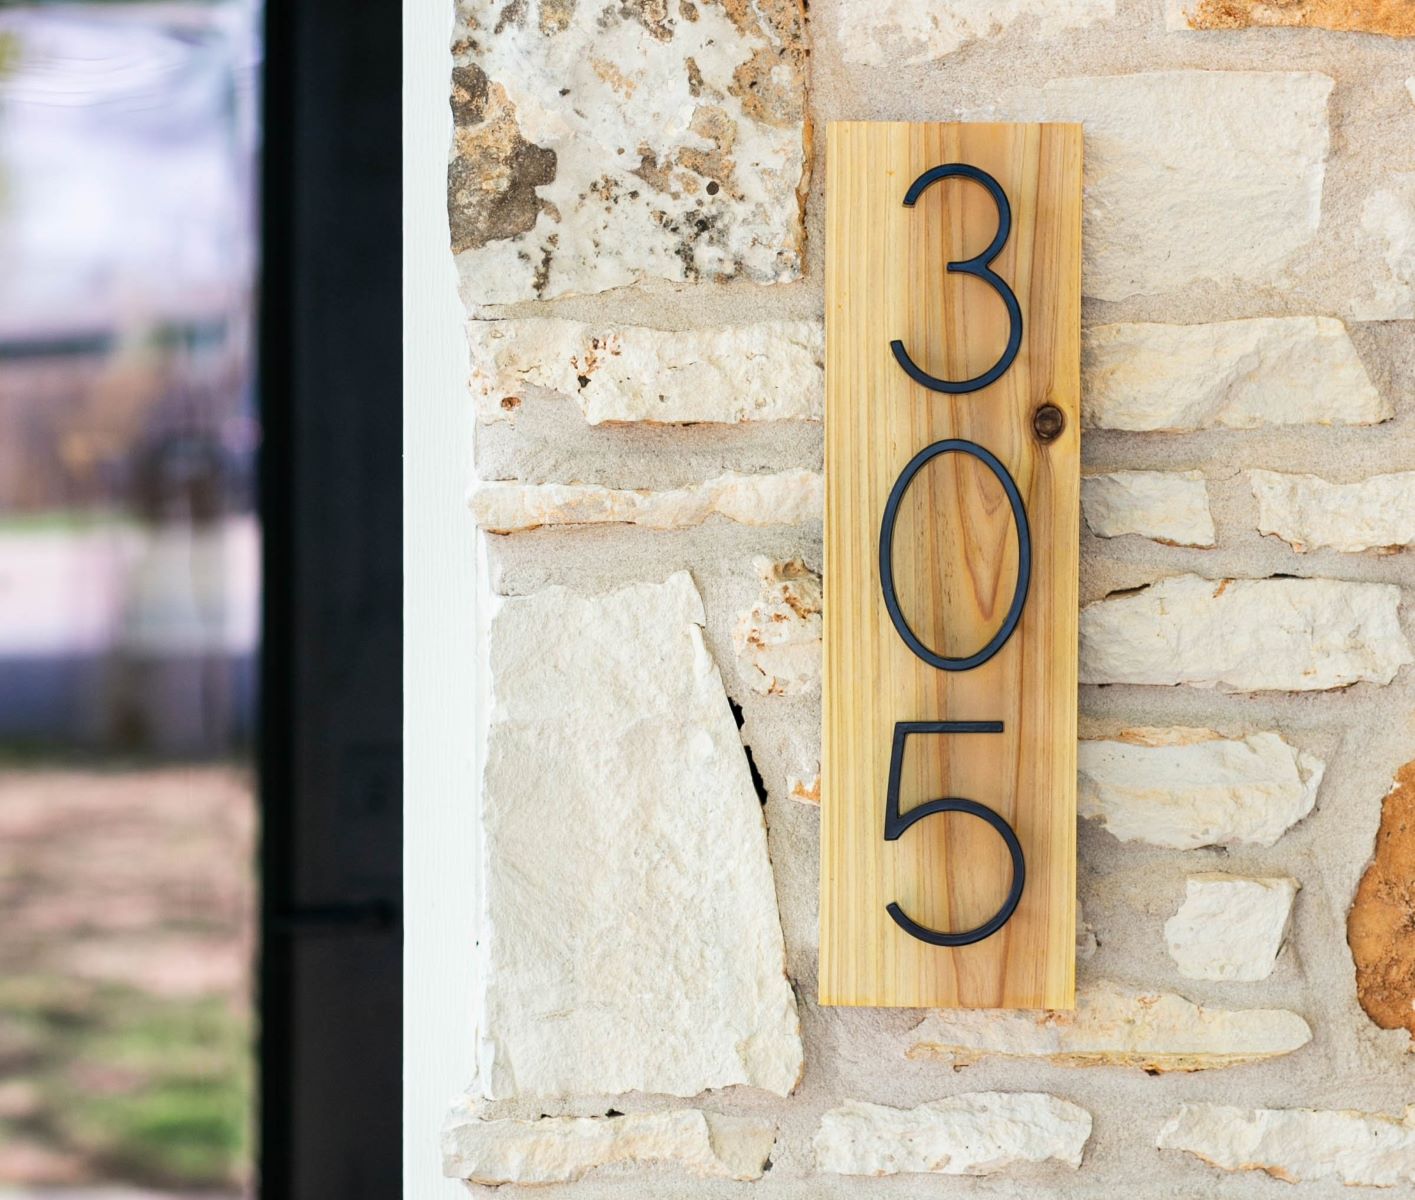
Before you start painting, it's essential to understand what the exterior trim is and where it is located. The exterior trim typically includes:
- Window Edging: The decorative molding around windows.
- Door Frames: The frames that surround doors.
- Roof Edging: The trim that runs along the edges of the roof.
- Decorative Brackets: Features like corbels in Victorian-style houses that connect siding to an exterior overhang or roof for added support.
- Window Shutters and Flower Boxes: These are usually considered accents but can be painted to match the trim.
Understanding the different components of your exterior trim will help you plan and execute the painting process more effectively.
Is It a Good Idea to Only Paint the Trim?
Painting only the trim of your home can be a good idea if you want to revamp the look of your home without repainting the entire structure. The exterior trim serves as both a decorative and functional element. It adds an extra layer of protection to the features it surrounds by sealing gaps and preventing water from seeping into the walls. However, if your home's exterior is showing signs of fading, chipping, or other wear and tear, it might be time to consider repainting the entire structure.
When to Repaint the Entire Structure
Depending on the material used to construct your house, your home's exterior should be repainted every 5 to 10 years. If you notice significant damage or fading, it's advisable to repaint the entire structure rather than just the trim. This ensures that your home remains structurally secure and maintains its aesthetic appeal.
Choosing the Right Paint Color
Choosing the right paint color for your exterior trim is crucial as it can significantly impact the overall look and feel of your home. Here are some tips to consider:
- Match the Current Color Palette: If you enjoy the current color palette of your home, choosing the same color to repaint your trim will help bring it back to life and add that extra layer of protection.
- Add Contrast: If you want to add more contrast but don't want the colors to clash, choose a hue a few shades lighter or darker than your home's exterior.
- Architectural Design: Consider how the paint color will draw attention to the architectural design of your home. Bold colors can add a fun pop of color, while natural tones can create a more subdued look.
For additional tips on picking the best exterior paint colors, refer to our previous blog post.
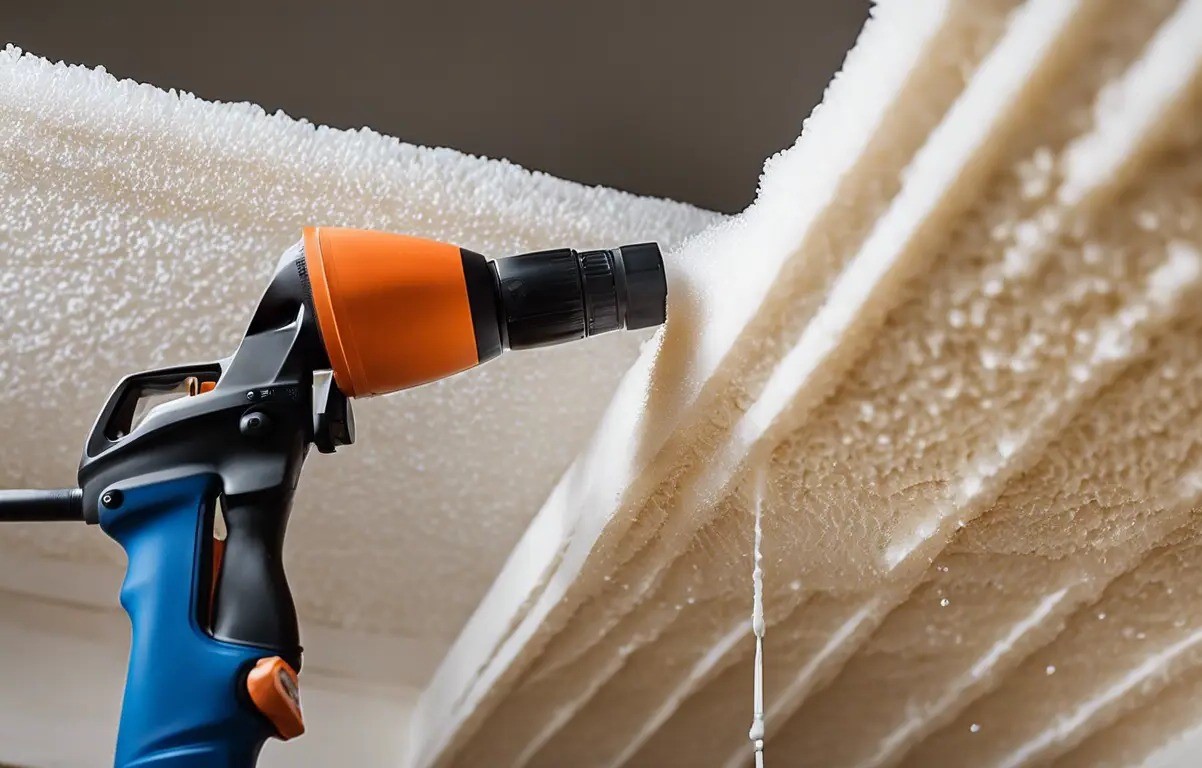
Preparing for Painting
Before you start painting, it's essential to prepare your exterior trim properly. Here are some steps you should follow:
- Clean the Trim: Use a pressure washer or a soft brush to remove dirt, grime, and mildew from the trim.
- Scrape Off Old Paint: If there is old paint on the trim, use a paint scraper to remove it. Be careful not to gouge the surface.
- Sand the Surface: Use 120-grit sandpaper to smooth out the surface and create a better bond between the old surface and new paint.
- Prime the Surface (If Necessary): If you're using a different color or type of paint, apply a primer first to ensure better adhesion and coverage.
Painting Techniques
Once you've prepared your exterior trim, it's time to start painting. Here are some techniques to keep in mind:
- Use the Right Tools: Use high-quality brushes and rollers specifically designed for exterior painting.
- Apply Paint in the Right Direction: For wood siding, apply paint in the direction of the wood grain. For masonry surfaces, use a roller for large areas and a brush for mortar lines and details.
- Overlap Strokes: To ensure even coverage, overlap each stroke by about half the width of the brush or roller.
- Work from Top to Bottom: Start painting from the top of the house and work your way down to prevent drips and runs.
Specific Painting Techniques for Different Surfaces
-
Wood Siding:
- After cleaning, scraping, and priming your surface, apply paint in the direction of the wood grain.
- Start at the top of the house and work your way down.
- Overlap each stroke so that you have even coverage.
-
Brick and Masonry:
- Use a roller for large areas and a brush for mortar lines and details.
- Choose a paint that’s specifically formulated for masonry surfaces for proper adhesion.
-
Vinyl and Aluminum Siding:
- Thoroughly clean vinyl or aluminum siding before painting.
- Use a paint that’s specifically formulated for these materials to achieve proper adhesion.
- Avoid using a color that’s significantly darker than the original color when painting vinyl siding, as this can cause the siding to warp from increased heat absorption.
Safety Precautions
Painting your home's exterior can be a physically demanding task, especially if you're working at heights. Here are some safety precautions to keep in mind:
-
Ladder Safety:
- Use a sturdy ladder.
- Place the ladder on a firm, level surface.
- Maintain three points of contact (usually two hands and one foot, or two feet and one hand) when climbing.
- Make sure the ladder extends at least 3 feet over the point of top support. This is typically the roof’s edge.
- Never overreach. Move the ladder instead.
-
Dealing with Lead Paint:
- Always test old paint for lead before you disturb it.
- Dried lead paint isn’t dangerous until you scrape or sand it, and sanding is especially hazardous because it creates dust that can enter your lungs.
- If the old paint does contain lead, follow EPA guidelines for lead-safe work practices. You should also consider hiring a certified lead abatement professional, particularly if you have young children. Lead exposure is especially dangerous to babies and children.
Best Practices for Exterior Painting
Following best practices and planning ahead will help you achieve a professional-looking finish and lead to a longer-lasting paint job. Here are some tips:
-
Weather Considerations:
- Pay close attention to weather conditions when planning your painting project.
- Ideal conditions include humidity below 60%, no rain in the forecast for at least 24 hours, and temperatures between 50°F and 85°F.
- Painting in direct sunlight or extreme heat can cause the paint to dry too quickly, leading to visible brush strokes or lap marks. Painting when it’s too cold can prevent proper curing.
-
Painting Order:
- Follow this order when painting your home’s exterior:
- Trim
- Siding
- Doors and windows
- Follow this order when painting your home’s exterior:
Materials Needed for Exterior Painting
Painting the exterior of your home requires quite a bit of tools and supplies. Here are some essential items you'll need:
- Brushes and Rollers: High-quality brushes and rollers specifically designed for exterior painting.
- Extension Pole: For reaching high areas without using a ladder.
- Paint Tray: For holding paint and rollers.
- Stir Stick: For mixing paint thoroughly.
- Hook: For hanging paint cans or tools.
- Flathead Screwdriver: For scraping old paint or applying caulk.
- Painter’s Tape: For protecting surfaces you don’t want painted.
- Painter’s Plastic: For covering windows, doors, and lights.
- Canvas Drop Cloths: For protecting floors and surfaces from paint spills.
- Caulk Gun: For applying exterior caulk.
- Exterior Caulk: For sealing gaps around windows and doors.
- Epoxy Filler: For repairing cracks in the trim.
- Putty Knife: For applying putty to fill holes or gaps.
- 120-Grit Sandpaper: For smoothing out surfaces before painting.
- Palm Sander: For sanding large areas quickly and efficiently.
- Paint Scraper: For removing old paint from surfaces.
- Pressure Washer: For cleaning dirt and grime from the trim before painting.
- Ladder: For reaching high areas safely.
- Respirator: For protecting yourself from inhaling paint fumes or dust.
- Goggles: For protecting your eyes from paint splatters or debris.
Conclusion
Upgrading your home's exterior trim through DIY painting is a rewarding project that can significantly enhance your home's curb appeal and protect it from the elements. By following these steps and tips, you can achieve a professional-looking finish that will last for years to come. Remember to always prioritize safety when working at heights or dealing with hazardous materials like lead paint. With the right tools and preparation, you can transform your home's exterior trim into a beautiful and durable feature that adds value to your property.
Additional Resources
For more detailed information on painting techniques and safety precautions, refer to the following resources:
- Timmins Painting: A professional residential painting company that provides comprehensive guides on exterior painting.
- This Old House: Offers detailed guides on how to safely paint your home's exterior, including specific techniques for different surfaces.
- Get Organized Columbus: Provides a complete guide to painting your home, covering essential tools and supplies as well as weather considerations.
By combining these resources with the steps outlined in this guide, you'll be well-equipped to tackle your exterior painting project with confidence and achieve stunning results.
Was this page helpful?
At Storables.com, we guarantee accurate and reliable information. Our content, validated by Expert Board Contributors, is crafted following stringent Editorial Policies. We're committed to providing you with well-researched, expert-backed insights for all your informational needs.


0 thoughts on “Upgrading Your Home’s Exterior Trim DIY Painting Guide”