Home>Articles>Your Step-by-Step Guide To Painting Eaves And Soffits
Articles
Your Step-by-Step Guide To Painting Eaves And Soffits
Modified: August 30, 2024
Learn how to paint eaves and soffits with our comprehensive step-by-step guide. Discover valuable tips and tricks in this helpful article.
(Many of the links in this article redirect to a specific reviewed product. Your purchase of these products through affiliate links helps to generate commission for Storables.com, at no extra cost. Learn more)
Introduction
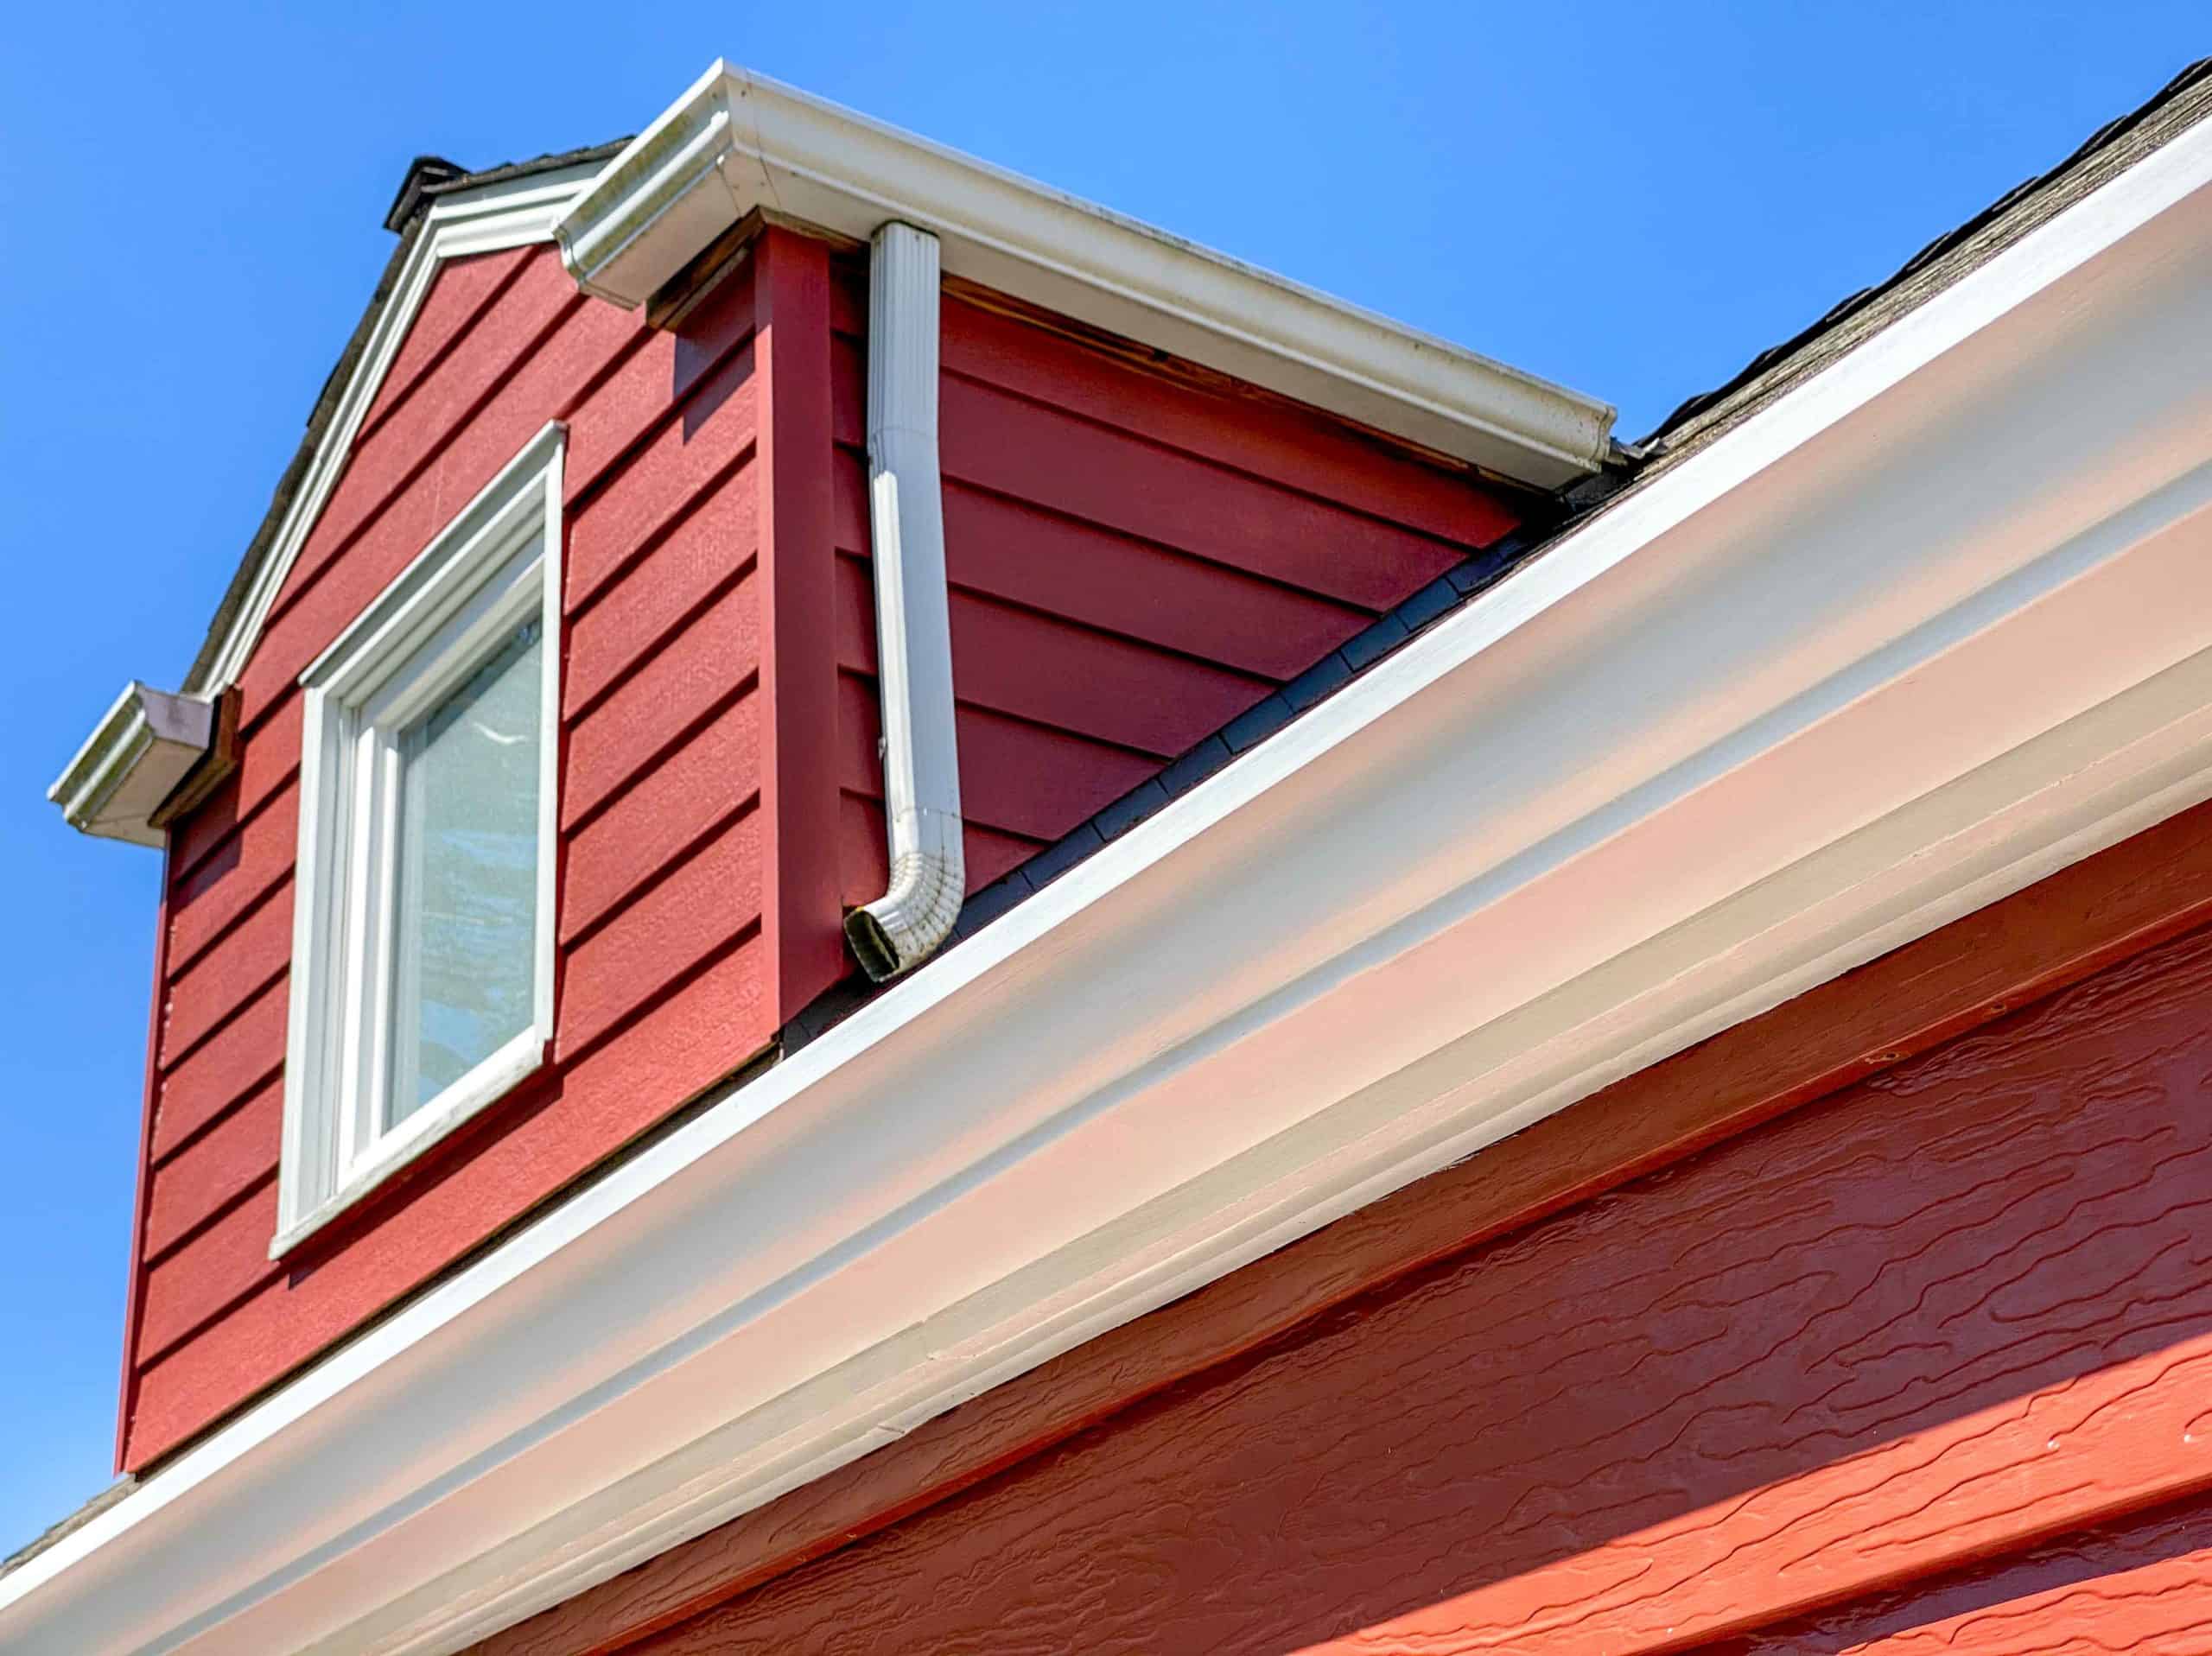
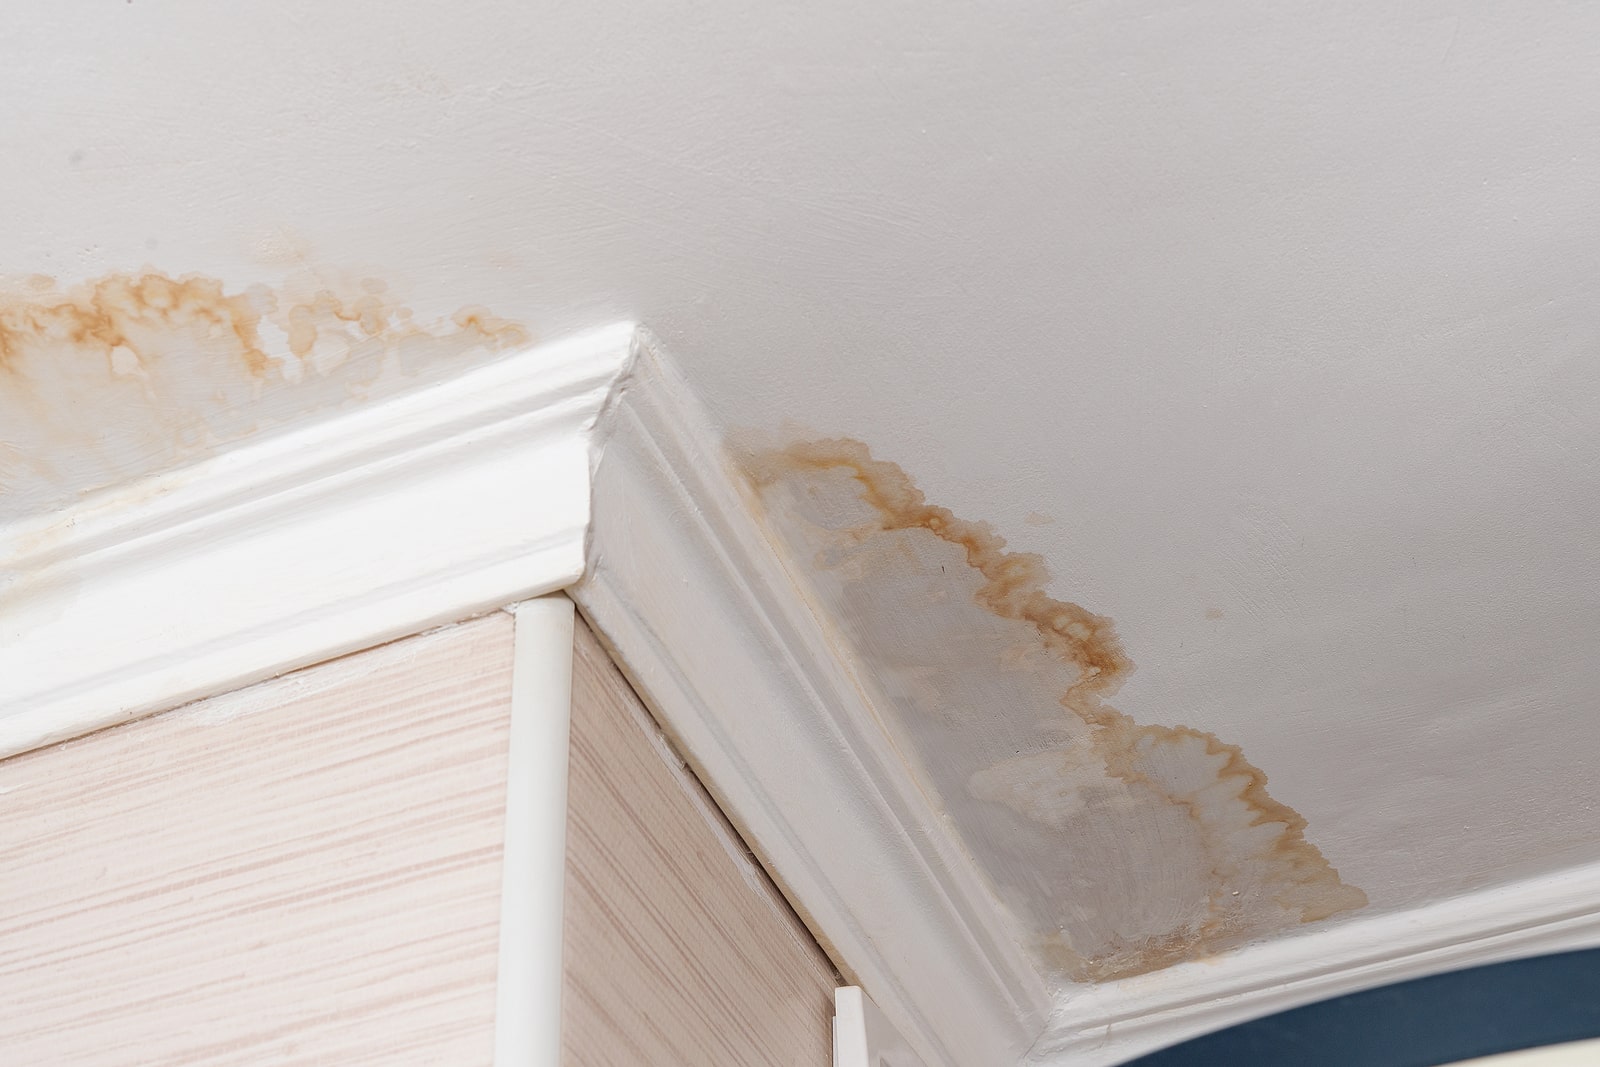
Painting the eaves and soffits of your home can greatly enhance its curb appeal and protect it from weather damage. These often-overlooked areas, located under the roof overhang, are susceptible to moisture, mold, and rot if not properly maintained. A fresh coat of paint not only improves the appearance of your home but also forms a protective barrier against the elements.
In this step-by-step guide, we will walk you through the process of painting eaves and soffits, ensuring that you accomplish the task effectively and efficiently. From gathering the necessary tools and materials to applying the final coat, each step will be explained in detail to help you achieve professional-looking results.
Before we dive in, keep in mind that safety should always be your top priority. Make sure to use appropriate protective gear, such as gloves and safety goggles, and work on a stable ladder or scaffold. Additionally, check the weather forecast to ensure optimal conditions for painting.
Now, let’s get started on transforming your eaves and soffits with a fresh, beautiful coat of paint!
Key Takeaways:
- Transform your home’s appearance and protect it from weather damage by following this comprehensive guide to painting eaves and soffits. From preparation to color selection, achieve professional results with ease.
- Ensure a flawless finish by meticulously cleaning, repairing, priming, and applying paint to your eaves and soffits. Take pride in the transformation and enjoy the enhanced curb appeal of your home.
Read more: How To Install Soffit Under Eaves
Step 1: Gather the necessary tools and materials
Before you begin painting your eaves and soffits, it’s essential to gather all the necessary tools and materials. Having everything prepared ahead of time will help streamline the process and ensure you have everything you need.
Here are the tools and materials you’ll need:
- Painter’s tape: This will be used to protect adjacent surfaces.
- Dropsheets or plastic sheets: These will protect the surrounding areas from paint drips and splatters.
- Paintbrushes: Choose brushes that are suitable for the size of the area you’re painting.
- Roller brushes and rollers: These are ideal for larger surfaces and will help achieve a smooth finish.
- Extension poles: If your eaves and soffits are high, an extension pole will allow you to reach without straining or risking falls.
- Sandpaper: Use sandpaper with a medium grit to smooth any rough areas or remove loose paint.
- Primer: Look for a high-quality primer designed for exterior use.
- Exterior latex paint: Choose a paint specifically formulated for outdoor applications.
- Paint tray or bucket: This is where you’ll pour your paint.
- Paint stir sticks: Use these to thoroughly mix your paint.
- Cleaning solution: Select a mild detergent or a specialized cleaner for exterior surfaces.
- Scrub brush or sponge: These will be used to clean the eaves and soffits.
- Rags or towels: Keep these handy for any spills or cleanups that may occur.
- Ladder or scaffold: Ensure you have a stable, properly-sized ladder or scaffold to safely reach the eaves and soffits.
- Safety gear: Don’t forget to wear gloves, safety goggles, and a respirator mask to protect yourself from fumes and debris.
Take the time to gather all of these tools and materials before you start painting. This will prevent unnecessary delay or interruptions during the process.
Step 2: Prepare the area
Properly preparing the area before painting is crucial to achieving a smooth and long-lasting finish. This step involves cleaning the surfaces and protecting nearby areas from paint splatters or spills.
Follow these steps to prepare the area:
- Clear the area: Remove any outdoor furniture, decorations, or obstacles that may impede your painting process.
- Cover adjacent surfaces: Use painter’s tape to protect adjacent surfaces such as walls, windows, and trim. Place drop cloths or plastic sheets on the ground to shield the surrounding area from paint drips.
- Inspect for damage: Examine the eaves and soffits for any signs of damage, such as cracks, holes, or rot. Take note of any areas that require repair before painting.
- Remove loose paint: Use a paint scraper or sandpaper to remove any loose or peeling paint. Smooth out rough areas to create a stable and even surface for painting.
By taking the time to properly prepare the area, you’ll ensure that the paint adheres well and that the final result is visually appealing.
Remember, safety is paramount during this step as well. Avoid working on wet or slippery surfaces, and be cautious while using ladders or scaffolds. If needed, enlist the help of a professional to handle any repairs or difficult preparations.
Now that the area is prepped and ready, it’s time to move on to the next step: cleaning the eaves and soffits.
Step 3: Clean the eaves and soffits
Before applying paint to your eaves and soffits, it’s important to thoroughly clean the surfaces. Over time, these areas can accumulate dirt, dust, cobwebs, and other debris that can interfere with paint adhesion.
Follow these steps to properly clean your eaves and soffits:
- Mix a cleaning solution: Create a solution by diluting a mild detergent or using a specialized cleaner formulated for exterior surfaces. Follow the manufacturer’s instructions for the appropriate dilution ratio.
- Wet the eaves and soffits: Use a hose or a bucket of water to wet the surfaces. This will help loosen and remove any loose dirt or debris.
- Apply the cleaning solution: Using a scrub brush or sponge, apply the cleaning solution to the eaves and soffits. Work in small sections to ensure thorough cleaning.
- Scrub the surfaces: Gently scrub the eaves and soffits using the scrub brush or sponge. Pay close attention to areas with stubborn stains or grime. Be careful not to apply excessive pressure that could damage the surfaces.
- Rinse with water: After scrubbing, rinse the eaves and soffits with clean water. Ensure that all soap residue is completely removed.
- Dry the surfaces: Allow the eaves and soffits to dry completely before proceeding to the next step. This will prevent moisture from interfering with paint adhesion.
By cleaning the eaves and soffits thoroughly, you’ll ensure a clean and smooth surface for paint application. This will result in better adhesion and a more professional-looking finish.
Remember to take necessary safety precautions during this step. Wear gloves and safety goggles to protect your hands and eyes from the cleaning solution. Use a sturdy ladder or scaffold to access higher areas, ensuring stability and balance.
Now that the eaves and soffits are clean and dry, you’re ready to move on to step 4: repairing any damage discovered during the inspection.
Step 4: Repair any damage
During the inspection, you may have identified areas of damage on your eaves and soffits. It’s important to address these issues before proceeding with the painting process to ensure a long-lasting and structurally sound result.
Follow these steps to repair any damage on your eaves and soffits:
- Fill cracks and holes: Use a suitable exterior-grade filler or caulk to fill in any cracks or holes on the surface. Apply the filler using a putty knife or a caulking gun, following the manufacturer’s instructions. Smooth out the surface of the filler for a seamless finish.
- Replace rotted wood: If you encounter areas of rotted wood, it’s crucial to replace them. Remove the damaged sections carefully and measure and cut replacement pieces to fit. Secure the new pieces in place using screws or nails, ensuring a solid and stable attachment.
- Sand down rough areas: After filling and repairing, use sandpaper to smooth any rough areas or uneven surfaces. This will create a level base for the paint and result in a more polished look.
- Wipe away dust: Use a clean, damp cloth or sponge to remove any dust or debris left over from the repair process. This will ensure a clean surface for painting.
By addressing and repairing any damage on your eaves and soffits, you’ll not only improve their appearance but also prevent further deterioration. It’s essential to have a sturdy and reliable surface to apply the paint, ensuring a high-quality and long-lasting finish.
Remember to follow all safety protocols during this step. Use appropriate protective gear, such as gloves and safety goggles, when handling tools and materials. Take care when working with ladders or scaffolds, ensuring stability and balance.
Now that you’ve repaired any damage, it’s time to move on to step 5: priming the surface.
Step 5: Prime the surface
Applying a primer to your eaves and soffits before painting is an important step to enhance paint adhesion and improve the longevity of your paint job. Primer creates a stable base and helps seal the surface, preventing moisture penetration and potential damage.
Follow these steps to properly prime the surface:
- Choose the right primer: Select a high-quality exterior primer that is specifically designed for your eaves and soffits. Look for a primer that is compatible with the paint type you will be using.
- Prepare the primer: Stir the primer thoroughly according to the manufacturer’s instructions. This ensures that the primer is well-mixed and ready for application.
- Apply the primer: Use a paintbrush or roller to apply a thin and even coat of primer to the eaves and soffits. Work in small sections, starting from the top and moving downwards. Ensure that the primer covers the surface completely.
- Allow drying time: Refer to the primer’s instructions for the recommended drying time. It’s important to allow the primer to dry fully before proceeding to the next step.
- Inspect the primed surface: Once the primer is dry, visually inspect the primed surface for any missed spots or areas that may require additional priming. Touch up any areas as needed.
Priming the surface provides a smooth and uniform base for the paint, improving its adhesion and creating a more professional-looking finish. It also helps to enhance the durability of the paint, ensuring long-lasting results.
Remember to follow all safety guidelines while working with the primer. Use proper ventilation, wear protective gear, and avoid contact with skin or eyes. Dispose of any leftover primer or empty containers responsibly.
Now that the surface is properly primed, you’re ready to move on to step 6: choosing your paint color.
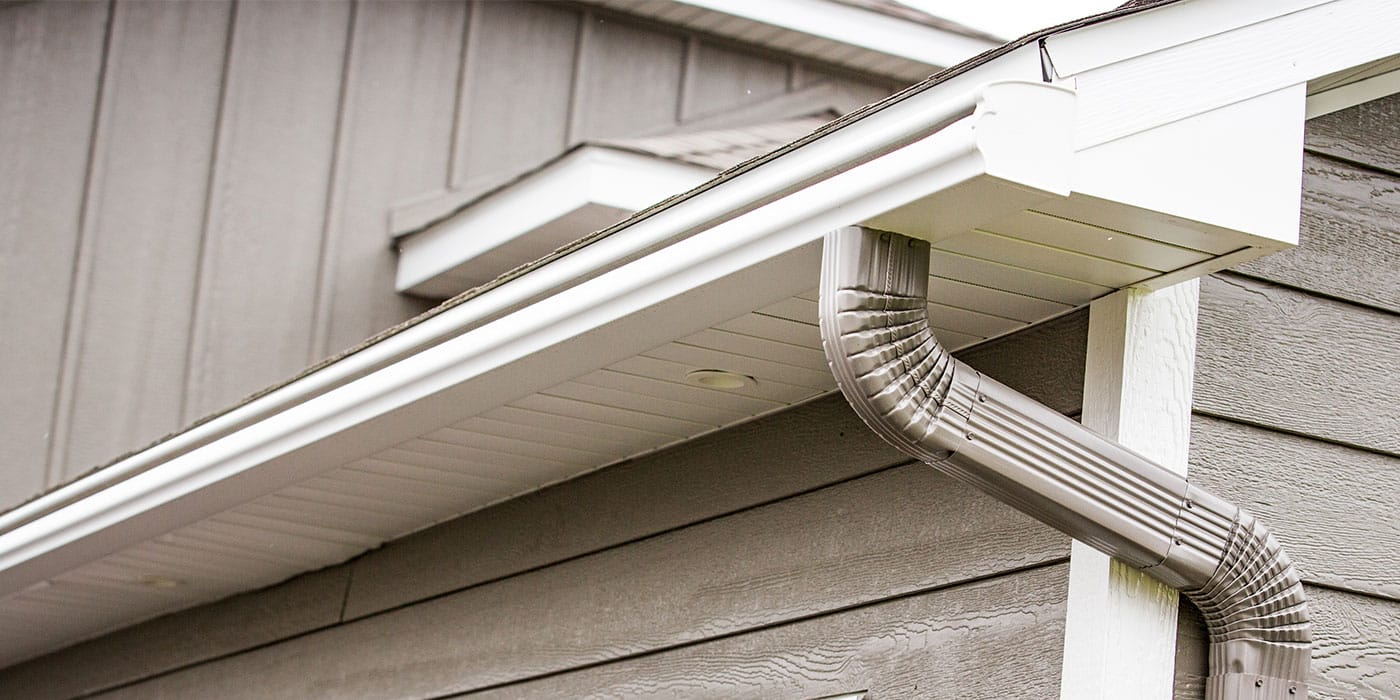
When painting eaves and soffits, make sure to clean the surfaces thoroughly before applying any paint. This will help the paint adhere better and last longer.
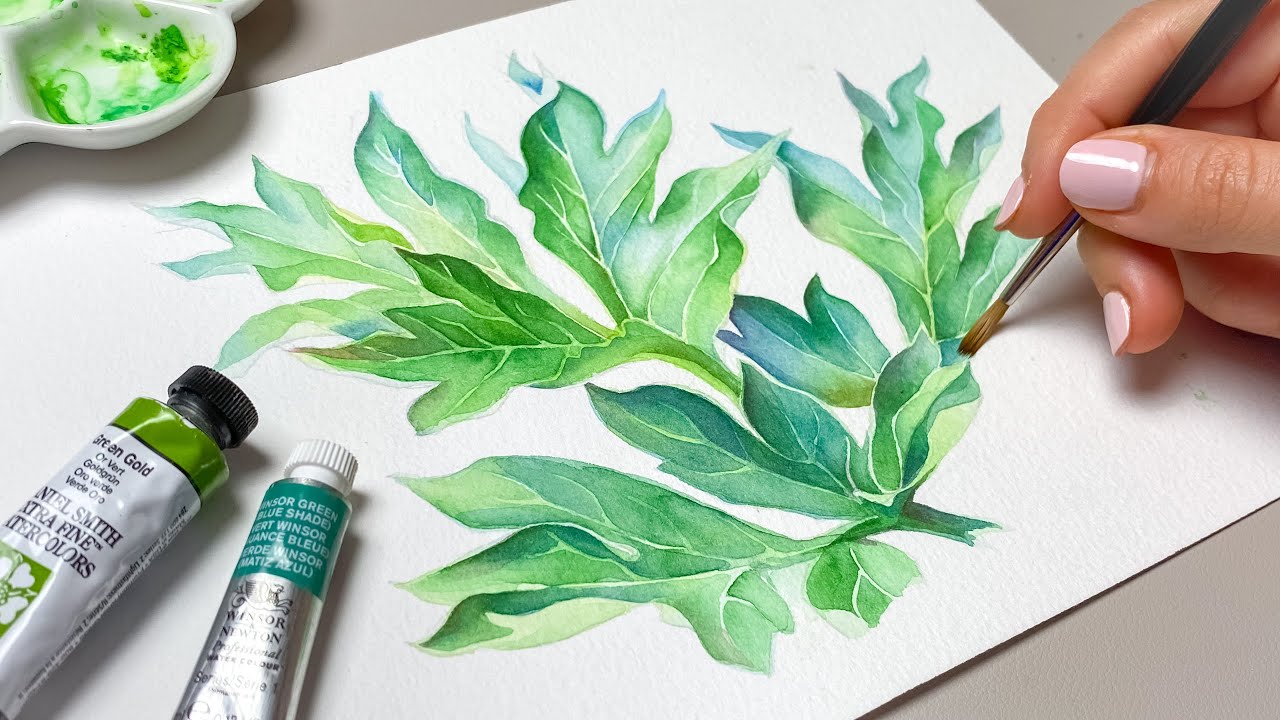
Step 6: Choose your paint color
Choosing the right paint color for your eaves and soffits is an exciting and personal decision that can greatly contribute to the overall aesthetic appeal of your home. It’s important to consider factors such as the architecture of your house, the existing color scheme, and your personal preferences.
Follow these steps to help you choose the perfect paint color:
- Consider your house’s style: Take into account the architectural style of your home. Traditional styles often pair well with neutral or earthy tones, while modern houses may look great with bold and vibrant colors. Research and gather inspiration from similar homes or consult with a professional if you need guidance.
- Assess the surroundings: Evaluate the colors of the surrounding elements, such as the roof, siding, and trim. Choose a paint color that complements these existing features and creates a cohesive look. You can either match or contrast with the surrounding colors, depending on your desired effect.
- Test paint samples: Purchase small cans of paint samples in a few different shades that you’re considering. Apply the samples to a small, inconspicuous area of your eaves and soffits and observe how they look at different times of the day. Natural lighting and shadows can significantly affect the appearance of paint colors.
- Consider the climate: Take into account the climate in your area. Hot climates may benefit from lighter-colored paints that reflect sunlight, while cooler climates may accommodate darker shades that give a cozy and inviting feel.
- Personal preference: Ultimately, choose a paint color that resonates with your personal taste and makes you happy. After all, you’ll be the one living in and enjoying your home.
Remember that paint colors can appear different on a small paint chip compared to a larger surface. Take your time to explore options and visualize how the color will look on your eaves and soffits as part of the overall composition of your home.
Once you’ve decided on the perfect paint color, you’re ready to move on to step 7: applying the paint.
Step 7: Apply the paint
Now comes the exciting part – it’s time to apply the paint to your eaves and soffits! Follow these steps to ensure a smooth and successful paint application:
- Prepare the paint: Stir the paint thoroughly to ensure consistency and even distribution of the pigment. If necessary, you can thin the paint slightly according to the manufacturer’s instructions.
- Use the right tools: Depending on the size of the area you’re painting, choose a paintbrush or roller that is suitable for the job. A paintbrush is ideal for smaller, detailed areas, while a roller is more efficient for larger surfaces.
- Apply the paint: Start at one end of the eaves or soffits and work your way across, following the natural direction of the surface. Use smooth and even strokes to apply the paint, ensuring thorough coverage. Take care to minimize drips and runs by not overloading the brush or roller with too much paint.
- Pay attention to detail: Use a smaller brush or paint pad to reach into corners, edges, and intricate areas. Take your time to achieve clean lines and a professional finish.
- Work in sections: Divide the area into manageable sections to avoid excessive drying time and to maintain a wet edge. This will help blend the paint and prevent visible brush or roller marks.
- Allow drying time: Refer to the paint manufacturer’s instructions for the recommended drying time between coats. Avoid touching or disturbing the painted surfaces until fully dry.
While painting, be mindful of weather conditions. It’s best to paint on a dry day with moderate temperatures, as extreme heat or cold can affect the drying and adhesion of the paint.
If you’re applying multiple coats, ensure that each coat is dry before moving on to the next. This will help achieve a more even and professional-looking finish.
Now that you’ve completed the painting process, it’s time to evaluate if a second coat is necessary in step 8: apply a second coat (if necessary).
Step 8: Apply a second coat (if necessary)
After the initial coat of paint has dried, it’s time to assess whether a second coat is necessary for your eaves and soffits. Applying a second coat can enhance the color richness, improve coverage, and ensure a more durable finish.
Here are some factors to consider when deciding whether to apply a second coat:
- Coverage: Evaluate the coverage of the first coat. If the underlying surface is still visible or if the color appears uneven, a second coat may be needed for a more solid and uniform finish.
- Color intensity: Assess the color intensity of the first coat. If the desired hue is not achieved or if the color appears muted, a second coat can help enhance the vibrancy.
- Pigment consistency: Some paint colors may require multiple coats to achieve the desired color saturation. Darker or bolder shades often benefit from a second coat to achieve their true depth and richness.
If you decide to proceed with a second coat, follow the same application process as the first coat. Ensure that the first coat is fully dry before applying the second one.
Remember to use the same tools and techniques used for the first coat, maintaining a consistent application style.
After the second coat has been applied, allow ample drying time before inspecting the final result. Properly evaluating the appearance and coverage will help you determine if any touch-ups or additional coats are needed.
Now that you have applied the necessary coats of paint, it’s time to move on to step 9: clean up and inspect the final results.
Step 9: Clean up and inspect the results
Congratulations, you’re in the final step of painting your eaves and soffits! Now it’s time to clean up and inspect the results to ensure a flawless finish.
Follow these steps for clean up and inspection:
- Clean your tools: Thoroughly clean your paintbrushes, rollers, and other painting tools using soap and water. Remove any excess paint and allow them to dry before storing them for future use.
- Remove protective coverings: Carefully remove painter’s tape and drop cloths or plastic sheets from the surrounding areas. Dispose of any paint-soaked materials properly.
- Inspect for touch-ups: Take a close look at the eaves and soffits to identify any areas that may require touch-ups. Look for spots with inconsistent coverage, drips, or missed areas. Touch up those spots with a small brush, ensuring a seamless blend with the rest of the painted surface.
- Assess the overall results: Step back and evaluate the final results of your painting project. Pay attention to the overall look, color consistency, and any visible imperfections. Take pride in the transformation you’ve achieved!
During the inspection process, it can be helpful to view your eaves and soffits from various angles and in different lighting conditions. Natural light and shadows can affect how the paint appears, so ensure you examine the results under different lighting circumstances.
If you notice any significant imperfections or areas that require extensive touch-ups, it may be necessary to consult a professional painter for further assistance.
Now that the clean-up and inspection are complete, step back and admire your freshly painted eaves and soffits. You’ve successfully completed this painting project and have given your home a refreshed and appealing look.
With proper maintenance and periodic touch-ups, your newly painted eaves and soffits will continue to enhance the overall beauty and protection of your home for years to come!
Conclusion
Congratulations on successfully completing the process of painting your eaves and soffits! By following this step-by-step guide, you have transformed the appearance of your home while providing protection against the elements.
We began by gathering the necessary tools and materials, ensuring that you were well-prepared for the project. Next, we moved on to preparing the area, cleaning the surfaces, and repairing any damage that was identified. These steps laid the foundation for a smooth and professional paint application.
You then carefully selected the perfect paint color that complements your home’s style and surrounding elements. Applying a primer to the surface ensured better paint adhesion and increased durability.
With the application of paint completed, you took the time to inspect the results and make any necessary touch-ups. Cleaning up the work area and properly storing your tools concluded the painting process.
By following these steps and paying attention to detail, you’ve achieved a beautiful and long-lasting finish for your eaves and soffits. The freshly painted surfaces not only enhance the curb appeal of your home but also protect against potential damage caused by moisture and weather conditions.
Remember, regular maintenance and periodic inspections will help preserve the quality and longevity of your paint job. Keep an eye out for any signs of wear or touch-ups that may be required in the future.
Thank you for your dedication and effort in painting your eaves and soffits. Your commitment to maintaining and beautifying your home is commendable, and you should take pride in the results you have achieved.
Now, step back and enjoy the transformed look of your home with freshly painted eaves and soffits!
Frequently Asked Questions about Your Step-by-Step Guide To Painting Eaves And Soffits
Was this page helpful?
At Storables.com, we guarantee accurate and reliable information. Our content, validated by Expert Board Contributors, is crafted following stringent Editorial Policies. We're committed to providing you with well-researched, expert-backed insights for all your informational needs.


0 thoughts on “Your Step-by-Step Guide To Painting Eaves And Soffits”