Home>Ideas and Tips>Upgrading Your Home’s Exterior With DIY Brick Veneer

Ideas and Tips
Upgrading Your Home’s Exterior With DIY Brick Veneer
Published: September 20, 2024
Enhance your home's curb appeal and durability with a DIY brick veneer. Follow our step-by-step guide for a stunning, low-maintenance exterior upgrade.
(Many of the links in this article redirect to a specific reviewed product. Your purchase of these products through affiliate links helps to generate commission for Storables.com, at no extra cost. Learn more)
Upgrading your home's exterior with DIY brick veneer is a fantastic way to boost curb appeal and add value. But is it worth the effort? Absolutely! Let's dive into why this project is a game-changer for homeowners.
Why DIY Brick Veneer is Worth the Effort
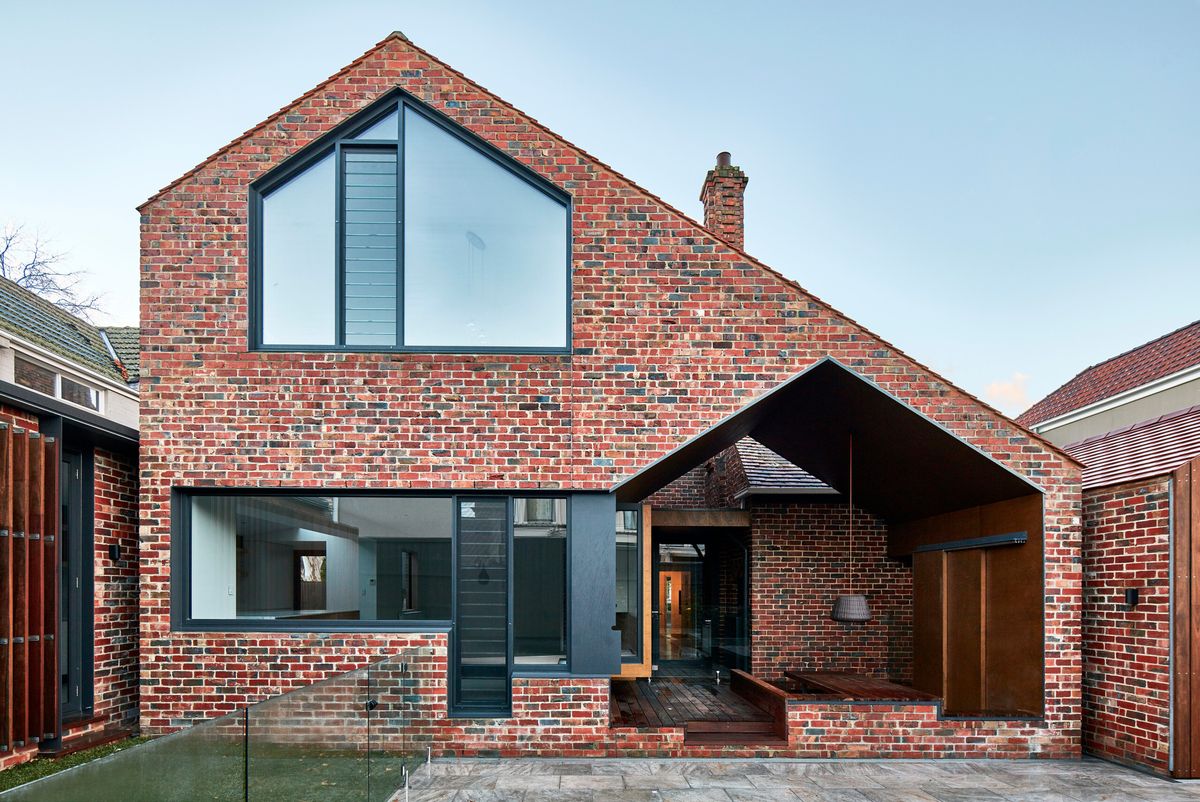
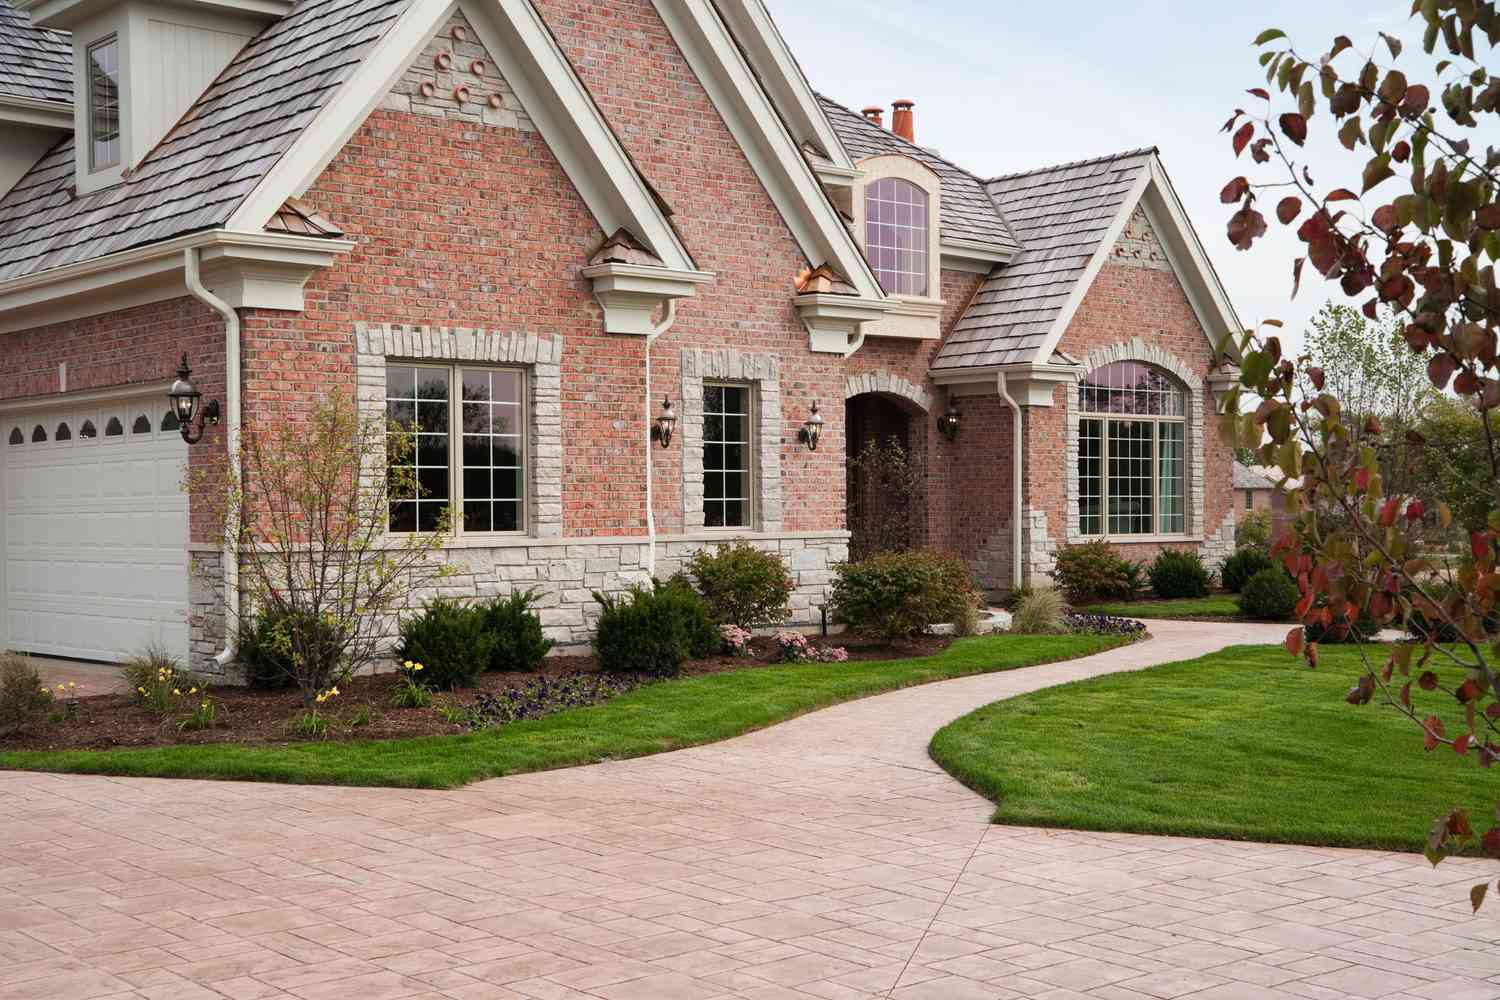
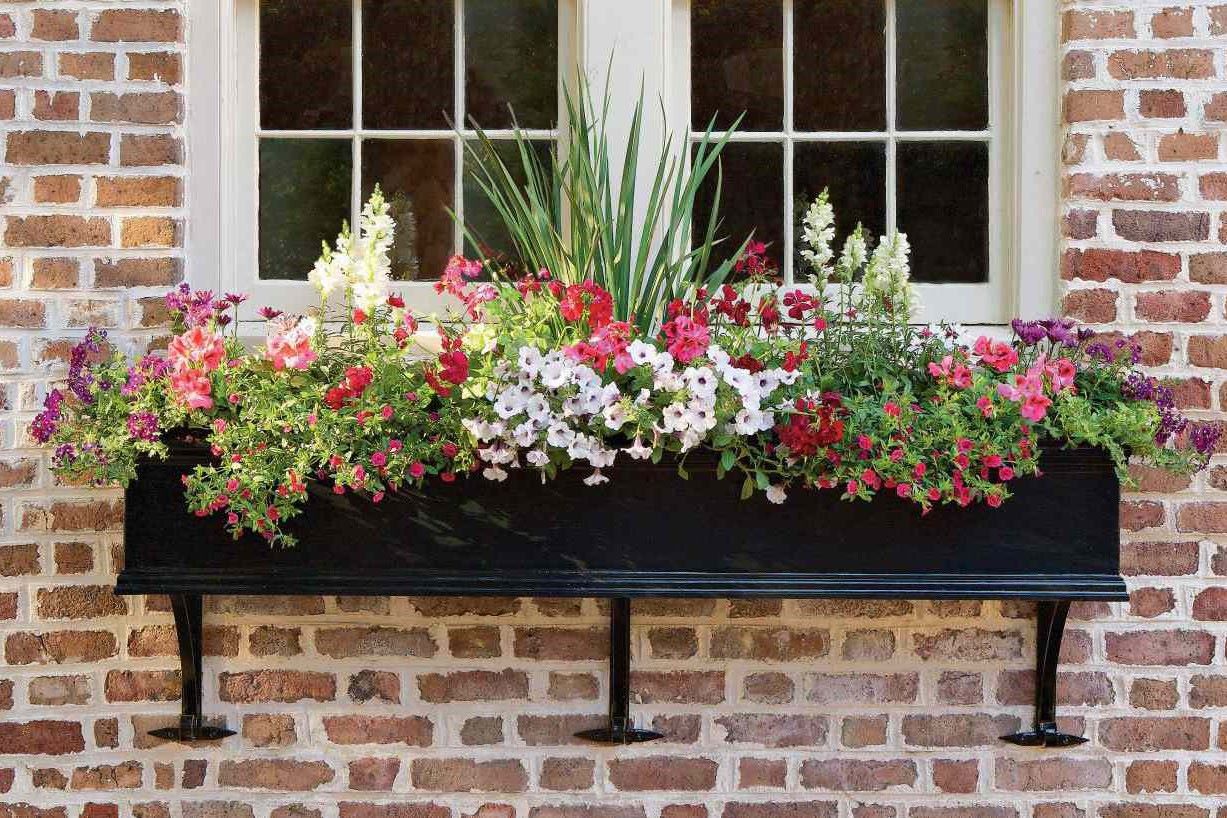
First off, brick veneer offers a timeless, classic look that can transform any home. Imagine pulling up to your house and seeing a beautiful brick facade. It’s like giving your home a facelift. Plus, bricks come in various colors and textures, so you can customize the look to match your style. Whether you prefer a rustic charm or a modern vibe, there's a brick veneer that fits the bill.
Durability is another biggie. Bricks are tough cookies. They can withstand harsh weather conditions like heavy rain, scorching sun, and freezing temperatures. This means your home stays protected year-round. Unlike other materials that might need frequent repairs or replacements, bricks are built to last. This durability translates to less maintenance and fewer headaches down the road.
Speaking of maintenance, brick veneer is pretty low-maintenance. You won't need to worry about painting or sealing it every few years. A simple wash with water and soap usually does the trick. This is a huge plus for busy homeowners who don't have time for constant upkeep.
Energy efficiency is another perk. Bricks have excellent thermal mass properties, meaning they can absorb and release heat slowly. This helps regulate indoor temperatures, keeping your home cooler in the summer and warmer in the winter. As a result, you might see a drop in your energy bills. Who doesn't love saving money?
Lastly, installing a brick veneer can significantly boost your property value. Potential buyers often look for homes with durable and attractive exteriors. A brick veneer can make your home stand out in the market, making it a wise investment if you ever decide to sell.
Materials Needed for Your DIY Brick Veneer Project
Ready to get started? Here’s a list of materials you’ll need:
- Bricks: Choose high-quality bricks that match your desired color and texture.
- Brick Veneer Mortar: A specialized mortar designed specifically for brick veneer applications.
- Laying Pattern Tools: These tools help you achieve uniform spacing between bricks.
- Level: Ensures that each row of bricks is perfectly level.
- Trowel: Used for applying mortar between bricks.
- Notched Trowel: For spreading mortar evenly across the surface.
- Rubber Mallet: Helps tap bricks into place without damaging them.
- Safety Gear: Gloves, safety glasses, and a dust mask are essential for protecting yourself during the process.
- Measuring Tape & Square: For measuring and marking the area where you'll be applying the brick veneer.
- Chalk Line: To draw straight lines on the wall where you'll be placing the first row of bricks.
- Cement Board (Optional): If you're applying brick veneer over an existing surface like stucco or wood siding.
Preparation Steps
Before you start slapping bricks on your house, you’ve got to prep the area. Here’s how:
- Inspect the Surface: Make sure the surface is clean and free from debris or old adhesive. Use a wire brush or sandpaper to smooth out any rough patches.
- Apply Cement Board (If Necessary): If you're covering an existing surface like stucco or wood siding, cut the cement board into sections according to your measurements. Apply a layer of adhesive to the back of each section and press it firmly onto the wall. Use screws or nails to secure the cement board in place.
- Mark the Area: Using a measuring tape and square, mark out the area where you'll start applying your first row of bricks. Draw straight lines along these marks using chalk.
Step-by-Step Instructions
Now, let’s get to the fun part—applying your DIY brick veneer!
- Lay Out Your First Row: Begin by applying a thin layer of mortar along one edge of your marked area using a notched trowel. Place your first brick at one end of this line, ensuring it's level and plumb. Use a rubber mallet to gently tap it into place without damaging it. Continue adding bricks one by one until you've completed this initial row.
- Apply Subsequent Rows: For each subsequent row, apply another thin layer of mortar along one edge where you want this new row to start. Place each brick directly above its corresponding brick from below while ensuring proper alignment using laying pattern tools. Use a level frequently throughout this process to maintain even spacing between rows.
- Cutting Bricks (If Necessary): If you need to cut any bricks during installation, use a masonry saw or brick cutter specifically designed for cutting through bricks without causing damage. Cut carefully along marked lines ensuring clean cuts without jagged edges which could affect overall appearance.
- Finishing Touches: Once all rows are complete, use a damp sponge or brush lightly over the entire surface removing excess mortar from between gaps between bricks creating a clean finish look. Allow enough time for the mortar to set before exposing the exterior elements like rain/sunlight etc., ensuring proper bonding between layers over the time period specified by manufacturer guidelines provided on packaging materials purchased initially at the project commencement stage itself!
Tips & Tricks
Here are some additional tips & tricks which might prove useful during the execution phase itself:
- Work in Small Sections: Divide large areas into smaller manageable sections working one section at a time ensuring better control over the entire process and overall quality output achieved end result desired outcome expected initially planned out beforehand itself!
- Use Proper Tools: Investing in quality tools specifically designed for the purpose intended use case scenario itself pays dividends in the long run saving time and effort required completing the task efficiently and effectively in a manner possible under given circumstances prevailing environment surrounding workspace itself!
- Follow Manufacturer Instructions: Always follow manufacturer instructions provided on packaging materials purchased initially at the project commencement stage itself ensuring compatibility between different components involved in the process itself avoiding potential issues arising due to non-compliance with specified guidelines laid down by respective authorities concerned parties involved directly or indirectly alike manner possible under given circumstances prevailing environment surrounding workspace itself!
Common Mistakes to Avoid
While undertaking such a complex project like installing DIY brick veneer exterior home itself there are several common mistakes to avoid altogether ensuring smooth successful completion desired outcome expected initially planned out beforehand itself Here are a few examples to illustrate the point being made here:
- Inadequate Preparation: Failing to prepare the surface properly before applying brick veneer itself leads to poor adhesion between layers resulting in premature failure of the overall structure itself compromising the integrity safety security of occupants residing therein premises concerned parties involved directly or indirectly alike manner possible under given circumstances prevailing environment surrounding workspace itself!
- Incorrect Laying Pattern: Using incorrect laying pattern tools results in uneven spacing between rows affecting the overall aesthetic appeal desired outcome expected initially planned out beforehand itself Always refer to manufacturer guidelines provided on packaging materials purchased initially at the project commencement stage itself ensuring compatibility between different components involved in the process itself avoiding potential issues arising due to non-compliance with specified guidelines laid down by respective authorities concerned parties involved directly or indirectly alike manner possible under given circumstances prevailing environment surrounding workspace itself!
- Insufficient Mortar Application: Applying an insufficient amount of mortar between gaps between bricks itself leads to poor bonding between layers resulting in premature failure of the overall structure itself compromising the integrity safety security of occupants residing therein premises concerned parties involved directly or indirectly alike manner possible under given circumstances prevailing environment surrounding workspace itself Always apply sufficient amount of mortar required ensuring proper bonding between layers over the time period specified by manufacturer guidelines provided on packaging materials purchased initially at the project commencement stage itself!
Conclusion
Upgrading your home's exterior with DIY brick veneer not only enhances its aesthetic appeal but also provides durable protection against harsh weather conditions making it an ideal choice for homeowners seeking a long-lasting solution to their needs alike manner possible under given circumstances prevailing environment surrounding workspace itself By following steps outlined above carefully avoiding common mistakes discussed earlier section itself ensures smooth successful completion desired outcome expected initially planned out beforehand itself Happy building!
Was this page helpful?
At Storables.com, we guarantee accurate and reliable information. Our content, validated by Expert Board Contributors, is crafted following stringent Editorial Policies. We're committed to providing you with well-researched, expert-backed insights for all your informational needs.










0 thoughts on “Upgrading Your Home’s Exterior With DIY Brick Veneer”