Home>Construction & Tools>Building Materials>How To Install Exterior Brick Veneer
Building Materials
How To Install Exterior Brick Veneer
Modified: October 22, 2024
Learn how to install exterior brick veneer using the best building materials. Follow our step-by-step guide for a professional finish.
(Many of the links in this article redirect to a specific reviewed product. Your purchase of these products through affiliate links helps to generate commission for Storables.com, at no extra cost. Learn more)
Introduction
Welcome to the world of exterior brick veneer installation! Whether you’re a seasoned DIY enthusiast or a newcomer to the realm of home improvement, installing exterior brick veneer can be an immensely rewarding project. Not only does it enhance the aesthetic appeal of your home, but it also adds a layer of durability and insulation. In this comprehensive guide, we’ll walk you through the step-by-step process of installing exterior brick veneer, from gathering the necessary materials and tools to putting the finishing touches on your project.
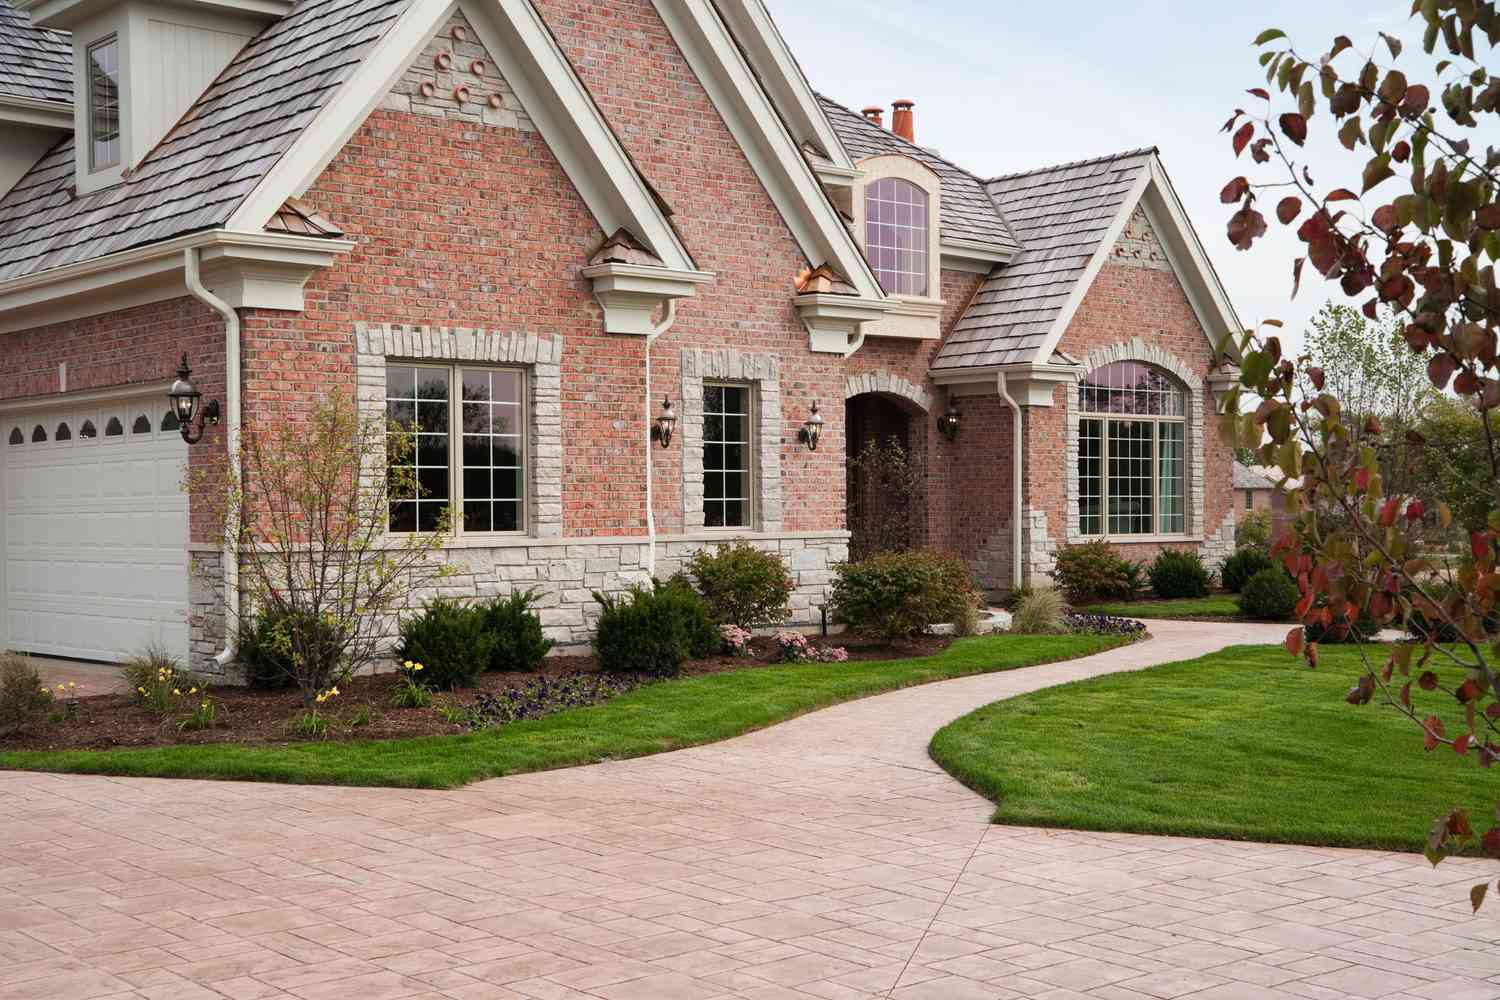
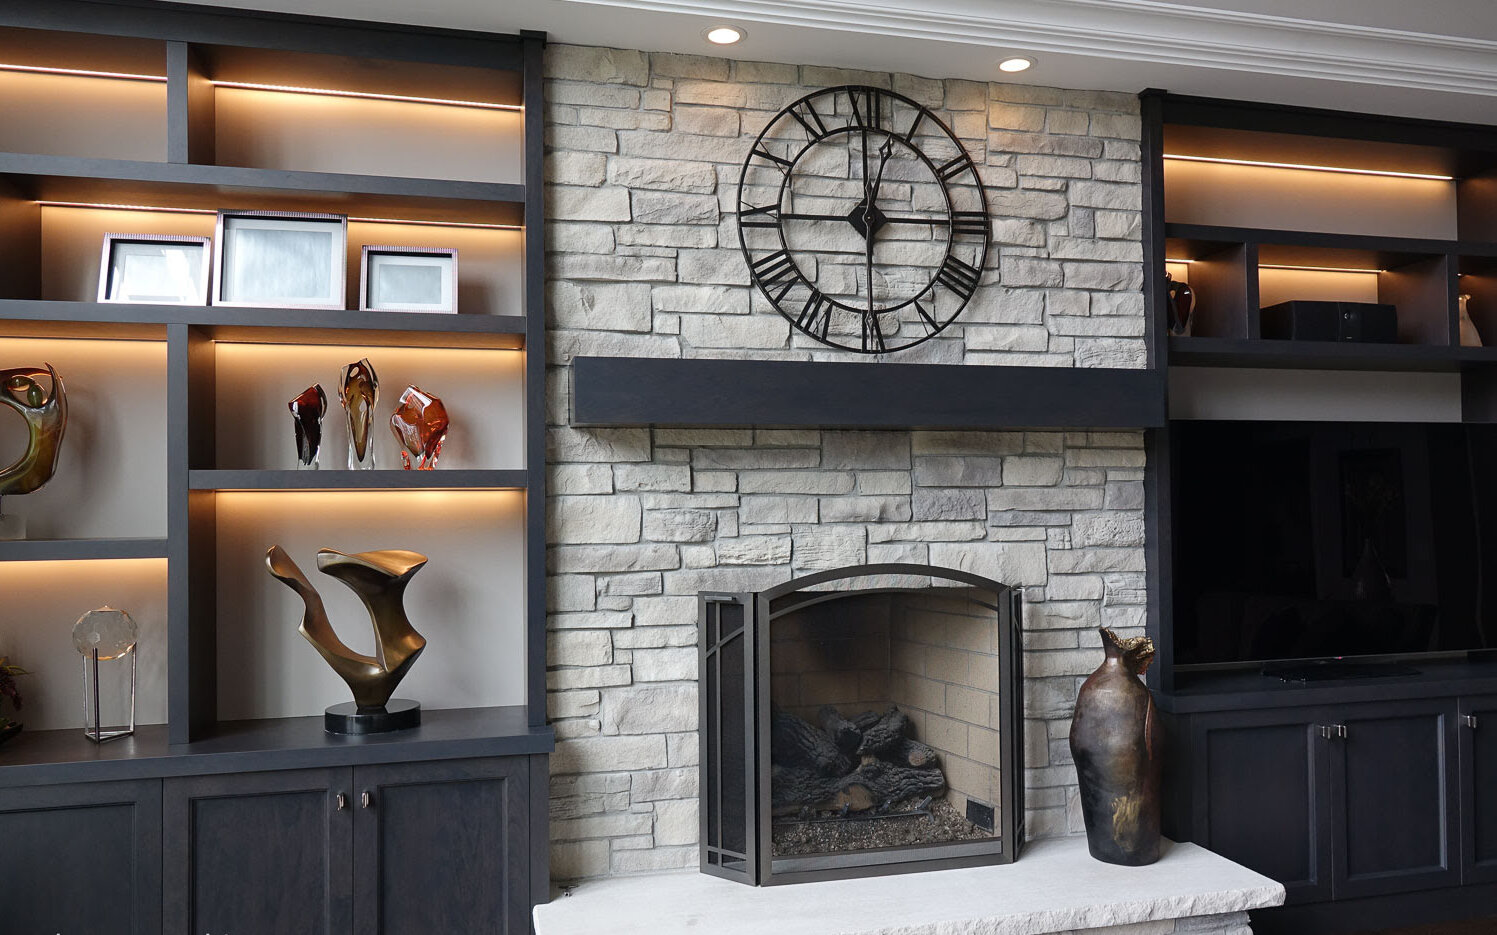
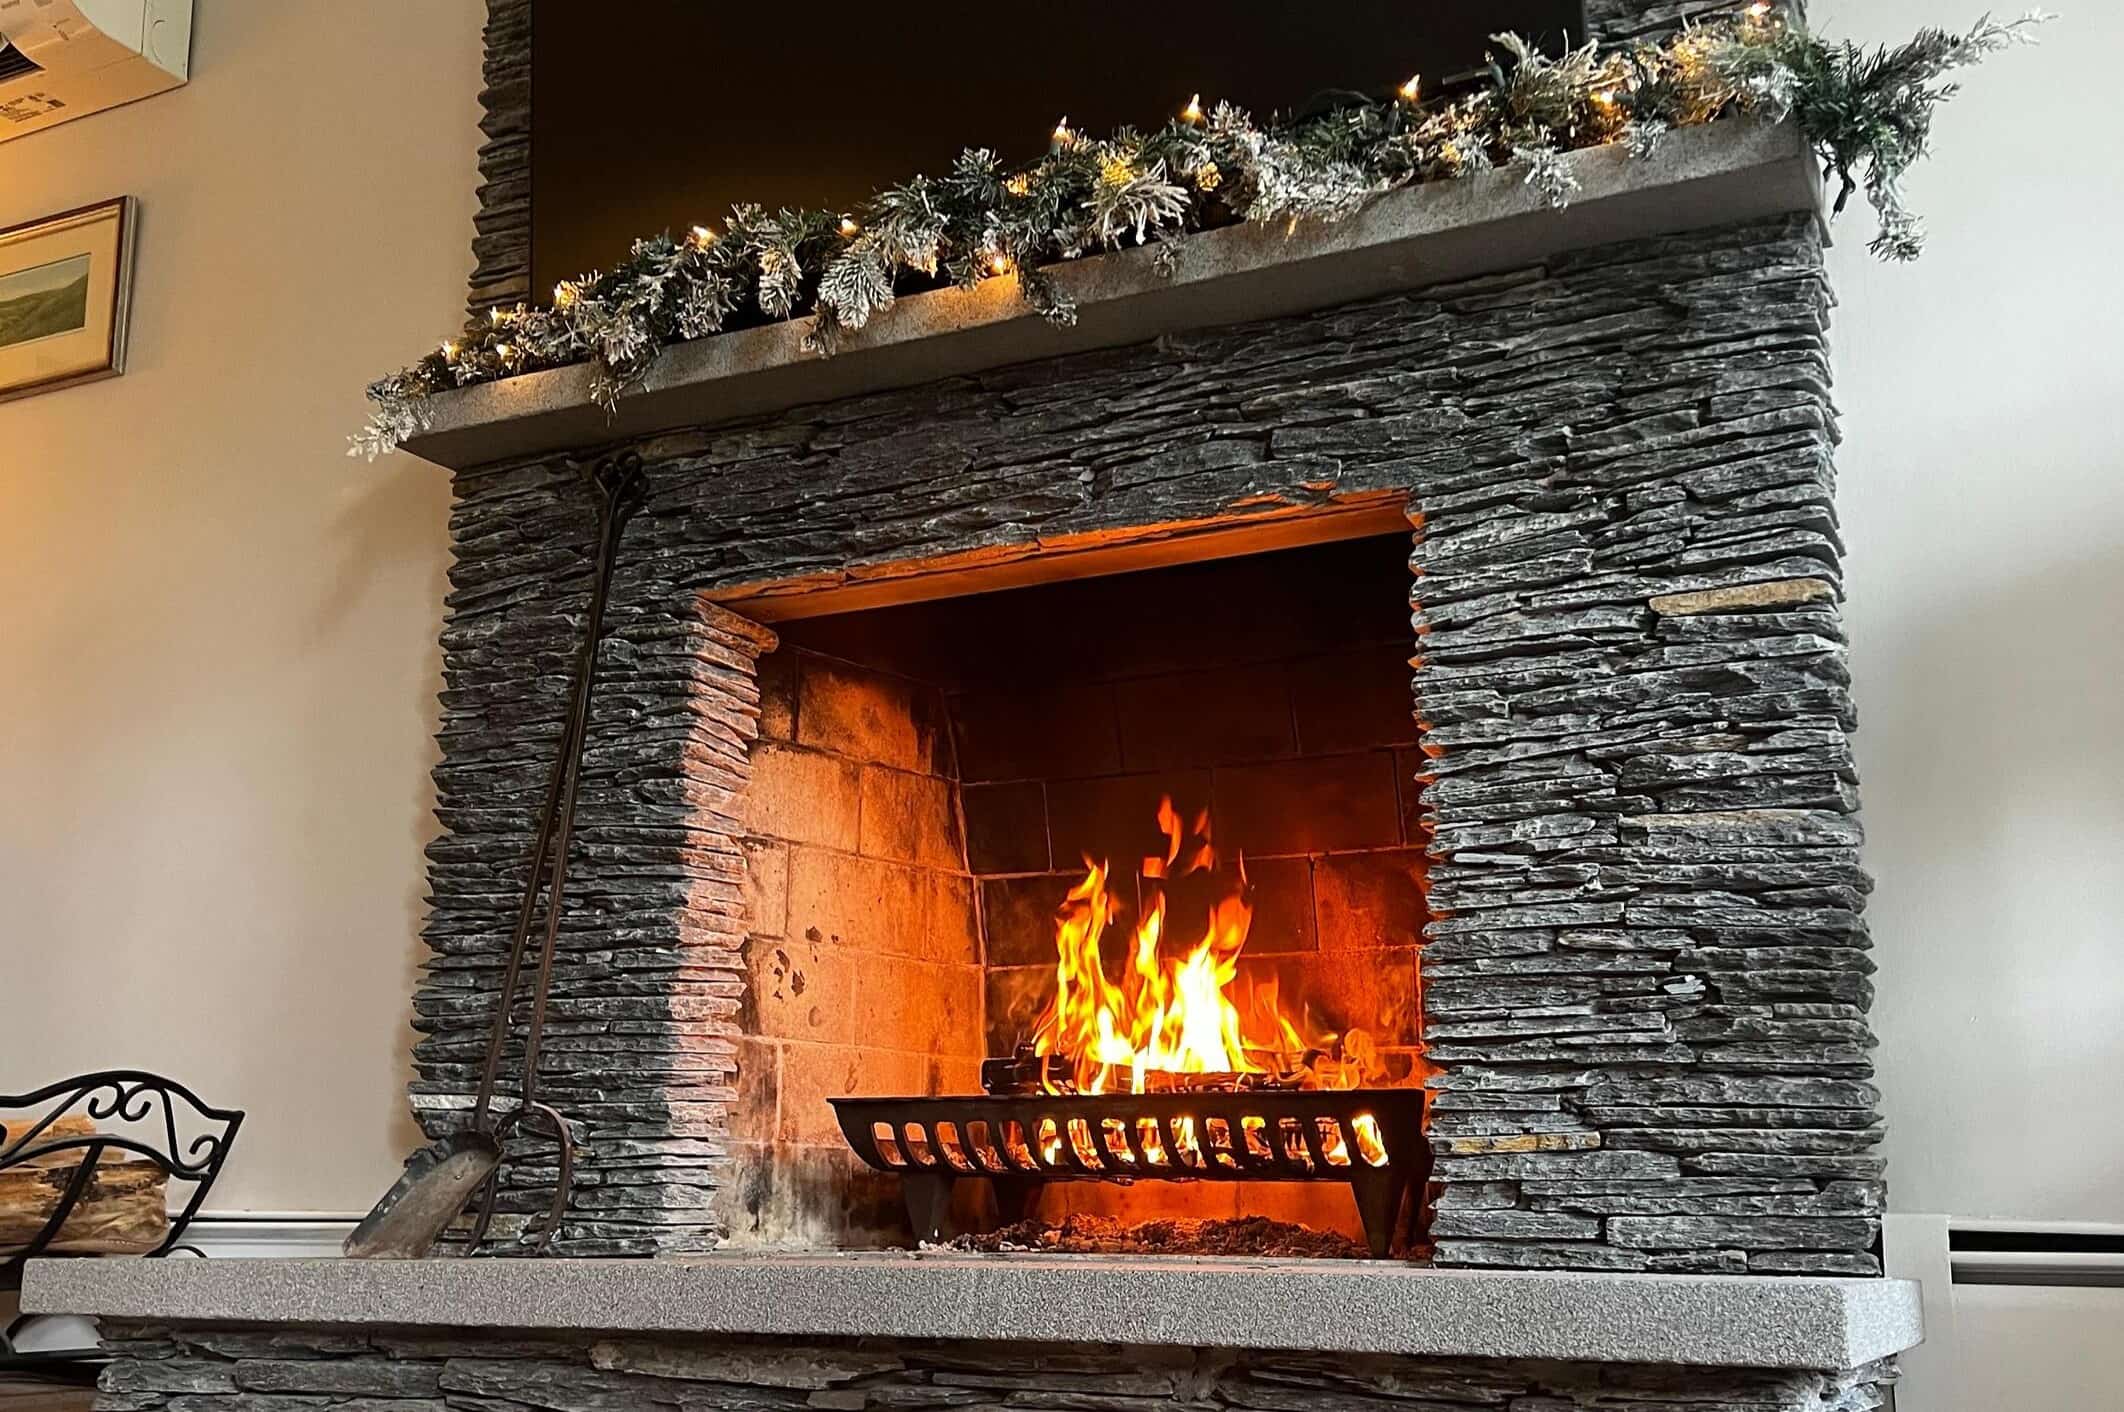
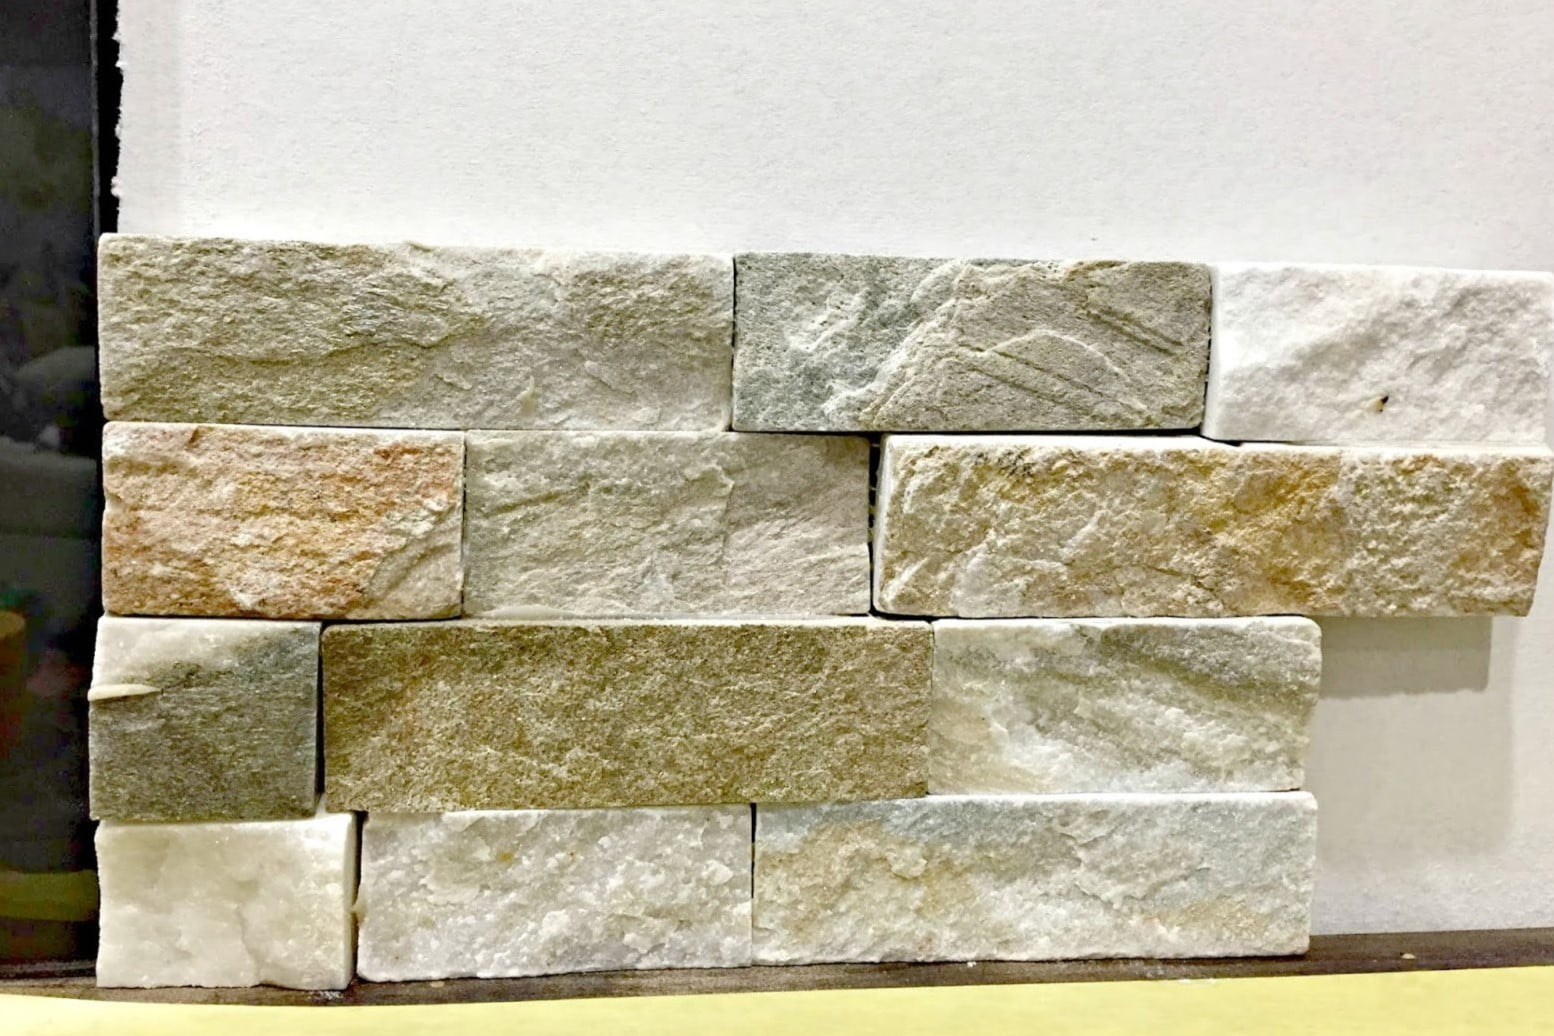
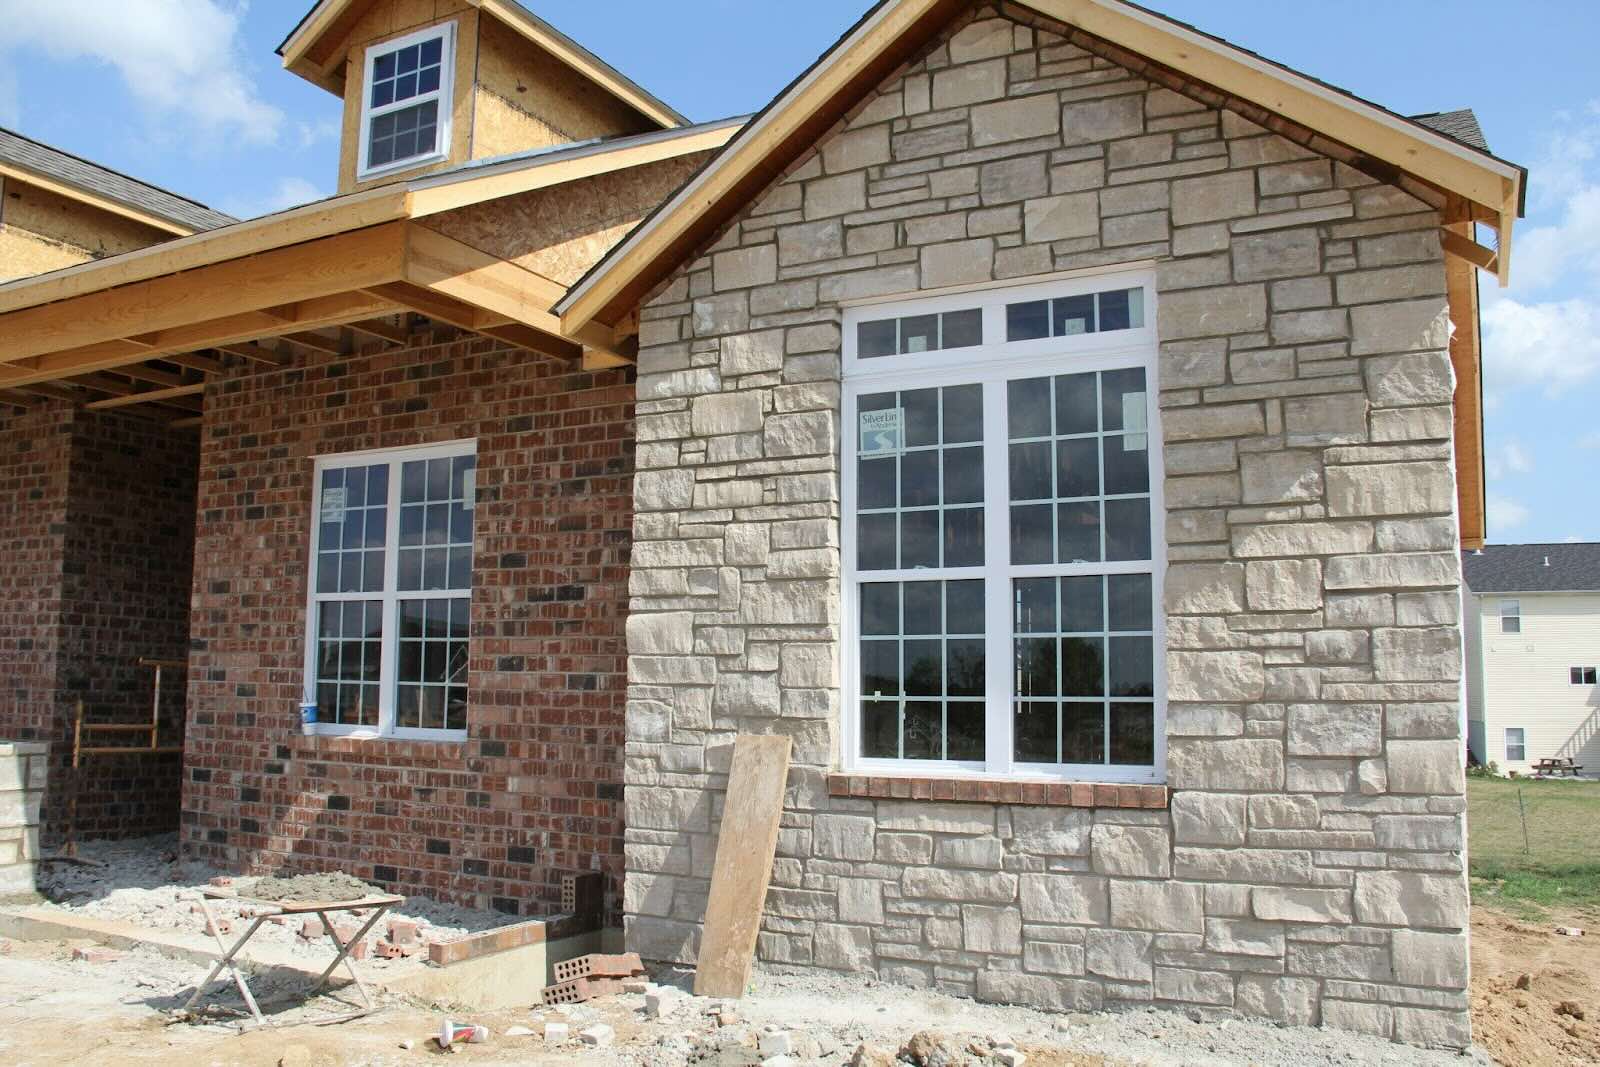
Before we delve into the nitty-gritty details, it’s essential to understand the significance of exterior brick veneer. Unlike traditional brick masonry, which involves the use of full-sized bricks, brick veneer offers a lightweight and cost-effective alternative. It consists of thin slices of brick that are applied to the exterior of a building, providing the timeless charm of brick without the substantial weight and expense.
Whether you’re aiming to revamp the façade of your home or add a touch of rustic elegance to an outdoor living space, exterior brick veneer can work wonders. However, it’s crucial to approach the installation process with careful planning and attention to detail. By following the guidelines outlined in this guide, you’ll be well-equipped to tackle the installation of exterior brick veneer with confidence and precision. So, roll up your sleeves, gather your tools, and let’s embark on this exciting journey of transforming your space with the timeless allure of brick!
Key Takeaways:
- Installing exterior brick veneer involves gathering materials and tools, preparing the surface, applying mortar, installing the veneer, and finishing and cleaning up. It’s a meticulous process that adds timeless charm and durability to your home.
- By following the step-by-step guide, you can transform your space with the enduring appeal of brick. The installation process not only enhances the visual allure but also fortifies the structural integrity and weather resistance of your home.
Step 1: Gather Materials and Tools
Before diving into the installation process, it’s essential to gather all the necessary materials and tools. By ensuring that you have everything at your disposal, you’ll streamline the installation process and minimize interruptions. Here’s a comprehensive list of materials and tools you’ll need:
Materials:
- Exterior brick veneer
- Weather-resistant barrier (WRB) or building paper
- Mortar mix
- Metal lath
- Corrosion-resistant screws or nails
- Weep screed
- Flashing material
- Waterproofing membrane
- Joint reinforcement
- Sealant
Tools:
- Measuring tape
- Level
- Trowel
- Notched trowel
- Wire snips
- Hammer or screw gun
- Jointer tool
- Brush
- Masonry saw or angle grinder (with diamond blade)
- Bucket for mixing mortar
- Protective gear (gloves, goggles, dust mask)
Once you’ve gathered all the required materials and tools, it’s crucial to ensure that the exterior surface where the brick veneer will be installed is clean, dry, and free from any debris. Additionally, familiarize yourself with the specific requirements and recommendations provided by the manufacturer of the brick veneer and other materials. This preparatory phase sets the stage for a smooth and successful installation process, allowing you to proceed with confidence and precision.
By having a clear understanding of the materials and tools involved, you’ll be well-prepared to transition to the next step: preparing the surface for the installation of exterior brick veneer.
Step 2: Prepare the Surface
Preparing the surface is a crucial phase in the installation of exterior brick veneer. The goal is to create a stable and secure foundation that promotes the adhesion and longevity of the veneer. Here’s a step-by-step guide to preparing the surface:
1. Install Weather-Resistant Barrier (WRB) or Building Paper:
Begin by applying a weather-resistant barrier or building paper to the exterior surface. This protective layer serves as a shield against moisture and helps prevent water from infiltrating the wall assembly. Secure the WRB or building paper according to the manufacturer’s guidelines, ensuring proper overlap and sealing at joints and penetrations.
2. Attach Metal Lath:
Next, install metal lath over the WRB or building paper. The metal lath provides a textured surface that promotes mortar adhesion and enhances the structural integrity of the veneer. Use corrosion-resistant screws or nails to securely fasten the metal lath, ensuring that it is uniformly applied across the surface.
3. Incorporate Weep Screed and Flashing:
Integrate weep screed at the base of the wall to facilitate drainage and ventilation. Additionally, incorporate flashing material around openings, corners, and other vulnerable areas to redirect water away from the structure. Proper installation of weep screed and flashing is essential for moisture management and the long-term performance of the brick veneer.
4. Apply Waterproofing Membrane:
To further fortify the surface against moisture intrusion, apply a waterproofing membrane in accordance with the manufacturer’s specifications. The waterproofing membrane acts as an additional barrier, safeguarding the underlying structure from water damage and reinforcing the overall resilience of the brick veneer system.
By meticulously executing these preparatory steps, you’ll establish a solid foundation for the installation of exterior brick veneer. This proactive approach not only enhances the structural integrity of the veneer system but also contributes to the long-term durability and weather resistance of the exterior wall assembly.
With the surface meticulously prepared, you’re now poised to progress to the next pivotal phase: applying the mortar that will secure the brick veneer in place.
Read more: How To Clean Exterior Stone Veneer
Step 3: Apply the Mortar
Applying the mortar is a critical stage in the installation of exterior brick veneer, as it serves as the adhesive that secures the veneer to the prepared surface. Proper application of the mortar is essential for achieving a strong bond and ensuring the structural integrity of the veneer system. Here’s a detailed guide to applying the mortar:
1. Mix the Mortar:
Begin by preparing the mortar mix according to the manufacturer’s instructions. Use a sturdy bucket and a mixing paddle to combine the mortar powder with water, ensuring a consistent and workable consistency. Adhere to the recommended water-to-mortar ratio to achieve an optimal blend that facilitates proper adhesion.
2. Apply Mortar to the Surface:
Using a trowel, apply a layer of mortar to the prepared surface, covering an area that corresponds to the size of the brick veneer to be installed. Create a uniform bed of mortar with the notched side of the trowel to promote adhesion and accommodate the thickness of the veneer. The goal is to establish a solid base for securely affixing the brick veneer.
3. Furrow and Comb the Mortar:
After applying the mortar, use the notched edge of the trowel to create furrows in the mortar bed. Subsequently, comb the mortar in a consistent direction to produce ridges that enhance the grip and support of the veneer. This process, known as furrowing and combing, optimizes the mortar’s bonding capability and promotes a level installation of the brick veneer.
Read more: How To Build A Brick Veneer Wall
4. Embed Metal Lath and Apply Scratch Coat (If Applicable):
If the brick veneer system incorporates metal lath, gently press the veneer into the mortar bed, ensuring proper embedment and adhesion. Additionally, if a scratch coat is required, apply a thin layer of mortar over the metal lath and comb it to create a textured surface that enhances the bond with the veneer units.
5. Allow for Proper Curing Time:
Once the mortar is applied and the metal lath and scratch coat (if applicable) are in place, allow the mortar to cure as per the manufacturer’s recommendations. Adequate curing time is essential for the mortar to achieve its optimal strength and adhesion, setting the stage for the seamless installation of the brick veneer units.
By meticulously following these steps, you’ll ensure that the mortar is expertly applied, laying the groundwork for the successful installation of the exterior brick veneer. With the mortar in place, you’re now ready to embark on the exciting phase of installing the veneer units to bring your vision to life.
Step 4: Install the Veneer
As you venture into the installation of the exterior brick veneer, you’re poised to witness the transformation of your space as the timeless allure of brick takes center stage. Installing the veneer units requires precision, patience, and a meticulous approach to ensure a visually stunning and structurally sound outcome. Here’s a comprehensive guide to installing the veneer:
1. Lay Out the Veneer Units:
Begin by carefully laying out the brick veneer units in the desired pattern and configuration. Take into account factors such as color variation, texture, and size to achieve a visually appealing arrangement. This preparatory step allows you to visualize the placement of the veneer units and make any necessary adjustments before securing them in place.
Read more: What Is Brick Veneer Made Of
2. Apply Mortar to the Veneer Units:
Using a trowel, apply a generous amount of mortar to the back of each veneer unit, ensuring full coverage to promote a strong bond with the surface. The mortar acts as the adhesive that anchors the veneer units to the prepared surface, so thorough and even application is crucial for the integrity of the installation.
3. Set and Align the Veneer Units:
Carefully place each veneer unit onto the prepared surface, pressing and adjusting it to achieve the desired alignment and spacing. Use a level to ensure that the veneer units are plumb, level, and uniformly positioned, maintaining a consistent joint width throughout the installation. Attention to detail during this phase is essential for creating a polished and professional finish.
4. Secure the Veneer Units:
As each veneer unit is set in place, gently tap it with a rubber mallet to ensure proper embedment in the mortar bed. This process helps to establish a strong bond and eliminate air pockets, enhancing the stability and longevity of the installation. Verify that the veneer units are securely anchored and maintain the desired alignment as you progress with the installation.
5. Address Corner and Edge Details:
When reaching corners and edges, carefully cut and fit the veneer units to achieve seamless transitions and precise alignments. Use a masonry saw or angle grinder to customize the units as needed, ensuring that the corners and edges exhibit clean and professional craftsmanship.
By methodically following these steps, you’ll orchestrate the installation of the exterior brick veneer with finesse and expertise, culminating in a captivating display of timeless elegance and enduring quality. With the veneer units in place, you’re now ready to add the finishing touches and bring your vision of a stunning brick-clad exterior to fruition.
Read more: How To Repair Cracked Brick Veneer
Step 5: Finish and Clean Up
As the installation of the exterior brick veneer nears completion, it’s essential to focus on the finishing touches and meticulous clean-up to ensure a polished and professional outcome. This phase encompasses the final adjustments, joint treatments, and the removal of any residual debris, setting the stage for the stunning reveal of your newly adorned exterior. Here’s a comprehensive guide to the finishing and clean-up process:
1. Address Joint Finishing:
Once the veneer units are securely in place, attend to the joint finishing to achieve a cohesive and refined appearance. Using a jointer tool, carefully tool the mortar joints to create a uniform and aesthetically pleasing finish. Pay close attention to the consistency and depth of the joints, aiming for a seamless integration of the veneer units.
2. Clean Excess Mortar:
Remove any excess mortar that may have squeezed out during the installation process. A brush or trowel can be used to gently clear away the surplus mortar without disturbing the newly installed veneer units. This step contributes to the overall cleanliness and visual appeal of the finished installation.
3. Inspect and Adjust:
Conduct a thorough inspection of the installed brick veneer, scrutinizing the alignment, joint consistency, and overall presentation. Make any necessary adjustments to ensure that the veneer units exhibit a seamless and professional appearance, addressing any irregularities or discrepancies that may detract from the visual cohesiveness of the installation.
4. Clean Up the Work Area:
As the installation process draws to a close, dedicate time to tidying the work area and removing any debris or discarded materials. Dispose of packaging, unused mortar, and other remnants in an organized and responsible manner, leaving the surroundings clean and uncluttered.
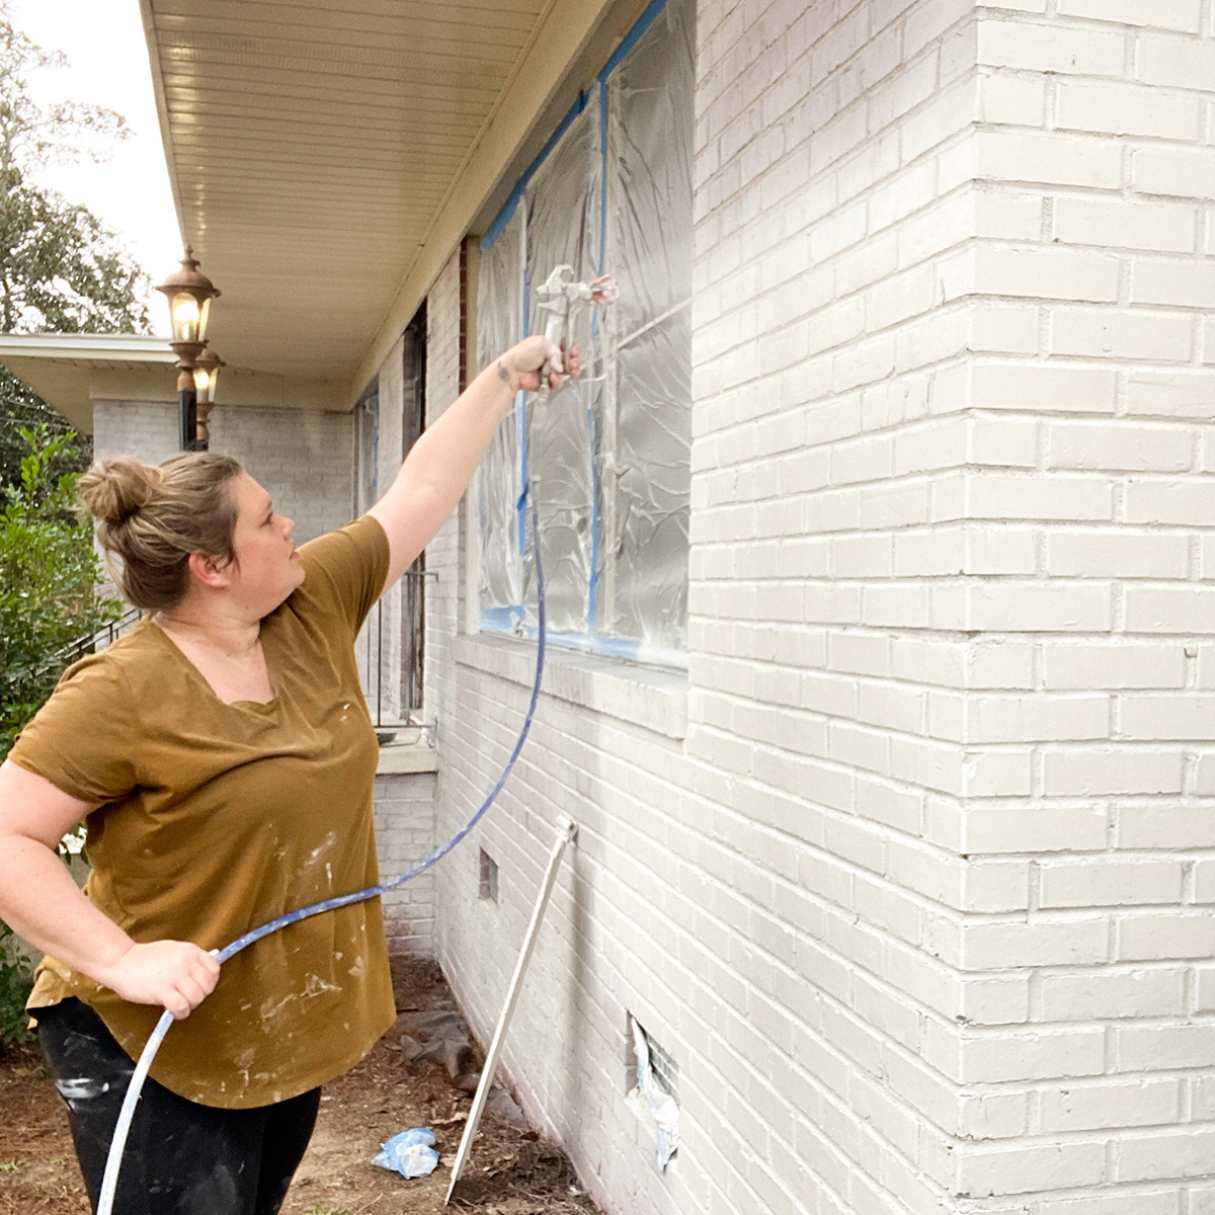
5. Protect and Seal:
Consider applying a suitable sealant to the installed brick veneer to enhance its resistance to moisture and environmental elements. This proactive measure helps safeguard the veneer against potential damage and prolongs its aesthetic appeal, contributing to the long-term durability of the installation.
By conscientiously executing these final steps, you’ll elevate the exterior brick veneer installation to a level of refinement and sophistication, culminating in a captivating display of timeless elegance and enduring quality. With the finishing touches complete and the work area immaculately cleaned, you can revel in the remarkable transformation that has bestowed your space with the timeless allure of brick.
Conclusion
Congratulations on successfully navigating the intricate process of installing exterior brick veneer! Your dedication, attention to detail, and craftsmanship have culminated in the transformation of your space, infusing it with the timeless charm and enduring appeal of brick. As you reflect on this enriching journey, it’s important to acknowledge the significance of this endeavor and the impact it has had on your surroundings.
By embarking on the installation of exterior brick veneer, you’ve not only enhanced the visual allure of your space but also fortified its structural integrity and weather resistance. The meticulous preparation, precise application of mortar, and seamless installation of the veneer units have collectively contributed to the creation of a captivating exterior that exudes character and sophistication.
Furthermore, the installation process has provided you with invaluable insights into the artistry and craftsmanship involved in working with brick veneer. Your newfound expertise and hands-on experience have empowered you to embark on future projects with confidence and proficiency, enriching your repertoire of home improvement skills.
As you bask in the resplendence of your newly adorned exterior, take a moment to appreciate the enduring appeal of brick, a material that transcends trends and stands the test of time. The installation of exterior brick veneer represents a harmonious blend of artistry and functionality, enriching your space with warmth, character, and a touch of nostalgia.
Whether you’ve revitalized the façade of your home, embellished an outdoor living space, or embarked on a creative endeavor, the installation of exterior brick veneer stands as a testament to your vision and dedication. It’s a testament to the enduring allure of craftsmanship and the transformative power of thoughtful design.
As you continue to infuse your living spaces with creativity and distinction, may the enduring allure of brick serve as a timeless reminder of the beauty that emerges when tradition and innovation converge. Your journey with exterior brick veneer installation has not only reshaped your surroundings but has also left an indelible imprint on your appreciation for the artistry and craftsmanship that enrich our lives.
So, as you admire the captivating exterior that now graces your space, take pride in the legacy of enduring elegance and timeless appeal that you’ve instilled through the installation of exterior brick veneer.
Frequently Asked Questions about How To Install Exterior Brick Veneer
Was this page helpful?
At Storables.com, we guarantee accurate and reliable information. Our content, validated by Expert Board Contributors, is crafted following stringent Editorial Policies. We're committed to providing you with well-researched, expert-backed insights for all your informational needs.


0 thoughts on “How To Install Exterior Brick Veneer”