Home>Ideas and Tips>Upgrading Your Home’s Exterior With DIY Kinetic Wind Sculpture Installation

Ideas and Tips
Upgrading Your Home’s Exterior With DIY Kinetic Wind Sculpture Installation
Published: September 3, 2024
Enhance your home's exterior with a DIY kinetic wind sculpture. Follow our step-by-step guide for a stunning, dynamic outdoor feature.
(Many of the links in this article redirect to a specific reviewed product. Your purchase of these products through affiliate links helps to generate commission for Storables.com, at no extra cost. Learn more)
Introduction
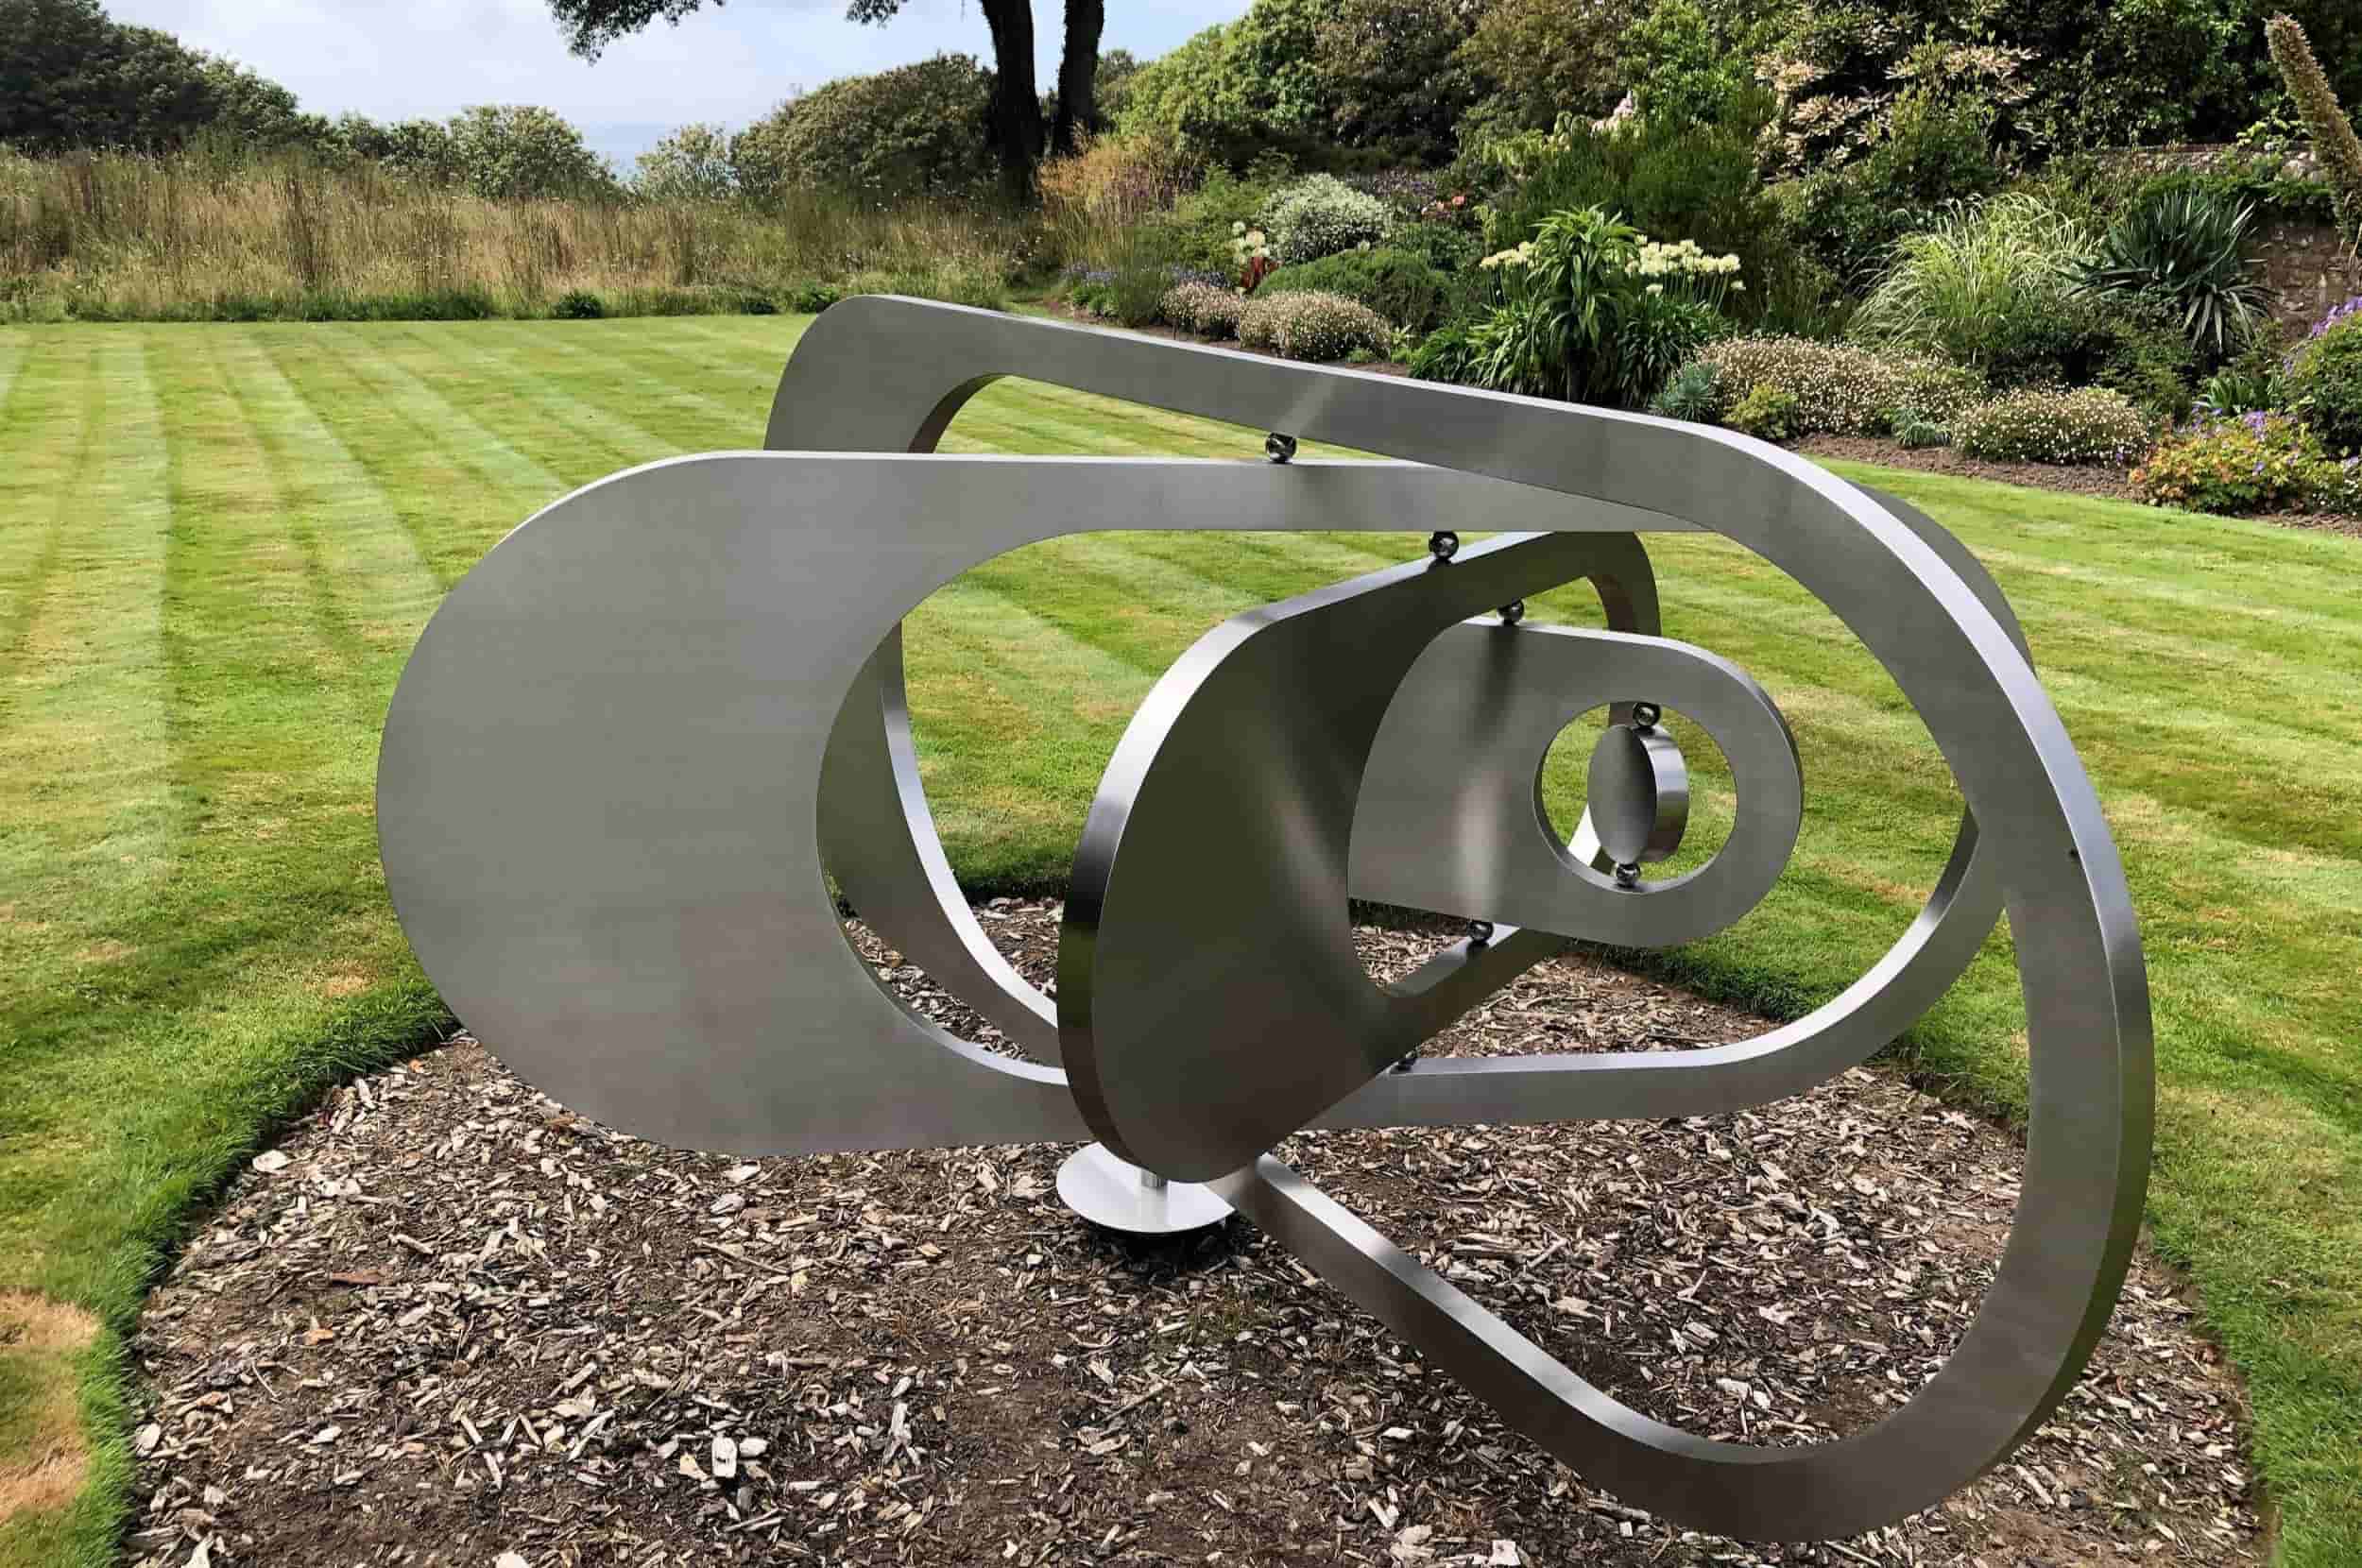
Adding a kinetic wind sculpture to your home's exterior can be a fantastic way to enhance its aesthetic appeal and create a unique, dynamic feature. These sculptures, which move in response to wind, can add a mesmerizing element to your outdoor space, making it stand out from the ordinary. In this article, we will guide you through the process of installing a DIY kinetic wind sculpture, covering everything from planning and preparation to execution and maintenance.
Planning and Preparation
Before you start your project, it's essential to plan carefully. Here are some steps to help you get started:
-
Choose the Right Location:
- Select a spot where the wind is strong enough to move the sculpture but not so strong that it becomes unmanageable. Typically, areas near open spaces or corners of buildings work well.
- Ensure that the location is safe and won’t obstruct walkways or other outdoor features.
-
Select Your Materials:
- Decide on the type of material you want to use for your sculpture. Common choices include metal, wood, and recycled materials.
- Consider the weight and durability of the materials you choose. Lighter materials might be easier to work with but may not be as durable.
-
Design Your Sculpture:
- Sketch out your design idea. You can find inspiration online or create something entirely new.
- Consider the size and shape of your sculpture. Larger pieces can be more dramatic but may require more support.
- Think about the movement you want to achieve. Do you want your sculpture to swing, rotate, or move in a specific pattern?
-
Gather Tools and Supplies:
- Make a list of all the tools and supplies you’ll need, including hammers, saws, drill bits, screws, wire, and any other materials specific to your design.
- Ensure you have all necessary safety gear such as gloves and safety glasses.
Step-by-Step Installation Guide
Step 1: Prepare the Site
-
Clear the Area:
- Clear any debris or obstructions from the chosen location.
- If necessary, mark out a square or circular area where you plan to install your sculpture.
-
Check for Underground Utilities:
- Use a utility detector to ensure there are no underground cables or pipes in the area where you'll be digging.
-
Dig the Base:
- Dig a hole slightly larger than the base of your sculpture.
- If you're using a concrete base, mix and pour it according to the manufacturer's instructions.
Step 2: Assemble Your Sculpture
-
Cut and Shape Your Materials:
- Use saws and other cutting tools to shape your materials according to your design.
- Sand any rough edges to ensure smooth movement.
-
Attach Moving Parts:
- Use wire or metal rods to attach moving parts like hinges or pivots.
- Ensure these parts are securely attached but still allow for smooth movement.
-
Add Weight Distribution:
- If necessary, add weights at the base of your sculpture for stability.
- You can use metal plates or concrete blocks for this purpose.
Step 3: Install Your Sculpture
-
Place the Base:
- Carefully place the base into the hole you dug earlier.
- If using concrete, let it set before proceeding.
-
Attach Sculpture to Base:
- Use screws or bolts to attach your sculpture securely to the base.
- Make sure it's level and stable.
-
Add Final Touches:
- Add any finishing touches such as paint or varnish.
- Ensure all moving parts are working smoothly without any obstructions.
Step 4: Secure Your Installation
-
Anchor with Concrete:
- If you're using a concrete base, pour additional concrete around it for extra stability.
- Let it set completely before proceeding.
-
Use Ground Anchors (Optional):
- If you're concerned about strong winds or heavy loads, consider using ground anchors.
- These can be installed around the perimeter of your sculpture base for added security.
Maintenance Tips
-
Regular Inspection:
- Regularly inspect your sculpture for any signs of wear or damage.
- Check moving parts to ensure they're still functioning smoothly.
-
Cleaning:
- Clean your sculpture regularly using mild soap and water.
- Avoid using harsh chemicals that might damage materials.
-
Lubrication (If Necessary):
- If your sculpture has moving parts that require lubrication (like hinges), apply lubricant as needed.
Additional Tips for Different Materials
Metal Sculptures
- Rust Prevention: Apply rust-proofing spray periodically to protect metal from corrosion.
- Painting: Use outdoor paint specifically designed for metal surfaces to ensure durability.
Wooden Sculptures
- Weatherproofing: Apply a weatherproof sealant to protect wood from moisture damage.
- Maintenance: Regularly inspect for signs of rot or insect infestation.
Recycled Material Sculptures
- Durability: Be aware that recycled materials might not be as durable as other options.
- Maintenance: Regularly check for signs of wear and tear, especially if using plastic or fabric components.
Conclusion
Installing a DIY kinetic wind sculpture can be a rewarding project that adds unique charm to your home's exterior while providing hours of entertainment from its dynamic movement. By following these steps and tips, you'll be able to create an eye-catching feature that enhances both aesthetics and functionality of your outdoor space.
References
For more detailed information on specific techniques or materials used in this project, consider consulting resources from local hardware stores or online forums dedicated to DIY projects and home improvement.
Additional Considerations
Environmental Impact
When choosing materials for your sculpture, consider their environmental impact. Opting for recycled or sustainable materials can help reduce waste and support eco-friendly practices.
Safety Precautions
Always follow safety guidelines when working with power tools and materials. Wear protective gear such as gloves, safety glasses, and a dust mask to prevent injuries.
Neighborhood Regulations
Before starting your project, check local regulations regarding outdoor installations. Some neighborhoods may have specific rules about size, material usage, or placement of sculptures.
By taking these considerations into account and following the steps outlined above, you'll be well on your way to creating an impressive kinetic wind sculpture that adds character and beauty to your home's exterior.
Was this page helpful?
At Storables.com, we guarantee accurate and reliable information. Our content, validated by Expert Board Contributors, is crafted following stringent Editorial Policies. We're committed to providing you with well-researched, expert-backed insights for all your informational needs.








0 thoughts on “Upgrading Your Home’s Exterior With DIY Kinetic Wind Sculpture Installation”