Home>Ideas and Tips>Upgrading Your Home’s Garage with a DIY Electromagnetic Vehicle Charging Pad
Ideas and Tips
Upgrading Your Home’s Garage with a DIY Electromagnetic Vehicle Charging Pad
Published: September 1, 2024
Upgrade your garage with a DIY electromagnetic vehicle charging pad. Learn the steps, components, and safety tips for efficient EV charging at home.
(Many of the links in this article redirect to a specific reviewed product. Your purchase of these products through affiliate links helps to generate commission for Storables.com, at no extra cost. Learn more)
Introduction
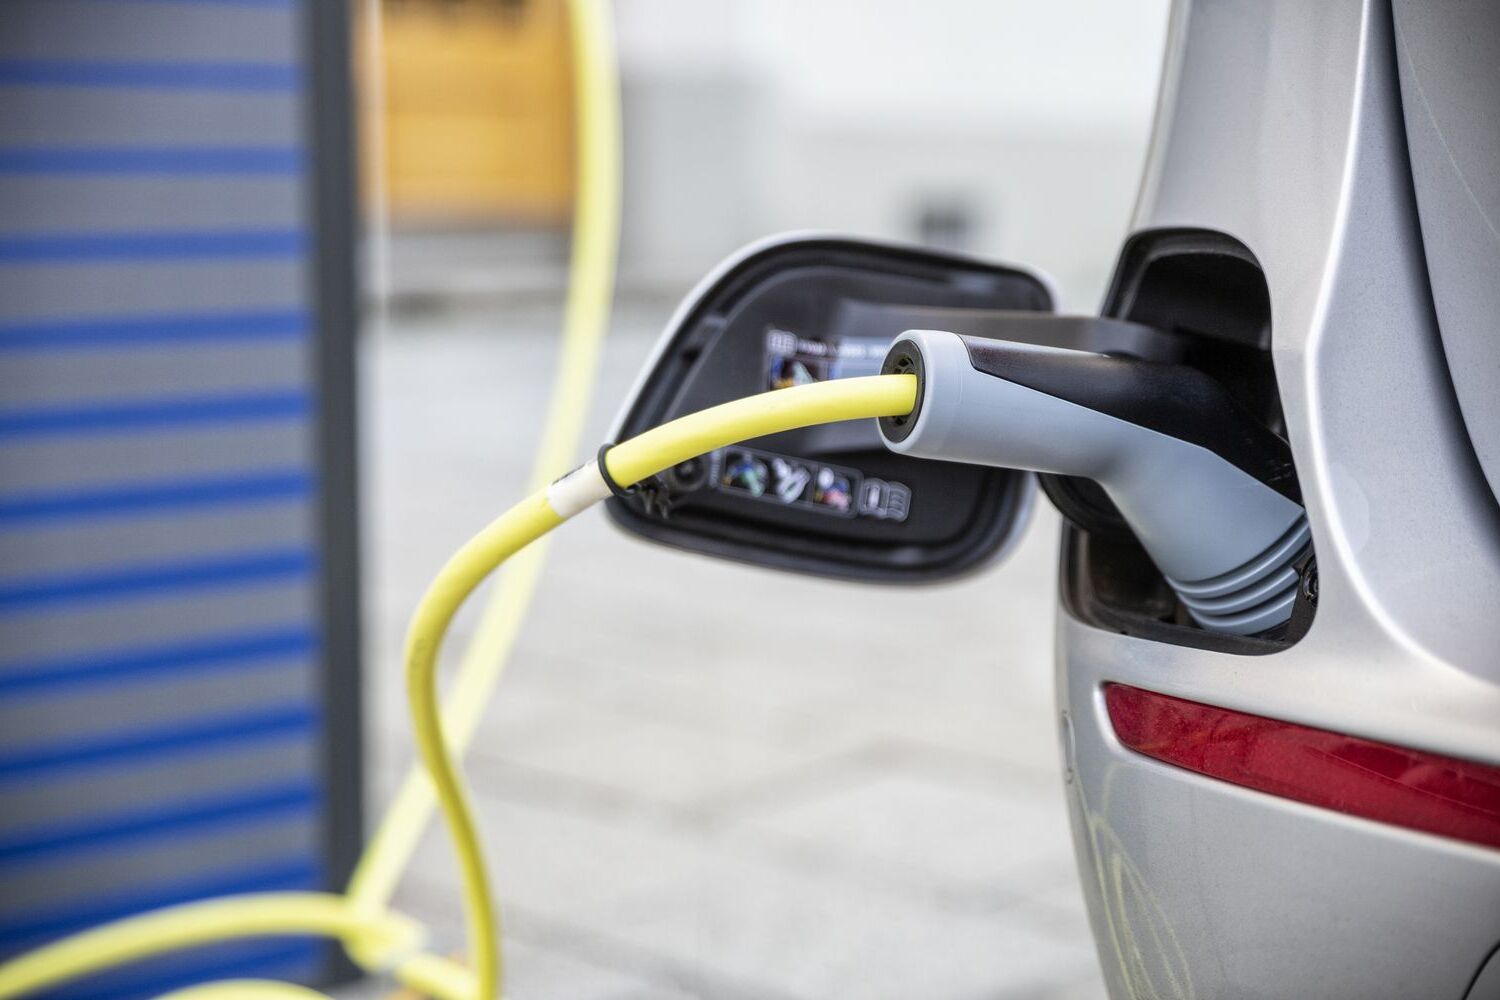
In recent years, the trend towards electric vehicles (EVs) has been on the rise, driven by concerns about climate change and the need for sustainable energy solutions. As more people transition to EVs, the demand for convenient and efficient charging solutions has increased. One of the most innovative and practical solutions for home garage charging is the DIY electromagnetic vehicle charging pad. This article will guide you through the process of upgrading your home's garage with a DIY electromagnetic vehicle charging pad, covering the necessary components, safety considerations, and step-by-step installation instructions.
Understanding Electromagnetic Vehicle Charging
Electromagnetic vehicle charging is a game-changer for EV owners. This technology uses electromagnetic induction to transfer energy from a stationary source to a moving vehicle. The charging pad consists of a primary coil that generates an alternating magnetic field, which induces an electromotive force in the secondary coil embedded in the vehicle's charging system. This process is efficient, safe, and can be implemented at home with minimal technical expertise.
Components Needed
To build a DIY electromagnetic vehicle charging pad, you'll need the following components:
-
Primary Coil:
- A copper wire (preferably insulated) with a diameter of around 2 mm.
- A core material (e.g., ferrite or air core) to enhance the magnetic field.
- A power source (e.g., an inverter or a dedicated charging unit).
-
Secondary Coil:
- A similar copper wire with a diameter of around 2 mm.
- A core material (e.g., ferrite or air core) to enhance the magnetic field.
- The secondary coil should be embedded in the vehicle's charging system.
-
Control Unit:
- An Arduino board or a dedicated microcontroller to control the charging process.
- A relay module to switch the power supply on and off.
- A voltage regulator to ensure stable power supply.
-
Safety Components:
- A fuse or circuit breaker to protect against overcurrent.
- Thermal sensors to monitor temperature and prevent overheating.
- Insulation materials (e.g., heat shrink tubing) to ensure electrical safety.
-
Mounting Hardware:
- Wooden or metal plates for mounting the primary coil.
- Screws and bolts for securing the components.
Safety Considerations
Safety should always be the top priority when working with electrical components. Here are some key considerations:
-
Electrical Safety:
- Ensure all electrical connections are secure and insulated.
- Use protective gear like gloves and safety glasses when handling electrical components.
-
Thermal Safety:
- Monitor temperature levels using thermal sensors to prevent overheating.
- Use heat-resistant materials for insulation.
-
Mechanical Safety:
- Ensure the charging pad is securely mounted to prevent it from moving during use.
- Avoid placing the charging pad near flammable materials.
-
Electromagnetic Interference (EMI):
- Use shielding materials to minimize EMI and prevent interference with other electronic devices.
Step-by-Step Installation Instructions
Step 1: Plan Your Setup
-
Determine the Location:
- Choose a location in your garage that is easily accessible and away from flammable materials.
- Ensure there is enough space to accommodate both the primary and secondary coils.
-
Measure Your Vehicle:
- Measure the dimensions of your vehicle's charging port to determine the size of the secondary coil needed.
Step 2: Prepare the Primary Coil
-
Wind the Coil:
- Wind the copper wire around the core material to create the primary coil.
- Use a consistent winding pattern to ensure even magnetic field distribution.
-
Connect the Power Source:
- Connect one end of the primary coil to the power source (e.g., an inverter or dedicated charging unit).
- Ensure all connections are secure and insulated.
Step 3: Prepare the Secondary Coil
-
Wind the Coil:
- Wind another piece of copper wire around another core material to create the secondary coil.
- Embed this coil into your vehicle's charging system according to manufacturer instructions.
-
Connect Sensors and Relays:
- Connect thermal sensors to monitor temperature levels.
- Connect relays to switch power supply on and off as needed.
Step 4: Assemble Control Unit
-
Program Arduino Board:
- Write code using Arduino IDE or another microcontroller platform to control charging process.
- Implement safety features like overcurrent protection and temperature monitoring.
-
Connect Relay Module:
- Connect relay module between Arduino board and primary coil.
- Ensure relay module can handle required current levels.
Step 5: Mount Components
-
Mount Primary Coil:
- Mount wooden or metal plates securely in your garage floor.
- Place primary coil on these plates ensuring proper alignment with secondary coil.
-
Secure Wiring:
- Use heat shrink tubing or electrical tape to secure wiring against mechanical stress.
-
Add Insulation Materials:
- Apply insulation materials around exposed wiring for added safety.
-
Test Setup:
- Test setup before final installation ensuring all components function correctly without any issues.
Conclusion
Upgrading your home's garage with a DIY electromagnetic vehicle charging pad is an innovative way to embrace sustainable energy solutions while enhancing convenience for EV owners. By following these steps and considering essential safety measures, you can create an efficient and safe charging system tailored specifically for your needs. This project not only reduces carbon footprint but also adds value to your property making it more attractive for potential buyers if you decide to sell in the future.
Additional Tips
- Regular Maintenance: Regularly inspect wiring and components for signs of wear or damage.
- Software Updates: Keep software updated with latest firmware versions available from manufacturers.
- Community Support: Join online forums or communities related to DIY projects like this one where you can share experiences and get advice from fellow enthusiasts.
By following these guidelines meticulously while staying vigilant about potential risks involved in such projects, you'll be able not only upgrade but also revolutionize how you charge electric vehicles at home
Was this page helpful?
At Storables.com, we guarantee accurate and reliable information. Our content, validated by Expert Board Contributors, is crafted following stringent Editorial Policies. We're committed to providing you with well-researched, expert-backed insights for all your informational needs.


0 thoughts on “Upgrading Your Home’s Garage with a DIY Electromagnetic Vehicle Charging Pad”