Home>Interior Design>How To Clean A Clothes Closet: An Expert Guide Before You Organize
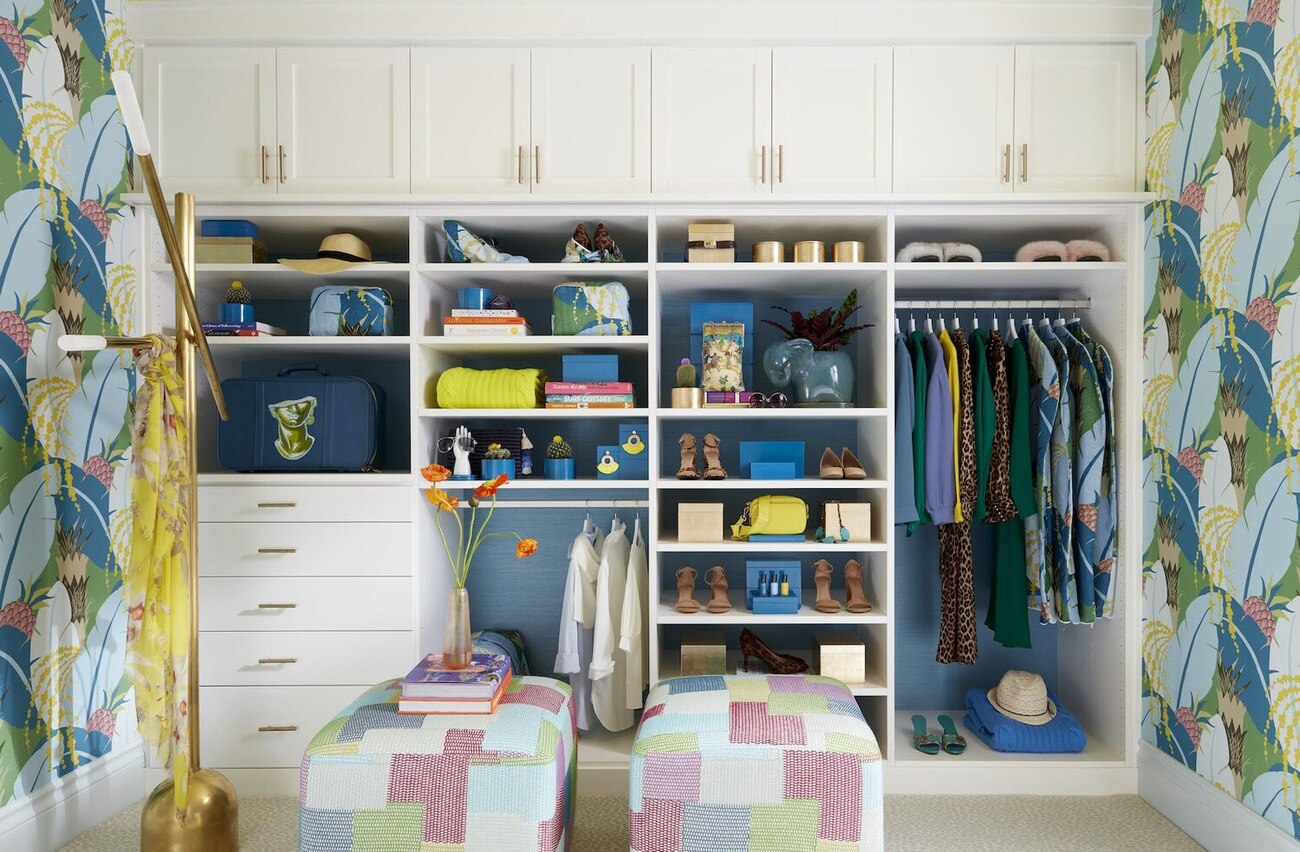

Interior Design
How To Clean A Clothes Closet: An Expert Guide Before You Organize
Modified: January 18, 2024
Learn how to effectively clean and organize your clothes closet with this expert guide on interior design.
(Many of the links in this article redirect to a specific reviewed product. Your purchase of these products through affiliate links helps to generate commission for Storables.com, at no extra cost. Learn more)
Introduction
Welcome to our expert guide on how to clean a clothes closet before organizing it. A clean and well-organized closet not only makes it easier to find your clothes but also helps extend the lifespan of your garments. Whether you are dealing with a small reach-in closet or a spacious walk-in wardrobe, a thorough cleaning and decluttering session can do wonders.
In this article, we will take you through a step-by-step process to tackle that chaotic and cluttered clothes closet. From removing all items and sorting them into categories to cleaning the surfaces and implementing effective storage solutions, we’ll cover it all. By the end of this guide, you’ll have a fresh and well-organized closet where finding your favorite outfit will be a breeze.
So, let’s jump right into it and transform that messy closet into a clean and functional space!
Key Takeaways:
- A well-organized and clean clothes closet not only simplifies your daily routine but also extends the lifespan of your garments. Follow our expert guide to transform your cluttered space into a functional and visually appealing wardrobe.
- Maintaining cleanliness and organization is an ongoing process. Regular decluttering, proper storage solutions, and consistent cleaning routines will ensure a clutter-free and well-organized closet for the long term.
Read more: How To Clean Out Closet
Step 1: Remove all items from the closet
The first step to clean and organize your clothes closet is to remove all the items from within. This process allows you to have a clearer view of the space and ensures that nothing gets left behind.
Start by taking out all the clothes, shoes, accessories, and any other items that are stored in the closet. Place them on your bed or in a designated area where you can easily sort through them later.
As you remove each item, take a moment to evaluate its condition and whether it still serves a purpose in your wardrobe. If you come across clothes that no longer fit, are out of style, or are damaged beyond repair, set them aside for donation or disposal.
During this process, it’s also a good idea to gather any items that don’t belong in the closet. Often, closets become a catch-all for miscellaneous objects, so make sure to return these items to their proper places.
By completely emptying the closet, you create a blank canvas for cleaning and organizing. Once the closet is empty, you’re ready to move on to the next step.
Step 2: Sort the items into categories
Now that your clothes closet is empty, it’s time to sort the items you removed into categories. This step will help you identify what you have, determine what you need, and make the organizing process much smoother.
Start by creating categories based on the type of items you have, such as shirts, pants, dresses, shoes, accessories, and so on. You can also divide them further into subcategories, like casual and formal wear, or summer and winter clothes.
As you sort through each item, consider its current condition, how frequently you wear it, and its sentimental value. This will help you decide whether to keep, donate, or discard certain pieces.
It’s important to be honest with yourself during this process. Let go of items that no longer fit or no longer represent your style. Remember, a clutter-free closet is essential for an organized and stress-free morning routine.
As you sort and categorize, you may find duplicate items or pieces that serve the same purpose. Take this opportunity to streamline your wardrobe and keep only what you truly need and love.
Once everything is sorted into categories, take a step back and evaluate the quantity and variety of items in each category. This will help you determine the amount of storage space needed for each group.
Sorting your items into categories is a crucial step in the organization process. It sets the foundation for efficient storage and makes it easier to locate specific items when you need them. With everything sorted, you’re ready to move on to the next step: decluttering and purging unwanted items.
Step 3: Declutter and purge unwanted items
Now that you have sorted your items into categories, it’s time to declutter and purge any unwanted items from your clothes closet. Decluttering allows you to create space for the things you truly love and use, making it easier to keep your closet organized in the long run.
Take each category one at a time and go through the items within it. Ask yourself the following questions:
- Have I worn this item in the past year?
- Does it still fit me well?
- Does it match my personal style?
- Is it in good condition or can it be repaired?
Be honest with yourself and only keep the items that pass these criteria. If you come across pieces that no longer serve you, consider donating them to someone in need or selling them to make some extra money.
Remember, the goal is to create a closet filled with items that make you feel good and are practical for your lifestyle. By letting go of items that no longer serve a purpose, you create a space that is curated and clutter-free.
As you declutter, make sure to also check for any expired or damaged items, such as stained clothes or shoes with worn-out soles. These items are better off being discarded rather than taking up valuable space in your closet.
Decluttering and purging unwanted items can be a liberating experience. It allows you to let go of the past and make room for new possibilities. Once you have finished this step, you’re ready to move on to assessing and repairing any damages within your clothes closet.
Step 4: Assess and repair any damages
After decluttering and purging unwanted items, it’s time to assess the condition of your clothes closet and repair any damages. This step ensures that your closet is not only clean but also in good working order.
Start by examining the structural integrity of your closet. Check for any loose or broken shelves, rods, or hooks. If you notice any damage, tighten or repair them as necessary. If the damage is beyond repair, consider replacing the damaged components to ensure the longevity of your closet.
Next, inspect the walls and flooring of your closet. Look for any signs of mold, mildew, or water damage. If you encounter these issues, it’s important to address them promptly to prevent further damage and maintain a healthy and safe environment for your clothes.
In addition, check for any signs of pests such as insects or rodents. If you spot any, take necessary measures to eliminate them and prevent future infestations. This may involve using pest control products or consulting a professional exterminator, depending on the severity of the issue.
Lastly, take a look at the lighting in your closet. Ensure that all light fixtures are functioning properly and replace any burnt-out bulbs. Adequate lighting is essential for a well-organized and visually pleasing closet.
Addressing any damages and repairs in your clothes closet not only improves its functionality but also enhances its aesthetic appeal. Once you have assessed and repaired any damages, it’s time to move on to the next step: cleaning the surfaces and shelves.
When cleaning a clothes closet, start by taking everything out and sorting items into keep, donate, and discard piles. This will make it easier to organize and declutter the space.
Read more: How To Organize Clothing In Closet
Step 5: Clean the surfaces and shelves
Now that you have assessed and repaired any damages in your clothes closet, it’s time to give it a thorough cleaning. Cleaning the surfaces and shelves not only removes dust and dirt but also creates a fresh and inviting space for your clothes.
Start by removing any remaining dust and debris from the surfaces of your closet. Use a microfiber cloth or a vacuum cleaner with a brush attachment to gently wipe down the walls, shelves, and any other accessible surfaces. Be sure to reach all the corners and crevices to ensure a comprehensive clean.
For stubborn stains or scuff marks on the walls or shelves, a mild detergent mixed with warm water can be used. Dip a sponge or cloth into the soapy water and gently scrub the affected areas. Rinse with clean water and dry thoroughly to prevent any water damage.
In addition to the surfaces, don’t forget to clean the shelves and drawers inside your closet. Remove all items from the shelves and wipe them down with a damp cloth. Pay attention to any grooves or corners where dust may accumulate.
If your closet has removable shelves or drawers, take this opportunity to clean them thoroughly. Use a mild detergent and warm water to clean each piece, ensuring that they are completely dry before placing them back in the closet.
For extra freshness, consider using natural deodorizers such as sachets of lavender or cedar. These can be placed on the shelves or hung in the closet to keep it smelling pleasant and to repel any unwanted odors.
By cleaning the surfaces and shelves of your clothes closet, you not only enhance its cleanliness but also create a more visually appealing and inviting space for your wardrobe. Once everything is clean and dry, you’re ready to move on to step 6: implementing proper storage solutions.
Step 6: Use proper storage solutions
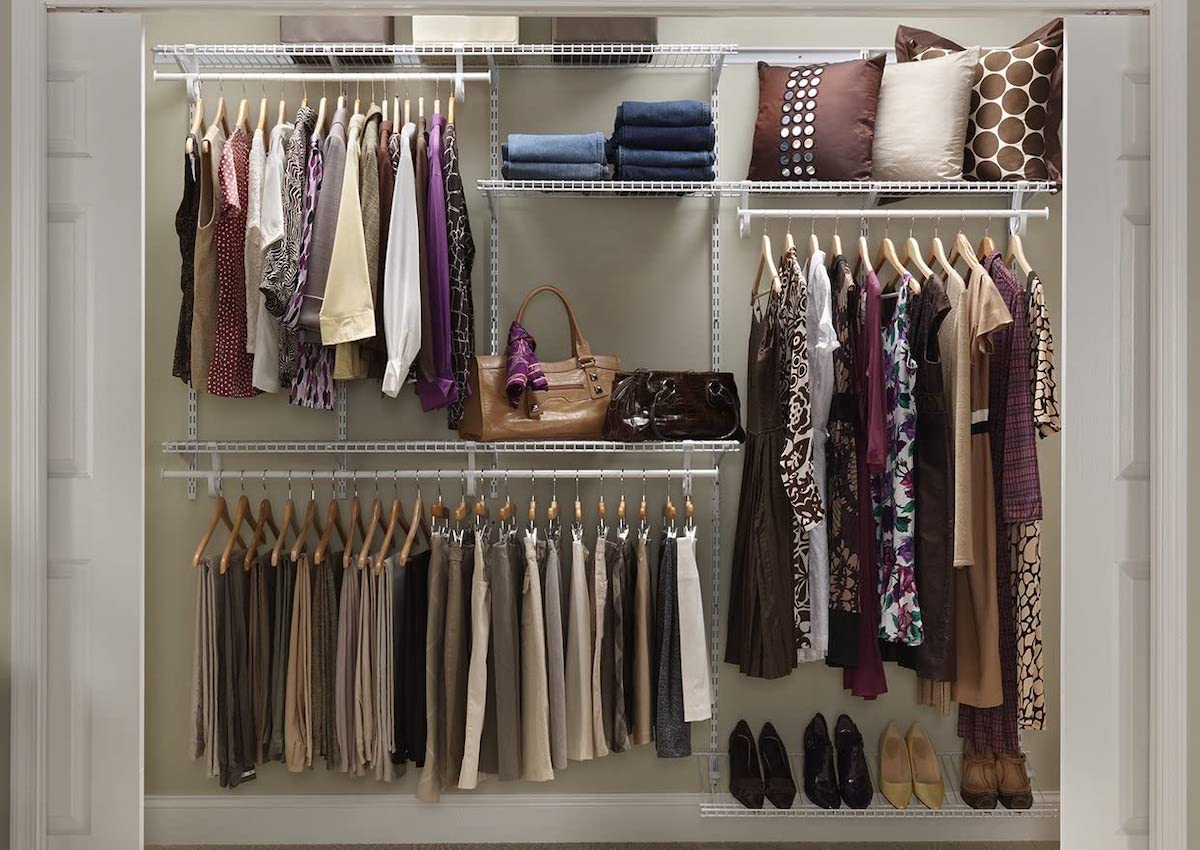
Now that your clothes closet is clean, it’s time to implement proper storage solutions. This step will help you maximize space, keep your items organized, and make it easier to find what you need.
Consider investing in storage solutions that cater to your specific needs and the size of your closet. Here are some ideas to get you started:
- Hangers: Choose sturdy hangers that are appropriate for the type of clothing you have. Consider using cascading hangers to save space.
- Shelving units: Install additional shelves or floating shelves if you need more storage space. These can be used to store folded clothes, accessories, or shoeboxes.
- Drawer dividers: Use drawer dividers to keep small items like socks, underwear, and accessories neatly organized. This will prevent them from getting tangled or lost.
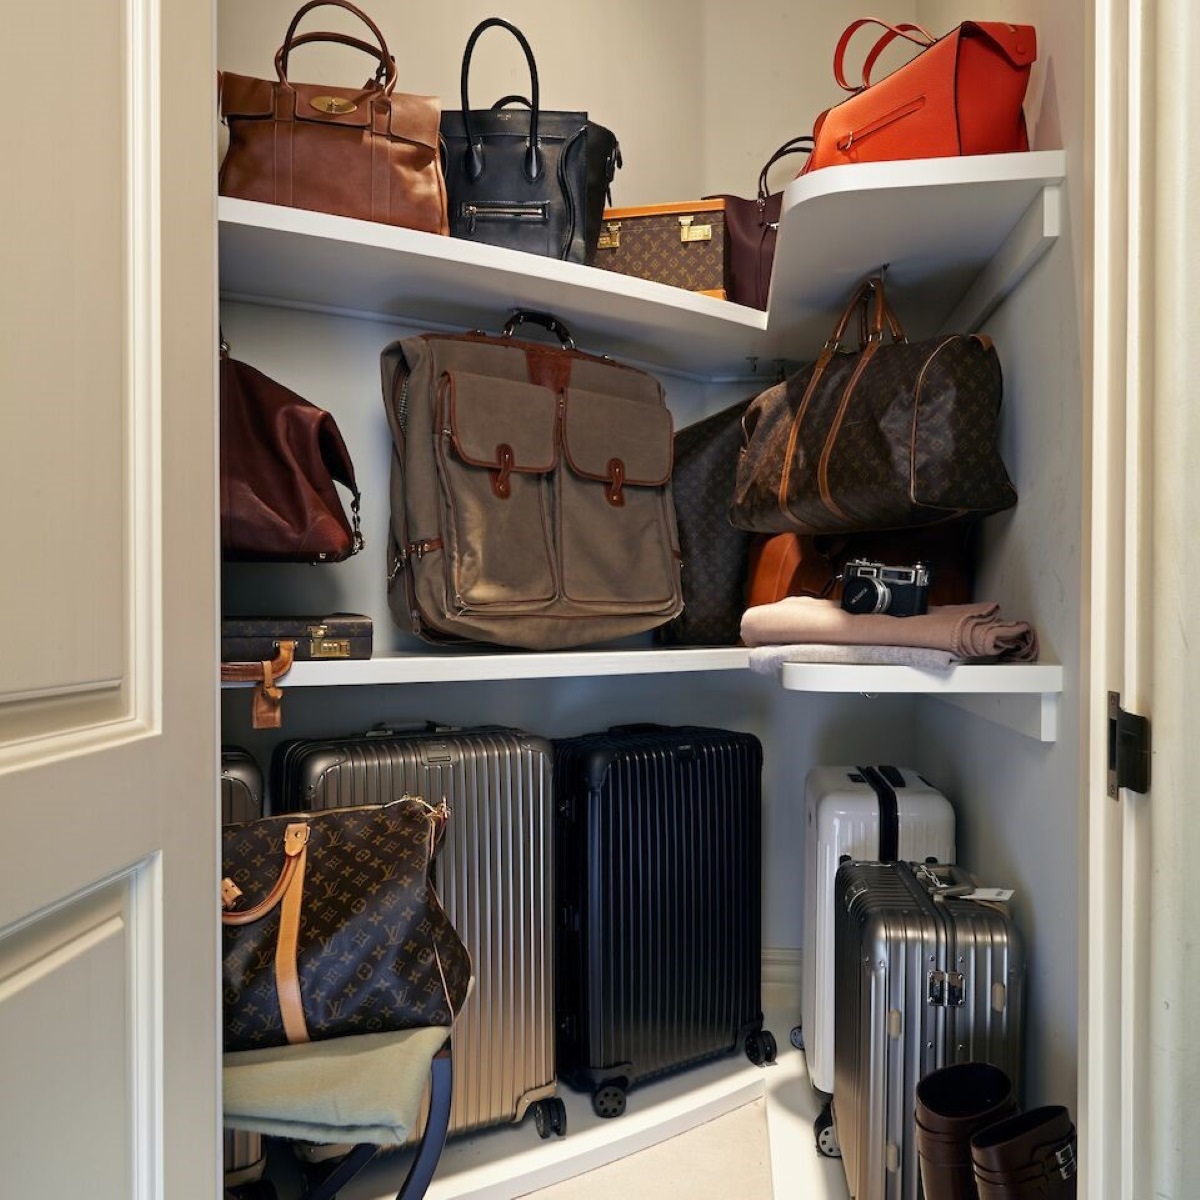
- Baskets and bins: Utilize baskets or bins to corral items like scarves, belts, or handbags. Labeling them can make it easier to find what you’re looking for.
- Shoe racks or organizers: Invest in shoe racks or organizers to keep your footwear in order. These can be placed on the floor or hung on the back of the closet door.
- Over-the-door organizers: Make use of the back of your closet door by hanging an over-the-door organizer. This can be used to store items such as jewelry, ties, or belts.
When implementing storage solutions, consider the frequency of use for each item. Keep frequently worn clothes and accessories within easy reach and use higher shelves or less accessible areas for items that are used less often.
Utilizing proper storage solutions not only keeps your clothes closet organized but also helps protect your items from damage. With a well-organized closet, you’ll be able to maintain your newfound cleanliness and streamline your daily routine.
Now that you have implemented effective storage solutions, it’s time to move on to step 7: organizing the items based on frequency of use.
Step 7: Organize the items based on frequency of use
Now that you have implemented proper storage solutions, it’s time to organize the items in your clothes closet based on their frequency of use. This step ensures that your frequently worn items are easily accessible, saving you time and effort in your daily routine.
Start by placing your most frequently worn clothes in the most accessible area of your closet. These items should be within arm’s reach and easy to grab without much effort. Consider using the center or front portion of your closet for these items.
Next, arrange your clothing by category and subcategory. Group similar items together, such as shirts with shirts, pants with pants, and dresses with dresses. Within each category, you can further organize by color or season, depending on your preference.
For folded items, neatly stack them on shelves or in drawers, making sure that they are visible and easily accessible. Consider using dividers or labels to keep different categories separate and prevent the stacks from toppling over.
When organizing your shoes, place them in an orderly manner. You can line them up on the floor or use a shoe rack to make the most of the space. Consider storing out-of-season shoes in boxes or under-bed storage containers to save space.
Don’t forget to allocate space for accessories such as belts, ties, scarves, and jewelry. Hang them on hooks, place them in organizers, or use drawer dividers to keep them organized and tangle-free.
The key to organizing your clothes closet is creating a system that makes sense to you. Find a method that works well with your lifestyle and enables you to easily locate and retrieve your desired items.
By organizing your items based on frequency of use, you’ll streamline your morning routine and reduce the time spent searching for clothes. With everything neatly arranged, you’re ready to move on to the final step: maintaining cleanliness and organization.
Step 8: Maintain cleanliness and organization
Congratulations on reaching the final step of maintaining cleanliness and organization in your clothes closet. Now that you’ve put in the effort to clean, declutter, and organize, it’s important to establish habits to ensure your closet remains tidy and functional.
Here are a few tips to help you maintain the cleanliness and organization of your clothes closet:
- Regularly declutter: Schedule regular decluttering sessions to purge any items that no longer serve you. Set aside a specific time each season to reassess your wardrobe and donate or discard items as needed.
- Put things back in their place: Get into the habit of returning items to their designated spots after use. Avoid the temptation to throw clothes on the floor or leave accessories strewn across the shelves.
- Maintain a cleaning routine: Set aside time to clean your closet on a regular basis. Dust the surfaces, vacuum the floor, and wipe down any visible marks or stains. This will help prevent the buildup of dust and maintain a fresh environment.
- Rotate seasonal items: As the seasons change, rotate your wardrobe to ensure that the most appropriate items are easily accessible. Store out-of-season clothes in vacuum-sealed bags or boxes to free up space in your closet.
- Stay organized with labels: Use labels on shelves, drawers, and storage containers to help you maintain order and easily locate items. This will save you time and frustration when searching for specific pieces.
- Invest in extra storage solutions: If you find that you need more storage space in the future, consider investing in additional storage solutions such as closet organizers, hanging shelves, or under-bed storage containers.
Remember, maintaining cleanliness and organization is an ongoing process. It’s important to actively engage in these habits to prevent your clothes closet from returning to its previous state of disarray.
By following these tips and staying consistent with your efforts, you’ll enjoy a well-organized and clutter-free closet that not only looks aesthetically pleasing but also simplifies your day-to-day routine.
With that, you have completed all the steps to clean and organize your clothes closet. Enjoy your newly refreshed space and the ease of finding your favorite outfits with ease.
Conclusion
Congratulations on successfully cleaning and organizing your clothes closet using our expert guide. By following the steps outlined in this article, you’ve transformed your cluttered and chaotic closet into a clean, functional, and visually appealing space.
By removing all items from the closet, sorting them into categories, decluttering and purging unwanted items, assessing and repairing any damages, cleaning the surfaces and shelves, implementing proper storage solutions, organizing items based on frequency of use, and maintaining cleanliness and organization, you have set the foundation for a well-organized wardrobe.
Not only does a clean and organized closet make it easier to find your clothes, but it also helps extend the lifespan of your garments. You’ll save time getting ready each day and have a sense of peace and clarity whenever you step into your closet.
Remember, maintaining cleanliness and organization is an ongoing process. Dedicate time periodically to reassess your wardrobe, declutter, and tidy up. By staying consistent with these habits, you’ll be able to enjoy a clutter-free and organized closet for the long term.
With your newly organized closet, you’ll have the confidence to showcase your personal style and effortlessly put together stylish outfits. So go ahead, enjoy the benefits of a well-maintained wardrobe and let your creativity shine through.
Thank you for following our expert guide. We hope it has provided you with the knowledge and inspiration to create a space that reflects your personality and makes getting dressed a joyous and stress-free experience.
Happy organizing!
Frequently Asked Questions about How To Clean A Clothes Closet: An Expert Guide Before You Organize
Was this page helpful?
At Storables.com, we guarantee accurate and reliable information. Our content, validated by Expert Board Contributors, is crafted following stringent Editorial Policies. We're committed to providing you with well-researched, expert-backed insights for all your informational needs.





0 thoughts on “How To Clean A Clothes Closet: An Expert Guide Before You Organize”