Articles
How To Put Shelves In Closet
Modified: October 20, 2024
Looking for storage ideas to maximize your closet space? Learn how to put shelves in your closet and create a functional and organized storage solution.
(Many of the links in this article redirect to a specific reviewed product. Your purchase of these products through affiliate links helps to generate commission for Storables.com, at no extra cost. Learn more)
Introduction
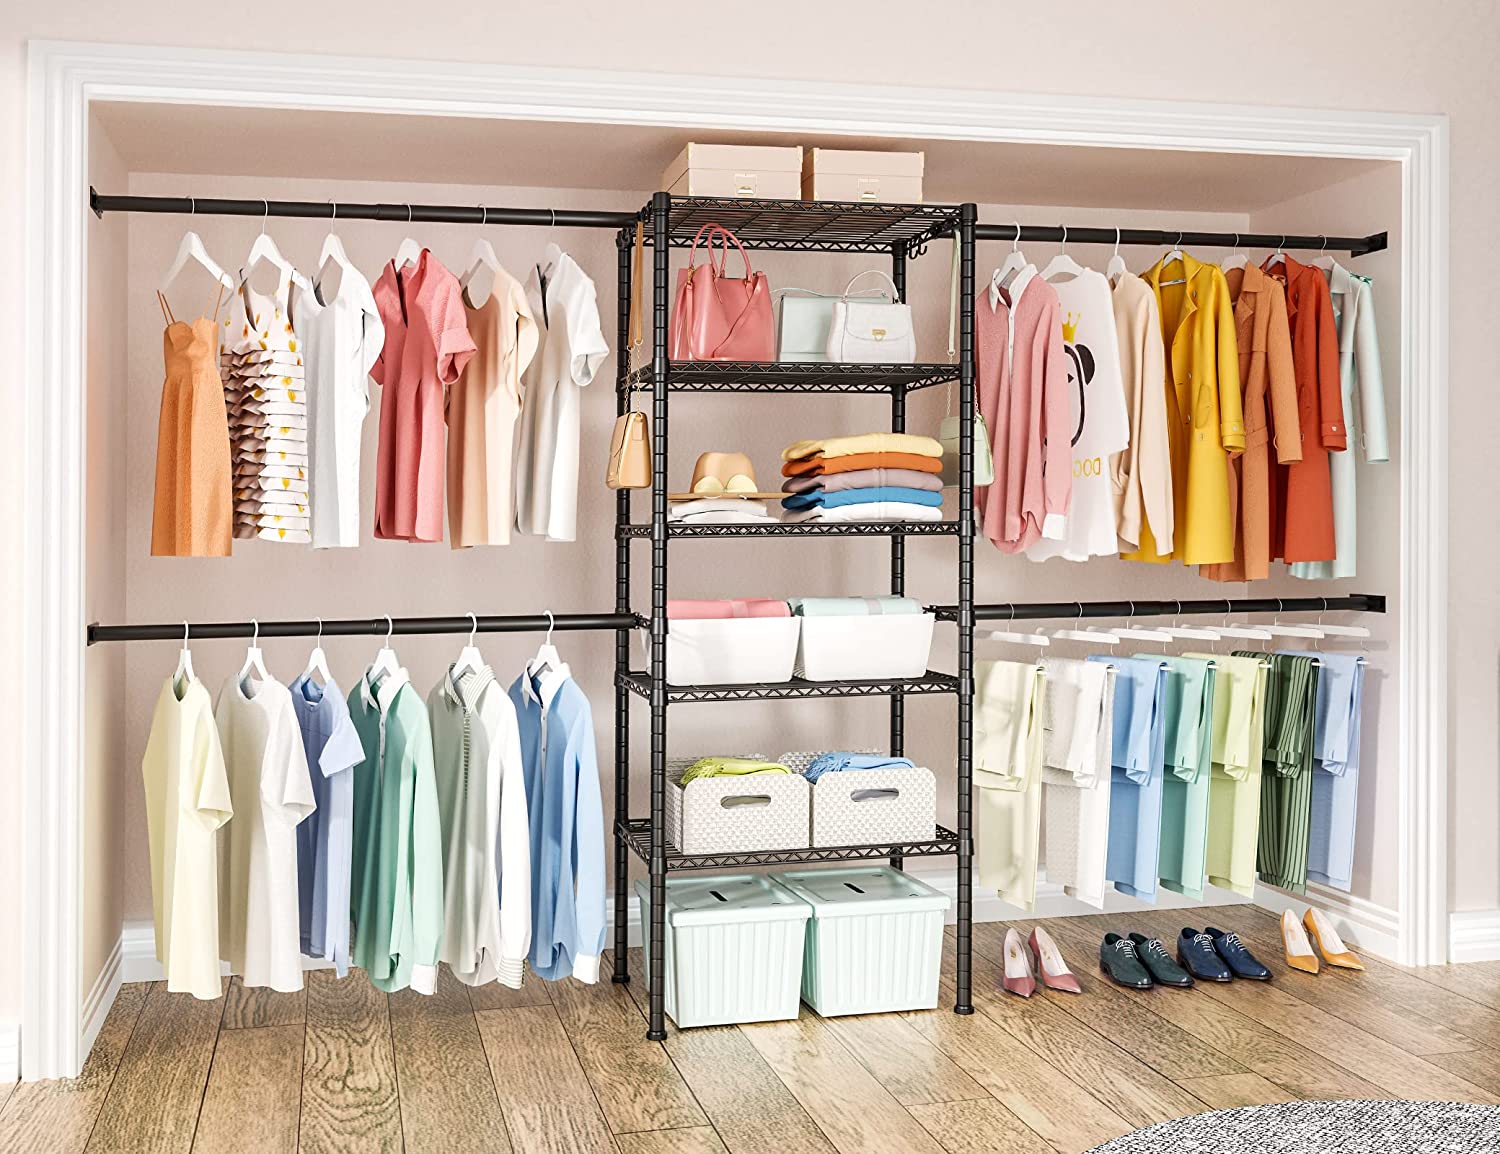
Welcome to our step-by-step guide on how to put shelves in a closet! It’s time to maximize the storage potential of your closet space and create a more organized and efficient storage solution. Whether you’re looking to add shelves for clothing, shoes, accessories, or other items, this guide will walk you through the process.
Having shelves in your closet can help you make the most of the available space, allowing you to keep your belongings neatly organized and easily accessible. No more rummaging through piles of clothes or struggling to find your favorite pair of shoes. With the right shelving system and proper installation, you’ll be able to transform your cluttered closet into a well-organized oasis.
In this guide, we’ll cover everything from assessing your closet space to choosing the right shelving system and installing it properly. We’ll also provide tips on organizing and styling your shelves to create a visually appealing and functional storage solution.
Before we dive into the process, it’s important to gather the necessary tools and materials. You’ll likely need a tape measure, level, power drill, screws, shelf brackets, shelves, and any additional accessories or organizers you plan to incorporate. Make sure you have all the items on hand before starting the installation.
Now, let’s get started with the first step: assessing the closet space.
Key Takeaways:
- Transform your cluttered closet into a well-organized oasis by assessing the space, choosing the right shelving system, and styling the shelves for a visually appealing and functional storage solution.
- Maximize your closet space by taking accurate measurements, preparing the closet, and installing shelves with proper support and stability. Enjoy the benefits of an organized and efficient closet!
Read more: Install Simple Closet Shelves
Step 1: Assessing the Closet Space
Before you start installing shelves in your closet, it’s important to assess the space and determine how you want to utilize it. Take a look at the size and shape of your closet to determine the best placement and configuration for your shelves.
First, remove any existing items from the closet and give it a thorough cleaning. This will provide a clean slate for your new shelves and help you visualize the available space more accurately.
Next, consider the purpose of the closet and what you plan to store on the shelves. Is it primarily for clothing, shoes, accessories, or a combination of items? This will help you determine the height, width, and depth of the shelves.
Take measurements of the closet dimensions, including the height, width, and depth. Keep in mind any obstructions such as light fixtures, outlets, or vents that might impact the placement of the shelves. You’ll also want to consider how much space you need between the shelves to accommodate different items.
Think about the accessibility of the items you plan to store on the shelves. If you have a lot of hanging clothing, you may want to leave enough room for a clothing rod underneath the shelves. If you’re storing shoes, make sure there is enough height and depth to accommodate different shoe sizes.
Consider the overall design and aesthetic of your closet. Are you going for a sleek and minimalist look or a more decorative and visually appealing style? This will help you decide the type of shelving system and materials that best align with your design preferences.
Lastly, take note of any structural limitations within the closet. Look for studs or beams in the walls that can support the weight of the shelves. If your closet has a slanted or uneven ceiling, you may need to consider adjustable shelf brackets or custom-cut shelves to fit the space properly.
Once you have assessed the closet space and have a clear understanding of your goals and requirements, you’ll be ready to move on to the next step: taking accurate measurements.
Step 2: Taking Accurate Measurements
After assessing the closet space, the next step is to take accurate measurements. Proper measurements are crucial for ensuring that your shelves fit perfectly and maximize the available space in your closet.
Start by measuring the height of the closet from the floor to the desired height of your shelves. Consider leaving enough space between the top shelf and the ceiling to avoid any potential storage limitations.
Measure the width of the closet from wall to wall. This will give you the total width available for your shelves. Take note of any obstructions such as windows, doors, or light switches that may affect the placement of the shelves.
Determine the depth of the shelves based on the items you plan to store. If you’re storing folded clothing or accessories, a depth of around 12 to 16 inches is usually sufficient. For shoes, you may need a deeper shelf of 18 to 24 inches.
When measuring the space between shelves, consider the height of the items you plan to store. Leave enough clearance between each shelf to easily access and remove items without them getting squished or damaged.
Using a tape measure, record all the measurements accurately. It’s a good idea to double-check your measurements to ensure accuracy. Remember to measure both sides of the closet to account for any variations or unevenness in the walls.
Once you have taken all the necessary measurements, you can use them to determine the number and size of shelves you’ll need. This will help you plan the layout of the shelves in your closet and ensure a seamless installation.
Keep in mind that it’s always better to err on the side of caution and have slightly smaller shelves that fit comfortably within the available space. This will prevent any issues with overcrowding or shelves that stick out awkwardly.
With accurate measurements in hand, you’re now ready to move on to the next step: choosing the right shelving system for your closet.
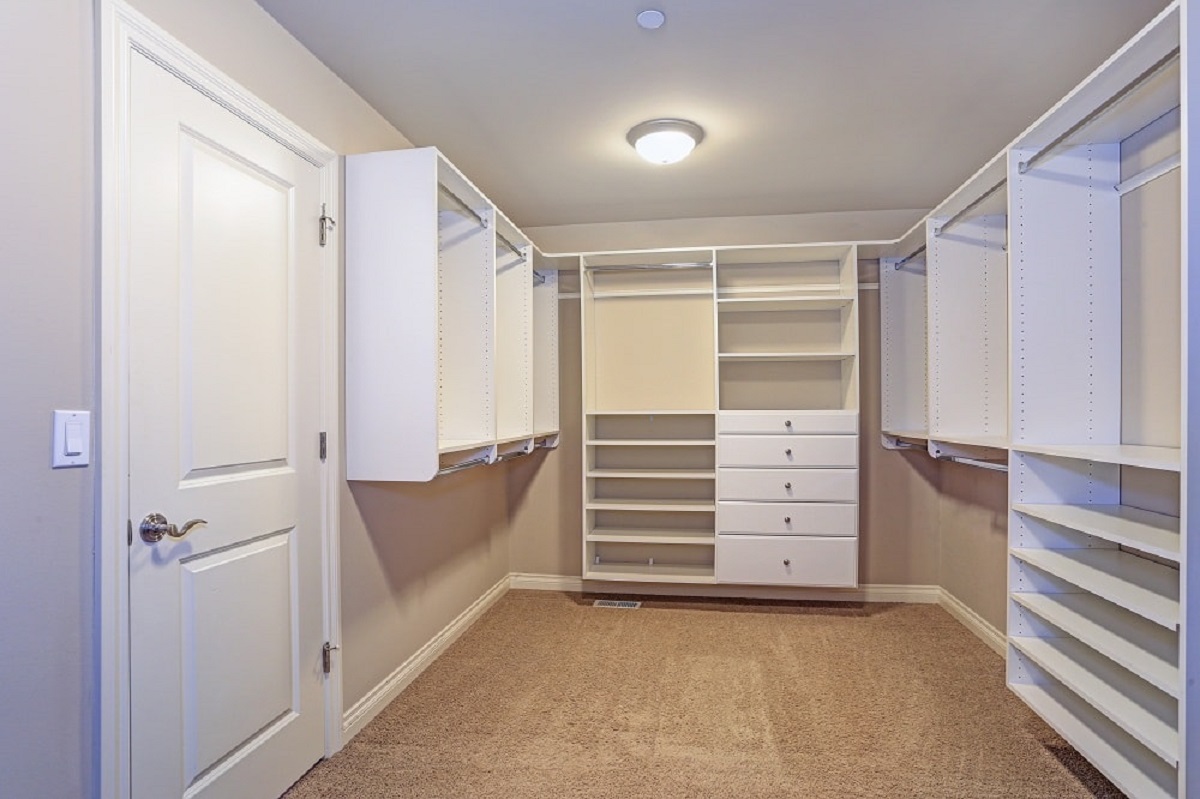
Step 3: Choosing the Right Shelving System
Choosing the right shelving system is essential to ensure the functionality and aesthetics of your closet. There are various options available, each with their own advantages and considerations. Here are some factors to consider when selecting a shelving system:
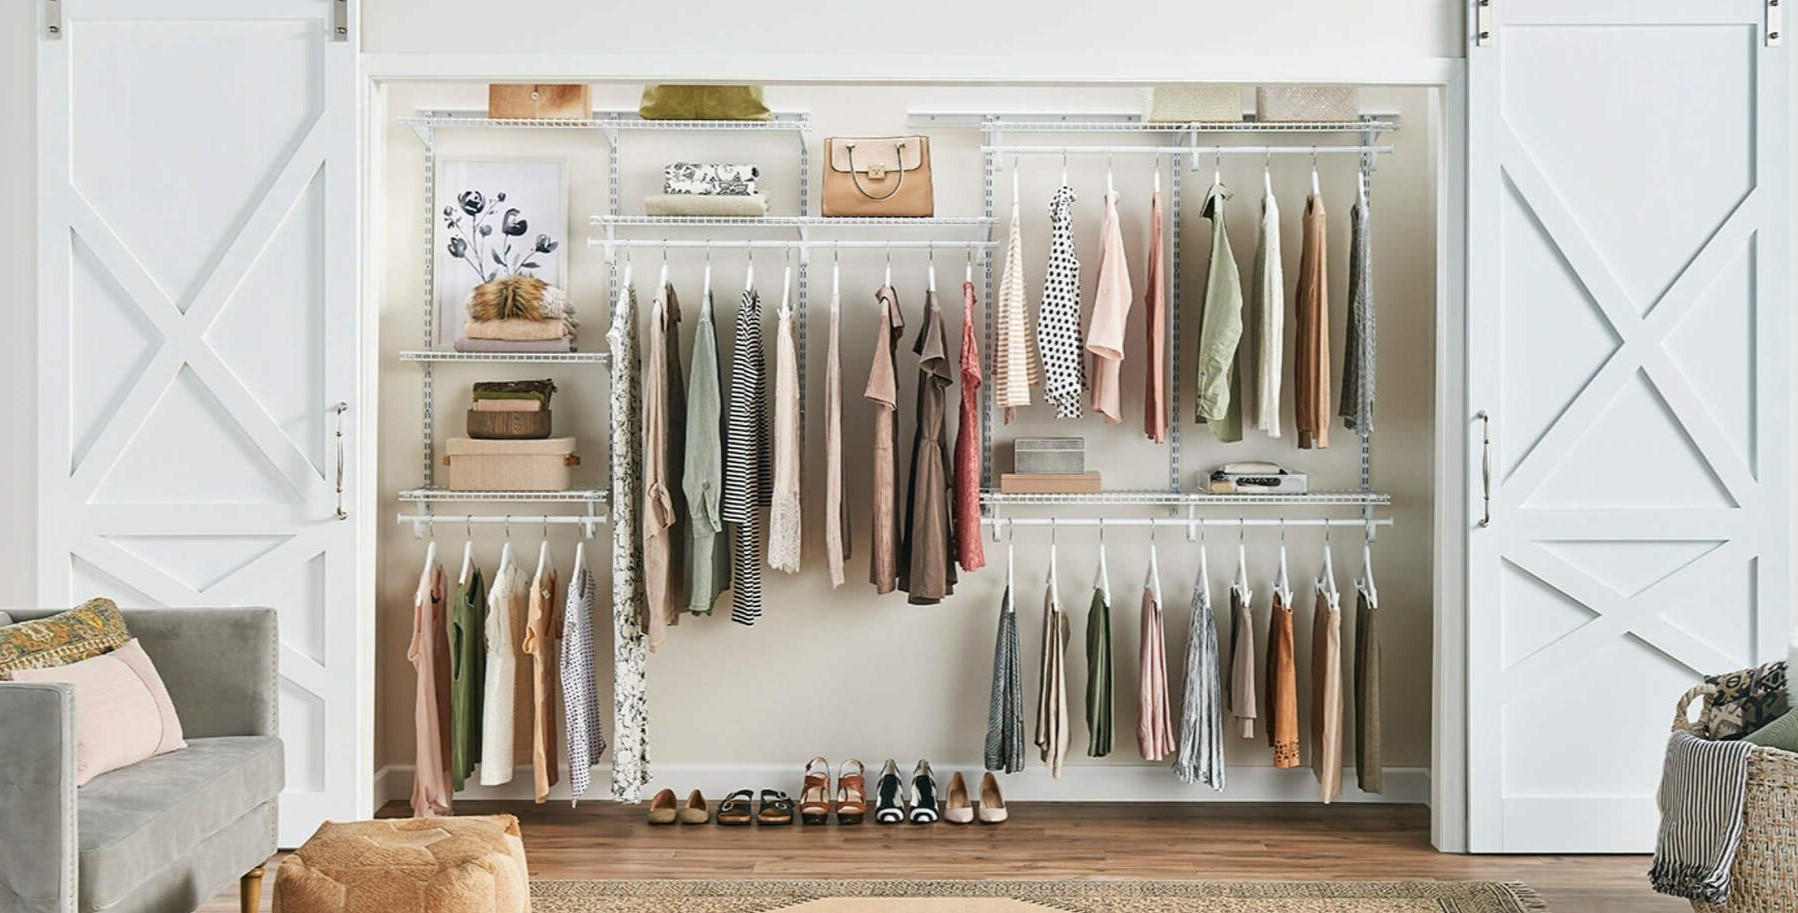
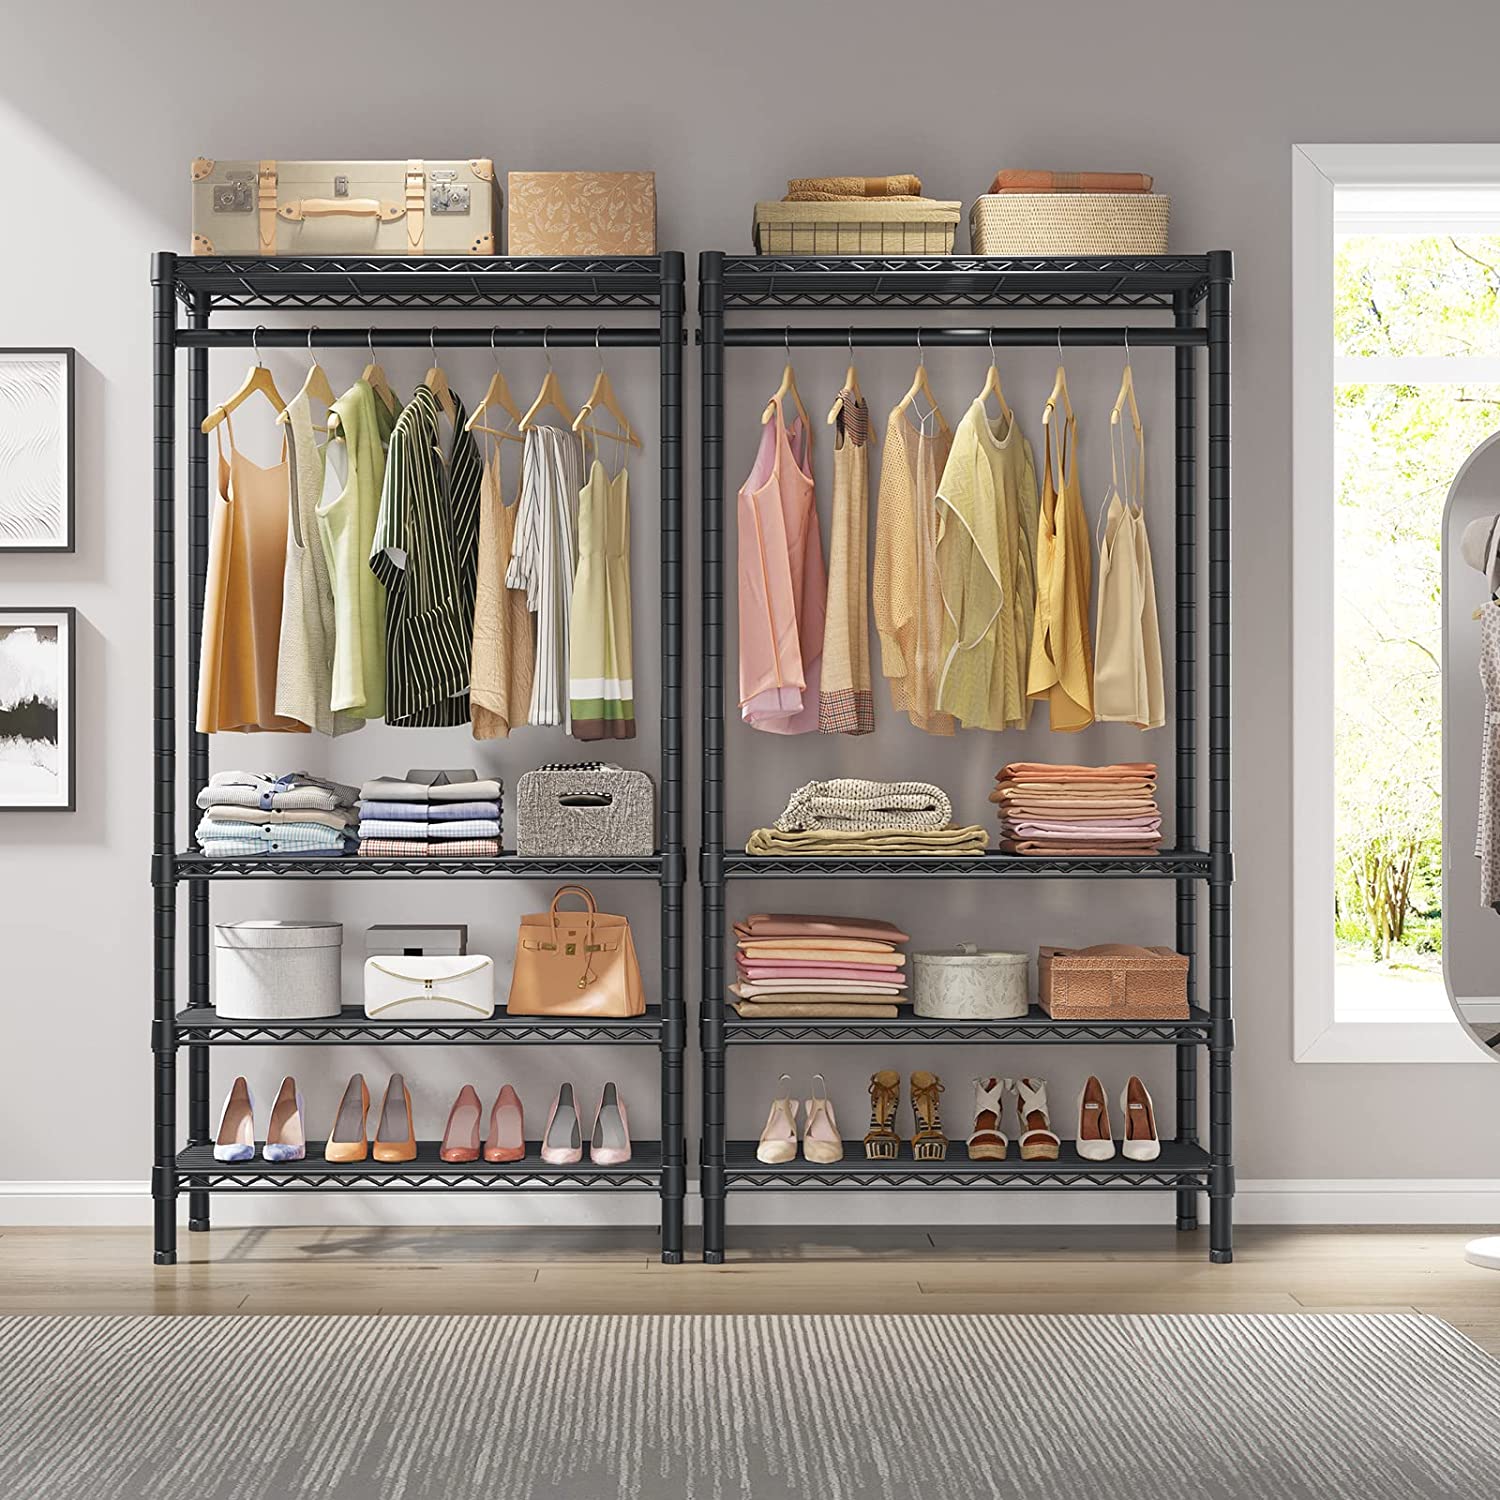
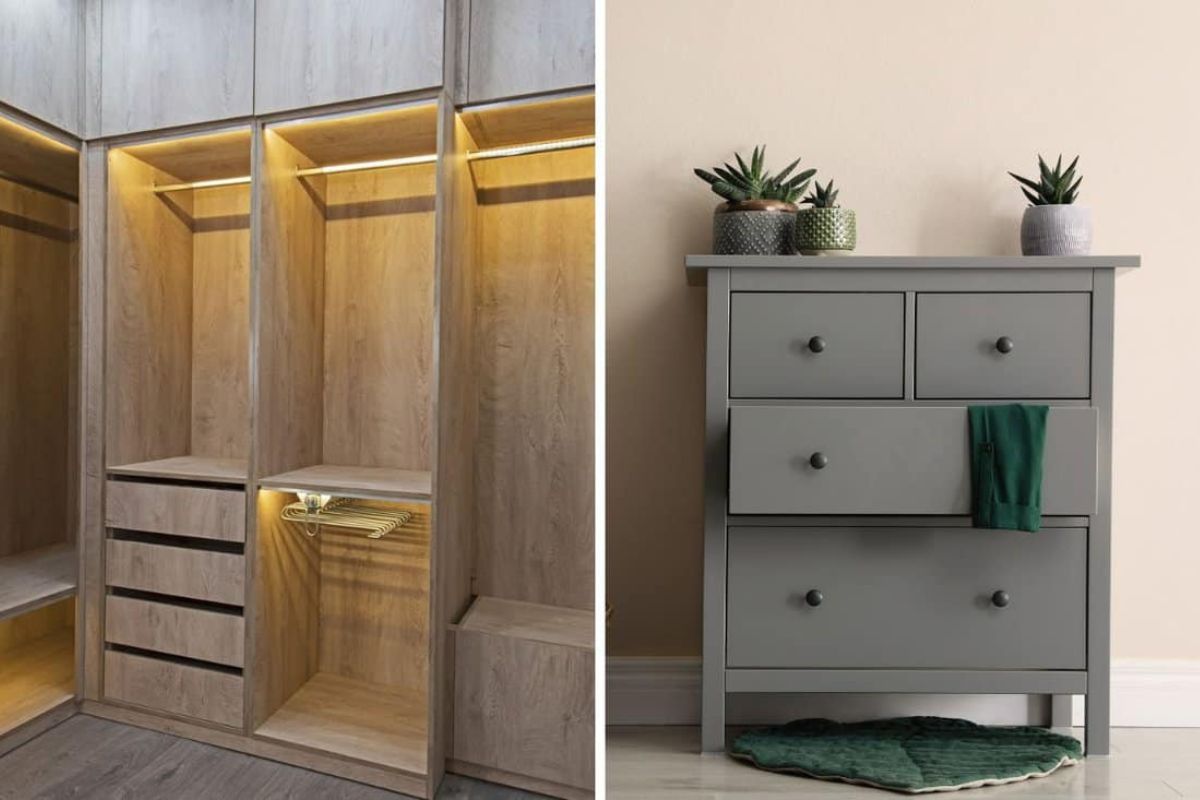
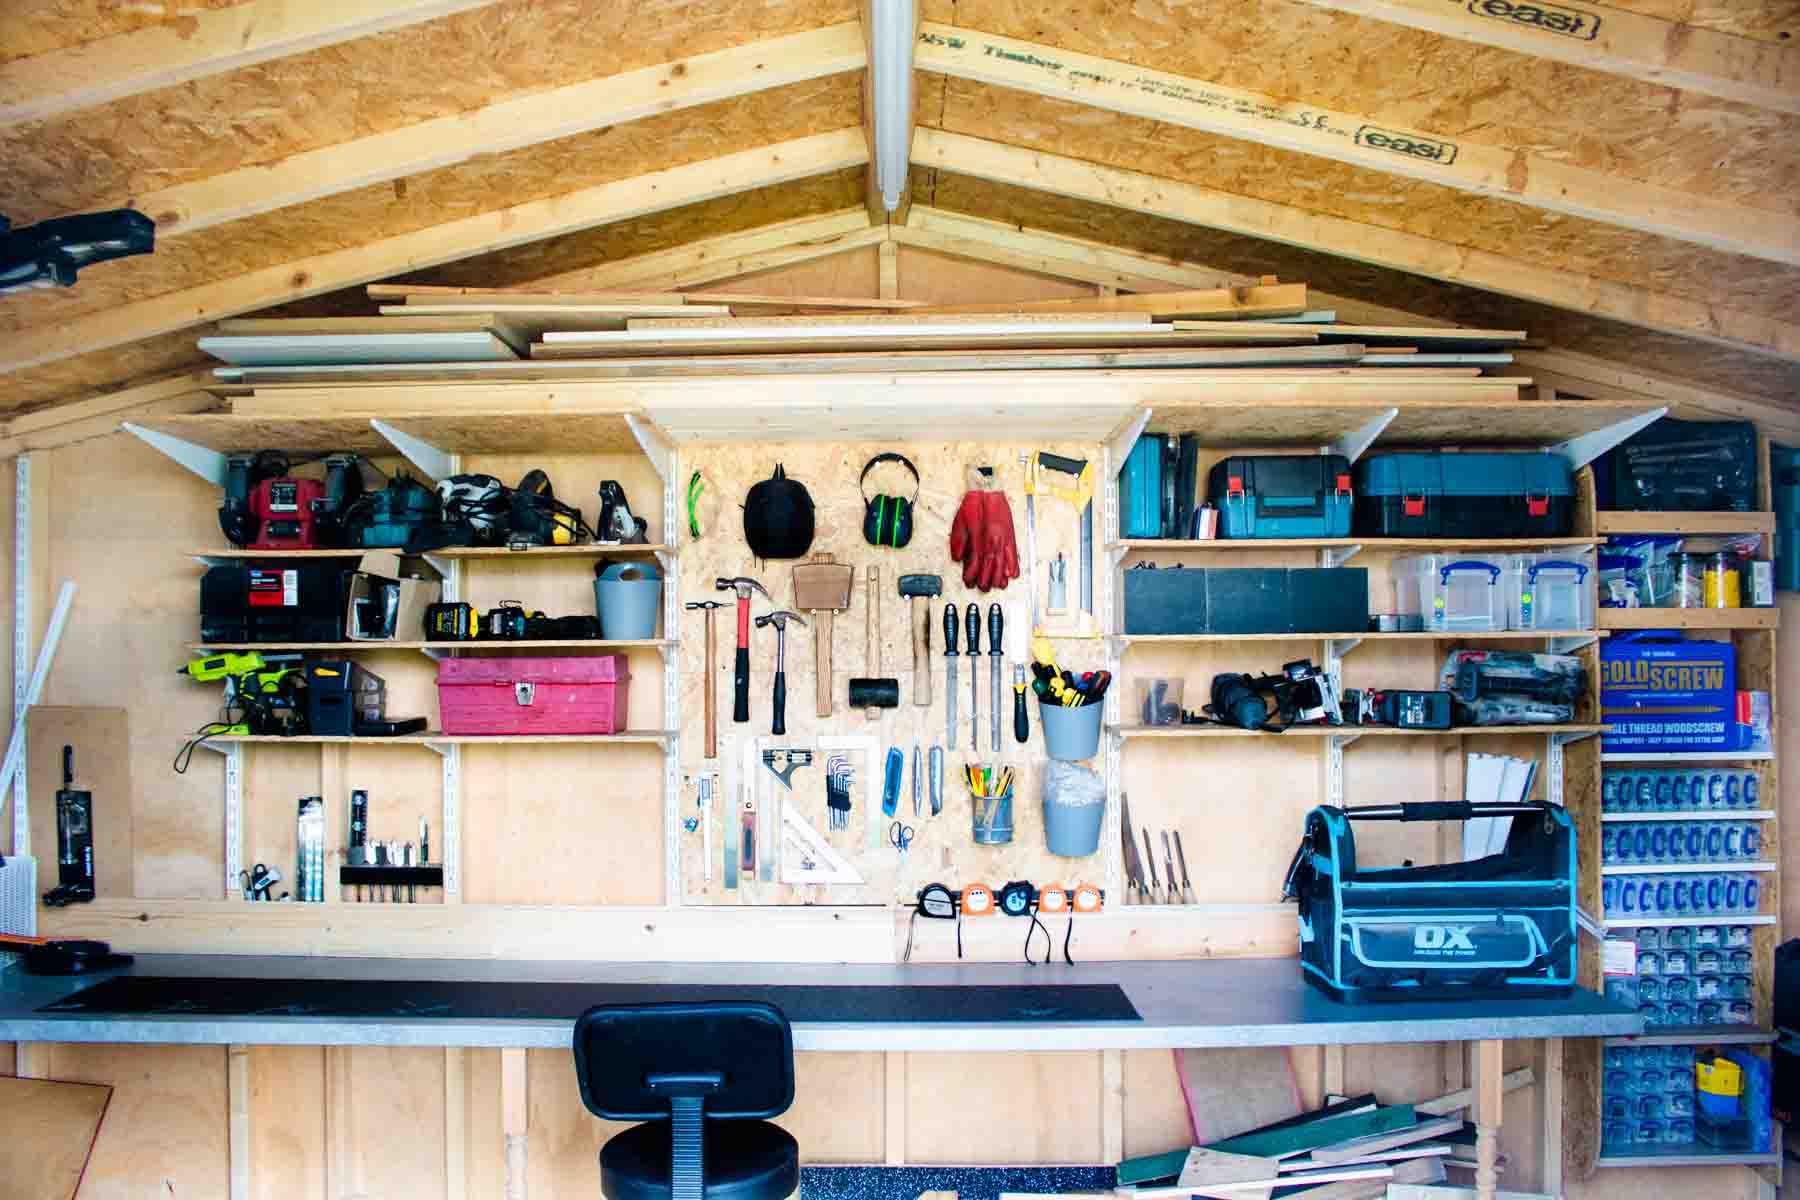
1. Material: There are several materials to choose from, including wood, wire, laminate, and melamine. Wood shelves offer a classic and sturdy option, while wire shelves provide ventilation and visibility. Laminate and melamine shelves are durable and easy to clean.
2. Adjustable vs. Fixed: Decide whether you want adjustable shelves that can be moved up or down based on your storage needs. Adjustable shelves offer flexibility, allowing you to customize the space as your storage requirements change over time. Fixed shelves, on the other hand, provide a more stable and permanent solution.
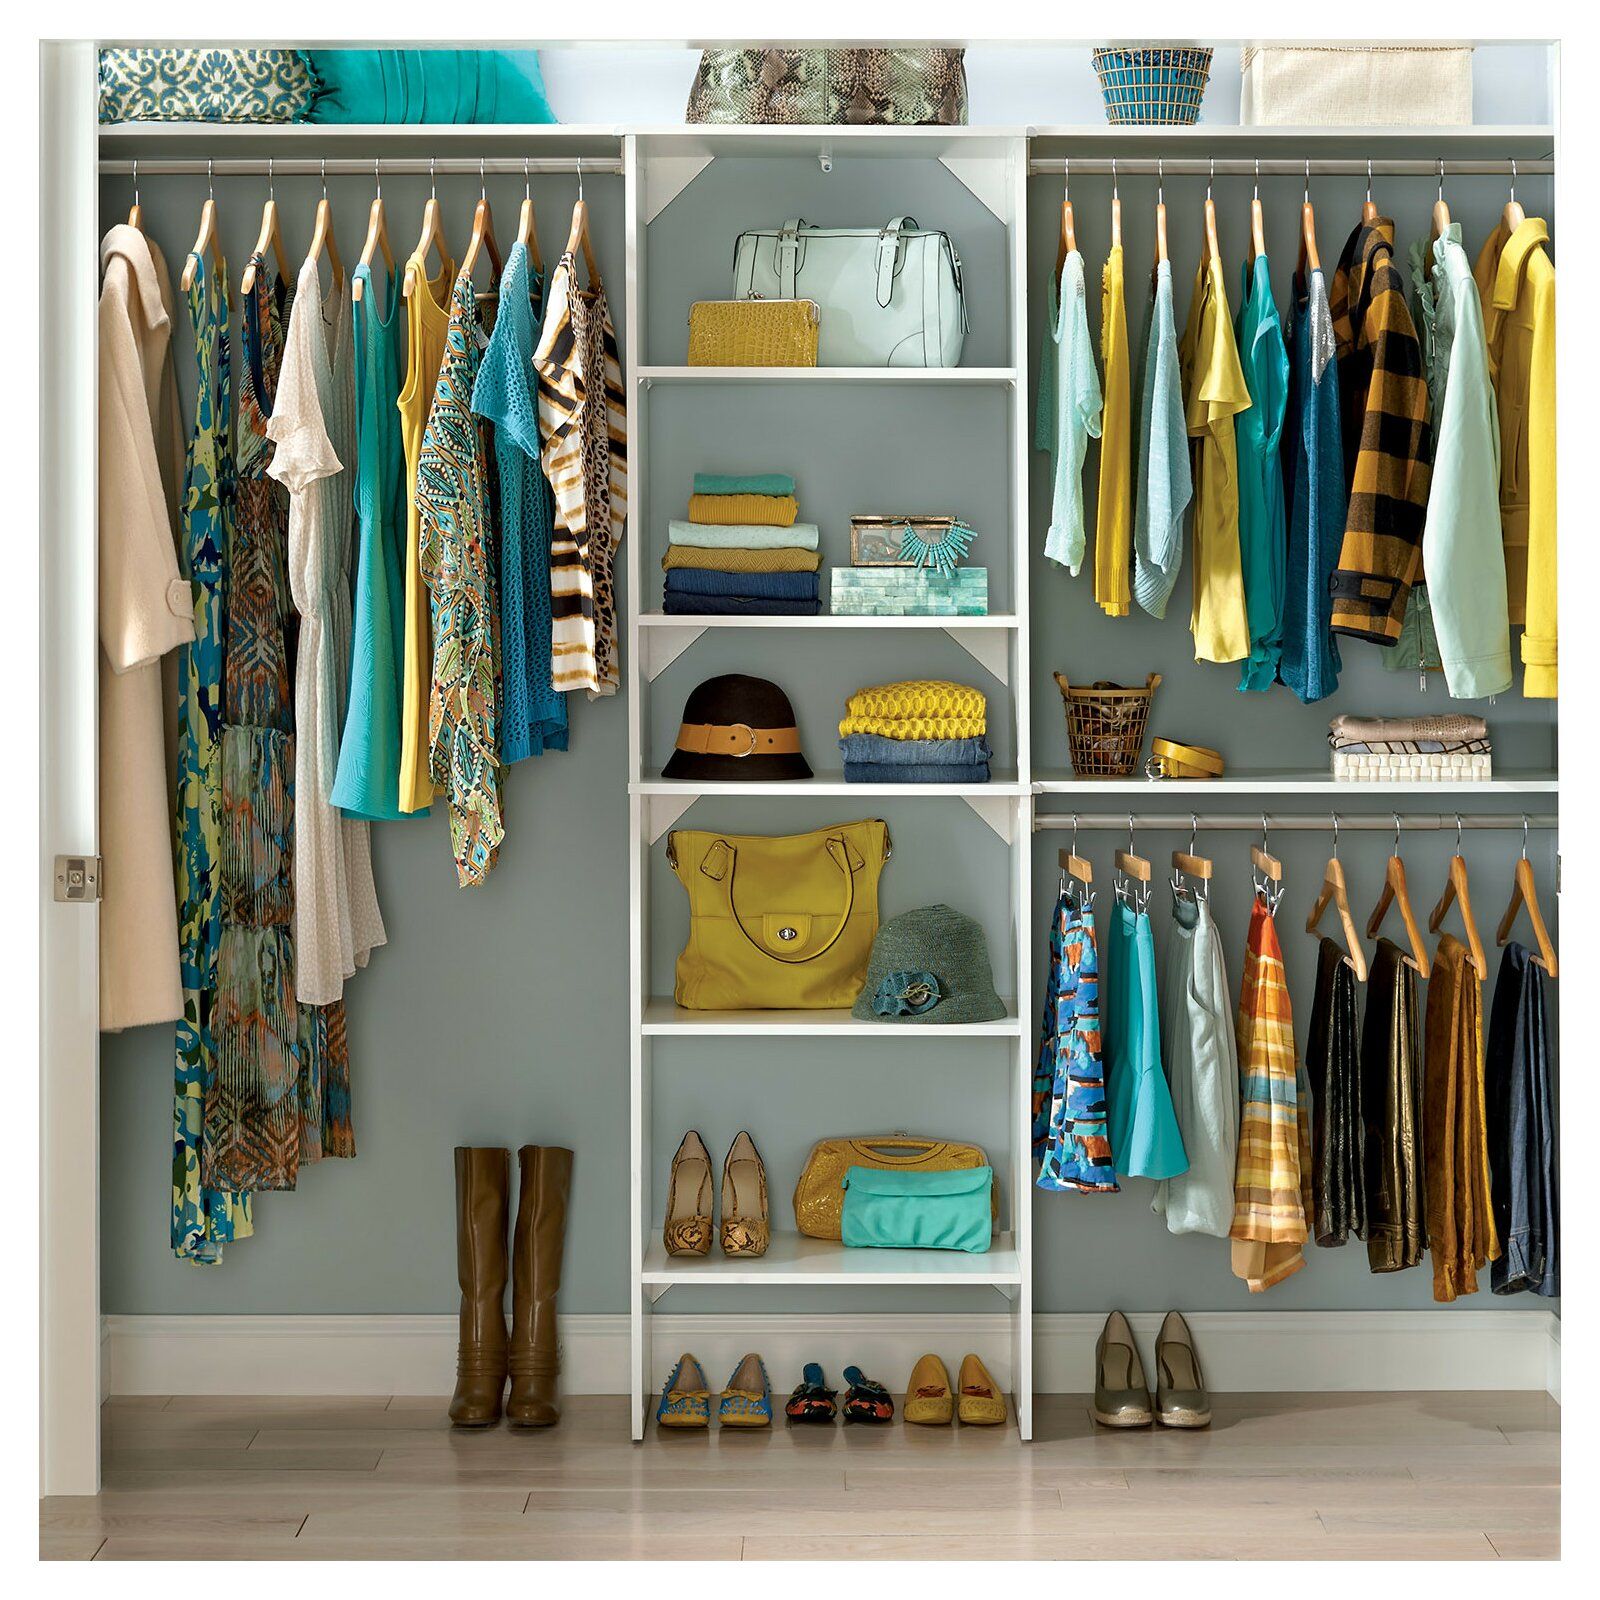
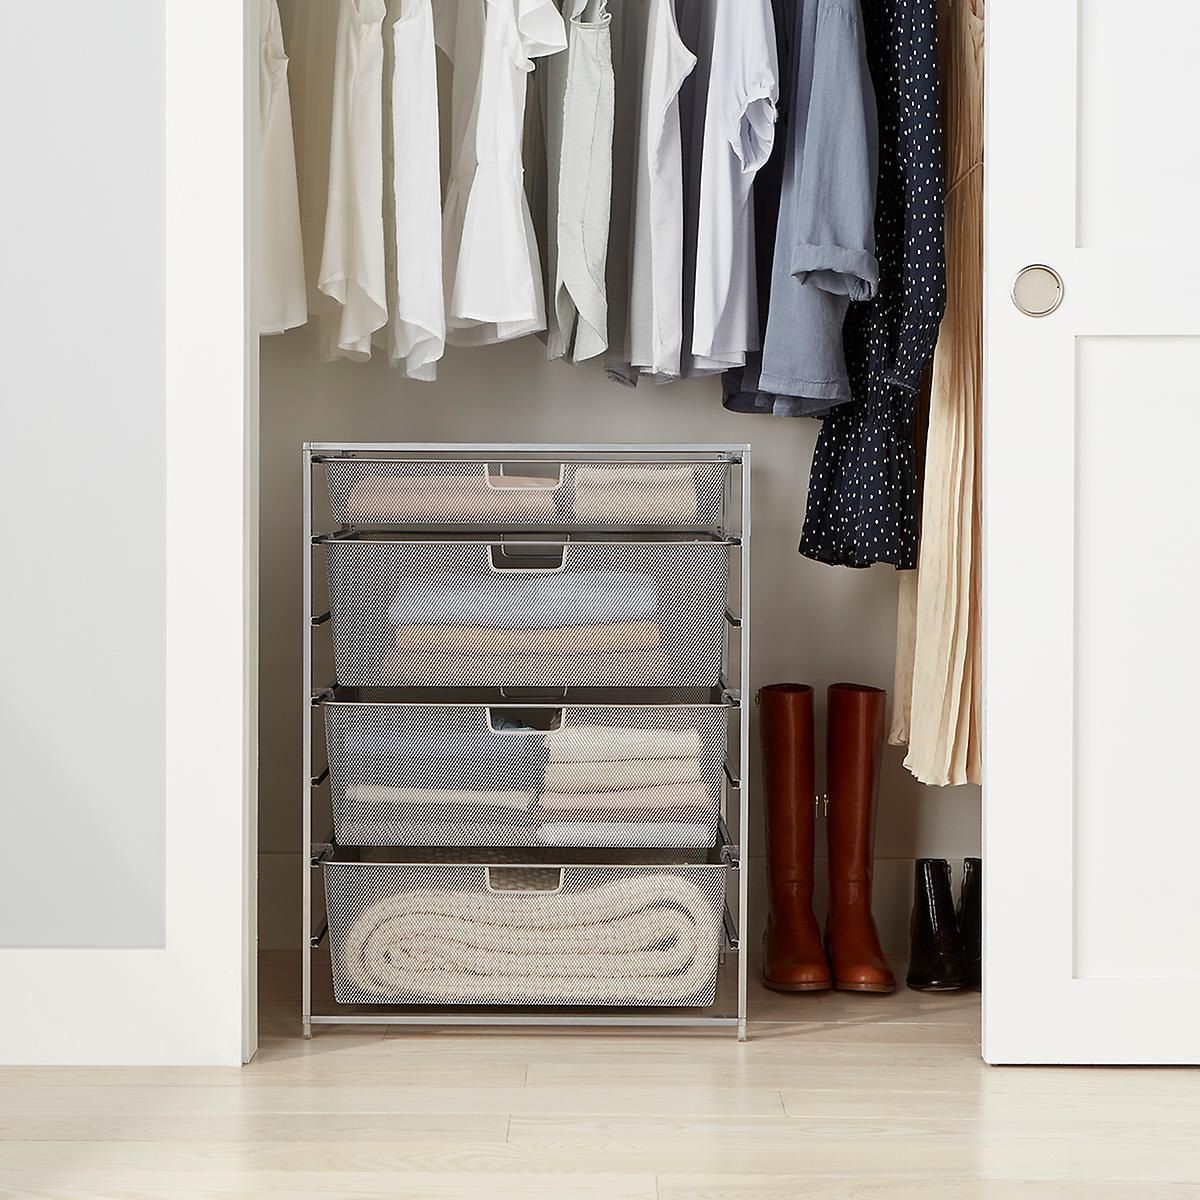
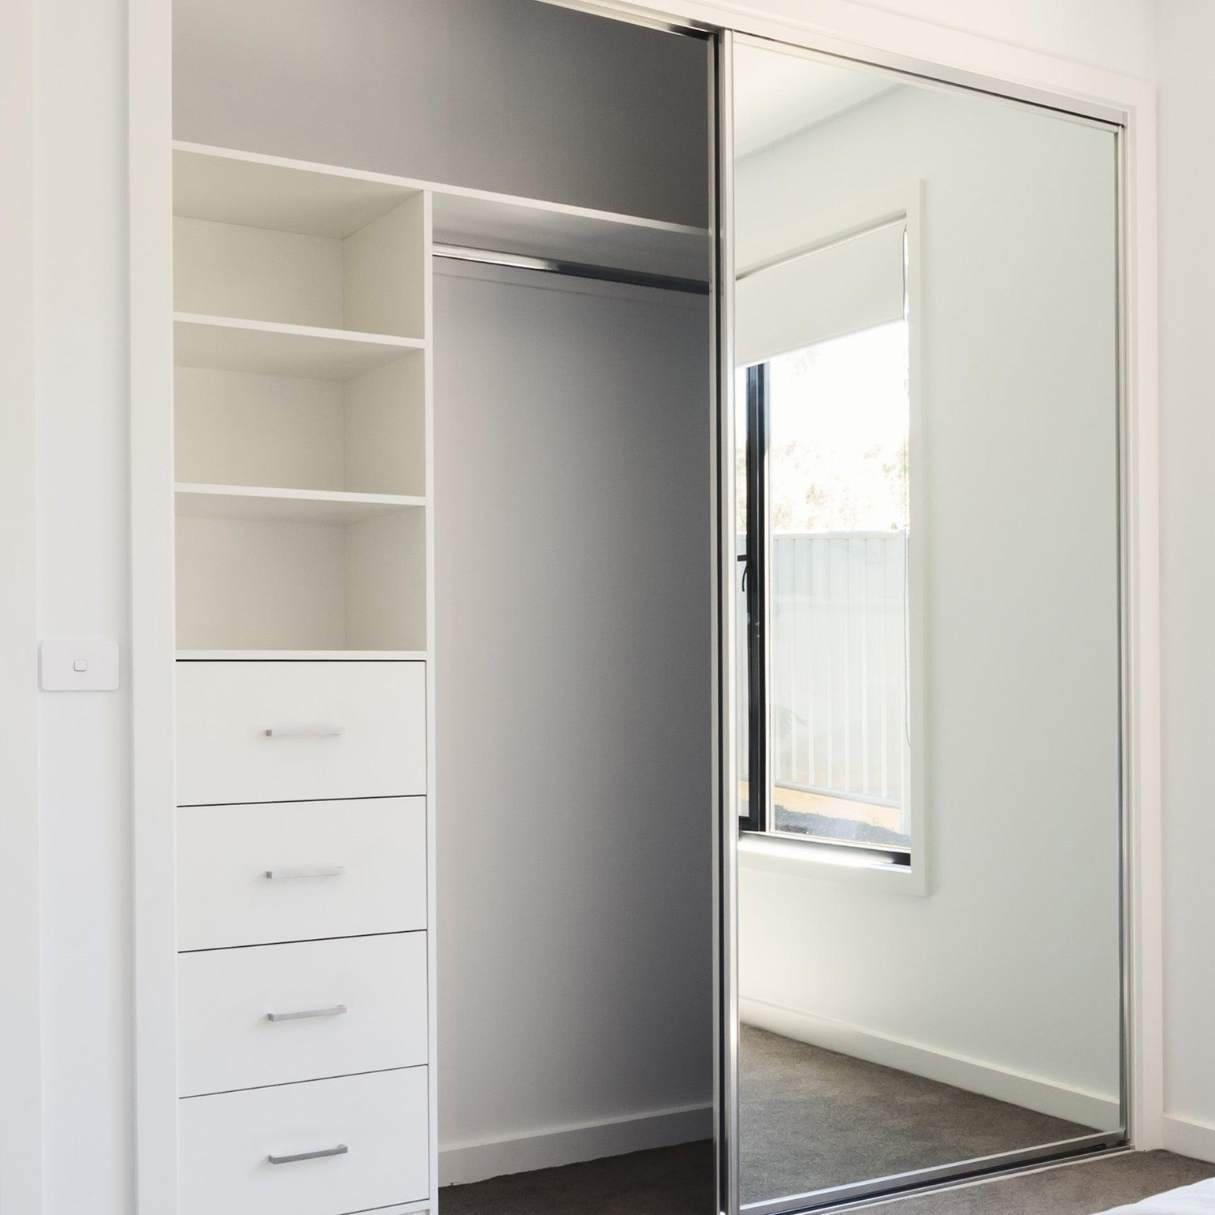
3. Shelf Type: Consider the type of shelves that will best accommodate your items. For clothing, consider adding a combination of long hanging rods and shorter shelves for folded items. For shoes, opt for slanted or angled shelves to optimize visibility and accessibility. If you have a variety of items, consider using a mix of shelves, drawers, and accessories like hanging organizers.
4. Weight Capacity: Check the weight capacity of the shelves and ensure they can adequately support the items you plan to store. Heavy items such as books or storage bins may require stronger and more robust shelf brackets or additional support.
5. Aesthetic Appeal: Consider the overall design and style of the shelving system. Choose a finish and color that complements the existing decor of your closet and enhances its visual appeal. You can opt for a contemporary, minimalist look or go for a more decorative and ornate style.
6. Budget: Determine your budget for the shelving system and factor in the cost of the shelves, brackets, and any accessories or organizers you may need. Remember, investing in a high-quality shelving system will ensure its longevity and durability.
Take your time to research different shelving options and compare their features and benefits. Consider seeking advice from home improvement stores or professional organizers for their recommendations and insights.
Once you have chosen the right shelving system, you’ll be ready to move on to the next step: preparing the closet for installation.
Step 4: Preparing the Closet
Before you can start installing the shelves in your closet, it’s important to properly prepare the space. Taking the time to prepare the closet will ensure a smooth and successful installation process. Here’s what you need to do:
1. Empty the Closet: Remove all items from the closet, including clothing, shoes, accessories, and any other belongings. Clearing out the closet will provide you with a clean and clutter-free area to work with.
2. Clean the Closet: Give the closet a thorough cleaning to remove any dust, debris, or cobwebs. Wipe down the walls, shelves (if applicable), and floor. A clean closet will create a fresh and welcoming space for your new shelves.
3. Repair Any Damage: Take this opportunity to inspect the closet for any damages or structural issues. Look for loose screws, cracked walls, or any other signs of wear and tear. Fix any necessary repairs before proceeding with the installation.
4. Paint or Wallpaper (Optional): If you want to refresh the look of your closet, now is a good time to paint the walls or apply wallpaper. Choose a color or pattern that complements your desired aesthetic and gives your closet a stylish, updated look.
5. Remove Obstructions: If there are any obstructions such as hooks, old shelves, or hanging rods, remove them from the closet. You want to start with a blank canvas to make way for your new shelving system.
6. Locate Studs or Support Beams: Use a stud finder or tap on the walls to locate the studs or support beams within the closet. These will provide the necessary support for your shelf brackets. Mark the locations of the studs so that you can attach the brackets securely.
7. Consider Lighting: Assess the lighting within the closet and determine if additional lighting is needed. Proper illumination is crucial for easy visibility and access to your belongings. Install overhead lights or consider battery-powered LED lights for improved visibility.
By preparing your closet thoroughly, you’ll create the ideal environment for a successful installation of your shelves. Once you’ve completed these preparation steps, you’ll be ready to move on to the next step: installing the shelf brackets.
When installing shelves in a closet, make sure to measure the space accurately and use a level to ensure the shelves are straight. Use sturdy brackets and anchors to support the weight of the items you plan to store on the shelves.
Read more: How To Make Shelves For Closet
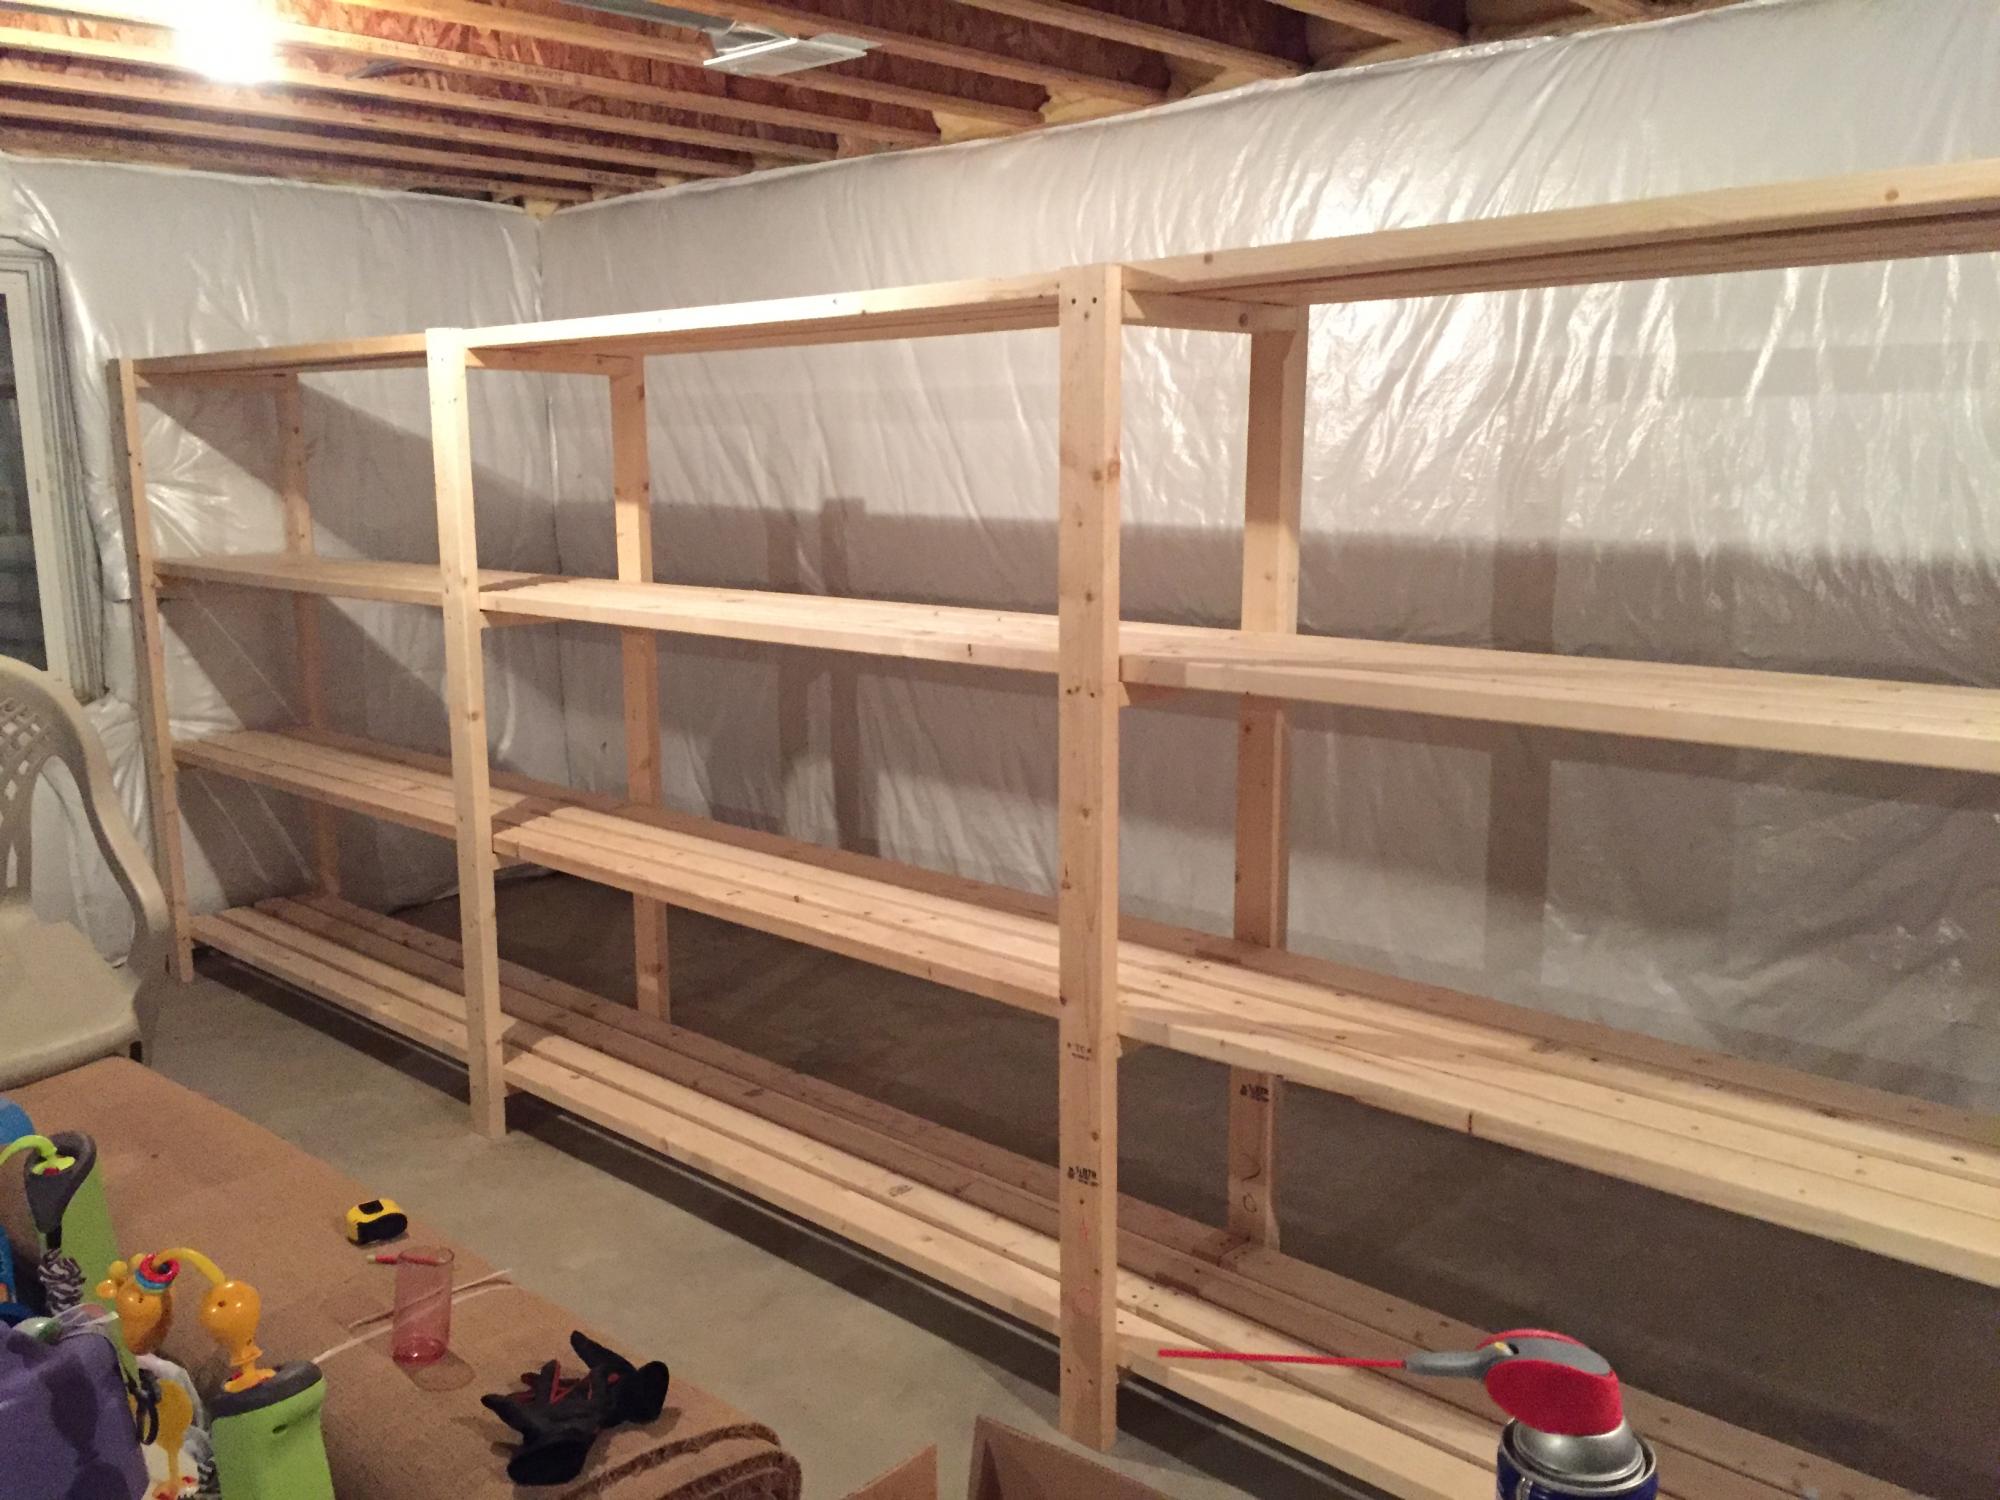
Step 5: Installing the Shelf Brackets
Now that your closet is prepped and ready, it’s time to install the shelf brackets. These brackets will provide support for your shelves and ensure they stay securely in place. Follow these steps to install the shelf brackets:
1. Mark the Bracket Locations: Using your measurements and the stud locations you identified, mark the positions where you want to install the shelf brackets. Make sure to place them evenly and at the correct height for your desired shelf placement.
2. Attach the Brackets: Using a power drill and appropriate screws, attach the brackets to the marked locations. Make sure the brackets are level and securely fastened. If you’re drilling into studs, use long enough screws to penetrate the stud and provide strong support.
3. Check for Stability: Once the brackets are installed, give them a gentle tug to ensure they are firmly anchored. If any brackets feel loose, tighten the screws or consider using additional brackets for added stability.
4. Adjustability (if applicable): If you’re using adjustable shelf brackets, make any necessary adjustments to accommodate the desired shelf height. Follow the manufacturer’s instructions for adjusting the brackets and securing them in place.
5. Double-check Alignment: Use a level to ensure that all brackets are aligned properly. This will help ensure that your shelves will sit perfectly level once installed. Make any necessary adjustments before moving on.
6. Consider Reinforcement: If you’re planning on storing heavy items on your shelves, or if you’re using a material like melamine or laminate that may require extra support, consider installing additional support brackets or brackets with higher weight capacity to ensure the stability and longevity of your shelving system.
By properly installing the shelf brackets, you’re laying the foundation for strong and secure shelves. Once you have completed this step, you’ll be ready to move on to the next exciting step: installing the shelves themselves!
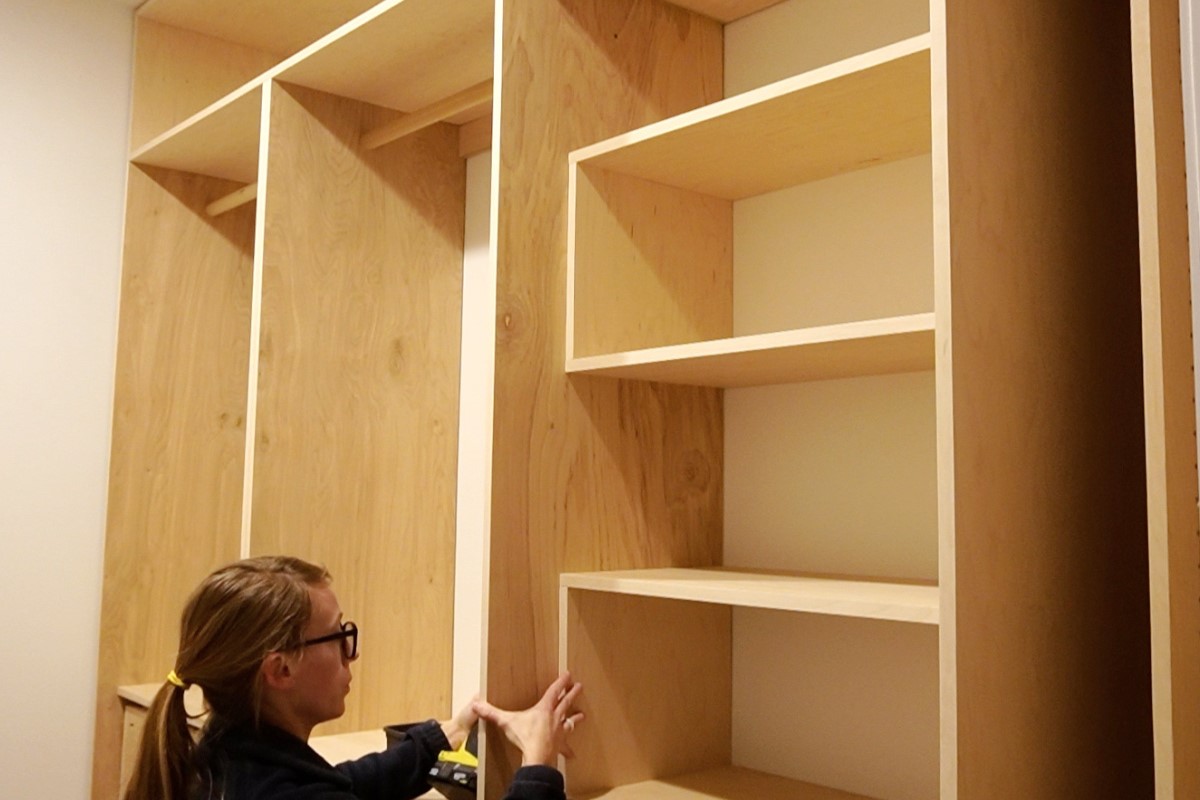
Step 6: Installing the Shelves
With the shelf brackets securely in place, it’s time to install the shelves themselves. This step will bring your closet organization project one step closer to completion. Follow these steps to install the shelves:
1. Measure and Cut the Shelves (if necessary): Measure the width and depth of the space between the installed brackets. If your shelves are pre-cut and fit perfectly, you can skip this step. However, if you need to cut the shelves to size, use a saw or have them custom-cut at a home improvement store following your measurements.
2. Place the Shelves: Gently place the shelves onto the installed brackets, ensuring they rest securely and evenly. If using adjustable brackets, adjust the height as needed to accommodate your desired shelf placement. Take your time to make sure the shelves are aligned properly.
3. Check for Levelness: Use a level to ensure that the shelves are perfectly level. Adjust the position of the shelves and make small tweaks to the brackets if necessary to achieve a level surface. This will not only enhance the visual appeal but also ensure that items placed on the shelves won’t slide or tip over.
4. Test Stability: Apply gentle pressure to the shelves and check for any wobbling or instability. If any shelves feel loose, double-check the bracket installation and tighten the screws if needed. This step is crucial to ensuring the durability and safety of your shelving system.
5. Add Additional Support (if necessary): If you have long shelves or plan to store heavy items, consider adding additional support by installing center support brackets or reinforcement brackets. These will help distribute the weight more evenly and prevent sagging over time.
6. Secure the Shelves (optional): For added stability, you can secure the shelves to the brackets using screws or adhesive. This step is particularly useful for preventing shifting or accidental dislodging of the shelves, especially in high-traffic areas or if you have small children.
With the shelves successfully installed, take a moment to appreciate the progress you’ve made in transforming your closet. The next step will focus on organizing and styling the shelves to create a functional and visually appealing storage solution.
Step 7: Organizing and Styling the Shelves
The final step in putting shelves in your closet is organizing and styling them to create a functional and visually pleasing storage solution. Proper organization will maximize the use of space and make it easier to find and access your belongings. Here are some tips to help you organize and style your shelves:
1. Categorize Items: Sort your belongings into categories such as clothing, shoes, accessories, or specific types of items. This will make it easier to group similar items together and organize them on the shelves.
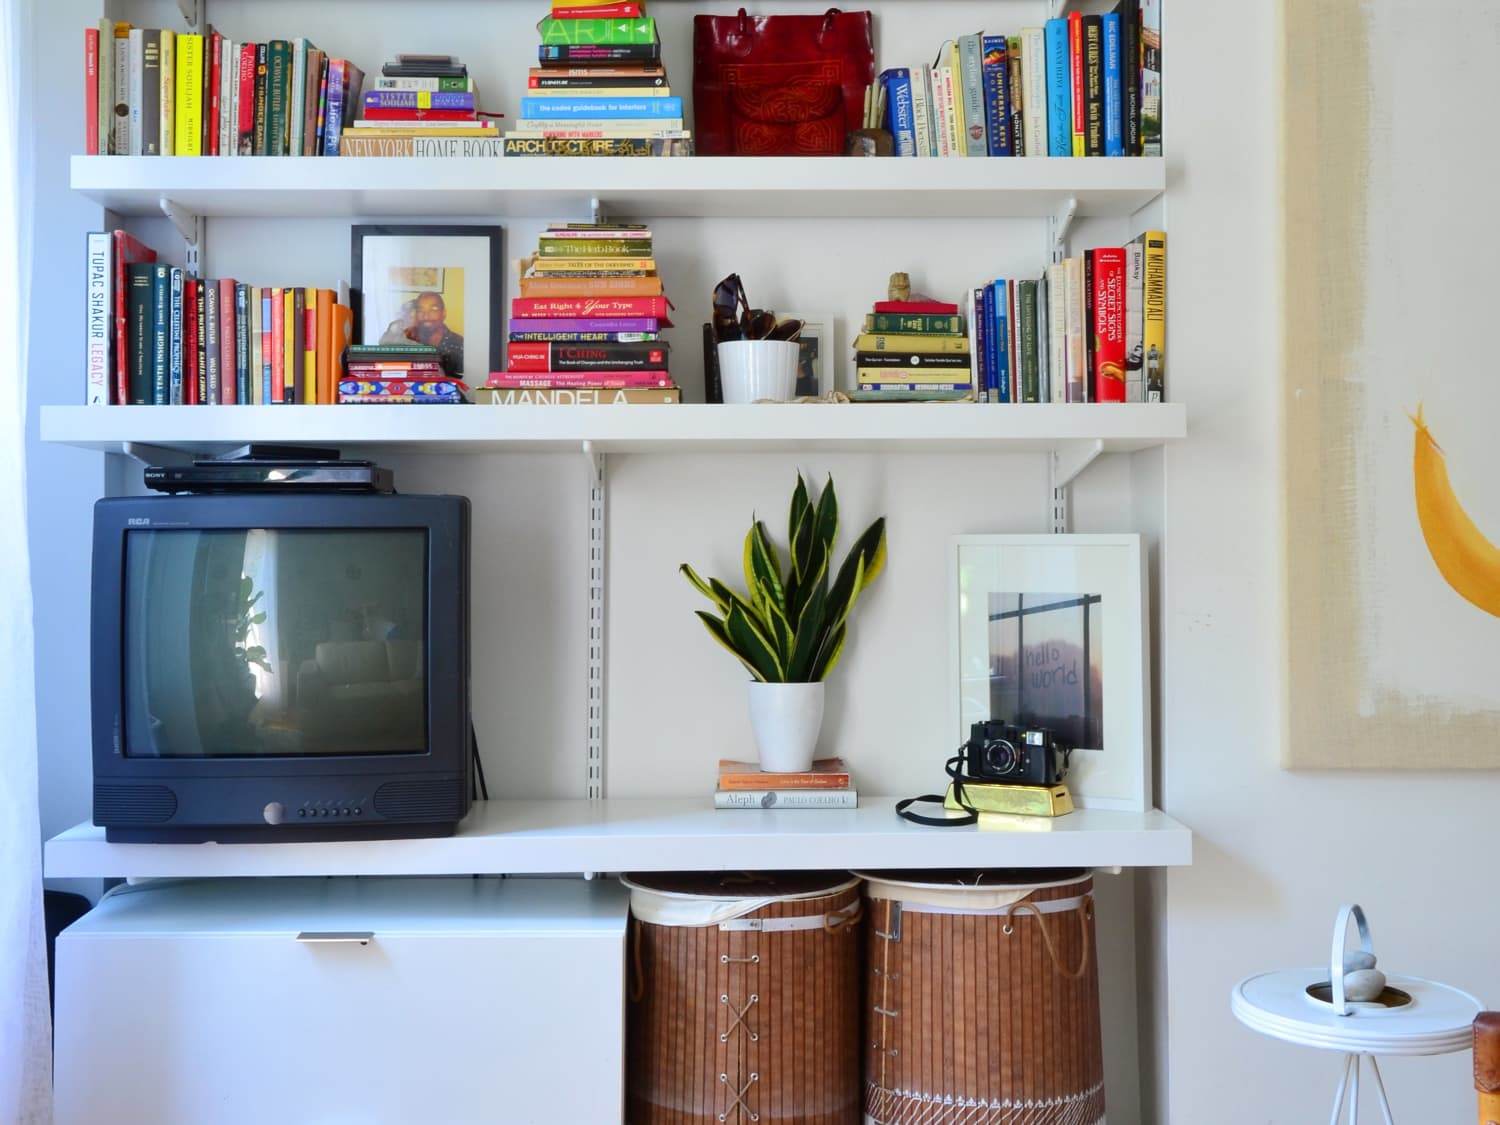
2. Utilize Storage Containers: Use storage containers such as bins, baskets, or boxes to keep smaller items organized and visually appealing. Opt for clear or labeled containers to easily identify the contents and maintain a tidy appearance.
3. Fold Clothing Neatly: Fold clothing items neatly to make the most of the available space. Consider using techniques like the KonMari folding method to create compact and uniform folds. Stack folded items vertically to maximize visibility and accessibility.
4. Arrange Shoes Strategically: Use shoe organizers or racks to keep your footwear organized and easily accessible. Consider arranging shoes by type or color for a visually pleasing display. If using open shelving, use shoe dividers or risers to prevent shoes from toppling over.
5. Balance Storage and Display: Strike a balance between storing items and incorporating decorative elements. Display a few favorite items or decorative pieces on the shelves to personalize the space and add visual interest.
6. Maximize Vertical Space: Utilize the vertical space by incorporating hanging organizers or hooks on the sides or backs of the closet walls. These can hold items like scarves, belts, or handbags, freeing up shelf space for larger items.
7. Enhance with Lighting: Consider adding lighting elements to highlight your shelves and make it easier to see and access your belongings. Install LED strip lights along the underside of shelves or use battery-operated tap lights for added visibility.
8. Maintain Regular Maintenance: Regularly declutter and reorganize your shelves to maintain an organized and functional closet space. Make it a habit to return items to their designated places and periodically assess the need for any adjustments or reorganization.
Remember, organizing and styling your shelves is a personal process, so customize it to suit your preferences and storage needs. The goal is to create a system that works for you and makes your daily routine more efficient.
Congratulations! You have successfully put shelves in your closet and transformed it into a well-organized and functional storage solution. Enjoy the benefits of an organized closet as you easily find and access your belongings. Happy organizing!
Conclusion
Congratulations on completing the process of putting shelves in your closet! By following the steps outlined in this guide, you have taken a significant step towards maximizing storage space and creating an organized and efficient closet. Here’s a recap of the journey you have undertaken:
1. Assessing the Closet Space: You started by assessing the size, shape, and purpose of your closet, considering the items you plan to store and the overall design aesthetic you wish to achieve.
2. Taking Accurate Measurements: Next, you took precise measurements of the closet space to determine the dimensions and ensure the perfect fit for your shelves.
3. Choosing the Right Shelving System: You carefully selected the appropriate shelving system based on material, adjustability, weight capacity, aesthetic appeal, and budget.
4. Preparing the Closet: You prepared the closet by emptying it, cleaning it thoroughly, making any necessary repairs, and removing any obstructions that could hinder the shelf installation.
5. Installing the Shelf Brackets: The shelf brackets were installed securely, ensuring proper alignment, stability, and support for the shelves.
6. Installing the Shelves: You placed the shelves on the brackets, ensuring they were level and stable, and made any necessary adjustments to achieve a perfect fit.
7. Organizing and Styling the Shelves: Lastly, you organized your belongings, utilized storage containers, folded clothes neatly, arranged shoes strategically, and balanced storage with decorative elements to create a visually appealing and functional setup.
By completing these steps, you have transformed your closet into an organized, efficient, and aesthetically pleasing storage space. Now you can easily find and access your belongings, saving time and reducing stress in your daily routine.
Remember to maintain regular maintenance by decluttering and reorganizing your shelves periodically. This will ensure the longevity and effectiveness of your newly installed shelves.
Thank you for following this guide on how to put shelves in a closet. We hope it has been helpful and provided you with the necessary knowledge and confidence to undertake this project successfully.
Enjoy your newly organized and stylish closet!
Frequently Asked Questions about How To Put Shelves In Closet
Was this page helpful?
At Storables.com, we guarantee accurate and reliable information. Our content, validated by Expert Board Contributors, is crafted following stringent Editorial Policies. We're committed to providing you with well-researched, expert-backed insights for all your informational needs.

0 thoughts on “How To Put Shelves In Closet”