Articles
How To Make A Closet
Modified: September 1, 2024
Learn how to make a stylish and functional closet with our expert interior design tips. Create organized and visually appealing storage solutions for your home.
(Many of the links in this article redirect to a specific reviewed product. Your purchase of these products through affiliate links helps to generate commission for Storables.com, at no extra cost. Learn more)
Introduction
Welcome to our comprehensive guide on how to make a closet! Having a well-organized and functional closet is essential for maximizing storage space and keeping your belongings tidy. Whether you’re building a new closet from scratch or transforming an existing space, this step-by-step tutorial will provide you with the knowledge and guidance needed to create your dream closet.
A properly planned and well-executed closet can revolutionize your storage capabilities and make getting ready in the mornings a breeze. Not only will you be able to easily find your favorite clothing items and accessories, but you’ll also have the opportunity to customize the closet to suit your specific needs and style.
In this guide, we will explore each stage of the closet-making process, from planning and measuring to organizing and styling. We will also provide helpful tips and tricks along the way to ensure that your closet turns out functional, aesthetically pleasing, and tailored to your personal preferences.
Whether your space is small or spacious, a customized closet can make a world of difference in maintaining order and reducing clutter. So, let’s dive in and discover how to make a closet that meets all your storage needs!
Key Takeaways:
- Create a dream closet by carefully planning, measuring, and customizing the space to fit your storage needs and personal style. Maximize functionality and organization with shelves, rods, and thoughtful organization.
- Infuse your personality into your closet design by adding doors or curtains, organizing with style, and incorporating decorative elements. Enjoy the convenience and satisfaction of a well-organized and visually appealing storage space.
Read more: How To Make Closet Door
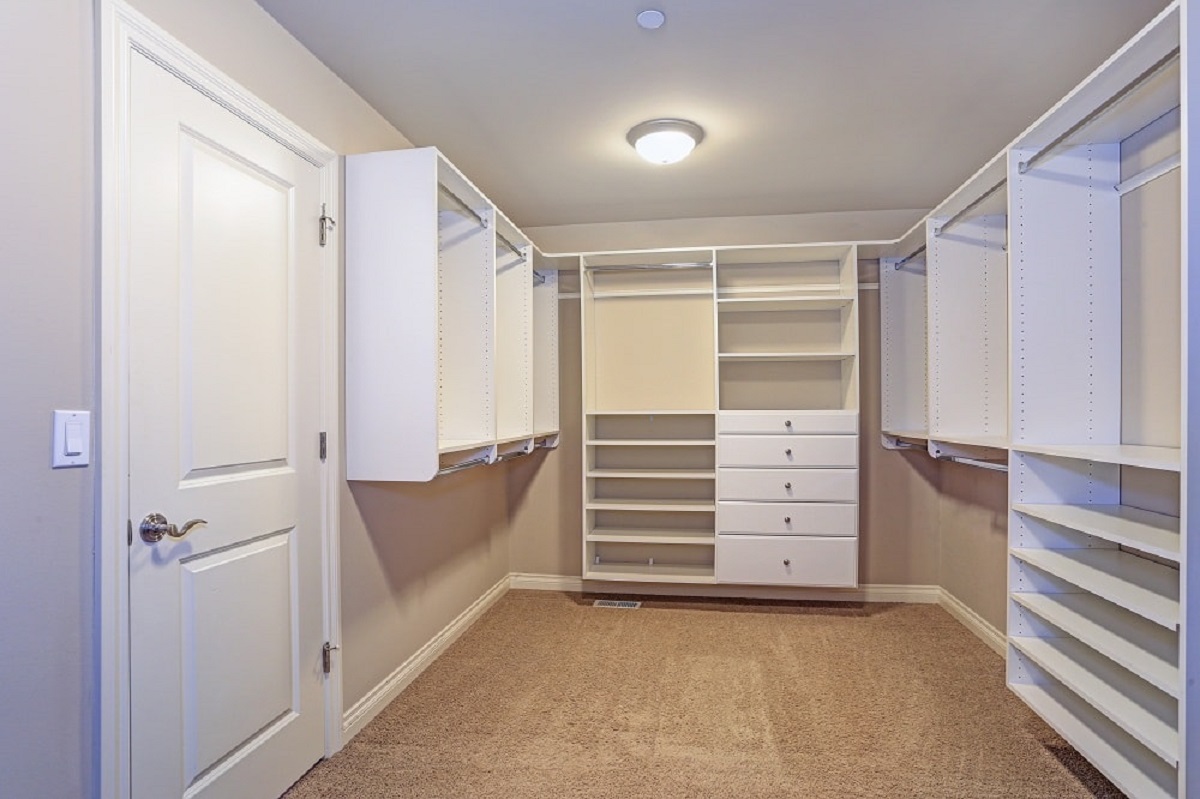
Step 1: Planning and Measuring
The first step in making a closet is to carefully plan and measure the space where you want to install it. This step is crucial and will ensure that your closet fits seamlessly into the designated area and meets your storage requirements.
Start by assessing the available space. Take accurate measurements of the width, height, and depth of the area where the closet will be located. Consider any obstacles, such as windows or doors, that may affect the design and placement of the closet.
Next, think about how you want to use your closet. Determine the types of items you will store and how much space each category requires. For example, if you have a lot of dresses and long coats, you’ll need a section with ample hanging space. If you have many shoes or folded clothing items, you’ll want to incorporate shelves or drawers.
Consider the specific storage features that are important to you. Would you like adjustable shelves or drawers with dividers? Do you need space for accessories like belts, ties, or jewelry? Think about your organizational needs and prioritize accordingly.
Now it’s time to sketch out your closet design. Use graph paper or a digital design tool to create a scaled drawing of the space. Include measurements, door placements, and any other relevant features. This will give you a visual representation of your closet and help you make informed decisions during the construction process.
As you plan, keep in mind your budget and any building codes or regulations that may apply. Research appropriate materials and hardware that will meet your needs while staying within your financial constraints.
Taking the time to plan and measure your closet properly will set a solid foundation for the rest of the construction process. With a clear vision in mind, you’ll be ready to move on to the next step: gathering the materials and tools necessary to bring your closet to life.
Step 2: Gathering Materials and Tools
Once you have planned and measured your closet space, it’s time to gather the materials and tools necessary for the construction process. Having everything on hand will save you time and ensure a smooth workflow as you begin building your closet.
First, you’ll need to decide on the materials for your closet structure. Common options include wood, plywood, or metal. Consider your budget, desired aesthetic, and the level of durability you require. Make a list of the materials needed based on your chosen design and measurements.
Next, gather the necessary tools for the construction process. This will typically include items such as a measuring tape, level, drill, screws, nails, hammer, saw, and sandpaper. Depending on your specific design, you may need additional tools like a miter saw for cutting precise angles or a router for creating decorative edges.
It’s important to choose the right type and size of hardware for your closet. This includes hinges for doors, drawer slides, shelf brackets, and rods for hanging clothes. Research the weight capacity and compatibility of these hardware options to ensure they will adequately support your storage needs.
In addition to the materials and tools, consider any finishing touches you’d like to include in your closet. These can enhance both the functionality and appearance of the space. For example, you may want to add lighting fixtures, a full-length mirror, or decorative molding.
Before heading to the hardware store, take inventory of the tools you already have and cross-reference them with your needs list. This will help you determine what you still need to purchase or borrow. Create a detailed shopping list to ensure you don’t forget anything while you’re at the store.
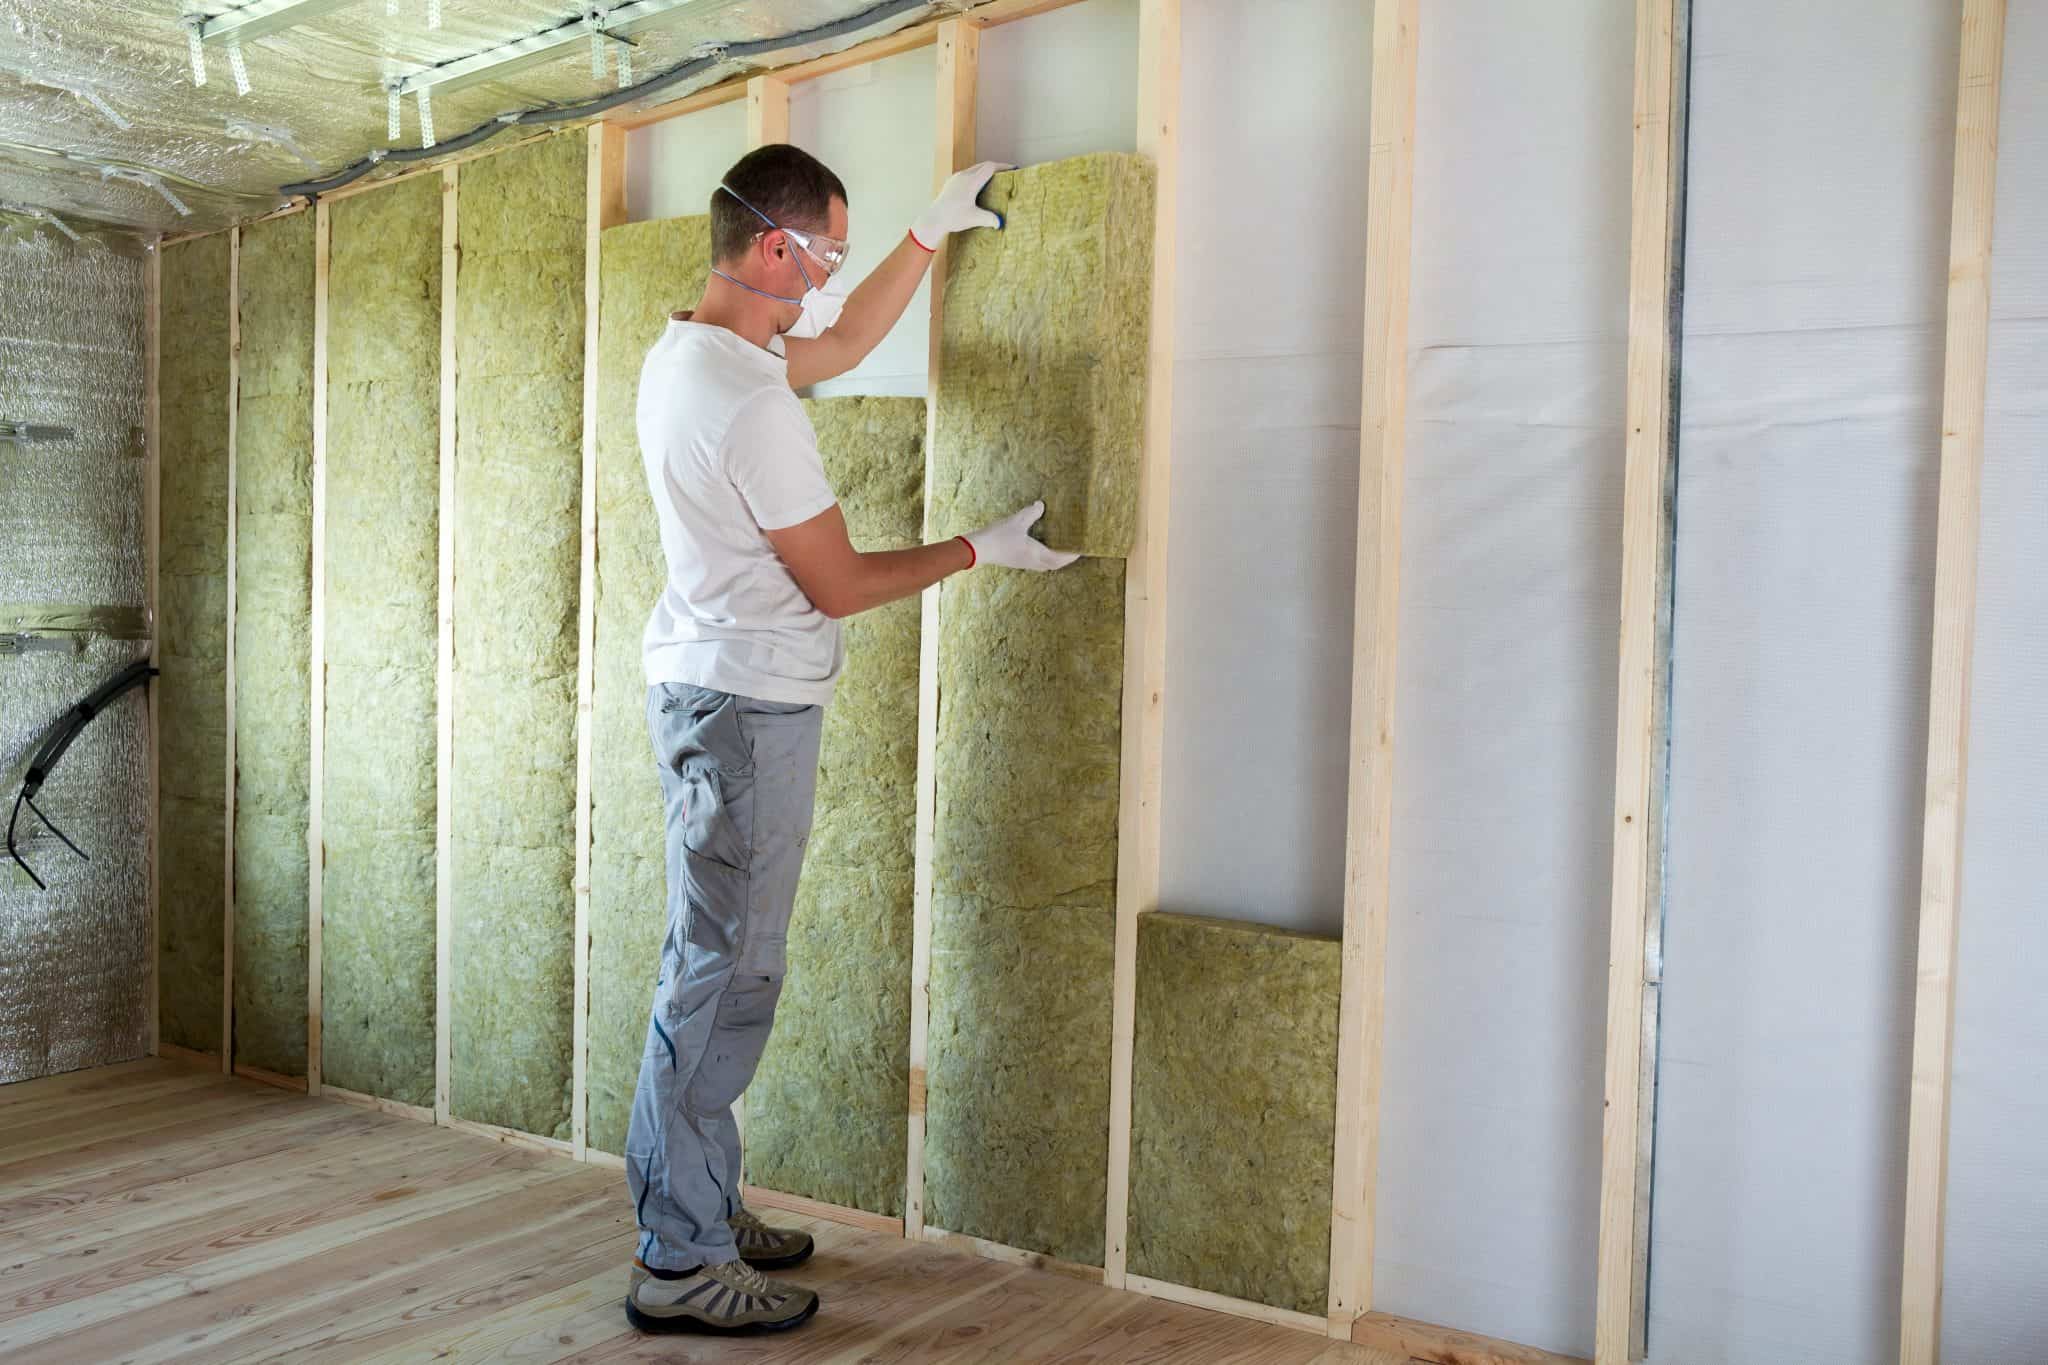
Finally, it’s important to prioritize safety during the construction process. Make sure you have safety goggles, gloves, and a dust mask on hand. If you’re new to using certain tools, familiarize yourself with their proper usage and safety guidelines.
By gathering all the necessary materials and tools in advance, you’ll be well-prepared to begin building your closet. The next step will guide you through constructing the frame and foundation of your new storage space.
Step 3: Building the Frame
With the materials and tools ready, it’s time to start building the frame of your closet. The frame provides the structure and support for the shelves, rods, and other storage components.
Begin by marking the wall where the closet frame will be installed. Use a level and a pencil to ensure accurate placement. Take into consideration any baseboards or molding that may affect the positioning of the frame.
Next, cut the boards to the desired height and width of your closet. Use a saw or a miter saw to make precise cuts. Remember to account for any space needed for doors or curtains if you plan to include them in your design.
Once you have your boards ready, it’s time to assemble the frame. Start with the vertical pieces, securing them to the wall using screws or nails. Make sure they are level and plumb before attaching them. Use a level to ensure the horizontal pieces are straight, then attach them to the vertical pieces to create the frame structure.
For added stability, consider adding support braces or crossbars within the frame. These can be attached vertically or horizontally to reinforce the structure. Use screws or nails to secure them in place.
Ensure that the frame is securely attached to the wall studs for durability. This will prevent the closet from becoming loose or unstable over time. Use a stud finder to locate the studs and use appropriate screws or nails to attach the frame to the studs.
As you build the frame, continuously check for levelness and adjust as needed. This will ensure a square and straight structure, allowing for the proper installation of shelves and other storage components.
Once the frame is complete, take a moment to step back and admire your progress. The skeleton of your closet is now assembled, and you’re one step closer to creating a functional and organized storage space.
In the next step, we will guide you through the process of installing shelves and rods to maximize the storage potential of your closet.
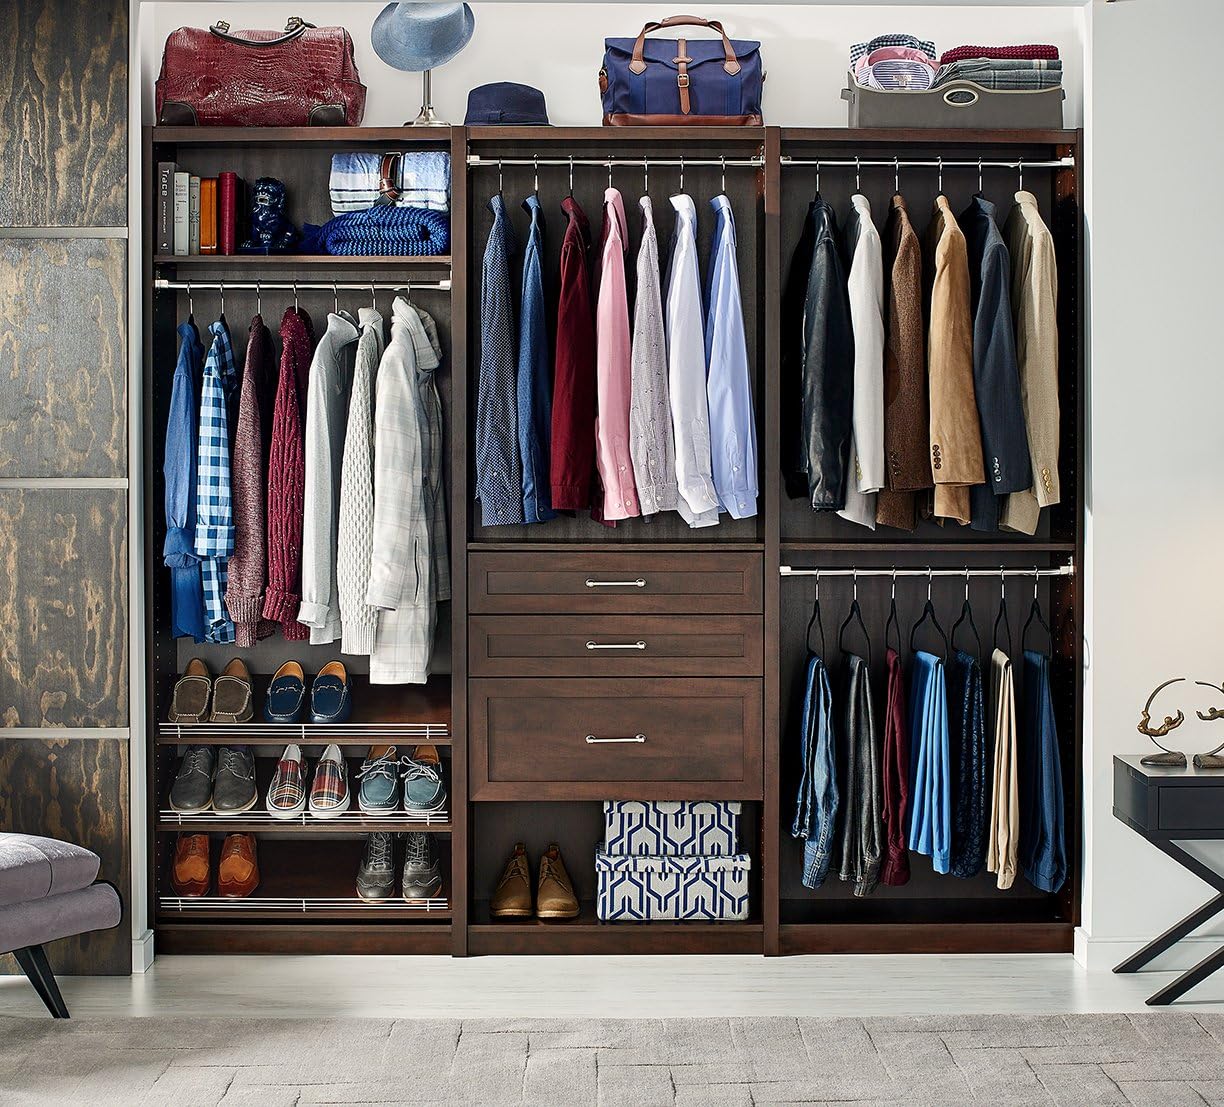
When making a closet, be sure to measure the space accurately and plan for enough storage for your needs. Consider adding shelves, drawers, and hanging rods to maximize the space.
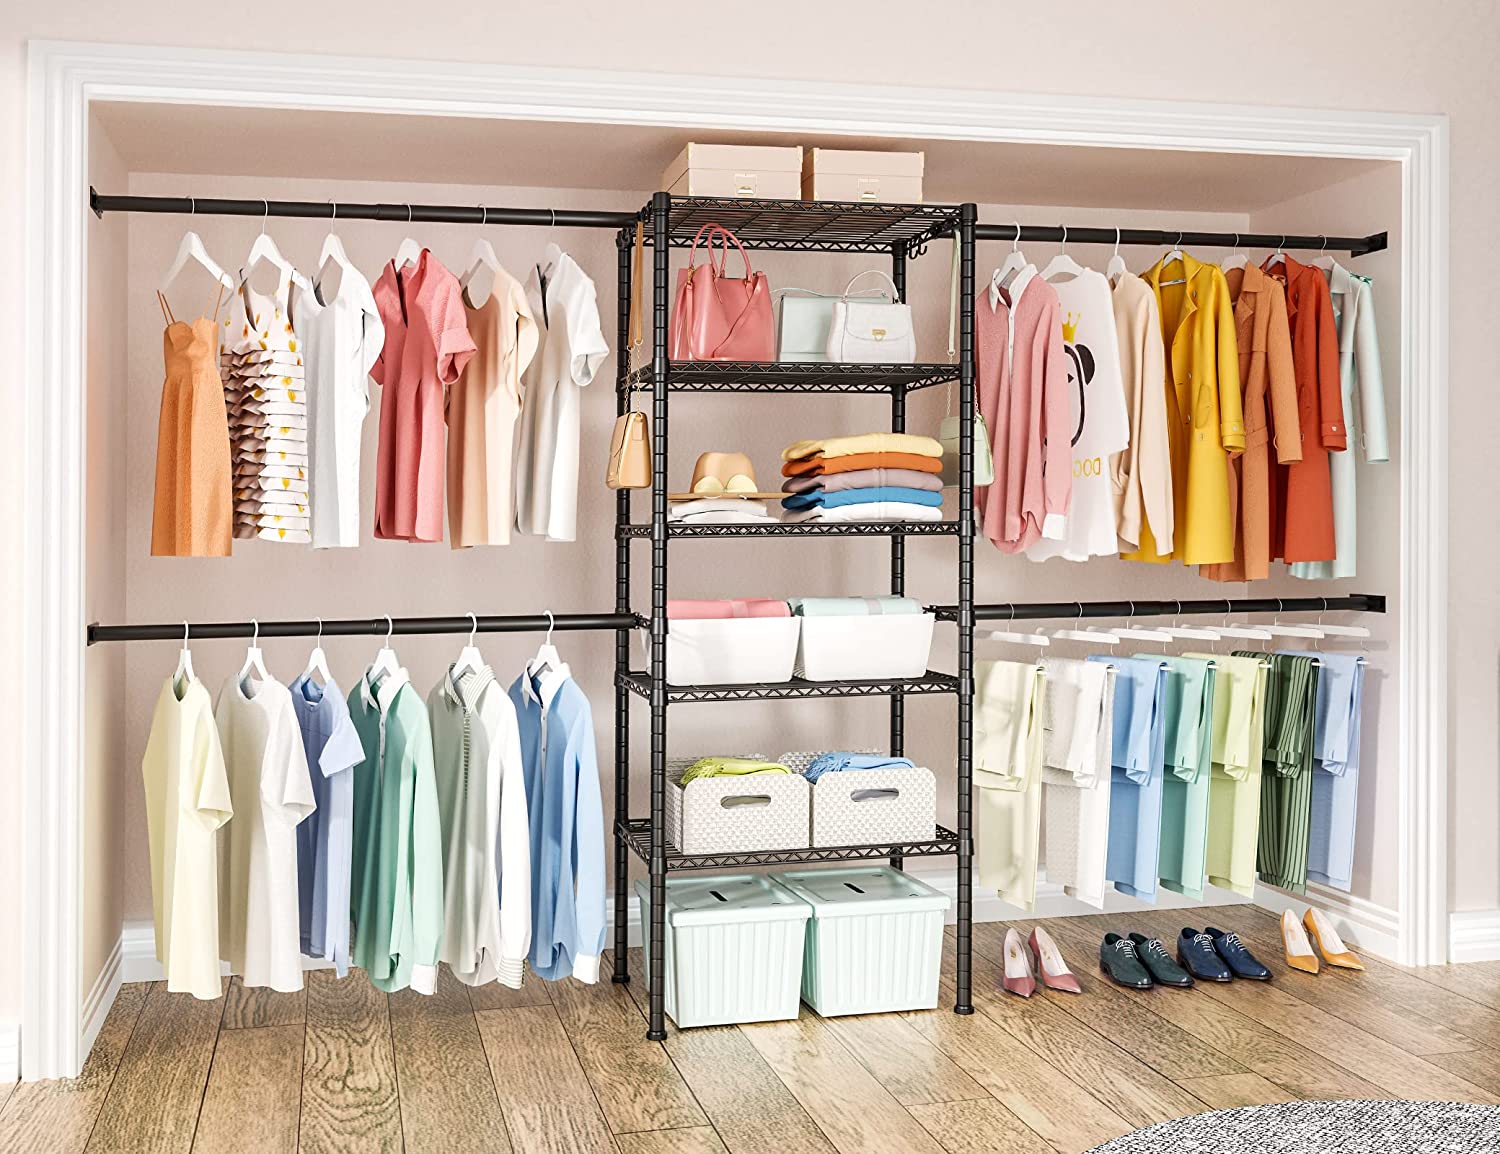
Step 4: Installing Shelves and Rods
Now that the frame of your closet is built, it’s time to focus on installing shelves and rods to maximize your storage space. Shelves provide a designated area for folded clothing, shoes, and accessories, while rods allow for easy hanging of garments.
Begin by measuring and marking the desired locations for your shelves. Use a level to ensure accuracy and mark the heights for each shelf on both side walls of the closet. Consider the items you plan to store and adjust the spacing between shelves accordingly.
Next, cut the shelves to fit the width of your closet. Measure and mark the desired length, then use a saw to make clean and precise cuts. If you’re using pre-made shelves, adjust their length according to your measurements.
Once your shelves are cut, it’s time to install them. Start by attaching shelf brackets to the side walls of the closet. Ensure that they are level and aligned with your marked height measurements. Use screws or nails to securely fasten the brackets to the walls.
Place the shelves onto the brackets and adjust them to ensure they are level and aligned with one another. Secure the shelves in place by either screwing them directly into the brackets or using adhesive if the shelves are not adjustable.
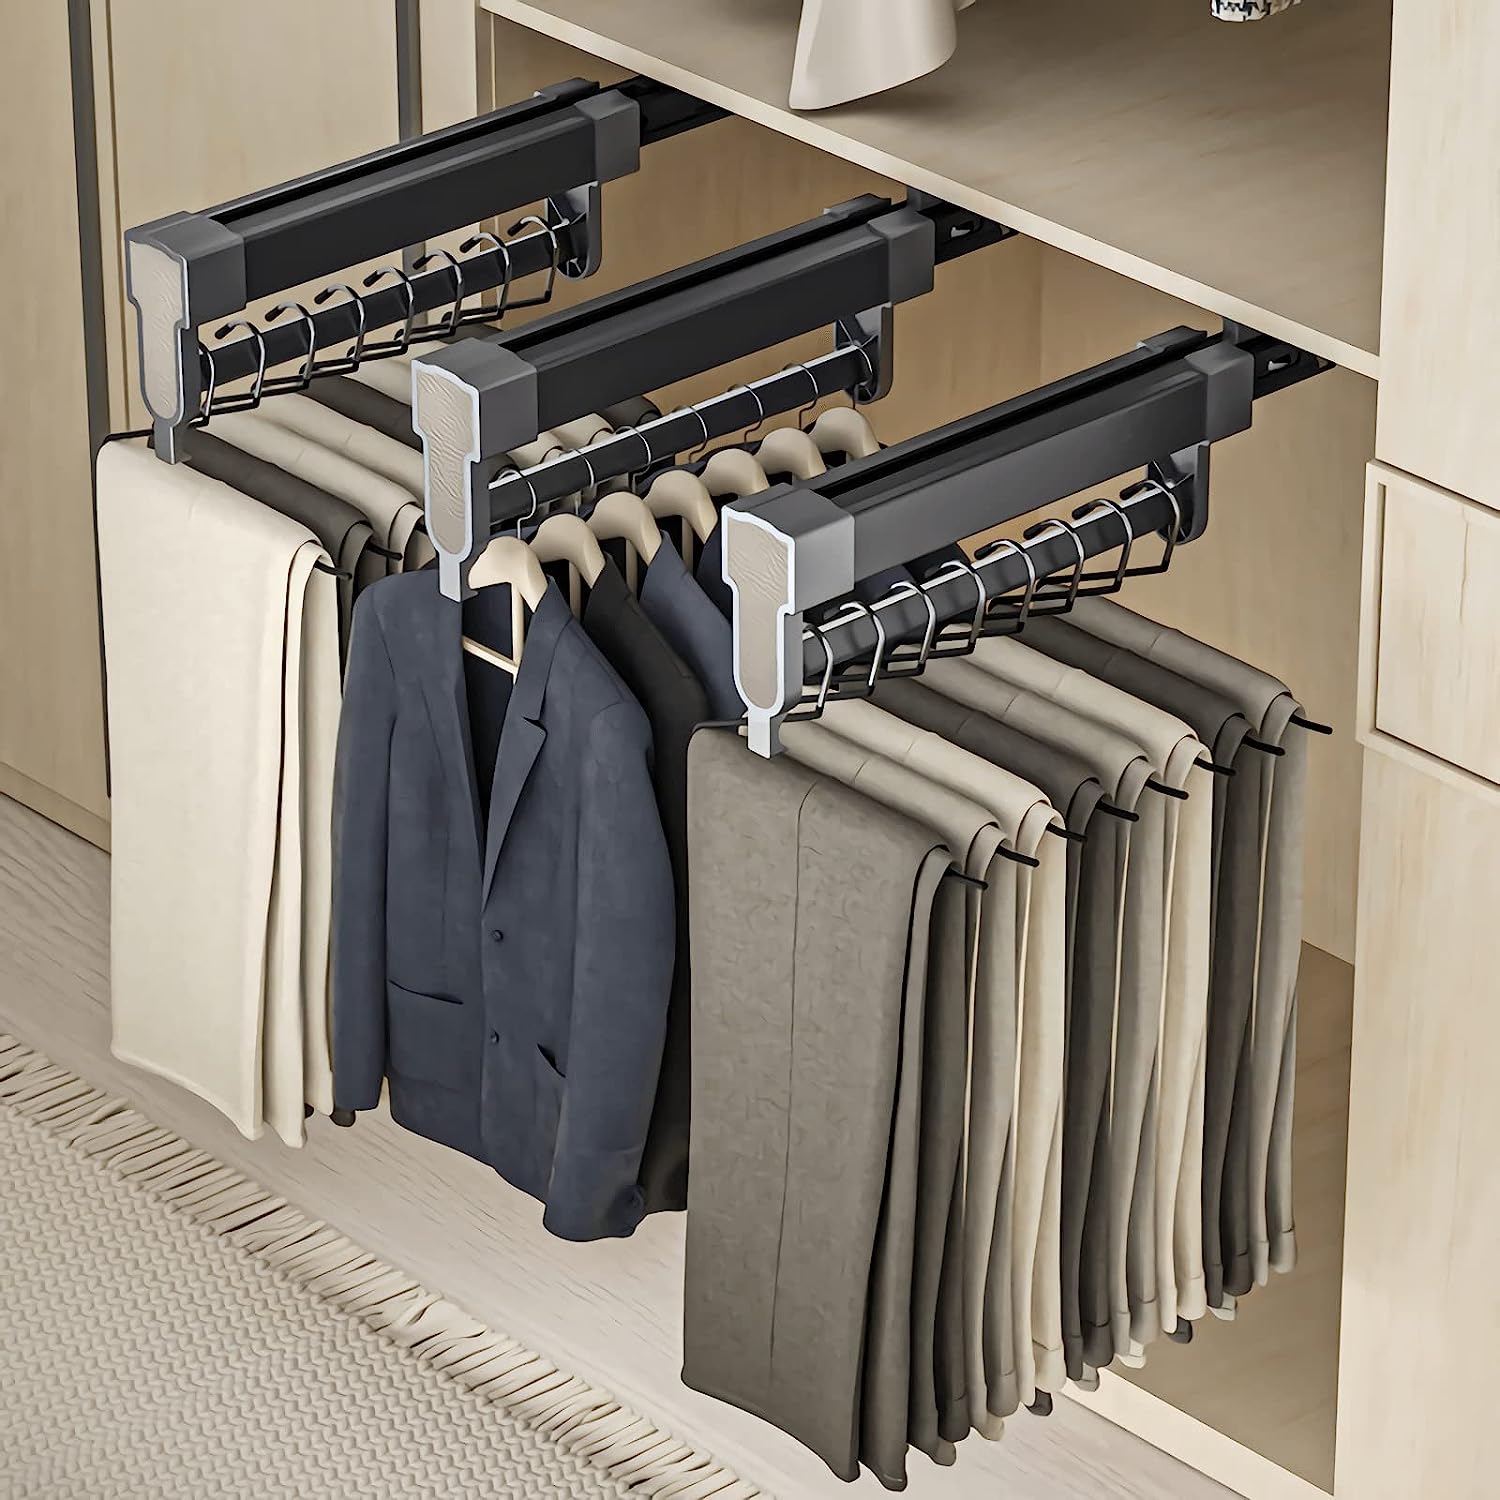
For hanging clothes, install rods at a comfortable height. Measure the width of your closet and cut the rods accordingly. Use a rod support bracket on each end of the closet and space additional brackets evenly across the length of the rod for added support. Attach the brackets to the side walls and then slide the rod onto the supports.
Ensure that the shelves and rods are sturdy and can support the weight of the items they will hold. Test their durability by gently pulling on them to check for any wobbling or movement. Make any necessary adjustments or reinforce the installation as needed.
Now that your shelves and rods are installed, take a moment to appreciate the progress you’ve made. Your closet is starting to take shape, and you’re on your way to creating a well-organized storage space.
In the next step, we will guide you through the process of adding doors or curtains to your closet, providing a finishing touch that adds both functionality and style.
Read more: How To Make Shelves For Closet
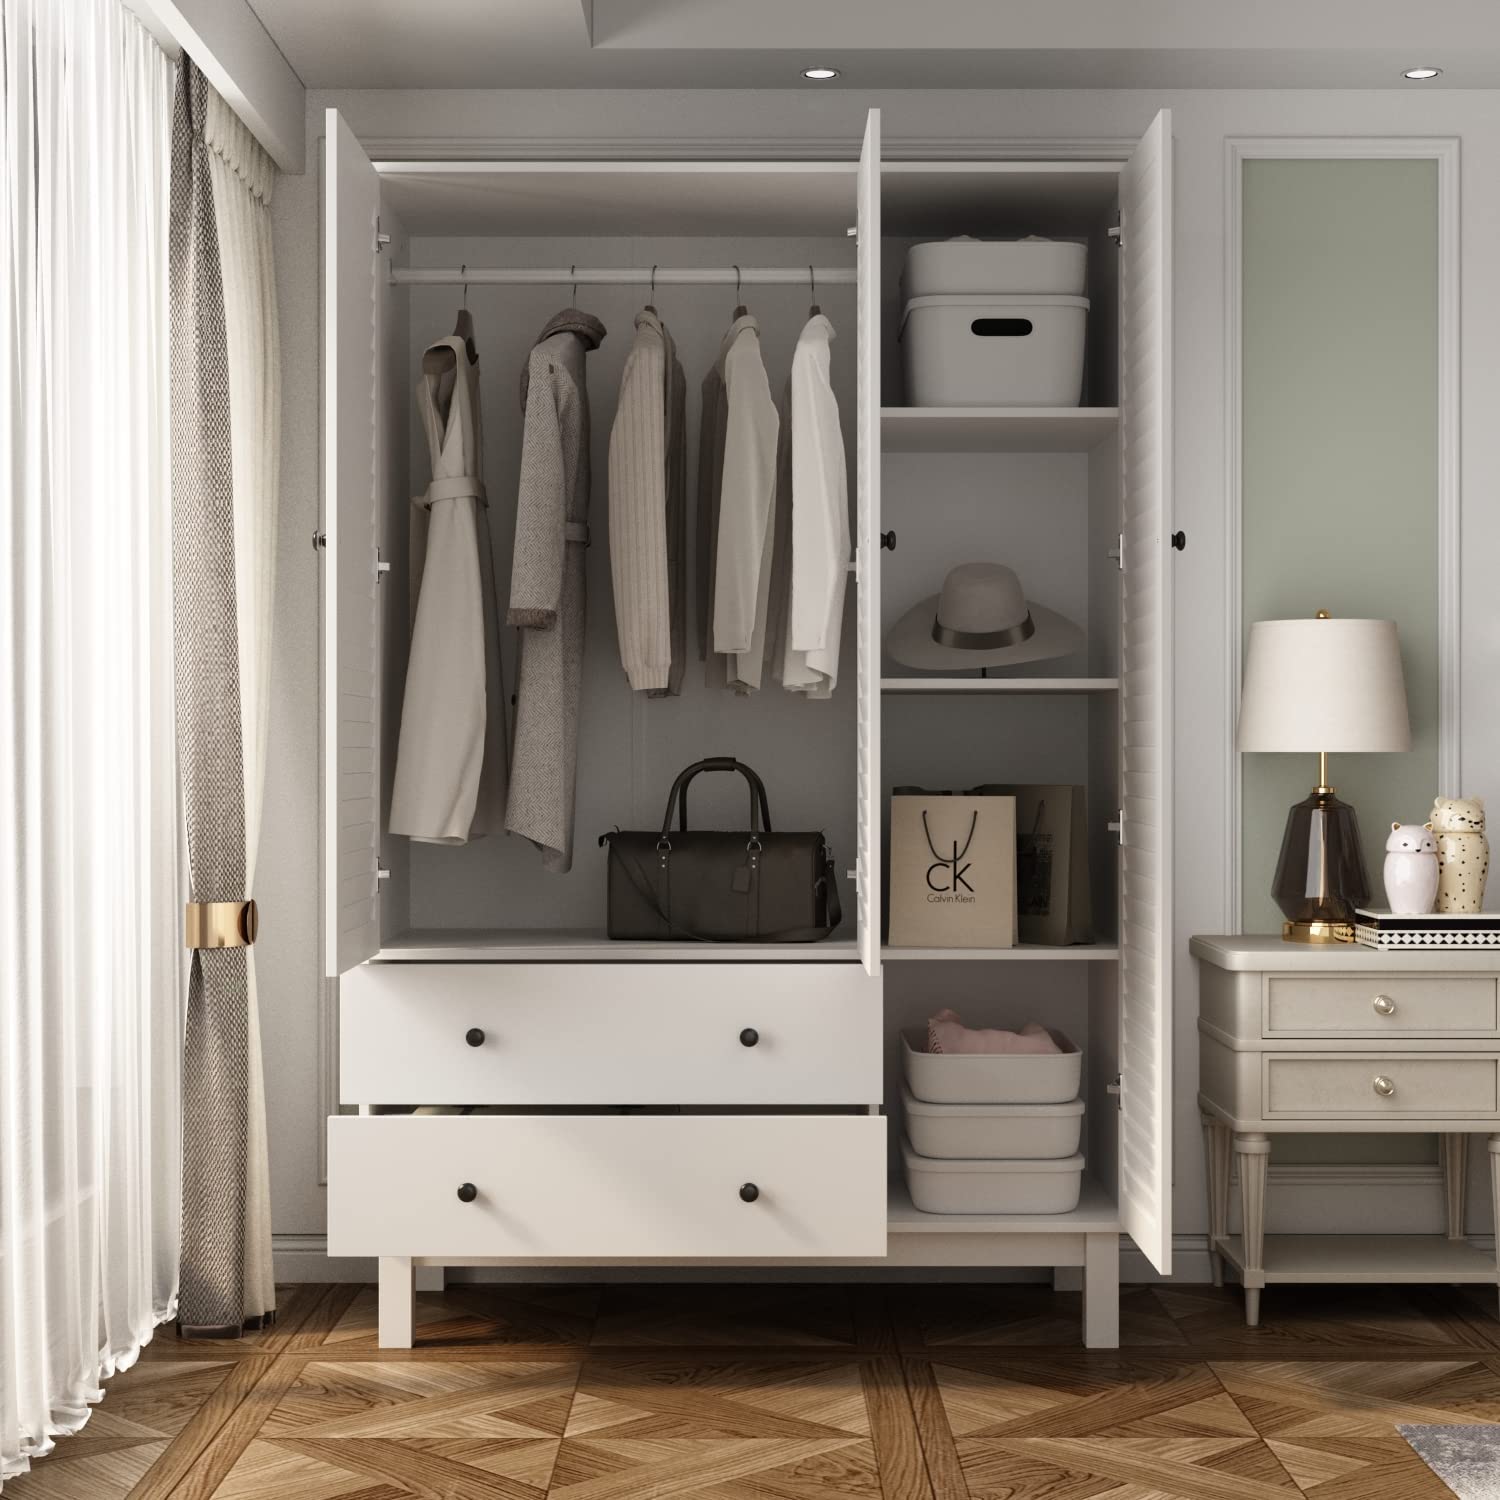
Step 5: Adding Doors or Curtains
After installing shelves and rods in your closet, it’s time to consider adding doors or curtains to create a finished and polished look. Doors or curtains not only add aesthetic appeal but also provide privacy and help keep your belongings concealed and protected.
Begin by deciding whether you want to install hinged doors or opt for curtains. Both options have their advantages, so choose the one that best suits your personal style and the functionality of your space.
If you prefer hinged doors, measure the width and height of your closet opening. Purchase pre-made doors or have custom doors made to fit your measurements. Ensure that the doors align properly with the frame and swings open and closes smoothly. Install hinges and handles according to the manufacturer’s instructions, and test the doors to make sure they open and close smoothly.
Alternatively, if you prefer curtains, measure the width and height of your closet opening. Select curtains that complement your style and the overall design theme of the room. Install a curtain rod or track above the opening and hang the curtains accordingly. Make sure to leave enough space on either side for easy access to the closet.
When choosing doors or curtains, consider the materials and colors that will enhance the overall aesthetic of the room. You may opt for solid doors for a sleek and formal look or choose curtains with patterns or textures to add visual interest. Additionally, consider the level of privacy and visibility you desire. Solid doors provide complete privacy, while curtains offer partial coverage.
Adding doors or curtains not only enhances the appearance of your closet but also helps minimize dust and keeps your belongings protected from light and potential damage.
Remember to test the functionality of the doors or curtains once installed. Make sure they open and close smoothly, and that there is enough clearance for easy access to your belongings.
With doors or curtains in place, you’re one step closer to completing your closet project. In the next step, we’ll guide you on organizing and styling your closet to create a functional and visually appealing storage space.
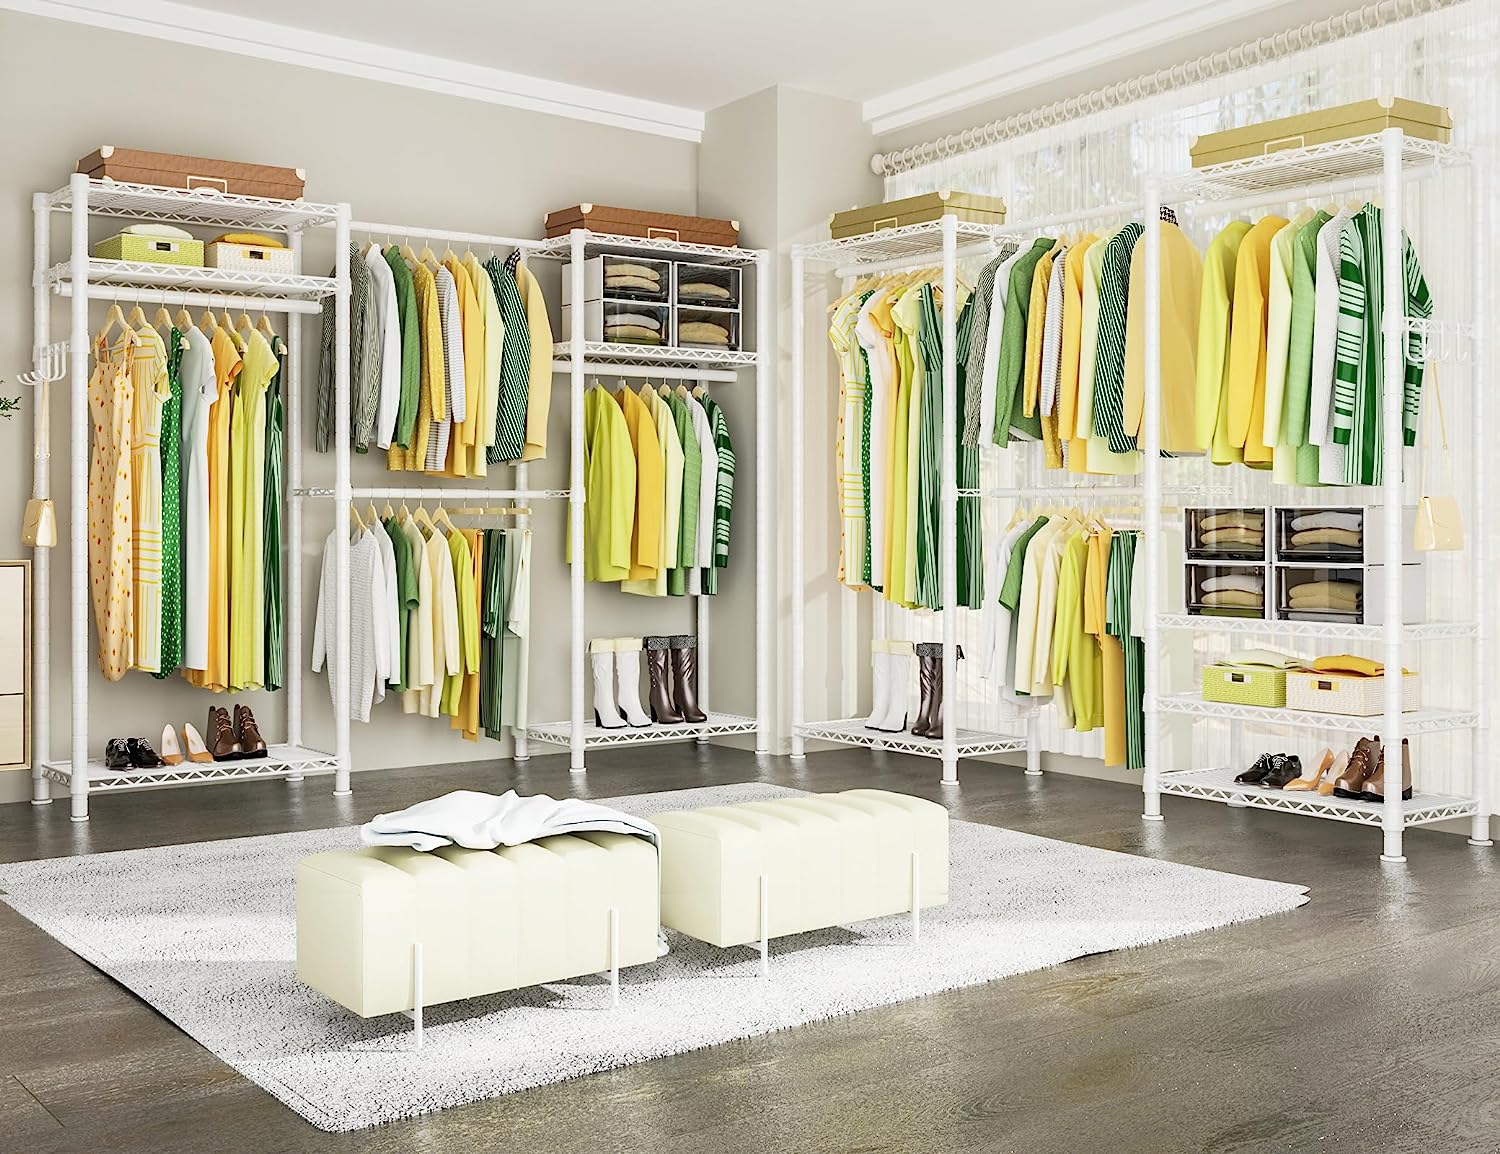
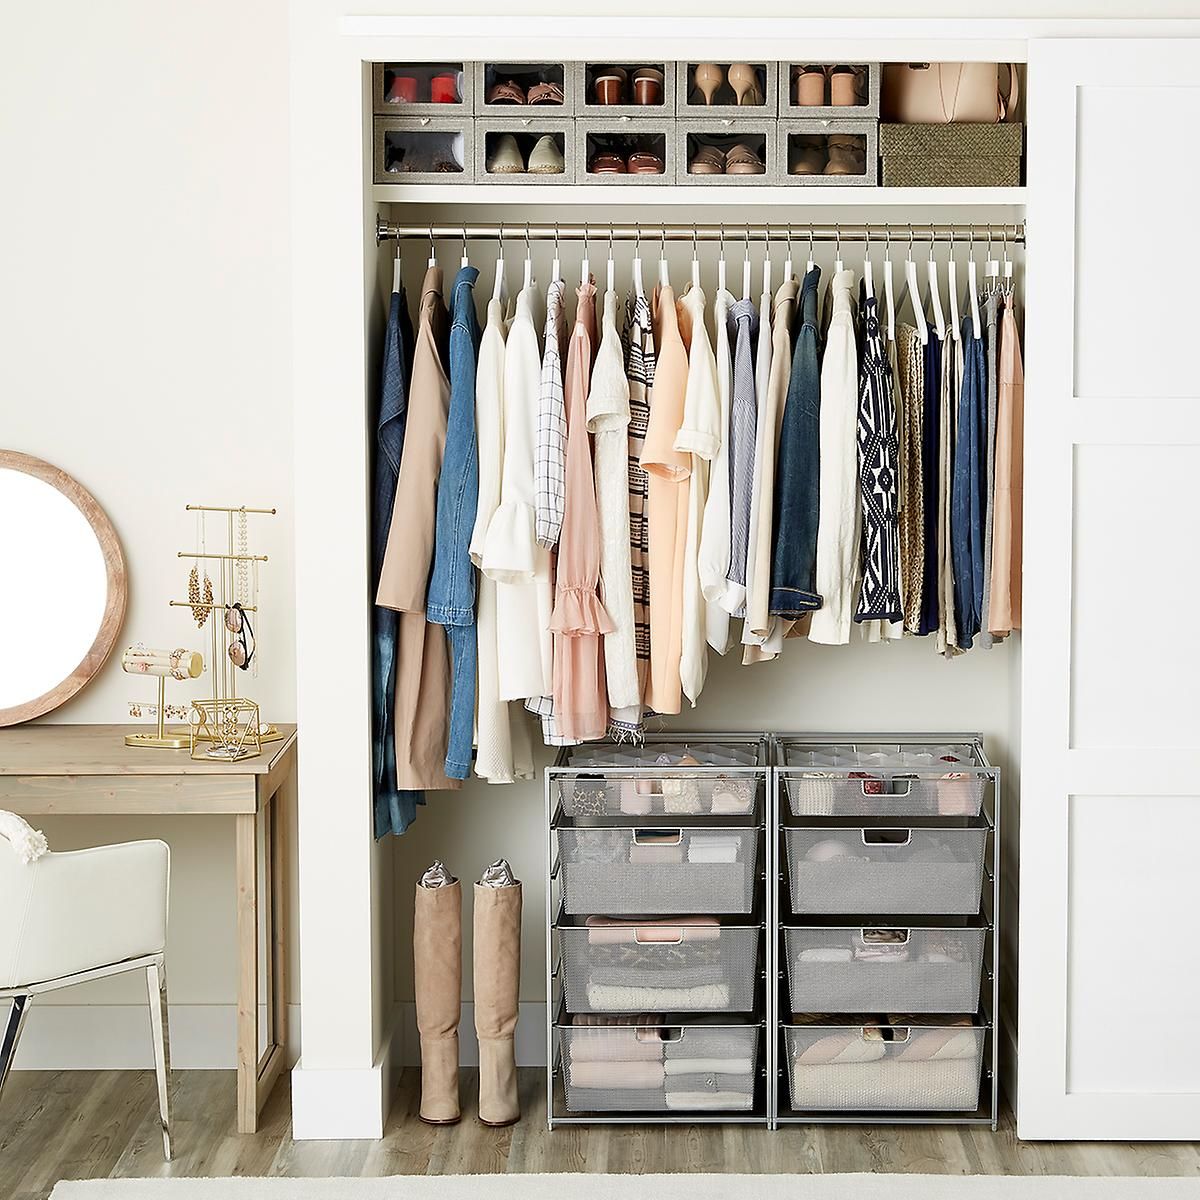
Step 6: Organizing and Styling the Closet
Congratulations on reaching the final step of creating your dream closet! Now it’s time to bring order and style to your newly constructed space. Proper organization will maximize your storage capacity and make it easier to find and access your belongings.
Start by categorizing your items and assigning designated areas within the closet. Consider grouping similar items together, such as shirts, pants, dresses, shoes, and accessories. This will make it easier to locate specific items and ensure a clutter-free space.
Utilize the shelves and rods you installed earlier to arrange your clothing items. Fold and stack folded clothes neatly on the shelves, making use of dividers if needed. Hang garments like dresses, shirts, and pants on the rods, grouping them by type or color for easy visibility.
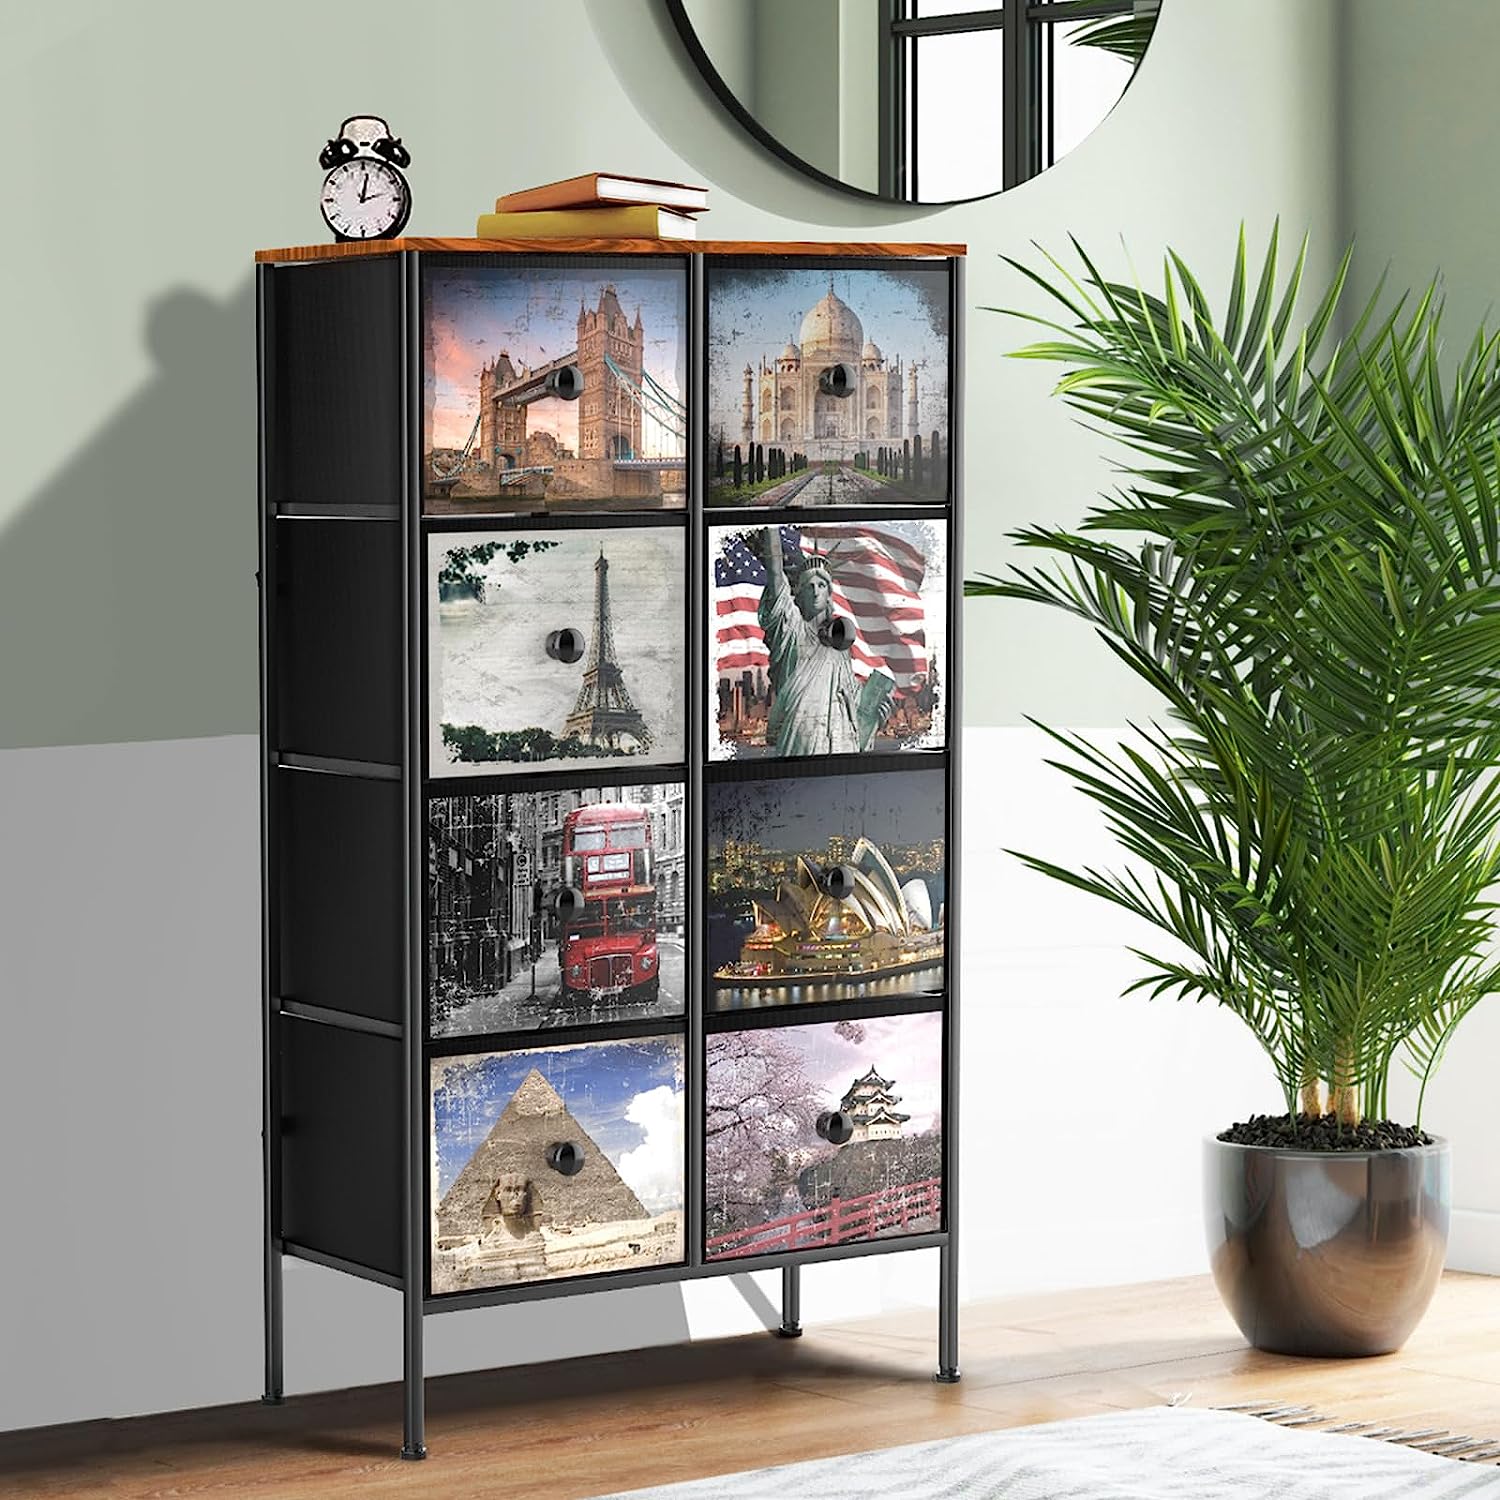
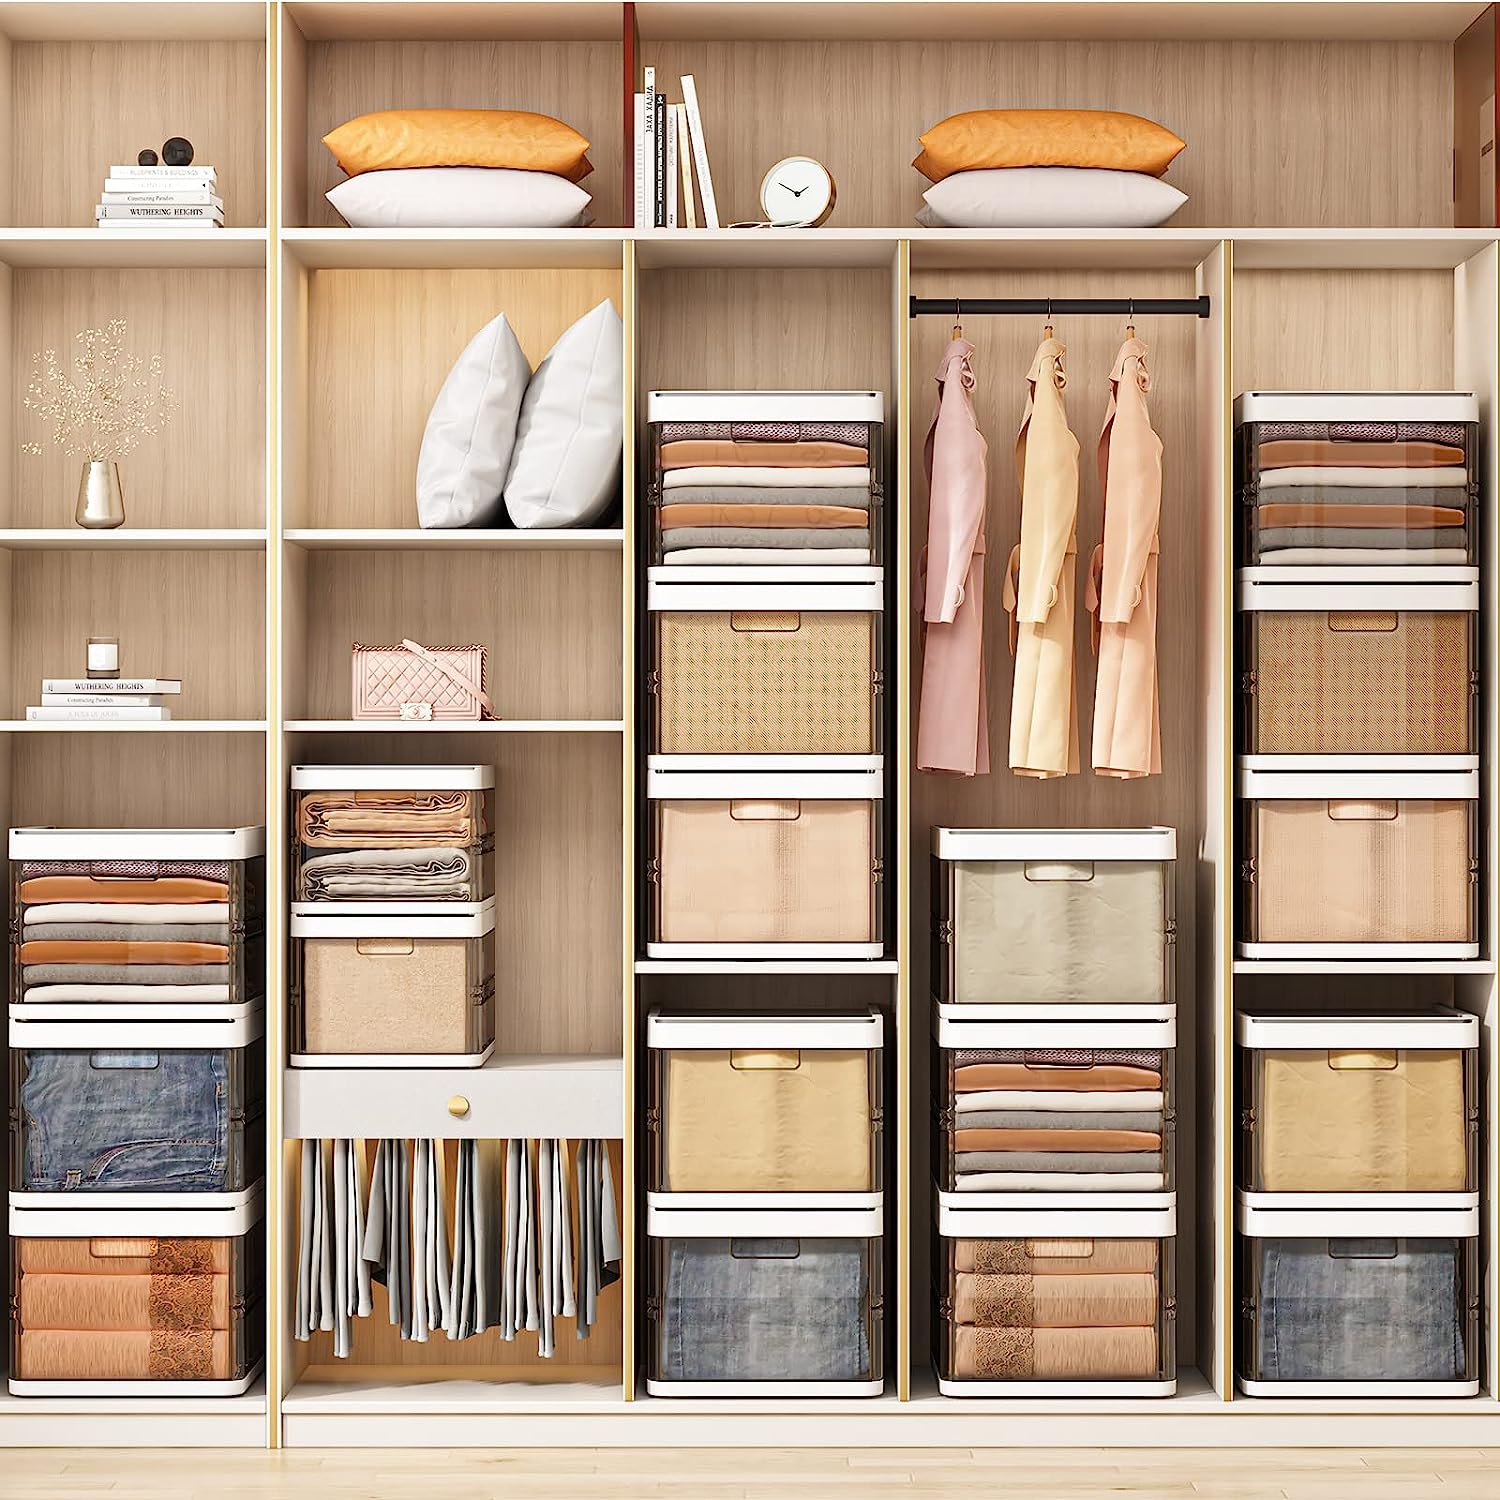
Take advantage of storage accessories to maximize space and efficiency. Use fabric bins or baskets to corral smaller items like socks, scarves, or belts. Install hooks on the back of the closet door or on the wall for hanging purses or hats.
If space allows, consider incorporating additional storage solutions like shoe racks, drawer inserts, or hanging organizers. These can help keep your belongings sorted and easily accessible.
When organizing your closet, make use of vertical space. Stack items vertically instead of horizontally to utilize the full height of the closet. This will create more room for additional storage and make the most of the available space.
Once your closet is organized, take some time to add your personal touch to the space. Consider adding a mirror on one of the walls or inside the closet door. This will not only serve a practical purpose but also make the closet feel more spacious and allow for outfit evaluations.
Enhance the ambiance of the closet by adding lighting. Install overhead or recessed lights to ensure proper illumination, or consider adding battery-operated LED lights inside the closet for a soft glow.
Add decorative elements such as a rug, artwork, or plants to infuse your style and personality into the space. These small touches can make your closet feel more inviting and inspire you to keep things tidy.
Regularly maintain and update your closet organization to ensure it remains functional and clutter-free. Periodically assess your belongings and donate or discard items you no longer use or need. This will help keep your closet organized and prevent it from becoming overcrowded.
With your closet organized and styled to your liking, step back and admire the transformation. You’ve successfully created a functional and aesthetically pleasing storage space that will make getting ready a breeze.
Congratulations once again on completing the six steps to make a closet. Enjoy the benefits of your well-organized and stylish storage oasis!
Conclusion
Congratulations on completing the journey of creating your own closet! By following the six steps outlined in this guide, you have gained the knowledge and skills to build a functional, organized, and visually appealing storage space.
Starting from the planning and measuring stage, you carefully considered your needs and preferences, ensuring that your closet design perfectly fits your space and storage requirements. Next, you gathered the necessary materials and tools, setting yourself up for a smooth construction process.
Building the frame provided a solid foundation for your closet, ensuring stability and durability. Installing shelves and rods allowed you to fully maximize the storage potential, providing designated spaces for folded clothing and hanging garments.
Adding doors or curtains not only added a finishing touch but also enhanced privacy and provided protection for your belongings. Finally, organizing and styling the closet created a well-orchestrated space where everything has its place, allowing for easy access and reducing clutter.
Throughout this process, you showcased your creativity and attention to detail, infusing your personal style and preferences into your closet design. The result is a customized storage solution that perfectly suits your needs and reflects your unique taste.
Remember, maintaining the organization and cleanliness of your new closet is essential to maximize its benefits. Regularly declutter, update, and reorganize to ensure that your items remain in order and easily accessible.
We hope that this guide has provided you with the information and inspiration you needed to make a closet that meets your storage needs. By following these steps and infusing your personal touch, you have created a space that is both functional and visually appealing.
Enjoy the convenience and satisfaction of having a well-organized closet that enhances your daily routine and makes finding your favorite clothes effortless. Happy organizing!
Frequently Asked Questions about How To Make A Closet
Was this page helpful?
At Storables.com, we guarantee accurate and reliable information. Our content, validated by Expert Board Contributors, is crafted following stringent Editorial Policies. We're committed to providing you with well-researched, expert-backed insights for all your informational needs.


0 thoughts on “How To Make A Closet”