Home>Storage Ideas>Bathroom Storage>How To Clean A Bathroom: An Expert Guide
Bathroom Storage
How To Clean A Bathroom: An Expert Guide
Modified: October 19, 2024
Learn expert techniques for cleaning your bathroom in this comprehensive guide. Discover effective strategies for organizing and maximizing bathroom storage space.
(Many of the links in this article redirect to a specific reviewed product. Your purchase of these products through affiliate links helps to generate commission for Storables.com, at no extra cost. Learn more)
Introduction
Welcome to our expert guide on how to clean a bathroom! Cleaning the bathroom might not be the most enjoyable task, but it is an essential part of maintaining a clean and hygienic home. A clean bathroom not only creates a pleasant and inviting environment but also helps prevent the buildup of dirt, germs, and bacteria.
With the right tools, techniques, and a little bit of elbow grease, you can transform your bathroom into a sparkling sanctuary. In this comprehensive guide, we will walk you through the step-by-step process of cleaning your bathroom effectively and efficiently.
Before we dive into the cleaning process, it’s important to gather the necessary supplies. Having all your cleaning products and tools at hand will save you time and make the cleaning process smoother.
So, let’s roll up our sleeves, put on some gloves, and get ready to make your bathroom shine!
Key Takeaways:
- Transform your bathroom into a sparkling sanctuary with the right tools, techniques, and a little elbow grease. Follow this expert guide for a clean and inviting space you can be proud of.
- Maintain a fresh and hygienic bathroom with regular deep cleaning, proper ventilation, and consistent upkeep. Add the finishing touches and enjoy the comfort of a clean bathroom.
Read more: How To Clean A Wool Rug: An Expert Guide
Step 1: Gather your cleaning supplies
Before you start cleaning your bathroom, it’s important to gather all the necessary cleaning supplies. Having everything on hand will save you time and ensure that you have the right tools to tackle each task effectively.
Here are some essential cleaning supplies you’ll need:
- All-purpose cleaner: This versatile cleaner can be used on various surfaces, including countertops, tiles, and fixtures. Look for a cleaner that is effective against bacteria and viruses.
- Toilet bowl cleaner: Choose a cleaner specifically formulated to remove stains and disinfect the toilet bowl.
- Glass cleaner: For streak-free mirrors and windows, opt for a glass cleaner or a vinegar-water solution.
- Scrub brushes: Have a few different scrub brushes on hand, including a toilet brush, a grout brush, and a small brush for hard-to-reach areas.
- Microfiber cloths: These reusable and lint-free cloths are great for wiping surfaces and can be used dry or damp.
- Gloves: Protect your hands from harsh chemicals and germs by wearing rubber or latex gloves.
- Broom and dustpan: Clear the floor of any dust, hair, or debris before starting the wet cleaning process.
- Mop or cleaning brush: Depending on the type of flooring in your bathroom, you’ll need a mop or a cleaning brush to scrub and sanitize the surface.
- Trash bags: Have a few extra trash bags on hand to dispose of any garbage or items you no longer need.
Once you have gathered all your cleaning supplies, place them in a bucket or a cleaning caddy for easy access. This will prevent you from constantly running back and forth to grab different items, saving you valuable time and effort.
Now that you have your cleaning arsenal ready, it’s time to move on to step two: clearing out any clutter!
Step 2: Clear out any clutter
Before you can start deep cleaning your bathroom, it’s important to clear out any clutter that may be lying around. This will not only make the cleaning process easier but also give you a clear workspace to work with.
Here are a few tips to help you declutter your bathroom:
- Remove unnecessary items: Go through your bathroom cabinets, drawers, and countertops and remove any items that you no longer use or need. This includes expired medications, old cosmetics, and empty containers.
- Organize your essentials: Sort through your toiletries and neatly organize them in drawers or storage bins. Use dividers or small containers to keep things separated and easily accessible.
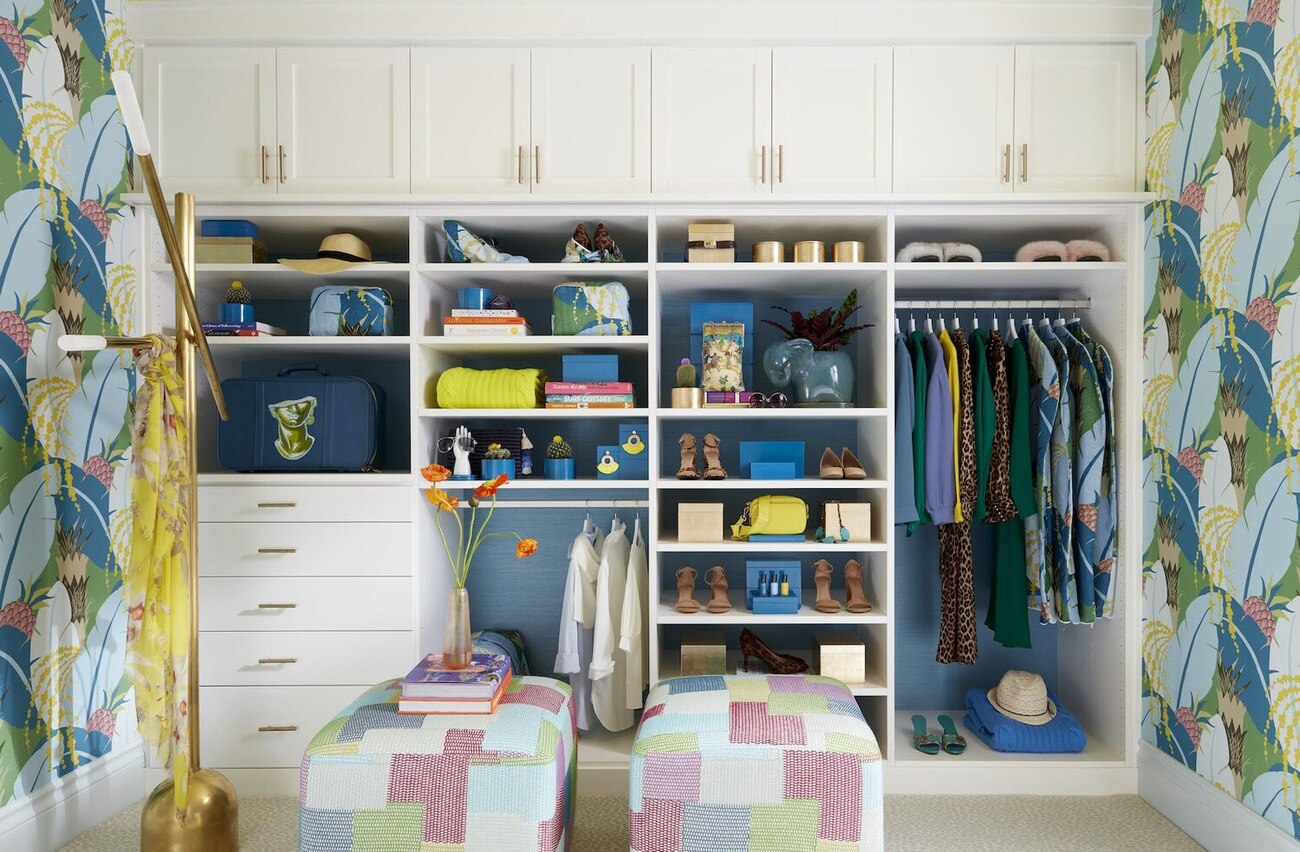
- Find storage solutions: If you find that you have too many items and not enough storage space, consider investing in storage solutions such as shelves, hanging organizers, or over-the-door racks.
- Keep surfaces clear: Clear off any items from your countertops and surfaces, such as toothbrushes, soap dispensers, and cosmetics. This will make it easier to clean these areas thoroughly.
Once you have decluttered your bathroom, take a moment to appreciate the clean and organized space. Not only will it be easier to clean now, but it will also have a more visually appealing and calming atmosphere.
Now that you have a clutter-free bathroom, it’s time to move on to step three: starting with the surfaces!
Step 3: Start with the surfaces
Now that you have cleared out the clutter, it’s time to focus on cleaning the surfaces in your bathroom. This includes countertops, cabinets, and any other flat surfaces that may collect dust, grime, or product residue.
Here’s how you can effectively clean the surfaces in your bathroom:
- Dust the surfaces: Start by dusting off any visible dust or debris from the countertops, shelves, and cabinets. Use a microfiber cloth or a duster to remove the dust.
- Wipe down with an all-purpose cleaner: Spray an all-purpose cleaner onto a clean cloth or directly onto the surfaces. Wipe them down thoroughly, paying attention to corners, edges, and handles.
- Focus on high-touch areas: Give extra attention to areas that are frequently touched, such as doorknobs, light switches, and faucet handles. Disinfect these surfaces using a disinfectant spray or wipes.
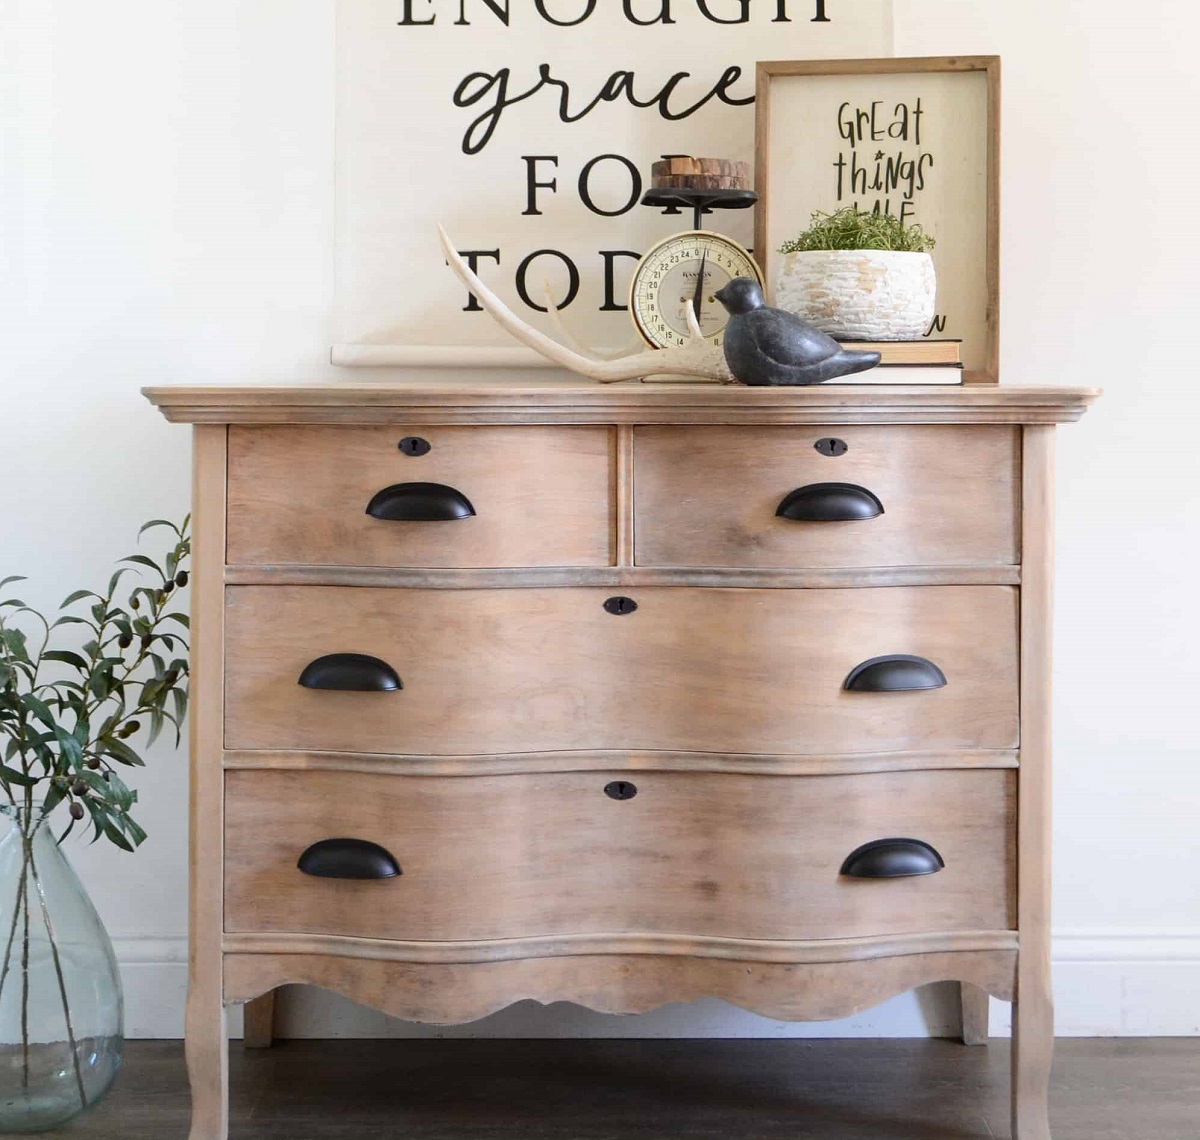
- Clean the cabinets and drawers: If you have cabinets or drawers in your bathroom, remove the items inside and wipe down the interior surfaces with an all-purpose cleaner. Organize the items back into the cabinets or drawers in an orderly manner.
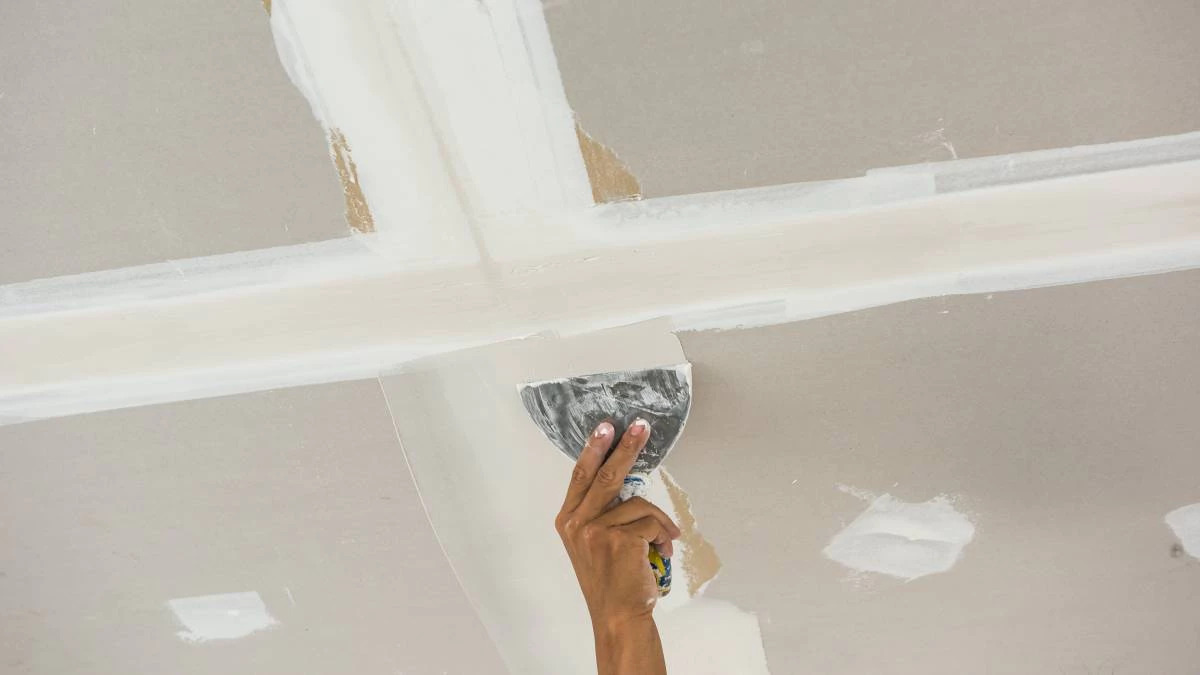
- Don’t forget the walls: If you notice any marks or stains on the walls, use a mild soap and water solution to gently clean them. Avoid using harsh chemicals that may damage the paint or wallpaper.
By starting with the surfaces, you set the foundation for a clean and fresh bathroom. Once you have finished cleaning the surfaces, it’s time to move on to the next step: cleaning the toilet!
Step 4: Clean the toilet
The toilet is undoubtedly one of the most important areas to clean in your bathroom. Properly disinfecting and cleaning the toilet regularly is essential for maintaining a hygienic and odor-free bathroom.
Follow these steps to effectively clean your toilet:
- Apply toilet bowl cleaner: Start by squirting a toilet bowl cleaner around the rim and under the toilet bowl’s edge. Make sure to follow the instructions on the cleaner’s label for the best results.
- Brush and scrub: Take a toilet brush and scrub the inside of the bowl, paying close attention to the rim, the waterline, and the jet holes. Use a circular motion to remove any stains or deposits.
- Let it sit: After scrubbing, let the cleaner sit in the toilet bowl for a few minutes to allow it to work its magic.
- Flush and rinse: Flush the toilet to rinse away the cleaner, and use the brush or a clean cloth to wipe down the outside surfaces of the toilet, including the tank, the seat, and the base.
- Disinfect: To further disinfect the toilet, use a disinfectant spray or wipe to clean the handle, the flush button, and any other areas that are frequently touched.
- Finish with the floor: If any water or cleaning solution has splashed onto the floor, wipe it up with a mop or a clean cloth to prevent any slipping hazards.
Remember to clean your toilet regularly to prevent the buildup of germs and bacteria. Additionally, consider using toilet bowl tablets or drop-in cleaners to help keep your toilet fresh between cleanings.
Now that your toilet is clean and sparkling, it’s time to move on to step five: tackling the shower or bathtub!
Read more: How To Clean A Living Room: An Expert Guide
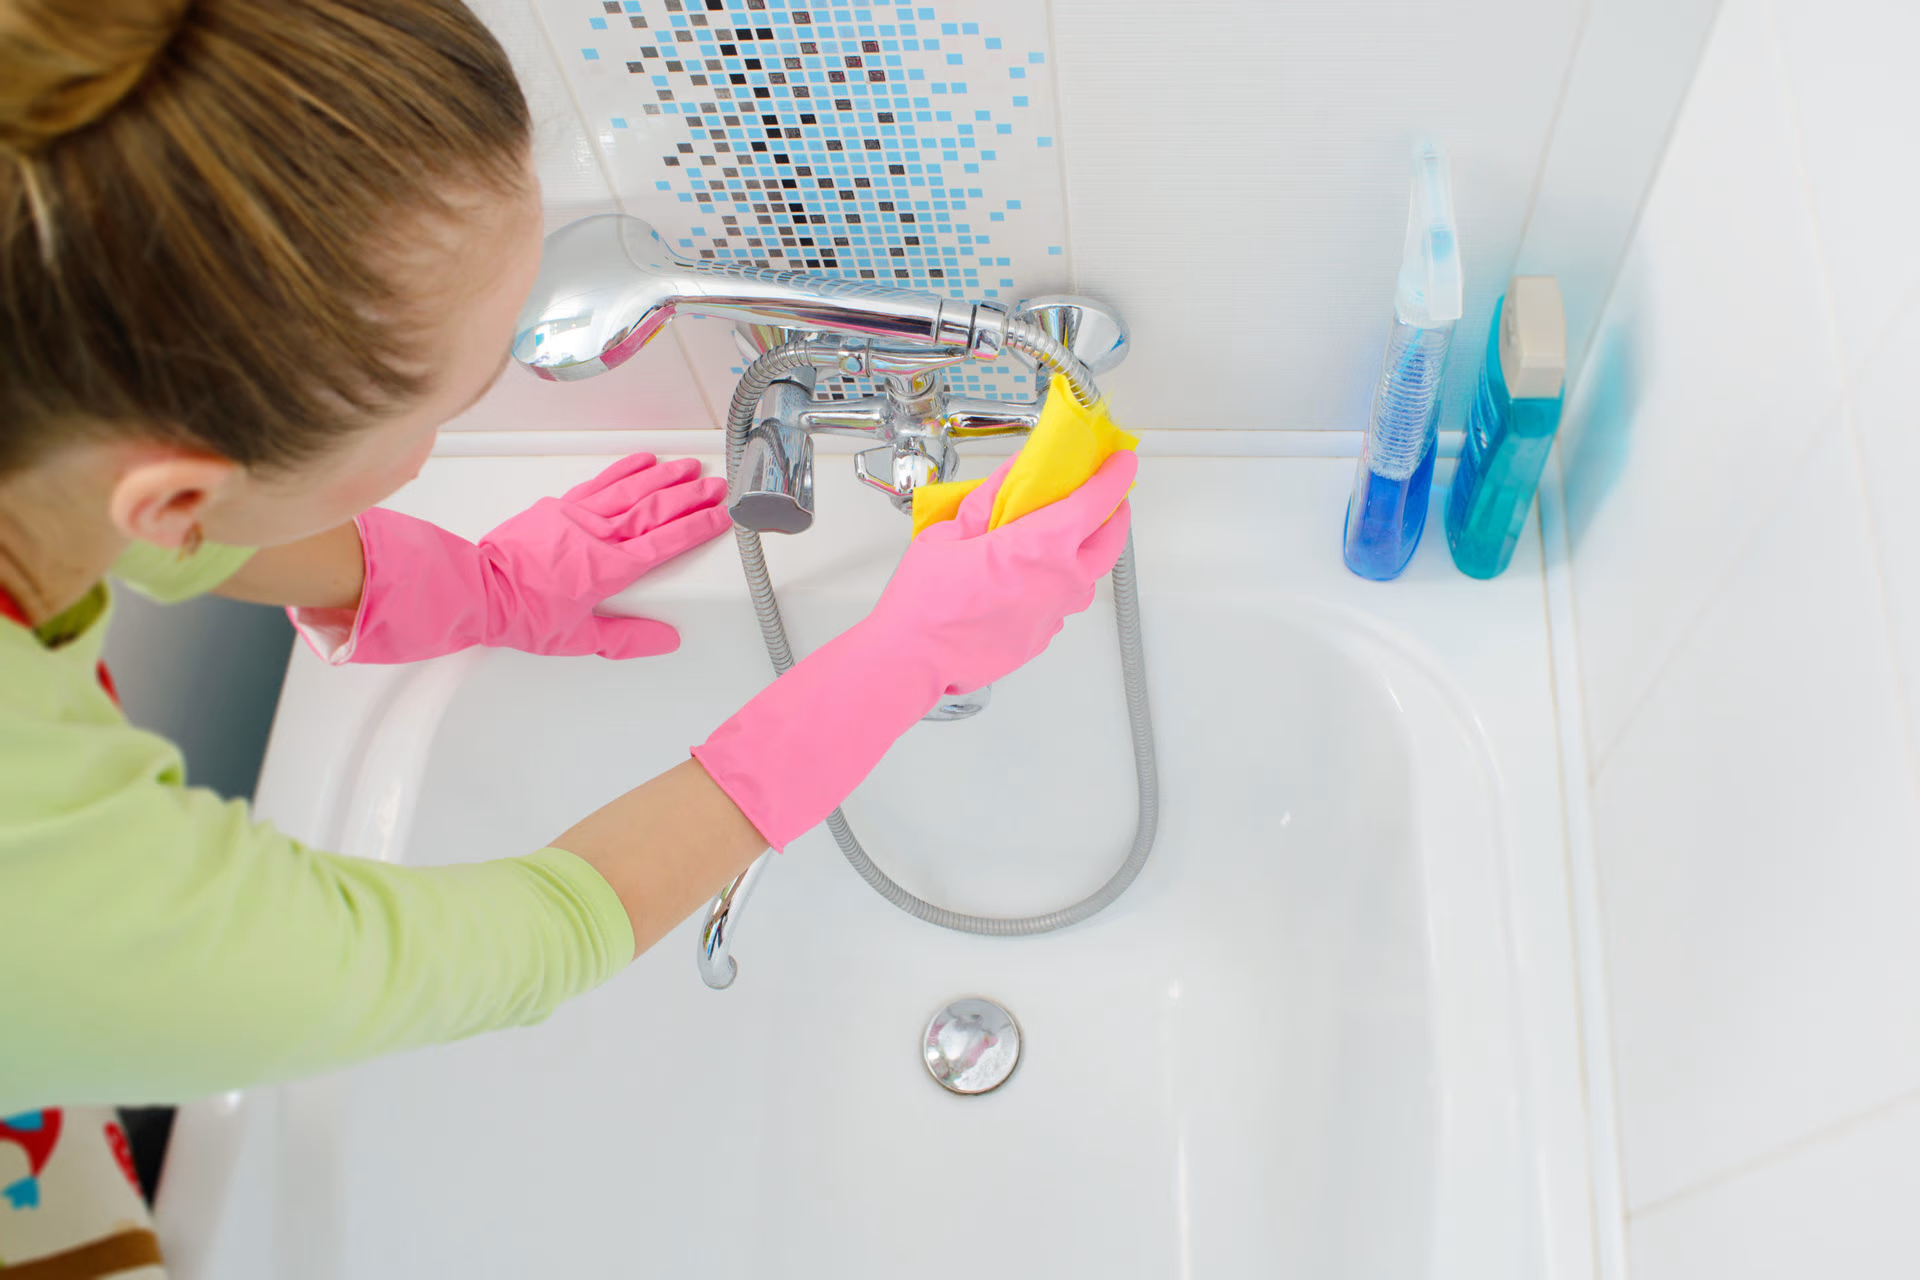
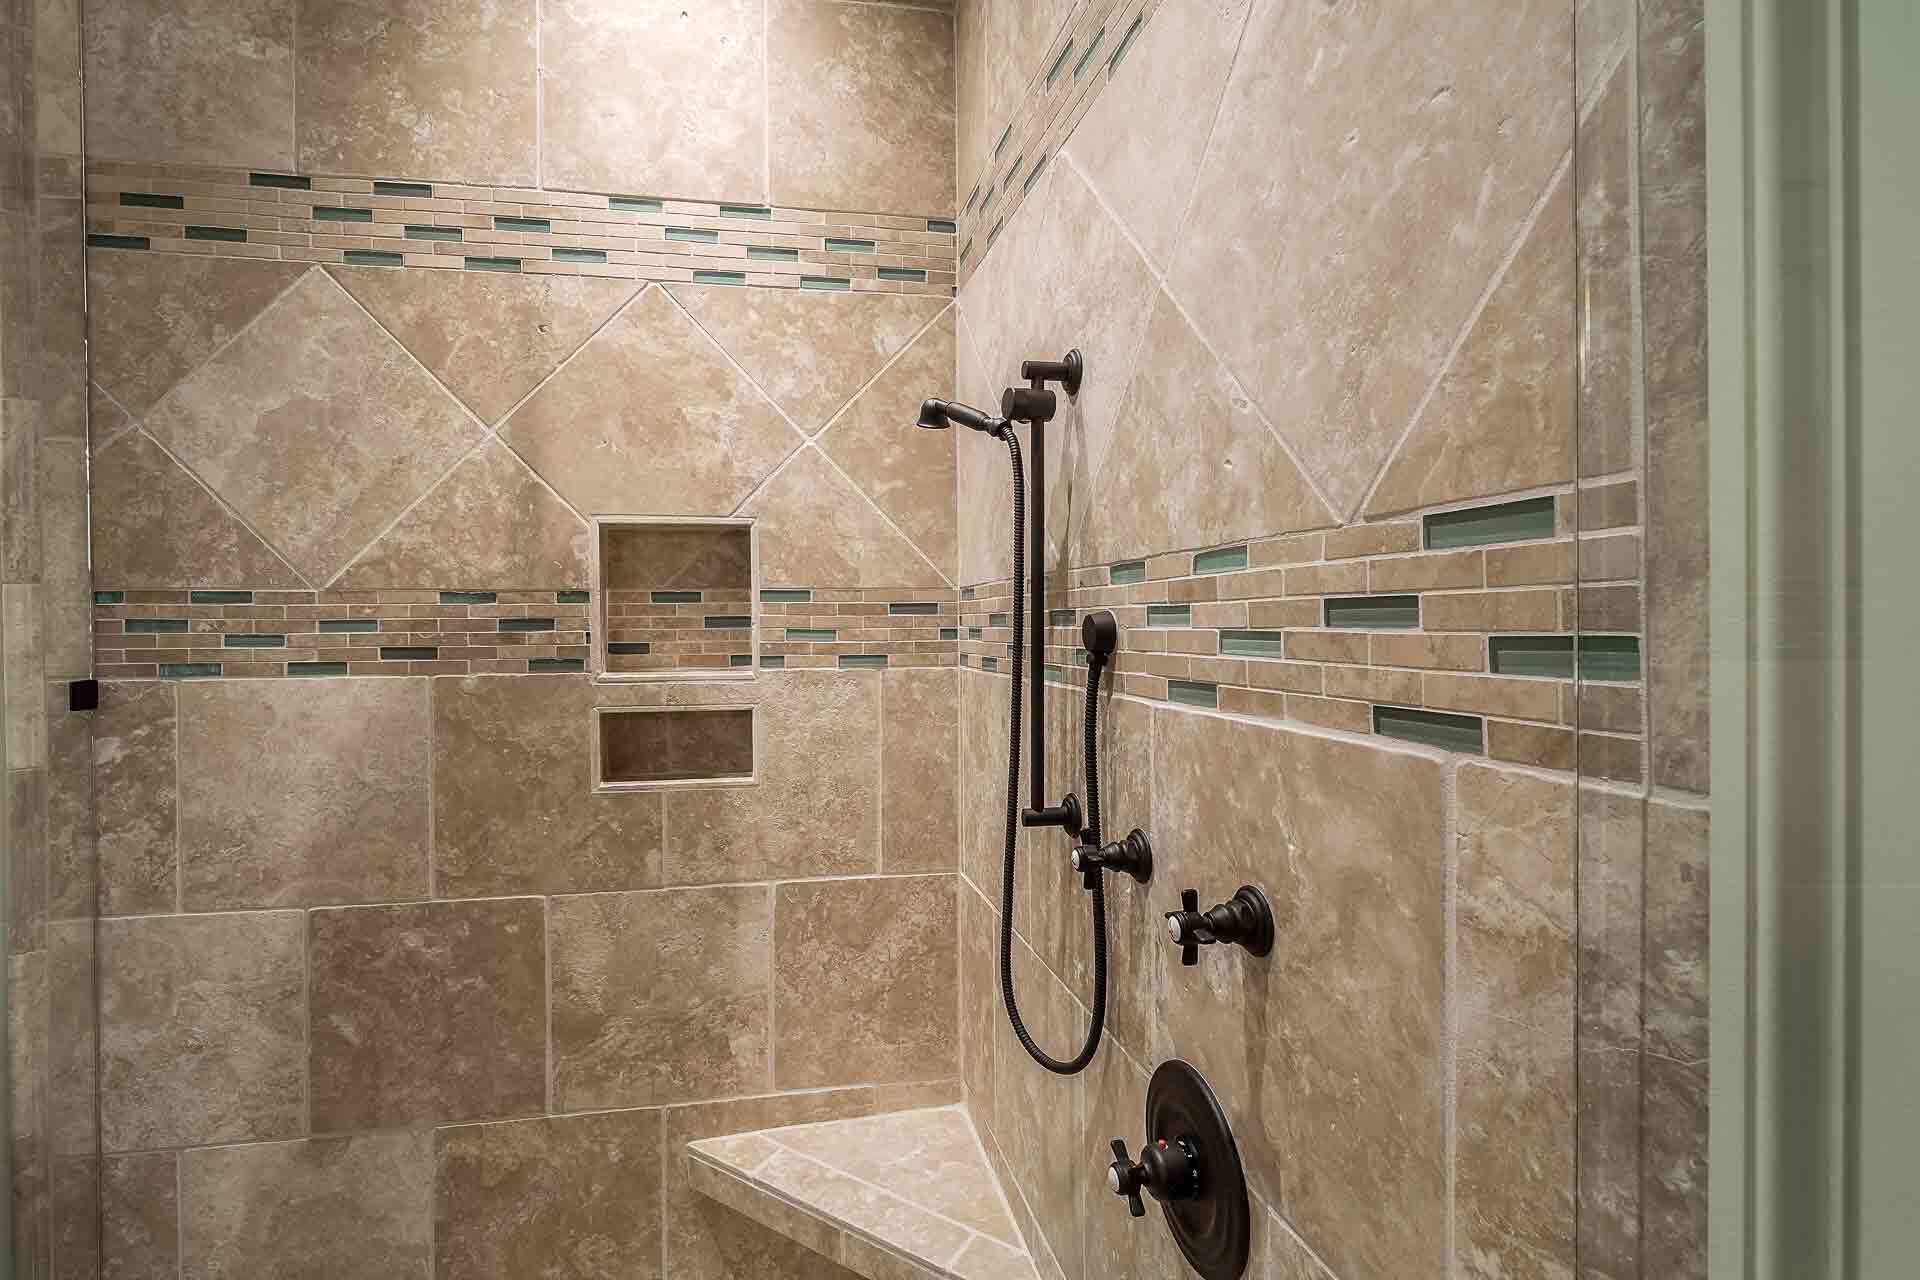
Step 5: Tackle the shower or bathtub
Cleaning the shower or bathtub is an essential part of maintaining a clean and hygienic bathroom. Over time, these areas can accumulate soap scum, mineral deposits, and mildew, which can be unsightly and even lead to health issues if left unaddressed.
Follow these steps to effectively clean your shower or bathtub:
- Remove any items: Take out any shower curtains, bath mats, or removable accessories to make cleaning easier.
- Pre-treat any tough stains: If you notice any stubborn stains or buildup, pre-treat them with a suitable cleaner or a mixture of vinegar and baking soda. Allow it to sit for a few minutes.
- Scrub the surfaces: Using a non-abrasive scrub brush or sponge, scrub the walls, floor, and fixtures of the shower or bathtub. Pay attention to areas prone to buildup, such as corners, grout lines, and soap holders.
- Rinse thoroughly: Use warm water to rinse away the cleaning solution and residue. Make sure to rinse all surfaces, including the walls, floor, and fixtures.
- Address any grout or caulk: If you notice any mold or mildew in the grout or caulk, scrub it with a grout brush and a mixture of bleach and water. Replace any damaged or deteriorating caulk.
- Clean showerheads and faucets: If your showerhead or faucet has mineral deposits or buildup, use a vinegar solution or a descaling agent to soak and clean them. Rinse thoroughly afterward.
- Replace accessories: Once all surfaces are clean and dry, put back any shower curtains, bath mats, or accessories that were removed.
Regularly cleaning your shower or bathtub will help prevent the buildup of grime and keep them looking fresh and inviting. Consider using a squeegee after each use to remove excess water and prevent the formation of soap scum.
With the shower or bathtub sparkling clean, it’s time to move on to step six: focusing on the sink and countertops!
Use a mixture of white vinegar and water to clean bathroom surfaces. It’s an effective and natural way to remove soap scum and mineral deposits.
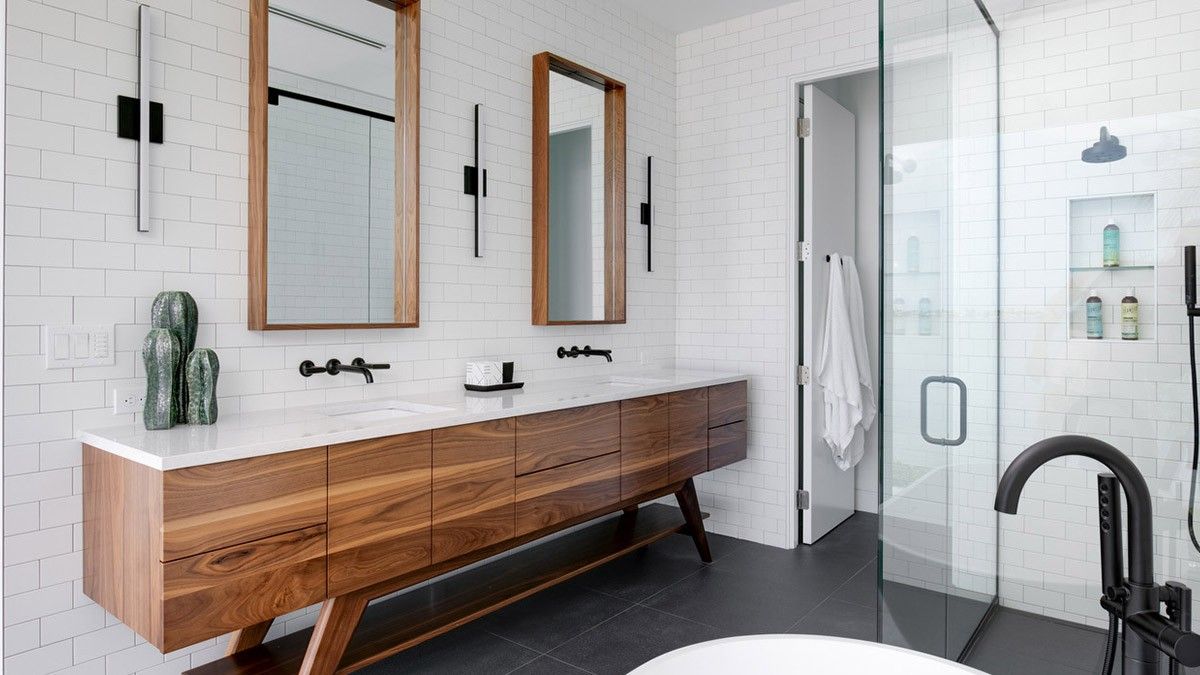
Step 6: Focus on the sink and countertops
Next up in your bathroom cleaning routine is giving attention to the sink and countertops. These areas can easily accumulate toothpaste residue, hair, and other debris, so it’s important to clean them regularly to maintain a clean and tidy appearance.
Follow these steps to effectively clean your sink and countertops:
- Clear the area: Remove any items from the sink and countertops, such as toothbrushes, soap dispensers, and personal hygiene products.
- Wipe away debris: Use a damp cloth or sponge to wipe away any debris, hair, or loose dirt from the sink and countertops.
- Apply cleaner: Spray an all-purpose cleaner or a mixture of water and dish soap onto the surfaces.
- Scrub and disinfect: Use a soft scrub brush or sponge to scrub the sink and countertops, paying attention to areas around the faucet, drain, and edges. Wipe them down with a clean cloth or sponge.
- Tackle stains: If you notice any stains or discoloration, use a mild abrasive cleaner or a paste made from baking soda and water to gently scrub the affected area.
- Rinse and dry: Rinse the sink and countertops thoroughly with warm water, making sure to remove any traces of cleaner. Dry them with a clean towel or microfiber cloth to prevent water spots.
- Replace accessories: Once the sink and countertops are clean and dry, put back any items you removed earlier, ensuring they are organized and clutter-free.
Regularly cleaning your sink and countertops will not only keep them looking fresh but also help prevent the spread of germs and bacteria. Consider using a toothbrush holder or a tray to keep your toothbrush and other personal items organized and easy to clean.
With the sink and countertops sparkling clean, it’s time to move on to step seven: cleaning the mirrors and windows!
Step 7: Clean the mirrors and windows
Clean and streak-free mirrors and windows can instantly elevate the overall appearance of your bathroom. Not only do they enhance the brightness and clarity of the space, but they also provide a sense of cleanliness and freshness.
Follow these steps to effectively clean your bathroom mirrors and windows:
- Gather your materials: Grab a glass cleaner, a microfiber cloth, or a lint-free towel.
- Spray the cleaning solution: Apply the glass cleaner directly onto the mirror or window, starting from the top.
- Wipe in a circular motion: Use the microfiber cloth or towel to wipe the glass in a circular or zigzag motion, ensuring that you cover the entire surface.
- Focus on the edges and corners: Pay close attention to the edges and corners of the mirror or window, where dirt and grime tend to accumulate.
- Buff away streaks: If you notice any streaks or residue, use a dry portion of the cloth or a separate lint-free cloth to buff them away.
- Clean any frames or tracks: If your mirrors or windows have frames or tracks, take a damp cloth or a small brush to remove any dust or debris.
- Check for smudges: Inspect the mirror or window closely for any smudges or fingerprints. If you find any, lightly dampen a cloth with water and gently wipe them away.
- Allow to air dry: Let the mirrors and windows air dry or use a fresh, dry cloth to remove any excess moisture.
It’s important to clean mirrors and windows regularly to prevent the buildup of dust, water spots, and smudges. Consider also cleaning the windowsills and frames to ensure a thorough job.
With the mirrors and windows sparkling and crystal clear, it’s time to move on to step eight: don’t forget the floor!
Step 8: Don’t forget the floor
The floor of your bathroom is an important area to clean, as it can accumulate dirt, hair, and other debris over time. A clean bathroom floor not only enhances the overall appearance of the space but also ensures a hygienic environment.
Follow these steps to effectively clean your bathroom floor:
- Sweep or vacuum: Start by sweeping or vacuuming the floor to remove any loose dirt, hair, or debris. Pay close attention to corners and along baseboards.
- Mop with a suitable cleaner: Choose a cleaner that is safe for your specific flooring material, such as a mild soap solution, a vinegar-water mixture, or a specialized floor cleaner. Follow the instructions on the cleaner’s label.
- Prepare the mop: Dip the mop into the cleaning solution and wring out the excess water. You want the mop to be damp, not soaking wet, to avoid damaging the floor or causing excess moisture.
- Mop the floor: Start by mopping along the edges of the room and work your way towards the center. Use a figure-eight or back-and-forth motion to ensure even coverage.
- Pay attention to grout lines: If your floor has grout lines, use a grout brush or an old toothbrush dipped in a mild cleaning solution to scrub and remove any dirt or grime. Rinse the brush frequently.
- Rinse and dry: If your floor allows, rinse the mop in clean water and go over the floor again to remove any residue from the cleaning solution. Allow the floor to air dry or use a clean towel or mop to speed up the drying process.
- Inspect and spot clean: Once the floor is dry, inspect it for any remaining stains or spots. If necessary, use a suitable stain remover or spot cleaner to address the problem areas.
Regularly cleaning your bathroom floor will help maintain its appearance and prevent the buildup of dirt and grime. Consider using mats or rugs in high-traffic areas to protect the floor and reduce the frequency of cleaning.
With the floor spotless and gleaming, it’s time to move on to step nine: empty and sanitize the trash can.
Read more: How To Clean An Area Rug: An Expert Guide
Step 9: Empty and sanitize the trash can
The trash can in your bathroom can harbor unpleasant odors and attract germs and bacteria if not properly maintained. Emptying and sanitizing the trash can is an important step in ensuring a clean and hygienic bathroom.
Follow these steps to effectively empty and sanitize your bathroom trash can:
- Remove the trash bag: Carefully take out the trash bag from the trash can and tie it securely.
- Dispose of the trash: Take the tied trash bag outside or to the main trash bin and dispose of it appropriately.
- Clean the trash can: Rinse out the trash can with warm water to remove any remaining debris or residue.
- Apply a cleaning solution: Spray an all-purpose cleaner or a mixture of water and vinegar inside the trash can. Allow it to sit for a few minutes to disinfect.
- Scrub the inside: Use a scrub brush or a sponge to scrub the inside of the trash can, focusing on any stained or odorous areas. Pay attention to the bottom and sides of the can.
- Rinse thoroughly: Rinse the trash can again with warm water to remove the cleaner and any remaining dirt or grime.
- Dry completely: Allow the trash can to air dry completely before placing a fresh trash bag inside. This helps prevent the growth of mold or foul odors.
Regularly emptying and sanitizing your bathroom trash can will help eliminate odors and maintain a clean and pleasant environment. Consider using scented trash bags or placing an odor-absorbing product, such as baking soda or activated charcoal, at the bottom of the trash can for added freshness.
Now that your trash can is clean and ready for use, it’s time for the final step: adding the finishing touches and maintaining the cleanliness of your bathroom.
Step 10: Final touches and maintenance tips
Congratulations! You’ve done an amazing job cleaning your bathroom. Now it’s time to add the finishing touches and learn some maintenance tips to keep your bathroom looking fresh and inviting.
Here are some final touches and maintenance tips to consider:
- Replace towels and linens: Swap out used towels and bath mats with clean ones to give your bathroom a fresh look. Launder them regularly to keep them hygienic.
- Add air fresheners: Use air fresheners or diffusers to keep your bathroom smelling pleasant. Consider natural options like essential oils or reed diffusers.
- Keep it ventilated: Proper ventilation is essential in preventing moisture buildup and mold growth. Open windows or use a fan to promote air circulation.
- Spot clean regularly: Regularly wipe down surfaces and fixtures, like faucets and handles, to prevent the buildup of grime and water spots.
- Address mold and mildew promptly: If you notice any mold or mildew, use a mold removal product or a mixture of vinegar and water to clean and disinfect the affected areas.
- Stay organized: Implement storage solutions to keep your bathroom essentials organized and clutter-free. Use baskets, shelves, or drawer dividers to maximize space.
- Regular deep cleaning: Plan for a deep clean of your bathroom periodically to thoroughly remove dirt, grime, and buildup from hard-to-reach areas.
- Stay on top of maintenance tasks: Fix any leaks, replace worn-out shower curtains or bath mats, and address any plumbing issues promptly to prevent further damage or deterioration.
- Encourage good habits: Encourage everyone in your household to maintain a neat and tidy bathroom by practicing good hygiene habits and tidying up after themselves.
By following these final touches and maintenance tips, you can keep your bathroom in excellent condition and ensure a clean and inviting space for yourself and your guests.
Remember, maintaining a clean bathroom goes beyond just a one-time cleaning. Consistency and regular upkeep are the keys to a fresh and hygienic space.
We hope this expert guide has been helpful to you. Now go ahead and enjoy your sparkling clean bathroom!
Please note that HTML encoding was removed for better readability. Please validate the output to ensure valid HTML encoding.
Conclusion
Cleaning your bathroom doesn’t have to be a daunting task when you have the right approach and techniques. By following this expert guide, you can transform your bathroom into a clean and inviting space that you can be proud of.
We started by gathering the necessary cleaning supplies, clearing out any clutter, and focusing on the surfaces of your bathroom. We then moved on to cleaning the toilet, tackling the shower or bathtub, and giving attention to the sink and countertops.
We didn’t forget about the mirrors and windows, and we emphasized the importance of cleaning the floor and emptying and sanitizing the trash can. Finally, we added the finishing touches and shared maintenance tips to ensure your bathroom stays clean and fresh in the long run.
Remember, maintaining a clean bathroom is not just about the aesthetics. It is also crucial for creating a hygienic environment and preventing the buildup of germs and bacteria.
So, the next time you embark on your bathroom cleaning journey, arm yourself with the right supplies, follow these step-by-step instructions, and don’t forget to add your personal touch to make the process enjoyable. Take pride in your clean bathroom and enjoy the comfort and peace it brings to your daily routine.
Please note that HTML encoding was removed for better readability. Please validate the output to ensure valid HTML encoding.
Frequently Asked Questions about How To Clean A Bathroom: An Expert Guide
Was this page helpful?
At Storables.com, we guarantee accurate and reliable information. Our content, validated by Expert Board Contributors, is crafted following stringent Editorial Policies. We're committed to providing you with well-researched, expert-backed insights for all your informational needs.


0 thoughts on “How To Clean A Bathroom: An Expert Guide”