
Articles
How To Clean Washer With Baking Soda
Modified: October 20, 2024
Learn how to clean your washer using baking soda with this informative article. Keep your washer fresh and odour-free with this simple method.
(Many of the links in this article redirect to a specific reviewed product. Your purchase of these products through affiliate links helps to generate commission for Storables.com, at no extra cost. Learn more)
Introduction
Having a clean washer is essential for maintaining the cleanliness and freshness of your laundry. Over time, detergent residue, mold, and mildew can build up in the drum, dispenser tray, and filter of your washing machine. This buildup not only affects the performance of your washer but can also lead to unpleasant odors and even mold growth.
While there are various cleaning products available on the market, using baking soda is a natural and effective way to clean your washer. Baking soda is a mild abrasive and a natural deodorizer, making it perfect for removing residue and neutralizing odors.
In this article, we will guide you step-by-step on how to clean your washer using baking soda. By following these simple steps, you can ensure that your washer operates efficiently, leaves your laundry smelling fresh, and helps prolong the lifespan of your machine.
Key Takeaways:
- Regularly cleaning your washer with baking soda not only eliminates odors and residue but also prevents mold and bacteria growth, ensuring hygienic washing and prolonging the lifespan of your machine.
- Maintaining a clean washer involves simple practices like wiping down the exterior, emptying pockets, and using the right amount of detergent, all of which contribute to efficient and fresh laundry results.
Read more: How To Clean A Kettle With Baking Soda
Why Clean Your Washer?
You may be wondering why it is necessary to clean your washer regularly. After all, isn’t it supposed to clean itself every time you run a load of laundry? Unfortunately, that is not the case.
Over time, dirt, detergent residue, fabric softener, and even lint can accumulate inside your washer. These buildups can create a breeding ground for bacteria, mold, and mildew. Not only can this lead to foul odors, but it can also affect the performance of your machine.
If your washer is not cleaned regularly, the residues can clog the dispenser tray and the filter, preventing proper dispensing and drainage. This can result in reduced washing effectiveness, longer cycle times, and potential damage to the machine.
Moreover, the presence of mold and mildew can transfer onto your clothes, leaving them smelling musty and potentially causing skin irritation or allergies. It can also stain the drum and leave behind unsightly black spots.
Cleaning your washer has several benefits:
- Eliminates foul odors and keeps your laundry smelling fresh.
- Prevents the growth of mold, mildew, and bacteria, ensuring hygienic washing.
- Improves the washer’s performance and efficiency.
- Extends the lifespan of your machine.
- Reduces the risk of clogs and potential damage.
Regular cleaning and maintenance of your washer are vital to keep it running smoothly and ensure that your laundry comes out clean and fresh every time. Now that you understand the importance of cleaning your washer, let’s move on to the materials you will need to get started.
Materials Needed
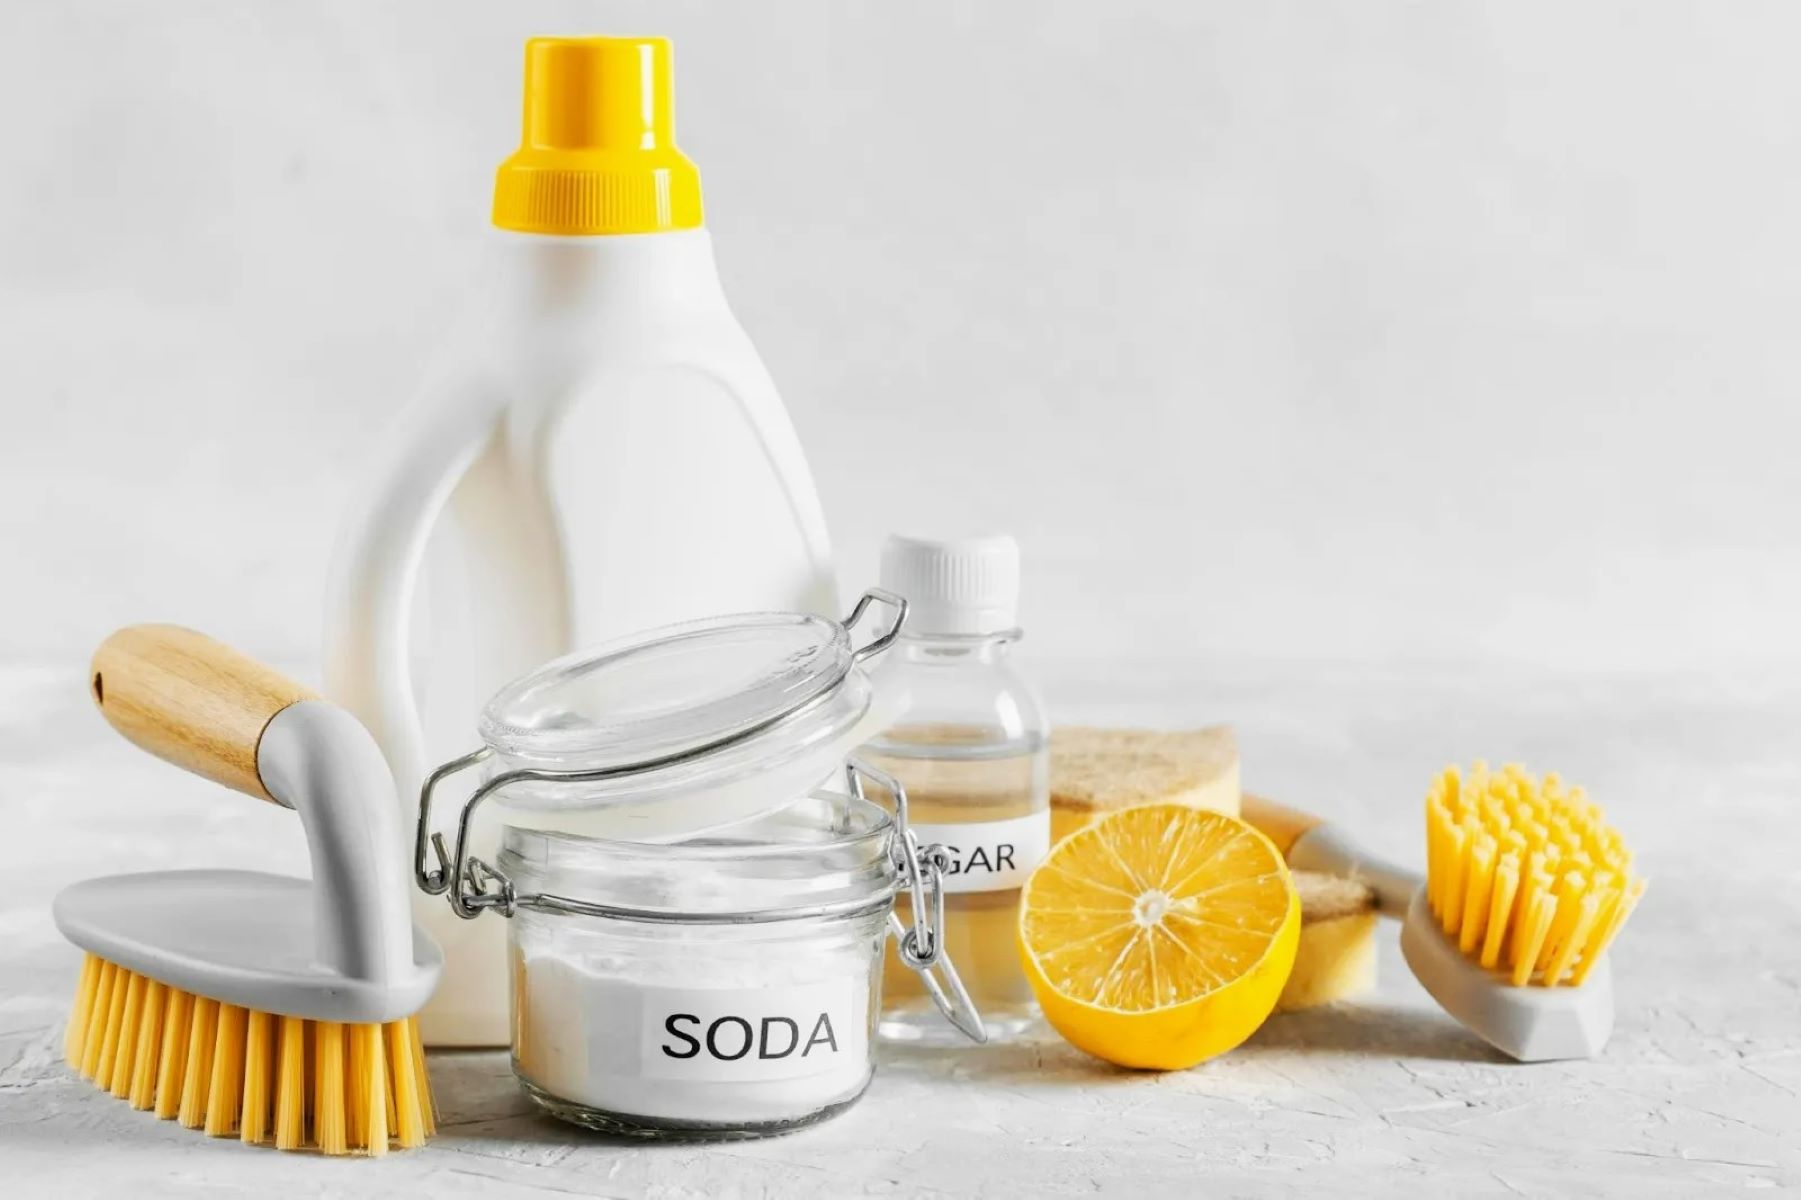
Before you begin the cleaning process, it’s important to gather the necessary materials. Fortunately, you won’t need any specialized or expensive products. Here are the materials you’ll need:
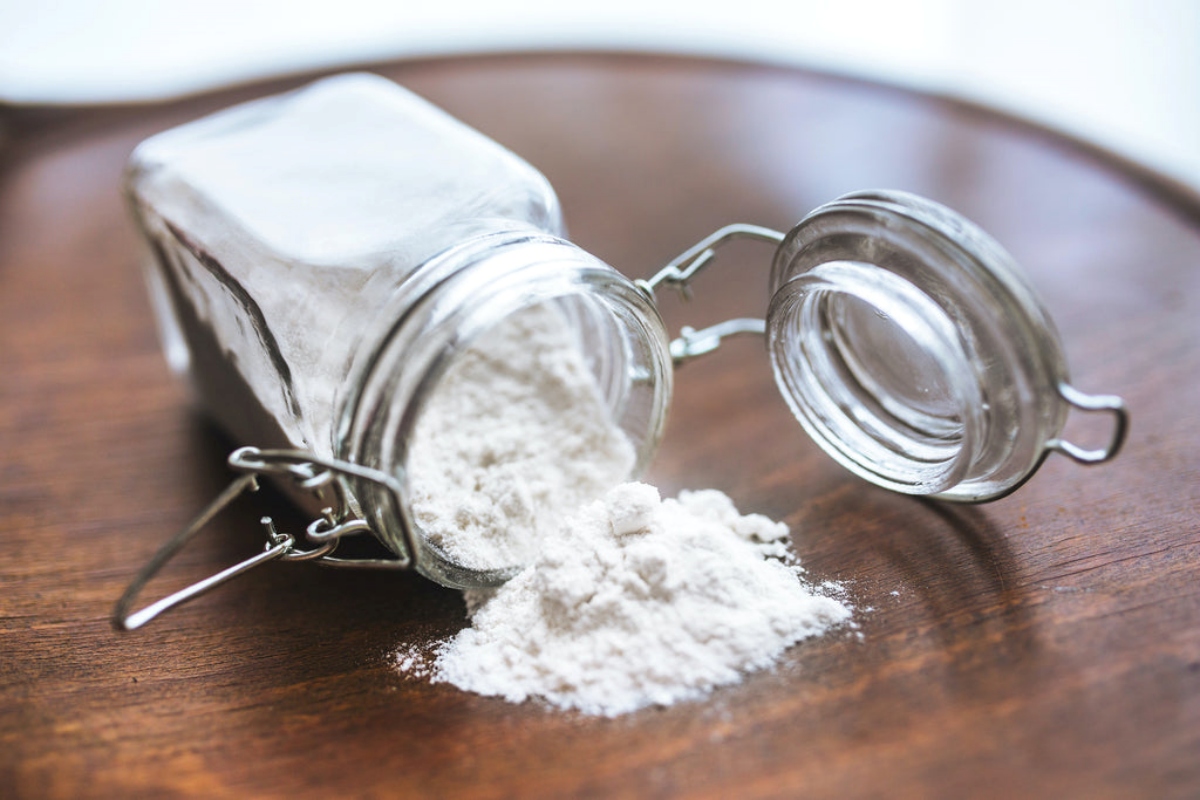
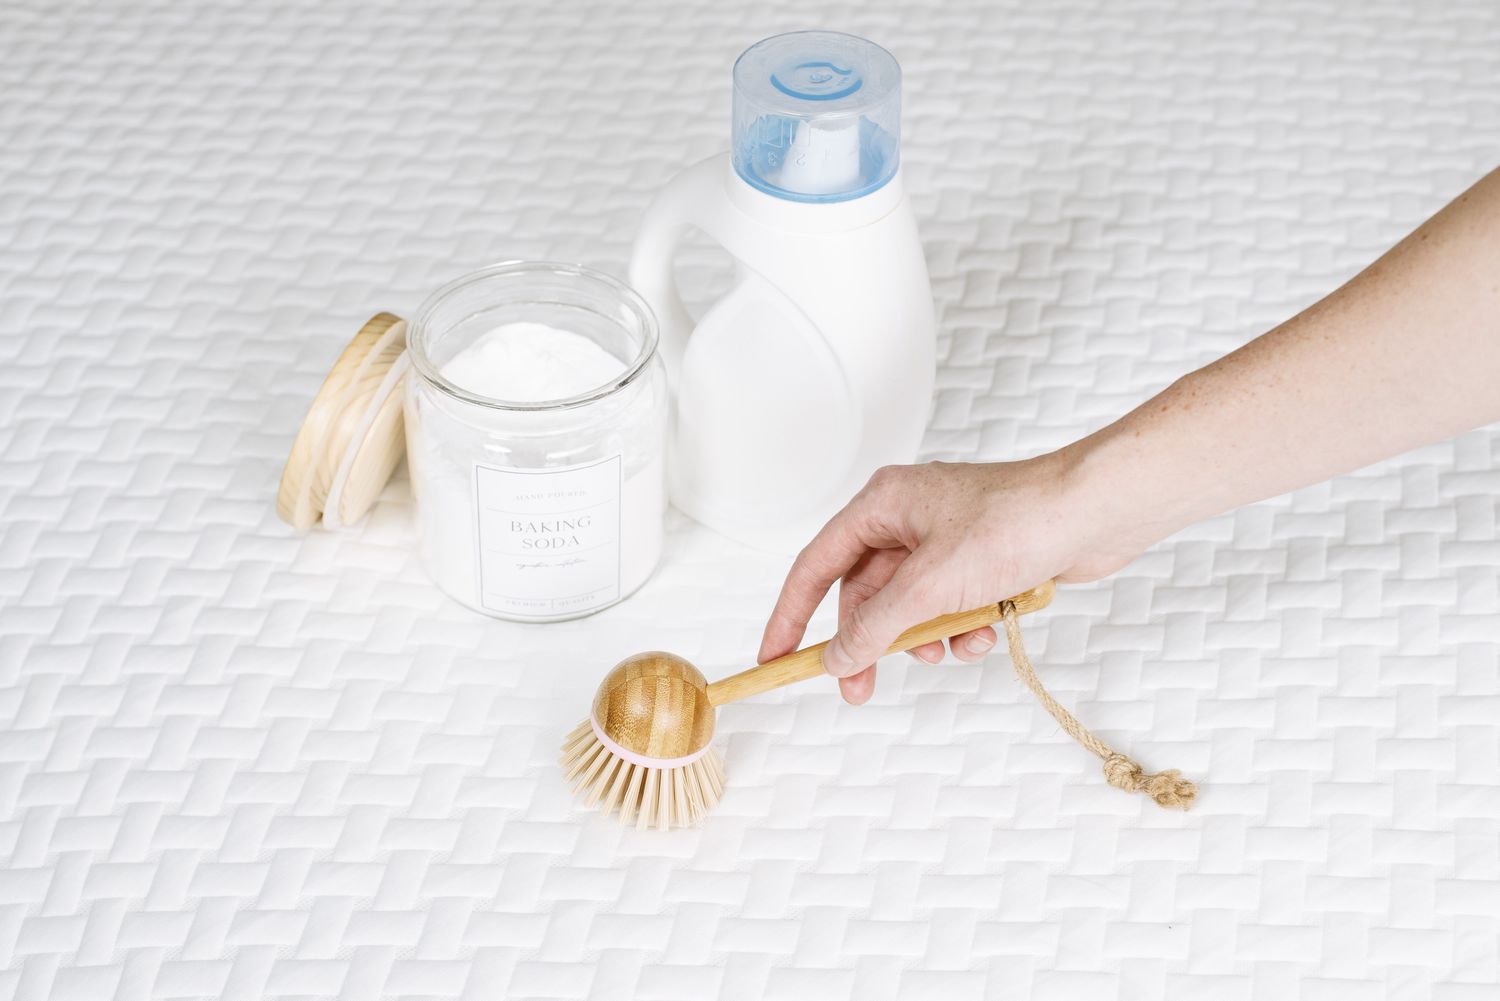
- Baking soda: This is the main ingredient for cleaning your washer. It acts as a gentle abrasive and helps to neutralize odors.
- A microfiber cloth or sponge: This will be used to wipe down the exterior of the washer and remove any dirt or grime.
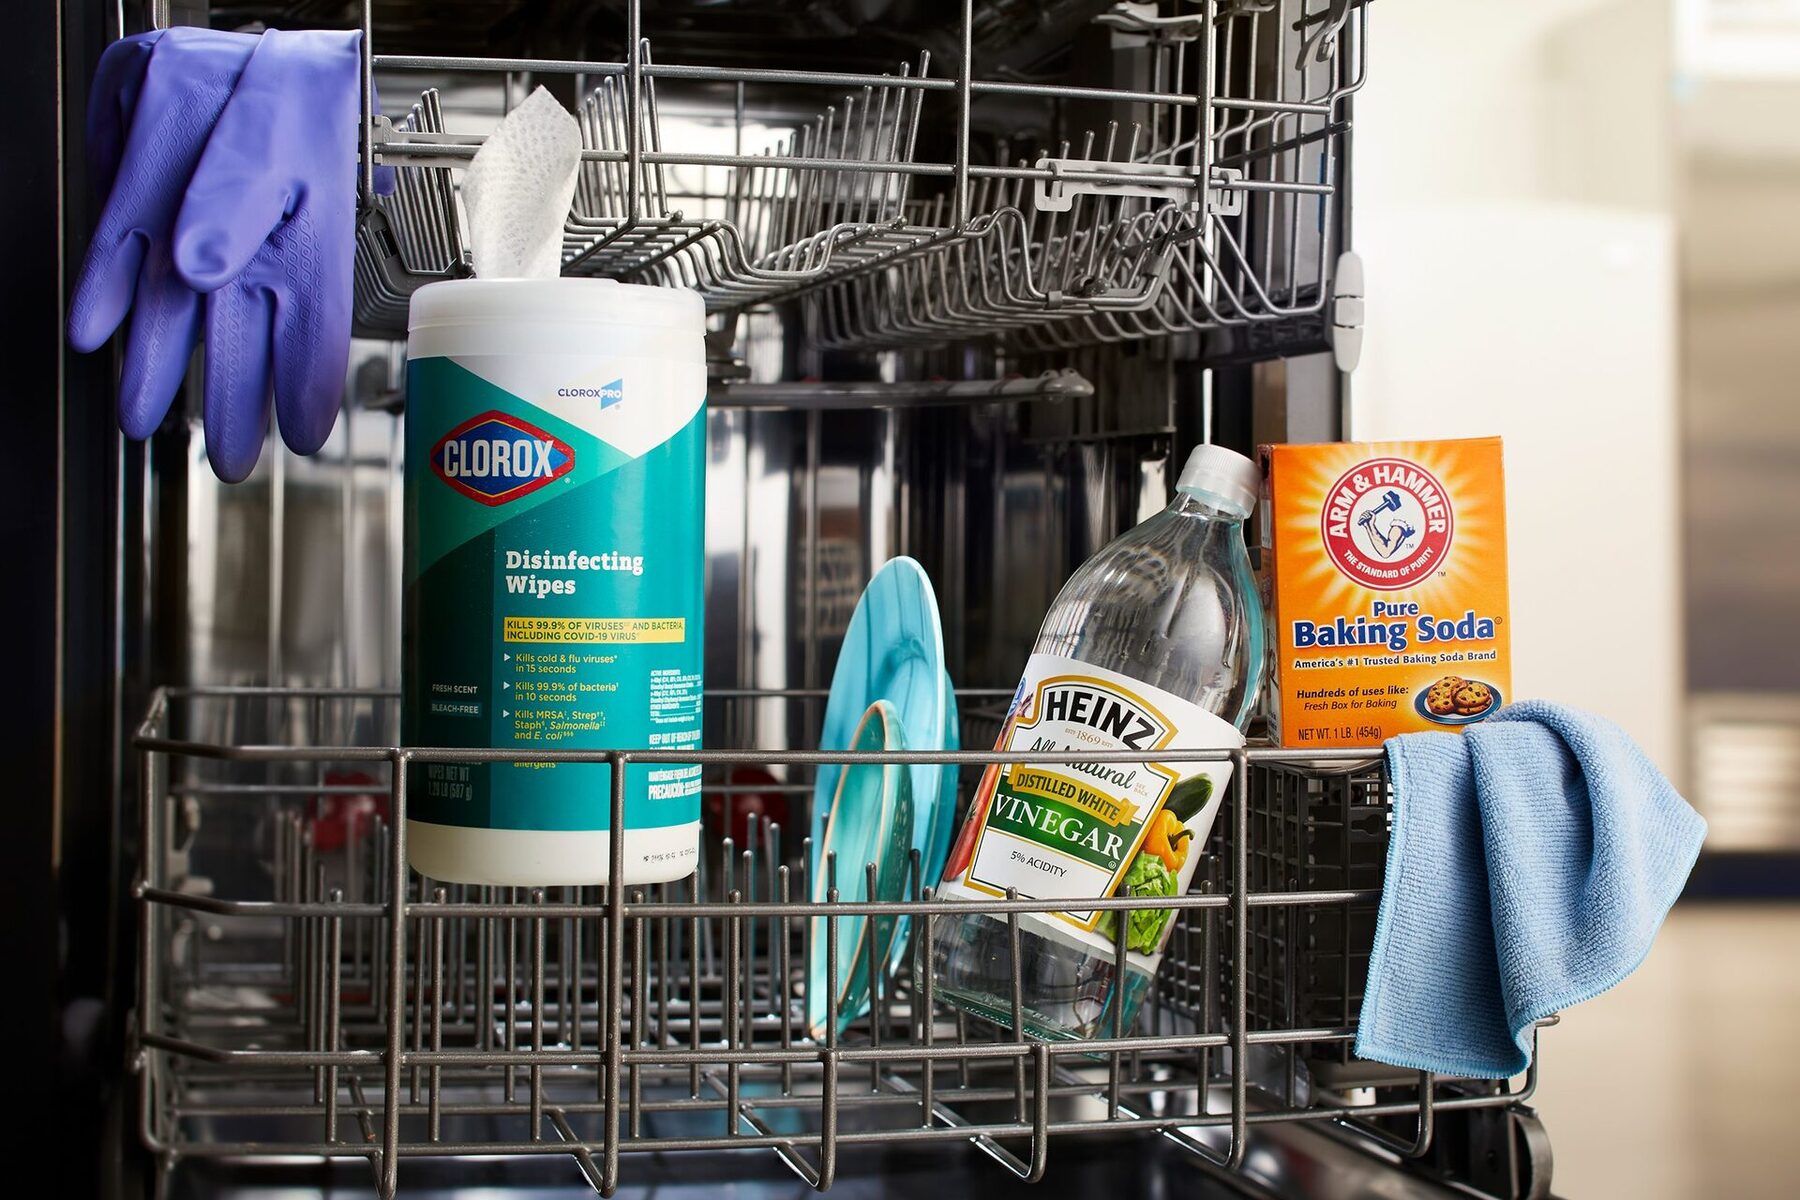
- Vinegar: While not necessary, vinegar can be used as a natural disinfectant and to remove any stubborn stains or buildup.
- A small brush or toothbrush: This will help you clean hard-to-reach areas, such as the dispenser tray and filter.
- A bucket or basin: This will be used to mix the cleaning solution and catch any water that may come out during the cleaning process.
These materials are easily accessible and can be found in most households. Once you have gathered all the necessary materials, you are ready to start cleaning your washer. In the next section, we will guide you step-by-step on how to prepare your washer for cleaning.
Step 1: Preparation
Before you begin cleaning your washer, it’s important to take a few steps to prepare for the process. Here’s what you need to do:
- Read the Washer Manual: Every washer is different, so it’s crucial to read the manual provided by the manufacturer. This will give you specific guidelines for cleaning and maintenance, ensuring you don’t accidentally damage the machine.
- Empty the Washer: Start by removing any clothes or laundry items from the washer. Make sure there are no garments left inside to ensure a thorough cleaning.
- Clean the Exterior: Use a microfiber cloth or sponge dampened with water to wipe down the exterior of the washer. This will remove any dust, dirt, or grime that may have accumulated on the surface.
- Disconnect the Power: For safety reasons, it’s essential to unplug the washer from the power source before beginning the cleaning process. This will help prevent any accidents or electrical hazards.
Once you have completed these preparations, you are ready to move on to the next step: removing residue from your washer. This will ensure that your machine is free from any built-up dirt or detergent that can affect its performance. Let’s proceed to step 2.
Step 2: Removing Residue
After preparing your washer, the next step is to remove any residue that may have accumulated inside the machine. This includes detergent buildup, dirt, and grime that can affect the cleanliness and performance of your washer. To do this, follow these steps:
- Fill the Drum: Fill the drum of your washer with hot water. The water should be enough to cover the highest water level that your washer can accommodate.
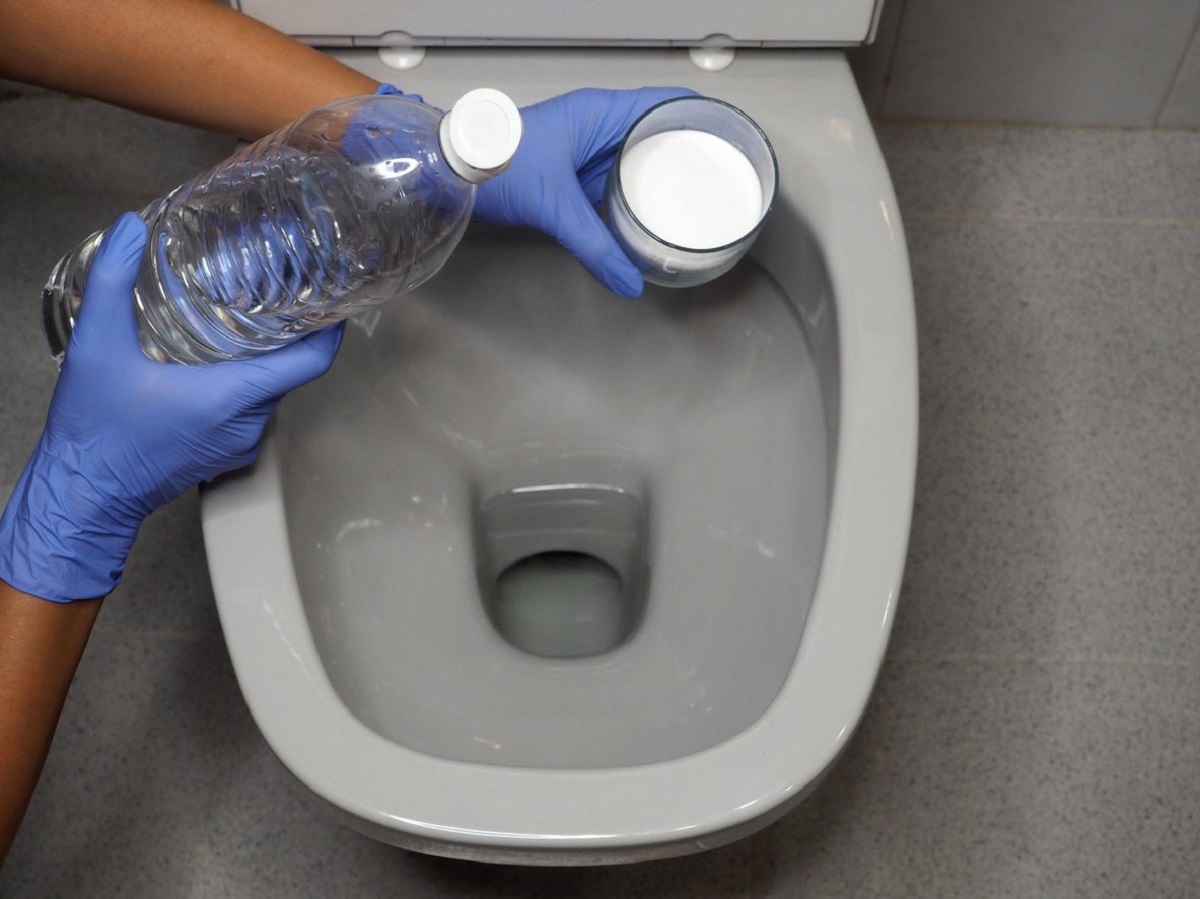
- Add Baking Soda: Measure out one cup of baking soda and pour it directly into the drum. Baking soda acts as a natural cleaner and deodorizer, helping to remove residue and neutralize odors.
- Run a Cycle: Start a regular wash cycle using the hottest water setting. Let the washer go through the complete cycle with baking soda in the drum. This will allow the baking soda to dissolve and clean the interior of the machine.
While the cycle is running, you may notice some foaming or bubbling. This is normal and indicates that the baking soda is working to break down the residue. Once the cycle is complete, move on to the next step: cleaning the drum of your washer.
Read more: How To Clean A Sink With Baking Soda
Step 3: Cleaning the Drum
Now that you have removed the residue from your washer, it’s time to focus on cleaning the drum. This step will ensure that any remaining dirt, stains, or odors are eliminated, leaving your washer fresh and ready for use. Follow these steps to clean the drum of your washer:
- Inspect the Drum: Take a close look at the drum interior to identify any visible stains or deposits. Pay attention to areas where dirt or detergent residue may have accumulated, such as the agitator or drum paddles.
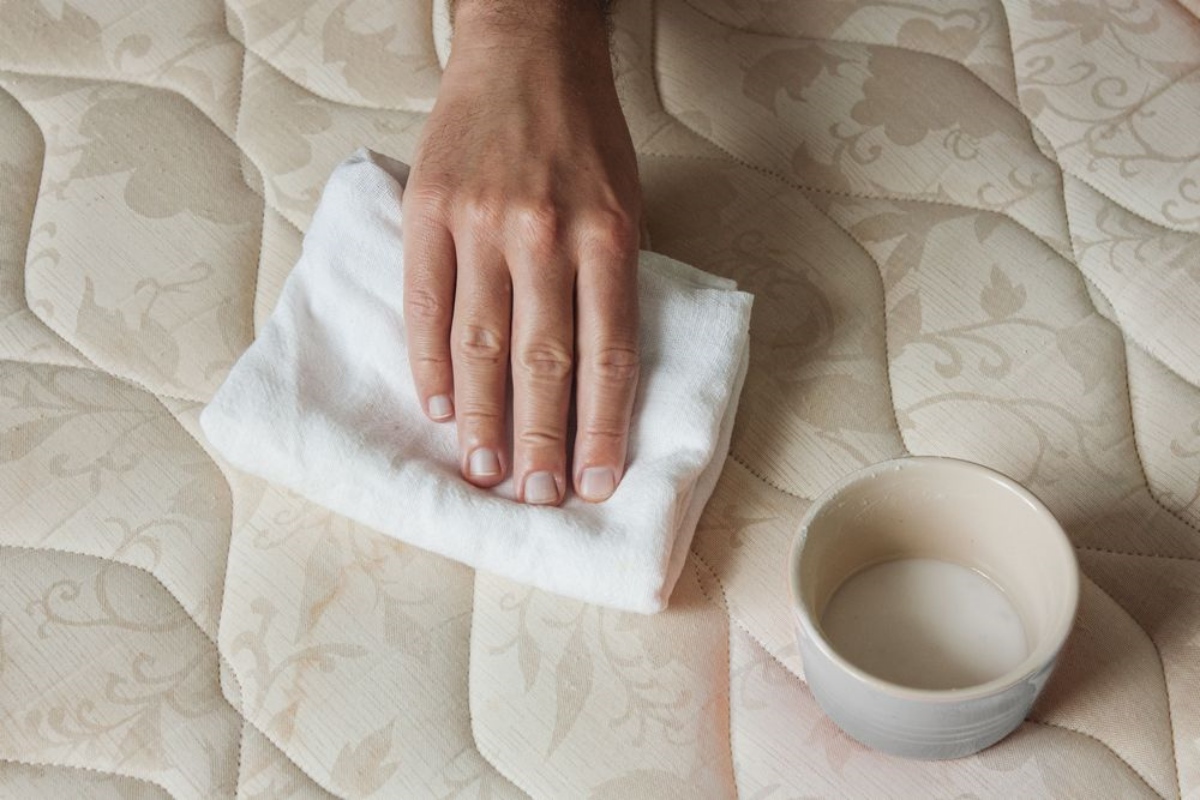
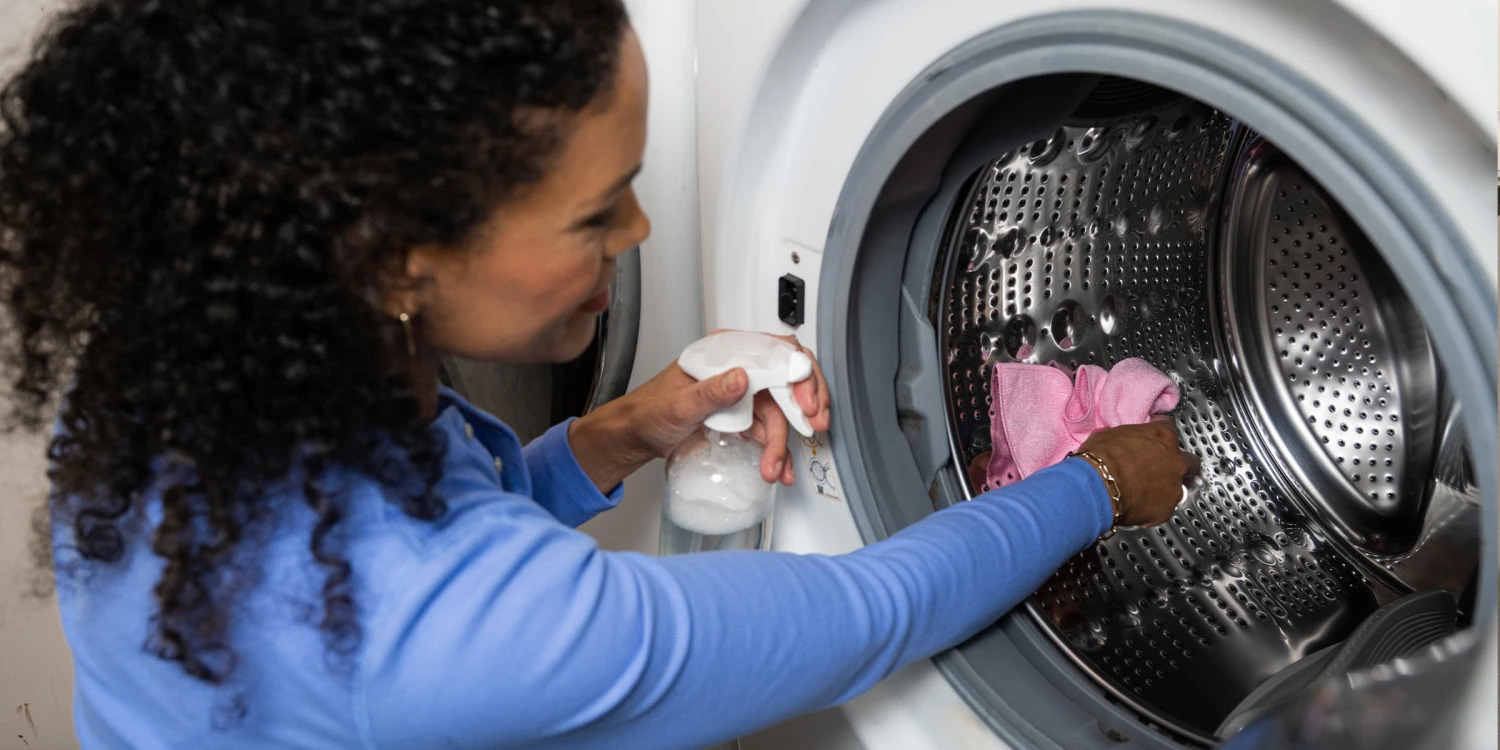
- Prepare a Cleaning Solution: In a bucket or basin, mix together a solution of equal parts water and vinegar. Vinegar is a natural disinfectant and can help remove stubborn stains or buildup in the drum.
- Dampen a Cloth or Sponge: Dip a microfiber cloth or sponge into the cleaning solution, ensuring it is damp but not dripping wet. Wring out any excess liquid.
- Wipe the Drum Interior: Use the damp cloth or sponge to wipe down the interior of the drum, paying special attention to stained or dirty areas. Scrub gently but firmly to remove any residues.
- Clean the Agitator and Paddles: If your washer has an agitator or drum paddles, use the cloth or sponge to clean them as well. These areas can often accumulate dirt and detergent residue.
- Rinse the Drum: Once you have wiped down the drum and agitator, rinse them thoroughly with clean water. This will remove any vinegar residue and ensure that your washer is ready for the next step.
With the drum of your washer now clean and free from any dirt or stains, it’s time to move on to the next step: cleaning the dispenser tray.
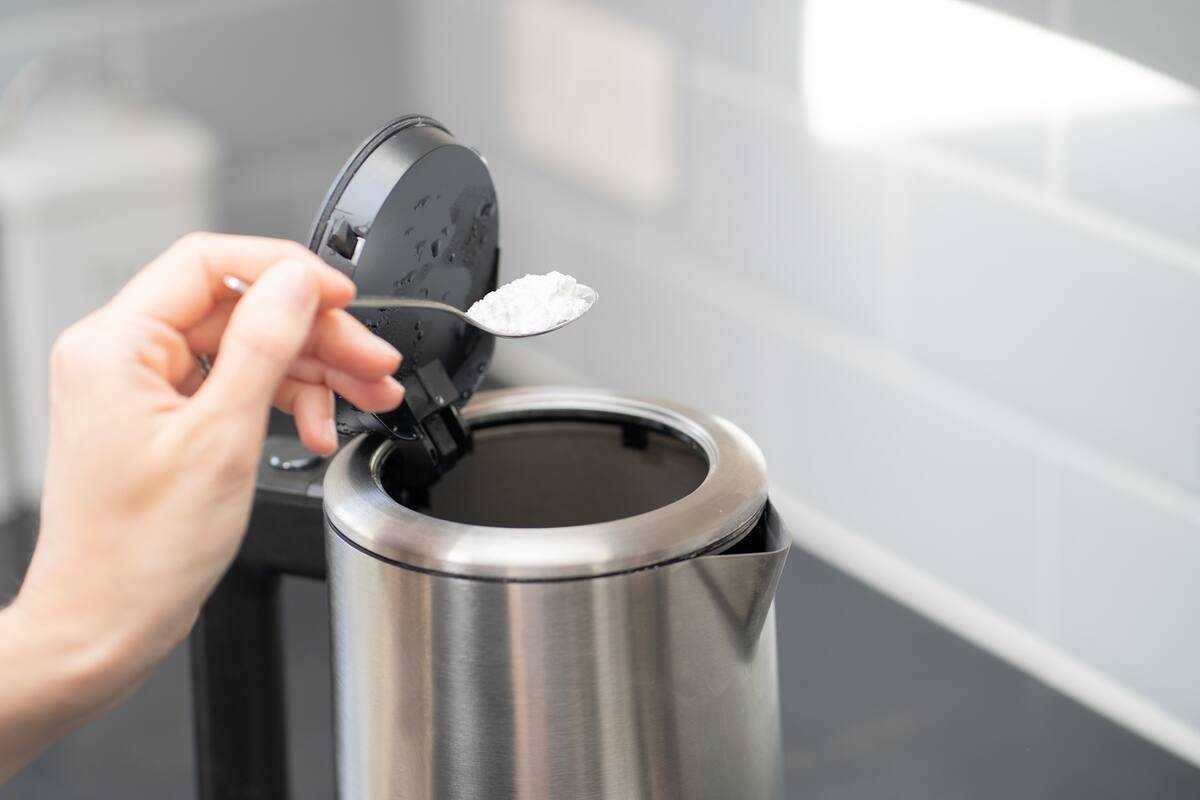
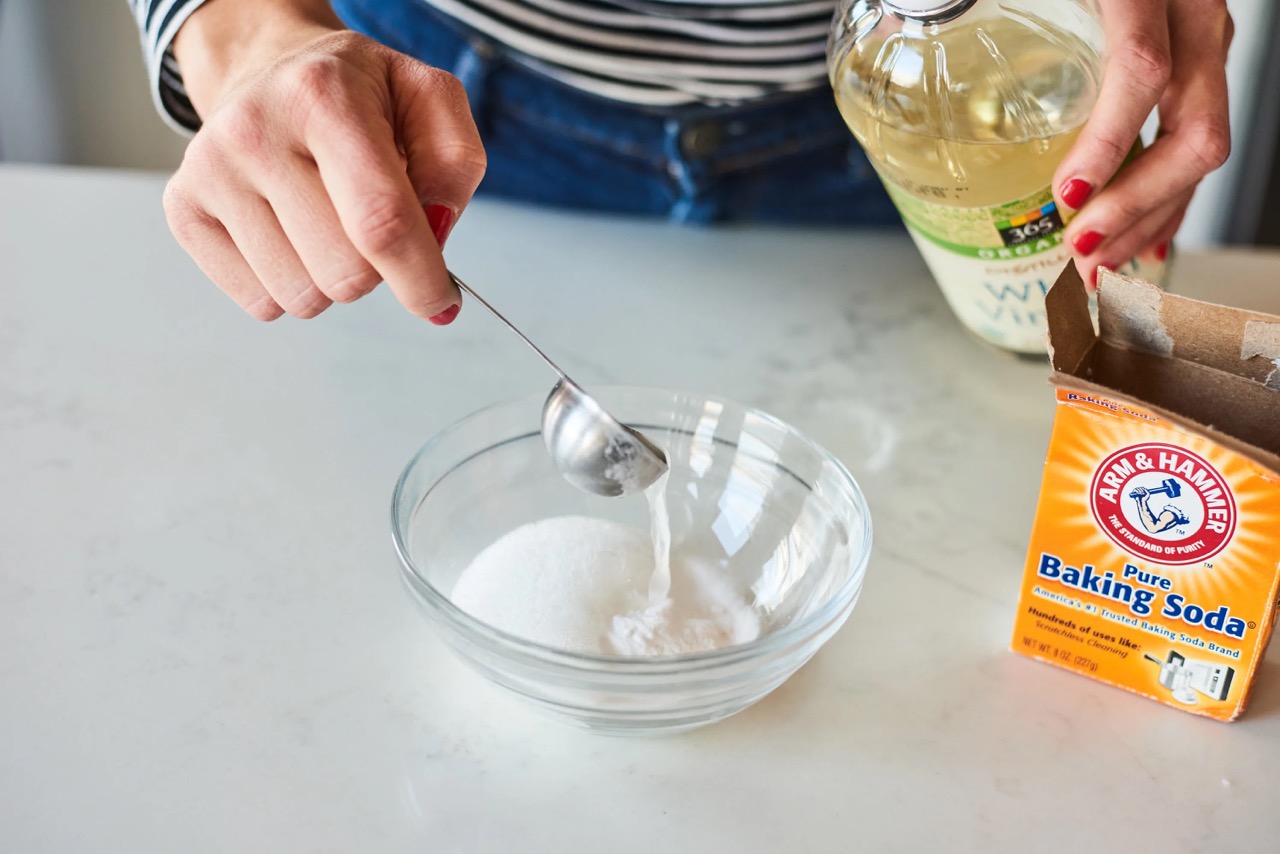
Add 1/4 cup of baking soda to the detergent dispenser and run a hot water cycle to clean and deodorize your washer. Wipe down the inside with a damp cloth after.
Step 4: Cleaning the Dispenser Tray
The dispenser tray of your washer is where you add detergent, fabric softener, and other laundry products. Over time, residue can build up in this area, leading to clogs and reducing the effectiveness of the products. Follow these steps to clean the dispenser tray:
- Remove the Tray: Start by removing the dispenser tray from your washer. Most trays can be easily pulled out or have a release button.
- Inspect for Residue: Take a close look at the dispenser tray and check for any visible residue or stains. Pay attention to the compartments where detergent and fabric softener are added.
- Prepare a Cleaning Solution: In a basin or sink, mix together warm water and a small amount of dish soap. This will create a gentle cleaning solution.
- Soak and Scrub: Place the dispenser tray in the cleaning solution and let it soak for a few minutes. Then, use a small brush or toothbrush to scrub away any residue or stains. Pay extra attention to the narrow compartments and hard-to-reach areas.
- Rinse Thoroughly: After scrubbing, rinse the dispenser tray thoroughly with clean water. Make sure all soap residue is removed.
- Dry and Reinsert: Once the dispenser tray is clean, dry it thoroughly with a clean cloth or allow it to air dry. Then, reinsert the tray back into the washer, making sure it fits securely in place.
Cleaning the dispenser tray ensures that your laundry products are being dispensed properly and effectively. Additionally, it helps prevent clogs and ensures that your detergent and fabric softener can work their best.
Now that the dispenser tray is clean, it’s time to move on to the next step: cleaning the filter of your washer.
Step 5: Cleaning the Filter
The filter is an essential component of your washer as it helps to trap dirt, lint, and other debris that may be present in your laundry. Cleaning the filter regularly is crucial to maintain optimal performance and prevent clogs. Follow these steps to clean the filter:
- Locate the Filter: The filter is typically located at the front or bottom of the washer. Consult your washer’s manual to find the exact location.
- Prepare a Basin: Place a basin or shallow dish below the filter to catch any water that may come out during the cleaning process.
- Open the Filter Cover: Use a screwdriver or coin to open the filter cover. Turn it counterclockwise until it loosens and can be removed.
- Remove the Filter: Gently pull out the filter from the washer. Be cautious as some water may spill out. Empty any trapped debris or lint into the basin or sink.
- Clean the Filter: Rinse the filter under running water to remove any remaining dirt or debris. Use a brush or toothbrush to scrub away stubborn residue, if necessary.
- Inspect for Damage: While cleaning the filter, check for any signs of damage or obstructions. If the filter is damaged, it may need to be replaced to ensure proper functioning of your washer.
- Reinstall the Filter: Once the filter is clean and dry, place it back into the filter opening. Tighten the filter cover by turning it clockwise until it is secure.
Cleaning the filter regularly will prevent clogs, improve water drainage, and keep your washer running smoothly. With the filter cleaned and in place, it’s time to move on to the next step: the final rinse of your washer.
Step 6: Final Rinse
After going through the previous steps to clean different parts of your washer, it’s time to give it a final rinse to ensure that all cleaning solutions and residues are thoroughly removed. Follow these steps for the final rinse process:
- Fill the Drum: Fill the drum of your washer with clean, hot water. Make sure the water level is sufficient to cover the highest water level that your washer can accommodate.
- Opt for Extra Rinse: If your washer has an extra rinse cycle option, select it to ensure a thorough rinsing process. This will help remove any remaining cleaning solutions or residues.
- Run a Cycle: Start a regular wash cycle using hot water. This final rinse will ensure that your washer is free from any cleaning products or residues.
Allow the cycle to complete, and once finished, you can proceed to the final step: maintaining a clean washer to keep it in optimal condition for future use.
Step 7: Maintaining a Clean Washer
Congratulations! You have successfully cleaned your washer using baking soda and ensured that it is free from residue, odors, and dirt. To maintain a clean and well-functioning washer, follow these tips:
- Regularly Clean the Drum: Make it a habit to clean the drum of your washer every few months or as needed. This will prevent the build-up of residue and maintain the freshness of your laundry.
- Wipe Down the Exterior: Routinely wipe down the exterior of your washer with a damp cloth to remove any dust or dirt that may accumulate.
- Clean the Dispenser Tray: Clean the dispenser tray regularly to prevent residue build-up and ensure the proper dispensing of detergents and fabric softeners.
- Empty Pockets and Check for Loose Items: Before loading your washer, always check for loose items, such as coins or small objects, and empty pockets to avoid damage to the machine.
- Leave the Door Open: After each wash cycle, leave the door of your washer slightly ajar to allow for air circulation and prevent the growth of mold and mildew.
- Use the Right Amount of Detergent: Use the recommended amount of detergent for each load to avoid excess residue and prevent clogs.
- Regularly Inspect Hoses and Connections: Check the hoses and connections of your washer for any signs of leaks, wear, or damage. Replace any faulty components promptly to avoid water damage.
- Run Maintenance Cycles: Some washers have specific maintenance cycles designed to clean the machine. Follow your washer’s manual instructions for running these cycles periodically.
By following these simple maintenance practices, you can ensure that your washer remains clean, efficient, and in optimal condition for years to come.
With your washer now clean and properly maintained, you can enjoy fresh and clean laundry with every wash. Remember to periodically clean your washer using baking soda to maintain its performance and extend its lifespan.
Thank you for reading this guide on how to clean your washer with baking soda. We hope it has been helpful in keeping your laundry routine pleasant and efficient.
Happy washing!
Conclusion
Keeping your washer clean is essential for maintaining the cleanliness and efficiency of your laundry. Using baking soda as a natural cleaning agent can effectively remove residue, odors, and dirt, ensuring that your washer operates at its best.
In this article, we have provided a comprehensive step-by-step guide on how to clean your washer with baking soda. From preparing your washer to cleaning the drum, dispenser tray, filter, and giving it a final rinse, you now have the knowledge and tools to keep your washer fresh and in optimal condition.
Regularly cleaning your washer not only ensures hygienic washing but also extends the lifespan of your machine. By following the maintenance tips provided, you can prevent the build-up of residue, mold, and mildew, keeping your washer running smoothly for years to come.
Remember, a clean washer leads to fresh and clean laundry. So take the time to give your washer the care it deserves and enjoy the benefits of a well-maintained machine.
Thank you for reading, and happy washing!
Frequently Asked Questions about How To Clean Washer With Baking Soda
Was this page helpful?
At Storables.com, we guarantee accurate and reliable information. Our content, validated by Expert Board Contributors, is crafted following stringent Editorial Policies. We're committed to providing you with well-researched, expert-backed insights for all your informational needs.


0 thoughts on “How To Clean Washer With Baking Soda”