Articles
How To Clean A Sink With Baking Soda
Modified: October 19, 2024
Learn the best way to clean your sink with baking soda and bring back its shine. Follow our step-by-step guide and keep your kitchen looking sparkling clean with this helpful article.
(Many of the links in this article redirect to a specific reviewed product. Your purchase of these products through affiliate links helps to generate commission for Storables.com, at no extra cost. Learn more)
Introduction
Welcome to the ultimate guide on how to clean a sink with baking soda. Keeping your sink clean and fresh is essential for maintaining a hygienic and pleasant kitchen. While there are many cleaning products available on the market, baking soda is a versatile and affordable option that can effortlessly remove stains and eliminate odors in your sink.
Baking soda, also known as sodium bicarbonate, is a natural cleaning agent that has been used for centuries. It is non-toxic, environmentally friendly, and can be found in most households. Baking soda is not only effective at cleaning, but it also acts as a mild abrasive that won’t scratch or damage the surface of your sink.
Using baking soda to clean your sink is a simple and cost-effective solution that can be done with just a few household items. In this guide, we will walk you through the step-by-step process and provide useful tips to help you achieve a sparkling clean sink.
Are you ready to transform your dirty sink into a pristine centerpiece of your kitchen? Let’s dive into the materials you will need for this cleaning task.
Key Takeaways:
- Transform your sink with baking soda, a natural, non-toxic, and versatile cleaning agent that removes stains, eliminates odors, and leaves your sink sparkling clean without harsh chemicals.
- Regularly clean your sink with baking soda to maintain a hygienic and inviting kitchen environment, preventing stains, odors, and bacteria buildup while enjoying the satisfaction of a gleaming sink.
Read more: How To Clean A Kettle With Baking Soda
Why use baking soda?
Baking soda is a powerhouse when it comes to cleaning, and there are several reasons why it is the perfect choice for cleaning your sink.
First and foremost, baking soda is a natural and non-toxic cleaning agent. It is safe to use around children and pets, unlike some harsh chemical cleaners that can emit fumes and pose health risks. By choosing baking soda, you can effectively clean your sink without worrying about any harmful side effects.
Another reason to use baking soda is its versatility. Baking soda can tackle a wide range of cleaning tasks, including removing stains, deodorizing, and disinfecting. It has the ability to neutralize and eliminate odors, making it an excellent choice for sinks that have accumulated unpleasant smells over time.
Additionally, baking soda is a gentle abrasive. It can help to scrub away grime and dirt without scratching the surface of your sink. This makes it suitable for both delicate and durable sink materials, such as porcelain, stainless steel, and composite.
Furthermore, baking soda is incredibly affordable and readily available. You can find it in most grocery stores or even in your pantry. Compared to commercial cleaning products, which can be expensive and often contain harsh chemicals, baking soda offers an economical and eco-friendly alternative.
Using baking soda to clean your sink is also an environmentally conscious choice. Unlike chemical cleaners that can harm the environment and contribute to pollution, baking soda is biodegradable and has a minimal ecological footprint.
Lastly, baking soda is easy to use. With just a few simple steps, you can achieve a clean and fresh sink without any hassle. So why spend money on expensive cleaners when you can achieve the same, if not better, results with baking soda?
Now that you know why baking soda is the ultimate cleaning agent for your sink, let’s move on to the materials you need to get started.
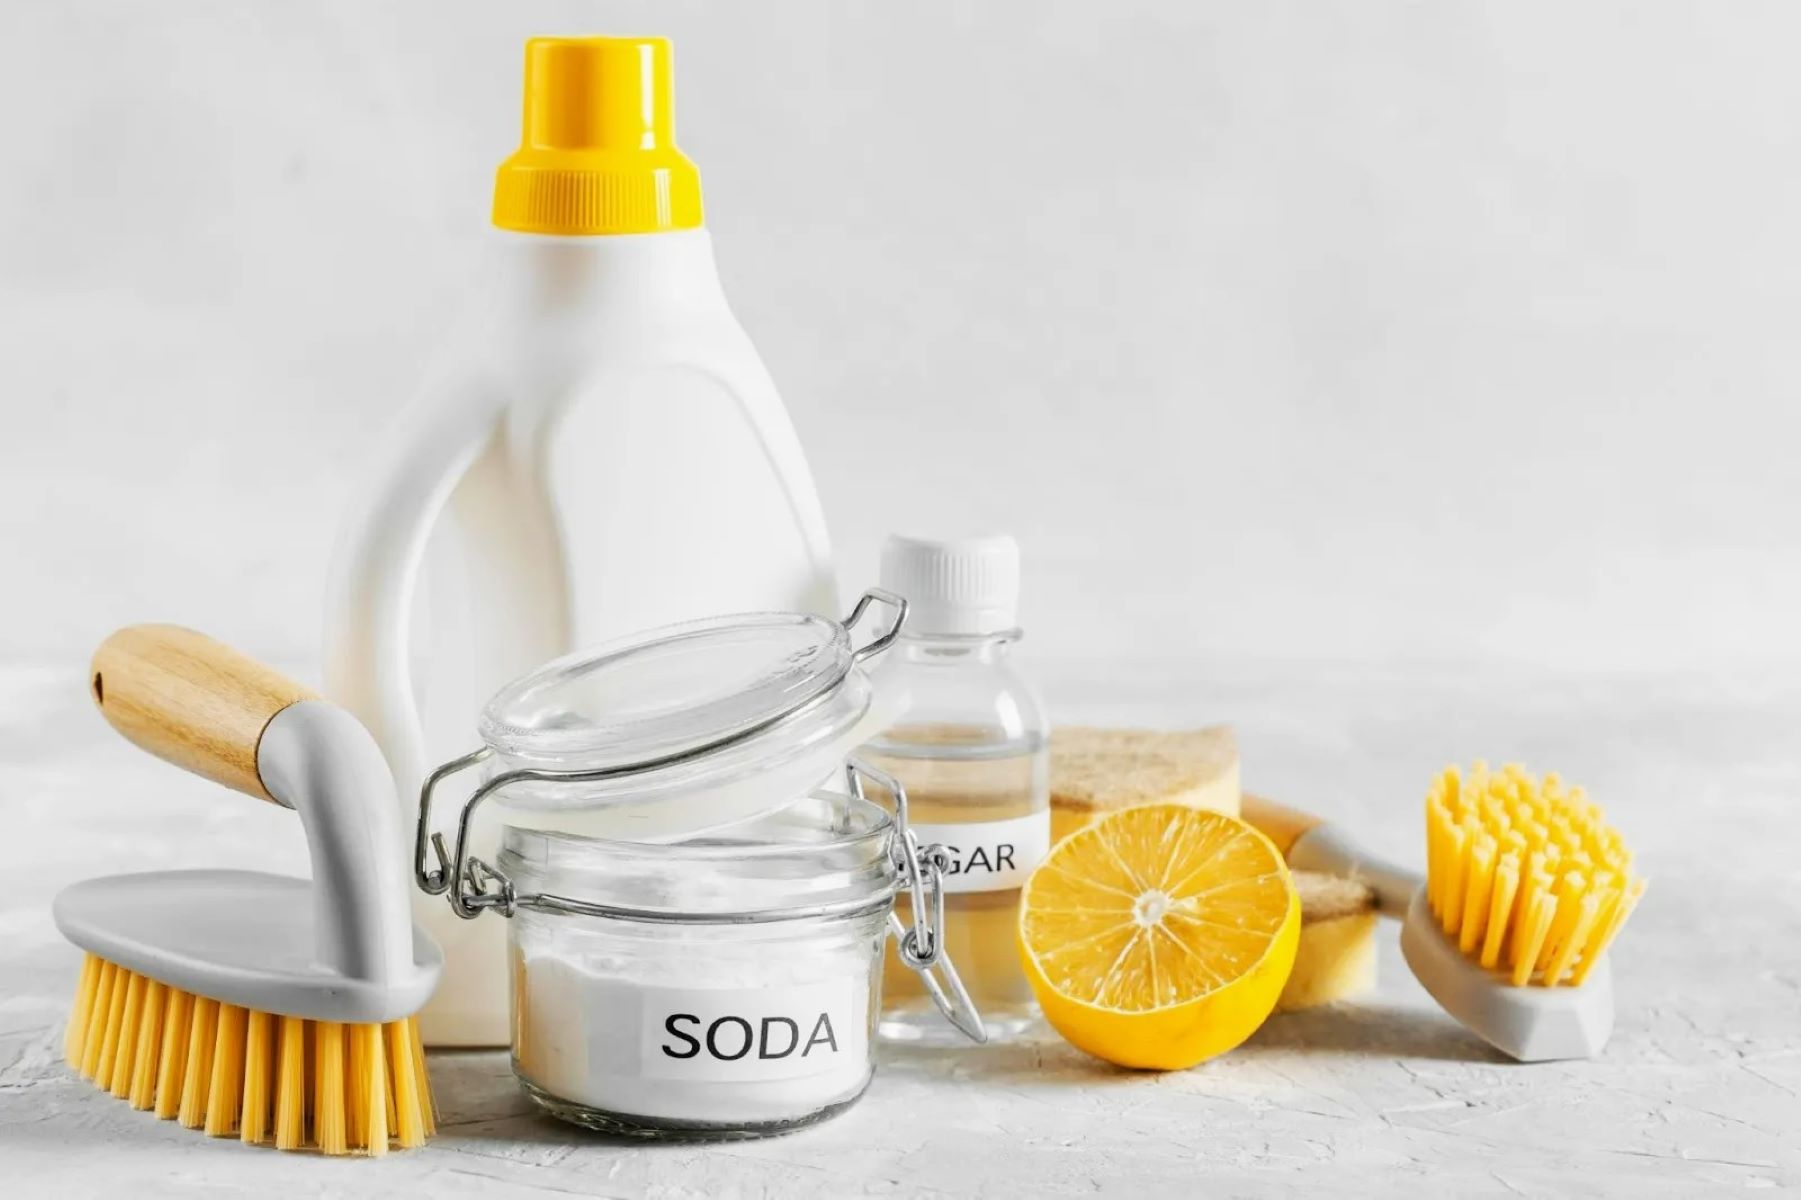
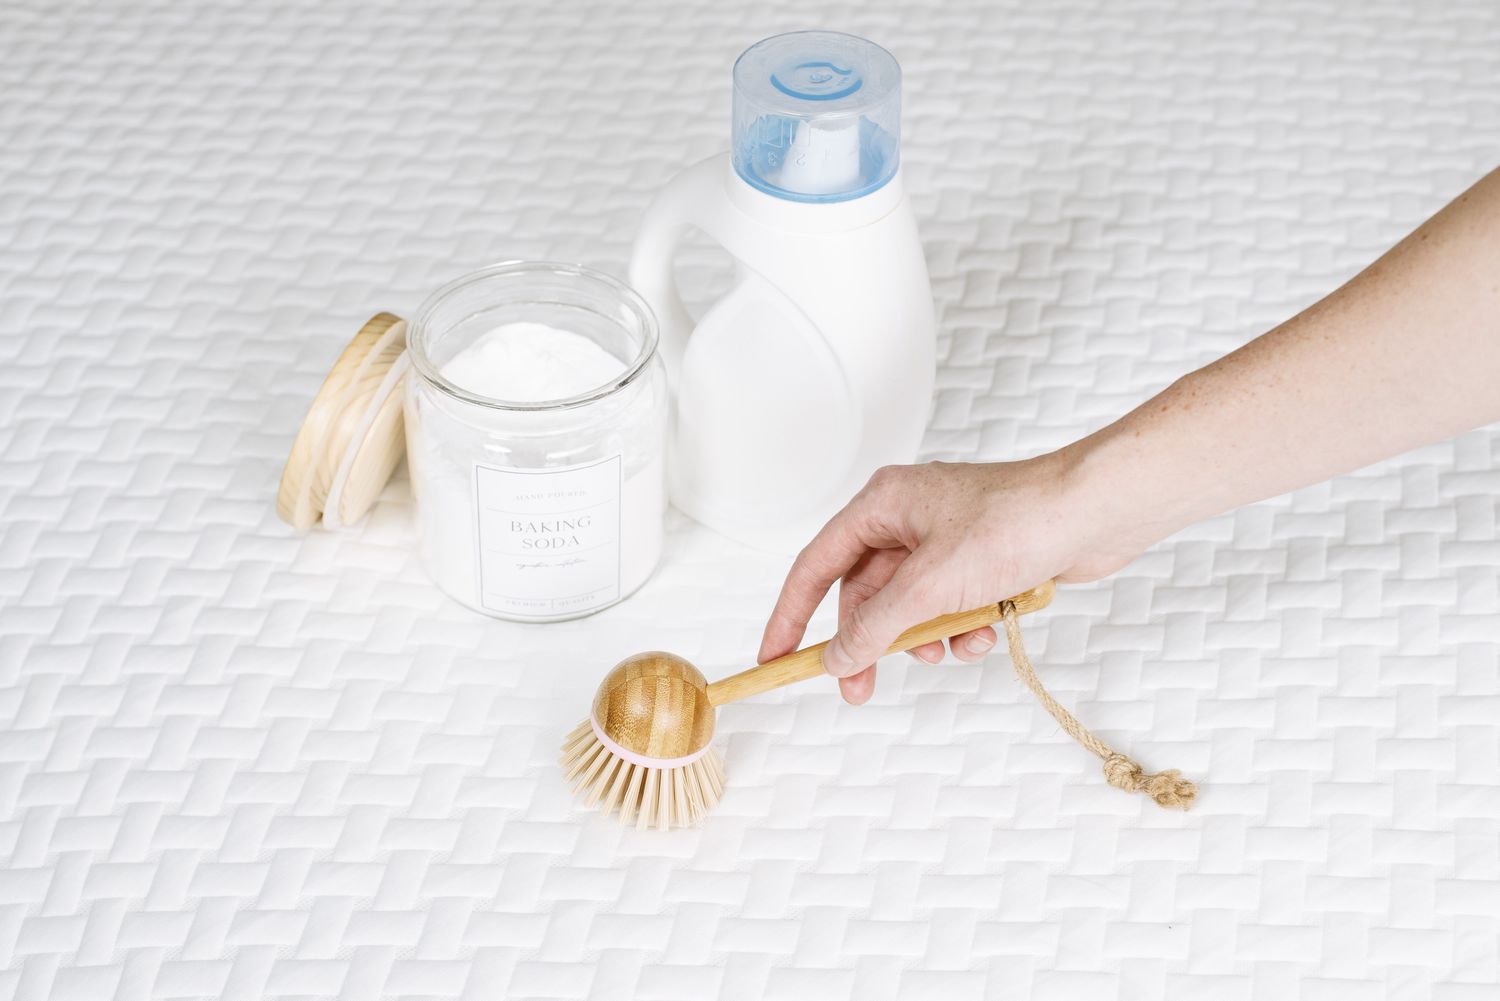
Materials needed
Before you start cleaning your sink with baking soda, it’s important to gather the necessary materials. Fortunately, you won’t need many items, as most of them can be found in your kitchen or easily purchased at a grocery store.
Here are the materials you will need:
- Baking soda: You’ll need a sufficient amount of baking soda to sprinkle and scrub your sink. A box or container of baking soda is readily available in most supermarkets.
- Vinegar: Vinegar is another key ingredient in this cleaning process. It acts as a natural cleaning agent and helps to eliminate odors. White distilled vinegar works best for cleaning purposes.
- Soft sponge or cloth: You’ll need a soft sponge or cloth to scrub your sink. This will help to remove any residue and stains without scratching the surface. Make sure the sponge or cloth is clean and free from any harsh chemicals.
- Old toothbrush: An old toothbrush is handy for reaching difficult corners and crevices in your sink. It’s perfect for scrubbing around the edges and drains.
- Hot water: Hot water will be used for rinsing your sink and removing any leftover baking soda or vinegar residue.
- Optional: If you have stainless steel sink, you may want to have some mineral oil or olive oil on hand. This can help restore shine and prevent water spots after cleaning.
Now that you have gathered the necessary materials, you are ready to begin the cleaning process. In the next section, we will guide you through each step, ensuring that you achieve a sparkling clean sink using baking soda.
Step 1: Gather supplies
Before you dive into cleaning your sink with baking soda, it’s important to gather all the necessary supplies. By having everything prepared, you can complete the cleaning process efficiently and effectively. Here’s what you’ll need:
- Baking soda
- Vinegar
- Soft sponge or cloth
- Old toothbrush
- Hot water
- Optional: Mineral oil or olive oil (for stainless steel sinks)
Make sure you have all the supplies within reach before you begin. This will save you time and prevent any interruptions during the cleaning process.
Once you have gathered all the supplies, it’s time to move on to the next step – removing any debris from your sink.
Step 2: Remove any debris
Before you start cleaning your sink with baking soda, it’s important to remove any debris or food particles that may be present. This will ensure that your sink is ready for the cleaning process.
To remove debris from your sink, follow these steps:
- Clear the sink: Start by removing any dishes, utensils, or personal items from the sink. This will give you a clear and unobstructed workspace.
- Scrape off food particles: Use a rubber spatula or a paper towel to scrape off any leftover food particles from the sink surface and drain. Be thorough in removing any visible debris.
- Unclog the drain (if necessary): If your sink drain is clogged, use a plunger or a drain snake to remove any blockage. This will ensure that the cleaning solution can flow freely through the drain during the cleaning process.
- Rinse the sink: Give your sink a quick rinse with warm water, making sure to remove any remaining debris. This will ensure that you have a clean surface to work with.
By removing any debris from your sink, you’ll be able to focus on effectively cleaning and refreshing the sink using baking soda in the following steps. With debris out of the way, it’s time to sprinkle baking soda on your sink surface. Let’s move on to the next step!
Read more: How To Clean Washer With Baking Soda
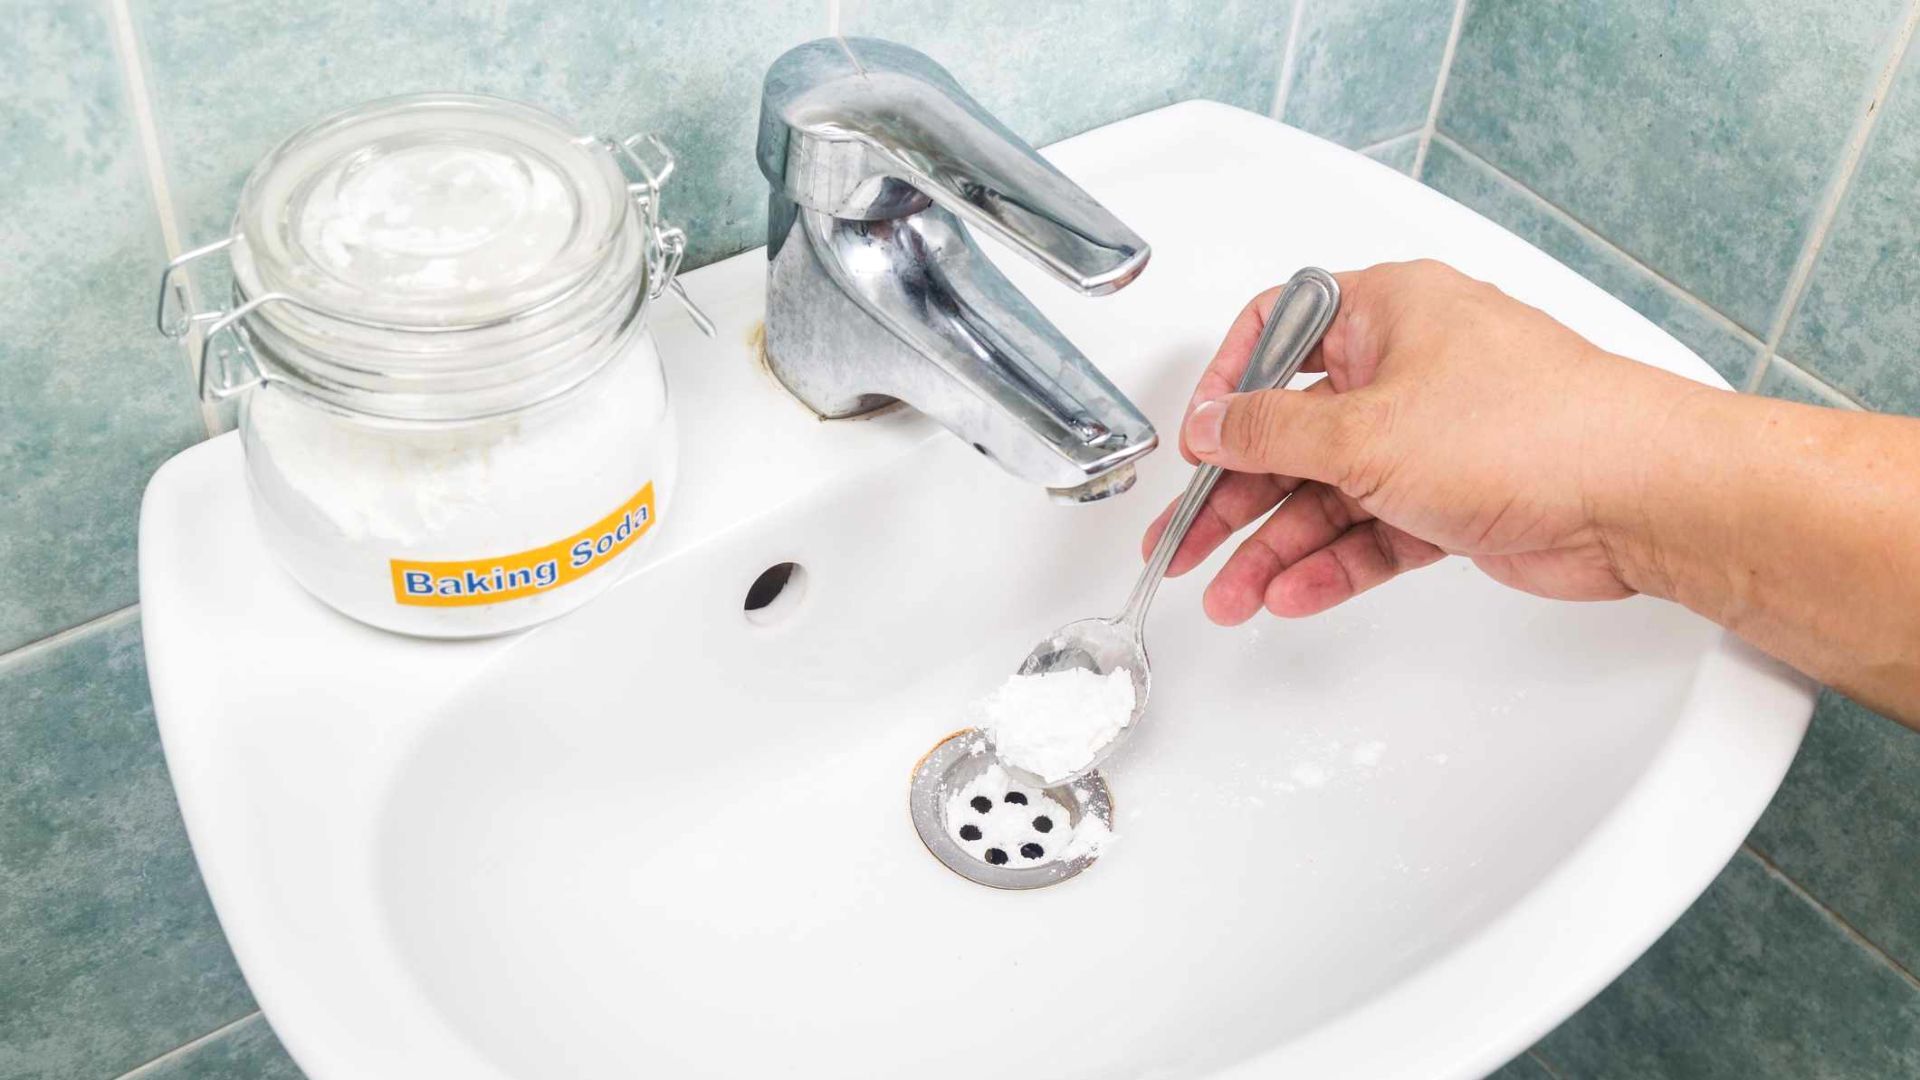
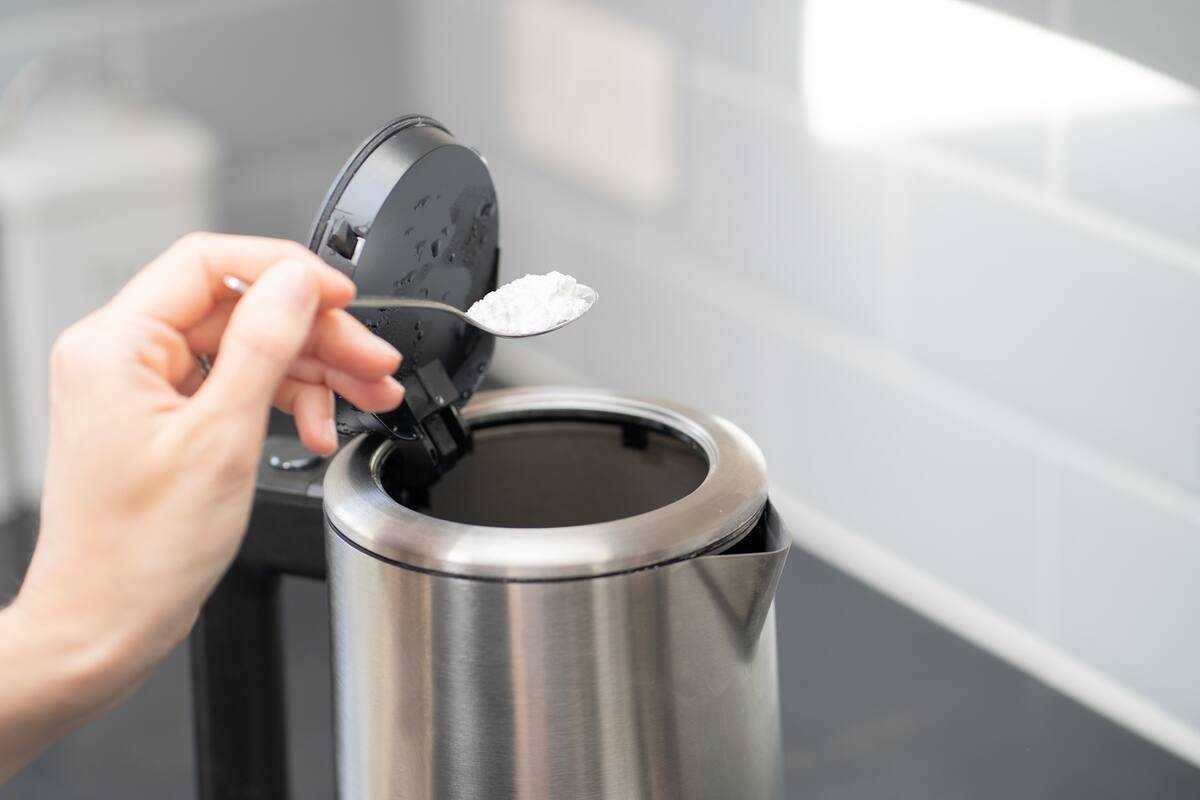
Step 3: Sprinkle baking soda
Now that you have cleared your sink of any debris, it’s time to sprinkle baking soda all over the surface. Baking soda will act as a gentle abrasive and help to remove stains and grime from your sink.
To properly sprinkle baking soda on your sink, follow these steps:
- Wet the sink surface: Before applying baking soda, wet the sink surface with a little bit of water. This will create a paste-like consistency when combined with the baking soda.
- Sprinkle baking soda: Take a small amount of baking soda in your hand and sprinkle it evenly across the sink surface. Pay extra attention to areas with stains or buildup.
- Distribute evenly: Use a soft sponge or cloth to gently spread the baking soda around, ensuring that it covers the entire sink surface. This will ensure an even distribution of the cleaning agent.
- Let it sit: Allow the baking soda to sit on the sink surface for about 15-20 minutes. This will give it time to work its magic and break down any tough stains or grime.
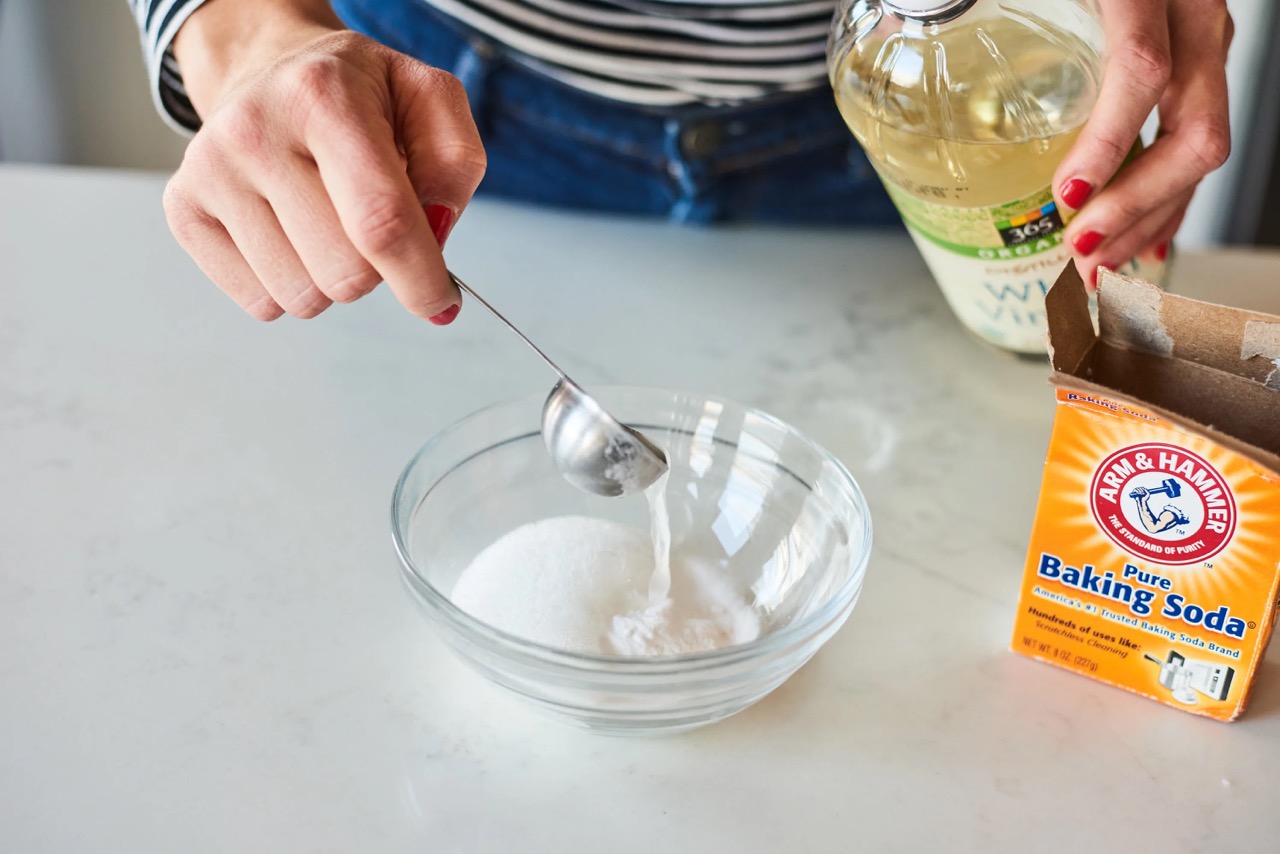
Sprinkling baking soda on the sink surface is an important step in the cleaning process. The abrasive nature of baking soda will help to loosen and lift stubborn stains, making them easier to remove. Now that the baking soda has had time to work, it’s time to move on to the next step – adding vinegar.
Sprinkle baking soda in the sink, then scrub with a sponge or brush. Rinse with warm water to reveal a clean and shiny sink.
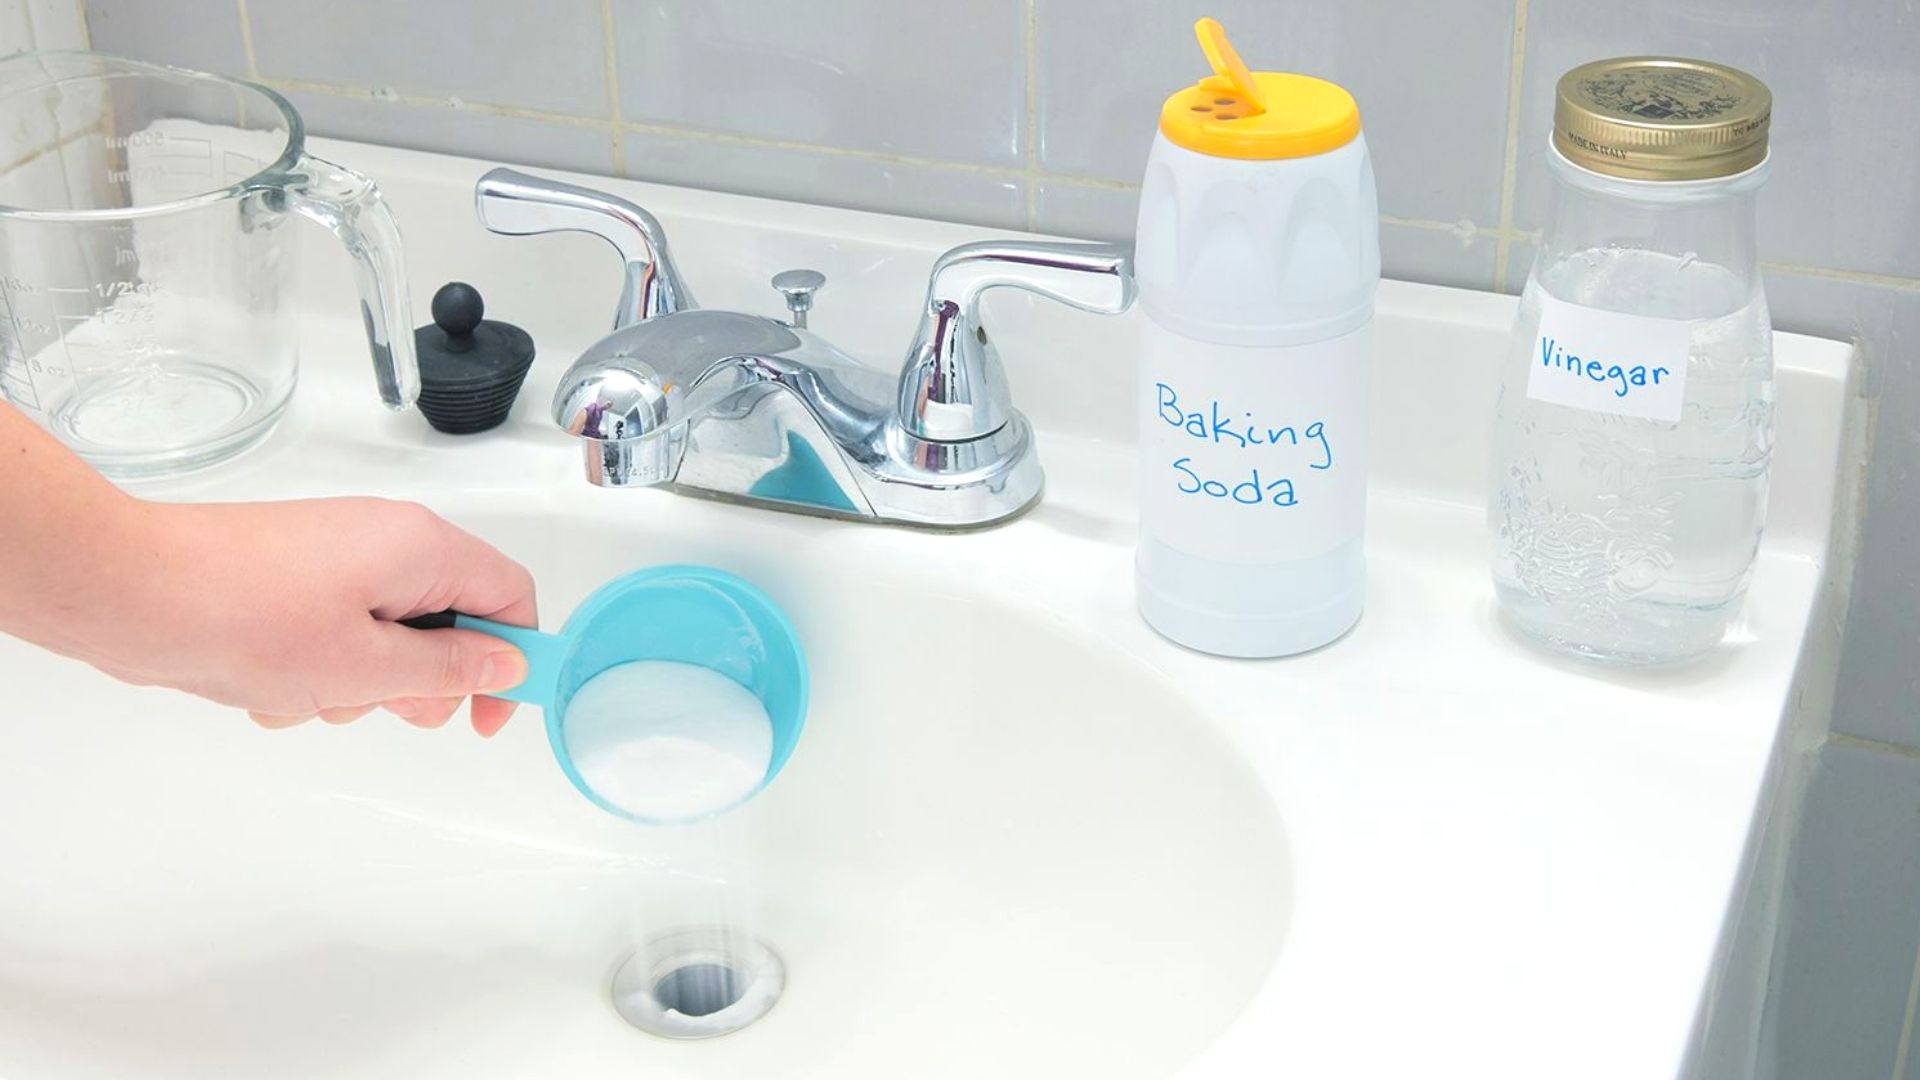
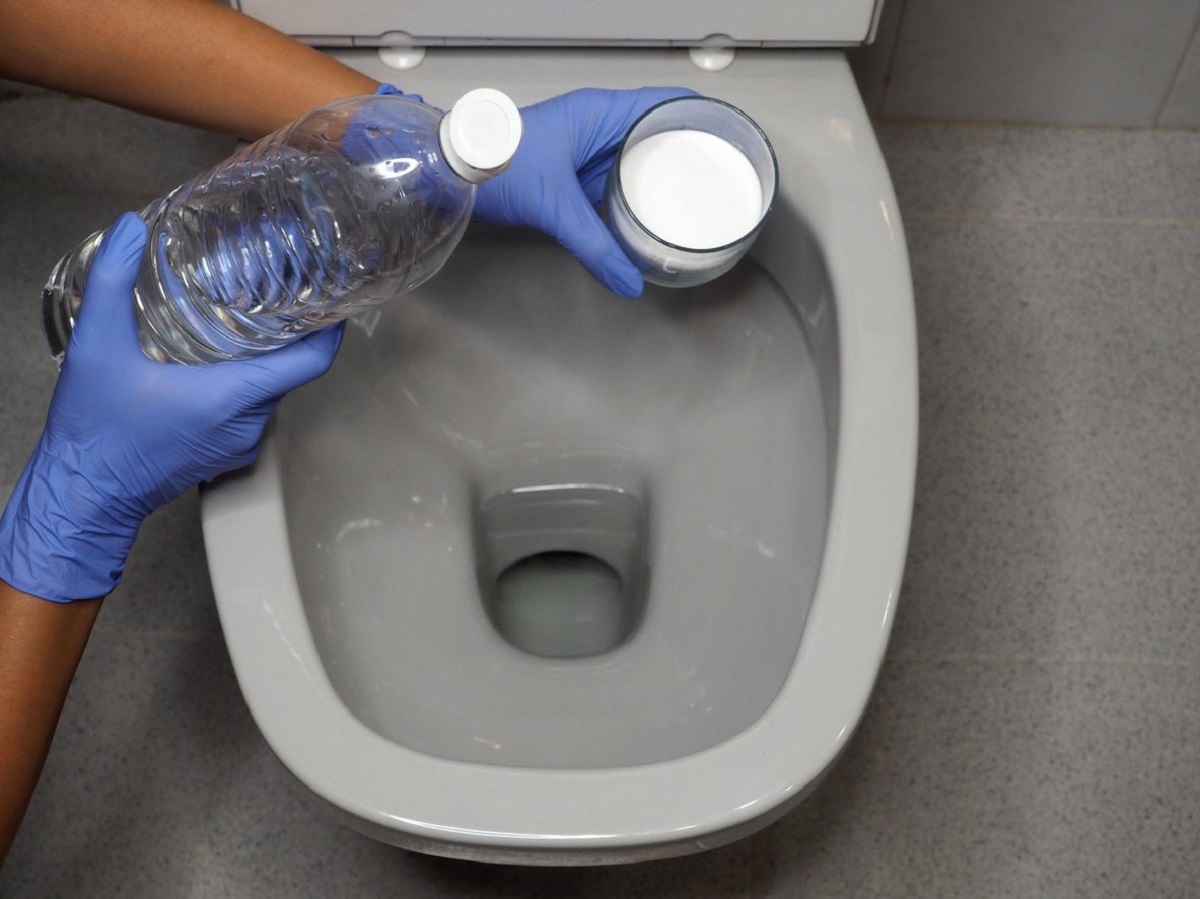
Step 4: Add vinegar
With the baking soda sitting on your sink surface, it’s time to add vinegar. Vinegar is a natural cleaning agent that will react with the baking soda to create a powerful cleaning solution.
To add vinegar to your sink, follow these steps:
- Pour vinegar into a spray bottle: Pour white distilled vinegar into a spray bottle. This will make it easier to apply and control the amount of vinegar you use.
- Spray vinegar over the baking soda: Spray a generous amount of vinegar over the baking soda-covered sink surface. The vinegar will cause a bubbling reaction with the baking soda, which helps to break down stains and remove odor-causing bacteria.
- Foaming action: As the vinegar reacts with the baking soda, you will notice a foaming action. This is completely normal and indicates that the cleaning solution is actively working.
Be careful not to oversaturate the sink with vinegar, as excessive moisture can be detrimental to certain sink materials. Use just enough vinegar to create a mild cleaning solution. If you have a stainless steel sink, avoid spraying vinegar directly onto the faucet or drain, as it can cause discoloration over time.
With the vinegar added, it’s time to move on to the next step – scrubbing the sink.
Step 5: Scrub the sink
Now that you have applied the vinegar to your sink, it’s time to start scrubbing. The combination of vinegar and baking soda will create a powerful cleaning solution that helps to remove stains and grime.
To effectively scrub your sink, follow these steps:
- Use a soft sponge or cloth: Take a soft sponge or cloth and start scrubbing the sink in circular motions. Focus on areas with visible stains or buildup.
- Pay attention to corners and edges: Utilize an old toothbrush to scrub hard-to-reach corners and edges of the sink. The bristles will help to dislodge any stubborn grime.
- Apply gentle pressure: Apply gentle pressure while scrubbing to avoid scratching the sink surface. Baking soda acts as a mild abrasive, so you won’t need to exert too much force.
- Continue scrubbing: Scrub the entire sink surface, including the faucet and drain. Make sure to cover all areas to achieve an even and thorough clean.
As you scrub, you may notice that the baking soda and vinegar mixture forms a paste-like consistency. This paste helps to lift and remove stains, leaving your sink looking clean and refreshed.
Once you have thoroughly scrubbed the sink, it’s time to move on to the next step – rinsing the sink.
Step 6: Rinse thoroughly
After scrubbing your sink with the baking soda and vinegar mixture, it’s important to rinse the sink thoroughly to remove any residue and cleaning solution.
To properly rinse your sink, follow these steps:
- Use hot water: Turn on the faucet and let hot water run into your sink. The hot water will help to flush away any remaining baking soda, vinegar, and loosened grime.
- Rinse all areas: Make sure to rinse all areas of the sink, including the faucet, drain, and corners. Use your hand or a clean sponge to wipe away any remaining residue.
- Continue rinsing: Continue rinsing the sink until the water runs clear and there are no traces of the cleaning solution left. This ensures that your sink is thoroughly clean.
While rinsing, you may also want to wipe down the faucet and surrounding area with a clean cloth or sponge to remove any water spots or streaks.
Once you have rinsed your sink, it’s time to move on to the final step – drying and shining.
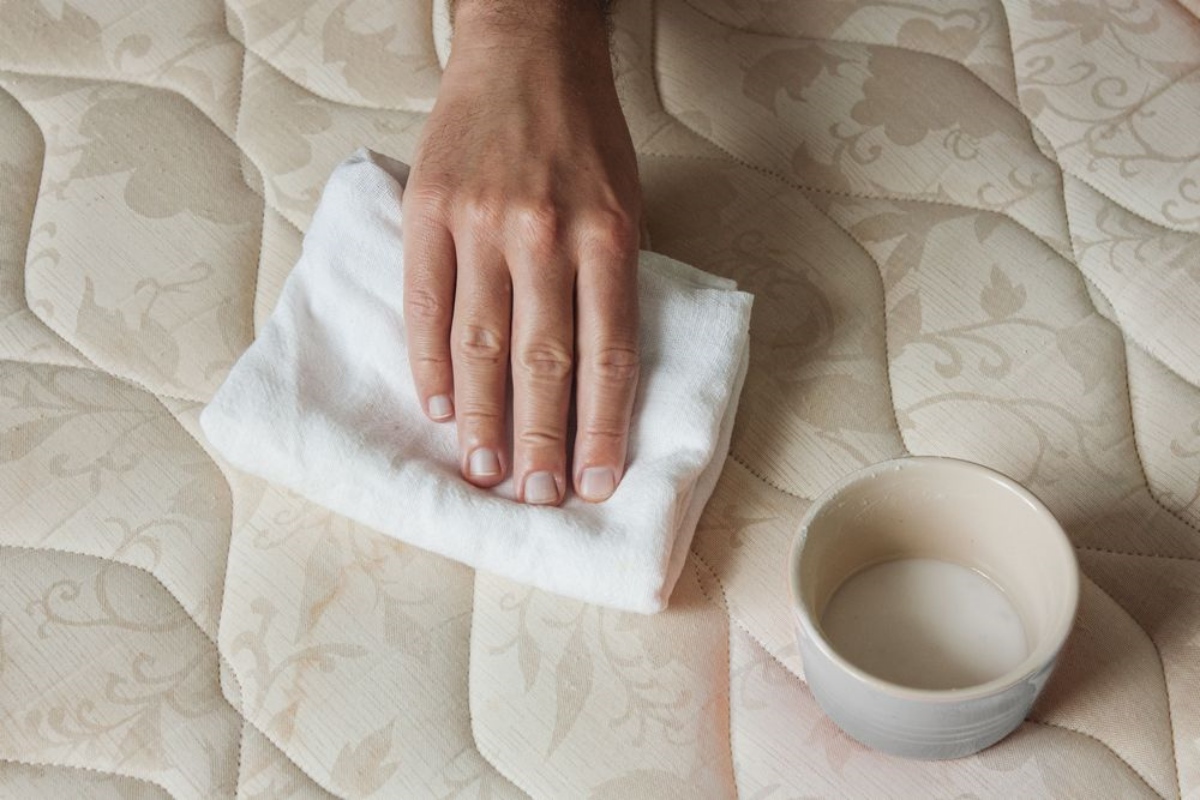
Step 7: Dry and shine
The final step in cleaning your sink with baking soda is to dry and shine the surface. This step will ensure that your sink looks sparkling clean and free from water spots.
To dry and shine your sink, follow these steps:
- Use a clean, dry cloth: Take a clean, dry cloth and thoroughly dry the sink surface. Pay special attention to the faucet, drain, and corners, ensuring that all areas are dry.
- Buff with a microfiber cloth: For an extra shine, use a microfiber cloth to buff the sink surface. This will help to remove any remaining water marks or streaks, leaving your sink looking polished.
- Optional: Apply mineral oil or olive oil (for stainless steel sinks): If you have a stainless steel sink, you can apply a small amount of mineral oil or olive oil to restore shine and prevent water spots. Simply pour a few drops of oil onto a cloth and rub it onto the sink surface.
By drying and shining your sink, you not only remove any excess water, but you also enhance its appearance and make it more resistant to future stains and buildup.
With the final step completed, your sink is now clean, fresh, and ready to be enjoyed!
Congratulations! You have successfully cleaned your sink with baking soda, a natural and effective cleaning agent. By following these steps and incorporating baking soda into your cleaning routine, you can keep your sink looking pristine and hygienic.
Remember, regularly cleaning your sink will help to prevent stains, odors, and the buildup of bacteria. So, make it a habit to clean your sink with baking soda to maintain a clean and inviting kitchen environment.
Thank you for following this guide, and we hope it has been informative and helpful. Happy cleaning!
Conclusion
Cleaning your sink with baking soda is a simple and effective way to maintain a clean and fresh kitchen. With its natural cleaning properties and affordability, baking soda is a versatile cleaning agent that can eliminate stains, remove odors, and leave your sink looking sparkling clean.
Throughout this guide, we have discussed the benefits of using baking soda, the materials needed for the cleaning process, and the step-by-step instructions to achieve a thoroughly clean sink. By following these steps and incorporating baking soda into your cleaning routine, you can achieve excellent results without the use of harsh chemicals.
Remember, the key to a clean sink is regular maintenance. By regularly cleaning your sink with baking soda, you can prevent the buildup of stains, odors, and bacteria, ensuring a hygienic and pleasant kitchen environment.
So, why spend money on expensive commercial cleaners when baking soda can do the job just as well, if not better? Give this natural cleaning method a try and enjoy the satisfaction of a gleaming sink.
We hope this guide has been helpful in your quest for a clean sink. Happy cleaning!
Frequently Asked Questions about How To Clean A Sink With Baking Soda
Was this page helpful?
At Storables.com, we guarantee accurate and reliable information. Our content, validated by Expert Board Contributors, is crafted following stringent Editorial Policies. We're committed to providing you with well-researched, expert-backed insights for all your informational needs.


0 thoughts on “How To Clean A Sink With Baking Soda”