Home>Kitchen & Cooking>Kitchen Gadgets & Utensils>How To Remove Rust From Tea Kettle
Kitchen Gadgets & Utensils
How To Remove Rust From Tea Kettle
Modified: September 2, 2024
Learn effective ways to remove rust from your tea kettle and keep your kitchen gadgets and utensils in top condition. Say goodbye to rust and enjoy a clean and well-maintained kitchen.
(Many of the links in this article redirect to a specific reviewed product. Your purchase of these products through affiliate links helps to generate commission for Storables.com, at no extra cost. Learn more)
Introduction
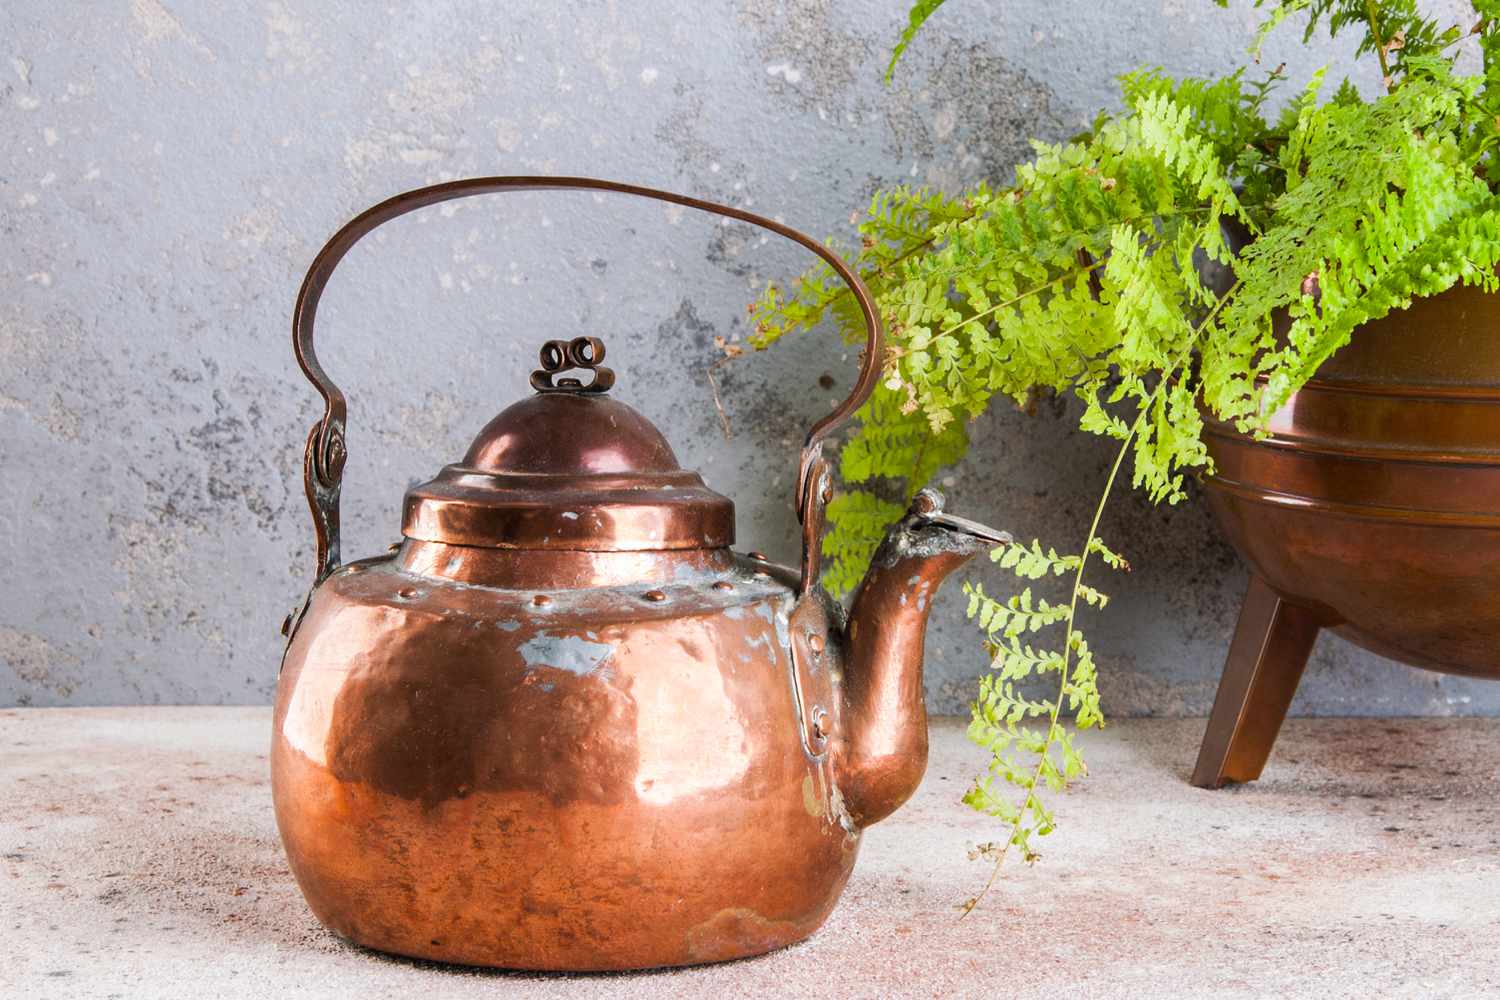
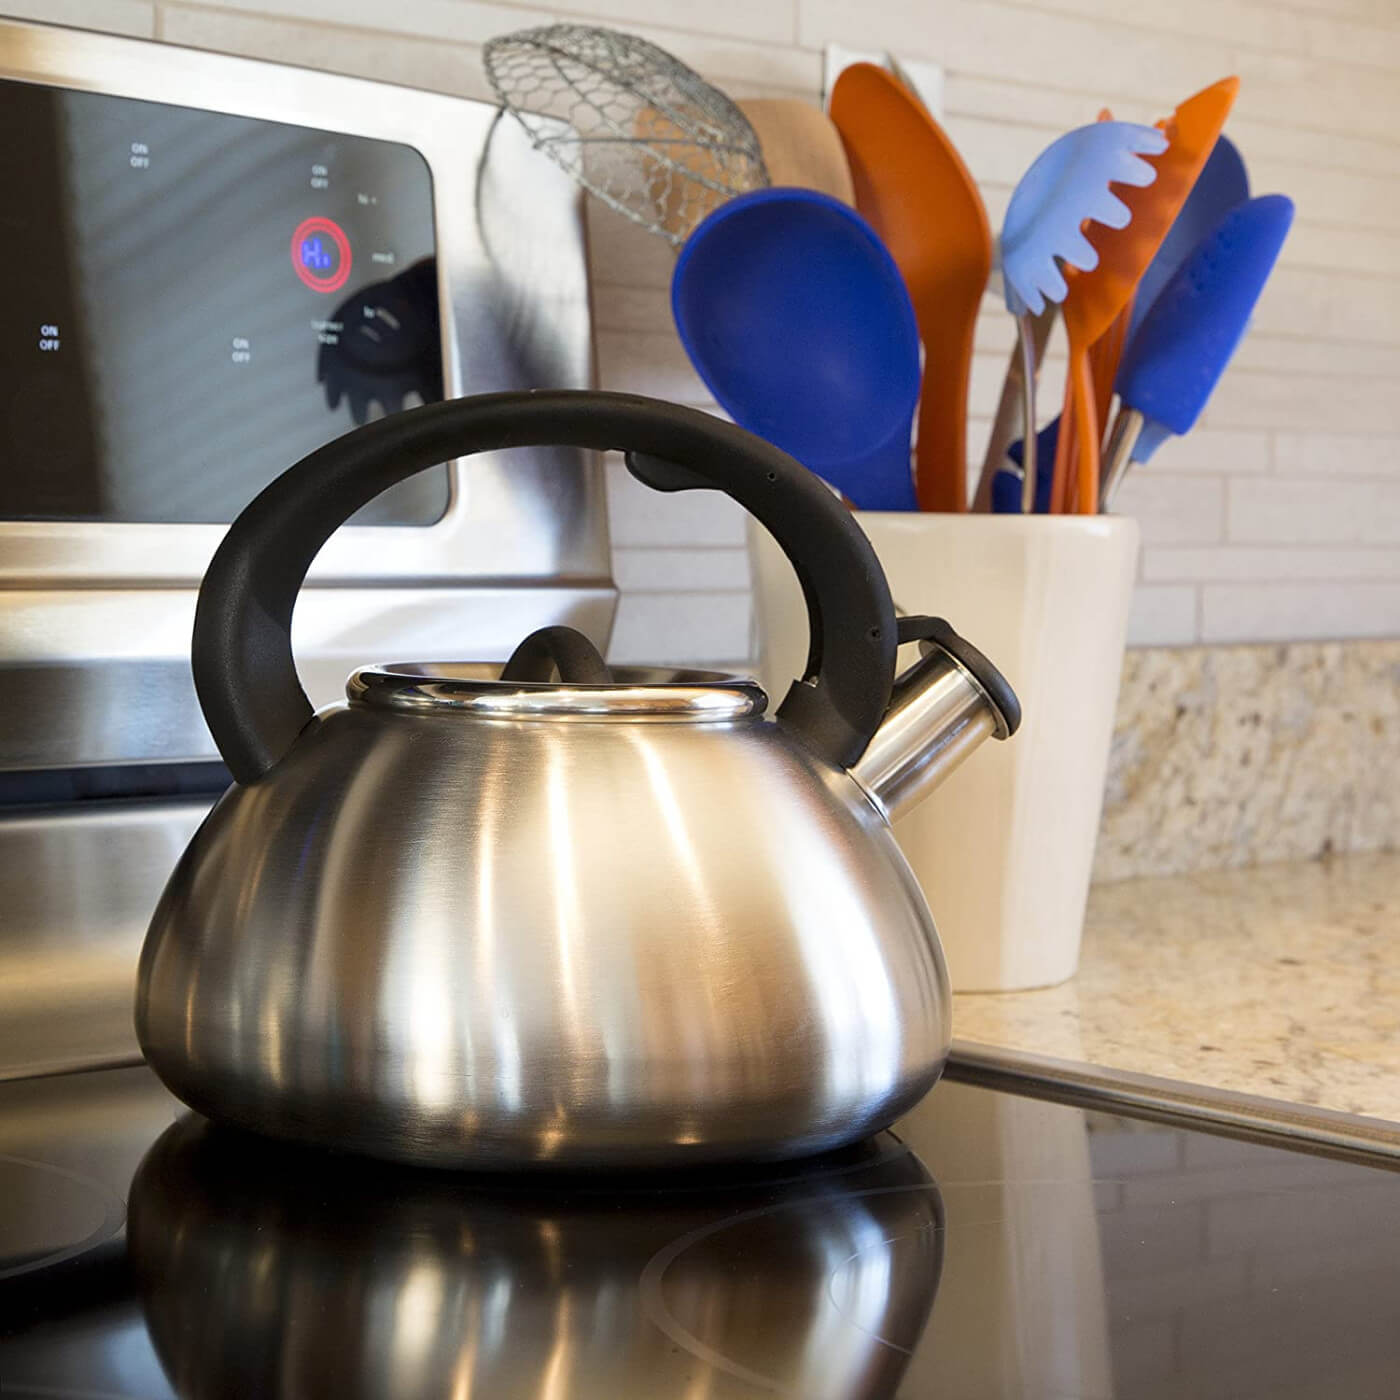
Welcome to the ultimate guide on revitalizing your beloved tea kettle! Over time, your trusty tea kettle may start to show signs of wear and tear, particularly in the form of unsightly rust. While this may seem like a cause for concern, fear not, as there are simple yet effective methods for banishing rust and restoring your kettle to its former glory.
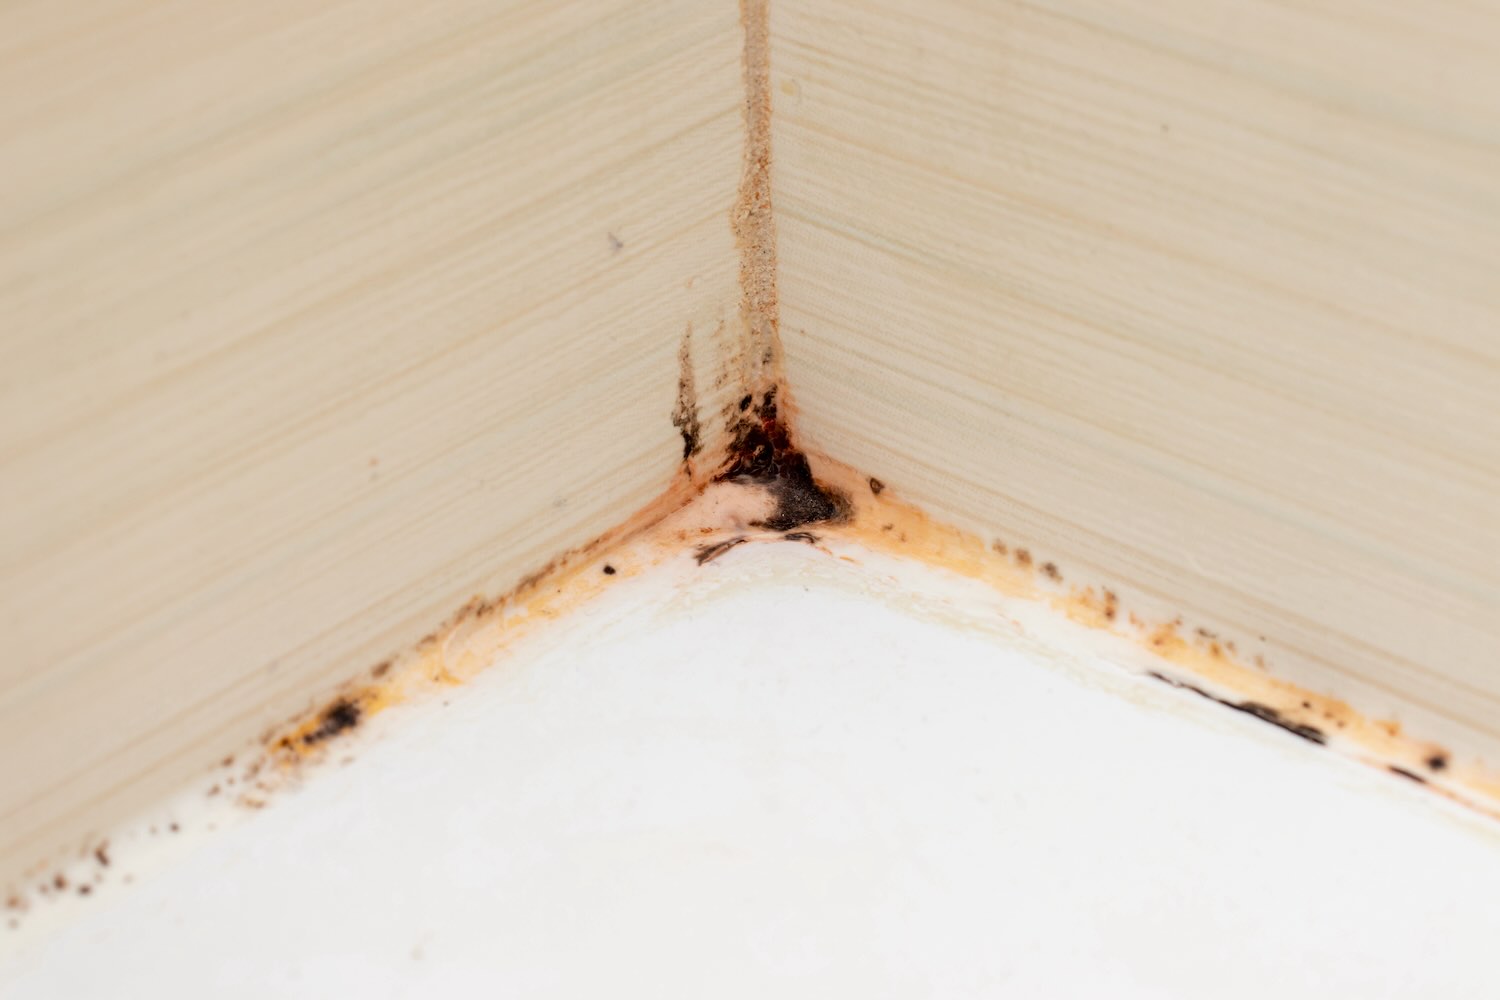
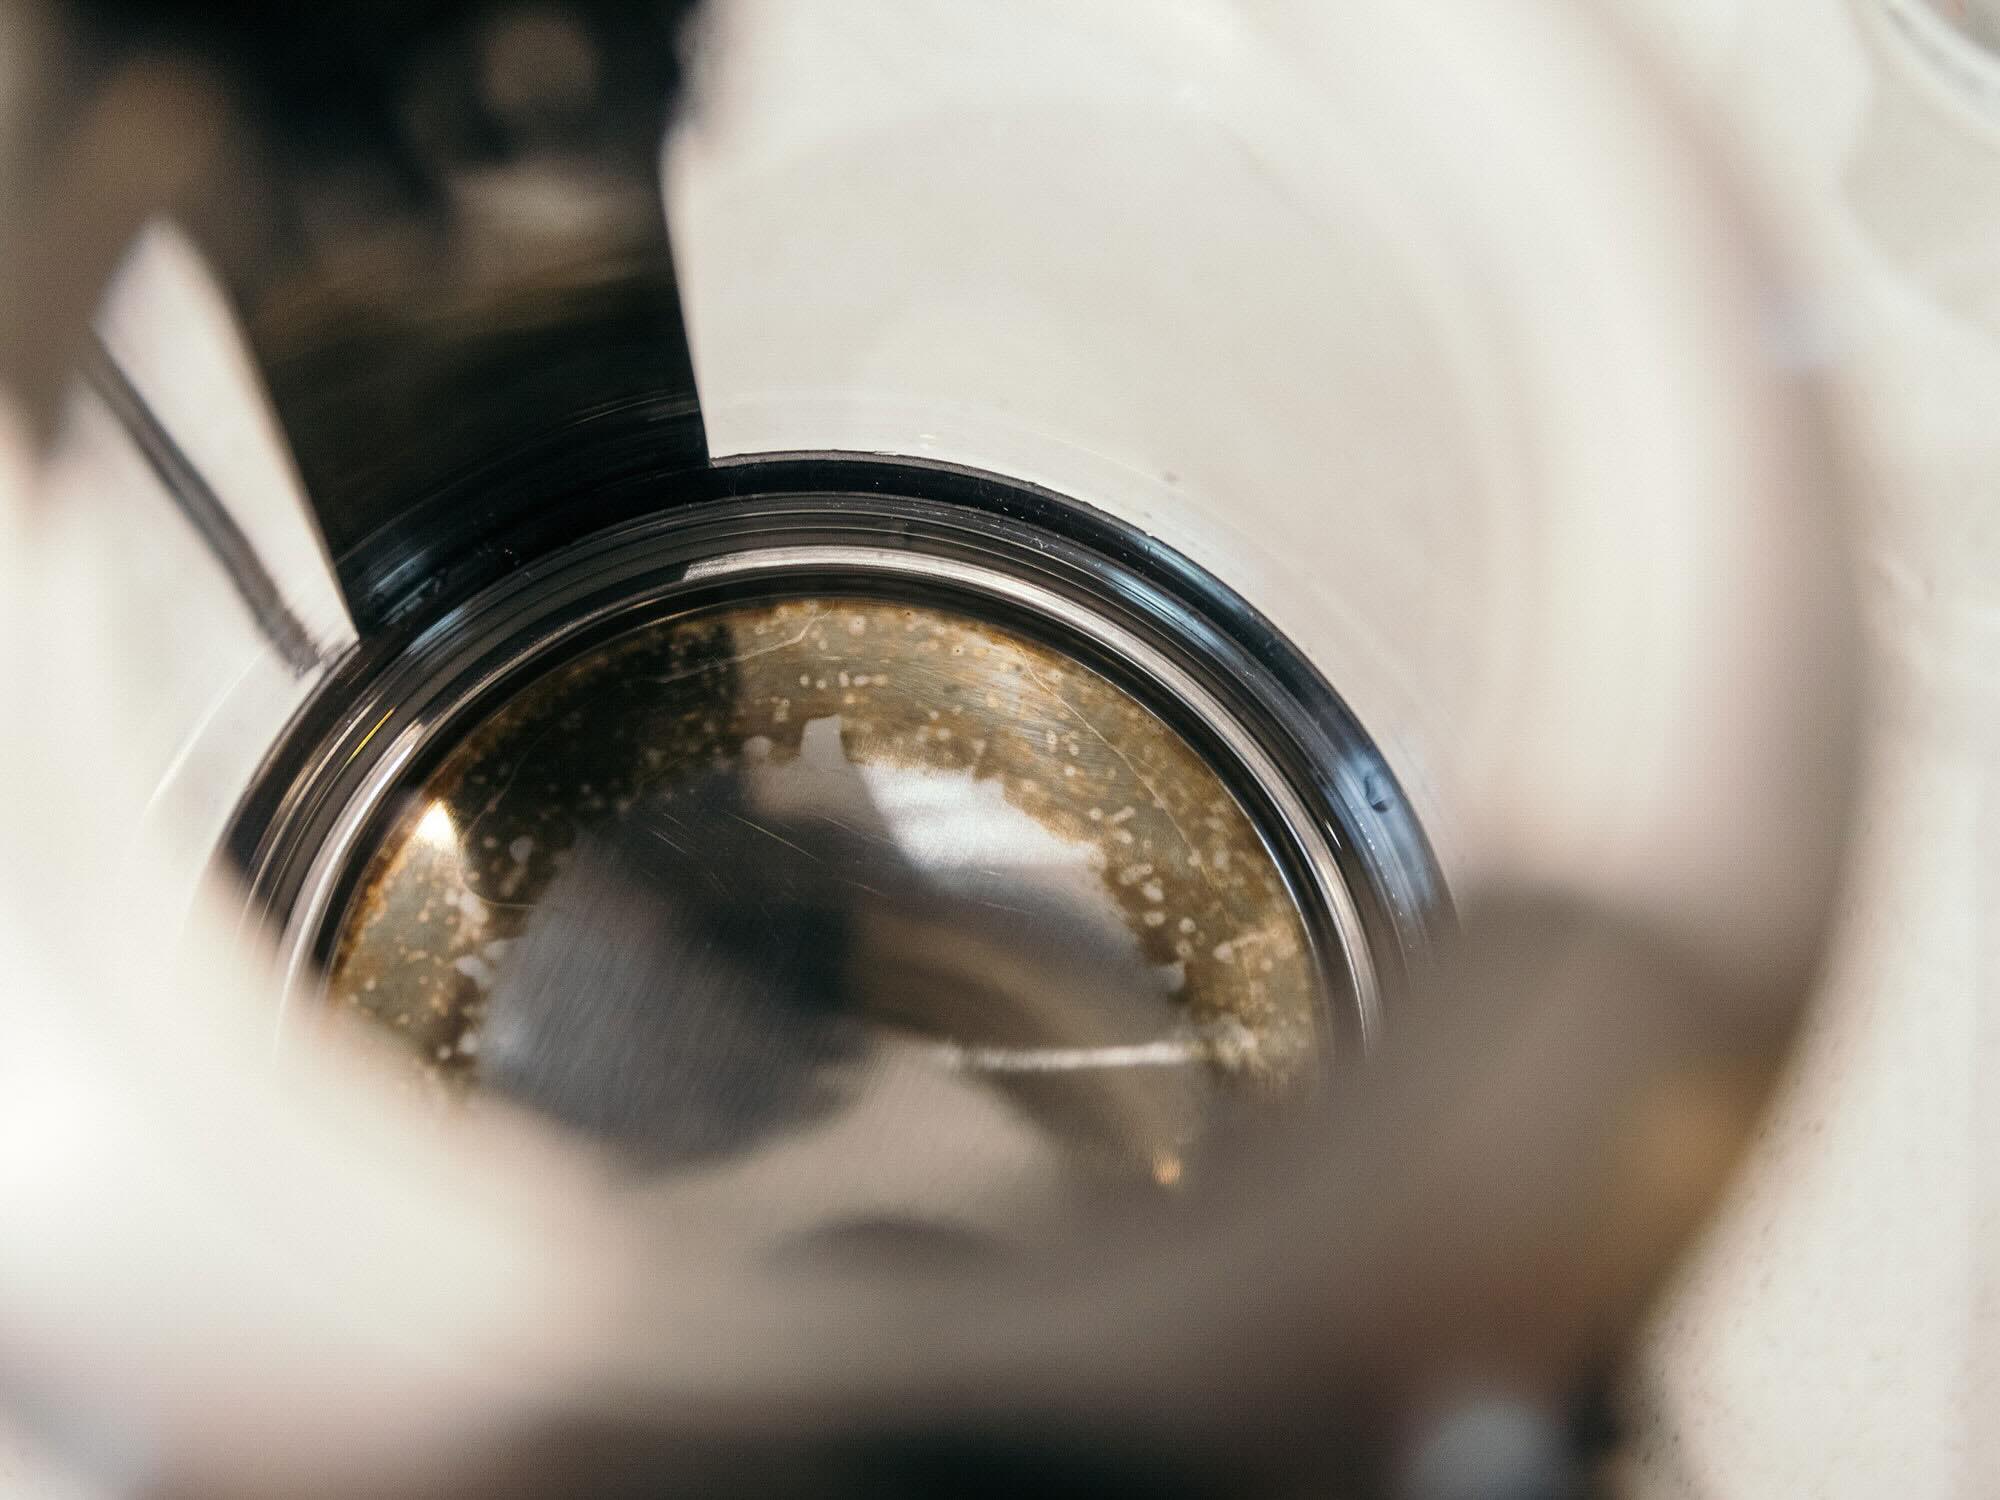
Rust can accumulate on the interior and exterior of a tea kettle due to prolonged exposure to moisture and the natural oxidation process. Not only does it detract from the kettle's aesthetic appeal, but it can also compromise the taste and quality of your brewed beverages. Fortunately, with a few common household items and a touch of elbow grease, you can bid farewell to rust and welcome back the pristine condition of your tea kettle.
In this comprehensive guide, we will walk you through the step-by-step process of removing rust from your tea kettle using natural and eco-friendly methods. From a simple vinegar soak to a lemon juice and salt paste, we have you covered with a range of techniques that are safe, affordable, and highly effective. By the end of this journey, you will not only have a rust-free tea kettle but also a newfound appreciation for the power of natural cleaning solutions.
So, roll up your sleeves, gather the necessary materials, and let's embark on a transformative quest to restore your tea kettle to its former luster. With a little care and the right approach, you can once again savor the perfect cup of tea without the unwelcome presence of rust. Let's dive in and rejuvenate your tea kettle to its sparkling best!
Key Takeaways:
- Say goodbye to rust on your tea kettle by using simple household items like vinegar, baking soda, lemons, and salt. With a little effort, you can restore your kettle to its former gleaming state.
- Embrace natural cleaning methods to banish rust from your tea kettle and enjoy delightful cups of tea from a revitalized and radiant kitchen essential.
Read more: How To Make Tea With A Tea Kettle
Materials Needed
Before delving into the rust-removal process, it’s essential to gather the materials required to effectively restore your tea kettle. The good news is that you won’t need any specialized or expensive items – just a few common household staples will suffice. Here’s what you’ll need:
- White Vinegar: This versatile pantry staple is a powerhouse when it comes to removing rust. Its acidic nature makes it an excellent rust-buster, and it’s completely safe for use in food-related items like tea kettles.
- Baking Soda: Another kitchen staple, baking soda, is a gentle yet effective abrasive cleaner. It will aid in scrubbing away stubborn rust stains without causing any damage to the kettle’s surface.
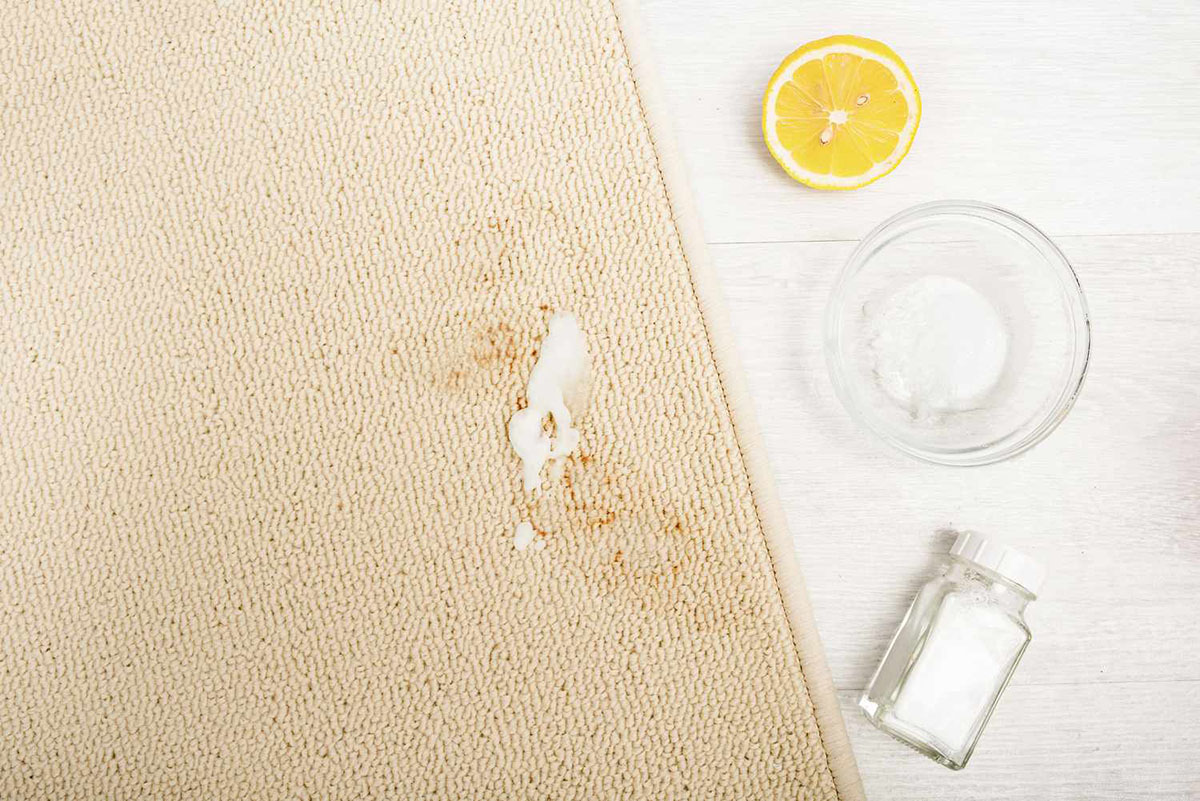
- Lemons: Fresh lemons will come in handy for their natural acidity, which, when combined with salt, creates a potent rust-removing paste.
- Salt: Regular table salt acts as an abrasive agent when combined with lemon juice, making it an essential component for creating a rust-eliminating paste.
- Soft Cloth or Sponge: To apply the cleaning solutions and gently scrub the kettle, a soft cloth or sponge is ideal for ensuring thorough yet gentle cleaning.
- Water: While this may seem obvious, having access to clean, hot water is crucial for rinsing and thoroughly cleaning the kettle throughout the process.
- Drying Cloth: Once the rust removal process is complete, a soft, clean cloth will be needed to dry the kettle thoroughly and ensure that no moisture remains.
- Polishing Cloth: For a final touch, a polishing cloth can be used to restore the shine and luster of the tea kettle.
With these readily available materials on hand, you’re well-equipped to tackle the task of removing rust from your tea kettle using natural and safe methods. Now that you’ve assembled your rust-fighting arsenal, it’s time to roll up your sleeves and breathe new life into your trusty tea kettle.
Step 1: Vinegar Soak
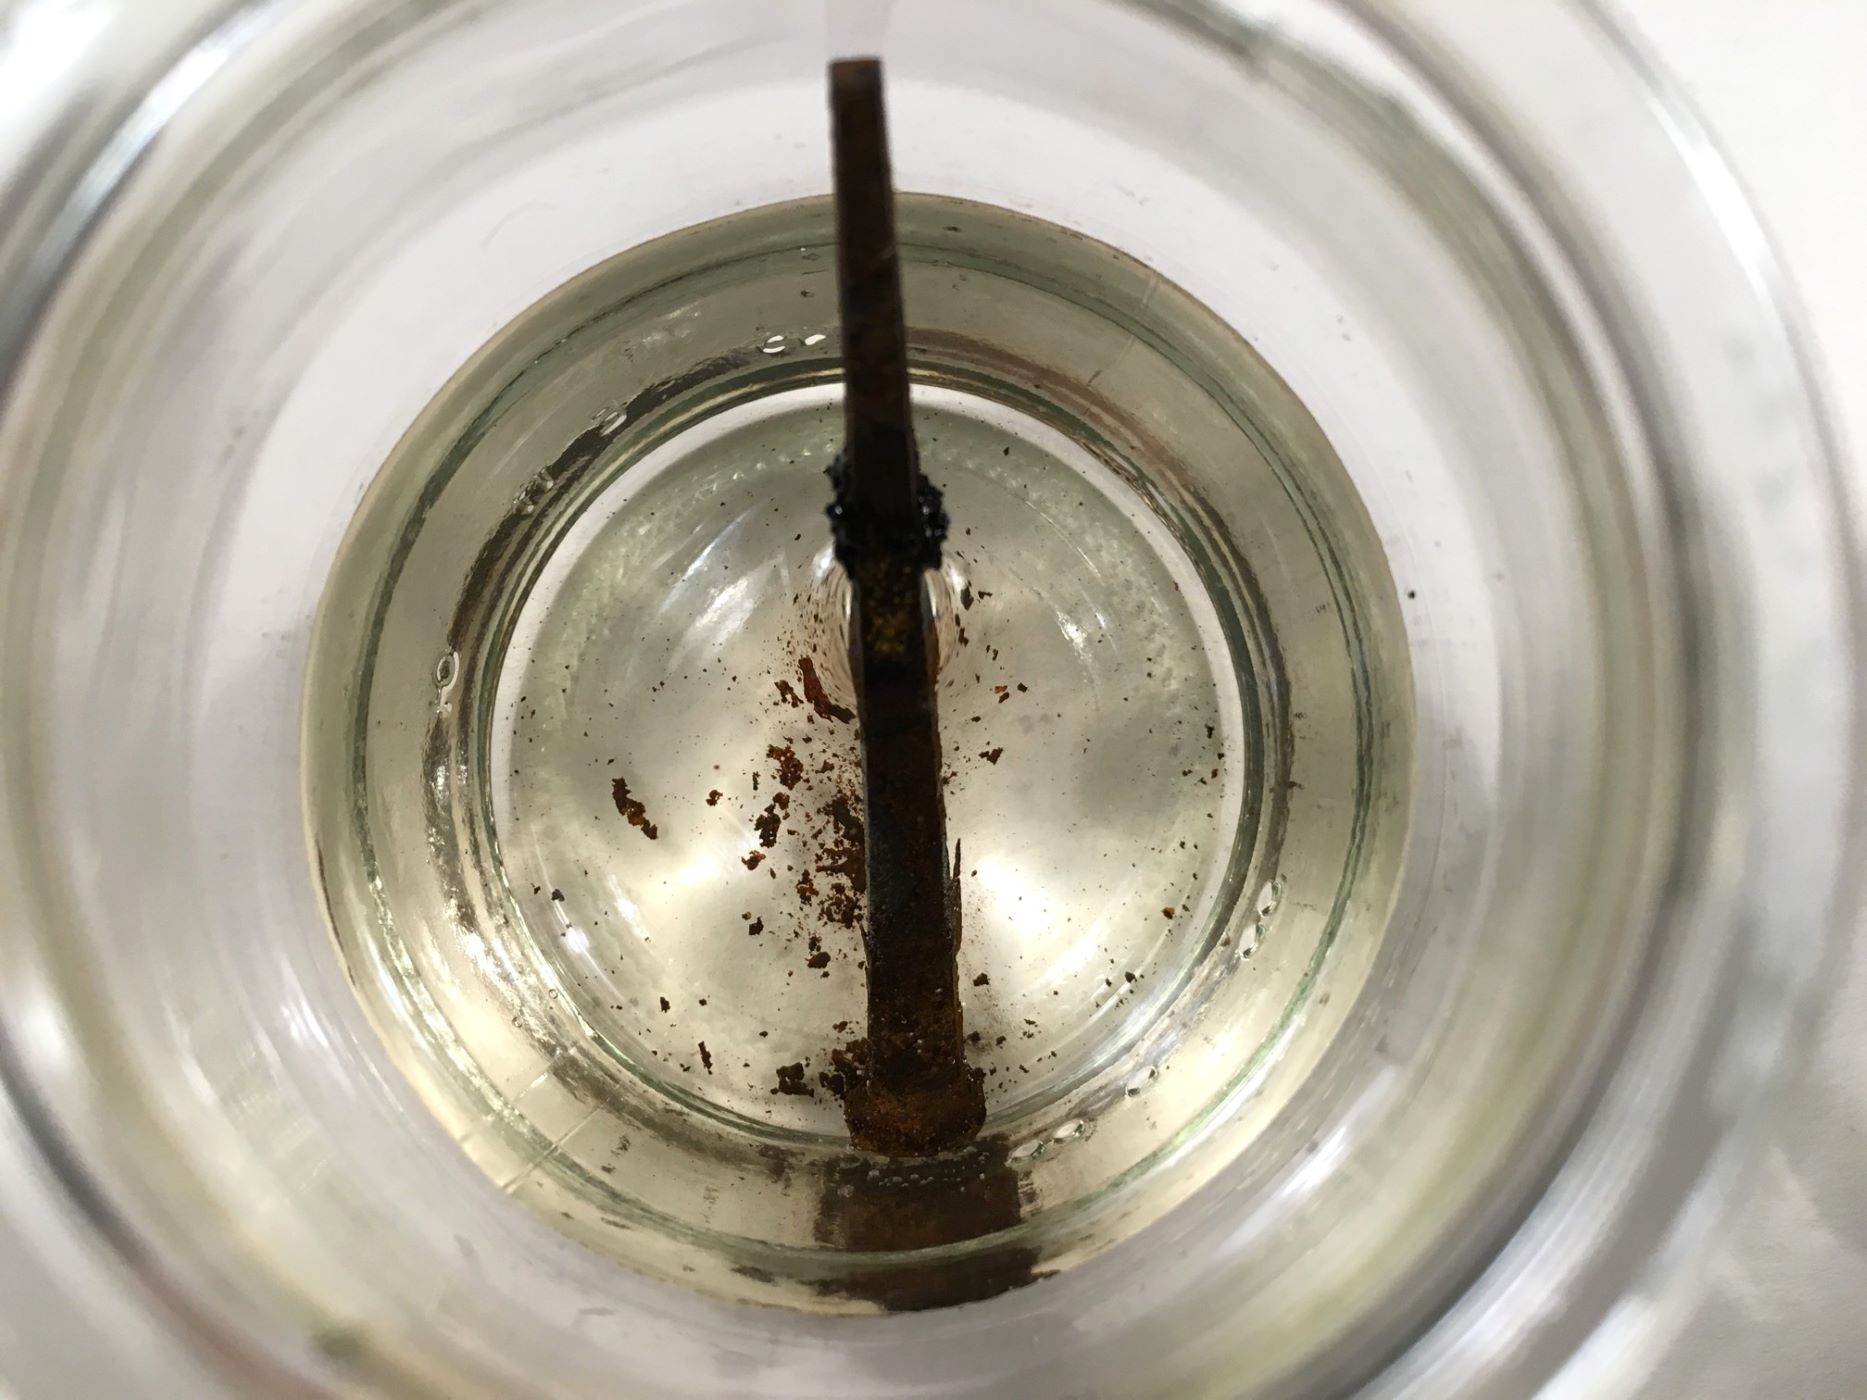
The first step in banishing rust from your tea kettle involves harnessing the acidic power of white vinegar. This natural wonder is renowned for its rust-dissolving properties and is a gentle yet effective solution for restoring your kettle’s pristine condition.
Begin by ensuring that your tea kettle is completely empty and free of any lingering residue. Once it’s clean and dry, pour a generous amount of white vinegar into the kettle, ensuring that the affected areas are fully submerged. The vinegar will work its magic by breaking down the rust and loosening its grip on the metal surface.
Allow the vinegar to soak in the kettle for at least 4 to 6 hours, or preferably overnight for more stubborn rust stains. During this time, the acidic nature of the vinegar will gradually dissolve the rust, making it easier to remove during the subsequent cleaning steps.
After the designated soaking period, carefully pour out the vinegar and inspect the kettle for any remaining rust. In most cases, you’ll notice a significant improvement, with the rust either loosened or completely dissolved. For more stubborn spots, a gentle scrub with a soft cloth or sponge may be necessary to dislodge any remaining traces of rust.
Once you’ve completed the vinegar soak and any necessary gentle scrubbing, thoroughly rinse the kettle with clean water to remove any residual vinegar. This step is crucial to ensure that no vinegar remains inside the kettle, especially if it will be used for preparing beverages. With the vinegar soak complete, you’re well on your way to bidding farewell to rust and welcoming back the gleaming appearance of your tea kettle.
With the rust-dissolving power of vinegar at your disposal, you’ve taken the first step towards restoring your tea kettle to its former glory. Now that the rust has been effectively loosened and dissolved, it’s time to proceed to the next phase of the rust-removal process: the baking soda scrub.
Step 2: Baking Soda Scrub
Having completed the vinegar soak and loosened the rust from your tea kettle, it’s time to enlist the gentle yet effective cleaning prowess of baking soda. This common kitchen ingredient serves as a mild abrasive, making it ideal for scrubbing away any remaining traces of rust without causing damage to the kettle’s surface.
To commence the baking soda scrub, sprinkle a generous amount of baking soda onto a damp cloth or sponge. Gently apply the baking soda to the areas of the kettle affected by rust, using circular motions to work the baking soda into the metal surface. The mild abrasive nature of the baking soda will help lift and remove any residual rust, revealing the clean metal underneath.
As you scrub, pay close attention to the areas where rust was most prevalent. You may notice that the baking soda forms a paste as it interacts with any remaining rust, which is a positive sign that it’s effectively lifting the tarnish from the metal. Continue to scrub until you’re satisfied that the rust has been thoroughly addressed, periodically rinsing the cloth or sponge and reapplying baking soda as needed.
Once you’ve diligently scrubbed the affected areas, thoroughly rinse the kettle with hot water to remove any traces of baking soda. This step is crucial to ensure that the baking soda residue is completely eliminated, leaving the kettle clean and ready for the next phase of the rust-removal process.
Upon completing the baking soda scrub, take a moment to inspect the tea kettle for any lingering signs of rust. You’ll likely find that the combination of the vinegar soak and baking soda scrub has significantly diminished or completely eliminated the rust, unveiling the lustrous metal surface beneath.
With the rust banished and the kettle’s surface rejuvenated, it’s time to move on to the next stage of the restoration process: the application of a lemon juice and salt paste. This natural and potent combination will provide the final touch in ensuring that your tea kettle is free from rust and exudes a gleaming, like-new appearance.
To remove rust from a tea kettle, mix equal parts of white vinegar and water and let it sit in the kettle for a few hours. Then scrub the rust with a sponge or brush. Repeat if necessary.
Step 3: Lemon Juice and Salt Paste
As you progress in your mission to rid your tea kettle of rust, the next step involves harnessing the natural cleaning power of lemons and salt. This dynamic duo forms a potent rust-removing paste that will further eradicate any residual tarnish, leaving your kettle gleaming and rust-free.
To create the lemon juice and salt paste, begin by cutting a fresh lemon in half and extracting the juice. In a small bowl, combine the lemon juice with an equal amount of table salt, creating a thick and spreadable paste. The acidic nature of the lemon juice, combined with the abrasive texture of the salt, forms a formidable rust-fighting solution.
Using a soft cloth or sponge, apply the lemon juice and salt paste to the areas of the kettle still showing signs of rust. Gently work the paste into the metal surface, ensuring that it thoroughly coats the affected areas. The natural acidity of the lemon juice will continue to break down any remaining rust, while the salt acts as a gentle abrasive to help lift the tarnish from the metal.
Allow the lemon juice and salt paste to sit on the affected areas for approximately 15 to 30 minutes, giving it ample time to work its rust-eliminating magic. During this time, the natural properties of the lemon and salt will gradually dissolve and lift any residual rust, preparing the kettle for the final phase of the rust-removal process.
After the designated period, use a damp cloth or sponge to gently scrub the areas where the paste was applied. You’ll likely notice that the paste has taken on a discolored appearance, indicating that it has effectively interacted with the remaining rust. As you scrub, the paste will work to further lift and remove the tarnish, revealing the clean and revitalized metal surface beneath.
Once you’ve thoroughly scrubbed the affected areas, rinse the kettle with hot water to remove any traces of the lemon juice and salt paste. This final rinse will ensure that the kettle is free from any residual paste and ready for the concluding step in the rust-removal process.
With the natural rust-eliminating power of the lemon juice and salt paste, you’ve taken a significant stride towards restoring your tea kettle to its former splendor. As the rust becomes a distant memory, it’s time to proceed to the next phase: the boiling water rinse, which will ensure that your kettle is thoroughly cleansed and ready to resume its essential role in your kitchen.
Read more: How To Remove Rust From Calipers
Step 4: Boiling Water Rinse
With the rust-removal process well underway, it’s time to give your tea kettle a revitalizing and cleansing boiling water rinse. This final step will not only ensure that any remaining traces of rust and cleaning solutions are thoroughly eliminated but also sanitize the kettle, preparing it for its return to daily use.
To commence the boiling water rinse, fill the tea kettle with clean, fresh water, ensuring that it’s not filled beyond its maximum capacity. Place the kettle on the stovetop and allow the water to come to a rolling boil. The boiling water will serve as a powerful agent for rinsing and sterilizing the interior of the kettle, effectively purging it of any residual rust, cleaning solutions, and impurities.
As the water reaches a vigorous boil, allow it to continue boiling for approximately 10 to 15 minutes. This extended boiling period will ensure that the water thoroughly circulates throughout the kettle, reaching all surfaces and crevices to provide a comprehensive cleansing effect.
After the designated boiling time, carefully pour out the hot water and allow the kettle to cool down for a few minutes. Once it’s safe to handle, thoroughly rinse the interior of the kettle with cold water to remove any remaining traces of the boiling water. This final rinse will ensure that the kettle is free from any lingering impurities and fully prepared for its return to service.
With the boiling water rinse complete, take a moment to admire the revitalized and rust-free interior of your tea kettle. The combination of the natural cleaning solutions and the vigorous boiling water has effectively banished rust and restored the kettle to a pristine condition, ready to resume its role in your kitchen.
Now that the rust has been vanquished and the kettle thoroughly cleansed, it’s time to proceed to the concluding step: drying and polishing the tea kettle to ensure that it regains its luster and gleaming appearance.
Step 5: Drying and Polishing
As you near the culmination of your journey to remove rust from your tea kettle, the final step involves drying and polishing the kettle to restore its luster and ensure that it’s ready to grace your kitchen once again.
To begin, use a soft, clean cloth to thoroughly dry the exterior and interior of the tea kettle. Pay special attention to drying the interior to prevent any moisture from lingering, as this could potentially lead to the formation of new rust in the future. Ensure that the kettle is completely dry before proceeding to the next phase of the process.
Once the kettle is dry, take a moment to inspect its surface for any remaining signs of tarnish or discoloration. You’ll likely find that the combination of the rust-removal steps has restored the kettle to a gleaming and rust-free state, ready to once again take pride of place in your kitchen.
To add the finishing touch, consider using a dedicated metal polish or a polishing cloth to further enhance the kettle’s appearance. Apply a small amount of metal polish to a soft cloth and gently buff the exterior of the kettle, working in circular motions to achieve a brilliant shine. If using a polishing cloth, simply use it to buff the kettle’s surface, revealing its inherent luster and sheen.
As you polish the kettle, take a moment to appreciate the transformation that has taken place. What was once marred by rust and tarnish now exudes a radiant and like-new appearance, ready to serve you for many more cups of delightful tea.
With the drying and polishing process complete, your tea kettle has been rejuvenated and is now prepared to resume its essential role in your kitchen. The rust is but a distant memory, and your kettle stands as a testament to the power of natural cleaning solutions and a little tender care.
As you admire the revitalized tea kettle, take pride in the accomplishment of banishing rust and restoring its gleaming appearance. With the knowledge and techniques you’ve acquired, you can ensure that your tea kettle remains free from rust and continues to enrich your daily tea rituals for years to come.
Congratulations on successfully restoring your tea kettle to its former glory. Cheers to many more delightful cups of tea, served from a rust-free and radiant kettle!
Conclusion
Congratulations on embarking on the transformative journey to banish rust from your beloved tea kettle. Through the application of natural and eco-friendly cleaning solutions, you have successfully restored your kettle to its former luster, ensuring that it remains a cherished fixture in your kitchen for years to come.
As you reflect on the process of rust removal, you’ve not only revitalized your tea kettle but also gained valuable insights into the power of natural cleaning methods. By harnessing the rust-dissolving properties of white vinegar, the gentle abrasiveness of baking soda, and the rust-eliminating prowess of lemon juice and salt, you’ve demonstrated the effectiveness of simple yet potent cleaning solutions.
With each step of the rust-removal process, you’ve witnessed the gradual transformation of your tea kettle, from a tarnished and rust-affected state to a gleaming and like-new appearance. The combination of the vinegar soak, baking soda scrub, lemon juice and salt paste, boiling water rinse, and drying and polishing has culminated in the complete rejuvenation of your kettle, ensuring that it’s free from rust and ready to serve you once again.
As you savor the satisfaction of a rust-free tea kettle, remember that the techniques and knowledge you’ve acquired can be applied to maintain the pristine condition of other metal items in your kitchen. Whether it’s cookware, utensils, or appliances, the natural cleaning methods you’ve employed can be instrumental in preserving their appearance and functionality.
By embracing natural cleaning solutions, you’ve not only safeguarded the integrity of your tea kettle but also contributed to a sustainable and eco-friendly approach to household maintenance. The use of common pantry items and minimal environmental impact make the rust-removal process a testament to the effectiveness of natural cleaning solutions in our daily lives.
As you bid farewell to the remnants of rust and welcome back the gleaming appearance of your tea kettle, take pride in the accomplishment of restoring a cherished item to its former glory. Your dedication and care have ensured that your tea rituals will once again be accompanied by the radiant presence of a rust-free and revitalized kettle.
May your tea kettle continue to serve as a symbol of the transformative power of natural cleaning methods, reminding you of the potential to rejuvenate and restore items with a touch of ingenuity and care. Here’s to many delightful cups of tea, brewed and served from a rust-free and radiant kettle!
Frequently Asked Questions about How To Remove Rust From Tea Kettle
Was this page helpful?
At Storables.com, we guarantee accurate and reliable information. Our content, validated by Expert Board Contributors, is crafted following stringent Editorial Policies. We're committed to providing you with well-researched, expert-backed insights for all your informational needs.


0 thoughts on “How To Remove Rust From Tea Kettle”