Home>Furniture & Design>Bathroom Accessories>How To Remove Rust From A Toilet Brush

Bathroom Accessories
How To Remove Rust From A Toilet Brush
Modified: October 19, 2024
Learn effective methods for removing rust from bathroom accessories, including toilet brushes. Keep your bathroom clean and rust-free with these simple tips.
(Many of the links in this article redirect to a specific reviewed product. Your purchase of these products through affiliate links helps to generate commission for Storables.com, at no extra cost. Learn more)
Introduction
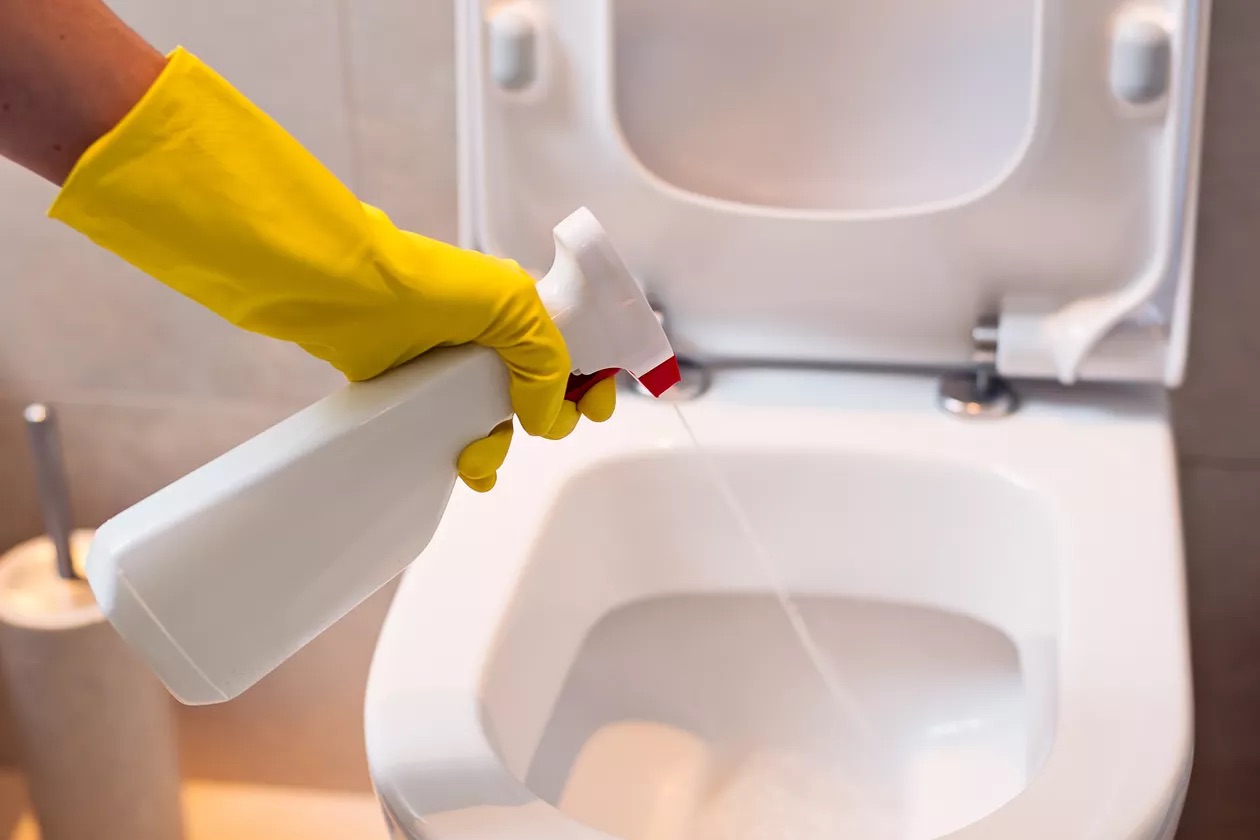
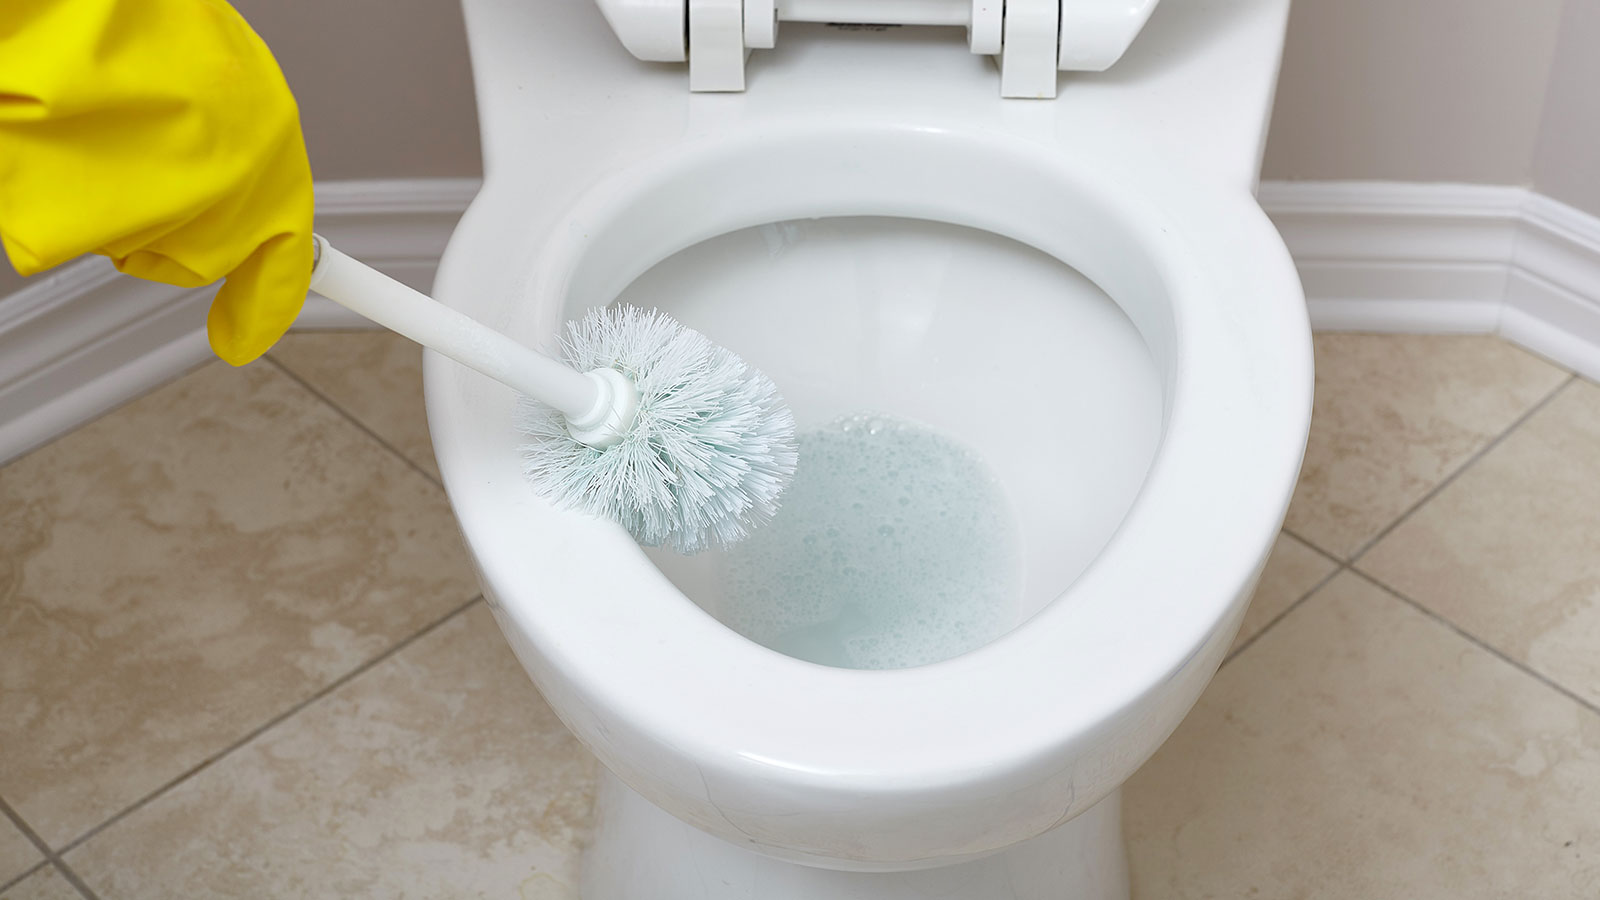
A toilet brush is an essential tool for maintaining a clean and hygienic bathroom. However, over time, these brushes can become susceptible to rust, especially if they are constantly exposed to moisture. Rust not only diminishes the brush's effectiveness but also poses a potential health hazard. Fortunately, with the right materials and a few simple steps, you can effectively remove rust from a toilet brush, restoring it to its former functionality and appearance.
Rust forms on metal surfaces when iron or steel comes into contact with water and oxygen, leading to a chemical reaction known as oxidation. This process results in the formation of reddish-brown flakes, which can compromise the structural integrity of the affected metal. When it comes to a toilet brush, rust can accumulate on the metal handle and the base of the bristles, detracting from its overall cleanliness and making it less effective at its intended purpose.
In this guide, we will walk you through the process of removing rust from a toilet brush, providing you with a cost-effective solution to extend the lifespan of this essential bathroom accessory. By following the steps outlined in this article and using common household items, you can effectively eliminate rust and prevent its recurrence, ensuring that your toilet brush remains a reliable tool for maintaining a sparkling clean toilet.
Now, let's gather the necessary materials and embark on the journey to restore your toilet brush to its former glory.
Key Takeaways:
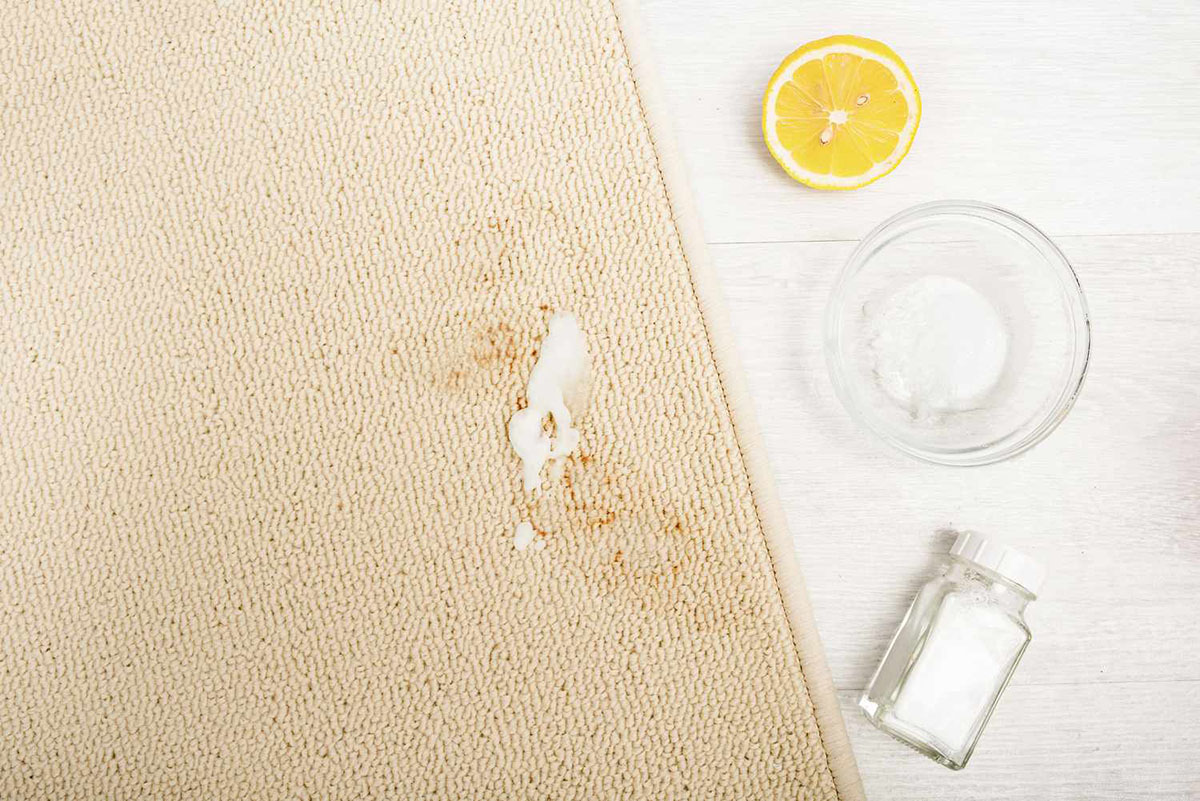
- Say goodbye to rust on your toilet brush! Soak it in white vinegar, scrub with baking soda, and rinse thoroughly to restore its cleanliness and functionality.
- Keep your bathroom sparkling! Remove rust from your toilet brush with simple household items like white vinegar and baking soda for a cost-effective and eco-friendly solution.
Read more: How To Remove Pink Mold From A Toilet Brush
Materials Needed
To effectively remove rust from a toilet brush, you will need a few common household items that are readily available. These materials are not only cost-effective but also environmentally friendly, making the rust removal process safe and convenient. Here's what you'll need:
-
White Vinegar: This versatile household staple is a powerful rust remover due to its acidic nature. White vinegar can effectively dissolve rust, making it easier to eliminate from the surface of the toilet brush.
-
Baking Soda: Known for its abrasive properties, baking soda is an excellent natural cleaner that can help scrub away rust from the toilet brush without causing damage to the bristles or the handle.
-
Container or Bucket: You'll need a container or bucket large enough to submerge the toilet brush completely. This will allow the brush to soak in the rust-removing solution, facilitating the dissolution of rust from the metal components.
-
Gloves: It's important to protect your hands during the rust removal process. Rubber gloves will shield your skin from direct contact with the rust and the cleaning solution, ensuring your safety and comfort.
-
Old Toothbrush or Scrubbing Brush: An old toothbrush or a small scrubbing brush will be useful for scrubbing the rusted areas of the toilet brush, allowing you to effectively remove any remaining rust particles.
-
Water: You'll need water for rinsing the toilet brush after the rust removal process. Clean water will help wash away any residual cleaning solution and ensure that the brush is thoroughly cleaned and ready for use.
By gathering these materials, you'll be well-equipped to tackle the task of removing rust from your toilet brush effectively and efficiently. With these simple yet effective items, you can restore the functionality and appearance of your toilet brush, ensuring that it remains a reliable tool for maintaining a clean and hygienic bathroom environment.
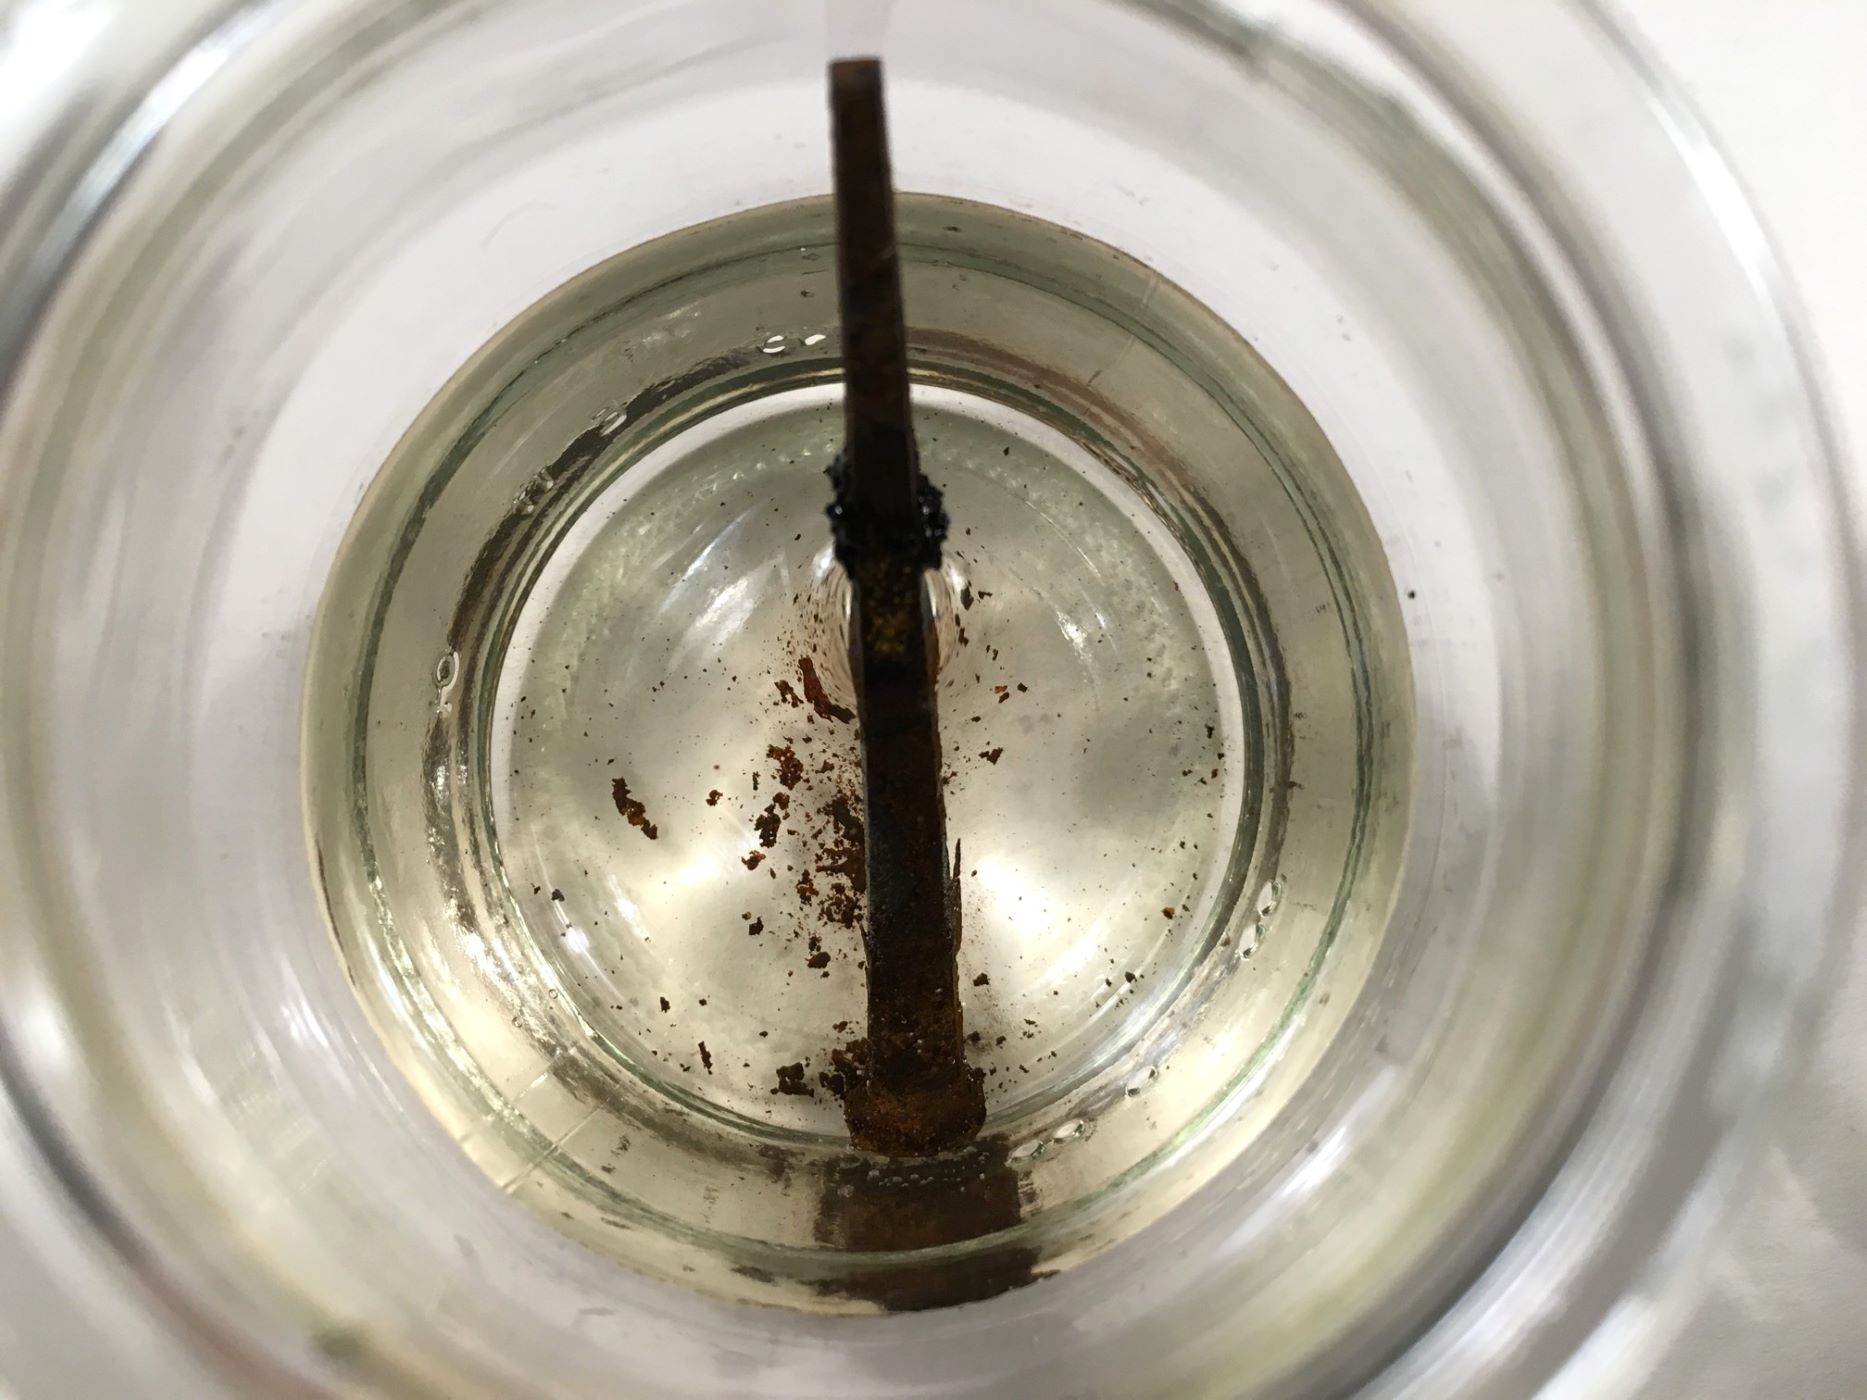
Step 1: Soak the Toilet Brush
To initiate the rust removal process, begin by preparing a rust-dissolving solution using white vinegar. White vinegar, with its acidic properties, is a highly effective rust remover and is gentle on the environment.
Start by filling a container or bucket with white vinegar, ensuring that there is enough liquid to completely submerge the rust-affected areas of the toilet brush. The acidic nature of the vinegar will facilitate the breakdown of the rust, making it easier to remove from the metal components of the brush.
Once the container is filled with white vinegar, carefully place the toilet brush into the solution, ensuring that the rusted areas are fully immersed. It's essential to allow the brush to soak for an adequate amount of time to ensure that the vinegar effectively dissolves the rust. Depending on the severity of the rust, you may need to let the brush soak for several hours or even overnight to achieve optimal results.
During the soaking process, the acidic properties of the white vinegar will work to weaken and dissolve the rust, gradually loosening its grip on the metal surfaces of the toilet brush. This gentle yet effective method ensures that the rust is safely and thoroughly removed without causing damage to the brush's handle or bristles.
As the toilet brush soaks in the vinegar solution, the rust will begin to break down, allowing it to be easily removed during the subsequent steps of the rust removal process. This initial soaking stage is crucial in preparing the rusted areas for thorough cleaning and restoration, setting the stage for the subsequent steps that will ensure the complete elimination of rust from the toilet brush.
By allowing the toilet brush to soak in the white vinegar solution, you are harnessing the natural rust-dissolving properties of vinegar to effectively address the rust-related issues. This simple yet powerful method sets the foundation for the successful restoration of your toilet brush, ensuring that it is free from rust and ready to fulfill its role in maintaining a clean and hygienic bathroom environment.
To remove rust from a toilet brush, soak it in white vinegar for a few hours or overnight. Then scrub the brush with a mixture of baking soda and water. Rinse thoroughly and let it dry.
Step 2: Scrub the Toilet Brush
After the toilet brush has undergone the soaking process in the white vinegar solution, it's time to proceed to the next crucial step: scrubbing the toilet brush to remove the loosened rust particles and restore its pristine condition. This step involves using baking soda, a gentle yet effective abrasive, to scrub away any remaining rust from the metal components of the brush without causing damage to the bristles or the handle.
To begin, remove the toilet brush from the white vinegar solution and carefully discard the liquid. Next, sprinkle a generous amount of baking soda onto the rust-affected areas of the brush, ensuring that the baking soda adequately covers the surfaces where rust residue is present. Baking soda, known for its mild abrasive properties, will aid in dislodging the loosened rust particles, allowing for thorough cleaning without causing harm to the brush.
Once the baking soda has been applied, use an old toothbrush or a small scrubbing brush to gently scrub the rusted areas of the toilet brush. The mild abrasive nature of the baking soda, combined with the mechanical action of scrubbing, will effectively lift and remove the remaining rust particles from the metal surfaces. It's important to exert gentle pressure while scrubbing to avoid damaging the brush, ensuring that the rust removal process is both effective and safe for the brush's components.
As you scrub the toilet brush, you will notice the baking soda working to lift the residual rust, revealing the clean metal surfaces underneath. This process may require some patience and thoroughness, especially for areas with stubborn rust residue. However, the gentle yet persistent scrubbing action, coupled with the natural cleaning properties of baking soda, will gradually restore the affected areas of the toilet brush to their original condition.
Once you have thoroughly scrubbed the rust-affected areas, rinse the toilet brush under running water to remove the baking soda and any remaining rust particles. Ensure that the brush is rinsed completely, allowing the clean water to wash away any residual cleaning solution and debris. After rinsing, carefully inspect the brush to ensure that all traces of rust have been effectively removed, leaving the metal components clean and free from corrosion.
By diligently scrubbing the toilet brush with baking soda, you are effectively eliminating any remaining rust residue, ensuring that the brush is restored to its optimal cleanliness and functionality. This step marks a significant milestone in the rust removal process, bringing the toilet brush one step closer to its revitalized state and ensuring that it remains a reliable tool for maintaining a clean and hygienic bathroom environment.
Step 3: Rinse and Dry the Toilet Brush
After the thorough scrubbing process to remove the rust from the toilet brush, the next crucial step involves rinsing and drying the brush to ensure that it is completely clean and free from any residual cleaning agents or debris. This final stage of the rust removal process is essential for preparing the toilet brush for immediate use and ensuring that it remains in optimal condition for future use.
To begin, thoroughly rinse the toilet brush under running water, ensuring that all traces of the baking soda and any remaining rust particles are completely washed away. It's important to pay close attention to the bristles and the metal components, ensuring that no residue is left behind. By rinsing the brush meticulously, you are effectively removing any remnants of the rust removal solution, leaving the brush clean and ready for the next step.
Once the brush has been rinsed, shake off any excess water and inspect it carefully to ensure that all traces of rust and cleaning solution have been effectively eliminated. If necessary, you can use a clean cloth or paper towel to gently pat the brush dry, ensuring that it is free from moisture before returning it to its holder or storage area.
After the rinsing process, it's essential to allow the toilet brush to air dry completely before returning it to its designated location. By allowing the brush to air dry, you are ensuring that any remaining moisture evaporates, leaving the brush completely dry and ready for use. It's advisable to place the brush in a well-ventilated area to facilitate the drying process, allowing air to circulate around the bristles and the metal components.
Once the toilet brush is thoroughly dry, carefully inspect it to ensure that it is free from any residual rust and that the metal components are clean and corrosion-free. By conducting a final inspection, you can verify that the rust removal process has been successful, and the brush is restored to its optimal condition.
By diligently rinsing and drying the toilet brush, you are completing the rust removal process, ensuring that the brush is clean, dry, and ready to fulfill its role in maintaining a clean and hygienic bathroom environment. This final step marks the culmination of the rust removal journey, leaving you with a revitalized toilet brush that is free from rust and prepared to serve its intended purpose effectively.
Read more: How To Remove Rusted Toilet Seat Bolt
Conclusion
In conclusion, the process of removing rust from a toilet brush is a simple yet essential endeavor that ensures the longevity and effectiveness of this indispensable bathroom accessory. By following the outlined steps and utilizing common household items such as white vinegar and baking soda, you can effectively eliminate rust and restore the functionality and appearance of your toilet brush.
The initial step of soaking the toilet brush in white vinegar serves as a gentle yet potent method for dissolving rust, preparing the affected areas for thorough cleaning. The acidic properties of white vinegar work to weaken and break down the rust, setting the stage for the subsequent steps in the rust removal process.
Subsequently, the gentle scrubbing action with baking soda effectively lifts and removes the loosened rust particles, ensuring that the metal components of the brush are thoroughly cleaned without causing damage. This step not only eliminates rust but also revitalizes the appearance of the toilet brush, leaving it free from corrosion and ready for immediate use.
The final stage of rinsing and drying the toilet brush ensures that it is completely clean and free from any residual cleaning agents or debris. By meticulously rinsing and allowing the brush to air dry, you are guaranteeing that it is in optimal condition for future use, free from rust and moisture.
By diligently following these steps, you can breathe new life into your toilet brush, ensuring that it remains a reliable tool for maintaining a clean and hygienic bathroom environment. The cost-effective and environmentally friendly nature of this rust removal process makes it an accessible solution for anyone seeking to extend the lifespan of their toilet brush and uphold the standards of cleanliness in their bathroom.
In essence, the process of removing rust from a toilet brush not only addresses the issue of corrosion but also underscores the importance of regular maintenance and care for essential household items. By investing a small amount of time and effort into rust removal, you can preserve the functionality and aesthetics of your toilet brush, contributing to a hygienic and welcoming bathroom environment for yourself and your household.
In conclusion, the journey of rust removal from a toilet brush culminates in the restoration of a vital bathroom accessory, ensuring that it remains a dependable tool for maintaining cleanliness and hygiene.
Frequently Asked Questions about How To Remove Rust From A Toilet Brush
Was this page helpful?
At Storables.com, we guarantee accurate and reliable information. Our content, validated by Expert Board Contributors, is crafted following stringent Editorial Policies. We're committed to providing you with well-researched, expert-backed insights for all your informational needs.


0 thoughts on “How To Remove Rust From A Toilet Brush”