Home>Furniture & Design>Bathroom Fixtures>How To Remove A Hard Water Stains From Shower Tile
Bathroom Fixtures
How To Remove A Hard Water Stains From Shower Tile
Modified: August 27, 2024
Learn how to effectively remove hard water stains from shower tiles and bathroom fixtures with our expert tips and solutions. Say goodbye to unsightly stains for good!
(Many of the links in this article redirect to a specific reviewed product. Your purchase of these products through affiliate links helps to generate commission for Storables.com, at no extra cost. Learn more)
Introduction
Welcome to our comprehensive guide on removing hard water stains from shower tiles. Hard water stains are a common nuisance in bathrooms, often caused by the mineral deposits left behind when water evaporates. These unsightly stains can make your beautiful tiles look dingy and unclean, but fear not – with the right techniques and materials, you can restore your shower tiles to their former glory.
In this article, we will delve into the nature of hard water stains, explore the materials needed for the cleaning process, and provide step-by-step instructions for three effective methods to banish those stubborn stains. Whether you prefer natural remedies or commercial cleaners, we have you covered. Additionally, we will share tips on preventing future hard water stains, helping you maintain a sparkling, pristine shower for the long term.
Say goodbye to the frustration of dealing with unsightly hard water stains, and get ready to reclaim the brilliance of your shower tiles. Let’s dive in and discover how to remove hard water stains from shower tiles once and for all.
Key Takeaways:
- Say goodbye to hard water stains on shower tiles with vinegar, baking soda, or commercial cleaners. Prevent future stains with regular cleaning, ventilation, and water softeners for a sparkling, pristine shower space.
- Combat hard water stains on shower tiles using vinegar, baking soda, or commercial cleaners. Prevent future stains with regular cleaning, ventilation, and water softeners for a sparkling, pristine shower space.
Understanding Hard Water Stains
Before we jump into the cleaning methods, it’s important to understand what hard water stains are and why they form. Hard water contains a high concentration of minerals such as calcium and magnesium. When hard water comes into contact with surfaces like shower tiles, the minerals can leave behind stubborn, chalky deposits as the water evaporates. Over time, these deposits accumulate and form unsightly stains that can be quite challenging to remove.
Hard water stains are often noticeable as white, cloudy marks on the surface of the tiles. In severe cases, these stains can become darker and more entrenched, making them even harder to eliminate. Not only are hard water stains unattractive, but they can also diminish the overall cleanliness and appeal of your shower space.
It’s essential to address hard water stains promptly to prevent them from becoming more difficult to remove. By understanding the nature of these stains, you can choose the most effective method for tackling them and achieve the best results.
Now that we have a clear understanding of hard water stains, let’s explore the materials needed to combat this common bathroom annoyance.
Materials Needed
Before embarking on the mission to banish hard water stains from your shower tiles, it’s crucial to gather the necessary materials. Fortunately, the items required for this task are readily available and often found in the average household. Here’s what you’ll need:
- Vinegar: This versatile household staple is highly effective in breaking down hard water stains due to its acidic nature. White vinegar is the preferred choice for this purpose.
- Baking Soda: Known for its gentle abrasive properties, baking soda is an excellent natural cleaner that can help lift and remove stubborn stains from tiles without causing damage.
- Lemon Juice: The citric acid in lemon juice can work wonders in dissolving mineral deposits, making it a valuable ally in the battle against hard water stains.
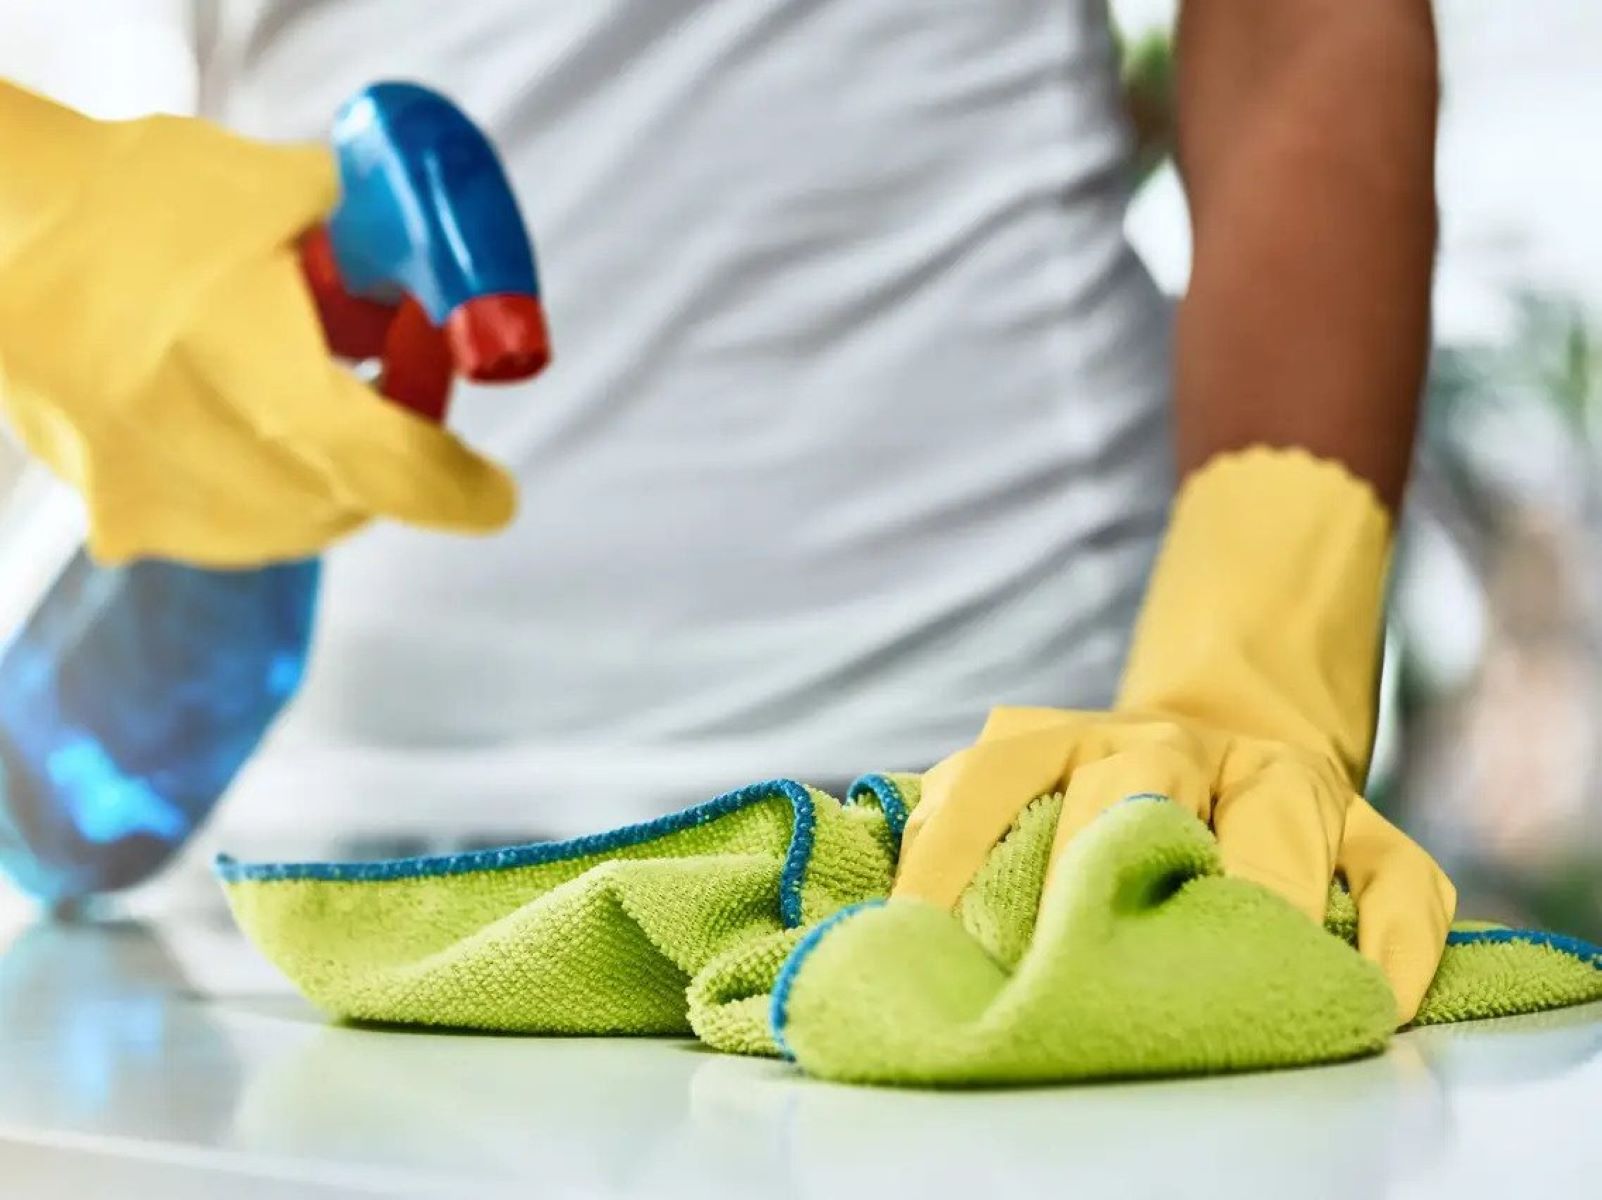
- Soft Cloth or Sponge: A soft cloth or sponge is essential for applying the cleaning solutions to the affected areas and gently scrubbing the tiles.
- Commercial Cleaner: If you opt for a commercial cleaner, choose a product specifically formulated to target hard water stains. Read and follow the manufacturer’s instructions carefully.
- Spray Bottle: For homemade cleaning solutions, a spray bottle is convenient for applying the mixture evenly onto the tiles.
- Protective Gloves: When working with cleaning solutions, it’s advisable to wear protective gloves to safeguard your skin.
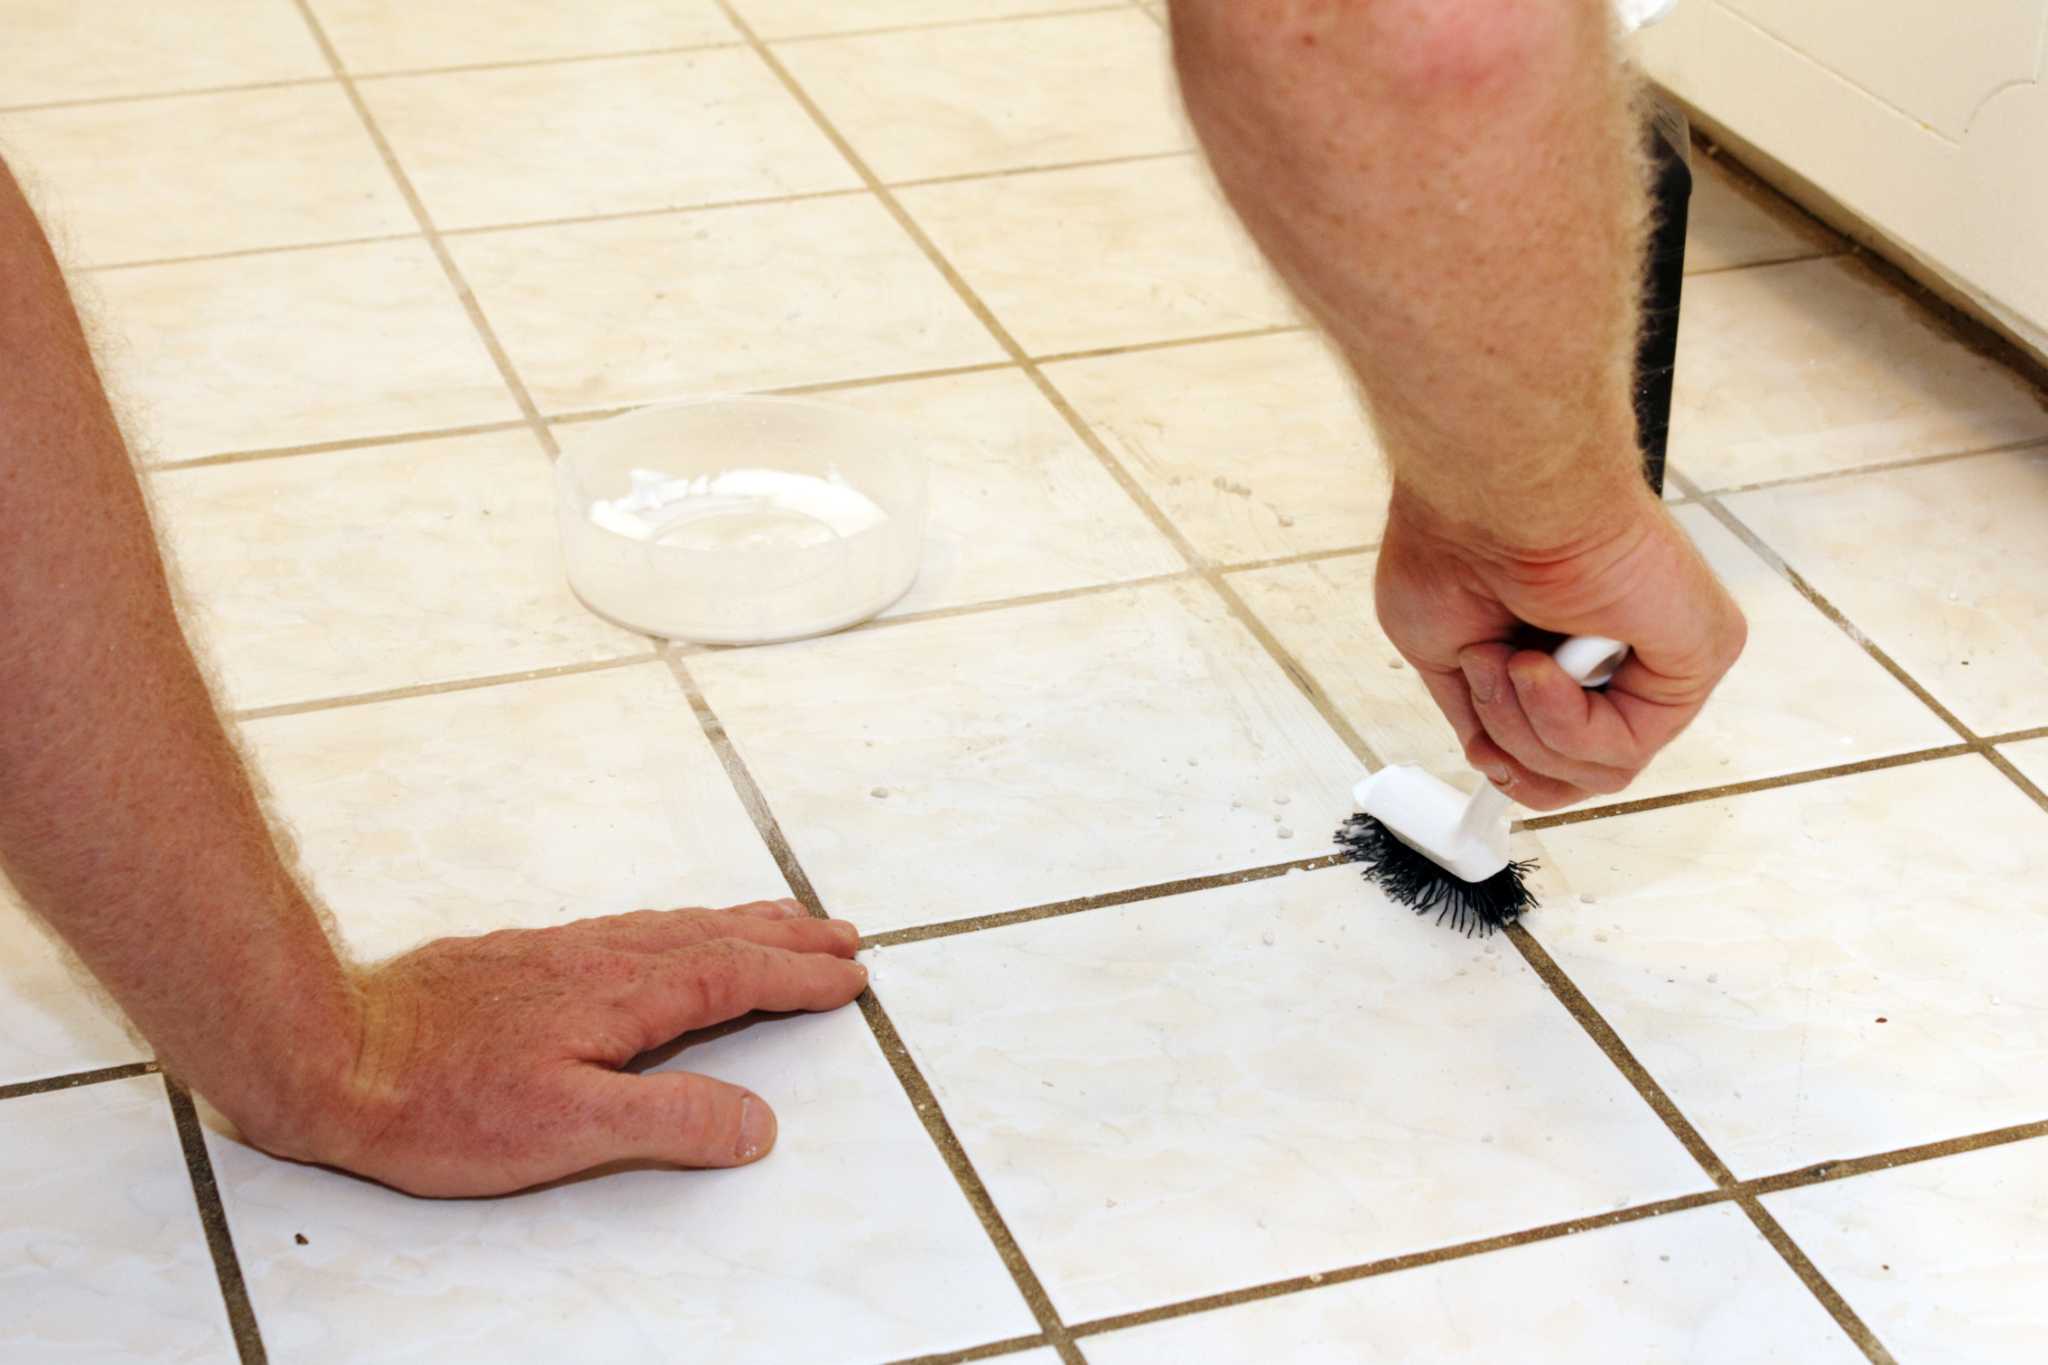
- Old Toothbrush: An old toothbrush can be repurposed as a gentle scrubbing tool for targeting small or intricate areas where stains have accumulated.
With these materials at your disposal, you’re well-equipped to tackle hard water stains using the method that best suits your preference and the severity of the stains. In the following sections, we will explore three effective methods for removing hard water stains from shower tiles, so you can choose the approach that aligns with your cleaning style and available resources.
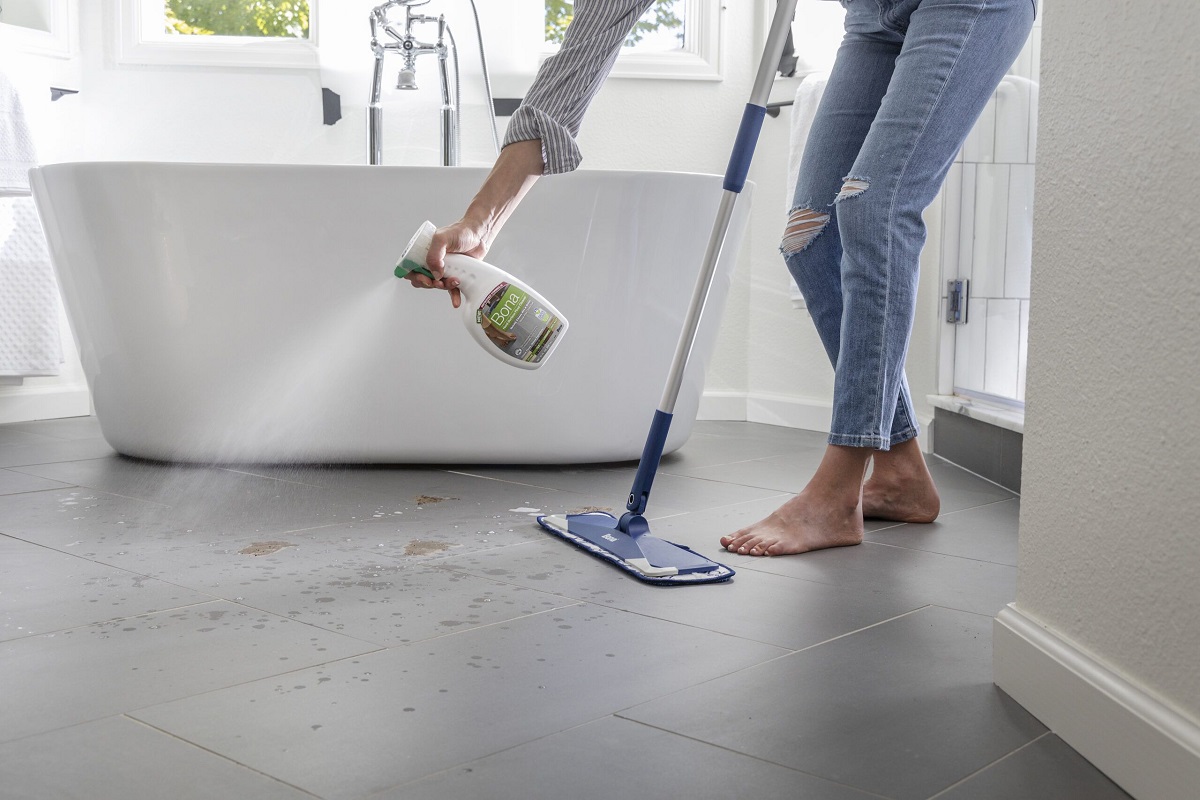
Method 1: Using Vinegar
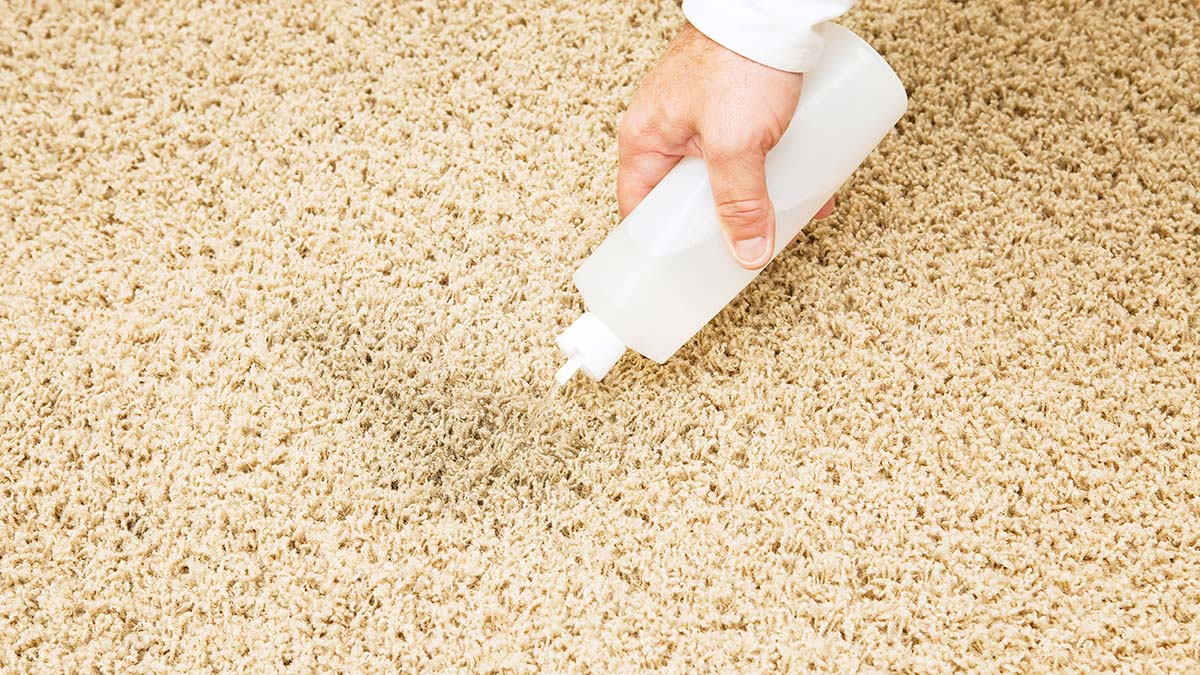
Vinegar is a powerhouse when it comes to natural cleaning, and its acidic properties make it an excellent ally in the fight against hard water stains. Follow these steps to harness the stain-busting potential of vinegar:
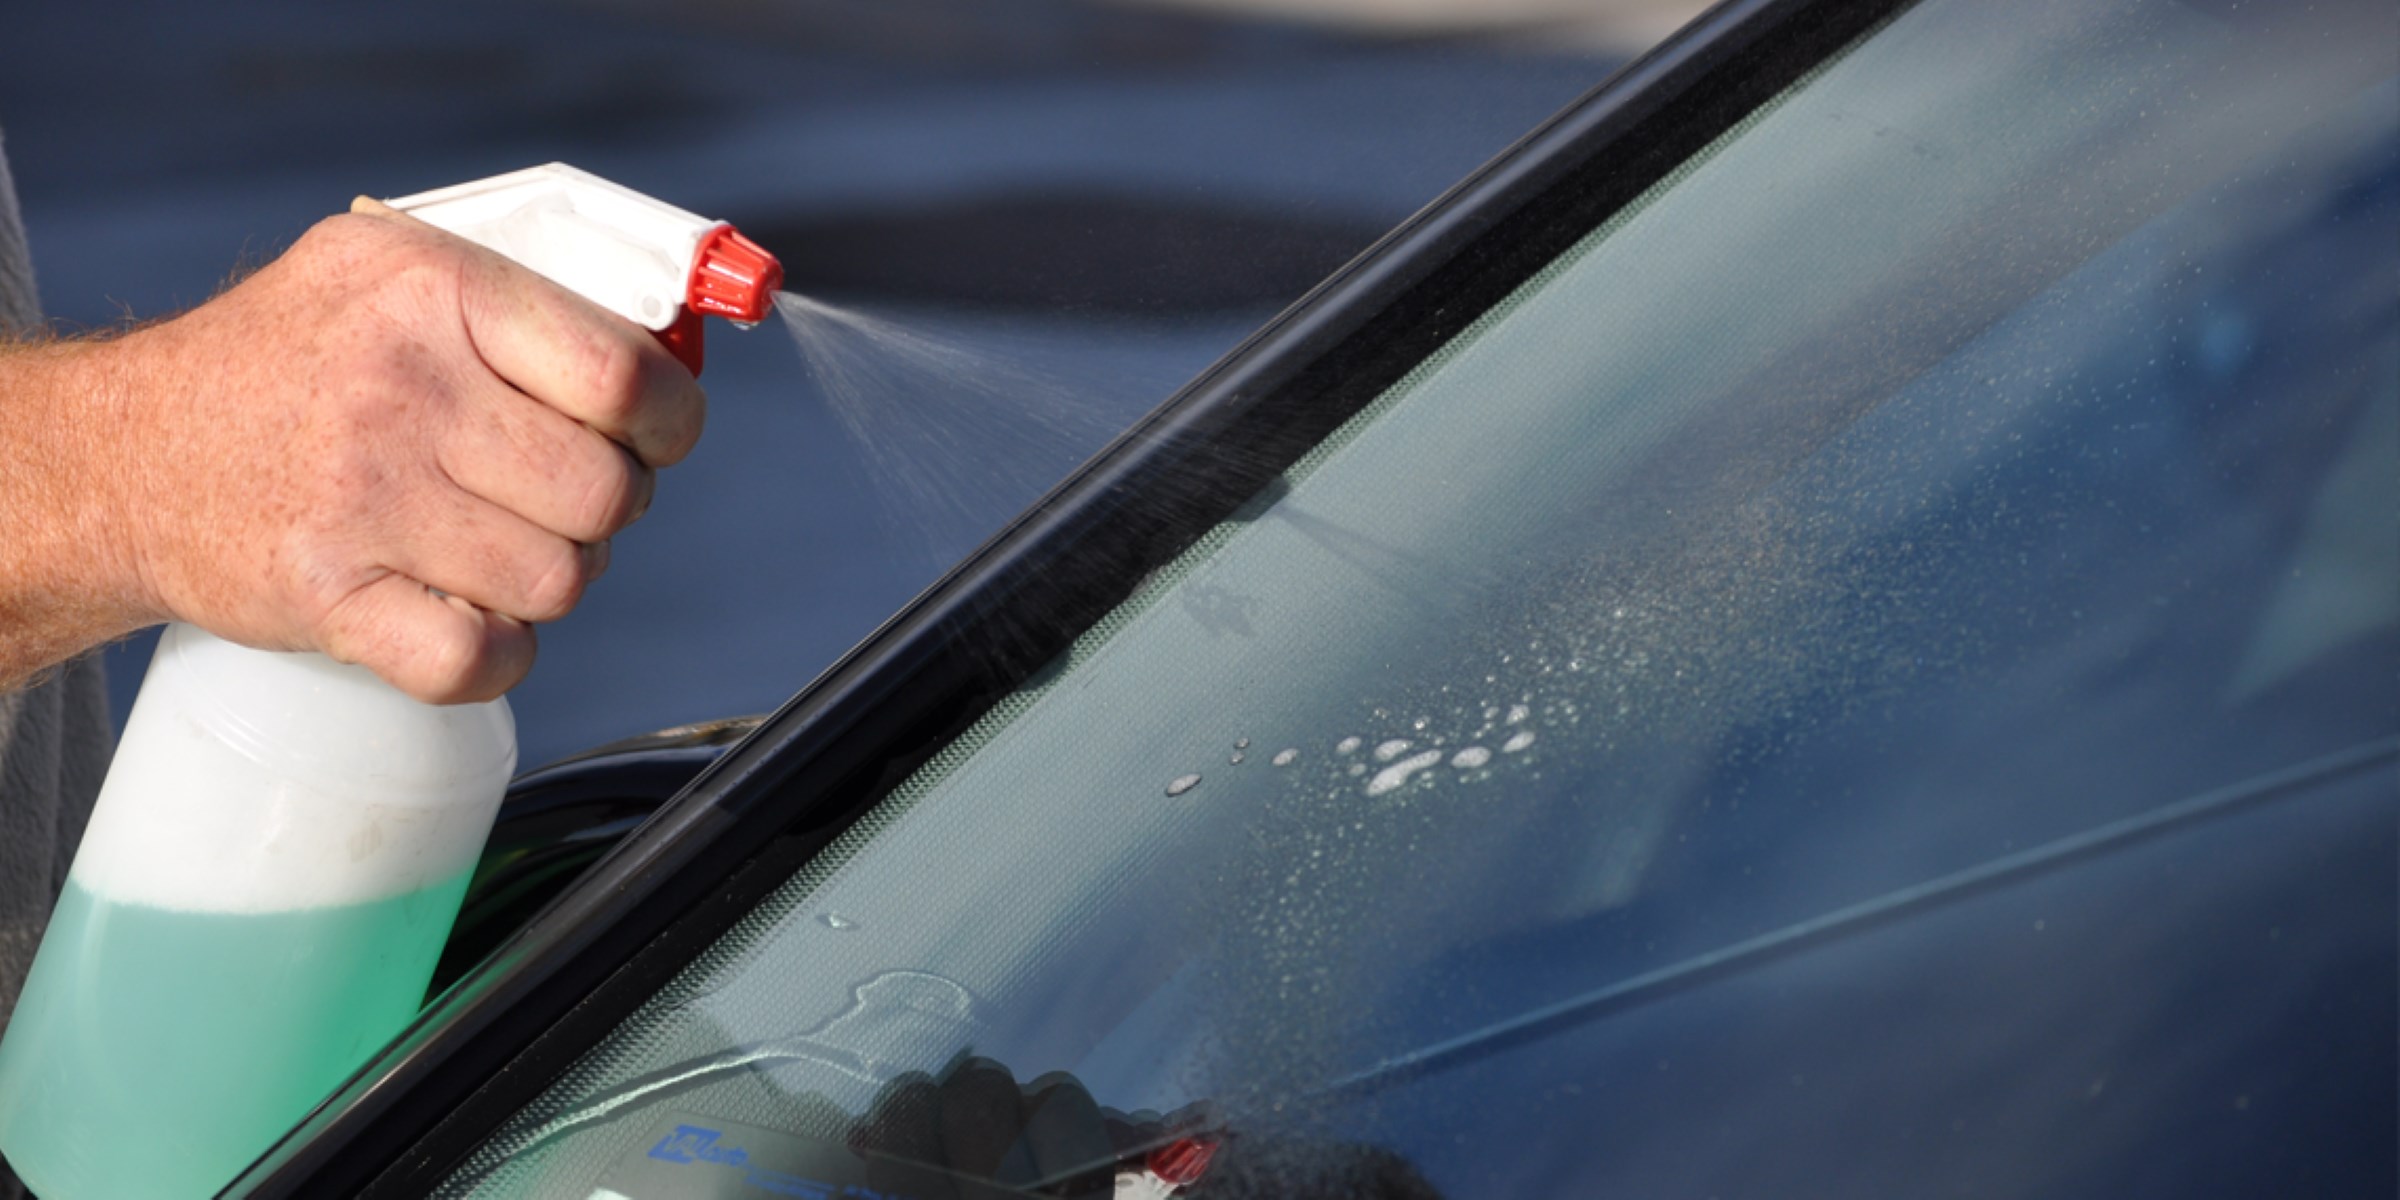
- Prepare the Vinegar Solution: In a spray bottle, mix equal parts of white vinegar and water. The diluted vinegar will be gentle on the tiles while still effectively tackling the hard water stains.
- Apply the Solution: Liberally spray the vinegar solution onto the affected areas of the shower tiles, ensuring thorough coverage of the stains.
- Allow Dwell Time: Let the vinegar solution sit on the tiles for at least 15-20 minutes to penetrate and break down the mineral deposits causing the stains.
- Scrub Gently: Using a soft cloth or sponge, gently scrub the treated areas to help lift the loosened deposits. For more stubborn stains, an old toothbrush can be used to target specific spots.
- Rinse and Dry: Once the stains have been effectively loosened and lifted, rinse the tiles thoroughly with water to remove any remaining vinegar solution. Dry the tiles with a clean, dry cloth to reveal the refreshed, stain-free surface.
Using vinegar to combat hard water stains offers a natural and cost-effective solution that is gentle on your tiles while delivering impressive results. If you prefer to explore alternative natural cleaning methods, read on to discover how baking soda can be employed to restore the luster of your shower tiles.
Mix equal parts of white vinegar and water in a spray bottle. Spray the solution onto the hard water stains and let it sit for a few minutes. Scrub the area with a brush or sponge, then rinse with water. Repeat if necessary.
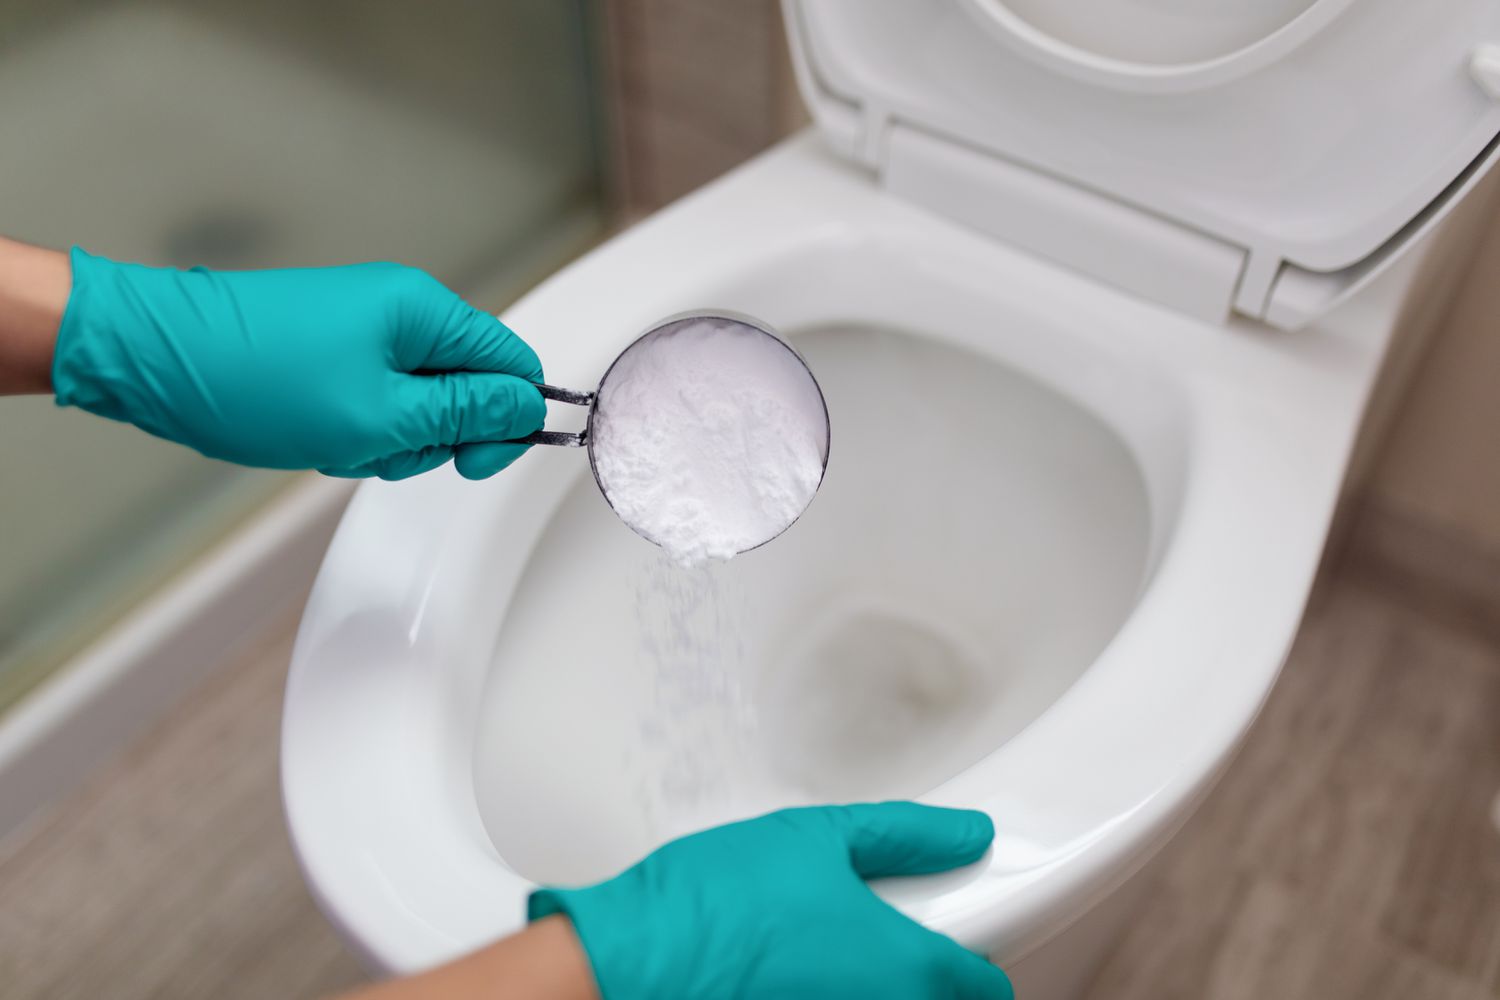
Method 2: Using Baking Soda
When it comes to gentle yet effective cleaning, baking soda is a household hero. Its mild abrasive nature makes it an ideal candidate for tackling hard water stains without causing damage to the tiles. Follow these steps to harness the stain-lifting power of baking soda:
- Create a Baking Soda Paste: In a small bowl, mix baking soda with a small amount of water to form a thick, spreadable paste. The paste should have a consistency that allows it to adhere to the tiles without dripping.
- Apply the Paste: Using a soft cloth or sponge, spread the baking soda paste onto the areas affected by hard water stains. Ensure that the stains are completely covered with the paste.
- Let it Sit: Allow the baking soda paste to sit on the stains for approximately 10-15 minutes. During this time, the gentle abrasiveness of the baking soda will work to lift the mineral deposits from the tiles.
- Scrub and Rinse: Gently scrub the treated areas with the cloth or sponge to work the baking soda paste into the stains. After scrubbing, rinse the tiles thoroughly with water to remove the paste and reveal the refreshed surface.
- Dry the Tiles: Once the stains have been lifted and the tiles rinsed, use a clean, dry cloth to dry the tiles, ensuring that no residue is left behind.
Utilizing baking soda to combat hard water stains offers a gentle and natural approach to restoring the brilliance of your shower tiles. If you’re seeking an alternative to natural remedies and prefer the convenience of commercial cleaners, the next method will guide you through using specialized products to eliminate hard water stains effectively.
Read more: How To Remove Hard Water Stains From Glass
Method 3: Using Commercial Cleaners
For those who prefer the convenience of specialized cleaning products, commercial cleaners formulated to target hard water stains can provide an effective solution. When selecting a commercial cleaner, opt for a product specifically designed to dissolve mineral deposits and tackle tough stains without damaging the tiles. Follow these steps to make the most of a commercial cleaner:
- Read the Instructions: Before using the commercial cleaner, carefully read and follow the manufacturer’s instructions and safety guidelines. Different products may have specific application methods and dwell times.
- Apply the Cleaner: Using the commercial cleaner as directed, apply the product to the areas affected by hard water stains. Ensure thorough coverage of the stains while avoiding excessive application.
- Allow Dwell Time: Follow the recommended dwell time specified on the product’s instructions. This allows the cleaner to effectively penetrate and break down the mineral deposits causing the stains.
- Scrub if Necessary: For more stubborn stains, gently scrub the treated areas with a soft cloth or sponge to aid in lifting the loosened deposits. Ensure that the scrubbing is done with care to avoid damaging the tiles.
- Rinse and Dry: Once the stains have been effectively treated, rinse the tiles thoroughly with water to remove any remaining cleaner. Dry the tiles with a clean, dry cloth to reveal the revitalized, stain-free surface.
Commercial cleaners designed for hard water stains offer a convenient and powerful solution for restoring the pristine appearance of your shower tiles. By following the manufacturer’s instructions and using the product as directed, you can effectively combat stubborn stains and achieve a sparkling clean result.
Now that we’ve explored three effective methods for removing hard water stains from shower tiles, let’s turn our attention to preventing future buildup and maintaining the beauty of your tiles over time.
Preventing Future Hard Water Stains
After investing time and effort into removing hard water stains from your shower tiles, it’s natural to want to prevent their return. By implementing proactive measures, you can minimize the recurrence of these stubborn stains and maintain the pristine appearance of your tiles. Consider the following preventive strategies:
- Regular Cleaning: Establish a regular cleaning routine for your shower tiles to prevent mineral deposits from accumulating and forming hard water stains. Consistent maintenance can help keep your tiles looking fresh and clean.
- Ventilation: Ensure proper ventilation in your bathroom to reduce moisture and minimize the buildup of mineral deposits. Use exhaust fans or open windows during and after showering to promote airflow and aid in drying the tiles.
- Squeegee After Showering: After each shower, use a squeegee to remove excess water from the tiles. This simple step can help prevent mineral deposits from forming as the water evaporates, reducing the likelihood of hard water stains.
- Use Water Softeners: Consider installing a water softener to reduce the mineral content in your water supply. Water softeners can effectively minimize the formation of hard water stains throughout your plumbing fixtures, including shower tiles.
- Homemade Daily Cleaner: Create a daily cleaning solution using equal parts water and white vinegar in a spray bottle. After each shower, lightly mist the tiles with the solution and wipe them down with a cloth to help prevent the buildup of mineral deposits.
By incorporating these preventive measures into your bathroom maintenance routine, you can significantly reduce the likelihood of hard water stains reappearing on your shower tiles. Consistent care and proactive strategies can contribute to the long-term beauty and cleanliness of your bathroom surfaces.
With the knowledge and techniques provided in this guide, you are well-equipped to combat hard water stains effectively and maintain the luster of your shower tiles. By following the methods outlined and implementing preventive measures, you can enjoy a pristine and inviting shower space for years to come.
Conclusion
Congratulations on completing our comprehensive guide on removing hard water stains from shower tiles! Armed with the knowledge and techniques provided in this article, you are now equipped to tackle stubborn stains and maintain the beauty of your shower tiles with confidence.
We began by delving into the nature of hard water stains, understanding their formation and impact on the appearance of your tiles. By gaining insight into the causes of these stains, you are better prepared to address them effectively.
Next, we explored the essential materials needed for the cleaning process, ensuring that you are well-prepared to embark on the mission of banishing hard water stains from your shower tiles. Whether you opt for natural remedies or commercial cleaners, having the right materials at your disposal is key to achieving successful results.
Our journey then led us through three effective methods for removing hard water stains, including the use of vinegar, baking soda, and commercial cleaners. Each method offers a unique approach to combatting stains, catering to a range of preferences and resources. Whether you prefer natural solutions or the convenience of specialized products, you have the flexibility to choose the method that best suits your needs.
Furthermore, we explored preventive strategies to help you minimize the recurrence of hard water stains, empowering you to maintain the pristine appearance of your shower tiles over time. By implementing these proactive measures, you can enjoy a sparkling, stain-free shower space for the long term.
As you bid farewell to hard water stains and embrace the revitalized beauty of your shower tiles, remember that consistent care and maintenance are key to preserving the cleanliness and appeal of your bathroom surfaces. With the knowledge and techniques acquired from this guide, you are well-prepared to conquer hard water stains and maintain a fresh, inviting shower space.
Thank you for joining us on this journey to reclaim the brilliance of your shower tiles. Here’s to a sparkling, stain-free shower that exudes cleanliness and charm!
Frequently Asked Questions about How To Remove A Hard Water Stains From Shower Tile
Was this page helpful?
At Storables.com, we guarantee accurate and reliable information. Our content, validated by Expert Board Contributors, is crafted following stringent Editorial Policies. We're committed to providing you with well-researched, expert-backed insights for all your informational needs.


0 thoughts on “How To Remove A Hard Water Stains From Shower Tile”