Home>Kitchen & Cooking>Kitchen Gadgets & Utensils>How To Use A Waiter Corkscrew

Kitchen Gadgets & Utensils
How To Use A Waiter Corkscrew
Published: February 16, 2024
Learn how to use a waiter corkscrew with ease and impress your guests. Essential for any kitchen, this versatile tool is a must-have for wine enthusiasts and home cooks. Discover the best techniques for using this handy kitchen gadget and utensil.
(Many of the links in this article redirect to a specific reviewed product. Your purchase of these products through affiliate links helps to generate commission for Storables.com, at no extra cost. Learn more)
Introduction
Welcome to the world of wine enthusiasts and connoisseurs! If you're eager to savor the rich aromas and flavors of your favorite bottle of wine, mastering the art of using a waiter corkscrew is an essential skill. Whether you're a seasoned sommelier or a casual wine enthusiast, understanding the nuances of this classic tool can elevate your wine-opening experience to new heights.
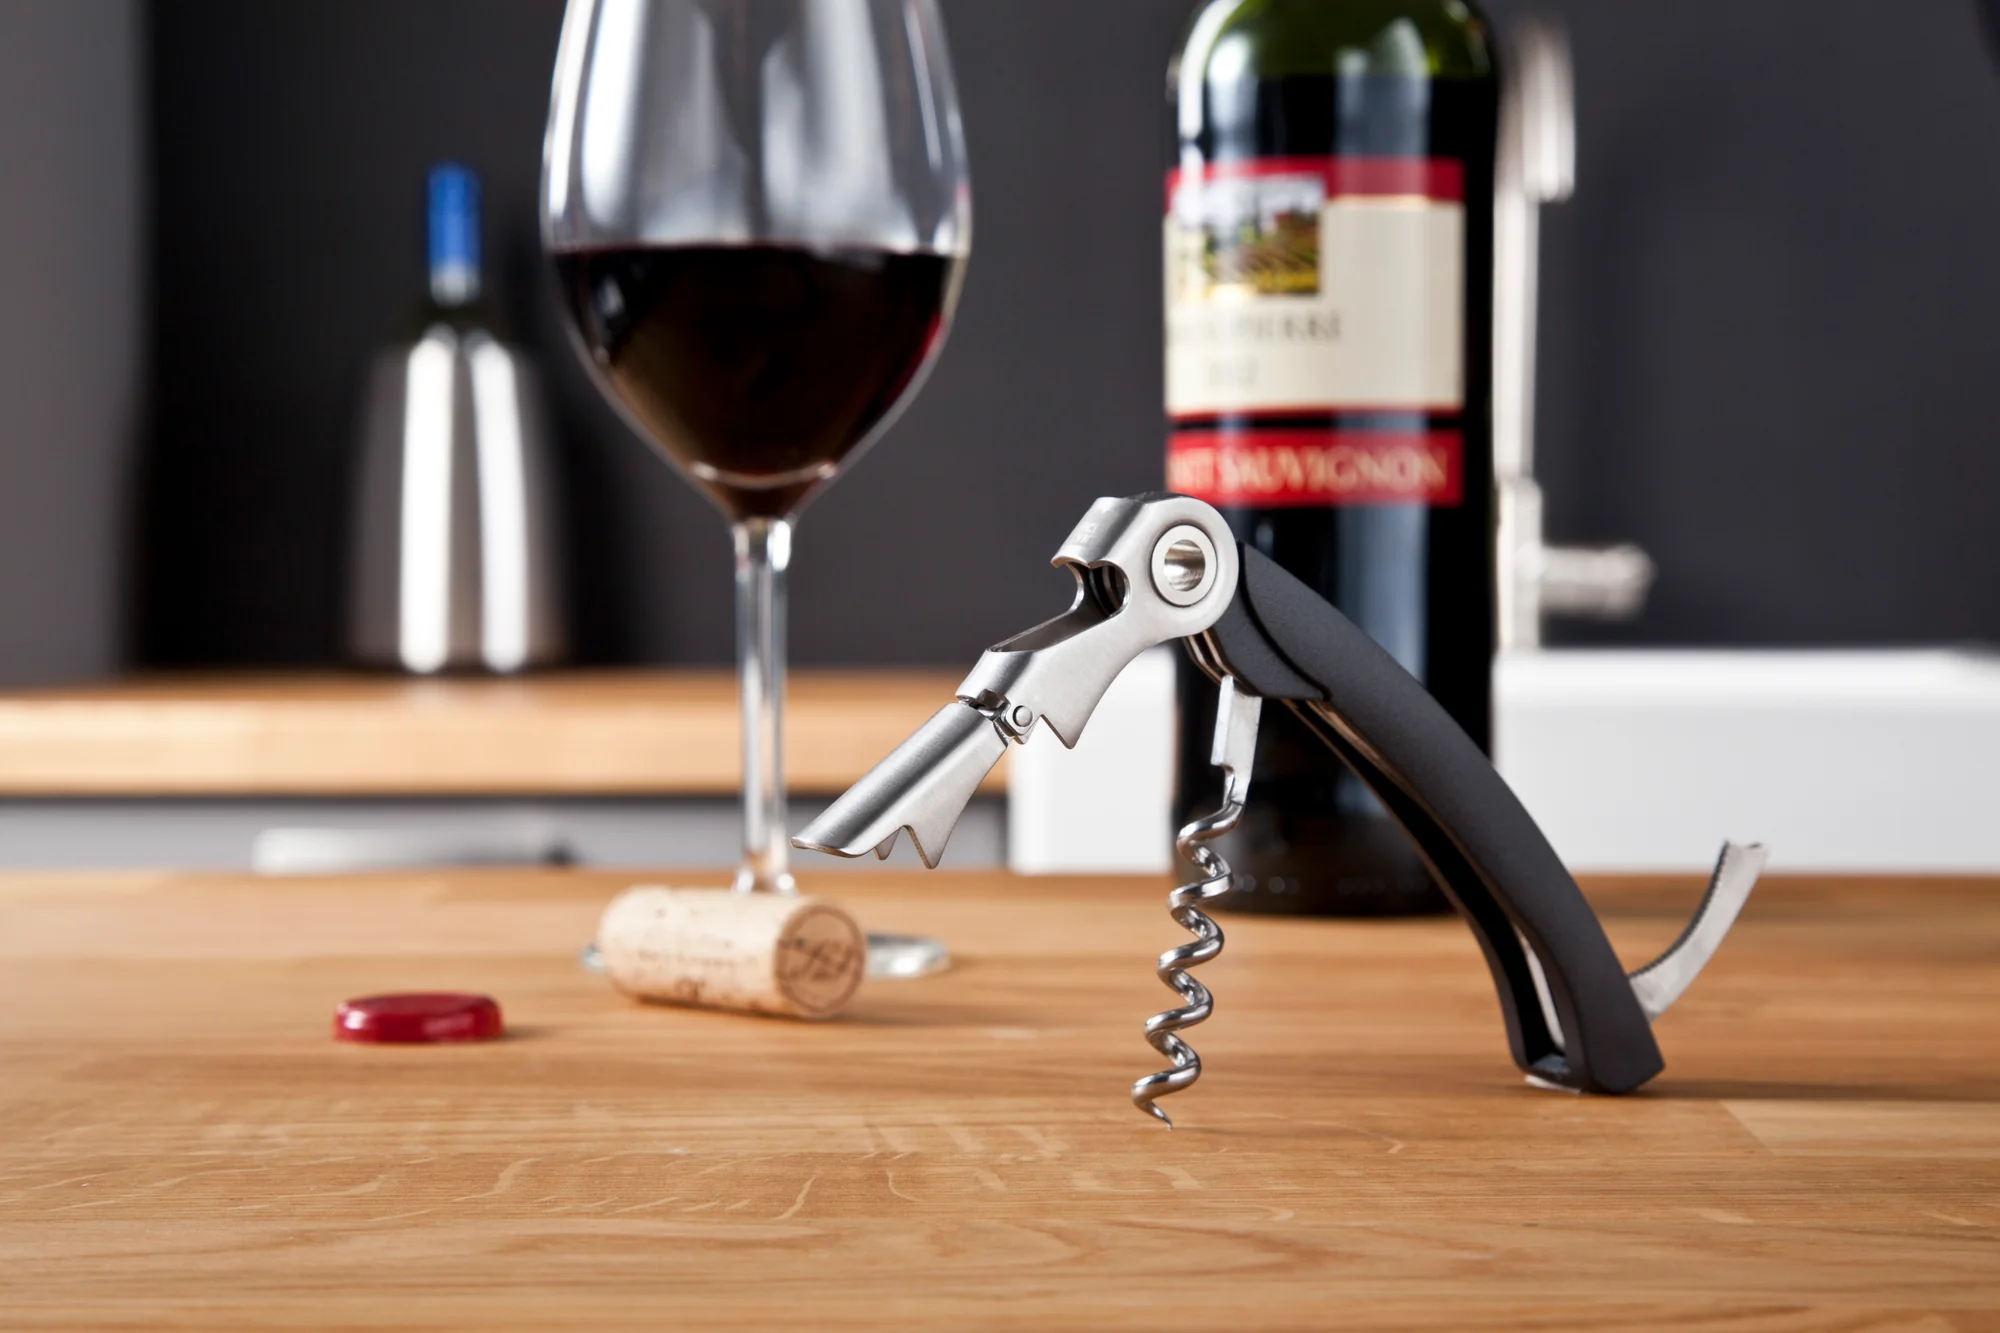
The waiter corkscrew, also known as a wine key or sommelier knife, is a versatile and compact tool designed for effortlessly uncorking wine bottles. Its simple yet ingenious design comprises several key components that work in harmony to make the uncorking process smooth and efficient. From cutting the foil to leveraging the cork, each step requires finesse and precision to ensure a seamless uncorking experience.
In this comprehensive guide, we will delve into the intricacies of using a waiter corkscrew, providing you with a step-by-step walkthrough that will empower you to confidently uncork your favorite bottles of wine. Whether you're preparing for a cozy evening at home or aiming to impress guests with your wine service skills, mastering the art of using a waiter corkscrew is a valuable asset for any wine enthusiast.
So, grab your favorite bottle of wine, uncork your curiosity, and let's embark on a journey to unravel the art of using a waiter corkscrew. By the end of this guide, you'll be equipped with the knowledge and confidence to wield this timeless tool with finesse, ensuring that every uncorking experience is a seamless and gratifying endeavor. Let's raise our glasses to the art of uncorking and savoring the exquisite flavors that await within each bottle of wine. Cheers to the adventure that lies ahead!
Key Takeaways:
- Mastering the art of using a waiter corkscrew involves precision and finesse, from cutting the foil to extracting the cork, creating a gratifying and immersive wine-opening experience.
- Understanding the parts and steps of using a waiter corkscrew empowers wine enthusiasts to unlock the rich aromas and flavors of their favorite bottles with confidence and grace.
Read more: How To Use A Pocket Corkscrew
Understanding the Parts of a Waiter Corkscrew
Before delving into the intricacies of using a waiter corkscrew, it's essential to familiarize yourself with the various components that comprise this versatile tool. Understanding the parts of a waiter corkscrew is the first step towards mastering its functionality and leveraging its capabilities to effortlessly uncork your favorite bottles of wine.
-
Handle: The handle of a waiter corkscrew serves as the grip for the user, providing a comfortable and secure hold during the uncorking process. It is often ergonomically designed to ensure ease of use and minimize hand fatigue.
-
Foil Cutter: Positioned at the base of the corkscrew, the foil cutter features two sharp circular blades that are used to remove the foil or capsule covering the top of the wine bottle. This component streamlines the uncorking process by allowing easy access to the cork.
-
Worm or Spiral Screw: The worm, also known as the spiral screw, is a crucial element of the corkscrew. Its helical design enables it to penetrate the cork securely, ensuring a firm grip for smooth extraction.
-
Fulcrum or Hinge: The fulcrum, often located at the base of the corkscrew, serves as the pivot point for the lever. It provides stability and leverage during the cork removal process, allowing for controlled and efficient extraction.
-
Lever: The lever, also referred to as the boot lever, is utilized to leverage the cork out of the bottle once the worm is firmly embedded. Its ergonomic design and mechanical advantage make it easier to extract the cork with minimal effort.
By familiarizing yourself with these essential components, you'll gain a deeper understanding of how a waiter corkscrew functions and how each part contributes to the seamless uncorking of wine bottles. With this foundational knowledge in place, you're ready to embark on the next steps of using a waiter corkscrew with confidence and finesse.
Step 1: Cutting the Foil
The first step in using a waiter corkscrew is to prepare the wine bottle for uncorking by cutting the foil or capsule that covers the top of the bottle. This process not only enhances the aesthetics of the uncorking experience but also facilitates easy access to the cork, ensuring a seamless extraction. The foil cutter, an integral component of the corkscrew, is designed to effortlessly remove the foil with precision and efficiency.
To begin, position the sharp circular blades of the foil cutter directly below the lip of the bottle's neck, ensuring that the blades encircle the entire circumference of the foil. Applying gentle pressure, rotate the corkscrew in a smooth, controlled motion, allowing the blades to score the foil. As the cutter completes a full rotation, the top portion of the foil is neatly severed, exposing the cork and preparing it for extraction.
It's essential to exercise caution and precision during this step to avoid damaging the cork or leaving residual foil fragments that could interfere with the uncorking process. By mastering the art of cutting the foil, you'll streamline the subsequent steps of using the corkscrew, setting the stage for a successful and gratifying uncorking experience.
As the foil is elegantly removed, the wine bottle is primed for the next phase of the uncorking process, signaling the transition to the subsequent steps of using the waiter corkscrew. With the foil neatly trimmed and the cork poised for extraction, you're now ready to embark on the next step of this timeless ritual, leveraging the corkscrew's capabilities to unlock the rich aromas and flavors concealed within the bottle.
Step 2: Inserting the Worm
With the foil elegantly removed, the spotlight now shifts to the pivotal phase of inserting the worm, also known as the spiral screw, into the cork. This crucial step sets the stage for the seamless extraction of the cork, requiring precision and finesse to ensure a secure grip and effortless removal.
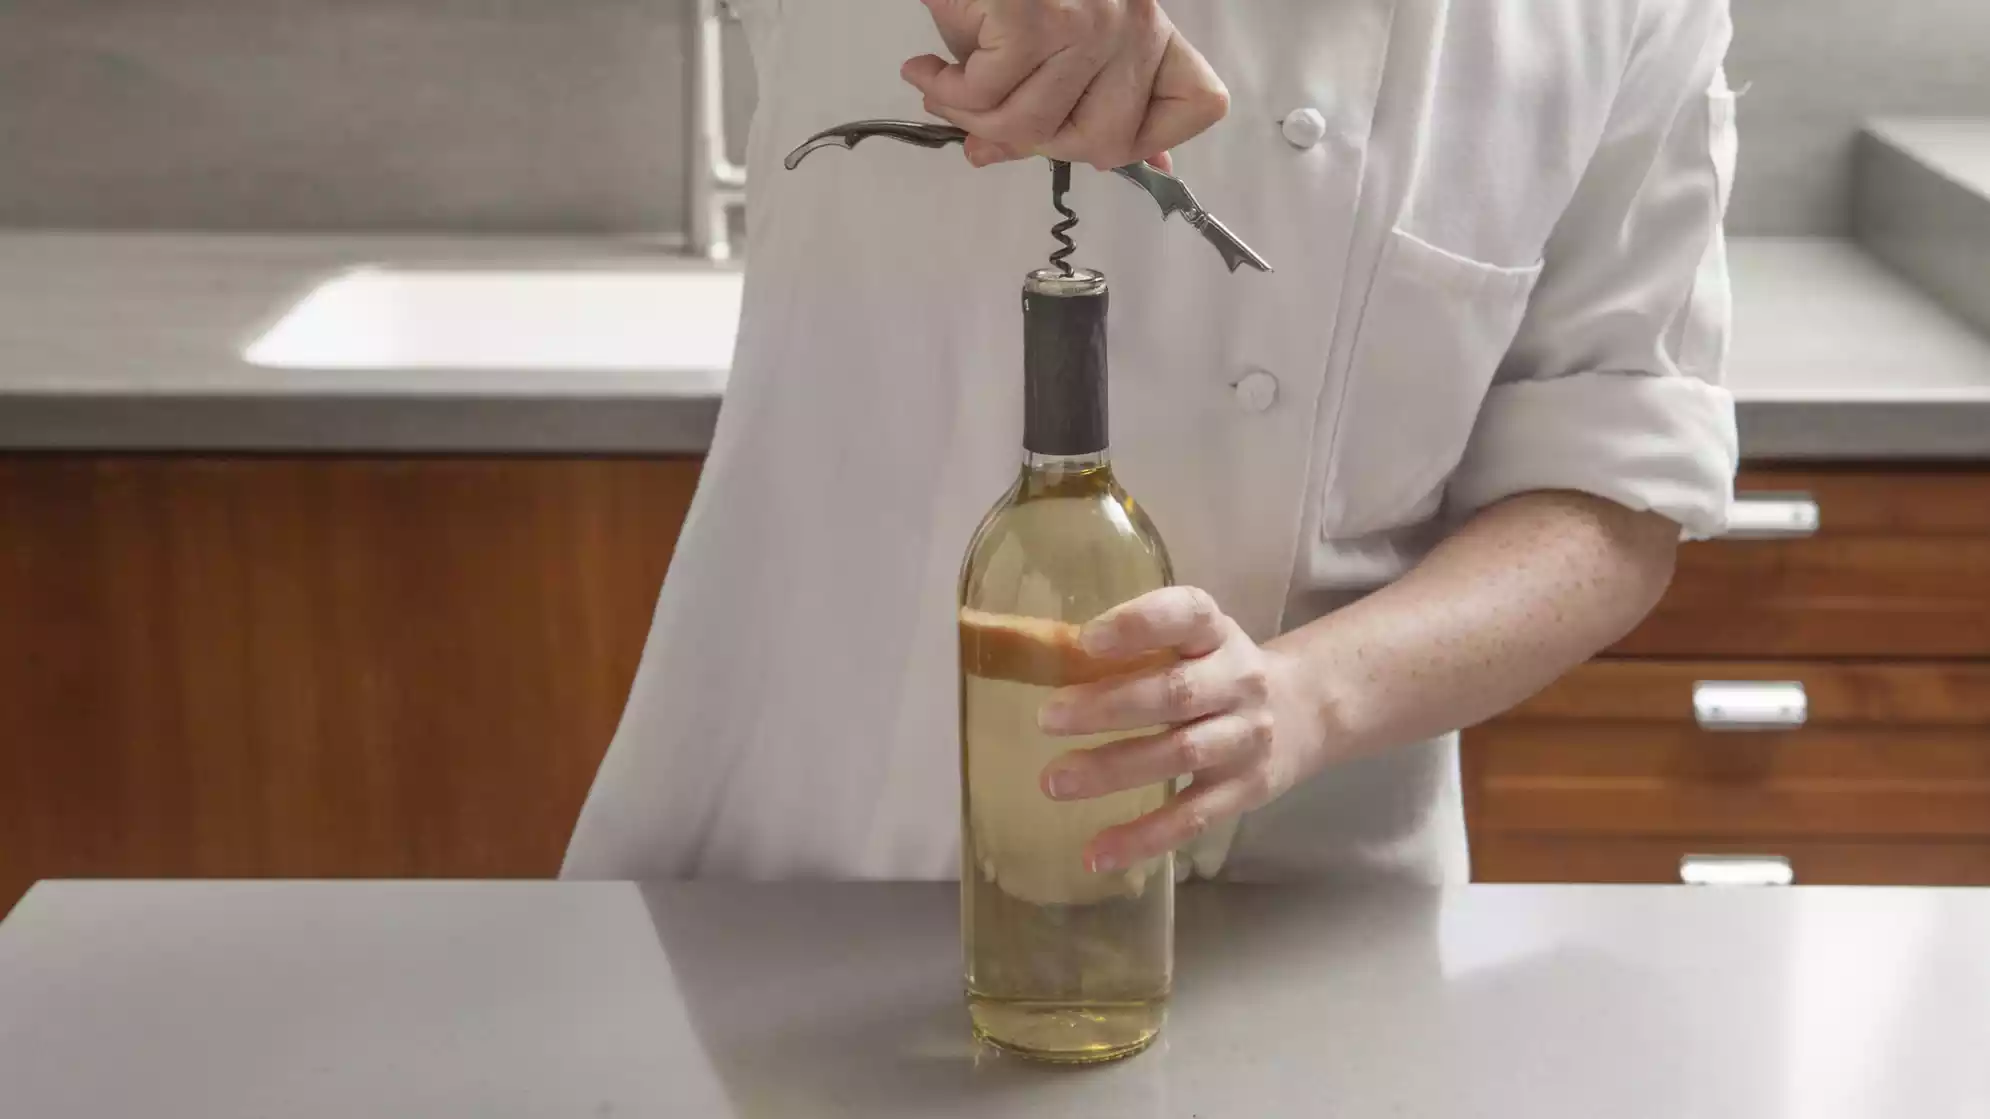
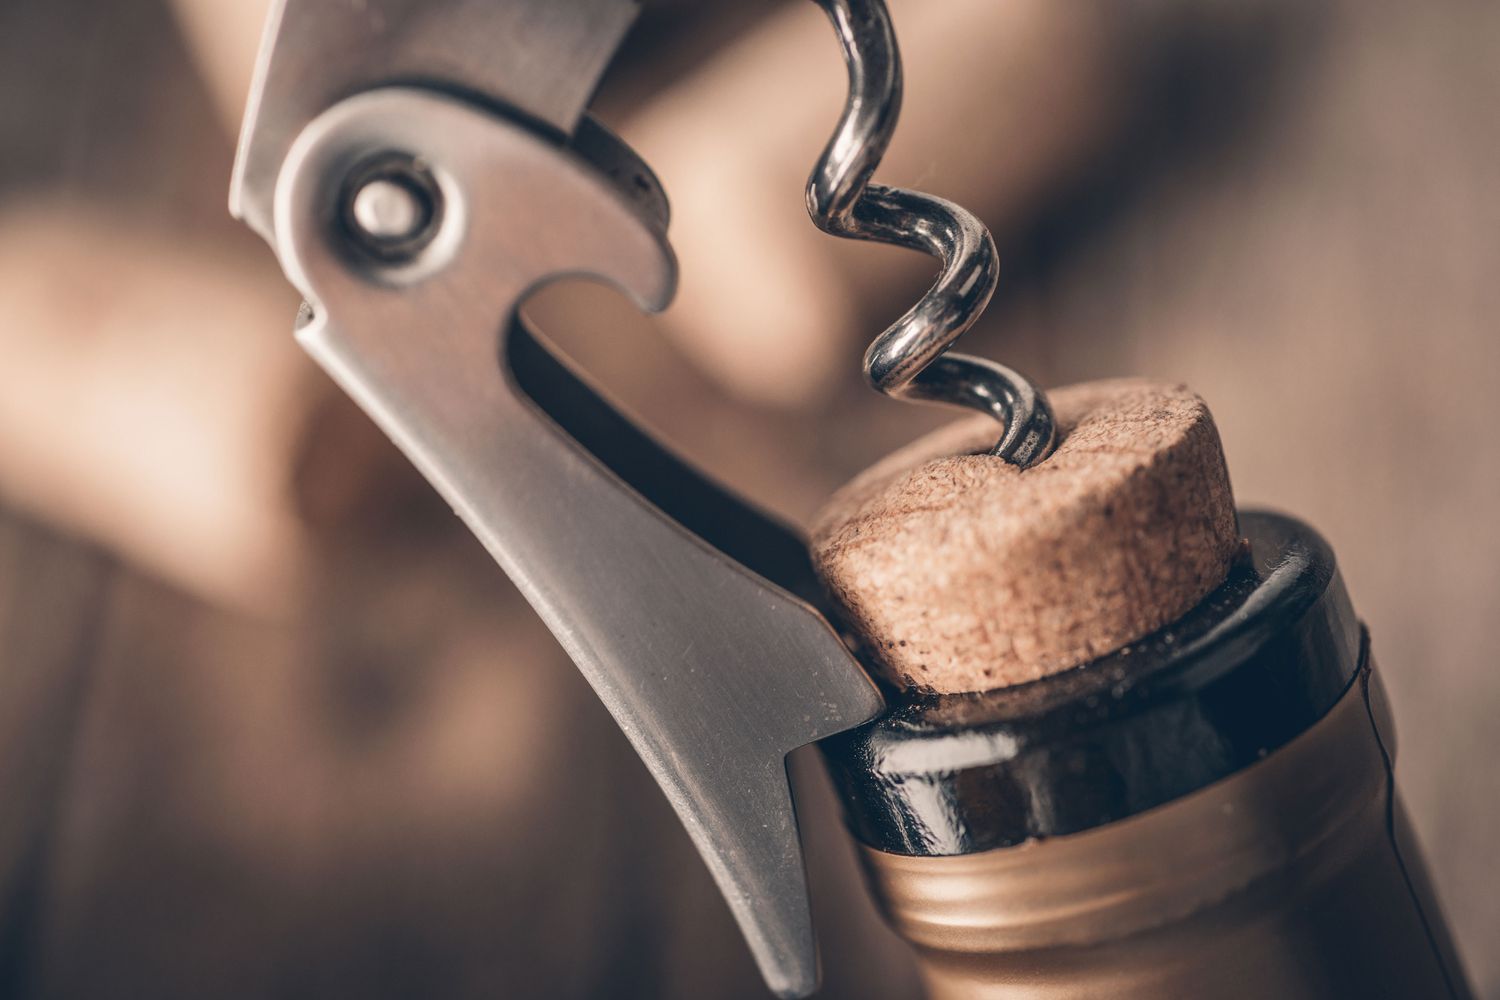
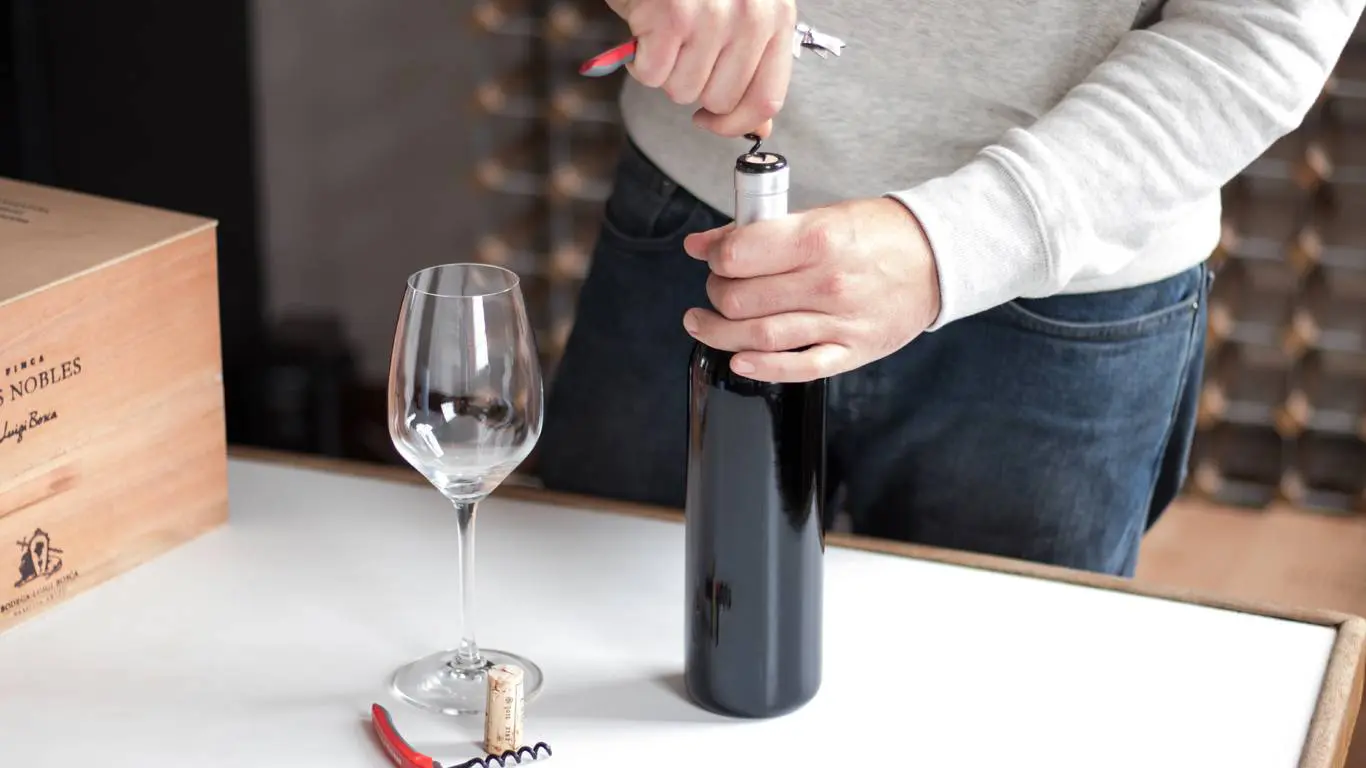
To commence this phase, position the tip of the worm at the center of the exposed cork, ensuring that it is aligned perpendicular to the bottle's neck. With a gentle yet firm grip, begin twisting the corkscrew's handle in a clockwise direction, allowing the worm to penetrate the cork gradually. The helical design of the worm facilitates a secure and stable insertion, ensuring that it embeds itself firmly into the cork without causing any splintering or breakage.
As the worm delves deeper into the cork, it's essential to maintain a steady and controlled rotation, ensuring that it penetrates the cork evenly and reaches the desired depth. This meticulous approach minimizes the risk of the cork crumbling or disintegrating, preserving its integrity and facilitating a smooth extraction process.
The sensation of the worm navigating through the cork serves as a tactile indicator of progress, providing valuable feedback on the depth of insertion and the cork's resistance. As the worm nears the base of the cork, a subtle increase in resistance may be felt, signaling that the worm has securely gripped the cork, setting the stage for the subsequent phase of leveraging the corkscrew's mechanical advantage to extract the cork effortlessly.
Mastering the art of inserting the worm is a testament to the precision and finesse inherent in the uncorking process, laying the foundation for a seamless and gratifying experience. With the worm firmly embedded and the cork primed for extraction, the stage is set for the next phase of leveraging the corkscrew's lever and fulcrum to unlock the rich aromas and flavors concealed within the bottle, culminating in a triumphant uncorking that heralds the beginning of a delightful wine-tasting journey.
When using a waiter corkscrew, make sure to insert the screw into the center of the cork at a slight angle. Use the first step to lift the cork slightly, then use the second step to fully remove it. Keep the corkscrew steady and use a twisting motion to avoid breaking the cork.
Step 3: Leveraging the Cork
As the worm securely penetrates the cork, the spotlight now shifts to the pivotal phase of leveraging the corkscrew's mechanical advantage to extract the cork effortlessly. This step harnesses the synergy between the lever and fulcrum, channeling controlled force to dislodge the cork from its snug confinement within the bottle's neck. The art of leveraging the cork epitomizes the finesse and precision inherent in the uncorking process, culminating in a seamless and gratifying extraction.
With the worm firmly embedded in the cork, position the fulcrum, often located at the base of the corkscrew, against the lip of the bottle's neck, ensuring a stable and secure anchor for the subsequent lever action. The fulcrum serves as the pivot point for the lever, providing the necessary stability and support to facilitate a controlled and efficient extraction process.
Now, engage the lever, also known as the boot lever, by placing it on the lip of the bottle's neck opposite the fulcrum. With a firm grip on the corkscrew's handle, begin exerting gentle yet deliberate downward pressure on the lever, leveraging its mechanical advantage to gradually ease the cork out of the bottle. The ergonomic design of the lever amplifies the force applied, minimizing the effort required while maximizing the efficiency of the extraction process.
As the lever descends, a harmonious interplay of forces unfolds, gradually dislodging the cork from its snug enclosure. The controlled application of force ensures that the cork emerges steadily and smoothly, preserving its integrity and preventing any potential breakage or crumbling. This meticulous approach underscores the finesse and precision essential to the art of leveraging the cork, transforming the uncorking process into a seamless and gratifying endeavor.
The tactile feedback of the cork yielding to the gentle yet purposeful pressure serves as a testament to the successful execution of this phase, heralding the imminent liberation of the cork. As the lever reaches its nadir, the cork emerges triumphantly, releasing a subtle sigh as it relinquishes its hold on the bottle, marking the culmination of a meticulously orchestrated uncorking ritual.
Mastering the art of leveraging the cork is a testament to the finesse and precision inherent in the uncorking process, underscoring the seamless synergy between the corkscrew's components. With the cork liberated and the bottle's contents poised for indulgence, the stage is set for a delightful wine-tasting journey, celebrating the art of uncorking and savoring the exquisite flavors that await within each bottle of wine.
Read more: How To Use A Wing Corkscrew
Step 4: Removing the Cork
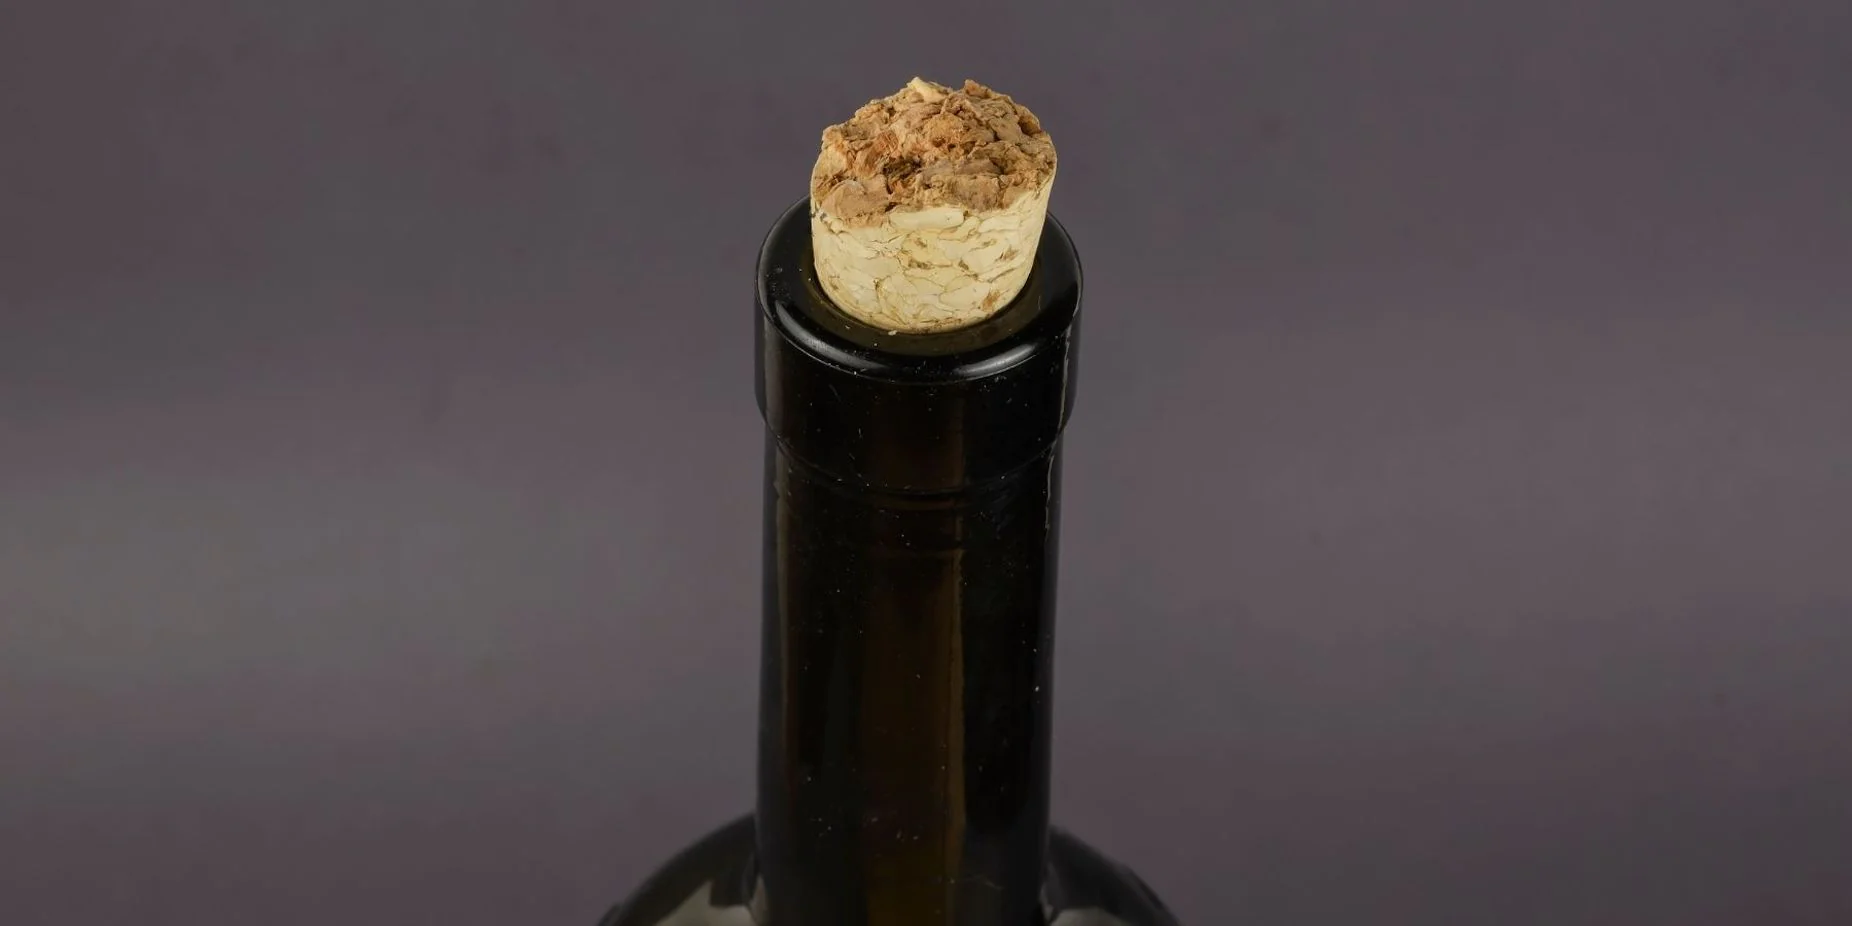
With the cork partially liberated from its snug confinement, the final phase of the uncorking process unfolds, culminating in the seamless and triumphant removal of the cork from the wine bottle. This pivotal step requires finesse and precision, as the cork emerges from the bottle, heralding the imminent indulgence in the exquisite contents it guards.
As the lever reaches its nadir, the liberated cork emerges further, propelled by the harmonious interplay of forces harnessed during the leveraging phase. With a steady and controlled motion, continue exerting gentle downward pressure on the lever, guiding the cork out of the bottle's neck with seamless grace. The ergonomic design of the lever amplifies the force applied, ensuring that the cork emerges steadily and smoothly, preserving its integrity and preventing any potential breakage or crumbling.
As the cork ascends, a sense of anticipation permeates the air, heralding the impending revelation of the bottle's contents. The tactile feedback of the cork yielding to the gentle yet purposeful pressure serves as a testament to the successful execution of this phase, underscoring the meticulous finesse and precision essential to the art of removing the cork.
As the cork emerges triumphantly, a subtle sigh accompanies its liberation, marking the culmination of a meticulously orchestrated uncorking ritual. With a final flourish, the cork relinquishes its hold on the bottle, unveiling the rich aromas and flavors concealed within. The triumphant extraction of the cork signifies the gateway to a delightful wine-tasting journey, celebrating the art of uncorking and savoring the exquisite contents that await within each bottle of wine.
Mastering the art of removing the cork is a testament to the finesse and precision inherent in the uncorking process, underscoring the seamless synergy between the corkscrew's components. With the cork liberated and the bottle's contents poised for indulgence, the stage is set for a delightful wine-tasting journey, celebrating the art of uncorking and savoring the exquisite flavors that await within each bottle of wine.
Conclusion
In the realm of wine appreciation, the art of using a waiter corkscrew transcends mere functionality, embodying a timeless ritual that celebrates the anticipation and indulgence inherent in uncorking a bottle of wine. As we conclude this comprehensive guide, it's evident that the journey of mastering the art of using a waiter corkscrew is a testament to the finesse, precision, and appreciation for the rich traditions that enrich the world of wine.
From the initial act of cutting the foil to the triumphant extraction of the cork, each step in using a waiter corkscrew is imbued with a sense of ceremony and reverence for the exquisite contents concealed within the bottle. The seamless interplay of the corkscrew's components, from the foil cutter to the lever, underscores the harmonious synergy that transforms the uncorking process into a gratifying and immersive experience.
As we reflect on the intricacies of using a waiter corkscrew, it becomes evident that this timeless tool serves as a conduit for unlocking not only the flavors and aromas of the wine but also the inherent sense of anticipation and celebration that accompanies the uncorking ritual. The tactile feedback of the foil yielding to the cutter, the worm navigating through the cork, and the lever coaxing the cork from its snug enclosure all contribute to a sensory symphony that elevates the act of uncorking to an art form.
Mastering the art of using a waiter corkscrew is a journey that transcends mere technique, encompassing a profound appreciation for the traditions, rituals, and sensory delights that define the world of wine. It is a testament to the enduring allure of uncorking a bottle of wine, a ritual that embodies the anticipation, celebration, and indulgence that enrich our lives.
As we raise our glasses to the art of uncorking, let us savor the knowledge and confidence gained from this guide, empowering us to embark on countless wine-tasting journeys with grace and finesse. May each uncorking experience be a testament to the timeless traditions and the rich tapestry of flavors that await within each bottle of wine. Cheers to the art of using a waiter corkscrew, a timeless ritual that continues to captivate and elevate our appreciation for the exquisite world of wine.
Frequently Asked Questions about How To Use A Waiter Corkscrew
Was this page helpful?
At Storables.com, we guarantee accurate and reliable information. Our content, validated by Expert Board Contributors, is crafted following stringent Editorial Policies. We're committed to providing you with well-researched, expert-backed insights for all your informational needs.




0 thoughts on “How To Use A Waiter Corkscrew”