Articles
How To Use Dryer
Modified: August 25, 2024
Learn how to use a dryer effectively with our informative articles. Discover tips and tricks for efficient drying and garment care.
(Many of the links in this article redirect to a specific reviewed product. Your purchase of these products through affiliate links helps to generate commission for Storables.com, at no extra cost. Learn more)
Introduction
Dryers are a valuable appliance in any household, simplifying the process of drying clothes and saving you time and effort. Whether you are a busy professional, a parent with children, or simply someone who wants to avoid the hassle of hanging clothes to dry, a dryer can be a game-changer. In this article, we will guide you through the steps of using a dryer effectively to get the best results.
Before diving into the specifics, it is essential to mention some safety precautions to ensure a smooth and safe drying experience. Always read the manufacturer’s instructions and follow the guidelines carefully to prevent accidents or damage to the dryer or your clothes. It is also crucial to clean the lint filter before every use to maintain proper airflow and prevent the risk of fire.
Now that we have covered the basics, let’s move on to the step-by-step process of using a dryer.
Key Takeaways:
- Master the art of using a dryer by following safety precautions, proper preparation, and selecting the right settings. Enjoy the convenience of dry clothes while ensuring safety and efficiency.
- Prioritize safety, maintenance, and proper laundry preparation to achieve optimal drying results with your dryer. Follow the steps and enjoy the convenience of freshly dried clothes.
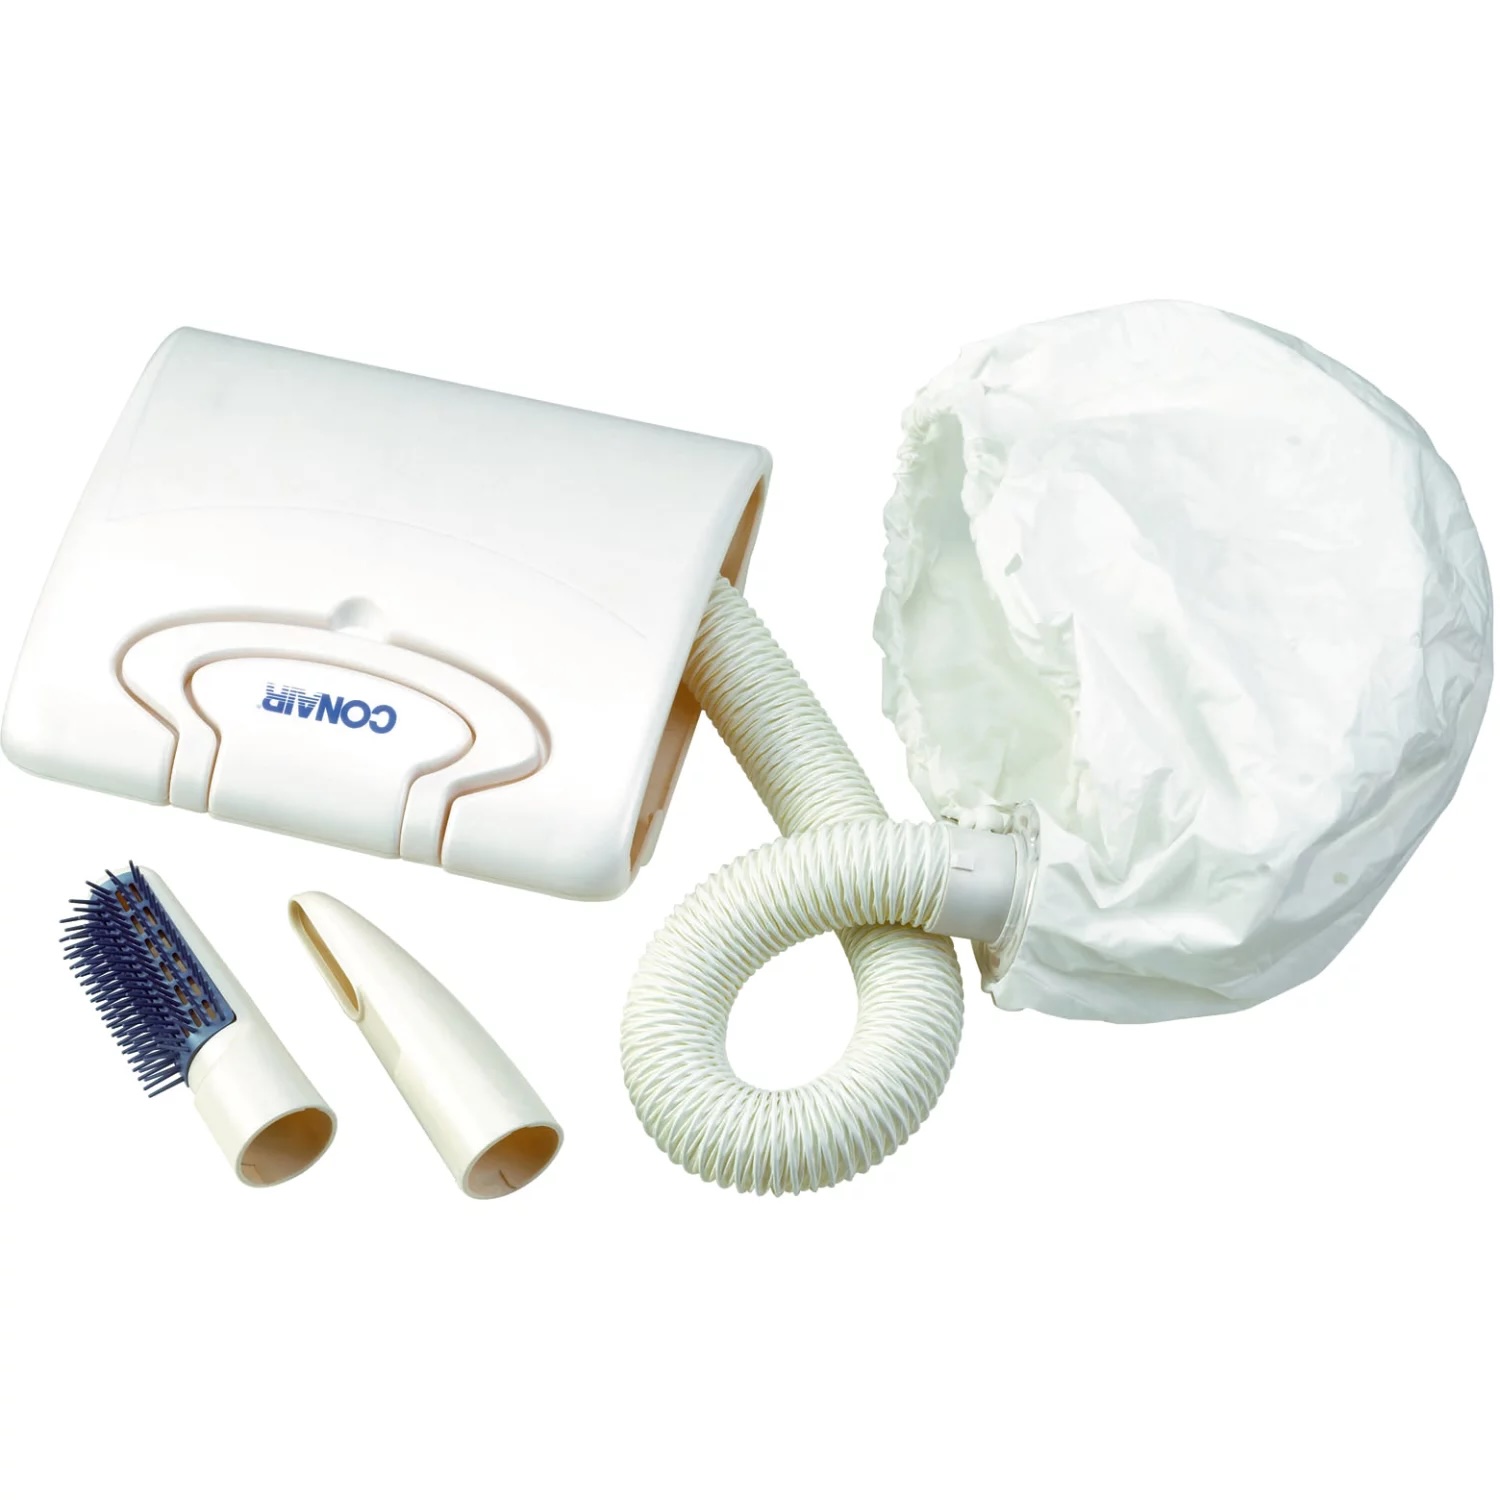
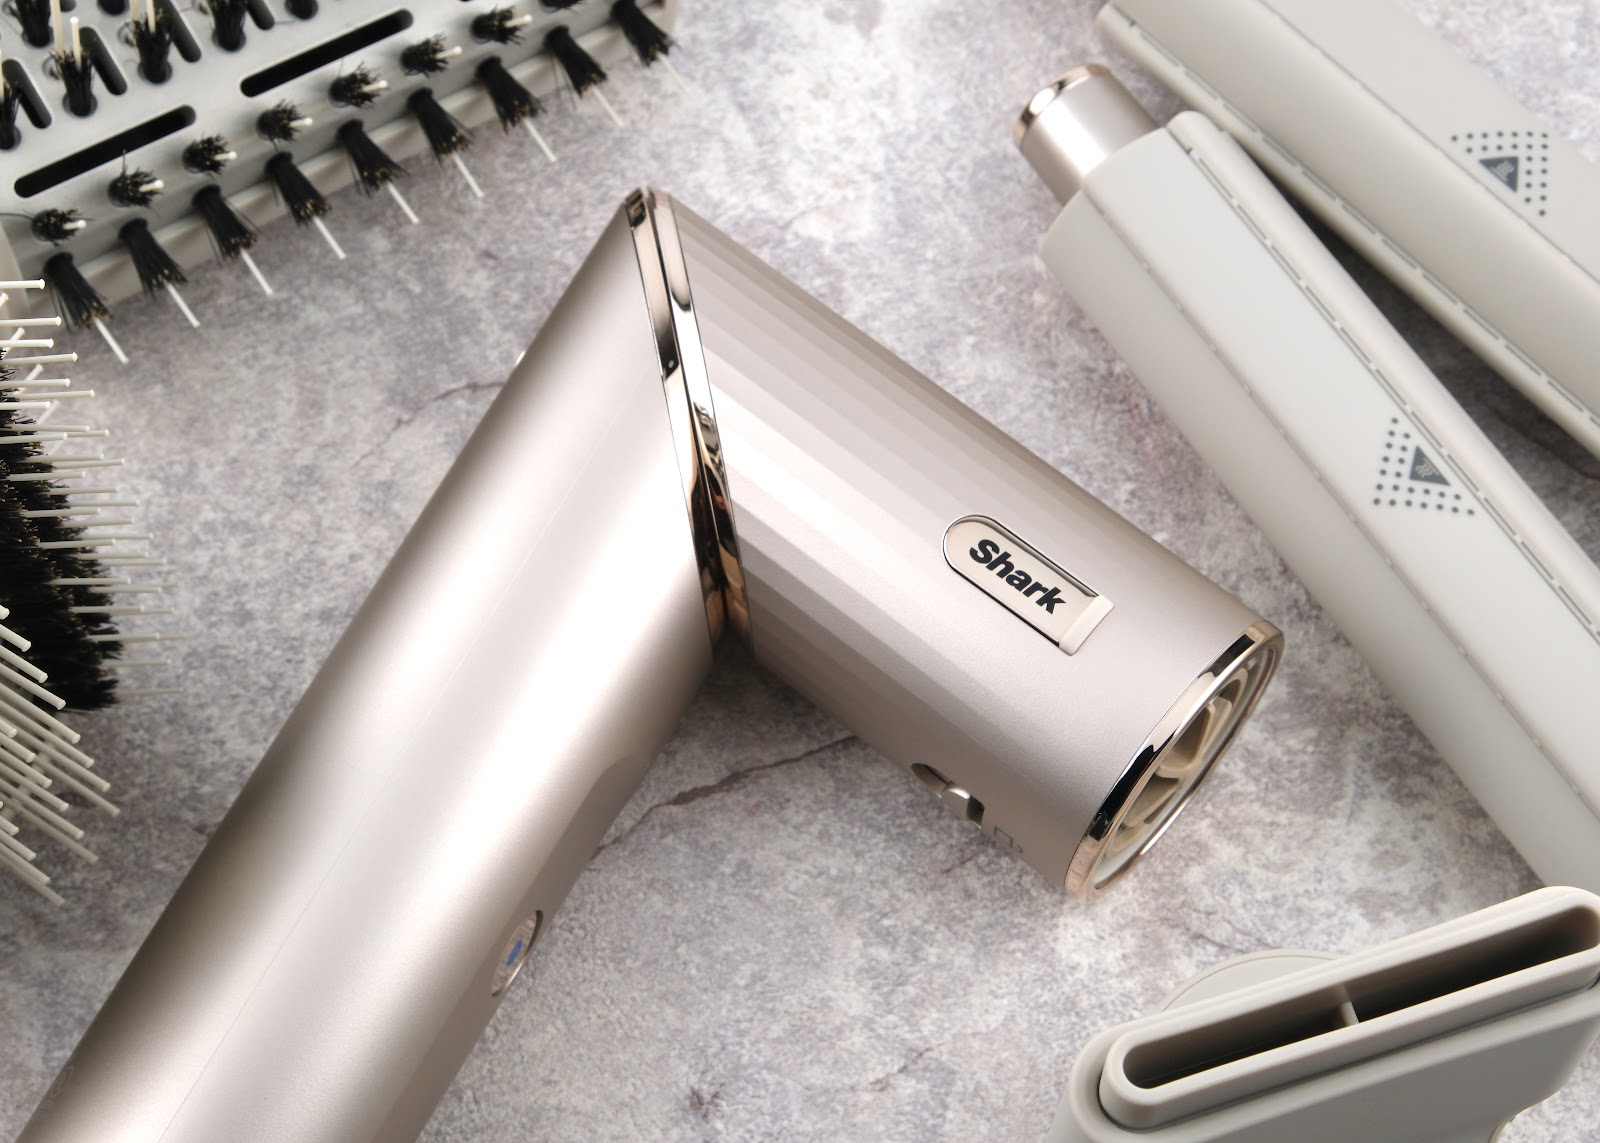
Read more: How To Use A Hair Dryer?
Safety Precautions
Using a dryer efficiently and safely begins with taking necessary precautions. Here are some important safety measures to keep in mind:
- Read the manual: Familiarize yourself with the specific instructions and safety guidelines provided by the manufacturer. Each dryer may have unique features or requirements that you need to be aware of.
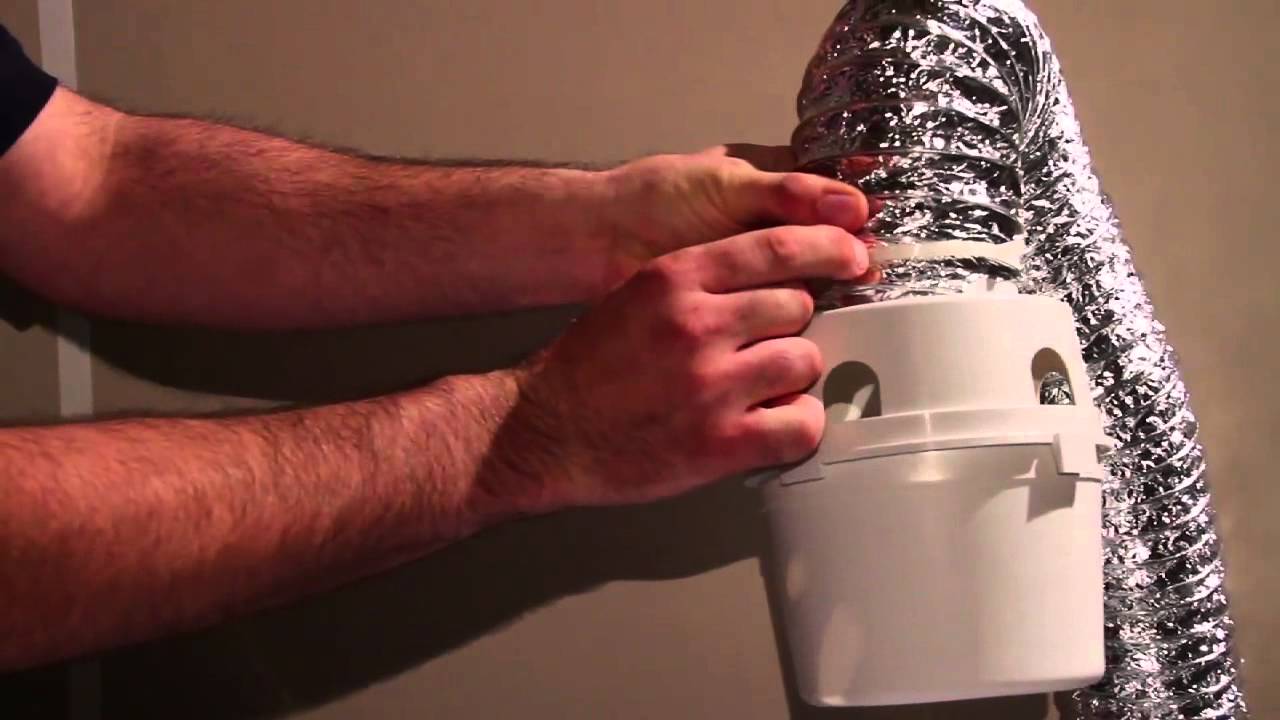
- Ventilation: Ensure that your dryer is properly connected to an external vent or exhaust system. This allows the hot air and moisture to be safely released outside of your home. A blocked or damaged vent can lead to poor drying performance and even fire hazards.
- Inspect the power cord: Regularly check the power cord for any signs of damage, such as frayed wires or exposed insulation. If you notice any issues, discontinue use and consult a professional for repair.
- Use a grounded outlet: Always plug your dryer into a properly grounded outlet to prevent electrical accidents. Avoid using extension cords or adapters, as they can overload the circuit and increase the risk of fire.
- Keep the area clear: Ensure that there is enough space around the dryer for proper ventilation and easy access. Do not place any flammable items, such as clothes or cleaning products, on top of the dryer or in close proximity to it.
- Regularly clean the lint filter: Before each use, remove and clean the lint filter. A clogged lint filter can restrict airflow and increase the risk of lint catching fire. Additionally, clean the dryer drum and exhaust vent periodically to remove built-up lint.
- Monitor the dryer: Avoid leaving the dryer unattended while it is in operation. This allows you to quickly respond to any unusual noises, smells, or malfunctions. If you encounter any issues, turn off the dryer and seek professional assistance.
By following these safety precautions, you can minimize the risks associated with using a dryer and ensure a safer and more efficient drying process.
Step 1: Preparation
Before using the dryer, it’s important to prepare your laundry for optimal drying. Here are the necessary steps:
- Check garment labels: Read the care labels on your clothes to determine if they are safe to be dried in a machine. Some delicate fabrics or items with special treatments may require air-drying or specific drying settings.
- Empty pockets: Ensure that all pockets are empty and free of any items like coins, keys, or tissues. These objects can cause damage to both your clothes and the dryer drum.
- Remove excess water: If your clothes are wet from washing, gently squeeze out any excess water to speed up the drying process. However, avoid wringing or twisting the garments, as this can lead to stretching or damage.
Once you have completed these preparation steps, you are ready to move on to sorting the laundry.
Step 2: Sorting the Laundry
Sorting your laundry is an important step in ensuring efficient and effective drying. Here are some guidelines to help you with this process:
- Separate by fabric type: Sort your laundry into different piles based on the fabric type. This allows you to select appropriate drying settings for each load. Common categories include cotton, synthetics, delicates, and towels/bedding.
- Consider color: If you want to prevent color bleeding or transfer, separate your laundry into light and dark colors. This reduces the risk of lighter garments becoming stained by darker ones.
- Handle special items separately: If you have clothing items with embellishments, zippers, or hooks, consider drying them separately or in a mesh laundry bag to prevent damage to both the garments and the dryer drum.
- Take size into account: If you have a mix of large and small items, it’s advisable to dry similar-sized items together. This helps to ensure even drying and prevents larger items from trapping smaller ones.
Properly sorting your laundry allows for more efficient drying cycles and helps to prevent any damage or shrinkage to your garments. Now that your laundry is sorted, it’s time to load the dryer.
Step 3: Load the Dryer
Now that your laundry is sorted, it’s time to load the dryer. Loading the dryer properly ensures that the clothes have enough space to tumble freely and dry efficiently. Here’s how to load the dryer:
- Check the capacity: Before loading the dryer, make sure you are not overloading it. Refer to the dryer’s capacity guidelines to determine the appropriate amount of laundry for each load.
- Shake out garments: Give each item a gentle shake to unfold any bunched-up fabric and remove any wrinkles. This helps the clothes to dry more evenly and reduces the need for ironing later.
- Place items loosely: As you load the dryer, place the items loosely inside the drum. Avoid cramming or stuffing clothes, as this can hinder proper airflow and result in uneven drying.
- Avoid tangling: To prevent clothes from tangling together, intermix large and small items and distribute them evenly throughout the drum. This helps to promote even drying and reduces the risk of items becoming tangled or twisted.
By following these steps, you’ll ensure that your clothes have enough space to move freely during the drying cycle, resulting in better drying performance. With the dryer loaded, it’s time to move on to selecting the appropriate dryer settings.
Read more: How To Use Hair Dryer Brush
Step 4: Selecting the Dryer Settings
Selecting the right dryer settings is crucial to achieve optimal drying results. While specific settings may vary depending on your dryer model, here are some general guidelines to follow:
- Fabric-specific settings: Most dryers offer preset drying cycles for different fabric types, such as cotton, synthetics, delicates, and more. Select the appropriate setting for the fabric you are drying to ensure gentle and effective drying.
- Temperature settings: Dryers typically provide temperature options like high, medium, low, or delicate. Be mindful of the fabric type and select the temperature setting accordingly. High heat is suitable for heavy fabrics like towels, while low or delicate settings are ideal for more delicate items.
- Time or sensor-based drying: Depending on your dryer, you may have the option to choose between time-based or sensor-based drying. Time-based drying allows you to set the drying duration manually, while sensor-based drying automatically detects the moisture level and adjusts the drying time accordingly.
- Additional features: Some dryers come equipped with additional features like steam refresh, eco mode, or wrinkle prevention. Familiarize yourself with these features and utilize them as necessary to meet your specific drying needs.
Remember to refer to your dryer’s manual for detailed instructions on the available settings and their usage. Once you have selected the appropriate settings, it’s time to start the dryer and let it do its job.
Clean the lint trap after every use to improve dryer efficiency and reduce the risk of fire. Regularly check and clean the dryer vent to prevent blockages and maintain proper airflow.
Step 5: Starting the Dryer
After selecting the desired dryer settings, it’s time to start the drying process. Follow these steps to start the dryer:
- Close the door: Ensure that the dryer door is securely closed before starting the drying cycle. This ensures that the hot air remains inside the drum for efficient drying.
- Plug in the dryer: If your dryer is not already plugged in, connect it to a grounded electrical outlet. Avoid using extension cords or ungrounded outlets, as they can pose safety hazards.
- Press the power button: Locate the power button on your dryer and press it to turn the dryer on. Some dryers may have a separate button for powering on and off.
- Start the drying cycle: Depending on your dryer model, press the start button or select the appropriate drying cycle option to begin the drying process. You may also need to set the drying time if you are using a manual time-based setting.
Once you have started the dryer, you can sit back and let it work its magic. While the dryer is running, it’s essential to keep an eye on the progress and check on the load at regular intervals.
Step 6: Checking the Dryer Progress
While the dryer is running, it’s important to periodically check the progress of the drying cycle. This step allows you to ensure that everything is going smoothly and make any necessary adjustments. Here’s what you need to do:
- Monitor the time: If you are using a time-based drying cycle, keep track of the remaining time. This helps you plan your schedule and know when the drying process will be complete.
- Observe the drying process: Keep an eye on the dryer to check if the clothes are drying evenly. If you notice any items that are not drying as expected, you may need to redistribute the load or make adjustments to the drying settings.
- Check for over-drying: Toward the end of the drying cycle, be mindful of any signs of over-drying, such as shrinking or excessive wrinkling. If you notice this, consider reducing the drying time or selecting a lower heat setting for future loads.
- Remove lint buildup: While checking the progress, take the opportunity to clean the lint filter if it becomes clogged. This helps maintain proper airflow and drying performance.
By periodically checking the dryer progress, you can ensure that your clothes are drying evenly and avoid any potential issues such as over-drying or wrinkling. Once the drying cycle is complete, it’s time to remove the dry clothes from the dryer.
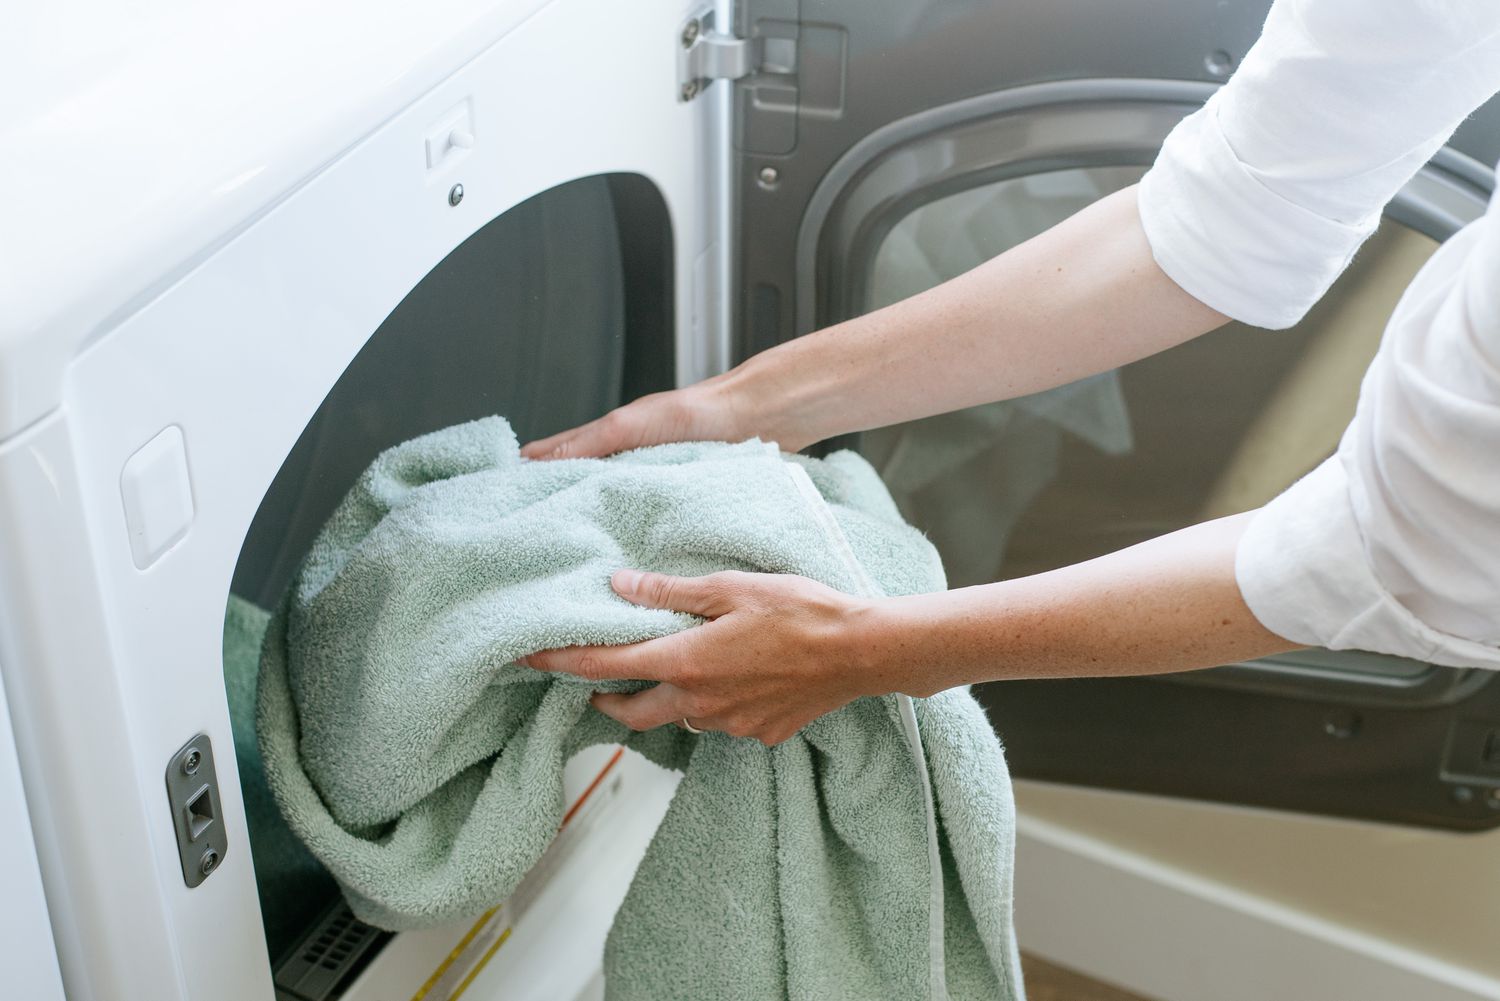
Step 7: Removing the Dry Clothes
Once the drying cycle is complete, it’s time to remove the dry clothes from the dryer. Follow these steps to safely and efficiently remove your clothes:
- Unplug the dryer: Before handling the clothes, unplug the dryer from the electrical outlet for safety purposes.
- Open the dryer door: Gently open the dryer door and carefully remove the clothes. Avoid pulling or tugging on the garments, as this can lead to stretching or damage.
- Shake out garments: Give each item a gentle shake to remove any wrinkles and help them regain their natural shape. This can reduce the need for ironing or additional garment care.
- Fold or hang clothes: Sort the dry clothes according to their respective categories, such as shirts, pants, or delicates. Fold them neatly or hang them up as per your preference and storage requirements.
- Inspect for any remaining moisture: While removing the clothes, check for any damp or slightly damp items. If you find any, consider air-drying them or selecting a longer drying time for future loads.
By following these steps, you can ensure that the dry clothes are handled with care and ready for storage or immediate use. With the clothes removed, it’s important to remember to maintain and clean your dryer regularly.
Read more: What Are Dryer Balls Used For
Step 8: Maintaining the Dryer
Proper maintenance of your dryer is essential to ensure its longevity and optimal performance. Here are some important maintenance tips to keep in mind:
- Clean the lint filter: Before every use, clean the lint filter to remove lint and debris that can accumulate during the drying process. A clogged lint filter can hinder airflow, reduce drying efficiency, and even pose a fire hazard.
- Inspect and clean the exhaust vent: Regularly inspect the dryer’s exhaust vent, both inside and outside your home. Remove any lint buildup or obstructions to maintain proper ventilation and prevent potential safety risks.
- Wipe the drum: Occasionally, wipe the drum of the dryer with a damp cloth to remove any residue or lint that may have accumulated. This helps to keep the interior clean and prevent transfer of lint to future loads.
- Check the power cord: Inspect the power cord for any damage or wear. If you notice any issues, such as frayed wires or exposed insulation, discontinue use and have it repaired by a professional.
- Ensure proper airflow: Keep the area around the dryer clear of clutter and ensure that the dryer has sufficient space for proper airflow. Restricted airflow can lead to overheating and reduced drying performance.
- Schedule professional maintenance: Consider scheduling periodic professional maintenance for your dryer. A technician can inspect the dryer, clean internal components, and address any potential issues to keep it running smoothly.
By following these maintenance tips, you can ensure the longevity and efficiency of your dryer, as well as reduce the risk of safety hazards. Regular maintenance will also help in achieving optimal drying results for your laundry.
Finally, now that you have mastered the art of using a dryer effectively, you can enjoy the convenience of dry clothes at your fingertips. Happy drying!
Conclusion
Using a dryer to dry your clothes not only saves time and effort but also provides convenience and efficiency. By following the steps outlined in this guide, you can ensure that your clothes are dried effectively while maintaining their quality. From preparation and sorting to selecting the right settings and maintaining your dryer, each step plays a crucial role in achieving optimal drying results.
Remember to prioritize safety by following the manufacturer’s instructions and taking necessary precautions. Regularly cleaning the lint filter, inspecting the power cord, and ensuring proper ventilation are essential for a safe drying experience.
By properly sorting your laundry, loading the dryer with care, selecting appropriate settings, and monitoring the drying progress, you can achieve perfectly dried clothes. Always be mindful of the fabric type, temperature settings, and additional features offered by your dryer to ensure gentle and effective drying.
Once the drying cycle is complete, remove your clothes promptly, shake them out to reduce wrinkles, and fold or hang them as desired. Regularly maintaining your dryer by cleaning the lint filter, inspecting and cleaning the exhaust vent, and scheduling professional maintenance will keep it in optimal condition.
By following these guidelines, you can make the most of your dryer, saving time and effort in the laundry room. Enjoy the convenience and efficiency that a dryer brings to your laundry routine, and remember to always prioritize safety and proper maintenance. Now, go ahead and enjoy your freshly dried clothes!
Frequently Asked Questions about How To Use Dryer
Was this page helpful?
At Storables.com, we guarantee accurate and reliable information. Our content, validated by Expert Board Contributors, is crafted following stringent Editorial Policies. We're committed to providing you with well-researched, expert-backed insights for all your informational needs.


0 thoughts on “How To Use Dryer”