Articles
How To Use A Router
Modified: September 1, 2024
Learn how to use a router with our informative articles. From basic techniques to advanced tips, our articles have you covered.
(Many of the links in this article redirect to a specific reviewed product. Your purchase of these products through affiliate links helps to generate commission for Storables.com, at no extra cost. Learn more)
Introduction
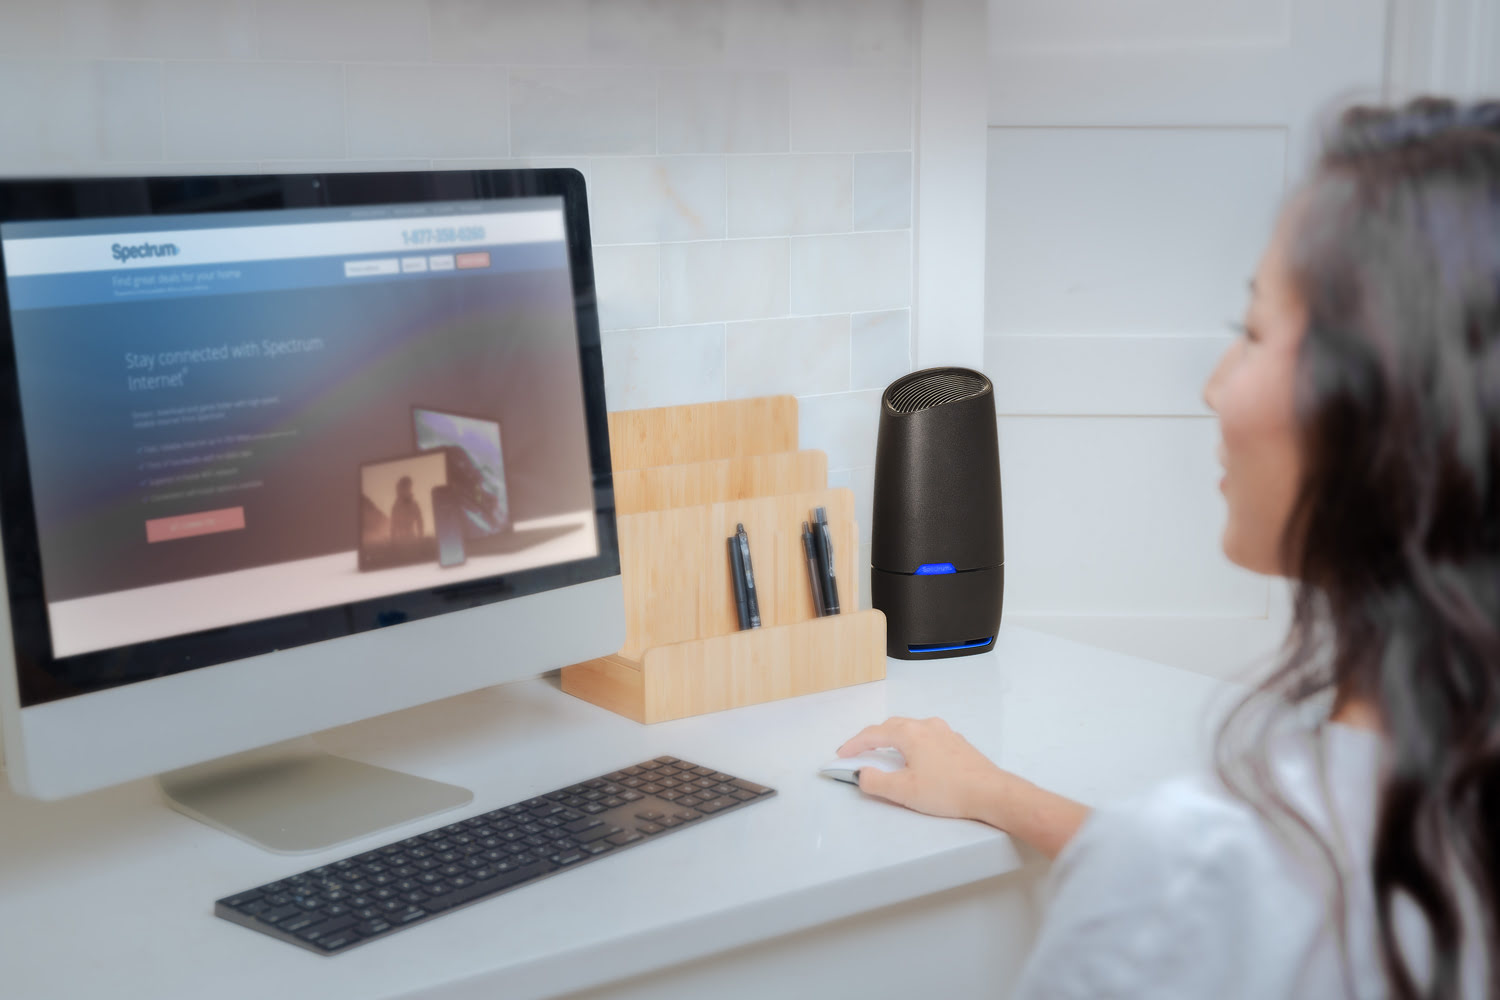
Welcome to the world of routers! Whether you’re a tech enthusiast or a casual internet user, routers play a crucial role in connecting your devices to the internet and enabling seamless communication between them. In this article, we will guide you on how to use a router effectively, from the initial setup to troubleshooting common issues.
A router acts as the central hub of your home or office network, allowing multiple devices to connect to the internet simultaneously. It acts as a gateway, directing data packets between different devices and managing the flow of information. Understanding how to set up and configure your router not only ensures a stable and secure internet connection but also allows you to customize various settings to suit your specific needs.
Whether you are setting up a brand-new router or trying to optimize your existing one, this guide will provide you with step-by-step instructions to make the process smooth and hassle-free. We will cover topics such as connecting your router, accessing its configuration page, setting up the internet connection, configuring wireless settings, enabling port forwarding, updating router firmware, and troubleshooting common issues that you may encounter along the way.
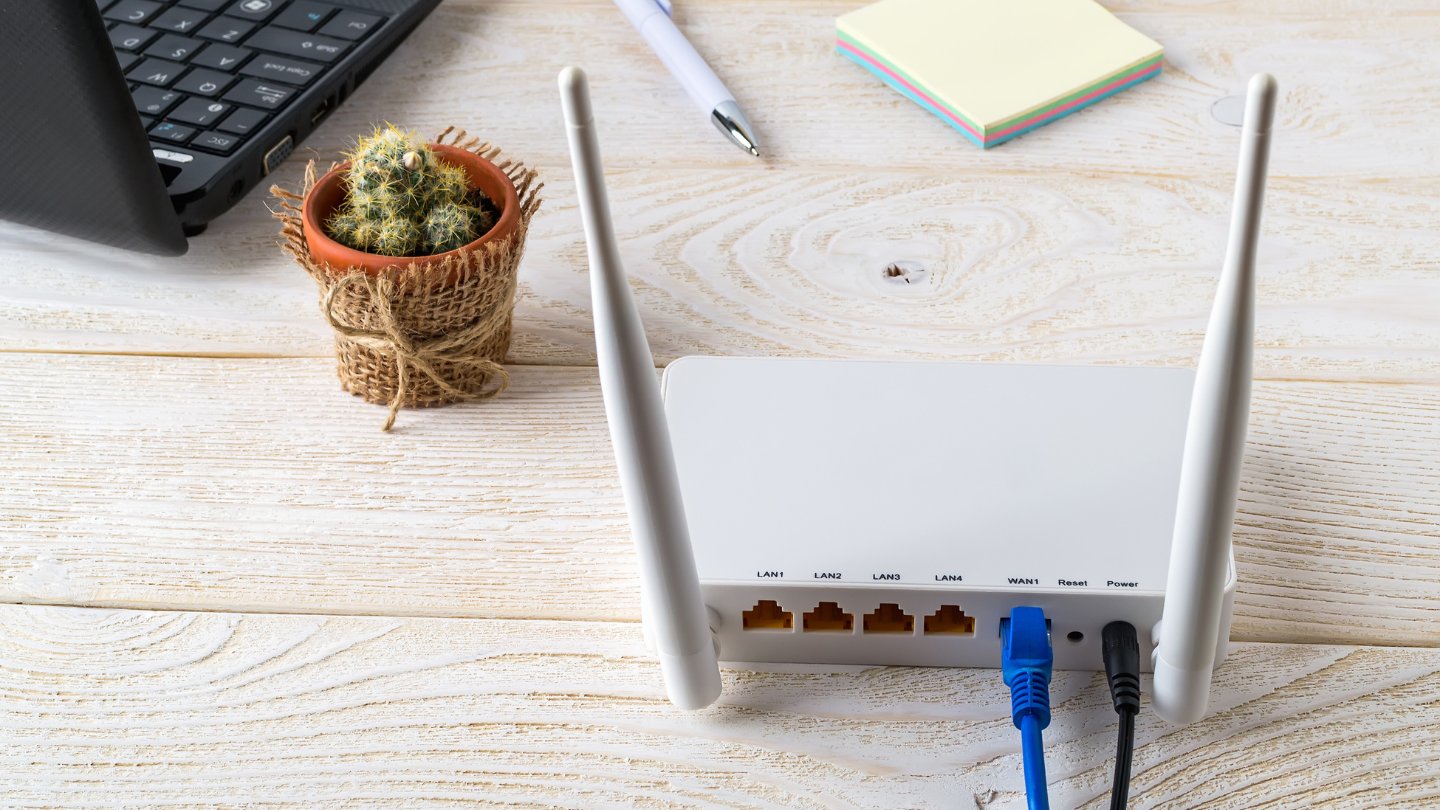
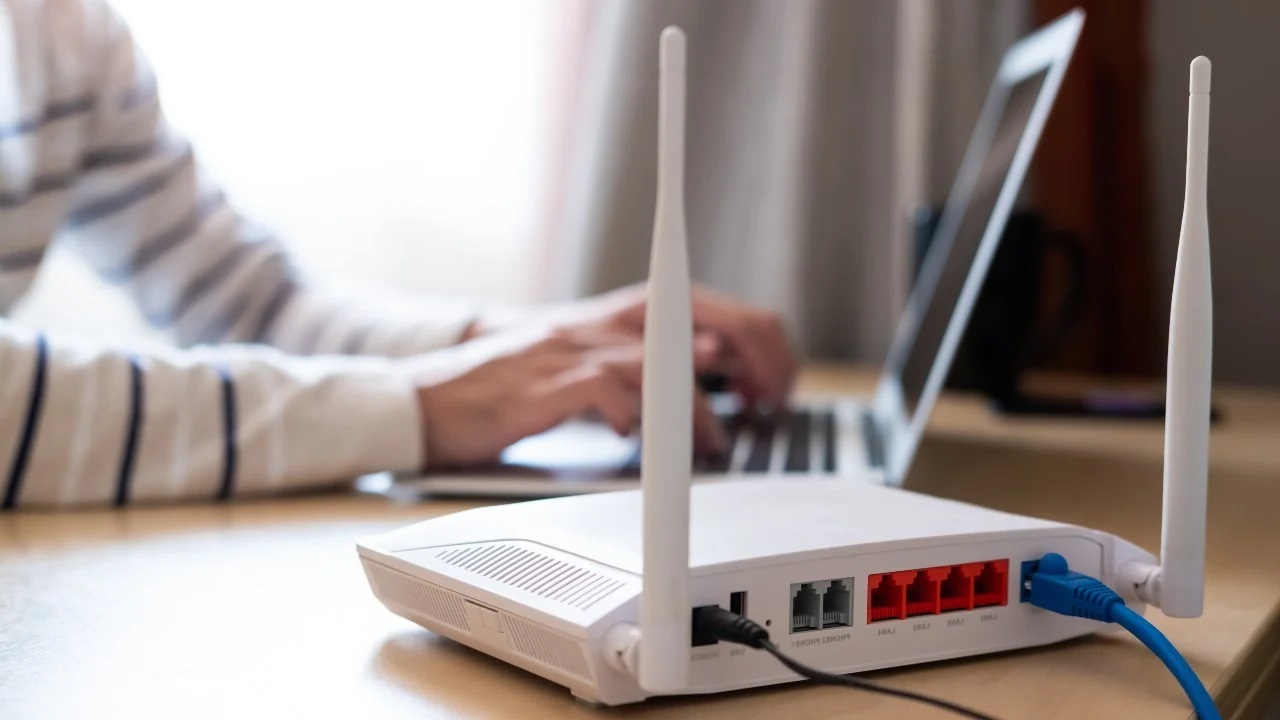
Before we dive into the technicalities, it’s important to have a basic understanding of router hardware. Routers generally have multiple Ethernet ports, allowing you to connect devices using wired connections. Additionally, most modern routers come with wireless capabilities, enabling you to connect smartphones, tablets, laptops, and other wireless devices to your network.
Now that you have a general idea of what routers are and their purpose let’s get started on setting up and using your router effectively. Whether you’re a beginner or have some experience, this guide will provide you with all the information you need to harness the full potential of your router and enhance your internet experience.
Key Takeaways:
- Master the art of router setup and optimization with step-by-step guidance on connecting, configuring, and troubleshooting. Enhance your internet experience and network security with expert tips and best practices.
- Empower yourself to harness the full potential of your router by learning how to set up internet connections, configure wireless settings, enable port forwarding, update firmware, and troubleshoot common issues. Enjoy a stable and secure internet connection with expert knowledge.
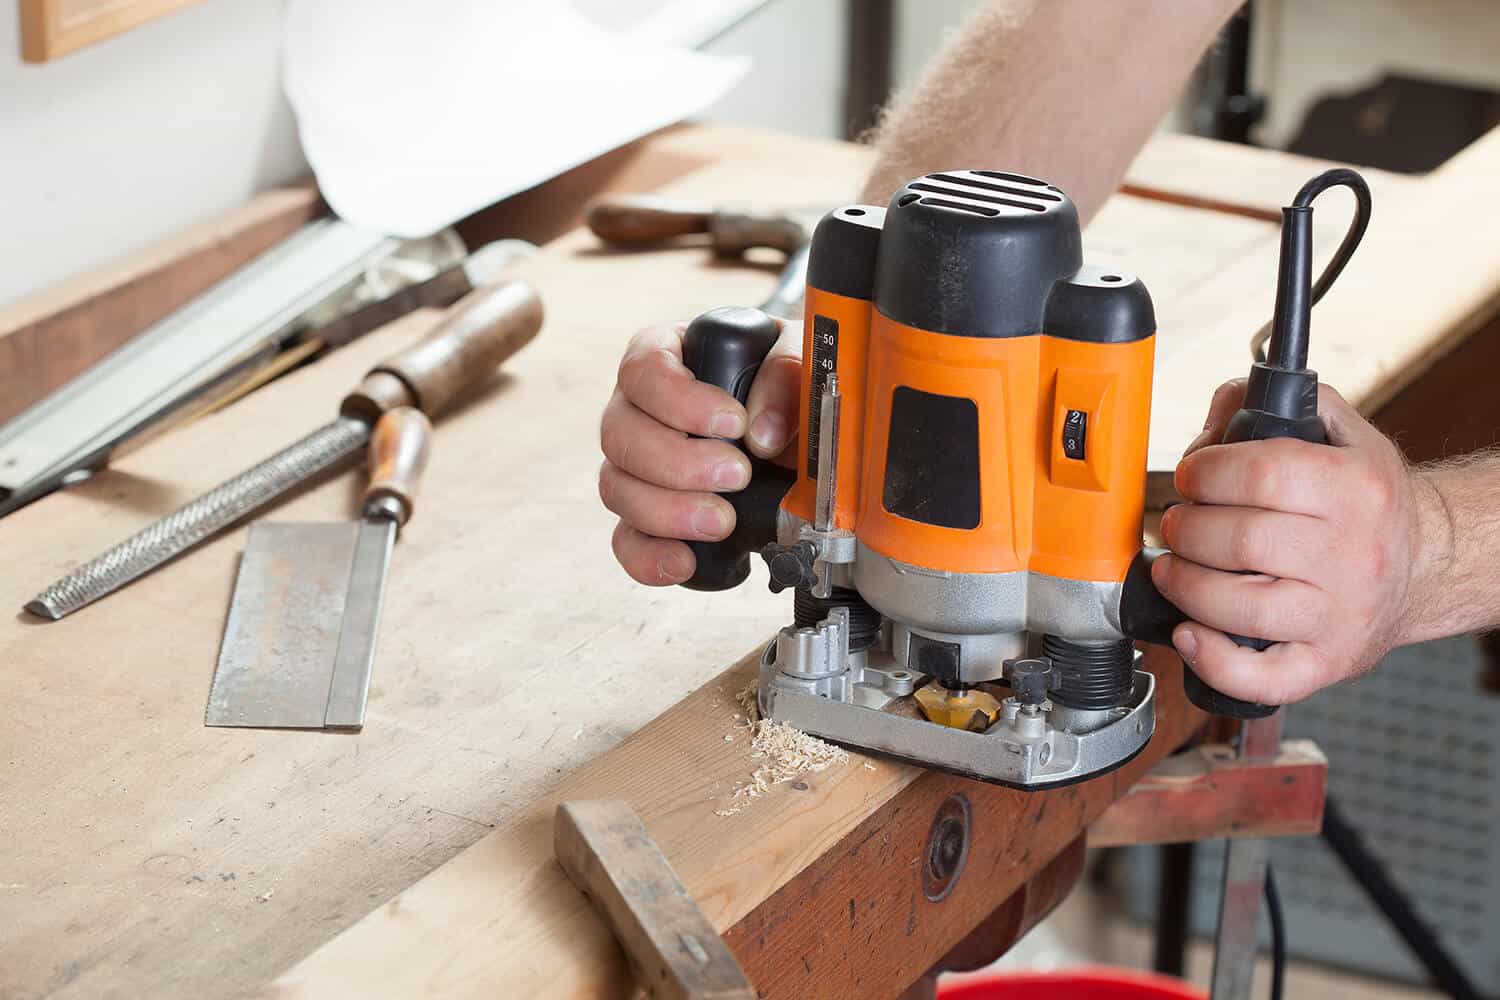
Read more: How To Use Ryobi Router
Step 1: Connecting the Router
Connecting your router properly is the first step towards setting up a functional network in your home or office. Follow these instructions to ensure a proper and secure connection:
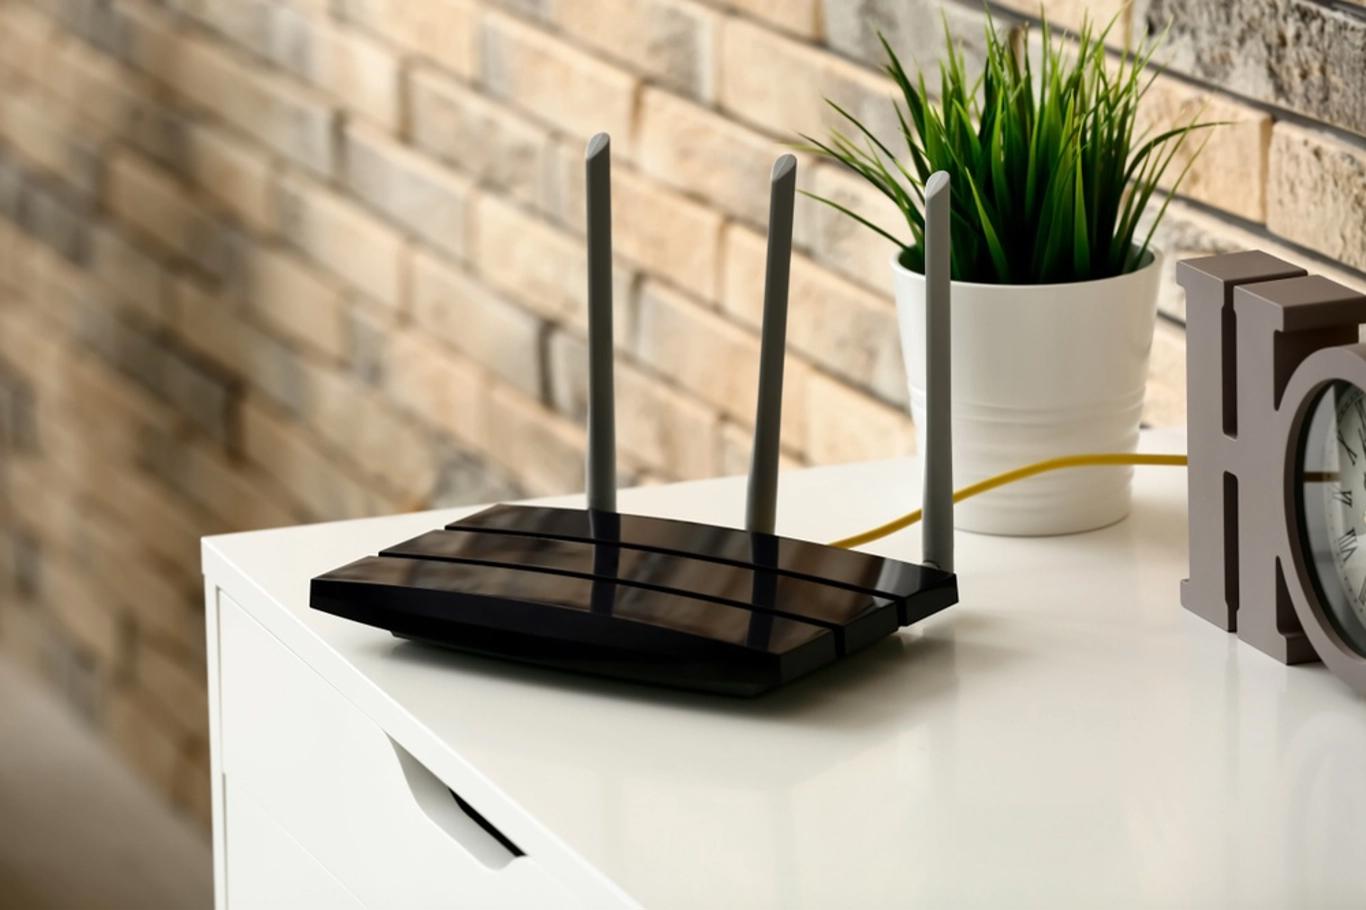
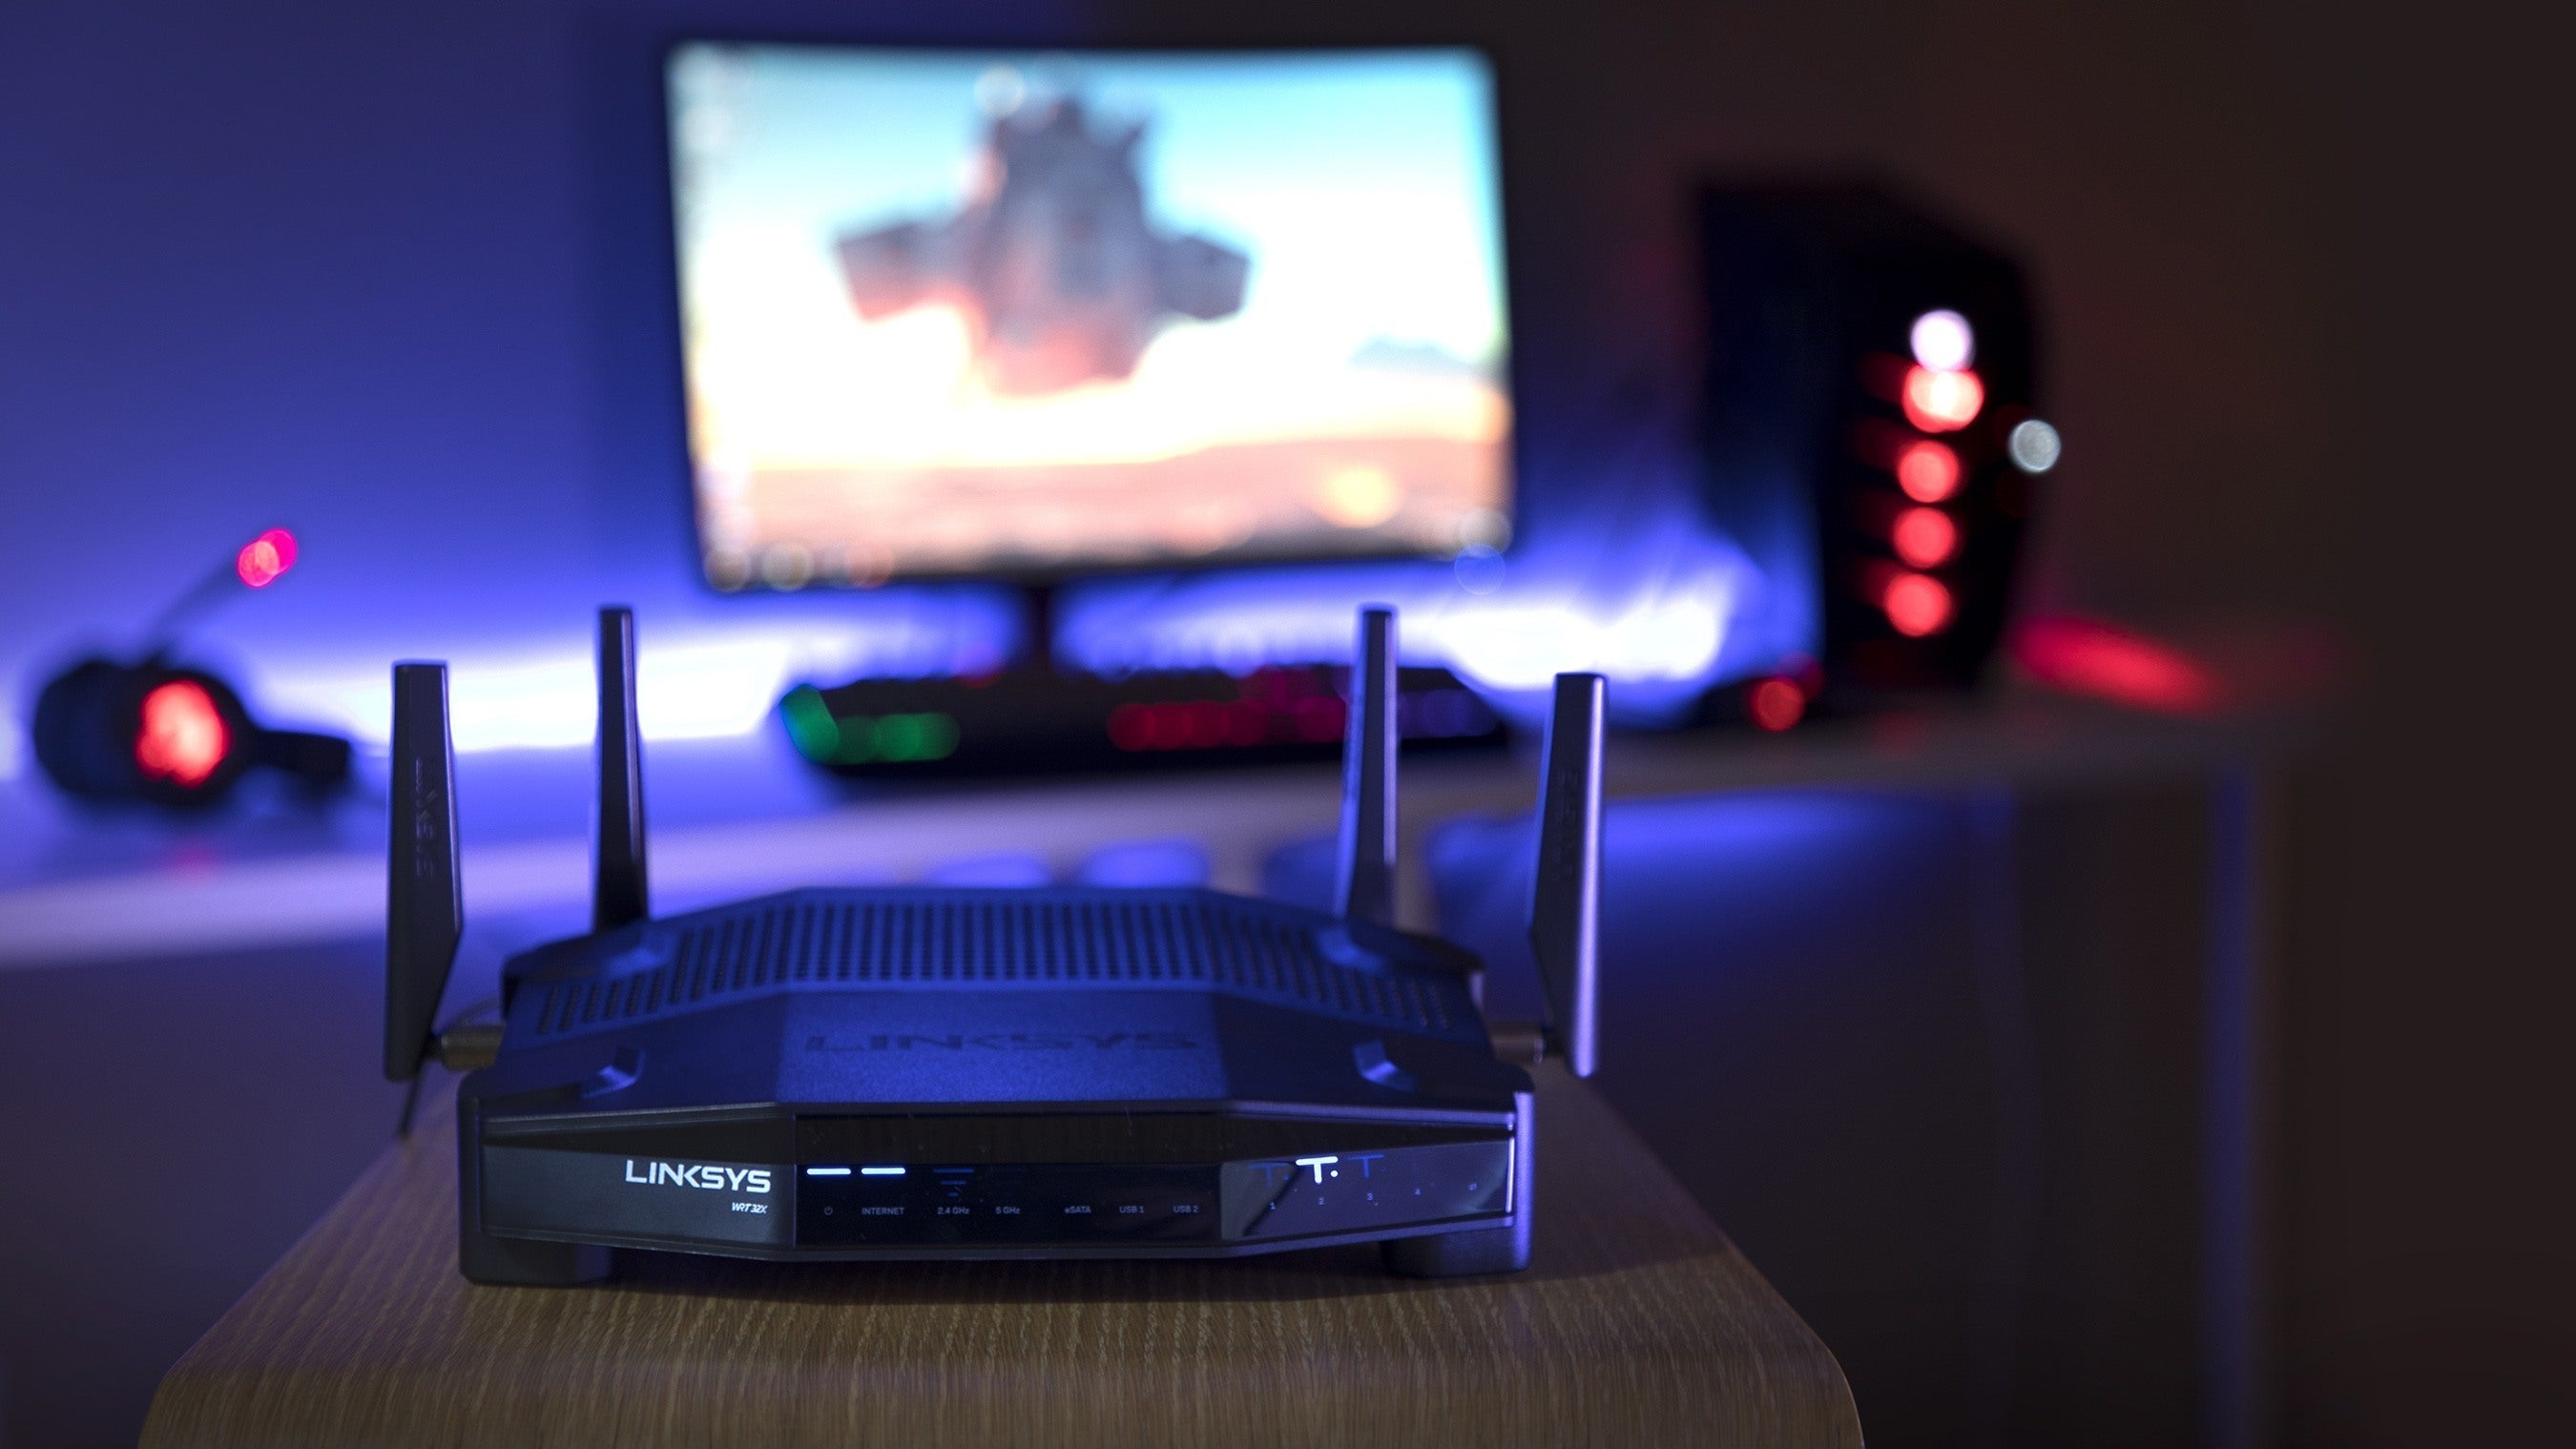
- Position the Router: Find a suitable location for your router. It should be placed in a central area to provide a strong and consistent Wi-Fi signal throughout your space. Make sure to keep the router away from obstructions such as walls, furniture, and other electronic devices that may interfere with the signal.
- Power Off Modem: If you have a modem connected to your internet service provider (ISP), turn it off and disconnect it from the power source. This will allow the router to establish a new connection later on.
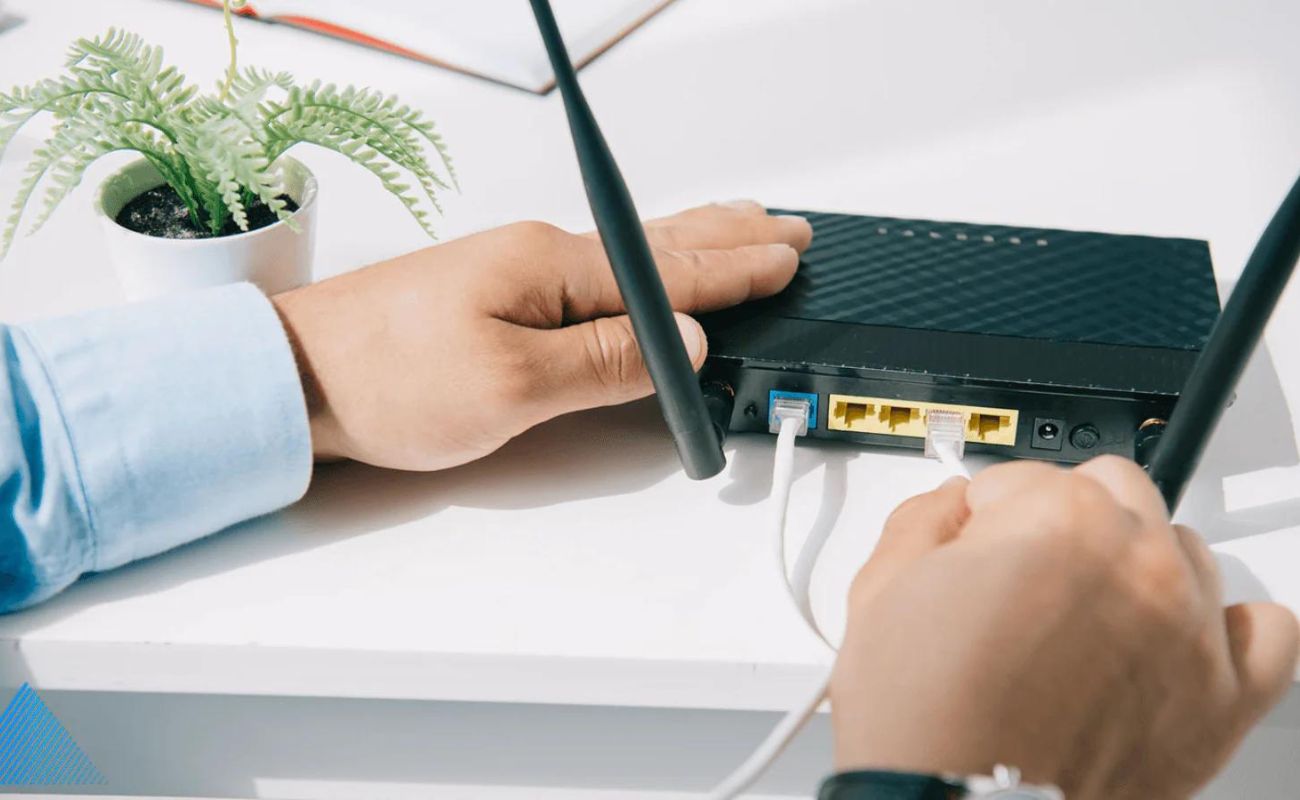
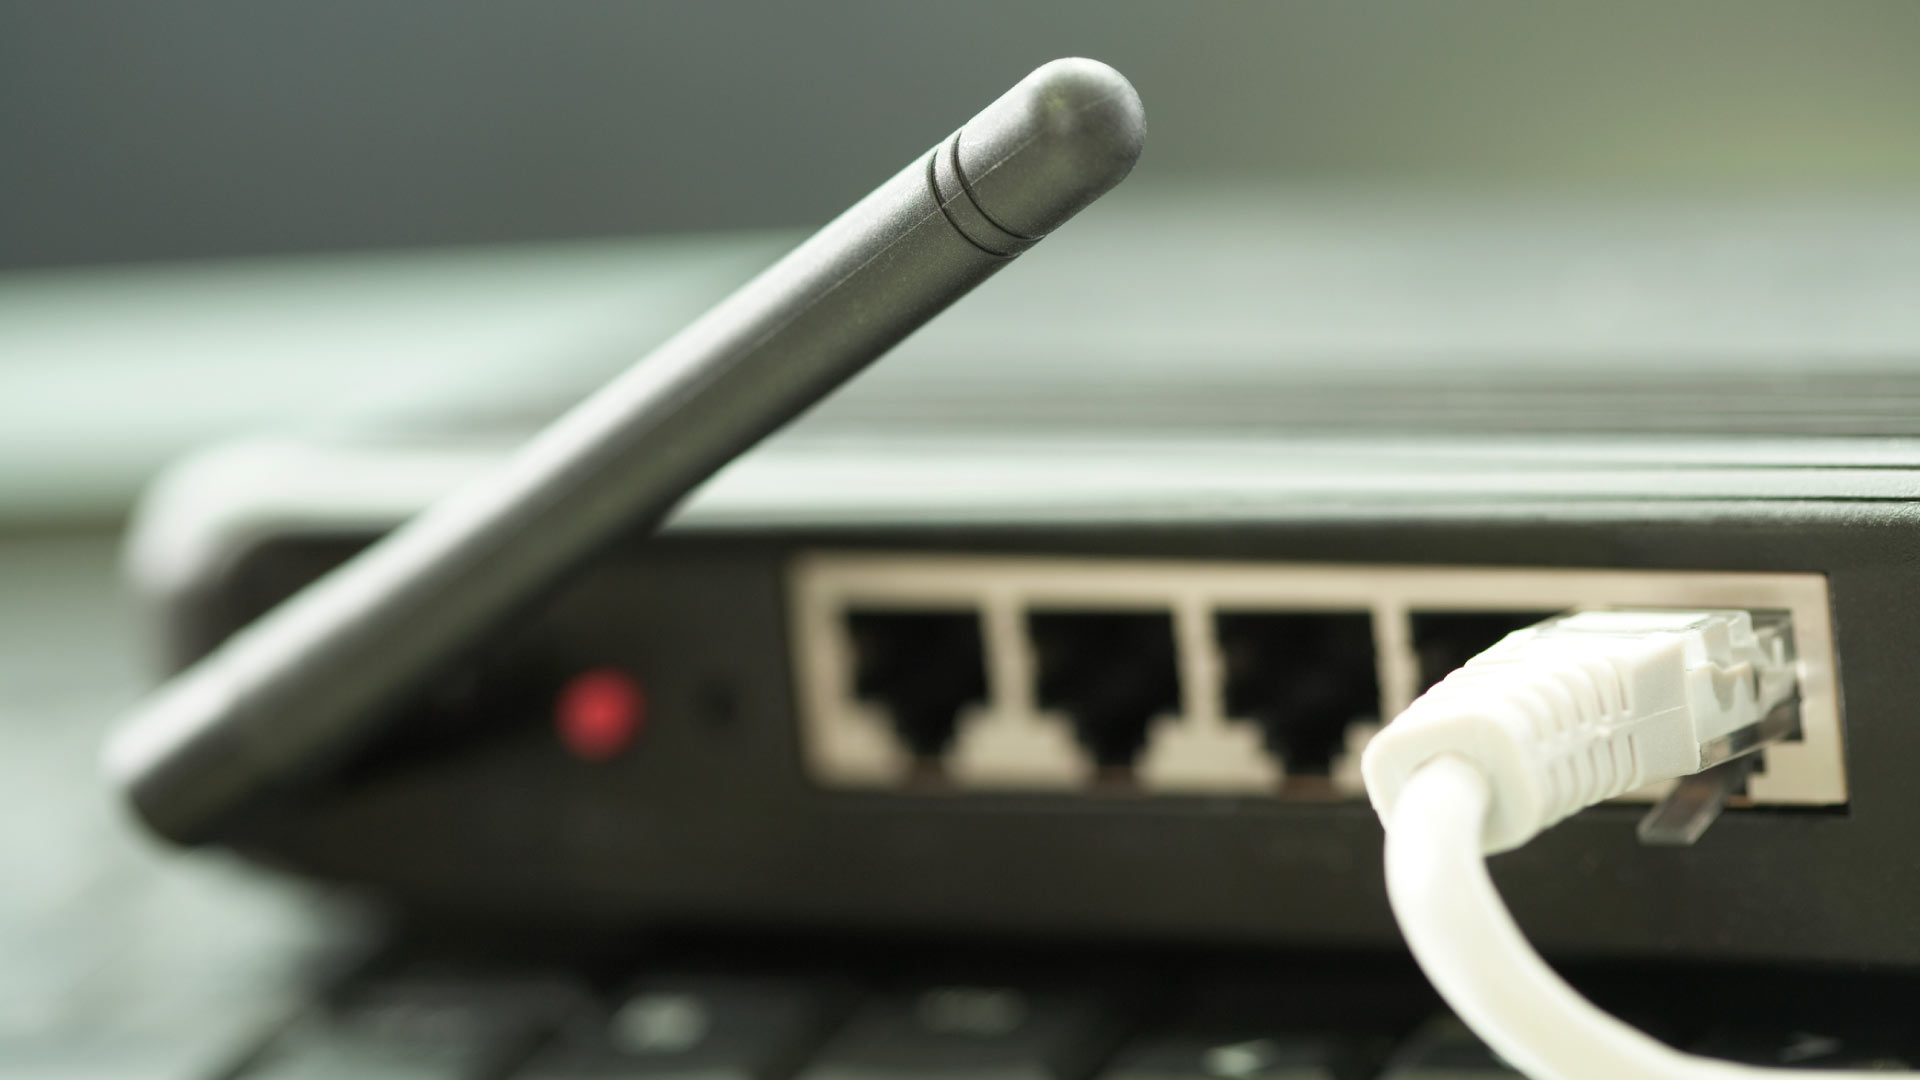
- Connect the Cables: Take an Ethernet cable and plug one end into the WAN or Internet port on the router. The other end of the cable should be connected to the modem. This establishes the connection between your router and the internet.
- Power On the Modem: Plug the modem back into the power source and wait for it to fully boot up. This usually takes a few minutes. Ensure that the modem is connected to the internet, indicated by a steady internet connection light on the modem.
- Power On the Router: Connect the power adapter to the router and plug it into a power outlet. Power on the router and wait for it to fully boot up. This process may take a couple of minutes as the router performs its initialization process.
- Connect Devices: Once the router is powered on and ready, you can start connecting your devices. Use Ethernet cables to connect computers, gaming consoles, or other devices directly to the router’s Ethernet ports. For wireless devices, search for available Wi-Fi networks and select your router’s network name (SSID).
- Configure Network Security: To secure your network, log in to your router’s configuration page (we will cover this in the next step) and set up Wi-Fi security settings. It is recommended to use WPA2 encryption and create a strong password to prevent unauthorized access to your network.
By following these steps, you have successfully connected your router and prepared it for further configuration. In the next step, we will guide you on how to access your router’s configuration page to set up your internet connection.
Step 2: Accessing the Router’s Configuration Page
Accessing your router’s configuration page is crucial for setting up and managing various settings. These steps will guide you on how to access the configuration page:
- Ensure that your computer or device is connected to the router either through an Ethernet cable or via Wi-Fi.
- Open a web browser: Launch a web browser such as Google Chrome, Mozilla Firefox, or Microsoft Edge on your connected device.
- Enter the Router’s IP Address: In the address bar of the browser, type in the IP address of your router. The router’s IP address is typically printed on the router itself or mentioned in the user manual. Common router IP addresses are “192.168.0.1,” “192.168.1.1,” or “192.168.2.1.” Press Enter to access the configuration page.
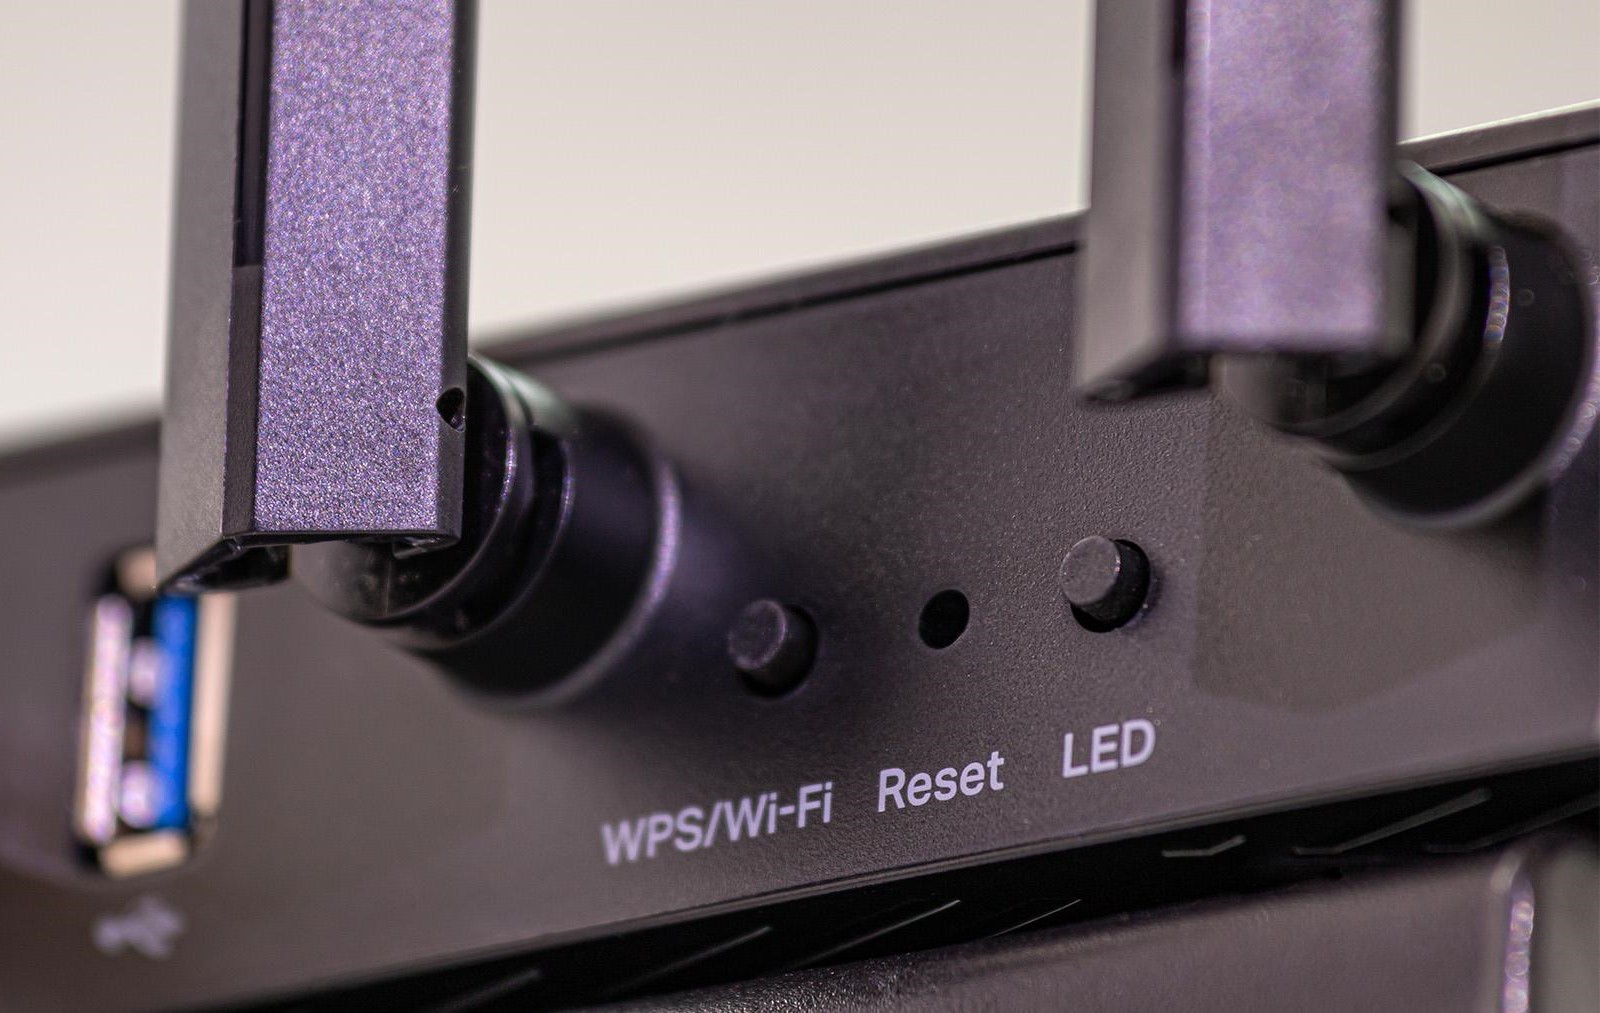
- Login to the Router: You will be prompted to enter the router’s username and password. By default, many routers have a default username of “admin” and a default password of either “admin,” “password,” or sometimes left blank. Consult your router’s documentation for the default login credentials. If you have changed the credentials in the past and cannot remember them, you may need to reset the router to factory settings using the reset button located on the back or bottom of the router.
- Explore the Configuration Page: Once logged in, you will have access to the router’s configuration page. This page may differ depending on the router model and brand, but common sections include Network Settings, Wireless Settings, Security, and Advanced settings. Take some time to explore the options and familiarize yourself with the layout.
It is recommended to change the default username and password once you have logged in to the router’s configuration page. This will enhance the security of your router and prevent unauthorized access to your network settings.
By successfully accessing the router’s configuration page, you can now proceed to the next step of setting up your internet connection.
Step 3: Setting Up the Internet Connection
Now that you have accessed your router’s configuration page, it’s time to set up your internet connection. Follow these steps to ensure a seamless connection:
- Locate the Internet or WAN Settings: On the router’s configuration page, navigate to the section for Internet or WAN settings. This section may be labeled differently depending on the router’s make and model.
- Choose the Connection Type: Depending on your internet service provider (ISP), you will need to select the appropriate connection type. Common connection types include Dynamic IP (DHCP), Static IP, PPPoE, or PPTP. If you are unsure about the connection type, consult your ISP or refer to any documentation they have provided.
- Configure the Connection Settings: Depending on the connection type, you will need to provide specific information such as IP addresses, subnet masks, default gateways, DNS server addresses, or user credentials. These details are typically provided by your ISP. Enter the required information accurately in the respective fields on the router’s configuration page. If you are unsure about any details, contact your ISP for assistance.
- Save the Settings: Once you have entered the necessary connection settings, click on the “Save” or “Apply” button to save the changes. Your router will then attempt to establish a connection with your ISP using the configured settings.
- Verify the Internet Connection: After saving the settings, the router will perform a connection test to verify if it can successfully access the internet. Once it establishes a connection, you should see indicators or status updates on the configuration page indicating a successful connection to the internet.
It is important to note that the process of setting up the internet connection may vary depending on your specific ISP and the router model you are using. If you encounter any issues or cannot establish a connection, please consult your ISP or refer to the router’s documentation for troubleshooting steps.
Congratulations! You have successfully set up your internet connection. In the next step, we will guide you on how to configure the wireless settings on your router to enable Wi-Fi connectivity.
Step 4: Configuring Wireless Settings
Configuring the wireless settings on your router is essential to enable Wi-Fi connectivity and provide wireless access to your devices. Follow these steps to set up and optimize your wireless network:
- Navigate to Wireless Settings: On the router’s configuration page, locate the section for wireless settings. This section may be labeled as “Wireless,” “Wi-Fi,” or something similar.
- Enable Wi-Fi: Check the box or toggle the switch to enable the Wi-Fi functionality of your router.
- Network Name (SSID): Enter a unique name for your wireless network. This is known as the Service Set Identifier (SSID) and is the name that will appear when users search for available Wi-Fi networks.
- Wireless Security: Select the type of security you want for your wireless network. The recommended option is WPA2-PSK (Wi-Fi Protected Access 2 – Pre-Shared Key). This provides a higher level of security and encryption for your network. Set a secure password for your wireless network to prevent unauthorized access.
- Channel Selection: By default, routers use auto-channel selection to automatically choose the best channel for your network. However, if you are experiencing interference or slow connectivity, you can manually select a specific channel. Choose a channel with minimal interference from other Wi-Fi networks in your vicinity.
- Save the Settings: Once you have configured the wireless settings, click on the “Save” or “Apply” button to save the changes. Your router will then apply the new wireless settings and restart the Wi-Fi network.
- Connect Devices: Now that your wireless network is set up, you can connect your devices wirelessly. On your devices, search for available Wi-Fi networks and select the network name (SSID) that you configured in the previous steps. Enter the password you set and establish a connection.
It is important to note that the range and signal strength of your wireless network can be affected by various factors such as the location and distance of your devices from the router, the presence of physical barriers like walls, and interference from other electronic devices. To optimize your wireless network performance, consider placing the router in a central location, away from obstructions, and ensure that firmware updates are regularly installed on your router.
By following these steps, you have successfully configured the wireless settings on your router. In the next step, we will guide you on how to set up port forwarding to allow access to specific services or devices on your network from the internet.
When using a router, always make sure to secure your network with a strong password to prevent unauthorized access. This will help protect your personal information and keep your network safe.
Read more: How To Use A Router For Woodworking
Step 5: Setting Up Port Forwarding
Port forwarding allows you to direct incoming internet traffic to specific devices or services on your network. This is useful for hosting servers, accessing devices remotely, or running certain applications that require external access. Follow these steps to set up port forwarding on your router:
- Identify the Device or Service: Determine the device or service that you want to forward ports for. This could be a web server, game server, FTP server, or any other device or service that requires external access.
- Find the Device’s IP Address: Locate the IP address of the device you want to forward ports to. This IP address must be a static IP address assigned to the device, either manually or through your router’s DHCP settings. Typically, you can find the device’s IP address in the device’s network settings or by accessing the router’s connected devices list.
- Access Port Forwarding Settings: On the router’s configuration page, navigate to the section for port forwarding or virtual servers. This section may be labeled differently depending on the router’s make and model.
- Add a New Port Forwarding Rule: Click on the “Add” or “New” button to create a new port forwarding rule. Provide a name or description for the rule to easily identify it later.
- Specify the Protocol and Ports: Select the protocol (TCP, UDP, or both) and specify the port range or individual ports that you want to forward. For example, if you want to forward port 80 for a web server, specify TCP port 80. If you’re unsure about the specific ports required, consult the documentation or support resources of the device or service you’re setting up.
- Enter the IP Address: Enter the internal IP address of the device you want to forward ports to.
- Save the Settings: Once you have entered the necessary information, click on the “Save” or “Apply” button to save the port forwarding rule. Your router will then update the settings and apply the changes.
- Test the Port Forwarding: Check if the port forwarding rule is successfully set up by accessing the device or service from an external network. You can use online port checking tools to verify if the specified port is open and accessible.
It is important to note that port forwarding may vary slightly depending on your router’s make and model. Consult your router’s documentation or support resources for specific instructions tailored to your router.
Congratulations! You have successfully set up port forwarding on your router, allowing external access to specific devices or services on your network. In the next step, we will guide you on how to update the firmware of your router to ensure optimal performance and security.
Step 6: Updating Router Firmware
Updating your router’s firmware is important to ensure optimal performance, fix bugs, and address security vulnerabilities. Firmware updates typically provide improvements and new features for your router. Follow these steps to update the firmware of your router:
- Check for Firmware Updates: Visit the manufacturer’s website or the support page for your router model to check for available firmware updates. Look for the firmware version that is compatible with your router.
- Download the Firmware: Download the latest firmware version for your router from the manufacturer’s website. Make sure to choose the correct firmware for your specific router model and version.
- Access Router Configuration Page: Open a web browser and enter the IP address of your router in the address bar. Log in to the router’s configuration page using your username and password.
- Navigate to Firmware Update Section: On the configuration page, locate the section or tab for firmware or software update. The location may vary depending on the router’s make and model.
- Select the Firmware File: Click on the option to browse or select the firmware file that you downloaded in step 2. Once selected, choose the option to update or install the firmware.
- Start the Firmware Update: Follow the on-screen instructions to start the firmware update process. This may take several minutes, during which your router will restart and apply the new firmware.
- Do Not Interrupt the Update: Ensure that you do not interrupt the firmware update process. Do not power off the router or disconnect it from the power source. Interrupting the update can cause permanent damage to your router.
- Wait for the Update to Complete: Once the update is in progress, wait for it to complete. You may see progress indicators or messages on the configuration page. After the update is done, the router may restart again.
- Verify the Firmware Version: After the router has restarted, log back into the configuration page and verify that the firmware has been successfully updated. You should see the new firmware version displayed.
It is recommended to regularly check for firmware updates and keep your router’s firmware up to date. This ensures that you benefit from the latest security enhancements and performance improvements provided by the manufacturer.
By following these steps, you have successfully updated the firmware of your router. In the next step, we will explore common router issues and provide troubleshooting tips to address them.
Step 7: Troubleshooting Common Router Issues
Even with proper setup and configuration, routers can sometimes encounter issues that affect their performance. Here are some common router issues and troubleshooting tips to help you resolve them:
- Slow Internet Speed: If you’re experiencing slow internet speed, try rebooting both your router and modem. Ensure that the router is positioned in a central location for optimal signal strength. You can also try changing the Wi-Fi channel on your router to avoid interference from nearby networks.
- No Internet Connection: If your router fails to establish an internet connection, ensure that all cables are properly connected and that your modem is functioning correctly. Try power cycling both the router and modem to reset the connection. If the issue persists, contact your internet service provider (ISP) to check for any network outages or account-related problems.
- Wi-Fi Signal Dropping: If the Wi-Fi signal drops intermittently, try relocating the router to a more centralized position in your home or office. Avoid placing the router near large objects or electronic devices that could interfere with the signal. You can also try updating the router’s firmware to the latest version for potential bug fixes and improvements.
- Can’t Access Router Configuration Page: If you’re unable to access the router’s configuration page, ensure that you’re using the correct IP address for your router. Make sure you’re connected to the router’s network either via Ethernet or Wi-Fi. Try using a different web browser or clearing your browser’s cache and cookies. If the issue persists, consider performing a factory reset on the router.
- Unresponsive Router: If the router becomes unresponsive or stops functioning, try power cycling it by unplugging it from the power source, waiting for a few seconds, and plugging it back in. If this doesn’t solve the issue, perform a factory reset on the router. Note that a factory reset will erase all custom settings and configurations on the router.
- Unable to Connect to Wi-Fi: If you’re unable to connect to your Wi-Fi network, ensure that the correct Wi-Fi network name (SSID) and password are entered on your device. Make sure that the Wi-Fi is enabled on your device and that it’s within range of the router. You can also try restarting the device’s Wi-Fi or restarting the router.
If you’ve exhausted these troubleshooting steps and still can’t resolve the router issues, consider reaching out to the router manufacturer’s technical support or consulting a professional for further assistance.
Congratulations! You have now learned how to troubleshoot common router issues. By following this guide, you are equipped with the knowledge to set up, configure, and troubleshoot your router effectively. Enjoy a stable and secure internet connection!
Conclusion
In conclusion, understanding how to use a router effectively is essential for ensuring a stable and secure internet connection in your home or office. By following the steps outlined in this guide, you have learned how to connect your router, access its configuration page, set up the internet connection, configure wireless settings, enable port forwarding, update the firmware, and troubleshoot common issues. Armed with this knowledge, you can optimize your router’s performance and enhance your internet experience.
Remember, proper router placement is crucial for ensuring optimal Wi-Fi signal strength and coverage. Additionally, configuring network security settings and updating the firmware regularly are essential for protecting your network from potential threats and vulnerabilities.
Throughout this guide, we have emphasized the importance of balancing SEO optimization with creating a comprehensive and engaging article. By incorporating relevant keywords naturally within the content, you can improve the article’s visibility in search engines while still providing valuable information to readers.
As technology continues to evolve, it’s important to stay updated with the latest developments in router technology and explore new features that manufacturers introduce. Keep checking for firmware updates and stay informed about networking best practices to make the most out of your router.
By following the steps and tips provided in this guide, you are well on your way to becoming an expert in using routers. Whether you’re a beginner or have some experience, these guidelines will help you navigate the world of routers with confidence and ensure a seamless internet experience for all your devices.
Thank you for joining us on this journey to explore the intricacies of router usage. Now, go forth and enjoy a fast, secure, and reliable internet connection!
Frequently Asked Questions about How To Use A Router
Was this page helpful?
At Storables.com, we guarantee accurate and reliable information. Our content, validated by Expert Board Contributors, is crafted following stringent Editorial Policies. We're committed to providing you with well-researched, expert-backed insights for all your informational needs.
0 thoughts on “How To Use A Router”