Home>Maintenance & Safety>Emergency Preparedness>How To Organize Bandaids
Emergency Preparedness
How To Organize Bandaids
Published: March 2, 2024
Learn how to organize bandaids for your emergency preparedness kit with our helpful tips and ideas. Be prepared for any situation with a well-organized first aid kit.
(Many of the links in this article redirect to a specific reviewed product. Your purchase of these products through affiliate links helps to generate commission for Storables.com, at no extra cost. Learn more)
The Importance of Having a Well-Organized First Aid Kit
Having a well-organized first aid kit is crucial for ensuring that you can quickly and efficiently address minor injuries and emergencies. When it comes to bandaids, having them organized within your first aid kit can make a significant difference in how effectively you can respond to cuts, scrapes, and other minor wounds. By keeping your bandaids well-organized, you can easily locate the right size and type when needed, saving time and reducing stress during an emergency. Additionally, a well-organized first aid kit helps to ensure that your bandaids remain clean, sterile, and ready for use when necessary.
Key Takeaways:
- Keep your bandaids well-organized in a labeled container to quickly find the right one during emergencies. Sorting by size and type helps maintain cleanliness and effectiveness.
- Regularly check and replenish your bandaids supply to ensure they’re always ready for use. Store them in a cool, dry place and discard any expired ones.
Read more: How To Organize The Pantry
Choosing the Right Storage Container for Your Bandaids
When it comes to organizing your bandaids, selecting the right storage container is essential. Here are some options to consider:
-
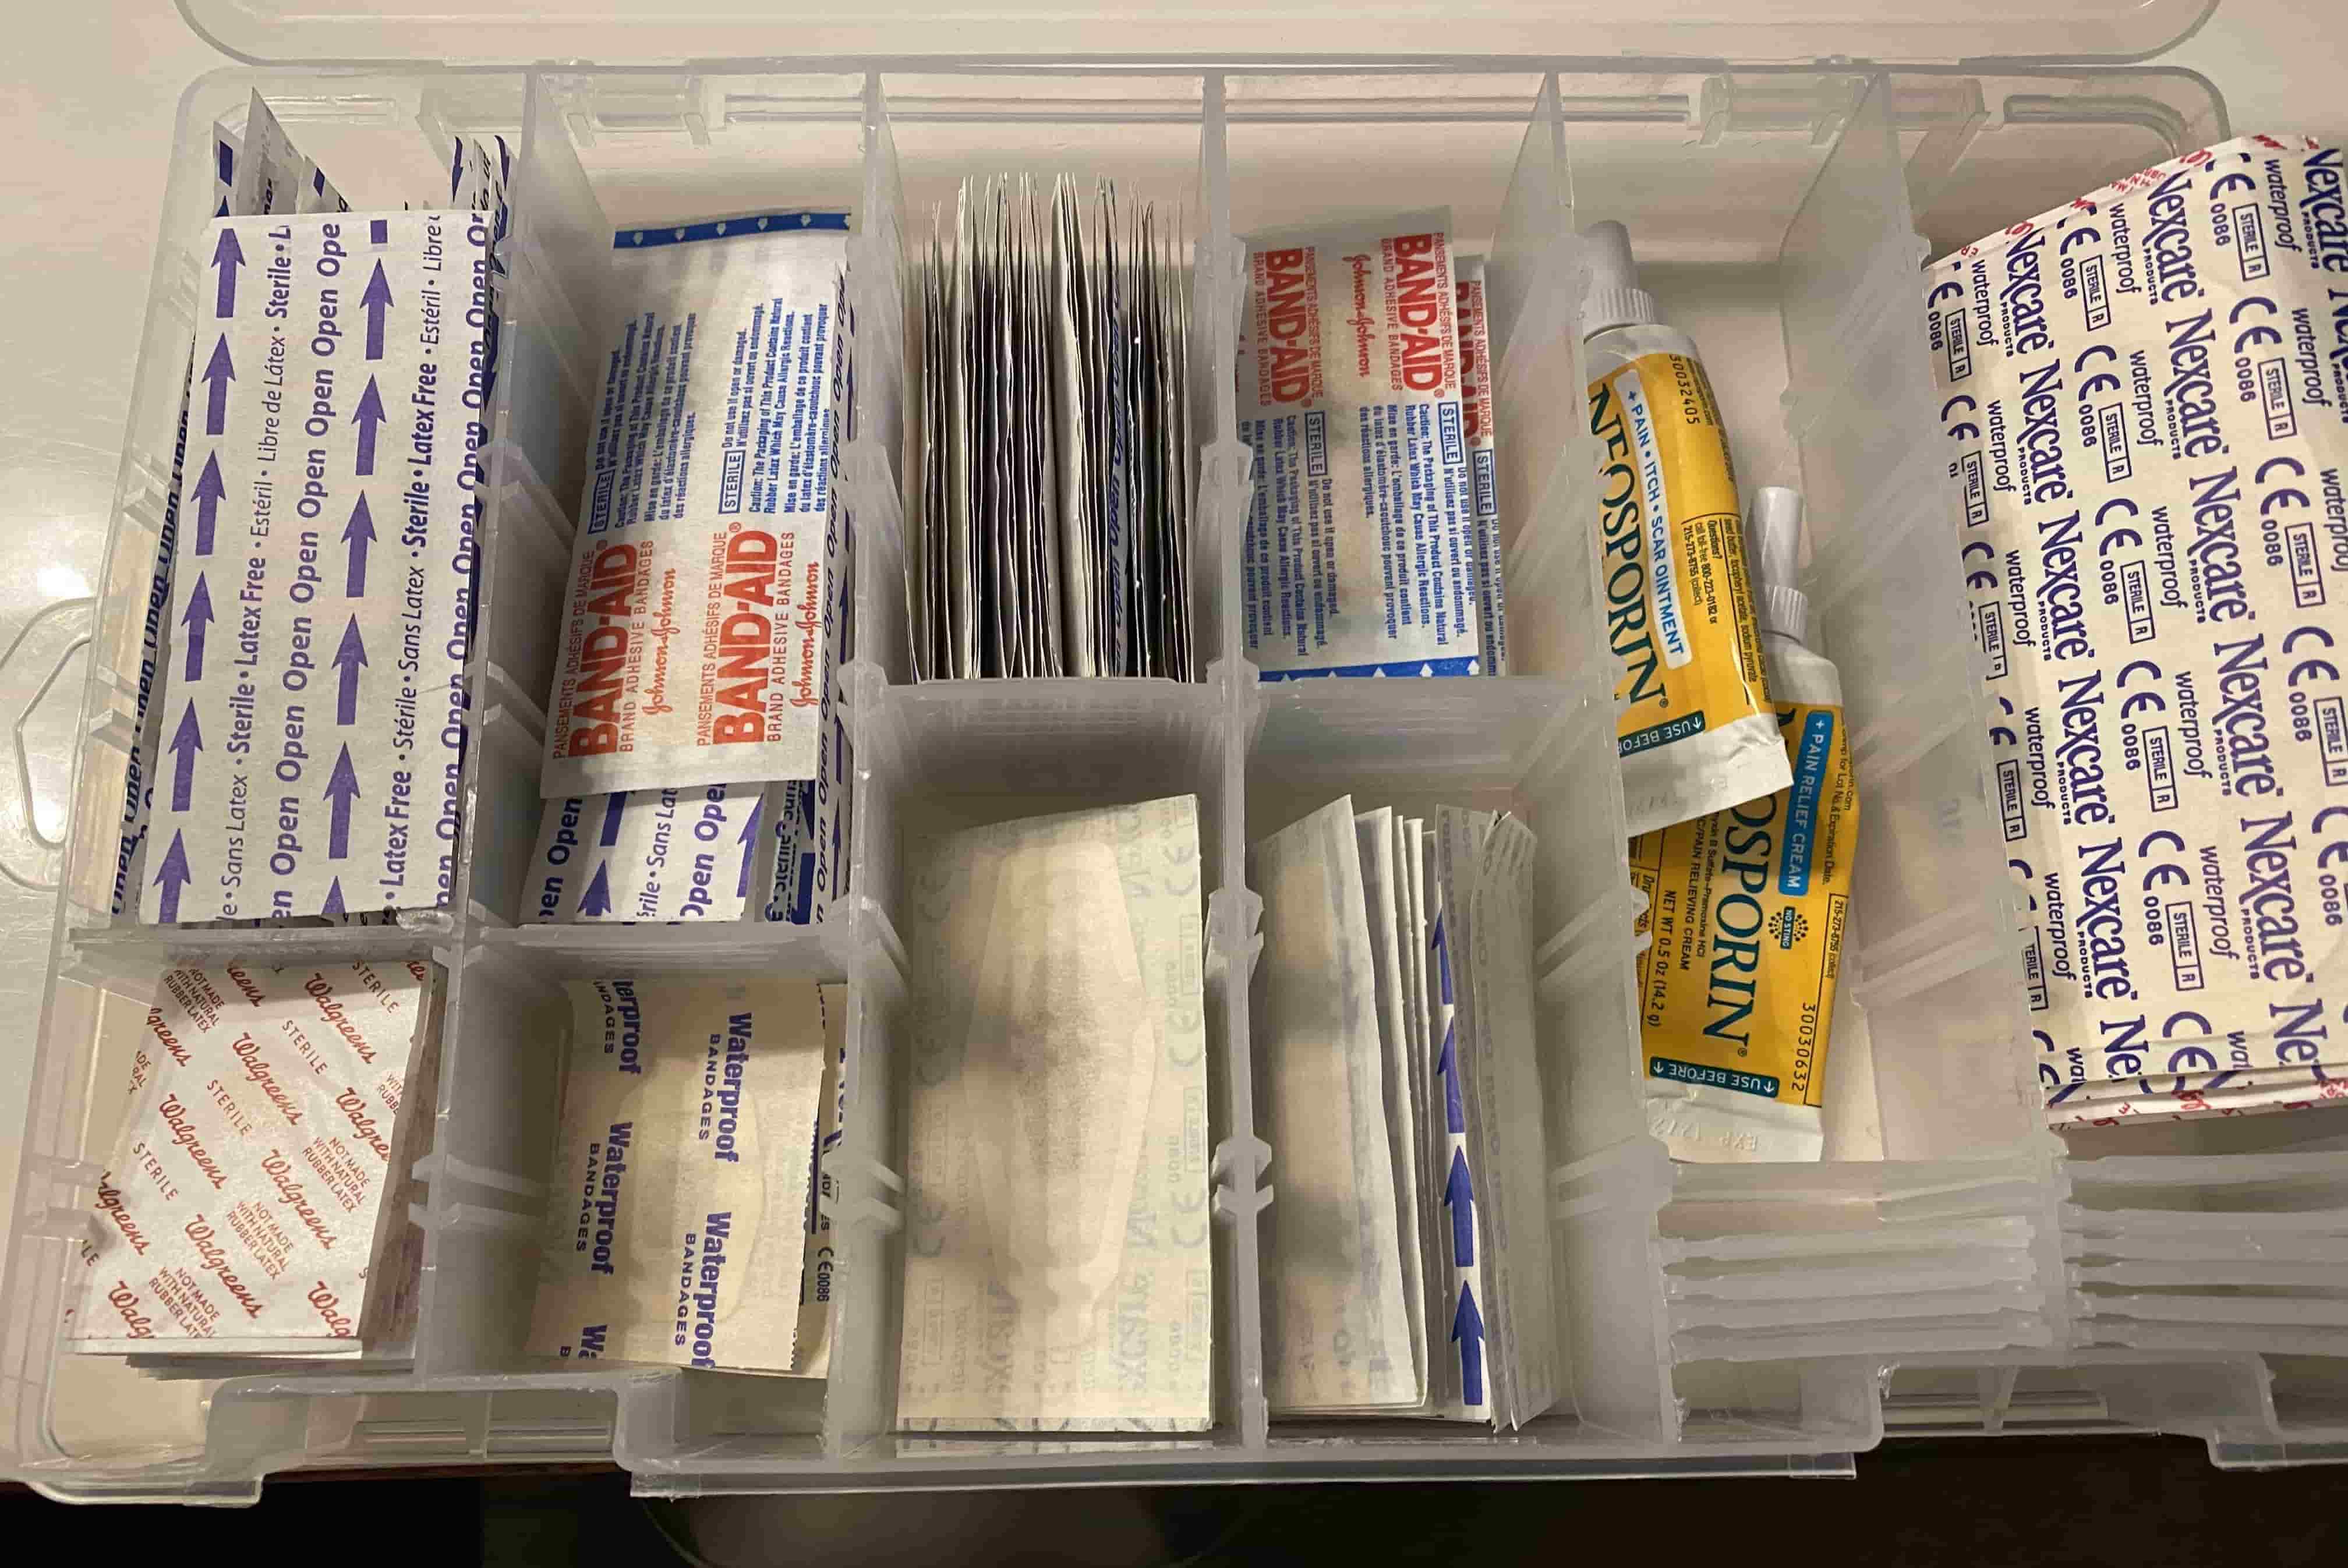
Plastic First Aid Box: A traditional plastic first aid box with compartments is a popular choice for organizing bandaids. It provides separate sections for different sizes and types of bandaids, keeping them neatly arranged and easily accessible.
-
Portable First Aid Pouch: If you prefer a more compact and portable option, a first aid pouch with multiple pockets can be a convenient choice. It allows you to store bandaids along with other first aid essentials in a compact and easily transportable container.
-
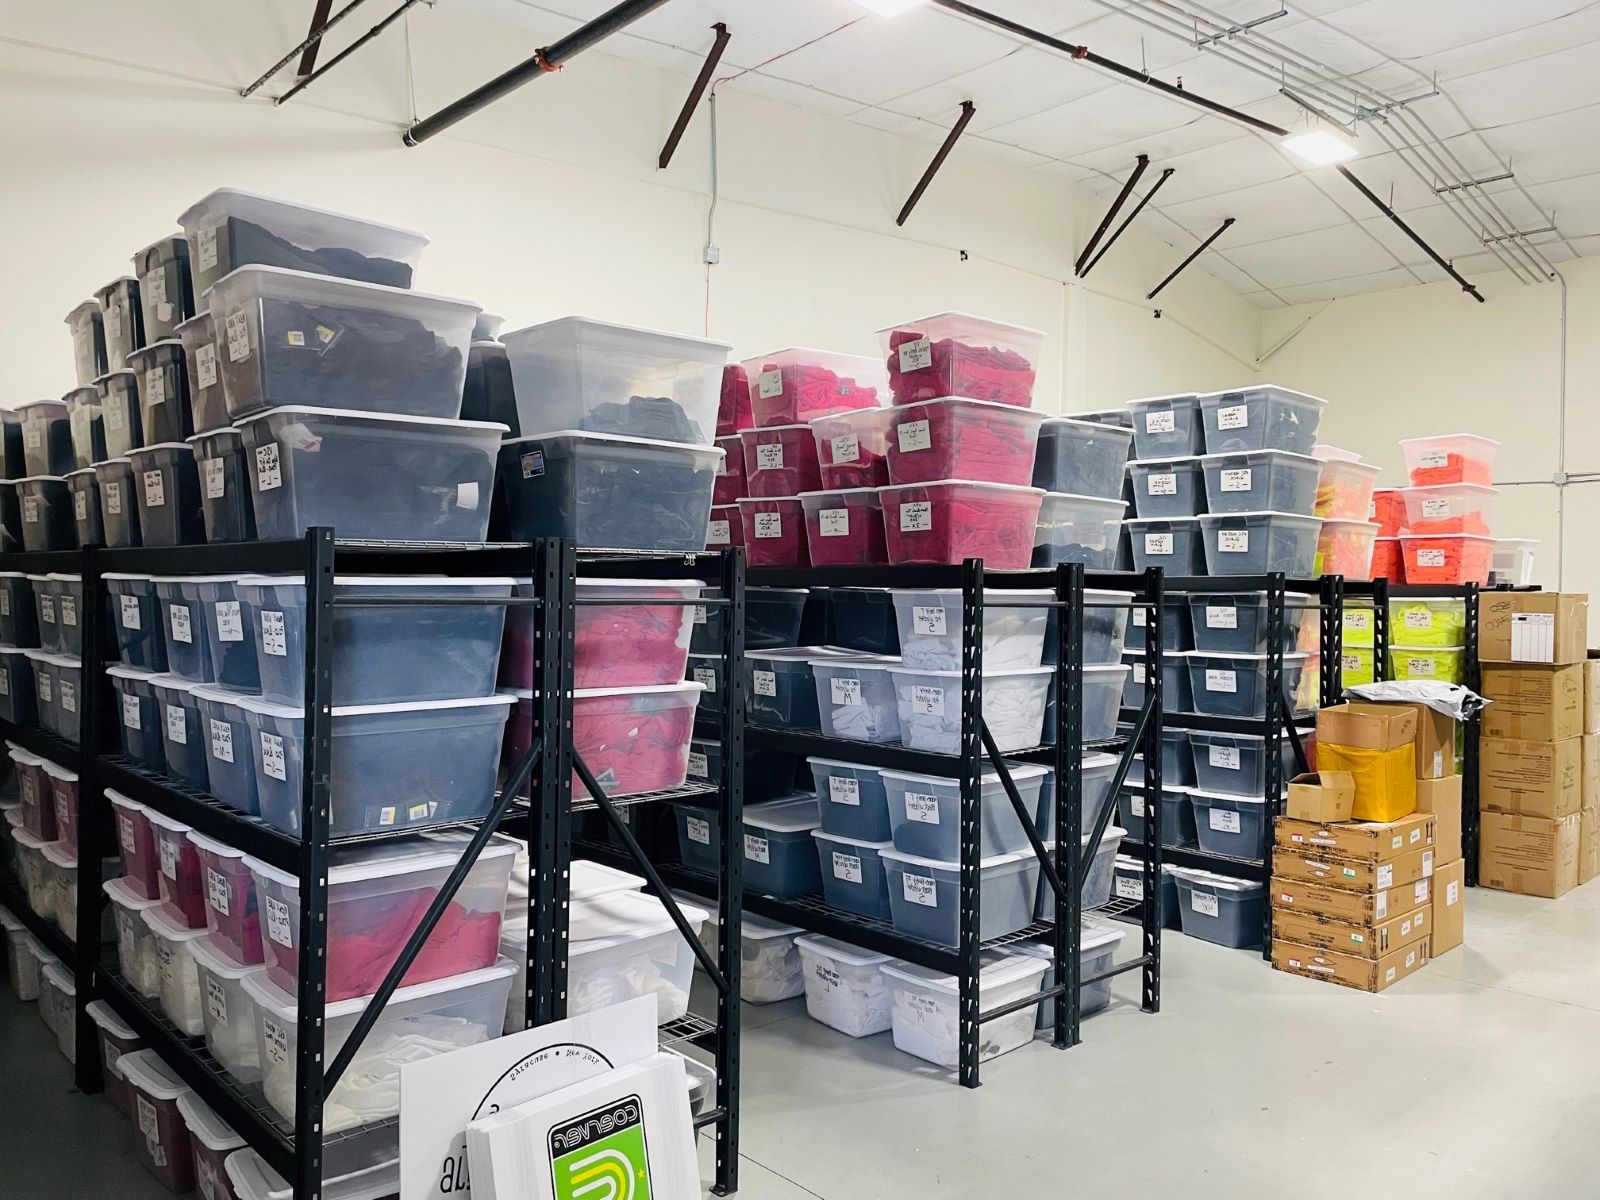
Clear Plastic Storage Bins: Clear plastic storage bins with dividers or adjustable compartments offer visibility and flexibility. You can customize the layout to accommodate various sizes and types of bandaids, making it easy to locate specific ones when needed.
-
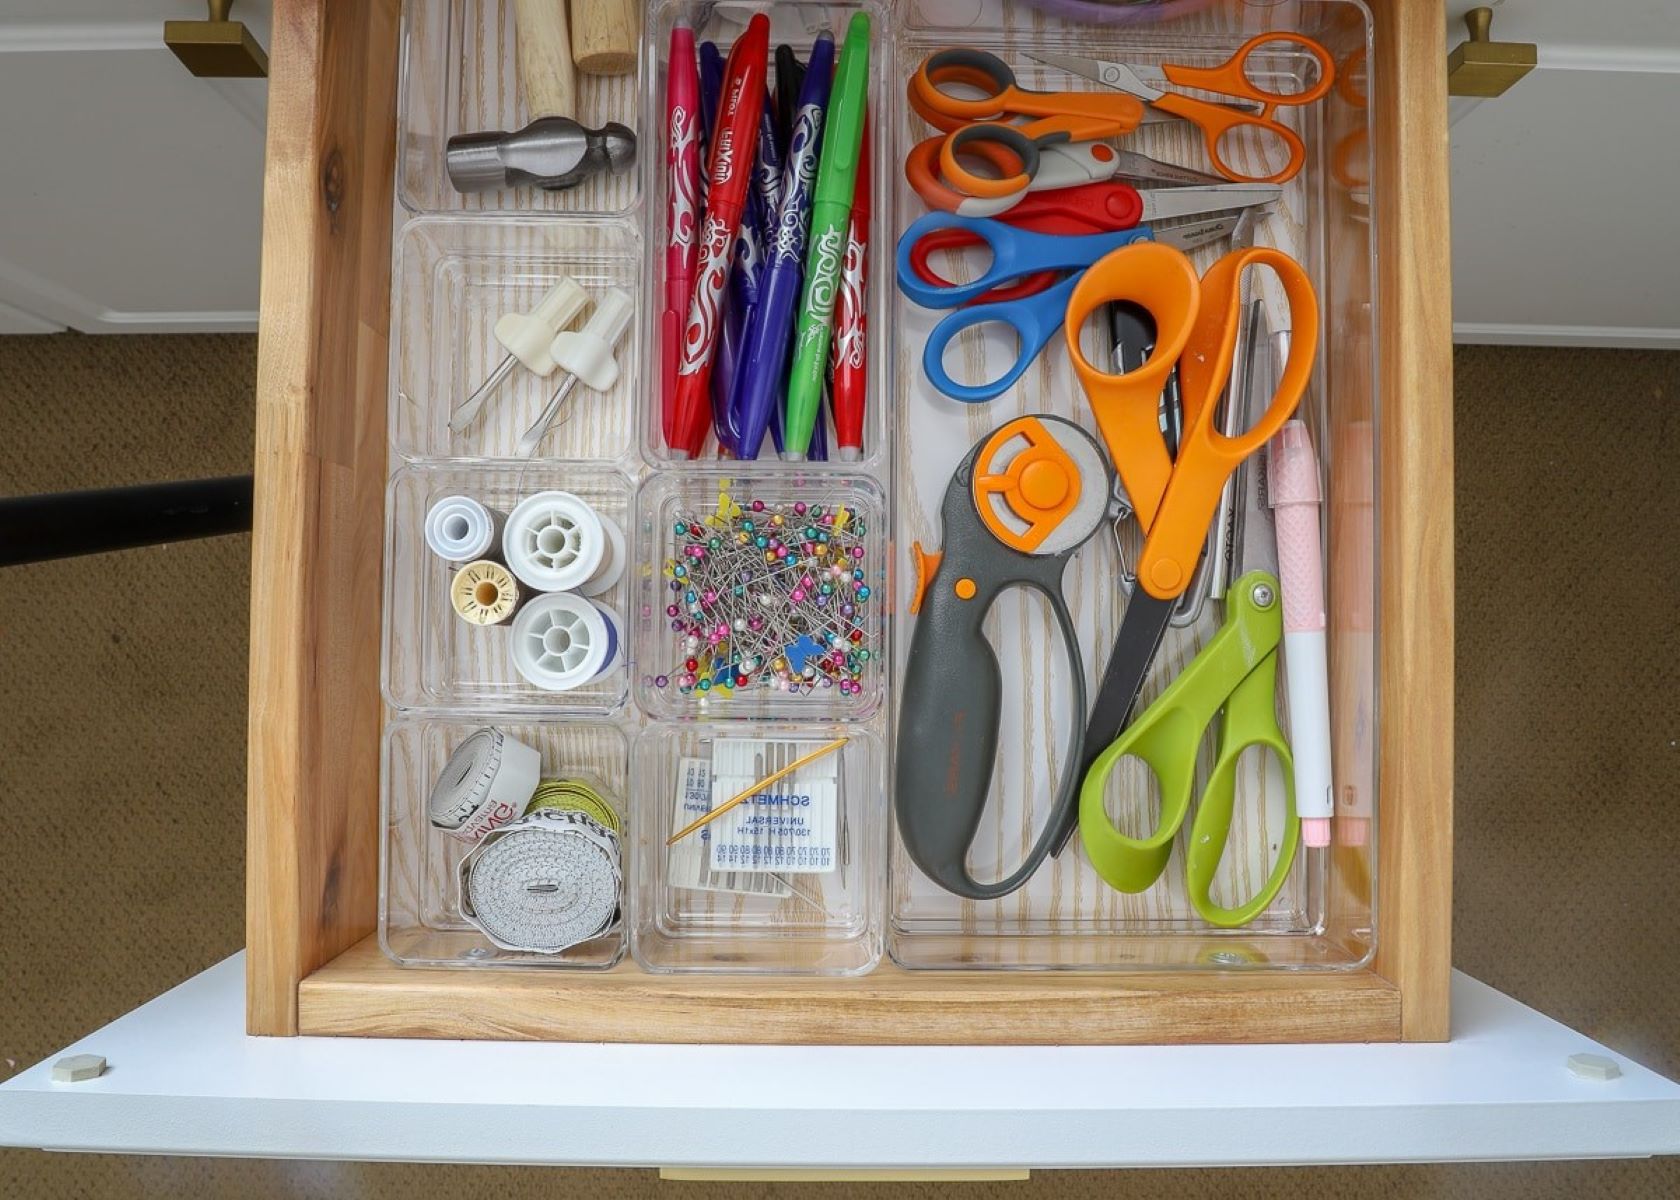
DIY First Aid Kit: For a personalized touch, consider creating a DIY first aid kit using a small toolbox, tackle box, or craft organizer. These containers often have multiple compartments and can be customized to suit your specific bandaid organization needs.
-
Medication Organizer: A pill organizer with multiple compartments can also serve as a practical storage solution for organizing bandaids. It allows you to sort and store different types of bandaids separately, making them readily available for use.
When choosing a storage container for your bandaids, consider factors such as portability, visibility, compartmentalization, and customization options. Selecting the right container will not only keep your bandaids organized but also ensure that they remain easily accessible for quick use during minor emergencies.
Sorting and Categorizing Your Bandaids for Easy Access
When it comes to organizing your bandaids for easy access, sorting and categorizing them based on size, type, and purpose is essential. Here are some practical tips for efficiently sorting and categorizing your bandaids:
-
Size Matters: Begin by separating your bandaids into different size categories. This can include standard size, large size, and small fingertip or knuckle bandaids. By grouping them according to size, you can quickly identify the most suitable option for the specific wound or injury.
-
Type of Bandaids: Sort your bandaids based on their type, such as fabric, plastic, waterproof, or blister bandaids. Each type serves a different purpose, and having them categorized accordingly ensures that you can easily locate the most appropriate one for the situation at hand.
-
Specialized Bandaids: If you have specialized bandaids, such as those designed for blisters, burns, or sensitive skin, create a separate category for them. This ensures that these specialized bandaids are readily available when needed for specific injuries or conditions.
-
Children's Bandaids: If you have children, it's beneficial to have a separate section for children's bandaids. These may include colorful or character-themed bandaids that can help comfort and distract a child during minor injuries.
-
First Aid Kit Compartments: If your storage container has multiple compartments, assign each category of bandaids to a specific section. This makes it easier to maintain the organization and quickly locate the desired bandaids without rummaging through the entire kit.
By sorting and categorizing your bandaids based on size, type, and purpose, you can ensure that they are easily accessible when needed. This organization system not only saves time during emergencies but also helps maintain the cleanliness and sterility of the bandaids, ensuring their effectiveness when applied to wounds.
Store bandaids in a small container or pouch to keep them organized and easily accessible. Sort them by size and type for quick and efficient use.
Labeling Your Bandaids for Quick Identification
Labeling your bandaids is a crucial step in ensuring quick and efficient identification when needed. Here's how you can effectively label your bandaids for easy recognition:
-
Color-Coded Labels: Consider using color-coded labels to differentiate between different types of bandaids. For example, you can use red labels for standard fabric bandaids, blue labels for waterproof bandaids, and green labels for specialized blister bandaids. This visual cue allows for rapid identification, especially in situations where time is of the essence.
-
Size Indicators: Incorporate size indicators on the labels to denote the dimensions of each bandaid. This can be represented by small icons or abbreviations such as "S" for small, "M" for medium, and "L" for large. By including size indicators, you can swiftly select the appropriate bandaid without having to inspect each one individually.
-
Expiration Dates: It's essential to include expiration dates on the labels of your bandaids. This ensures that you can easily identify and discard any expired bandaids, maintaining the effectiveness and safety of your first aid kit. Use a bold font or color to highlight the expiration date for quick reference.
-
Specialized Use Labels: If you have specialized bandaids for specific purposes, such as blister treatment or sensitive skin, clearly label them as such. This prevents any confusion and ensures that the right bandaid is chosen for the corresponding injury or condition.
-
Clear and Legible Text: When creating labels, ensure that the text is clear, legible, and prominently displayed. Use a waterproof marker or label maker to create durable and easily readable labels that withstand the conditions of a first aid kit.
By implementing these labeling strategies, you can streamline the process of identifying and selecting the appropriate bandaids when tending to minor injuries. The clear and informative labels contribute to the overall organization and accessibility of your first aid kit, enhancing its effectiveness during emergencies.
Maintaining and Replenishing Your Bandaids Supply
Maintaining and replenishing your bandaids supply is a crucial aspect of first aid preparedness. Here's how you can ensure that your bandaids are always ready for use:
-
Regular Inventory Checks: Schedule regular inventory checks of your bandaids supply to assess the quantity and condition of the bandages. This proactive approach allows you to identify any shortages or expired bandaids that need to be replaced.
-
Check Expiration Dates: Inspect the expiration dates of your bandaids and discard any that have surpassed their expiration date. Expired bandaids may lose their adhesive properties or sterility, rendering them ineffective for wound care.
-
Replenishment Strategy: Develop a replenishment strategy to restock your bandaids supply. Consider setting a specific threshold for each type and size of bandaid, and replenish them when the quantity falls below the predetermined level.
-
Bulk Purchase: To ensure that you always have an an adequate supply of bandaids, consider purchasing them in bulk. This not only saves money in the long run but also ensures that you have a sufficient quantity on hand for any unexpected injuries.
-
Storage Conditions: Pay attention to the storage conditions of your bandaids to maintain their effectiveness. Store them in a cool, dry place away from direct sunlight and moisture. Proper storage helps preserve the adhesive properties and sterility of the bandaids.
-
First Aid Kit Maintenance: As part of maintaining your bandaids supply, regularly clean and organize your first aid kit. Remove any debris or expired items, and ensure that the bandaids are neatly arranged and easily accessible.
By implementing these maintenance and replenishment practices, you can ensure that your bandaids supply remains reliable and readily available for addressing minor injuries and emergencies. Regular checks and strategic replenishment contribute to the overall effectiveness of your first aid kit, providing peace of mind and preparedness for unexpected situations.
Frequently Asked Questions about How To Organize Bandaids
Was this page helpful?
At Storables.com, we guarantee accurate and reliable information. Our content, validated by Expert Board Contributors, is crafted following stringent Editorial Policies. We're committed to providing you with well-researched, expert-backed insights for all your informational needs.


0 thoughts on “How To Organize Bandaids”