Home>Maintenance & Safety>Home Maintenance Checklists>How Do You Cook A Trash Can Turkey
Home Maintenance Checklists
How Do You Cook A Trash Can Turkey
Published: January 17, 2024
Learn how to cook a trash can turkey at home with our home maintenance checklists. Impress your guests with this unique cooking method!
(Many of the links in this article redirect to a specific reviewed product. Your purchase of these products through affiliate links helps to generate commission for Storables.com, at no extra cost. Learn more)
Introduction
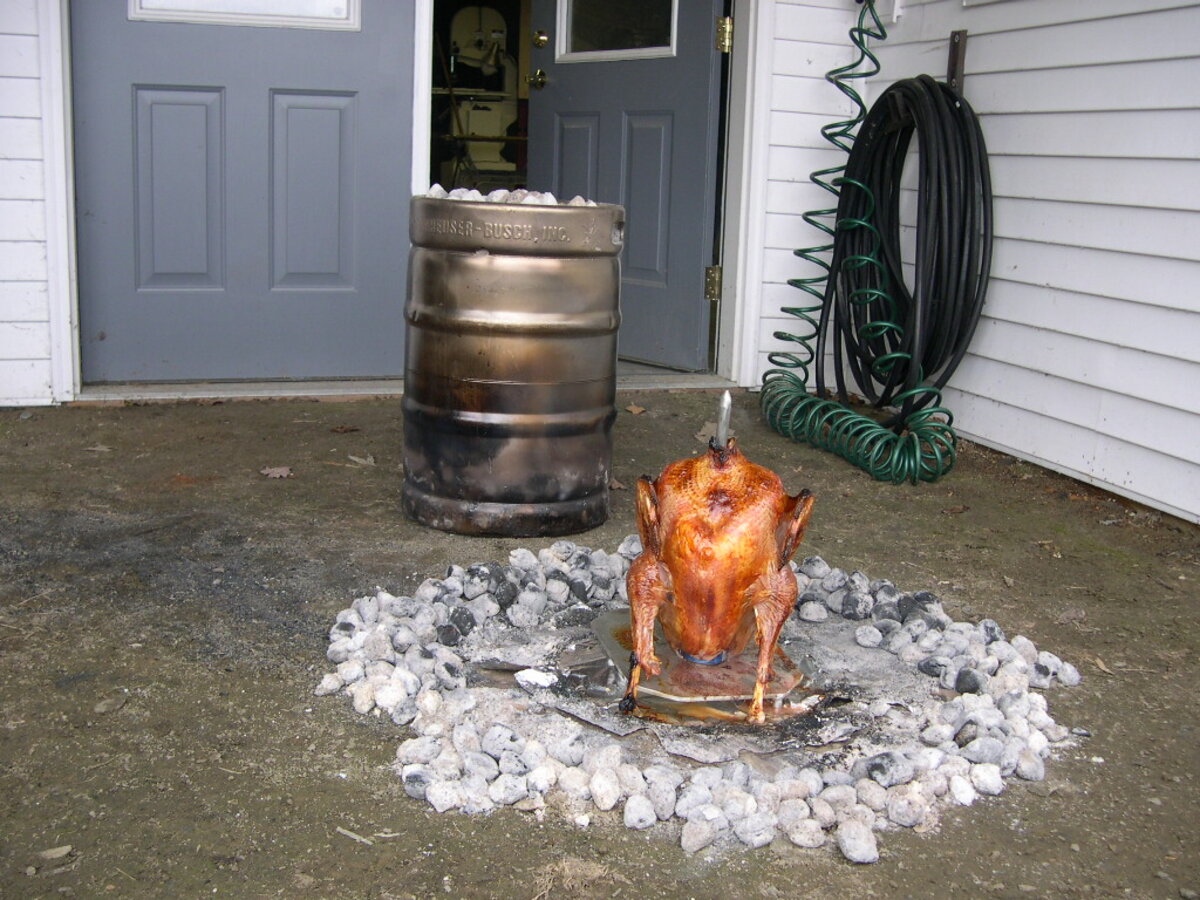
Welcome to the unconventional yet remarkably effective world of trash can turkey cooking! If you're looking to impress your friends and family with a succulent and flavorful turkey that boasts a crispy, golden-brown skin, then you've come to the right place. Cooking a turkey in a trash can might sound unorthodox, but it's a method that has gained popularity due to its ability to produce incredibly juicy and tender meat.
The process involves using a clean galvanized steel trash can, charcoal, and a few other essential tools to create an outdoor oven that can rival even the most advanced kitchen appliances. Not only does this method result in a delicious turkey, but it also adds an element of excitement and adventure to your culinary endeavors.
Whether you're a seasoned chef or a novice cook, mastering the art of trash can turkey cooking can be a rewarding and enjoyable experience. In this guide, we will walk you through the entire process, from selecting the right trash can to carving and serving the perfectly cooked bird. So, roll up your sleeves, gather your ingredients, and get ready to embark on a culinary journey like no other!
Key Takeaways:
- Impress your friends and family with a succulent trash can turkey, cooked in a brand-new galvanized steel trash can for a unique and flavorful outdoor culinary adventure.
- Master the art of trash can turkey cooking by selecting the right trash can, preparing the turkey, setting up the cooking environment, and carving and serving the delectable bird for a memorable culinary achievement.
Choosing the Right Trash Can
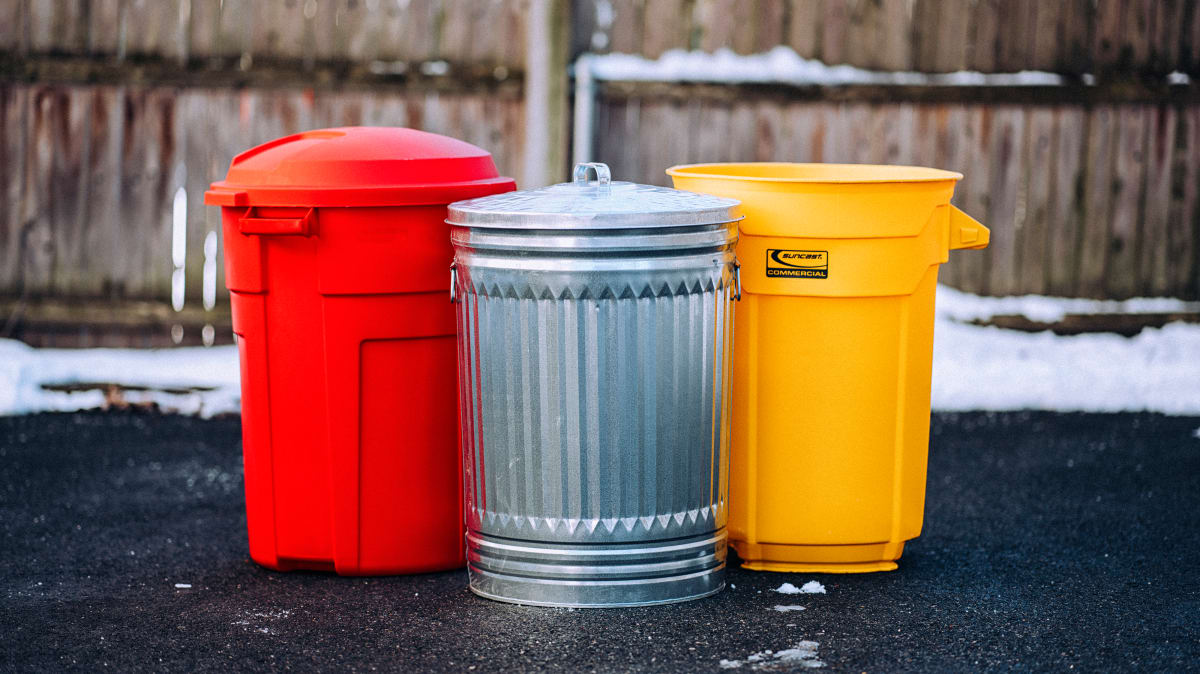
When it comes to cooking a trash can turkey, the first step is selecting the perfect trash can for the job. While the idea of using a trash can for cooking may raise eyebrows, it's essential to emphasize that the can must be brand new and never used for actual trash. Here are the key factors to consider when choosing the right trash can:
- Material: Opt for a brand-new galvanized steel trash can. The galvanized steel ensures durability and heat resistance, making it ideal for use as an outdoor oven.
- Size: The size of the trash can should accommodate the turkey with some extra space to spare. A 20 to 30-gallon can is typically suitable for cooking a standard-sized turkey.
- Lid: Ensure the trash can comes with a tight-fitting lid. This is crucial for trapping the heat inside, creating an oven-like environment.
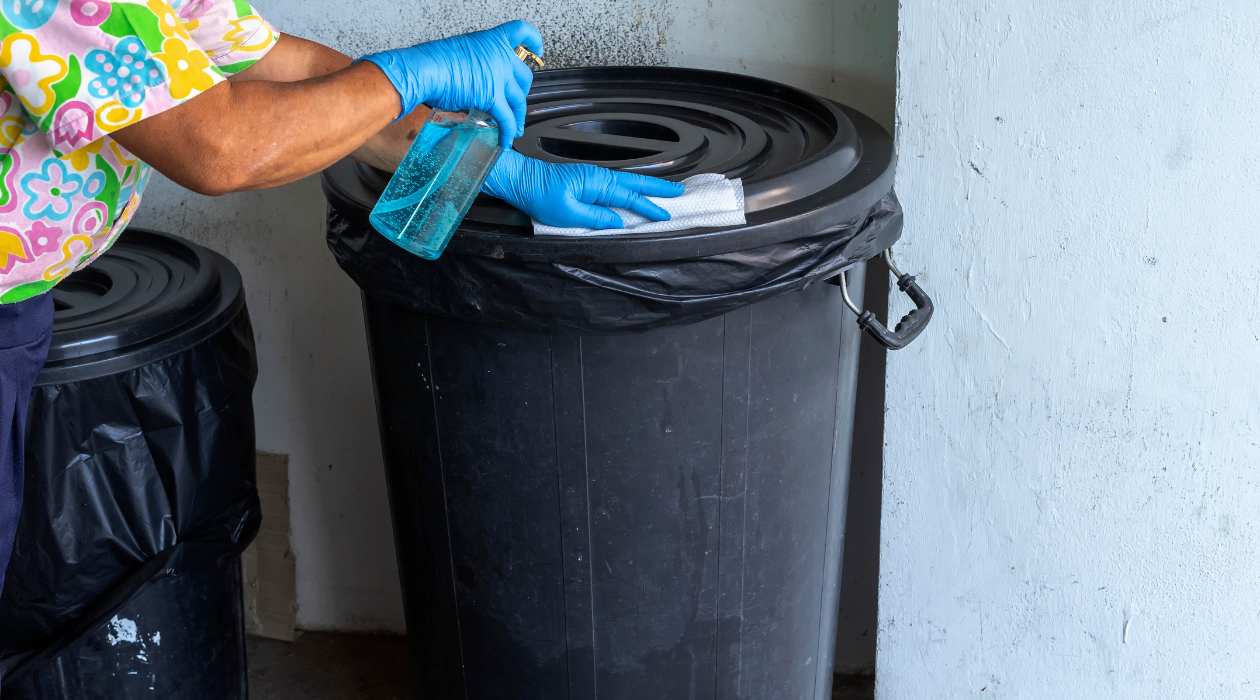
- Cleanliness: Thoroughly clean the trash can with warm, soapy water and rinse it well. It's essential to remove any manufacturing residues or debris before using it for cooking.
Once you've acquired the perfect trash can, it's time to move on to the next step: preparing the turkey for the cooking process.
Preparing the Turkey
Before you can embark on the exciting journey of trash can turkey cooking, it’s crucial to prepare the star of the show – the turkey. Follow these steps to ensure that your bird is ready to undergo the unique cooking process:
- Thawing: If using a frozen turkey, ensure it is completely thawed before cooking. Thawing should be done in the refrigerator, allowing 24 hours for every 4-5 pounds of turkey.
- Cleaning: Rinse the turkey under cold water and pat it dry with paper towels. Remove the giblets and neck from the cavity.
- Seasoning: Season the turkey generously with your choice of herbs, spices, and marinades. A classic combination includes salt, pepper, garlic powder, and paprika. You can also use a marinade injector to infuse the turkey with extra flavor.
- Trussing: To ensure even cooking, truss the turkey by tying the legs together with kitchen twine and tucking the wings under the body.
- Adding Flavor: Consider placing aromatics such as onions, garlic, citrus fruits, and fresh herbs inside the turkey cavity to enhance its flavor during the cooking process.
Once the turkey is properly prepared, it’s time to move on to the next phase: setting up the trash can for cooking.
Setting Up the Trash Can
With the turkey prepared and ready for cooking, it’s time to set up the trash can to create the perfect cooking environment. Follow these steps to ensure that your trash can is ready to work its magic:
- Creating Air Vents: Using a large nail or drill, make several evenly spaced holes near the bottom of the trash can. These holes will serve as air vents, allowing for proper airflow during the cooking process.
- Charcoal Placement: Place a layer of charcoal briquettes on the ground in a suitable outdoor location. The number of briquettes will depend on the size of the turkey and the ambient temperature. As a general guide, use approximately 20 briquettes for every 10 pounds of turkey.
- Lighting the Charcoal: Light the charcoal using a chimney starter or an electric starter until they are covered with white ash, indicating they are ready for cooking.
- Placing the Trash Can: Once the charcoal is ready, carefully place the prepared trash can over the charcoal, ensuring it sits securely and evenly.
- Positioning the Turkey: Carefully lower the prepared turkey onto a rack or stand inside the trash can. Ensure that the turkey is positioned in the center and does not touch the sides of the can.
- Adding the Lid: Place the tight-fitting lid on the trash can, ensuring that it is secure and completely covers the top to trap the heat inside.
With the trash can set up and the turkey in place, it’s time to move on to the exciting phase of cooking the turkey to perfection.
When cooking a trash can turkey, make sure to use a clean metal trash can and line it with heavy-duty aluminum foil. Place the turkey on a rack inside the can and cook over hot coals for 2-3 hours, checking the internal temperature to ensure it reaches 165°F.
Cooking the Turkey
Now that the trash can and turkey are in place, it’s time to commence the cooking process. Cooking a turkey in a trash can is a unique experience that requires attention to detail and a bit of patience. Follow these steps to ensure that your turkey cooks to succulent perfection:
- Monitoring the Temperature: Throughout the cooking process, it’s crucial to monitor the internal temperature of the turkey using a meat thermometer. The turkey should reach an internal temperature of 165°F (74°C) in the thickest part of the thigh and the breast.
- Adding Charcoal: Approximately every 30-45 minutes, add a few additional charcoal briquettes around the perimeter of the trash can to maintain a consistent cooking temperature.
- Ensuring Even Cooking: Rotate the trash can a quarter turn every 30 minutes to ensure even distribution of heat and consistent cooking of the turkey.
- Estimated Cooking Time: As a general guide, a trash can turkey typically cooks at a rate of 10-15 minutes per pound of turkey. However, the cooking time may vary based on factors such as outdoor temperature and the size of the turkey.
- Resting the Turkey: Once the turkey reaches the desired internal temperature, carefully remove it from the trash can and place it on a cutting board. Allow the turkey to rest for 20-30 minutes before carving to allow the juices to redistribute, ensuring a moist and flavorful result.
With the turkey cooked to perfection, it’s time to move on to the final phase: carving and serving the delectable bird to your eagerly awaiting guests.
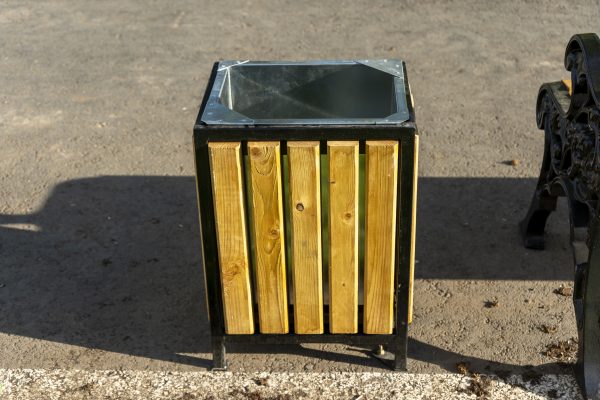
Read more: How Do You Throw Away A Trash Can
Carving and Serving the Turkey
Carving and serving the trash can turkey is a moment of culinary triumph, and it’s essential to ensure that the bird is presented in a manner that does justice to its exceptional flavor and tenderness. Follow these steps to carve and serve the turkey with finesse:
- Resting the Turkey: Allow the cooked turkey to rest on a cutting board for 20-30 minutes before carving. This resting period allows the juices to redistribute, resulting in a moist and flavorful bird.
- Carving Tools: Use a sharp carving knife and a sturdy serving fork to carve the turkey. Begin by removing the kitchen twine used for trussing and any aromatics placed inside the turkey cavity.
- Separating the Drumsticks and Thighs: With the turkey breast-side up, hold the drumstick and carefully cut through the skin between the drumstick and the body. Apply pressure to separate the thigh from the body, allowing it to fall away naturally.
- Slicing the Breast Meat: Position the carving knife parallel to the breastbone and slice downward to remove the breast meat in elegant, even slices. Repeat the process on the opposite side of the turkey.
- Serving the Turkey: Arrange the carved turkey pieces on a serving platter, garnishing with fresh herbs, citrus wedges, or other decorative elements for an inviting presentation.
- Accompaniments: Serve the trash can turkey alongside an array of delectable sides and sauces, such as cranberry sauce, gravy, roasted vegetables, and fluffy mashed potatoes, to create a memorable and satisfying meal for your guests.
With the turkey expertly carved and beautifully presented, it’s time to savor the fruits of your labor and revel in the joy of sharing a remarkable culinary creation with your friends and family.
Conclusion
Cooking a trash can turkey is not just a culinary endeavor; it’s an adventure that brings together the thrill of outdoor cooking and the satisfaction of creating a mouthwatering masterpiece. As you’ve discovered, this unconventional method of cooking yields a turkey that is incredibly juicy, tender, and infused with smoky flavors, making it a memorable centerpiece for any gathering.
Throughout this guide, you’ve learned the essential steps of selecting the right trash can, preparing the turkey, setting up the cooking environment, monitoring the cooking process, and finally, carving and serving the delectable bird. Each phase of the journey contributes to the overall experience, transforming a simple meal into a remarkable culinary achievement.
By embracing the art of trash can turkey cooking, you’ve not only expanded your culinary repertoire but also created lasting memories with those who have shared in the experience. The process of preparing and cooking the turkey becomes a communal activity, igniting a sense of camaraderie and anticipation as the tantalizing aromas fill the air.
As you continue to explore the world of outdoor cooking, remember that the joy of culinary experimentation knows no bounds. Whether it’s mastering new techniques, infusing unique flavors, or simply enjoying the pleasures of creating a remarkable meal, the art of cooking a trash can turkey exemplifies the spirit of culinary adventure and the joy of sharing exceptional food with loved ones.
So, as you savor the last succulent bites of your trash can turkey, take pride in the journey you’ve embarked upon and the delightful feast you’ve created. Here’s to many more culinary adventures and the joy of creating unforgettable dining experiences!
Frequently Asked Questions about How Do You Cook A Trash Can Turkey
Was this page helpful?
At Storables.com, we guarantee accurate and reliable information. Our content, validated by Expert Board Contributors, is crafted following stringent Editorial Policies. We're committed to providing you with well-researched, expert-backed insights for all your informational needs.


0 thoughts on “How Do You Cook A Trash Can Turkey”