Home>Maintenance & Safety>Home Maintenance Checklists>How To Make A Trash Can

Home Maintenance Checklists
How To Make A Trash Can
Published: January 17, 2024
Learn how to create effective home maintenance checklists with our comprehensive guide on how to make a trash can. Keep your home clean and organized with our expert tips.
(Many of the links in this article redirect to a specific reviewed product. Your purchase of these products through affiliate links helps to generate commission for Storables.com, at no extra cost. Learn more)
Introduction
Welcome to the world of DIY home projects! Making your own trash can is not only a practical endeavor, but it also adds a personal touch to your living space. Whether you're a seasoned craftsman or a novice DIY enthusiast, creating a customized trash can is a rewarding and relatively simple task. In this guide, we will walk through the step-by-step process of constructing a wooden trash can with a lid and a trash bag holder.
By following this comprehensive tutorial, you'll have the opportunity to showcase your woodworking skills and add a functional and aesthetically pleasing piece to your home. So, roll up your sleeves, gather your tools, and let's embark on this fulfilling journey of crafting a trash can that perfectly suits your needs and style.
Key Takeaways:
- Crafting a custom trash can is a rewarding DIY project that adds a personal touch to your home. Follow the step-by-step guide to showcase your woodworking skills and create a functional, aesthetically pleasing piece.
- By meticulously planning, constructing, and finishing your custom trash can, you’ll not only showcase your craftsmanship but also contribute to the beauty and functionality of your home. Embrace the satisfaction of creating a practical work of art.
Read more: How To Make A Cabinet Into A Trash Can
Materials and Tools
Before diving into the construction process, it’s crucial to gather all the necessary materials and tools. Here’s what you’ll need:
Materials:
- 3/4-inch thick plywood sheets
- Wood glue
- Wood screws
- Hinges
- Wood stain or paint
- Trash bag holder hardware
- Wood filler
- Sandpaper
- Wood sealer or varnish
Tools:
- Measuring tape
- Pencil
- Circular saw or table saw
- Drill with bits
- Screwdriver
- Clamps
- Sandpaper or sander
- Paintbrushes or applicator
- Safety goggles and gloves
Having these materials and tools at your disposal will ensure a smooth and efficient building process. Additionally, feel free to personalize your trash can by choosing a wood stain or paint color that complements your home decor. With everything in hand, you’re ready to move on to the construction phase.
Step 1: Cutting the Wood
The initial step in creating your custom trash can involves cutting the plywood sheets to the appropriate dimensions. This will form the basic structure of the trash can. Follow these steps to ensure precise and accurate cuts:
- Measure and Mark: Use a measuring tape and pencil to mark the dimensions on the plywood sheets. You will need panels for the sides, front, back, bottom, and lid of the trash can.
- Cutting Process: With the measurements in place, carefully use a circular saw or table saw to cut along the marked lines. It’s essential to maintain straight and clean cuts to ensure the pieces fit together seamlessly.
- Smoothing the Edges: Once the pieces are cut, use sandpaper to smooth out any rough edges or imperfections. This step will prepare the wood for assembly and enhance the overall finish of the trash can.
Accurate measurements and precise cuts are vital for the structural integrity and visual appeal of your trash can. By taking your time and paying attention to detail during this stage, you’ll set the foundation for a well-crafted and professional-looking final product.
Read more: How To Make A Trash Can Not Smell
Step 2: Assembling the Frame
With the wood pieces cut to size, it’s time to assemble the frame of the trash can. This step forms the core structure that will eventually hold the lid and accommodate the trash bag holder. Follow these guidelines for a seamless assembly process:
- Dry Fit: Before applying any adhesive or fasteners, conduct a dry fit by positioning the cut pieces together to ensure they align accurately. This step allows you to make any necessary adjustments before moving on to permanent assembly.
- Applying Wood Glue: Once satisfied with the dry fit, apply wood glue to the joining edges of the panels and carefully piece them together. Use clamps to secure the joints while the glue sets, ensuring a strong and stable bond.
- Reinforcement: To further fortify the frame, use wood screws to secure the panels from the inside. This additional reinforcement enhances the overall durability of the trash can.
- Allow for Drying: After the assembly is complete, allow the wood glue to dry thoroughly as per the manufacturer’s instructions. This ensures that the frame is solid and ready for the next phase of construction.
By following these steps, you’ll create a sturdy and well-constructed frame for your trash can. Attention to detail during the assembly process is key to ensuring a professional and long-lasting result.
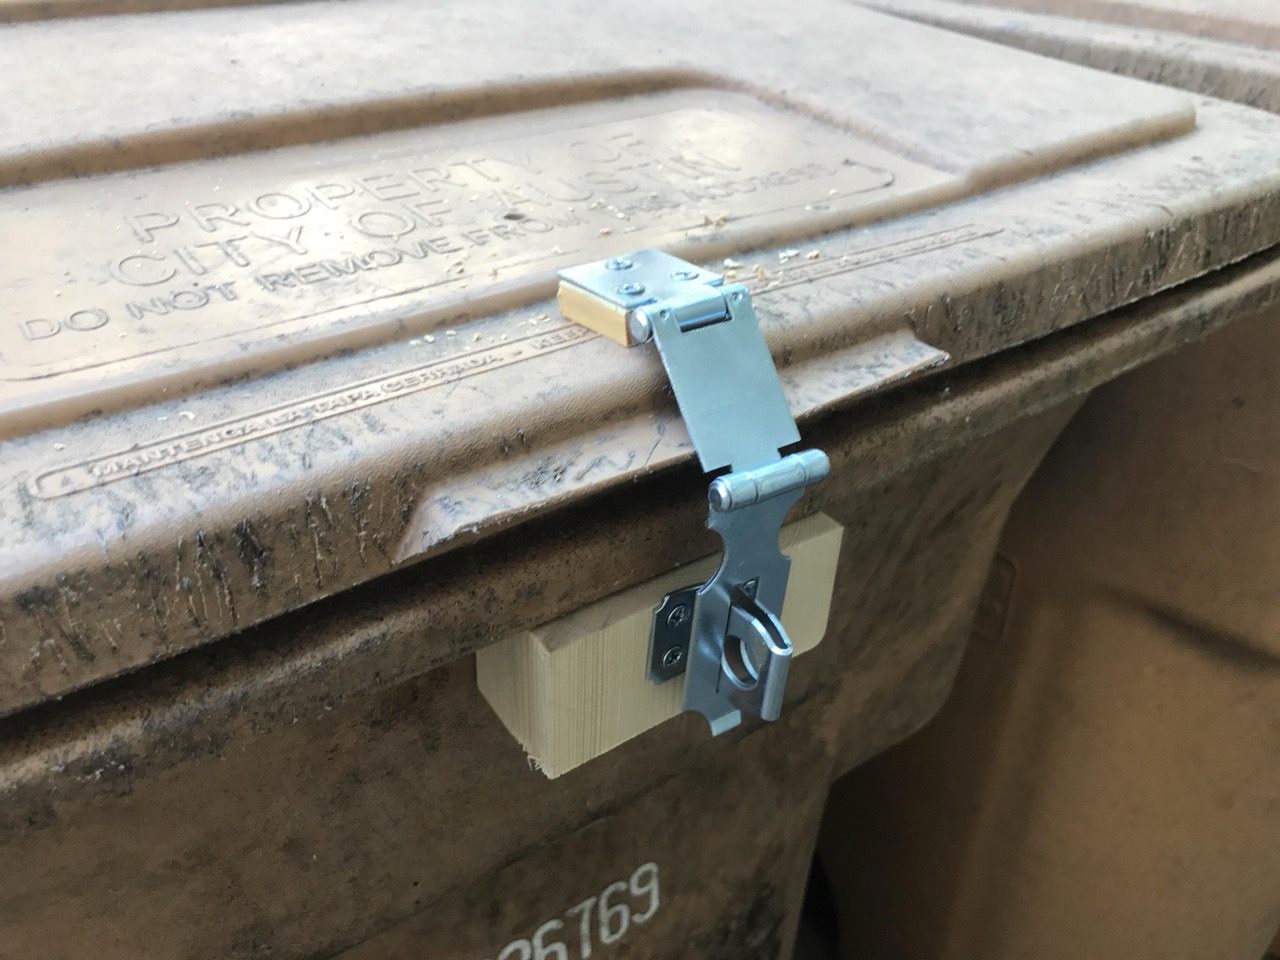
Step 3: Attaching the Lid
Attaching the lid is a crucial step in completing your custom trash can. The lid not only conceals the contents of the trash can but also adds a polished and functional element to the overall design. Here’s how to seamlessly attach the lid to the frame:
- Hinge Placement: Determine the placement of the hinges on the back of the frame and the lid. Mark these positions accurately to ensure proper alignment and smooth operation of the lid.
- Installing the Hinges: Secure the hinges in place using the appropriate screws and a screwdriver. It’s essential to ensure that the hinges are firmly attached and allow the lid to open and close smoothly without any resistance.
- Final Adjustment: Once the hinges are installed, test the lid to ensure it opens and closes seamlessly. Make any necessary adjustments to the hinge positioning or tightness to achieve the desired functionality.
- Finishing Touch: Consider adding a handle or knob to the lid for added convenience and visual appeal. This final touch can elevate the overall look of the trash can while providing a practical feature.
By following these steps, you’ll successfully integrate the lid into your trash can, providing a functional and visually appealing solution for managing household waste. The seamless operation of the lid adds to the overall convenience and aesthetic value of your custom creation.
When making a trash can, make sure to use durable materials like metal or heavy-duty plastic to ensure it can withstand the weight of the trash and last a long time.
Step 4: Adding the Trash Bag Holder
Integrating a trash bag holder into your custom trash can enhances its practicality and makes waste management more convenient. Follow these steps to seamlessly add a trash bag holder to your creation:
- Positioning the Holder: Determine the ideal placement for the trash bag holder within the trash can. This location should allow easy access for inserting and removing trash bags while keeping them neatly in place.
- Securing the Holder: Once the position is determined, attach the trash bag holder securely to the interior of the trash can using the appropriate hardware. Ensure that it is firmly fixed in place to withstand the weight of a filled trash bag.
- Testing the Functionality: After installation, test the trash bag holder by placing a standard-sized trash bag within it. Confirm that the bag fits securely and remains in place when loaded with waste.
- Refinement: Consider adding any additional features, such as a rim or clamping mechanism, to further secure the trash bag in place and prevent it from slipping during use.
By incorporating a dedicated trash bag holder, you’ll streamline the process of managing household waste while maintaining a neat and organized trash can. This practical addition ensures that your custom creation is not only visually appealing but also highly functional.
Step 5: Finishing Touches
Adding the finishing touches to your custom trash can is a pivotal step that elevates its overall appearance and durability. Here’s how to bring your creation to its final, polished state:
- Surface Preparation: Prior to applying any finish, ensure that the exterior and interior surfaces of the trash can are smooth and free of any imperfections. Sand the wood lightly to achieve a uniform and pristine surface.
- Staining or Painting: Choose a wood stain or paint that complements your home decor and personal style. Apply the selected finish evenly using a paintbrush or applicator, allowing the natural beauty of the wood to shine through or adding a pop of color to your space.
- Protective Coating: Once the stain or paint has dried, apply a wood sealer or varnish to protect the surface from moisture and wear. This protective coating enhances the longevity of your trash can, allowing it to withstand daily use and environmental factors.
- Final Inspection: After the finish has dried completely, inspect the entire trash can for any touch-ups or additional refinements. Address any remaining imperfections to ensure a flawless end result.
By completing these finishing touches, you’ll transform your custom trash can into a durable, visually appealing, and personalized addition to your home. The attention to detail in this final phase ensures that your creation will stand the test of time and seamlessly integrate into your living space.
Read more: How To Make A Trash Can Punch
Conclusion
Congratulations on successfully crafting your very own custom trash can! Through meticulous planning, precise construction, and thoughtful finishing, you’ve created a functional and aesthetically pleasing addition to your home. This DIY project not only showcases your craftsmanship but also provides a practical solution for managing household waste in style.
By following the step-by-step guide outlined in this tutorial, you’ve gained valuable insight into woodworking techniques, assembly processes, and finishing methods. The personalized touch you’ve added to your trash can reflects your unique style and enhances the overall ambiance of your living space.
As you admire your finished creation, take pride in the fact that you’ve not only built a practical item but also contributed to the beauty and functionality of your home. Your custom trash can serves as a testament to your creativity and skill, and it’s sure to garner admiration from visitors and family members alike.
Embrace the satisfaction of completing this DIY project and revel in the joy of using a trash can that you’ve crafted with your own hands. Whether it’s for your kitchen, office, or any other space, your custom creation is a testament to your ability to transform raw materials into a functional work of art.
So, as you bask in the fulfillment of completing this project, consider the newfound confidence and expertise you’ve gained. You’re now equipped with the knowledge and skills to embark on future woodworking endeavors, further enhancing your living environment with personalized and practical creations.
With your custom trash can proudly in place, you’ve not only added a functional element to your home but also infused it with your unique personality and craftsmanship.
Frequently Asked Questions about How To Make A Trash Can
Was this page helpful?
At Storables.com, we guarantee accurate and reliable information. Our content, validated by Expert Board Contributors, is crafted following stringent Editorial Policies. We're committed to providing you with well-researched, expert-backed insights for all your informational needs.


0 thoughts on “How To Make A Trash Can”