Home>Maintenance & Safety>Home Maintenance Checklists>How To Fix Trash Can Lid
Home Maintenance Checklists
How To Fix Trash Can Lid
Modified: January 22, 2024
Learn how to fix your trash can lid with our comprehensive home maintenance checklist. Keep your home in top shape with our expert tips and tricks.
(Many of the links in this article redirect to a specific reviewed product. Your purchase of these products through affiliate links helps to generate commission for Storables.com, at no extra cost. Learn more)
Introduction
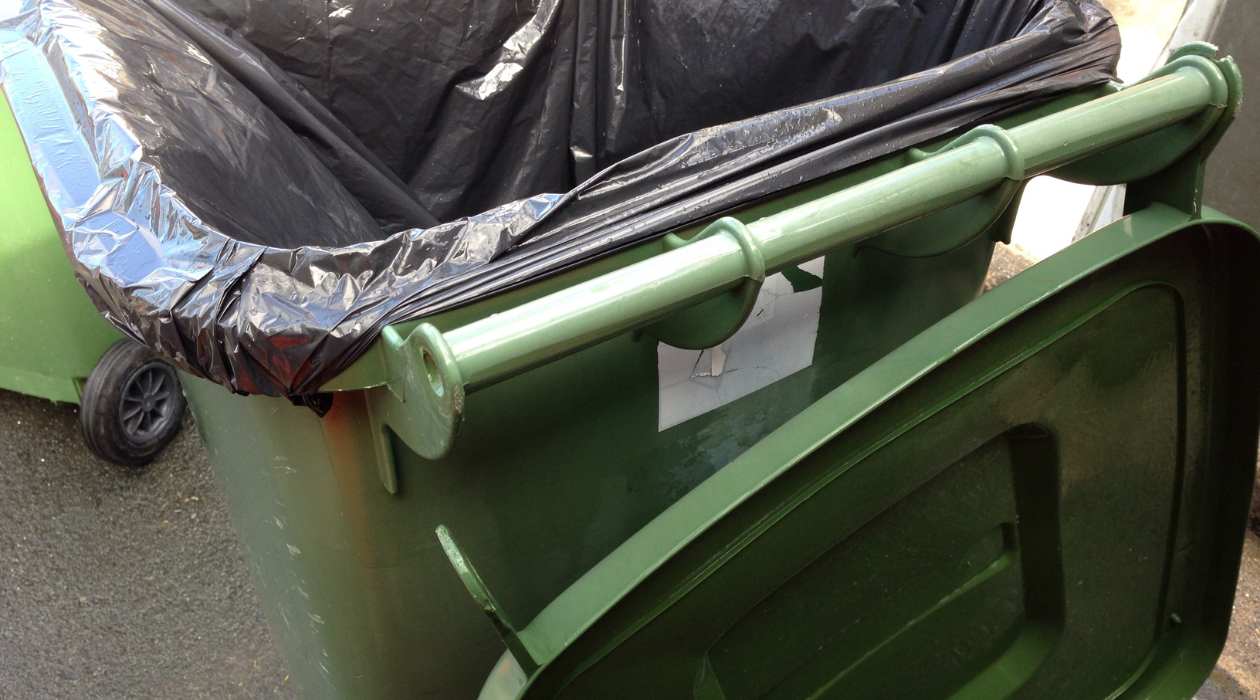
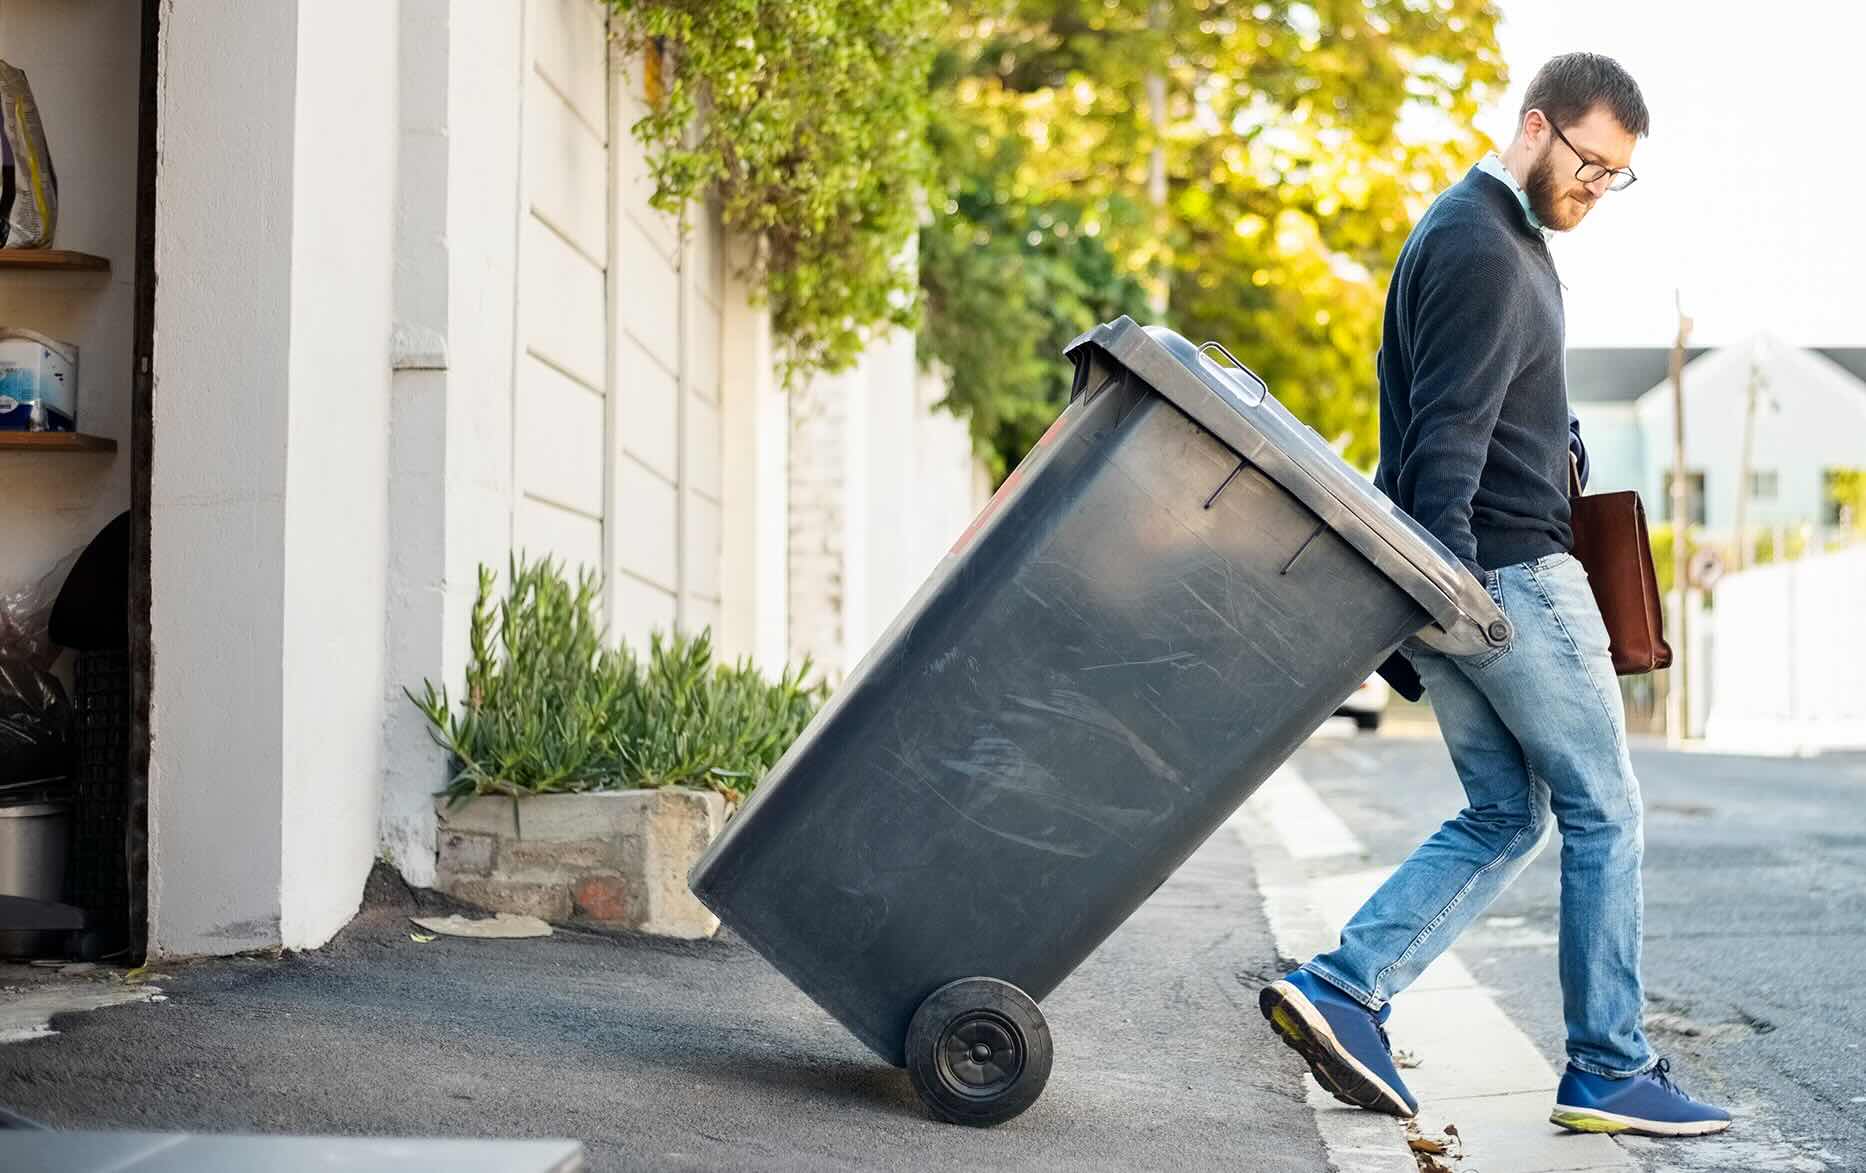
Welcome to the ultimate guide on fixing a broken trash can lid! Your trusty trash can is an unsung hero, tirelessly containing your household waste day in and day out. However, a malfunctioning lid can quickly turn this essential item into a frustrating nuisance. Fear not, as we embark on a journey to restore functionality to your trash can lid and reclaim its rightful place as a cornerstone of your home maintenance checklist.
Whether the hinge has given way, the latch is misbehaving, or the lid is simply beyond repair, we've got you covered with practical solutions to address each issue. By the end of this comprehensive guide, you'll be equipped with the knowledge and skills to tackle any trash can lid dilemma that comes your way. So, roll up your sleeves, gather your tools, and let's dive into the art of trash can lid restoration!
Key Takeaways:
- Master the art of fixing a broken trash can lid with simple tools and practical steps, ensuring a smoothly operating household essential for managing waste.
- Regular maintenance and prompt repairs are crucial for preserving the longevity of your trash can, contributing to a clean and organized living space.
Read more: How To Fix Soft Close Trash Can Lid
Assessing the Issue
Before diving into the repair process, it’s crucial to assess the nature and extent of the problem with your trash can lid. Start by examining the hinge and latch to identify any visible damage or signs of wear and tear. Inspect the lid itself for cracks, warping, or other structural issues that may compromise its functionality.
Next, consider the material of your trash can lid. Is it made of plastic, metal, or another durable material? Understanding the composition of the lid will influence the repair approach and the type of tools and materials needed for the job.
Additionally, take note of any specific issues you’ve encountered. Does the lid not close properly, or does it refuse to stay open when needed? Are there any unusual sounds or resistance when operating the lid? By identifying these specific symptoms, you’ll gain valuable insight into the underlying causes of the problem.
Finally, consider the overall condition of the trash can itself. A broken or malfunctioning lid may be a symptom of broader wear and tear on the entire unit. Assessing the lid in the context of the entire trash can will help you determine whether a simple repair will suffice or if a complete lid replacement is necessary.
By thoroughly assessing the issue at hand, you’ll be better equipped to proceed with the appropriate repair method, ensuring a successful outcome and prolonged functionality for your trusty trash can.
Tools and Materials Needed
Equipping yourself with the right tools and materials is essential for effectively addressing the issues plaguing your trash can lid. Before you begin the repair process, gather the following items to ensure a smooth and efficient experience:
Tools:
- Screwdriver set (Phillips and flathead)
- Pliers
- Adjustable wrench
- Drill and drill bits
- Utility knife
- Hammer
- Sandpaper
- Measuring tape
Materials:
- Replacement hinges and screws (if hinge repair is needed)
- New latch and fasteners (if latch repair is necessary)
- Strong adhesive or epoxy for plastic or metal lid repairs
- Replacement lid (if irreparable damage is present)
- Clean cloth for wiping down the lid and surrounding areas
- Safety gloves for protection during the repair process
It’s important to ensure that the replacement parts, such as hinges, latches, and lids, are compatible with your specific trash can model. Take precise measurements and consult the manufacturer’s guidelines if necessary to guarantee a proper fit.
Additionally, prioritize safety by wearing protective gloves, especially when handling sharp or heavy components. Keep the work area well-lit and free of clutter to facilitate smooth and safe repairs.
With these essential tools and materials at your disposal, you’ll be well-prepared to tackle any trash can lid repair with confidence and precision.
Read more: How To Fix Itouchless Trash Can
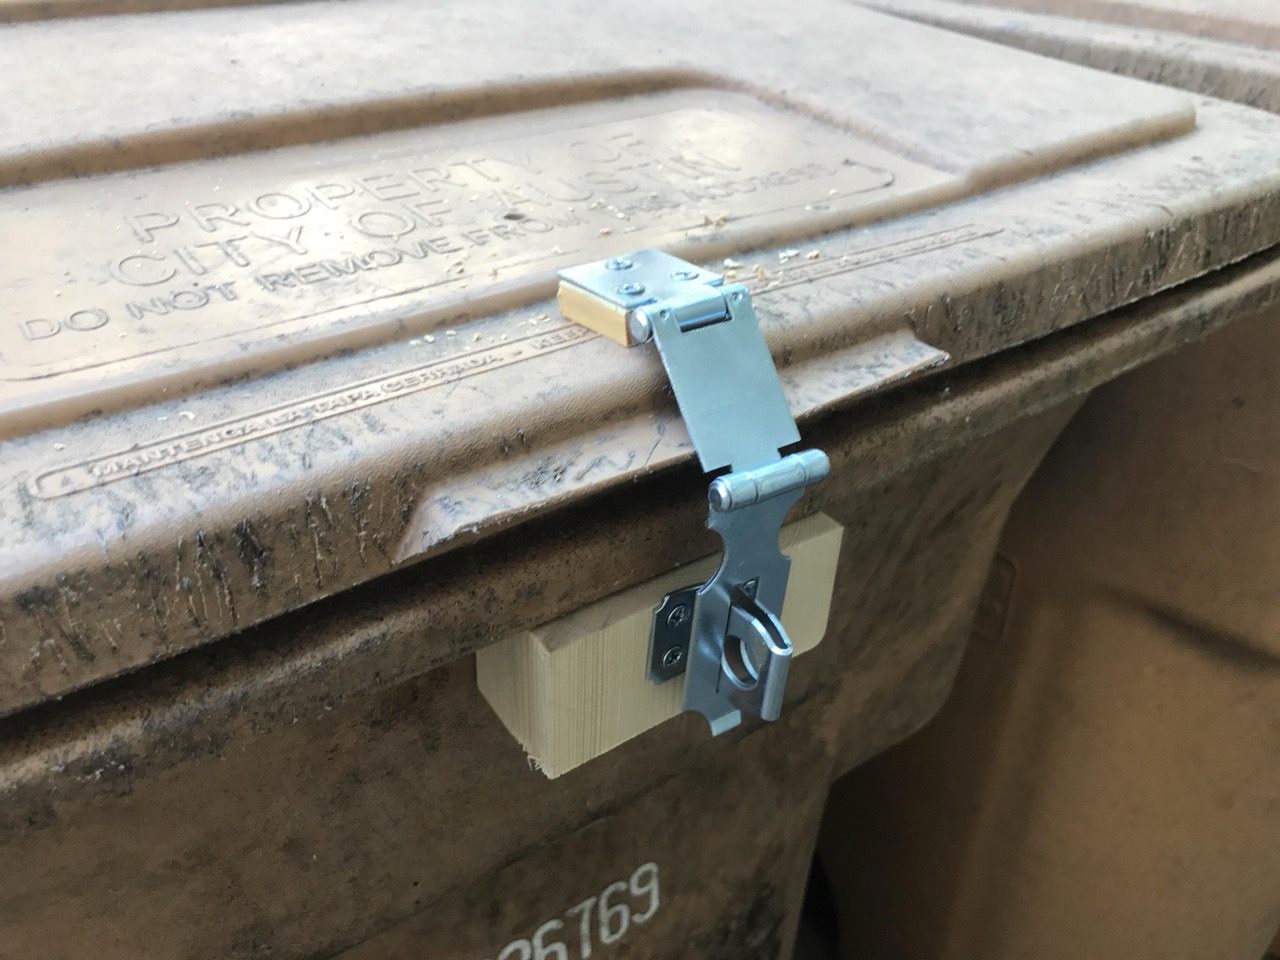
Fixing a Broken Hinge
A broken hinge can render your trash can lid dysfunctional, impeding its ability to open and close smoothly. Fortunately, repairing or replacing a damaged hinge is a manageable task with the right approach and tools. Follow these steps to address a broken hinge and restore proper functionality to your trash can lid:
Assessment:
Before proceeding with the repair, carefully examine the hinge to determine the extent of the damage. Look for cracks, missing screws, or any signs of structural compromise. If the hinge is severely damaged or beyond repair, you may need to acquire a replacement hinge that matches the specifications of your trash can.
Removal:
Using a screwdriver, carefully remove the screws securing the broken hinge to the lid and the body of the trash can. Keep track of the screws to ensure they can be reused or replaced with suitable alternatives.
Replacement:
If the hinge is irreparable, replace it with a new one that matches the size and design of the original hinge. Secure the new hinge in place using the appropriate screws and ensure a snug fit to prevent any wobbling or misalignment.
Read more: How To Put A Trash Bag In The Trash Can
Adjustment:
Once the new hinge is in place, test the lid’s movement to ensure smooth operation. Make any necessary adjustments to the hinge’s positioning to optimize the lid’s functionality and alignment with the trash can body.
Finishing Touches:
Wipe down the repaired hinge and surrounding areas to remove any debris or residues from the repair process. This final step will leave your trash can lid looking clean and rejuvenated, ready to resume its duties with renewed vigor.
By following these steps, you can effectively address a broken hinge and breathe new life into your trusty trash can lid, ensuring seamless functionality for the days and weeks ahead.
Repairing a Damaged Latch
A malfunctioning or damaged latch can significantly impede the proper functioning of your trash can lid, leading to inconvenience and potential messes. Addressing a damaged latch requires attention to detail and the right tools to ensure a successful repair. Follow these steps to effectively repair a damaged latch and restore the functionality of your trash can lid:
Assessment:
Begin by inspecting the latch to identify the specific issue. Look for signs of wear, breakage, or misalignment that may be affecting the latch’s ability to secure the lid in place. Understanding the nature of the damage will guide your repair approach.
Read more: What Is A Trash Can
Cleaning and Lubrication:
If the latch is sticking or not engaging properly, clean it thoroughly to remove any debris or buildup that may be obstructing its movement. Apply a small amount of lubricant to the latch mechanism to facilitate smooth operation and enhance its longevity.
Read more: How To Put A Trash Bag In The Trash Can
Adjustment:
In cases where the latch is misaligned or loose, carefully adjust its position to ensure a secure and snug fit when the lid is closed. Tighten any screws or fasteners associated with the latch to eliminate any play or instability.
Replacement:
If the latch is irreparably damaged, consider replacing it with a new one that matches the specifications of your trash can model. Ensure that the new latch is securely fastened and aligned to guarantee proper functionality.
Testing and Fine-Tuning:
After addressing the latch, thoroughly test the lid’s closing and locking mechanisms to confirm that the repair has been successful. Make any necessary adjustments to the latch’s positioning or tension to achieve optimal performance.
Read more: How To Make A Trash Can
Final Checks:
Once the repair is complete, wipe down the latch and surrounding areas to remove any residual dirt or lubricant. This final touch will leave your trash can lid looking and operating as good as new.
By following these steps, you can effectively repair a damaged latch and ensure that your trash can lid operates seamlessly, providing reliable containment for your household waste.
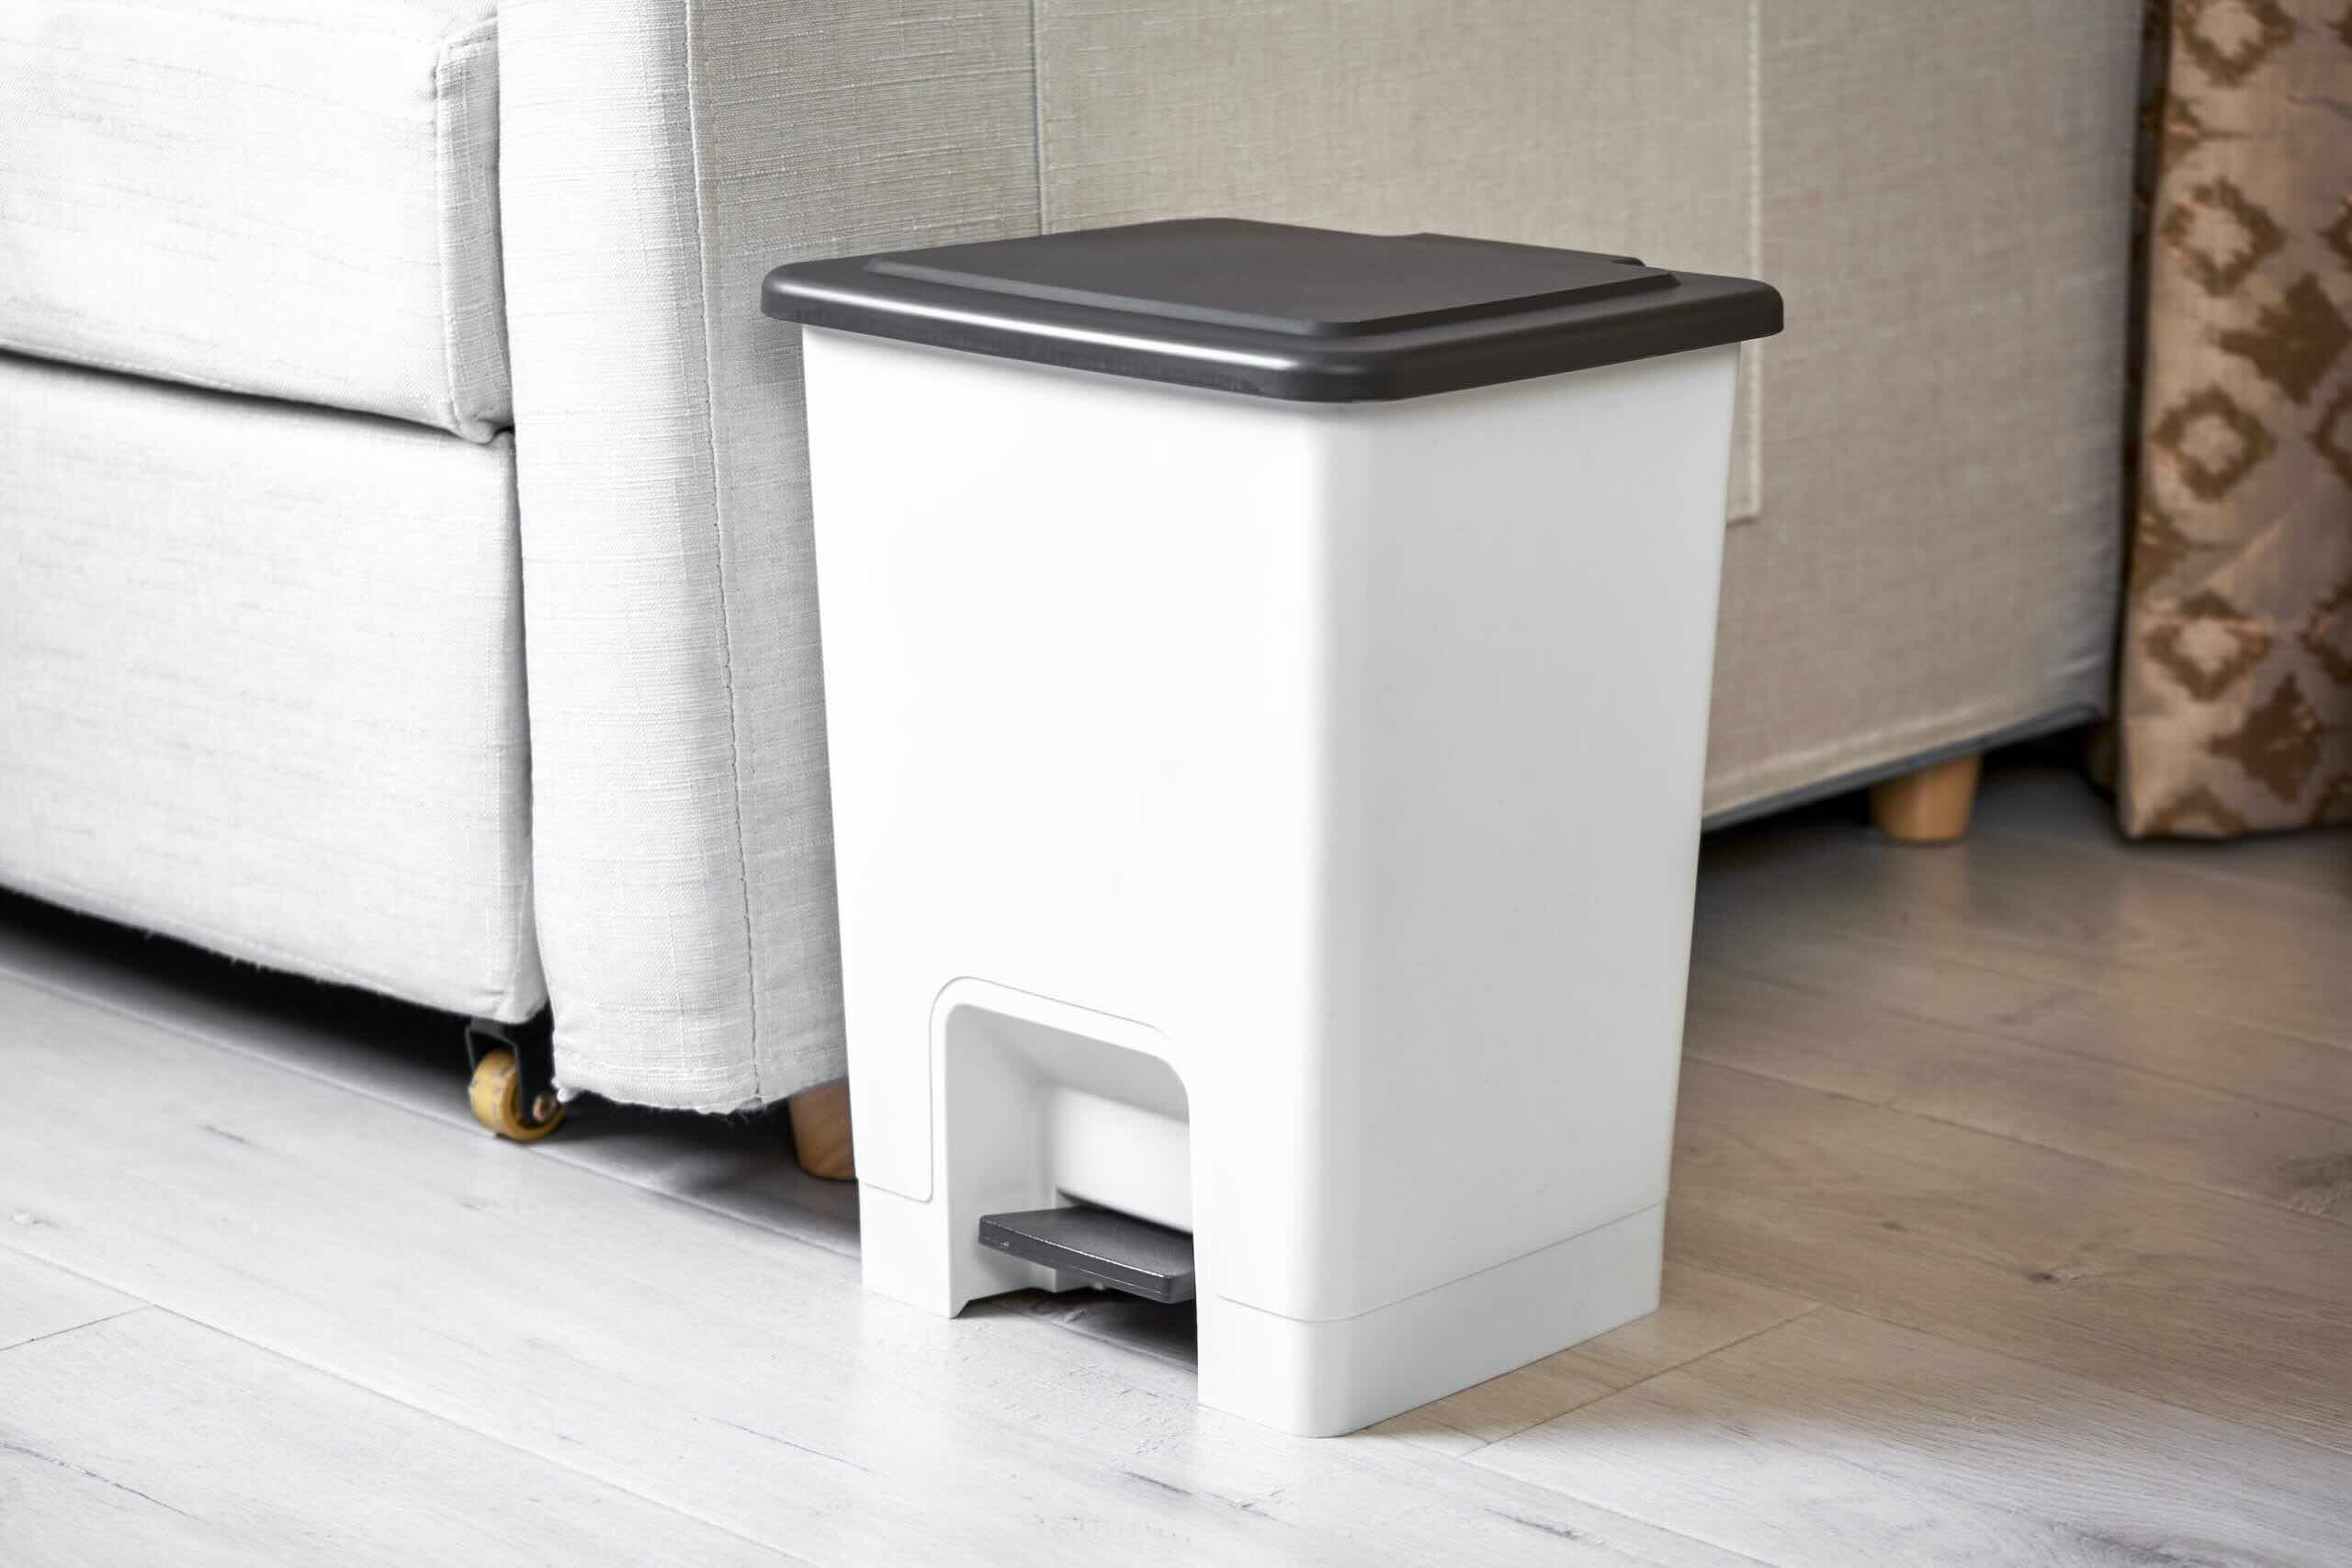
Replacing the Lid
When a trash can lid is damaged beyond repair or has reached the end of its functional lifespan, replacing it becomes the most viable solution. Whether due to extensive cracks, warping, or irreparable structural issues, a new lid can breathe new life into your trusty trash can. Follow these steps to seamlessly replace the lid and restore the functionality and aesthetic appeal of your essential household item:
Identification and Measurement:
Begin by identifying the specific model and size of your trash can to ensure that the replacement lid is a perfect fit. Take precise measurements of the existing lid to guide your selection process and guarantee compatibility with the trash can body.
Selection:
Explore options for replacement lids that match the size, material, and design of your existing trash can lid. Consider durable materials such as high-quality plastic or metal, prioritizing longevity and resistance to wear and tear.
Removal:
Carefully remove the old lid from the trash can, taking note of any screws, hinges, or fasteners that may need to be transferred to the new lid. Keep track of the components to ensure a smooth transition to the replacement lid.
Installation:
Position the new lid securely on the trash can body, ensuring that it aligns perfectly and sits flush with the container’s opening. Secure the new lid in place using the appropriate screws, hinges, or fasteners, following the manufacturer’s guidelines for a proper installation.
Testing:
Thoroughly test the new lid’s functionality by opening and closing it multiple times to confirm smooth operation and a secure fit. Ensure that the lid seals tightly when closed, effectively containing odors and preventing unwanted pests from accessing the trash can contents.
Final Touches:
Wipe down the new lid and the surrounding areas to remove any debris or residues from the replacement process. This final step will leave your trash can looking fresh and rejuvenated, ready to resume its crucial role in your home.
By following these steps, you can seamlessly replace a damaged or worn-out lid, ensuring that your trash can continues to serve as a reliable and indispensable component of your home maintenance checklist.
Read more: How To Measure A Trash Can
Conclusion
Congratulations on mastering the art of fixing a broken trash can lid! By delving into the intricacies of hinge and latch repairs, as well as the process of lid replacement, you’ve equipped yourself with the knowledge and skills to overcome any lid-related challenges that come your way. Your dedication to maintaining a functional and aesthetically pleasing trash can is commendable, and your efforts will undoubtedly pay off in the form of a seamlessly operating household essential.
Remember, regular maintenance and prompt repairs are key to preserving the longevity of your trash can and ensuring its continued effectiveness in managing household waste. By staying proactive and addressing issues as they arise, you can prevent minor lid problems from escalating into major inconveniences.
As you embark on your DIY repair journey, always prioritize safety and precision, and don’t hesitate to seek professional assistance if needed. Your dedication to maintaining a well-functioning trash can reflects your commitment to a clean and organized living space, contributing to a more pleasant and hygienic home environment for you and your family.
With your newfound expertise, you can confidently tackle any trash can lid challenges that come your way, knowing that you have the skills and knowledge to restore functionality and prolong the lifespan of this essential household item. So, embrace the satisfaction of a job well done, and revel in the seamless operation of your newly rejuvenated trash can lid!
Here’s to a future filled with smoothly functioning trash can lids and a home maintenance checklist that’s always one step ahead!
Now that you've mastered fixing that pesky trash can lid, why stop there? Keeping your home in tip-top shape is straightforward with our next guide on essential upkeep tasks. Whether you're dealing with squeaky doors or leaky faucets, our guide on what upkeep tasks every homeowner should tackle will ensure your dwelling remains in perfect order. Don't miss out on these practical pointers to maintain your living space's charm and functionality.
Frequently Asked Questions about How To Fix Trash Can Lid
Was this page helpful?
At Storables.com, we guarantee accurate and reliable information. Our content, validated by Expert Board Contributors, is crafted following stringent Editorial Policies. We're committed to providing you with well-researched, expert-backed insights for all your informational needs.

0 thoughts on “How To Fix Trash Can Lid”