Home>Maintenance & Safety>Home Maintenance Checklists>How To Make An R2D2 Trash Can
Home Maintenance Checklists
How To Make An R2D2 Trash Can
Modified: January 23, 2024
Learn how to make an R2D2 trash can for your home maintenance checklists. Follow our step-by-step guide for a fun and practical DIY project.
(Many of the links in this article redirect to a specific reviewed product. Your purchase of these products through affiliate links helps to generate commission for Storables.com, at no extra cost. Learn more)
Introduction
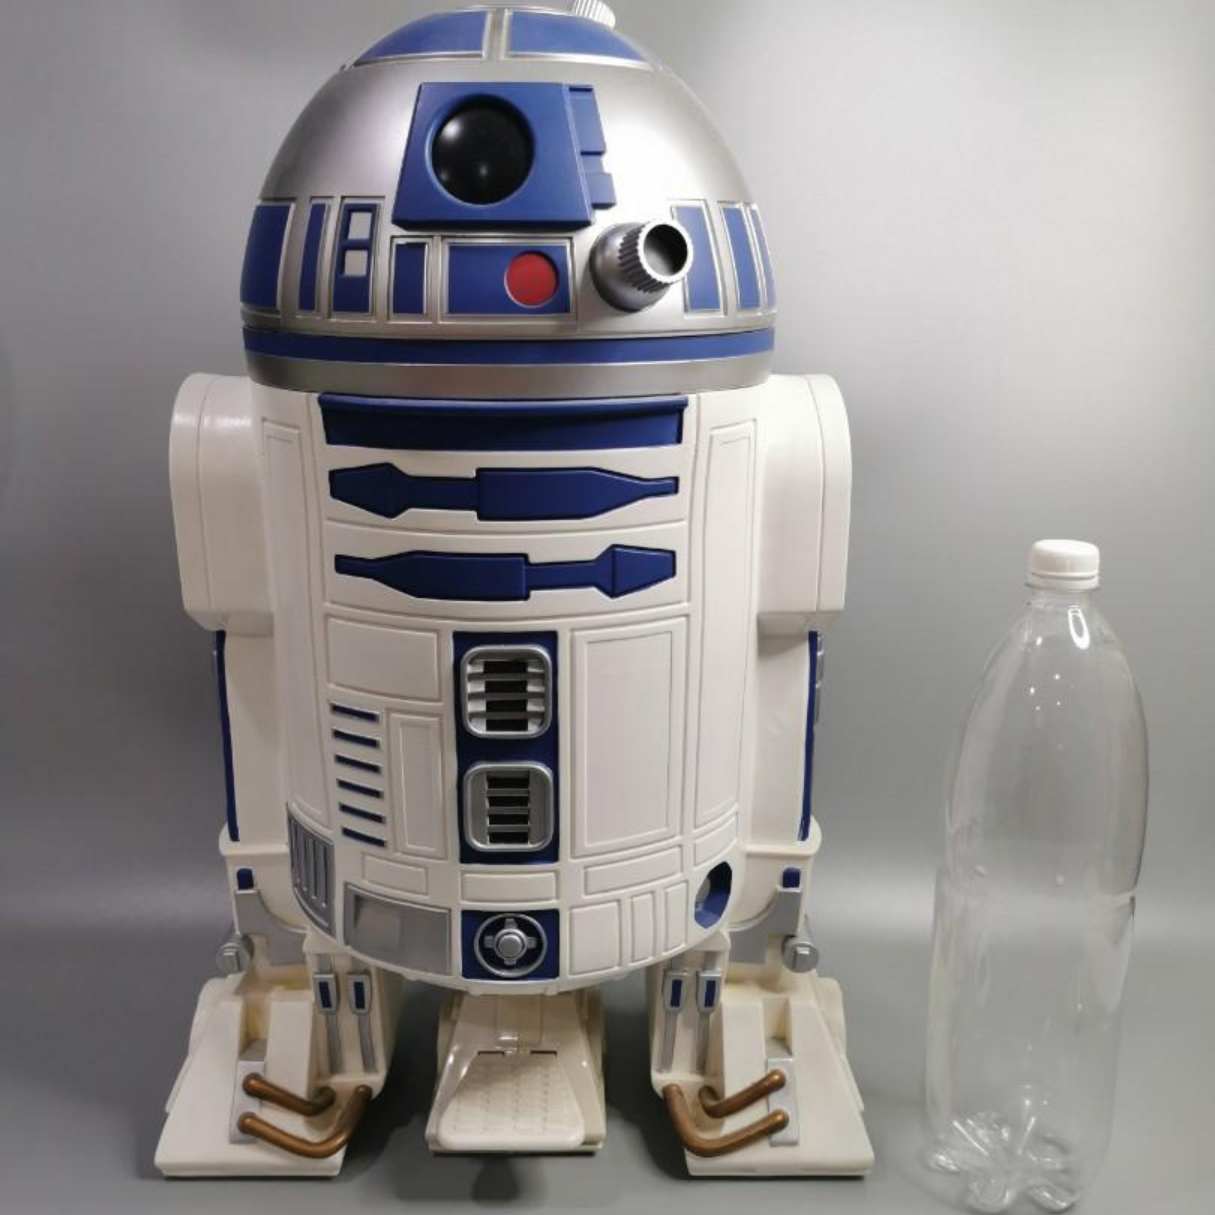
Welcome, DIY enthusiasts and Star Wars fans! Are you ready to embark on an exciting journey to transform an ordinary trash can into a remarkable replica of the beloved R2-D2? This project is not only a fantastic way to showcase your creativity but also an opportunity to add a unique and eye-catching piece to your home. Whether you are a seasoned crafter or a newcomer to the world of DIY, creating an R2-D2 trash can is a thrilling and rewarding endeavor that will undoubtedly impress your friends and family.
In this guide, we will delve into the step-by-step process of constructing an R2-D2 trash can, providing detailed instructions and valuable tips along the way. With a few essential materials and a dash of imagination, you can bring this iconic droid to life in the form of a practical and visually striking household item. Let's roll up our sleeves, channel our inner astromech droid, and embark on this exciting venture together. Get ready to witness the transformation of a mundane trash receptacle into a conversation-starting masterpiece that pays homage to one of the most beloved characters in the Star Wars universe.
Key Takeaways:
- Transform a regular trash can into a stunning R2-D2 replica with just a few materials and a touch of creativity. Showcase your DIY skills and bring the charm of Star Wars into your home!
- By adding intricate details and final touches, you can create a captivating R2-D2 trash can that pays homage to the beloved droid. Embrace the joy of DIY crafting and infuse your living space with Star Wars magic!
Read also: 15 Amazing R2D2 Lunch Box for 2025
Materials Needed
Before diving into this DIY project, it’s essential to gather the necessary materials. To bring R2-D2 to life in the form of a trash can, you’ll need the following items:
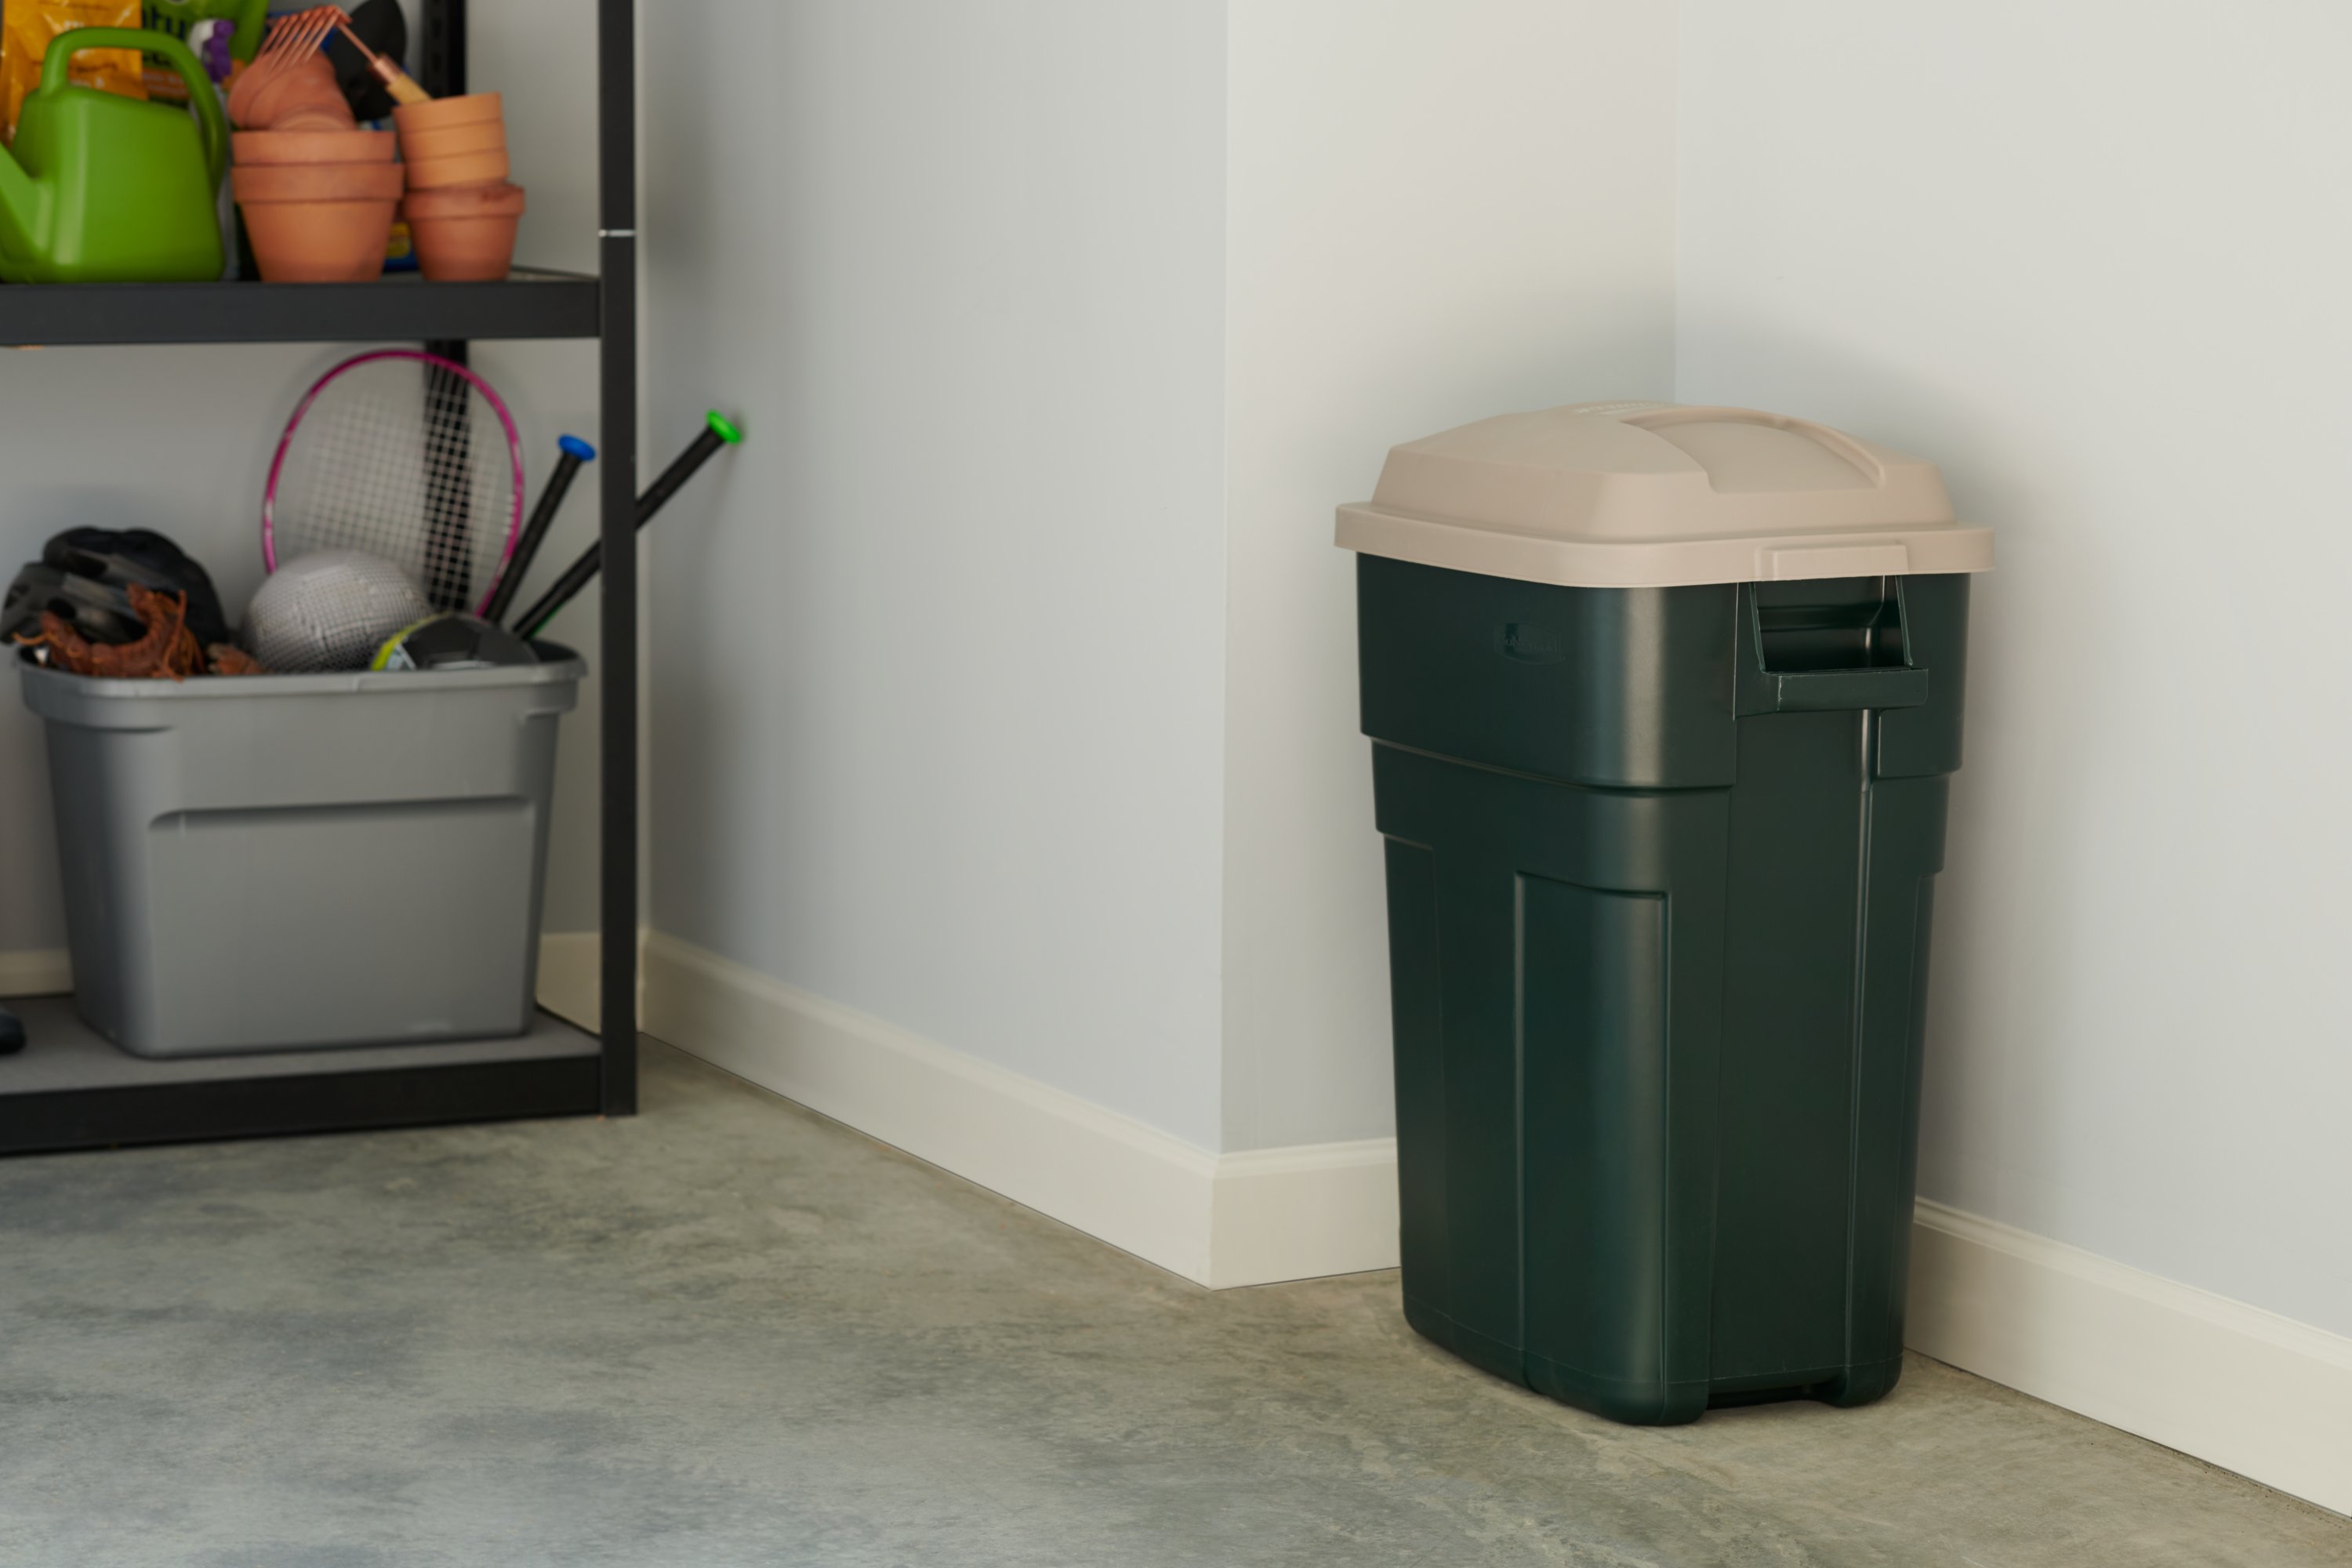
- Regular cylindrical trash can
- White spray paint
- Blue spray paint
- Silver spray paint
- Black electrical tape
- Cardboard or foam board
- Craft knife
- Hot glue gun and glue sticks
- Measuring tape
- Pencil
- Newspaper or drop cloth (for painting)
- Reference images of R2-D2 for detailing
These materials will serve as the building blocks for your R2-D2 trash can transformation. Once you have everything on hand, you’ll be ready to embark on this creative and enjoyable journey. Now that we have our materials at the ready, it’s time to dive into the step-by-step process of creating your very own R2-D2 trash can.
Step 1: Prepare the Trash Can
The first step in this DIY adventure is to prepare the cylindrical trash can for its stunning R2-D2 makeover. Begin by thoroughly cleaning the surface of the trash can to ensure that the paint adheres smoothly. Once the can is clean and dry, it’s time to apply a base coat of white spray paint. This will serve as the foundation for R2-D2’s iconic white body.
Before painting, protect your work area with newspaper or a drop cloth to prevent any accidental splatter. Shake the white spray paint can vigorously, then apply an even coat of paint to the entire surface of the trash can. Allow the paint to dry completely before applying a second coat, if necessary, to achieve a smooth and uniform finish.
After the white base coat has dried, it’s time to map out the design elements of R2-D2 on the trash can. Using a pencil and a measuring tape, mark the locations for the blue and silver details, such as the distinctive panels and accents that adorn the droid’s exterior. This step will ensure that the subsequent painting process is precise and true to R2-D2’s recognizable appearance.
With the design mapped out, carefully apply blue and silver spray paint to the designated areas, following the reference images of R2-D2 to capture the intricate details that give the droid its character. Take your time and exercise patience during this phase to achieve a professional-looking result. Once the paint has dried, your trash can will begin to resemble the iconic astromech droid.
As we conclude this step, you’ve successfully transformed a plain trash can into the canvas for R2-D2’s distinctive appearance. With the base colors and design elements in place, your trash can is well on its way to becoming a striking replica of the beloved droid. Now, let’s move on to the next phase and bring R2-D2’s dome to life.
Step 2: Create the Dome
The next pivotal phase of this DIY project involves crafting R2-D2’s iconic dome, a defining feature that will bring the droid’s unmistakable charm to your trash can transformation. To begin, gather cardboard or foam board, as well as a craft knife and a hot glue gun.
Start by measuring the diameter of the trash can’s lid to determine the appropriate size for the dome. Using the craft knife, carefully cut out a circular piece from the cardboard or foam board to serve as the base of the dome. This piece will be affixed to the lid of the trash can, so ensure that it fits securely and aligns with the can’s dimensions.
With the base in place, it’s time to construct the dome’s structure. Cut several trapezoid-shaped pieces from the cardboard or foam board, each slightly smaller than the one before it to create a tapered effect. These pieces will form the curved shape of R2-D2’s dome. Use the hot glue gun to attach the trapezoids to the base, stacking them on top of one another to build the dome’s height.
Once the dome’s structure is complete, it’s time to add the finishing touch – a coat of silver spray paint to emulate the metallic sheen of R2-D2’s dome. After the paint has dried, carefully affix the dome to the lid of the trash can using the hot glue gun, ensuring that it is centered and securely attached.
With the dome now in place, your R2-D2 trash can is beginning to take shape, capturing the essence of the beloved droid’s appearance. The addition of the dome not only enhances the visual appeal of the trash can but also pays homage to R2-D2’s distinctive silhouette. As we move forward, we’ll focus on adding the intricate details that will truly bring this astromech-inspired creation to life.
When making an R2D2 trash can, use a sturdy and lightweight material like plastic or metal for the body to ensure it can hold the weight of the trash without collapsing.
Step 3: Add Details
As we venture deeper into the process of transforming a simple trash can into a remarkable R2-D2 replica, it’s time to focus on the intricate details that will elevate the authenticity of our creation. To achieve this, we will utilize black electrical tape to delineate the panels and accents that adorn R2-D2’s exterior.
Referencing images of R2-D2 for accuracy, carefully apply the black electrical tape to create the distinctive panels and lines that define the droid’s appearance. Precision and attention to detail are key in this step, as the tape will serve as a defining feature, capturing the essence of R2-D2’s intricate design.
As you apply the tape, take care to align the panels with the reference images, ensuring that they are proportionate and true to the character of R2-D2. The strategic placement of the tape will contribute to the authenticity of the trash can’s resemblance to the beloved astromech droid.
In addition to the black detailing, consider incorporating other elements that contribute to R2-D2’s charm, such as simulated sensors or buttons. These can be achieved by cutting small shapes from the black electrical tape and strategically placing them on the white and blue surfaces of the trash can, mirroring the placement of these features on R2-D2’s design.
By meticulously adding these details, you are infusing your R2-D2 trash can with the character and charm of the iconic droid. The careful application of the black electrical tape and the inclusion of additional features will further enhance the authenticity of your creation, setting the stage for the final touches that will bring R2-D2 to life in your home.
Read more: How To Make A Trash Can
Step 4: Final Touches
As we approach the culmination of this creative endeavor, it’s time to add the final touches that will imbue your R2-D2 trash can with an irresistible charm. To achieve a polished and professional appearance, consider incorporating additional elements that capture the essence of the beloved astromech droid.
One option for enhancing the authenticity of your R2-D2 trash can is to add custom decals or stickers that emulate the intricate details found on the droid’s exterior. These can include simulated buttons, warning labels, or other embellishments that contribute to the overall aesthetic. Alternatively, if you possess artistic flair, you may choose to hand-paint these details for a personalized touch.
Furthermore, consider adding a weathered or battle-worn effect to the trash can to evoke the droid’s adventurous spirit. This can be achieved by lightly applying black or silver paint in strategic areas, then gently buffing the surface to create a worn appearance, reminiscent of R2-D2’s experiences throughout the Star Wars saga.
Once these final touches are in place, stand back and admire your creation. You have successfully transformed a mundane trash can into a captivating homage to R2-D2, infusing your living space with the charm and nostalgia of the Star Wars universe. Whether displayed in a bedroom, office, or entertainment area, your R2-D2 trash can is sure to spark conversations and delight visitors with its unique and whimsical presence.
With the completion of the final touches, your R2-D2 trash can stands as a testament to your creativity and passion for DIY projects. Embrace the sense of accomplishment that comes with bringing this beloved droid into your home in a practical and visually appealing form. As you revel in the satisfaction of a job well done, take pride in the fact that you have added a touch of Star Wars magic to your everyday surroundings.
Conclusion
Congratulations on successfully completing the transformation of an ordinary trash can into a remarkable replica of the beloved R2-D2! Through creativity, attention to detail, and a touch of DIY magic, you have brought the charm of the Star Wars universe into your home in a practical and visually captivating manner. Your R2-D2 trash can is not merely a household item; it is a testament to your ingenuity and passion for crafting.
As you showcase your R2-D2 trash can to friends and family, take pride in the fact that you have created a conversation-starting piece that pays homage to one of the most beloved characters in popular culture. Whether it finds its place in your office, bedroom, or entertainment area, this astromech-inspired creation is sure to captivate and delight all who encounter it.
By embarking on this DIY journey, you have not only honed your crafting skills but also added a touch of whimsy and nostalgia to your living space. Your R2-D2 trash can stands as a testament to the power of creativity and the joy of bringing a beloved character to life in an unexpected form.
As you enjoy the presence of your R2-D2 trash can in your home, take a moment to reflect on the journey that led to its creation. From the meticulous application of paint to the careful placement of details, each step was a testament to your dedication and passion for crafting. Your R2-D2 trash can is more than a decorative piece; it is a symbol of your creativity and the joy of infusing everyday items with personality and charm.
As you revel in the satisfaction of a job well done, remember that the spirit of R2-D2 now resides in your home, bringing a touch of the Star Wars galaxy to your everyday surroundings. Embrace the sense of accomplishment that comes with this DIY project, and let your R2-D2 trash can serve as a reminder of the magic that can be achieved through creativity and imagination.
May your R2-D2 trash can continue to inspire and delight, serving as a testament to the power of DIY craftsmanship and the enduring appeal of the Star Wars saga. As you embark on future creative endeavors, may the spirit of R2-D2 guide and inspire you, reminding you that with a dash of ingenuity and a touch of DIY magic, anything is possible.
Frequently Asked Questions about How To Make An R2D2 Trash Can
Was this page helpful?
At Storables.com, we guarantee accurate and reliable information. Our content, validated by Expert Board Contributors, is crafted following stringent Editorial Policies. We're committed to providing you with well-researched, expert-backed insights for all your informational needs.


0 thoughts on “How To Make An R2D2 Trash Can”