Home>Maintenance & Safety>Home Maintenance Checklists>How To Install A Pull-Out Trash Can
Home Maintenance Checklists
How To Install A Pull-Out Trash Can
Modified: September 2, 2024
Learn how to easily install a pull-out trash can with our comprehensive home maintenance checklists. Keep your kitchen organized and tidy. Step-by-step guide!
(Many of the links in this article redirect to a specific reviewed product. Your purchase of these products through affiliate links helps to generate commission for Storables.com, at no extra cost. Learn more)
Introduction
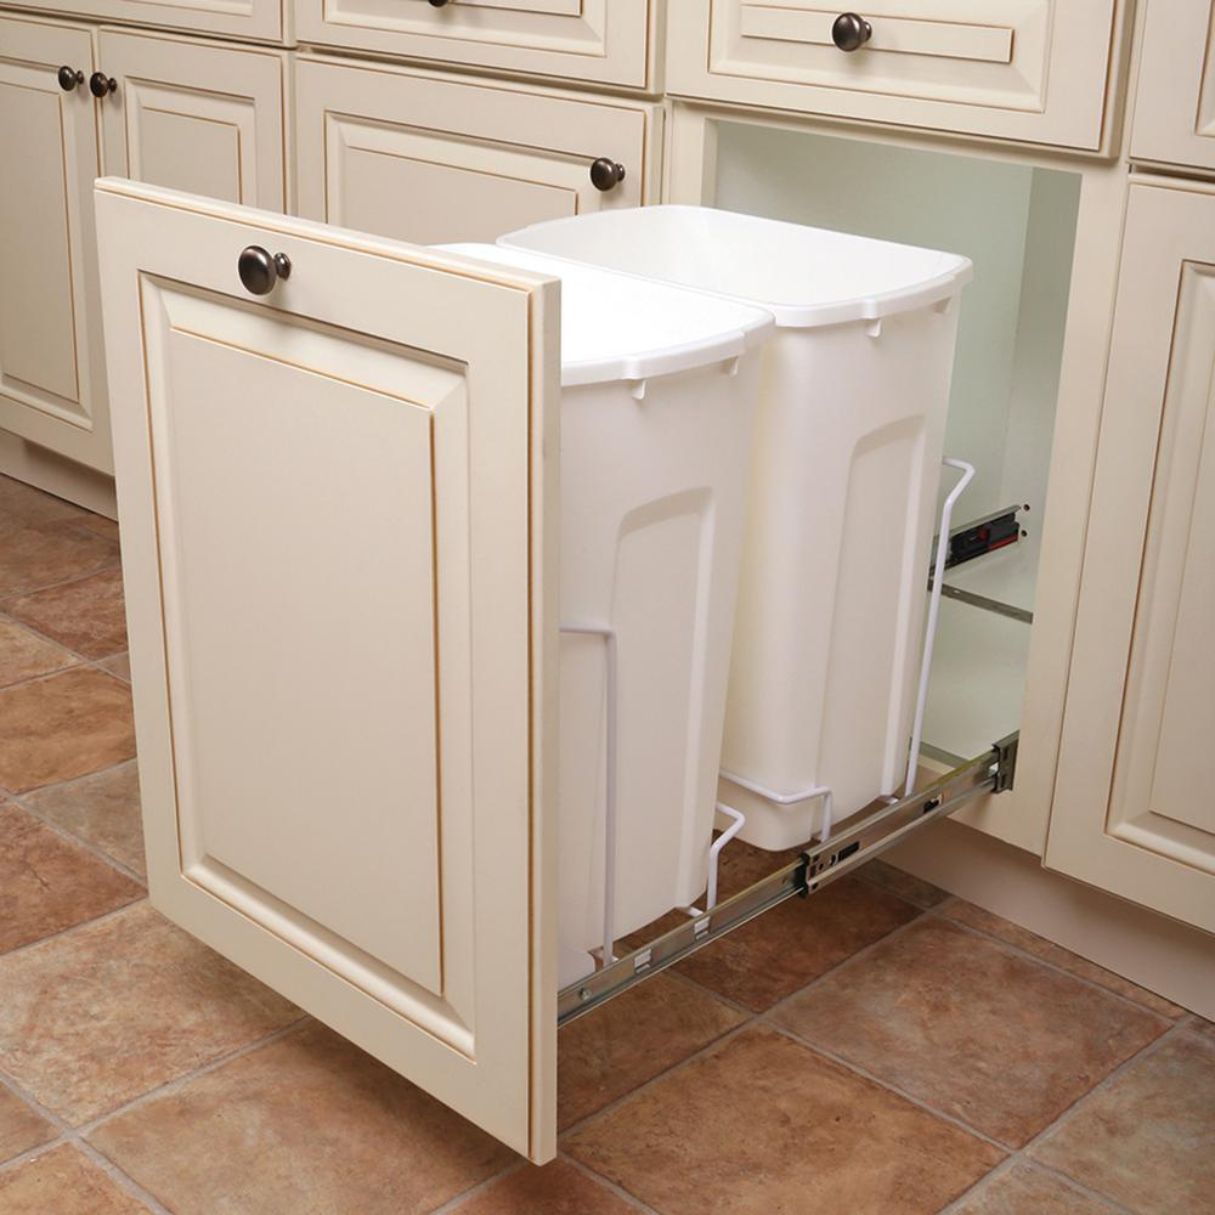
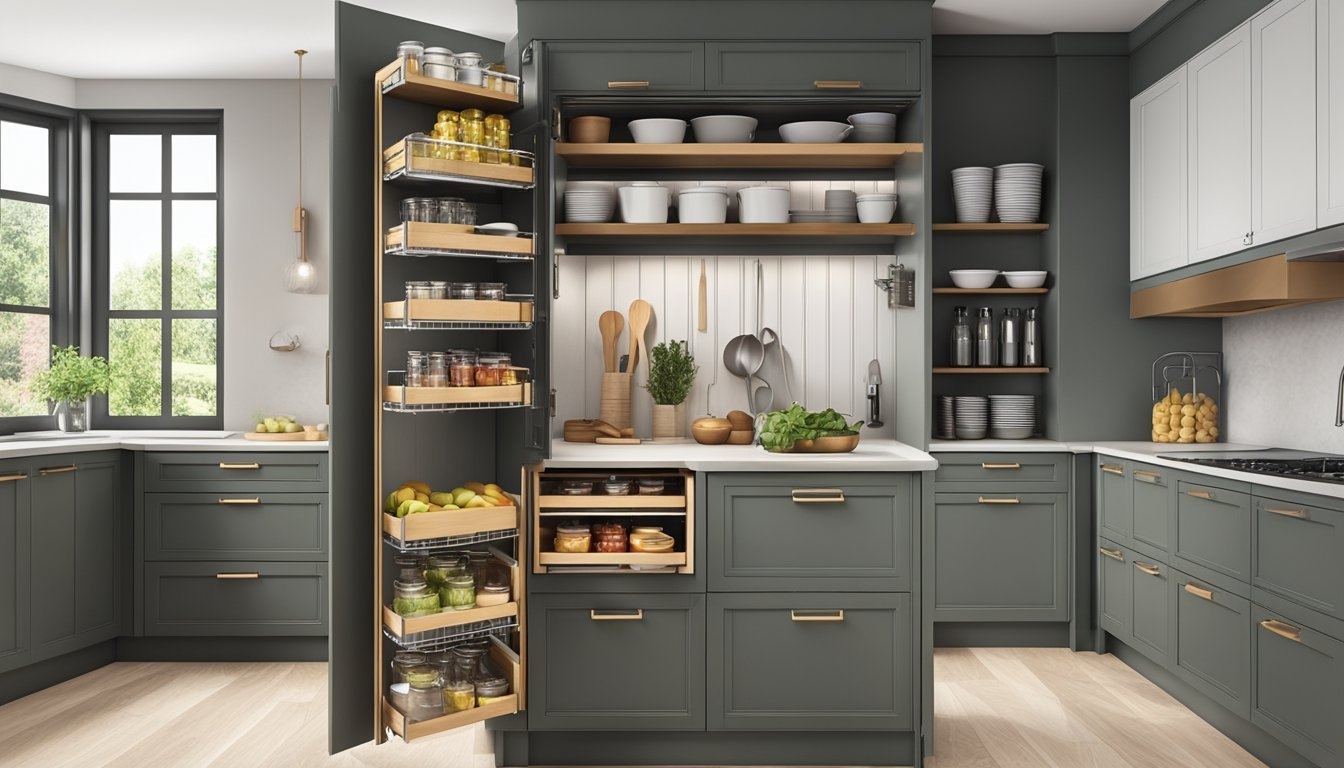
Are you tired of unsightly trash cans cluttering your kitchen space? Installing a pull-out trash can can be a game-changer, offering a convenient and discreet solution for managing your household waste. This innovative addition not only enhances the aesthetics of your kitchen but also optimizes functionality, making waste disposal a seamless task. Whether you're embarking on a home renovation project or seeking to upgrade your kitchen, this comprehensive guide will walk you through the process of installing a pull-out trash can with ease and confidence.
From essential tools and materials to precise measurements and step-by-step installation instructions, this guide is designed to equip you with the knowledge and skills needed to tackle this home improvement project. With a focus on practicality and efficiency, you'll discover the transformative impact of integrating a pull-out trash can into your kitchen space. Let's delve into the details and embark on this journey to elevate the functionality and visual appeal of your kitchen.
Key Takeaways:
- Elevate your kitchen with a discreet and convenient pull-out trash can, enhancing both functionality and visual appeal while simplifying waste disposal tasks.
- From precise measurements to seamless installation, embrace the transformative impact of small home improvements and gain valuable expertise for future projects.
Read more: How To Keep Ants Out Of Trash Can
Tools and Materials
Before diving into the installation process, it’s essential to gather the necessary tools and materials to ensure a smooth and efficient workflow. Here’s a comprehensive list of items you’ll need:
Tools:
- Measuring tape
- Drill
- Screwdriver
- Pencil
- Level
- Jigsaw (if custom cutting is required)
Materials:
- Pull-out trash can kit
- Screws
- Wood shims
- Cabinet door mounting kit (if applicable)
- Safety goggles
- Protective gloves
Ensuring that you have the right tools and materials on hand is crucial for a successful installation process. Additionally, it’s important to prioritize safety by wearing protective gear, such as goggles and gloves, especially when handling power tools and sharp objects. With these essentials at your disposal, you’re ready to proceed to the next steps of measuring and planning for the installation of your pull-out trash can.
Measuring and Planning
Precision is key when it comes to installing a pull-out trash can. Before making any modifications to your cabinetry, it’s imperative to take accurate measurements and devise a strategic plan. Here’s a detailed overview of the measuring and planning process:
1. Assessing Cabinet Space: Begin by examining the interior of the cabinet where the pull-out trash can will be installed. Take note of any obstructions, such as plumbing or hinges, that may impact the installation.
2. Measuring Cabinet Dimensions: Use a measuring tape to determine the width, height, and depth of the cabinet interior. These measurements will guide you in selecting a compatible pull-out trash can kit that fits snugly within the available space.
3. Identifying Mounting Options: Consider the mounting options for the pull-out trash can. Some kits may require bottom-mount installation, while others are designed for side-mounting. Assess the feasibility of these mounting methods based on the structure of your cabinet.
4. Planning for Customization: If your cabinet requires custom modifications to accommodate the pull-out trash can, such as cutting out a section of the cabinet floor, carefully plan and mark the areas for customization. Use a pencil to outline the cutting area, ensuring precision in your markings.
5. Aligning with Cabinet Door: If the pull-out trash can kit includes provisions for mounting the cabinet door to the front of the trash can unit, verify the alignment and ensure that the door can open and close seamlessly without any obstructions.
By meticulously measuring the cabinet space, assessing mounting options, and planning for any necessary customizations, you’ll lay a solid foundation for the subsequent steps of assembling and installing the pull-out trash can. With a clear roadmap in place, you’re ready to progress to the next phase of this transformative home improvement project.
Read more: How To Keep Gnats Out Of Trash Can
Assembling the Pull-Out Trash Can
Assembling the pull-out trash can is a pivotal stage in the installation process, requiring attention to detail and a systematic approach. Here’s a step-by-step guide to assembling the pull-out trash can:
1. Unpack the Kit: Carefully unpack the pull-out trash can kit, ensuring that all components and hardware are accounted for. Familiarize yourself with the individual parts, including the trash can frame, slides, and mounting brackets.
2. Assemble the Frame: Follow the manufacturer’s instructions to assemble the frame of the pull-out trash can. This typically involves attaching the slides to the frame and ensuring that they operate smoothly and securely.
3. Attach the Mounting Brackets: If the pull-out trash can requires mounting brackets for installation, affix them to the appropriate locations on the frame. These brackets will facilitate the secure installation of the unit within the cabinet.
4. Install the Trash Bins: If the kit includes separate trash bins, place them within the frame of the pull-out unit. Ensure that the bins fit snugly and are easily accessible for waste disposal.
5. Test the Functionality: Before proceeding with the installation, test the functionality of the assembled pull-out trash can. Ensure that the slides operate smoothly, the bins glide in and out without obstruction, and the overall structure is stable and secure.
6. Adjustments and Alignment: Make any necessary adjustments to the assembly to ensure proper alignment and functionality. This may involve fine-tuning the positioning of the bins, adjusting the slides, or tightening hardware to enhance stability.
By meticulously following these steps, you’ll effectively assemble the pull-out trash can, setting the stage for the final phase of the installation process. With the unit fully prepared, you’re ready to proceed to the next critical step: installing the pull-out trash can within your cabinet space.
When installing a pull-out trash can, make sure to measure the cabinet opening and the size of the trash can to ensure a proper fit. Also, use a drill to secure the slides in place for smooth operation.
Installing the Pull-Out Trash Can
With the pull-out trash can fully assembled and the cabinet space meticulously prepared, it’s time to embark on the installation phase. Follow these detailed steps to seamlessly install the pull-out trash can:
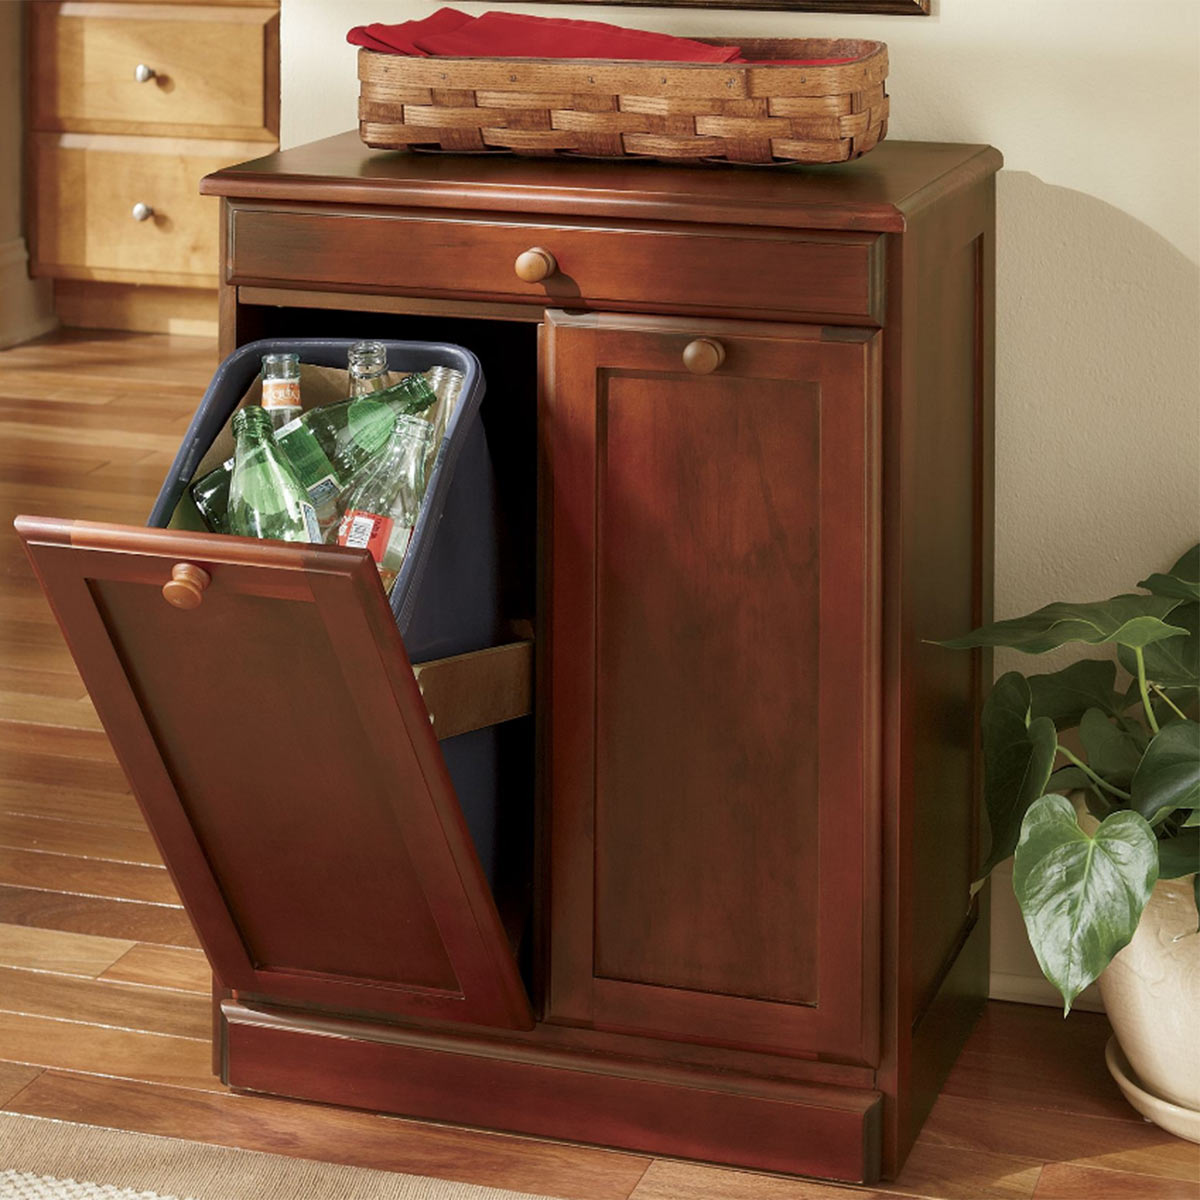
1. Positioning the Unit: Carefully place the assembled pull-out trash can unit into the designated cabinet space. Ensure that it fits snugly and aligns with the markings or customizations made during the planning phase.
2. Securing the Mounting Brackets: If the pull-out trash can kit includes mounting brackets, secure them to the sides or bottom of the cabinet, depending on the designated mounting method. Use a drill and screws to firmly attach the brackets, ensuring stability and support for the unit.
3. Testing the Slides: Slide the pull-out trash can in and out of the cabinet to test the functionality of the slides. Ensure that they operate smoothly and that the unit glides in and out without resistance or misalignment.
4. Adjusting for Alignment: If the pull-out trash can requires fine-tuning for proper alignment, make necessary adjustments to ensure that it operates seamlessly within the cabinet space. This may involve minor repositioning or leveling to optimize functionality.
5. Mounting the Cabinet Door (If Applicable): If the pull-out trash can kit includes provisions for mounting the cabinet door to the front of the unit, follow the manufacturer’s instructions to affix the door. Ensure that the door opens and closes smoothly, aligning perfectly with the pull-out unit.
6. Final Checks and Adjustments: Conduct a thorough inspection of the installed pull-out trash can, checking for stability, alignment, and proper functionality. Make any final adjustments as needed to guarantee a seamless and reliable waste disposal solution.
By meticulously following these installation steps, you’ll successfully integrate the pull-out trash can into your kitchen space, elevating both the functionality and visual appeal of your cabinetry. With the installation process complete, take a moment to admire the transformative impact of this innovative addition to your kitchen.
Conclusion
Congratulations on successfully installing a pull-out trash can in your kitchen! This transformative addition not only enhances the functionality of your space but also contributes to a more organized and visually appealing environment. As you reflect on the journey from planning and preparation to the final installation, it’s evident that the effort invested in this home improvement project has yielded remarkable results.
By meticulously measuring the cabinet space, assembling the pull-out trash can with precision, and executing a seamless installation, you’ve elevated the efficiency and aesthetics of your kitchen. The convenience of a discreet waste disposal solution is now at your fingertips, simplifying daily tasks and streamlining your kitchen workflow.
As you bask in the satisfaction of a successfully completed project, take a moment to appreciate the impact of your efforts. Not only have you enhanced the functionality of your kitchen, but you’ve also gained valuable experience in home improvement, empowering you to tackle future projects with confidence and expertise.
Remember, the installation of a pull-out trash can is just one example of how small changes can make a significant difference in your living space. Embrace the creativity and innovation that drive home improvement, and let your newfound skills inspire further enhancements to your home.
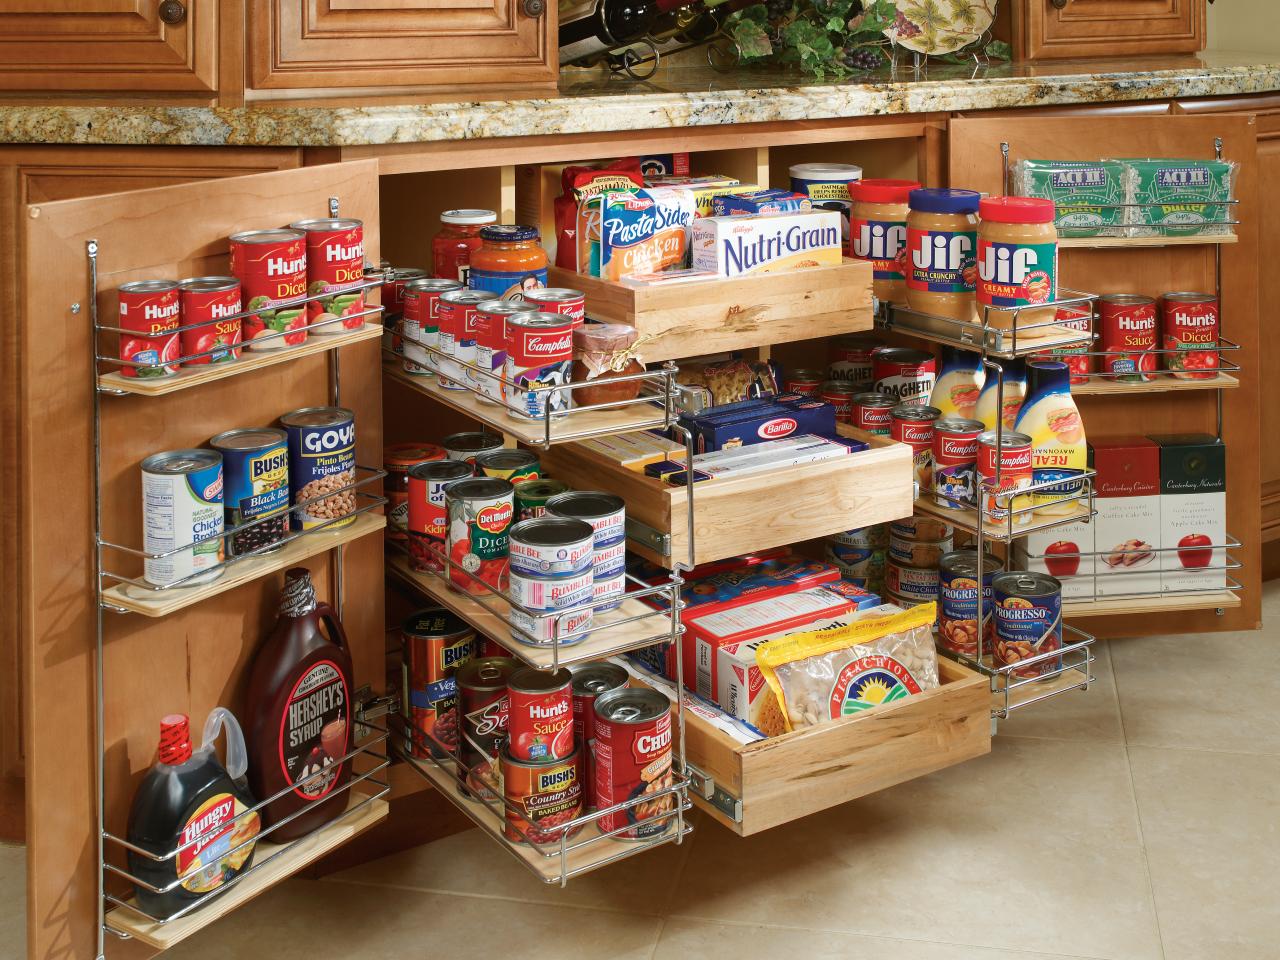
With the pull-out trash can seamlessly integrated into your kitchen, you’ve unlocked a world of possibilities for future projects and upgrades. Whether it’s organizing your pantry, revamping your bathroom, or creating a personalized workspace, your newfound expertise positions you to embark on a journey of continual improvement and innovation within your home.
As you revel in the success of this installation, take pride in the impact of your efforts and the transformative change you’ve brought to your living space. Embrace the spirit of innovation and creativity, and let your home reflect the vision of comfort, functionality, and style that you aspire to achieve.
Frequently Asked Questions about How To Install A Pull-Out Trash Can
Was this page helpful?
At Storables.com, we guarantee accurate and reliable information. Our content, validated by Expert Board Contributors, is crafted following stringent Editorial Policies. We're committed to providing you with well-researched, expert-backed insights for all your informational needs.


0 thoughts on “How To Install A Pull-Out Trash Can”