Home>Maintenance & Safety>Home Maintenance Checklists>How To Repair A Simple Human Trash Can
Home Maintenance Checklists
How To Repair A Simple Human Trash Can
Modified: January 21, 2024
Learn how to easily repair your Simple Human trash can with our comprehensive home maintenance checklists. Keep your home clean and organized effortlessly.
(Many of the links in this article redirect to a specific reviewed product. Your purchase of these products through affiliate links helps to generate commission for Storables.com, at no extra cost. Learn more)
Introduction
Welcome to the ultimate guide on repairing a simple human trash can! Whether your trusty garbage bin has fallen victim to wear and tear or a specific component has malfunctioned, fear not – with a little know-how and the right tools, you can restore it to its former glory in no time.
In this comprehensive guide, we will walk you through the step-by-step process of assessing the damage, gathering the necessary tools and materials, and executing the repairs with ease. From addressing issues with the lid and pedal mechanism to replacing the inner bucket, we've got you covered.
A well-functioning trash can is an unsung hero of any home, keeping your living space clean and organized. By learning how to troubleshoot and repair common problems, you can save money on replacements and reduce waste, all while honing your DIY skills.
So, grab your toolkit and let's dive into the world of simple human trash can repairs. Whether you're a seasoned DIY enthusiast or just dipping your toes into the world of home maintenance, this guide will equip you with the knowledge and confidence to tackle this project head-on. Let's get started!
Key Takeaways:
- Don’t toss it, fix it! You can easily repair your Simple Human trash can by assessing the damage, gathering the right tools and materials, and following step-by-step guides to fix the lid, pedal mechanism, and inner bucket.
- Save money and reduce waste by mastering DIY trash can repairs. With the right tools and know-how, you can keep your home clean and organized while honing your repair skills.
Assessing the Damage
Before diving into the repair process, it’s crucial to assess the extent of the damage to your simple human trash can. By conducting a thorough inspection, you can pinpoint the specific areas that require attention and determine the best course of action.
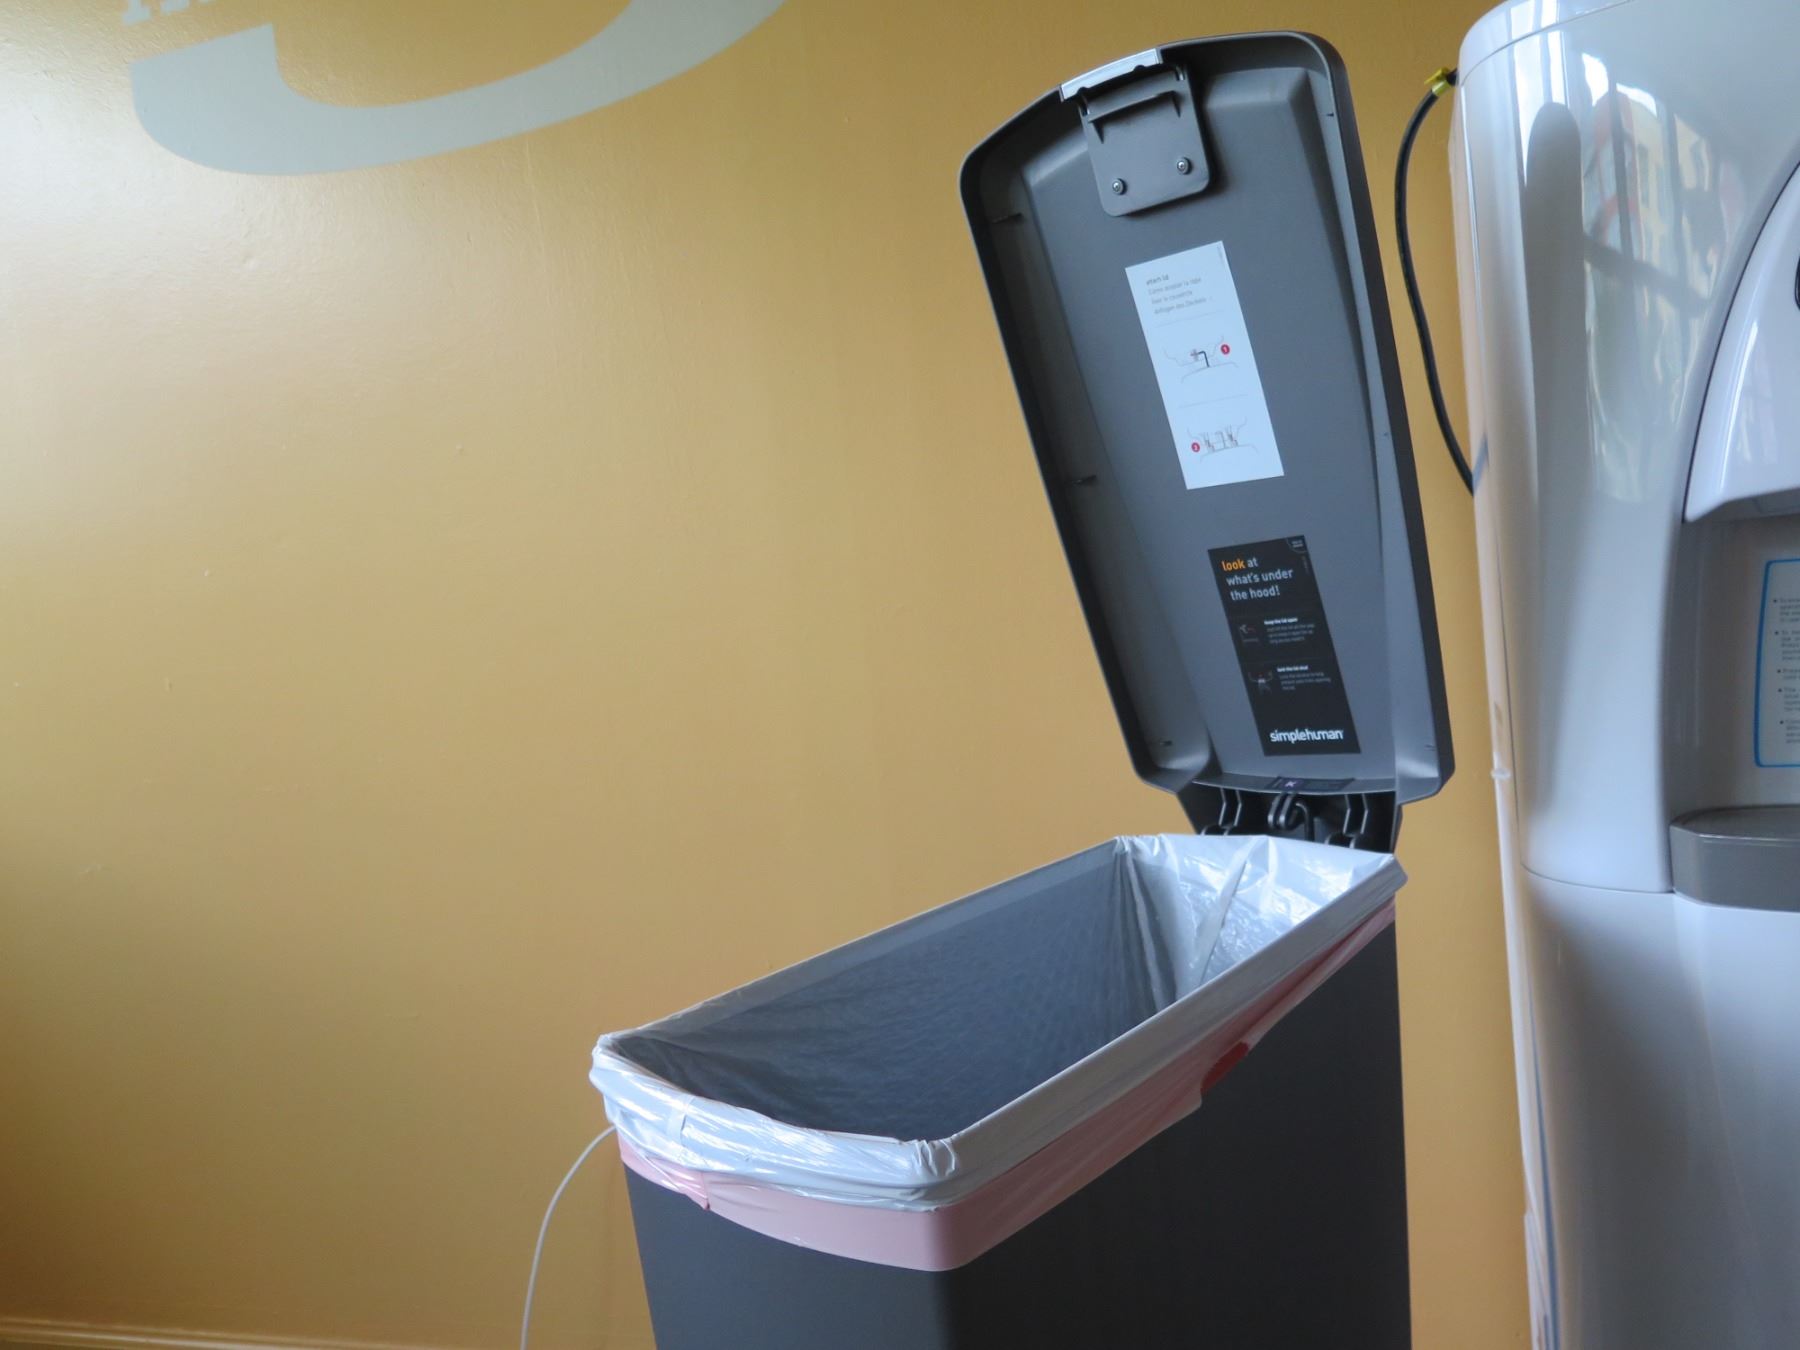
Start by examining the exterior of the trash can. Look for any visible cracks, dents, or scratches that may compromise its structural integrity. Additionally, check the lid for signs of damage, such as broken hinges or misaligned components. If your trash can features a pedal-operated mechanism, test it to see if it’s functioning properly. A malfunctioning pedal can hinder the smooth operation of the lid, leading to inconvenience and frustration.
Next, inspect the inner bucket for any cracks or holes that may compromise its functionality. A damaged inner bucket can result in leaks and make cleaning a messy ordeal. Take note of any unusual odors emanating from the trash can, as this could indicate a need for thorough cleaning or even a replacement of the inner bucket.
Once you’ve assessed the visible damage, it’s time to consider the overall functionality of the trash can. Does the lid open and close smoothly? Does the pedal mechanism respond promptly when pressed? Is the inner bucket securely in place? By asking these questions and observing the trash can’s behavior, you can gain valuable insights into the specific areas that require attention.
It’s important to approach the assessment process with a keen eye for detail, as even minor issues can escalate if left unaddressed. By taking the time to thoroughly assess the damage, you’ll be better equipped to gather the necessary tools and materials and proceed with the appropriate repairs. Remember, a comprehensive assessment sets the stage for a successful repair process, ensuring that your simple human trash can is restored to optimal functionality.
Gathering the Necessary Tools and Materials
Once you’ve assessed the damage to your simple human trash can, it’s time to gather the essential tools and materials needed to tackle the repairs. By assembling the right equipment, you can streamline the repair process and ensure that you have everything on hand to address the specific issues at hand.
Here’s a comprehensive list of tools and materials you may need:
Tools:
- Screwdriver set (flathead and Phillips head)
- Adjustable wrench
- Pliers
- Utility knife
- Drill (if replacing hardware or hinges)
- Hammer (for minor adjustments)
Materials:
- Replacement lid (if the existing lid is damaged beyond repair)
- New pedal mechanism (if the pedal is malfunctioning)
- Replacement inner bucket
- Strong adhesive (for securing loose components)
- Cleaner and disinfectant for thorough cleaning
- Sandpaper (for smoothing rough edges)
- Lubricant (to ensure smooth operation of moving parts)
Before purchasing replacement parts, carefully measure the dimensions of your trash can to ensure a proper fit. This is particularly important when replacing the lid or inner bucket. Additionally, consider the material and color of the replacement components to maintain a cohesive look with the rest of the trash can.
It’s also advisable to wear protective gloves and goggles, especially when handling sharp edges or using cleaning chemicals. Safety should always be a top priority when working on any repair project.
By gathering these tools and materials, you’ll be well-prepared to address the specific issues affecting your simple human trash can. With everything at your fingertips, you can proceed with confidence, knowing that you have the necessary resources to restore your trash can to optimal functionality.
Read more: How To Put A Trash Bag In The Trash Can
Repairing the Lid
The lid of a simple human trash can is a critical component that ensures efficient waste disposal and odor containment. If your trash can’s lid is damaged or malfunctioning, it can lead to inconveniences and compromise its overall functionality. Here’s a step-by-step guide to repairing the lid of your trash can:
Step 1: Removal of the Damaged Lid
Begin by carefully removing the damaged lid from the trash can. Depending on the design of your trash can, this may involve unscrewing hinges or releasing latches that secure the lid in place. Use the appropriate tools, such as a screwdriver or wrench, to detach the lid without causing further damage to the trash can’s body.
Step 2: Assessment of Damage
Once the lid is removed, assess the extent of the damage. Look for cracks, dents, or misaligned components that may be impeding the lid’s smooth operation. If the damage is minor, you may be able to proceed with repairs. However, if the damage is extensive, it may be necessary to consider a replacement lid.
Step 3: Repair or Replacement
If the damage is repairable, carefully realign any misaligned components and use strong adhesive to secure any loose parts. For cracks or dents, consider using filler material to restore the lid’s structural integrity. Sand down any rough edges and ensure that the repaired areas are smooth and free of sharp edges. If the damage is beyond repair, it’s time to procure a replacement lid that matches the dimensions and design of your trash can.
Read more: What Is A Trash Can
Step 4: Installation of the Repaired or Replacement Lid
Once the repairs are complete or you’ve obtained a replacement lid, carefully install it back onto the trash can. Ensure that it aligns properly and securely attaches to the body of the trash can. Use the appropriate tools to fasten hinges or latches, taking care not to overtighten screws or bolts.
Step 5: Testing the Lid
After the lid is reinstalled, test its functionality. Open and close the lid multiple times to ensure that it operates smoothly and without any obstructions. If the lid is pedal-operated, test the pedal mechanism to verify that it effectively opens and closes the lid without any issues.
By following these steps, you can effectively repair or replace the lid of your simple human trash can, restoring its functionality and ensuring that it continues to serve its purpose seamlessly.
Fixing the Pedal Mechanism
The pedal mechanism is a crucial feature of many simple human trash cans, allowing for hands-free operation and convenient waste disposal. If the pedal mechanism malfunctions, it can impede the smooth operation of the trash can’s lid, leading to inconvenience and frustration. Here’s a detailed guide on fixing the pedal mechanism of your trash can:
Step 1: Inspection of the Pedal Mechanism
Start by examining the pedal mechanism to identify any visible issues or malfunctions. Look for loose components, signs of wear, or obstructions that may be hindering the pedal’s movement. Additionally, check the connecting hardware and pivot points for any signs of damage or misalignment.
Read more: How To Make A Trash Can
Step 2: Cleaning and Lubrication
If the pedal mechanism is stiff or unresponsive, it may benefit from thorough cleaning and lubrication. Use a mild cleaner to remove any accumulated dirt or debris from the pedal and its associated components. Once cleaned, apply a small amount of lubricant to the pivot points and moving parts to ensure smooth and effortless operation.
Step 3: Tightening and Adjustment
Check for any loose screws or bolts that secure the pedal mechanism to the trash can. Using the appropriate tools, such as a screwdriver or wrench, tighten any loose hardware to ensure that the pedal is securely attached. Additionally, consider making minor adjustments to the pedal’s position to optimize its responsiveness and ease of use.
Step 4: Replacement of Components
If the pedal mechanism is severely damaged or worn beyond repair, it may be necessary to replace specific components, such as the pedal itself or associated hardware. Ensure that the replacement components match the specifications of your trash can’s model and design, and carefully follow the manufacturer’s instructions for installation.
Step 5: Testing the Pedal Mechanism
After performing the necessary repairs or adjustments, test the pedal mechanism to ensure that it operates smoothly and efficiently. Press the pedal multiple times to verify its responsiveness and check for any signs of sticking or resistance. If the pedal effectively opens and closes the lid without issues, the repairs have been successful.
By following these steps, you can effectively address issues with the pedal mechanism of your simple human trash can, restoring its hands-free functionality and ensuring a seamless waste disposal experience.
Read more: How To Hide A Trash Can
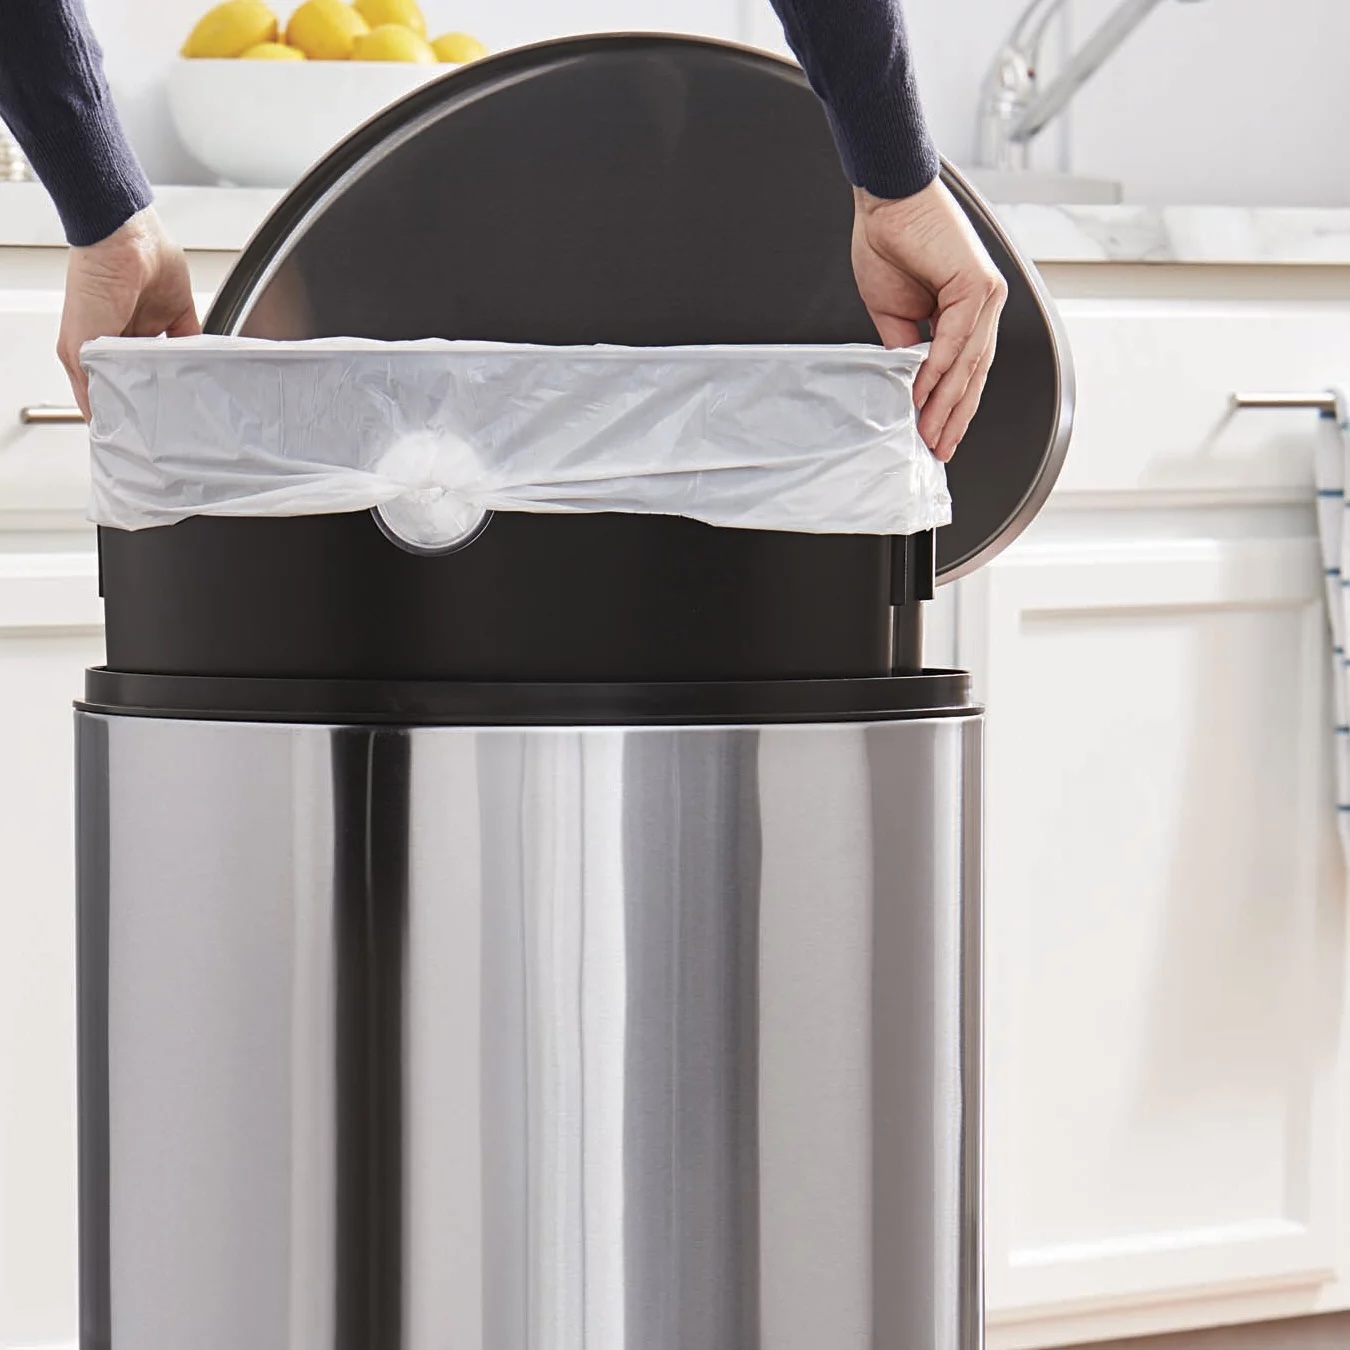
Replacing the Inner Bucket
The inner bucket of a simple human trash can plays a pivotal role in containing and organizing waste, making it an essential component of the overall functionality. If the inner bucket is damaged, cracked, or no longer effectively containing the waste, replacing it is a practical solution. Here’s a comprehensive guide on replacing the inner bucket of your trash can:
Step 1: Removal of the Existing Inner Bucket
Carefully remove the existing inner bucket from the trash can. Depending on the design of your trash can, this may involve lifting the inner bucket out or unlatching it from the main body. Take care to empty the contents of the existing inner bucket and clean the interior of the trash can before proceeding with the replacement.
Step 2: Measurement and Sourcing
Accurately measure the dimensions of the inner compartment to ensure that the replacement bucket fits snugly and securely. Consider the material and durability of the replacement bucket, opting for a high-quality, easy-to-clean option that aligns with your specific needs. Many manufacturers offer replacement inner buckets designed to fit their trash can models, simplifying the sourcing process.
Step 3: Installation of the Replacement Inner Bucket
Carefully place the replacement inner bucket into the designated compartment of the trash can, ensuring that it sits securely and aligns properly with any associated mechanisms, such as the lid or pedal. If the inner bucket features a handle or grips, ensure that they are easily accessible and functional for hassle-free removal and cleaning.
Read more: How To Measure A Trash Can
Step 4: Testing and Adjustment
Once the replacement inner bucket is installed, test its functionality by adding a small amount of waste and simulating typical usage. Verify that it fits securely, remains stable during use, and effectively contains the waste without any leaks or spillage. Make any necessary adjustments to ensure that the replacement inner bucket seamlessly integrates with the trash can’s design and functionality.
Step 5: Cleaning and Maintenance
Regularly clean and maintain the replacement inner bucket to ensure optimal hygiene and longevity. Consider using mild cleaners and disinfectants to sanitize the inner bucket, especially if it comes into contact with food waste or other organic materials. Additionally, inspect the inner bucket periodically for any signs of wear or damage, addressing any issues promptly to prolong its lifespan.
By following these steps, you can effectively replace the inner bucket of your simple human trash can, ensuring that it continues to fulfill its essential role in waste containment and management.
Conclusion
Congratulations on successfully navigating the world of simple human trash can repairs! By equipping yourself with the knowledge and skills to assess, troubleshoot, and address common issues, you’ve taken a proactive step towards maintaining a functional and efficient waste management system in your home.
Throughout this guide, we’ve delved into the intricacies of repairing the lid, fixing the pedal mechanism, and replacing the inner bucket of your trash can. Each of these components plays a vital role in ensuring smooth operation and effective waste containment, and by mastering the art of their maintenance, you’ve empowered yourself to extend the lifespan of your trash can and minimize the need for costly replacements.
Remember, regular maintenance and prompt repairs are key to preserving the functionality and aesthetics of your simple human trash can. By incorporating these tasks into your home maintenance routine, you can enjoy a clean, organized living space while reducing unnecessary waste and expenses.
As you embark on your DIY repair journey, always prioritize safety and attention to detail. Whether it’s gathering the necessary tools and materials or executing the repairs with precision, a methodical approach will yield the best results and ensure a satisfying outcome.
Lastly, don’t underestimate the value of a well-maintained trash can. It’s a small yet impactful contributor to the overall cleanliness and organization of your home, and by taking the time to care for it, you’re investing in a more comfortable and sustainable living environment for yourself and your family.
With your newfound expertise in simple human trash can repairs, you’re well-equipped to tackle future challenges with confidence and skill. So, embrace the DIY spirit, and let your resourcefulness and ingenuity shine as you continue to maintain and enhance your living space.
Here’s to a cleaner, more efficient home – one repair at a time!
Frequently Asked Questions about How To Repair A Simple Human Trash Can
Was this page helpful?
At Storables.com, we guarantee accurate and reliable information. Our content, validated by Expert Board Contributors, is crafted following stringent Editorial Policies. We're committed to providing you with well-researched, expert-backed insights for all your informational needs.


0 thoughts on “How To Repair A Simple Human Trash Can”