Home>Others>Eco-Friendly Products>How To Make A Home Compost Bin

Eco-Friendly Products
How To Make A Home Compost Bin
Modified: January 14, 2024
Learn how to create an eco-friendly home compost bin with our step-by-step guide. Reduce waste and create nutrient-rich soil for your garden!
(Many of the links in this article redirect to a specific reviewed product. Your purchase of these products through affiliate links helps to generate commission for Storables.com, at no extra cost. Learn more)
Introduction
Welcome to the world of sustainable living! Creating a home compost bin is an eco-friendly and rewarding endeavor that allows you to minimize waste, enrich your garden, and contribute to a healthier environment. By transforming kitchen scraps and yard waste into nutrient-rich compost, you can actively participate in reducing landfill waste and cutting down on greenhouse gas emissions. This comprehensive guide will walk you through the process of constructing and maintaining a home compost bin, providing you with the knowledge and tools to embark on this fulfilling journey.
Composting is a simple yet powerful way to give back to the Earth. Not only does it divert organic materials from landfills, but it also produces a natural fertilizer that can enhance the vitality of your garden. Whether you're an avid gardener, a sustainability enthusiast, or someone looking to minimize their ecological footprint, composting is a valuable practice that aligns with the principles of environmental stewardship.
In this guide, you will learn how to select the appropriate location for your compost bin, the materials needed for its construction, the process of building the bin, and the steps for adding, maintaining, and harvesting compost. Through each stage, you will gain insights into the art and science of composting, empowering you to make a positive impact while enjoying the benefits of nutrient-dense soil for your plants.
Embarking on this journey is not only a way to reduce waste and support the environment but also an opportunity to connect with the natural cycles of decomposition and regeneration. So, roll up your sleeves, gather your materials, and get ready to create a thriving ecosystem within your own backyard. Let's dive into the world of home composting and discover the joy of nurturing the Earth while reaping the rewards of sustainable living.
Key Takeaways:
- Composting reduces waste, enriches gardens, and supports a healthier environment by transforming organic materials into nutrient-rich compost, contributing to a greener, more sustainable future.
- Embracing home composting aligns with sustainable living practices, fostering a harmonious relationship with the natural world and inspiring others to adopt eco-friendly habits for a greener, healthier planet.
Read more: How To Make A Wooden Compost Bin
Materials Needed
Before you embark on creating your own home compost bin, it’s essential to gather the necessary materials. These items will serve as the building blocks for your composting system, enabling you to efficiently convert organic waste into nutrient-rich compost. Here’s a comprehensive list of the materials you’ll need:
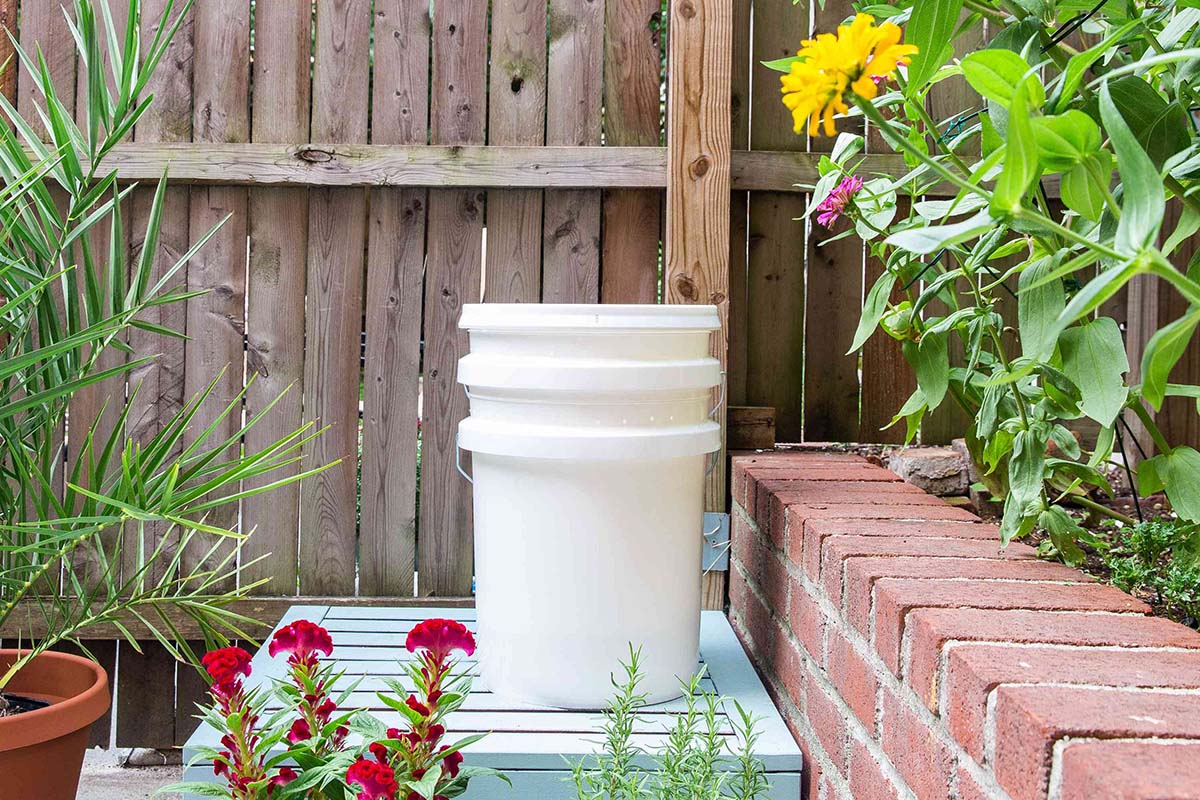
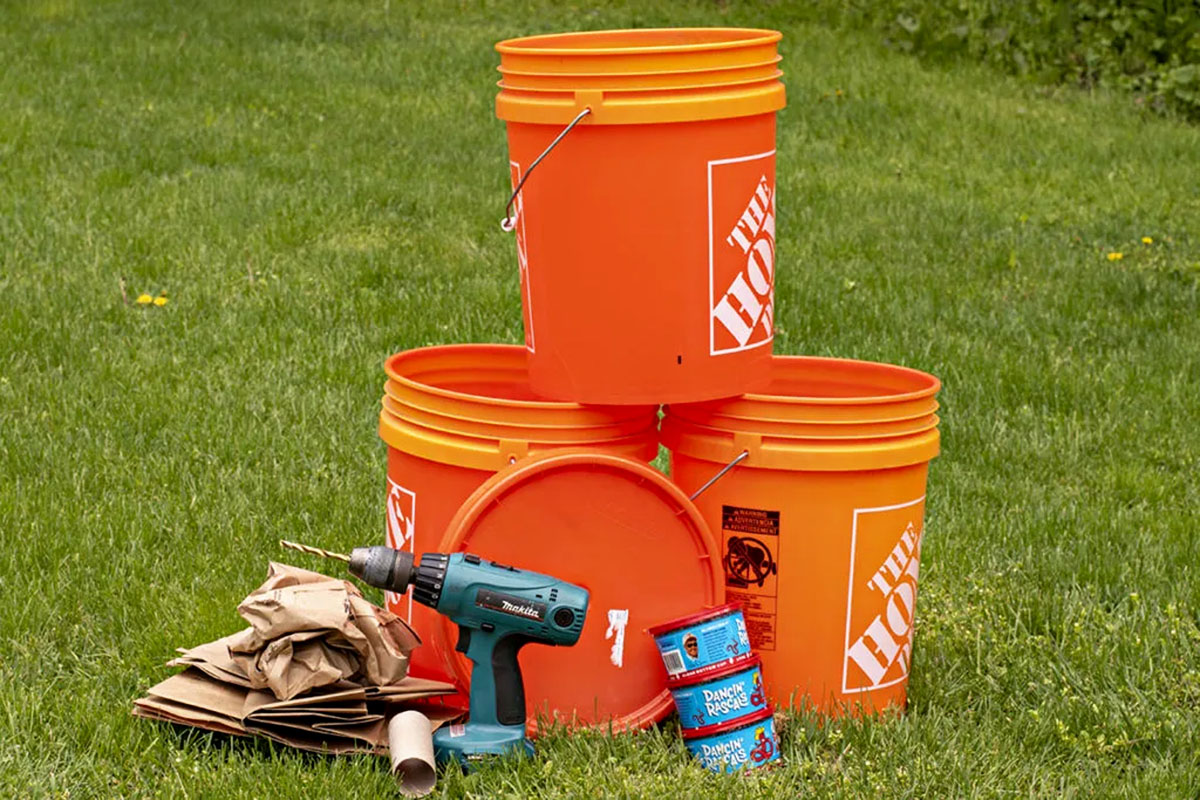
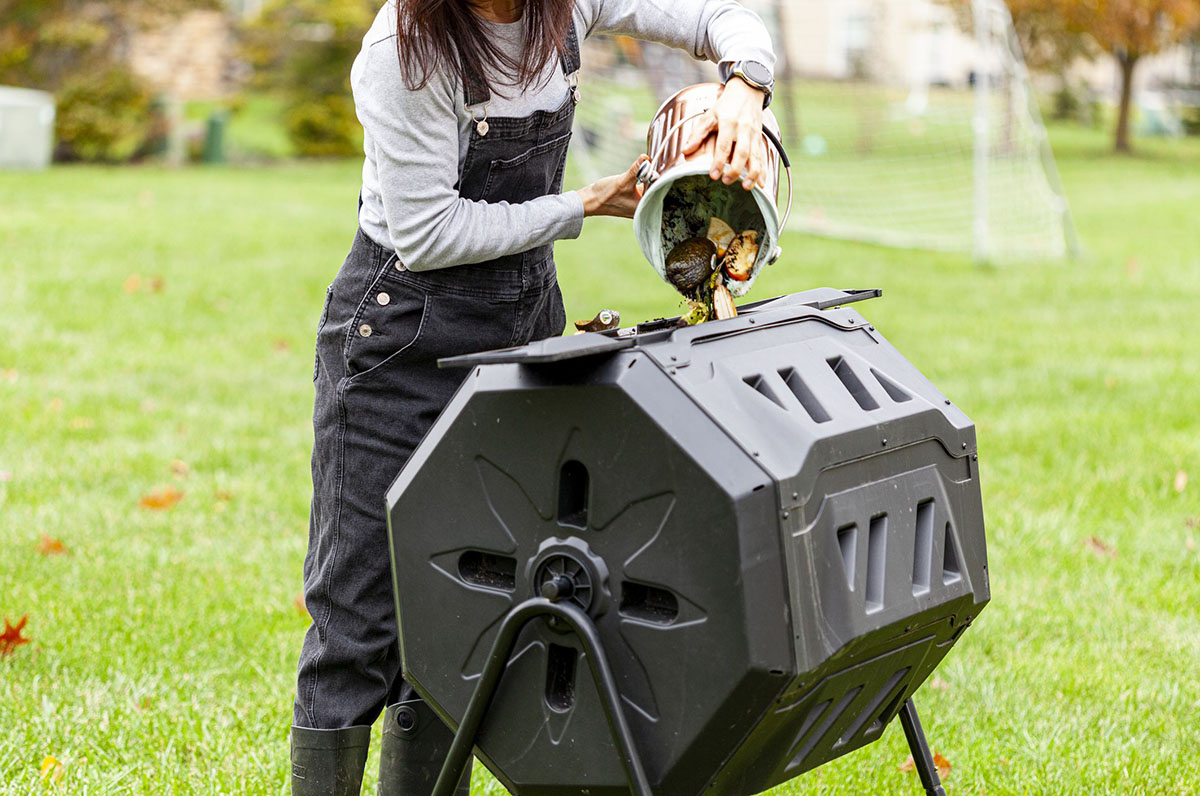
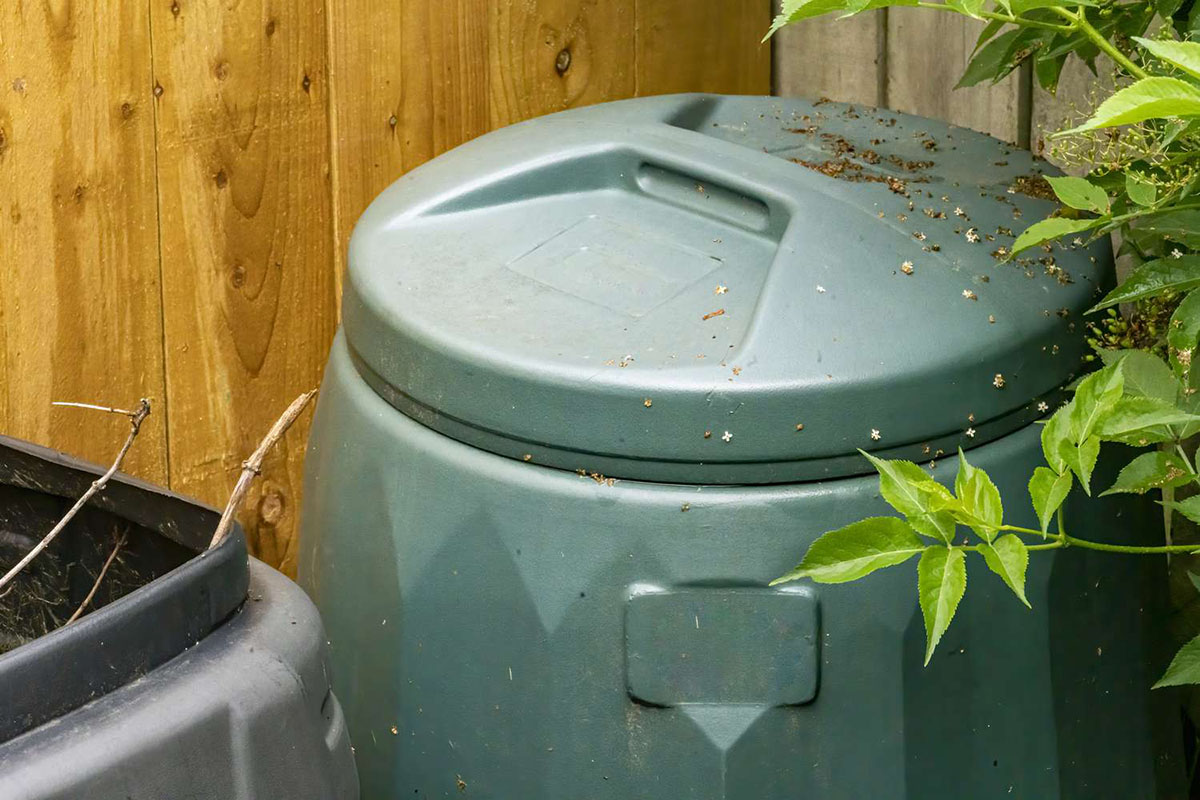
- Container: Choose a suitable container for your compost bin. This can be a wooden bin, a plastic container, or even a repurposed barrel, depending on the size of your composting needs and the space available.
- Drill or Hammer and Nails: Depending on the type of container you’ve selected, you’ll need a drill to create ventilation holes or a hammer and nails to construct a wooden bin.
- Green and Brown Materials: Collect a mix of green materials (such as fruit and vegetable scraps, coffee grounds, and grass clippings) and brown materials (such as dry leaves, straw, and shredded paper) to create a balanced compost pile.
- Watering Can or Hose: Ensure you have a watering can or hose nearby to moisten the compost pile as needed. Proper moisture levels are crucial for the decomposition process.
- Shovel or Pitchfork: A shovel or pitchfork will be essential for turning and aerating the compost, facilitating the breakdown of organic matter.
- Compost Thermometer (Optional): While not essential, a compost thermometer can be useful for monitoring the internal temperature of the compost pile, ensuring optimal conditions for decomposition.
- Compost Activator (Optional): Consider using a compost activator to speed up the decomposition process, especially if you’re adding a large volume of materials to the compost bin.
- Mesh or Wire (for open bins): If you’re opting for an open compost bin, you may need mesh or wire to enclose the sides and prevent the compost from spilling out.
By gathering these materials, you’ll be well-equipped to construct and maintain a thriving home compost bin. Each item plays a crucial role in the composting process, from providing aeration and moisture to creating the optimal environment for microbial activity. With these materials at your disposal, you’re ready to take the next step in your composting journey.
Choosing a Location
When establishing a home compost bin, selecting the right location is paramount to its success. The ideal location not only promotes efficient decomposition but also integrates seamlessly into your living space. Here are several key considerations to keep in mind when choosing a location for your compost bin:
- Accessibility: Opt for a location that is easily accessible from your kitchen or garden. This convenience encourages regular additions to the compost pile and makes it simpler to incorporate organic waste into the bin.
- Sunlight: While some level of shade is beneficial, it’s important to position the compost bin in an area that receives partial sunlight. Sunlight helps maintain the optimal temperature for decomposition and supports the activity of beneficial microorganisms.
- Drainage: Ensure that the chosen location has adequate drainage to prevent waterlogging. Good drainage prevents the compost from becoming overly saturated, which can impede the decomposition process and lead to unpleasant odors.
- Air Circulation: Select a spot with good air circulation to facilitate the aeration of the compost pile. Ample airflow supports the breakdown of organic matter and helps prevent the development of anaerobic conditions, which can produce foul odors.
- Proximity to Water Source: It’s beneficial to position the compost bin within reach of a water source, such as a hose or watering can. This makes it easier to maintain the appropriate moisture levels in the compost pile, ensuring optimal conditions for decomposition.
- Space Considerations: Depending on the size of your compost bin, ensure that the chosen location provides adequate space for the bin and allows for easy maneuverability around it. This is particularly important if you’re planning to turn or aerate the compost regularly.
By considering these factors, you can identify an optimal location that promotes the successful decomposition of organic materials while integrating harmoniously into your living environment. The chosen location should support the natural processes of composting and make it convenient for you to engage with the composting system on a regular basis. With the right location in place, you’re ready to move forward with building and maintaining your home compost bin.
Building the Compost Bin
Constructing a home compost bin is an exciting and straightforward process that can be tailored to suit your available space and specific composting needs. Whether you opt for a ready-made container or decide to build a custom bin, the following steps will guide you through the construction process:
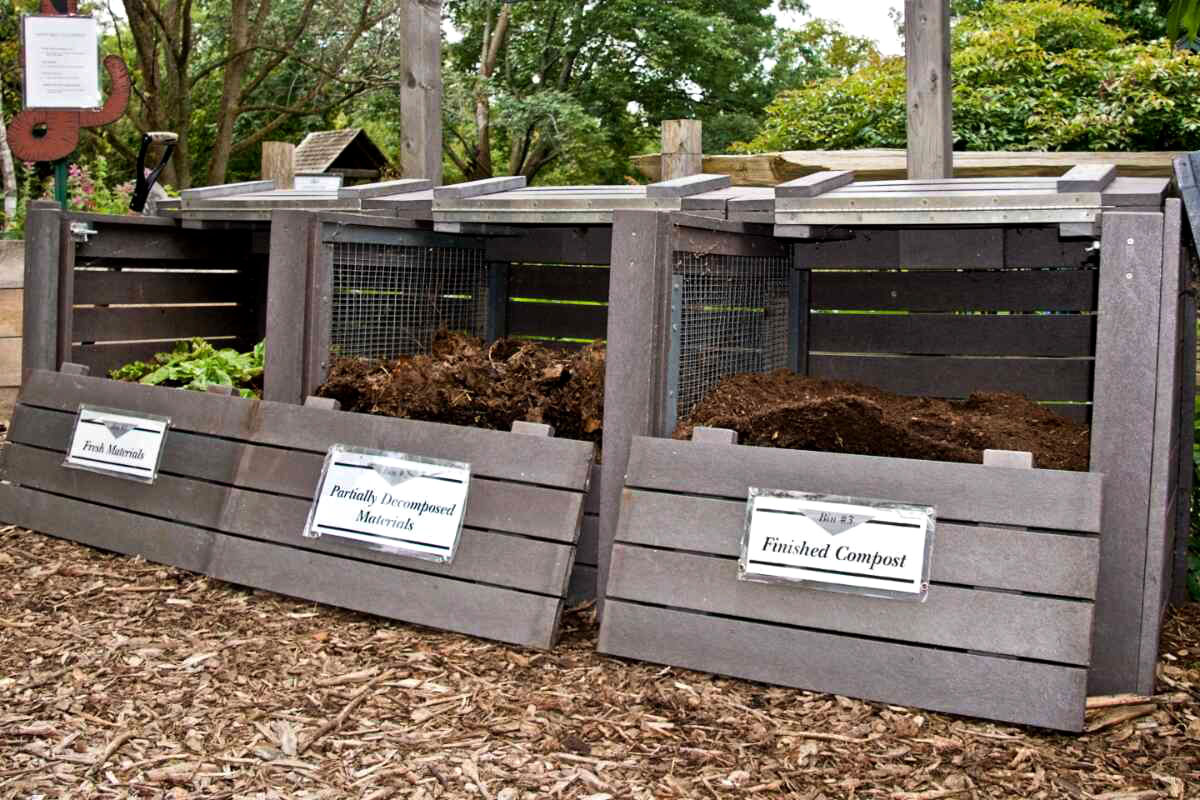
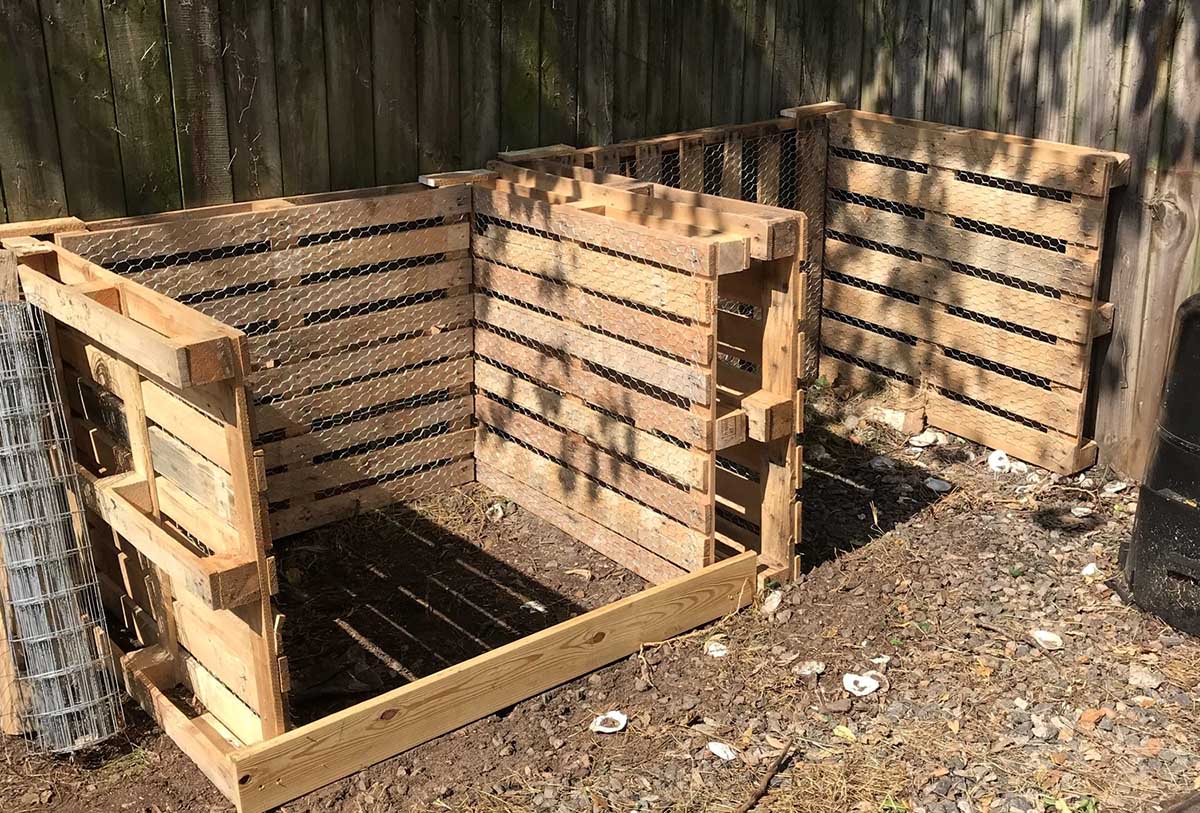
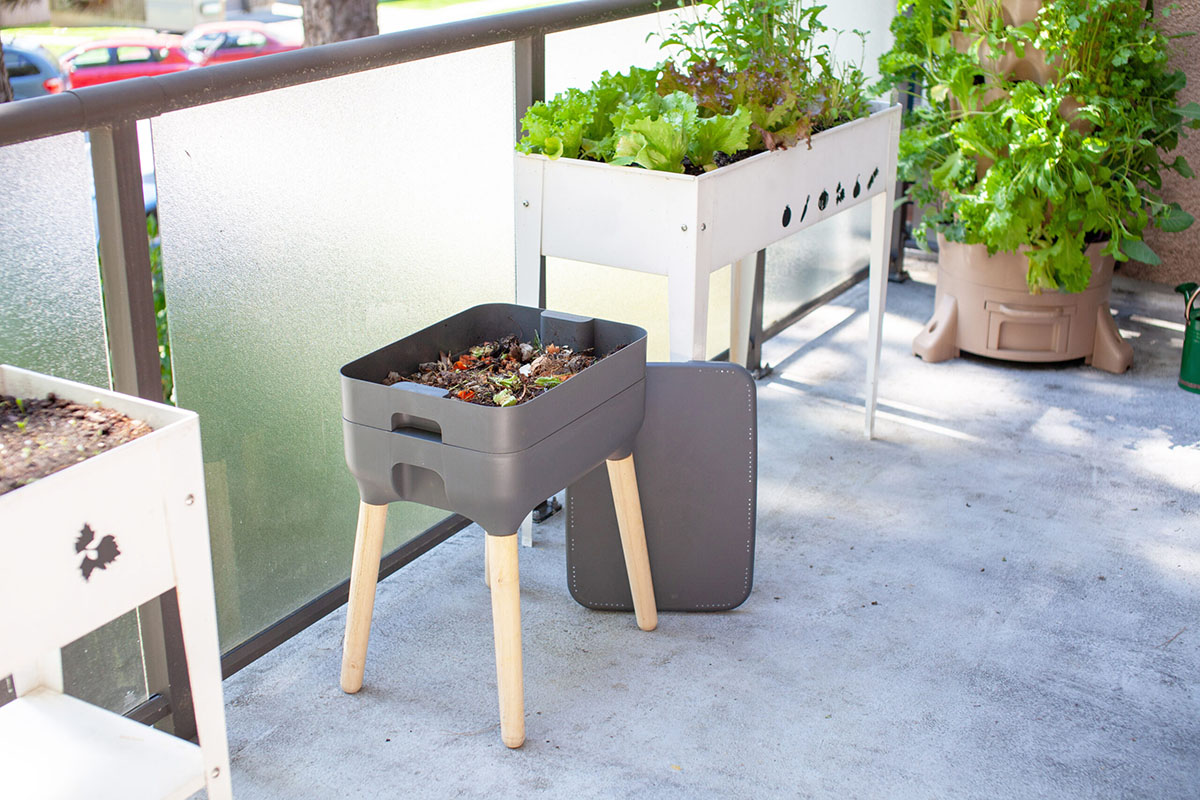
- Choose a Container: Select a suitable container for your composting needs. This can range from repurposed wooden pallets and plastic bins to custom-built structures. Ensure that the container allows for proper aeration and drainage.
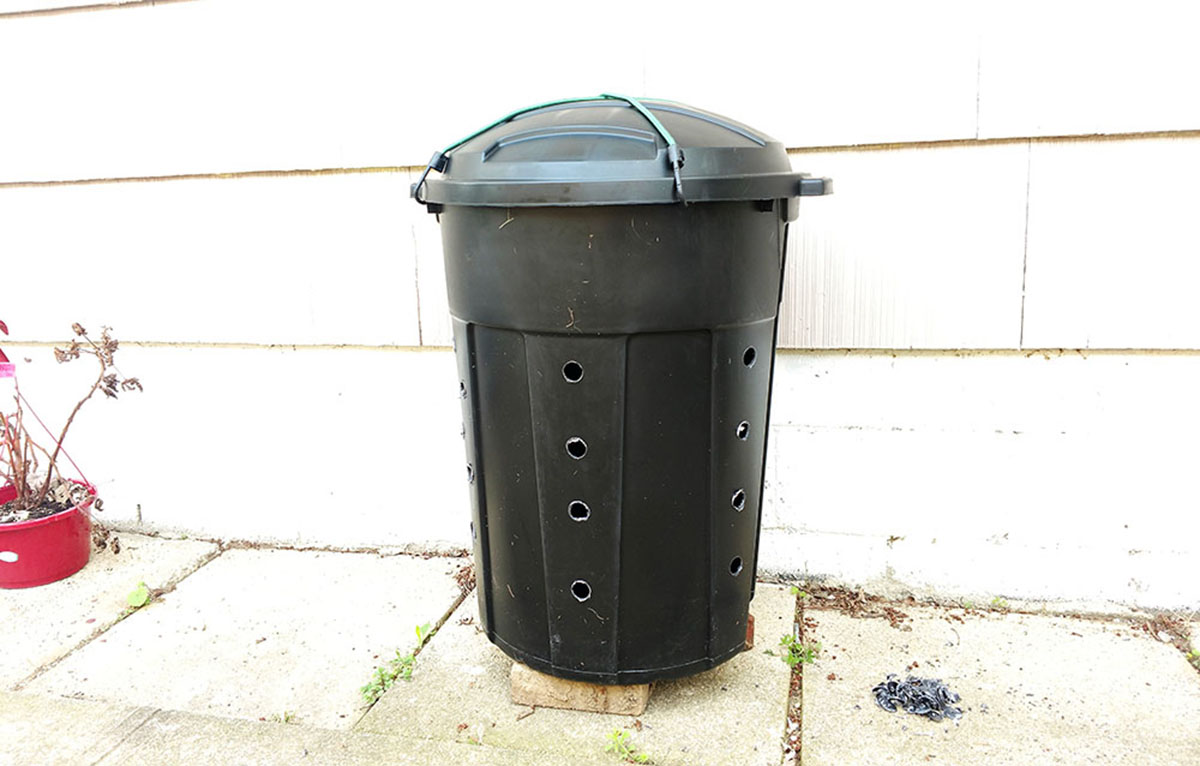
- Create Ventilation: If you’re using a closed container, drill ventilation holes in the sides to allow for airflow. For wooden bins, leave gaps between the slats to facilitate air circulation.
- Construct an Open Bin (Optional): If you prefer an open compost bin, consider using wire or mesh to enclose the sides, providing containment while allowing for aeration.
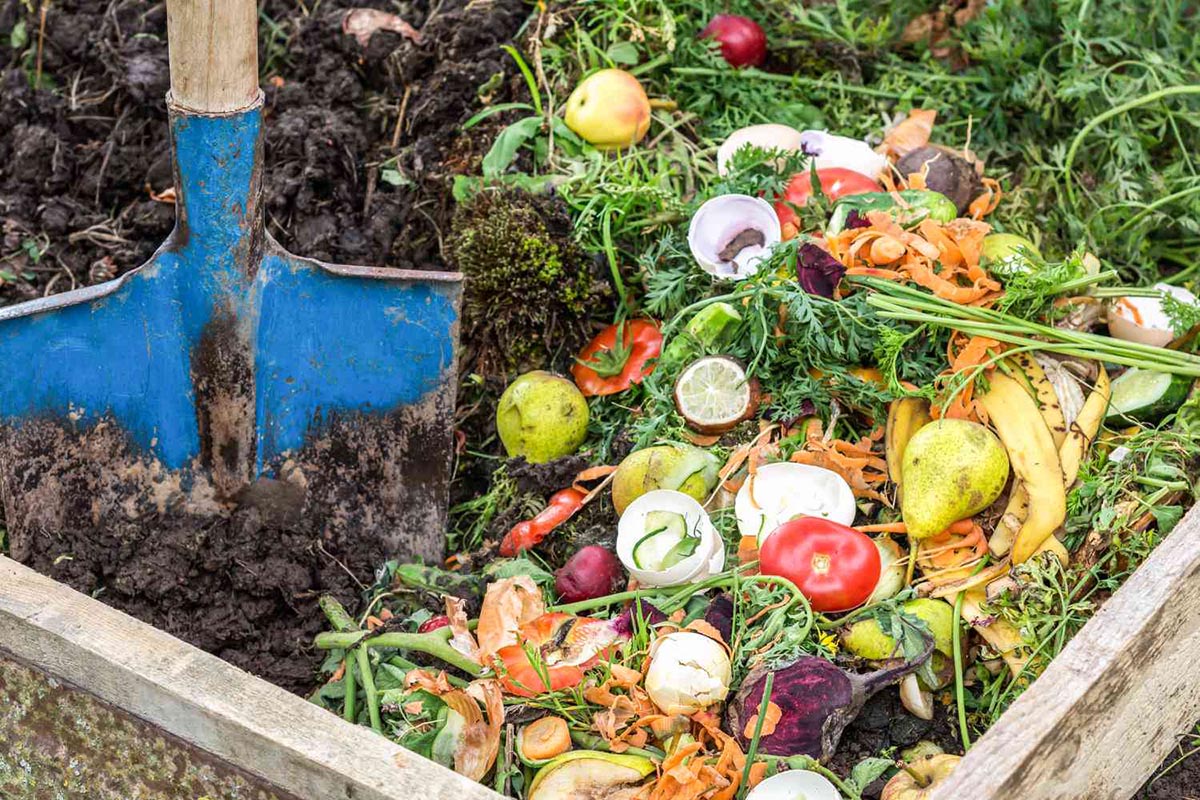
- Layer Green and Brown Materials: Start by adding a layer of brown materials, such as dry leaves or shredded paper, followed by a layer of green materials, including kitchen scraps and grass clippings. Repeat this layering process to build the compost pile.
- Moisten the Materials: After adding each layer, moisten the materials with a watering can or hose to ensure proper moisture levels. The compost pile should be damp, similar to a wrung-out sponge.
- Turn and Aerate: Use a shovel or pitchfork to turn the compost pile regularly, promoting aeration and facilitating the decomposition process. This helps distribute moisture and oxygen throughout the pile.
- Monitor the Compost: Keep an eye on the compost pile’s temperature, moisture, and odor. Adjust the moisture levels as needed and monitor the internal temperature, aiming for a range of 110-140°F (43-60°C) to support active decomposition.
By following these steps, you can create a functional and efficient compost bin that provides the ideal environment for organic materials to break down into nutrient-rich compost. Whether you opt for a simple DIY approach or a more elaborate design, the key is to ensure proper aeration, moisture, and a balanced mix of green and brown materials. With your compost bin in place, you’re ready to start adding organic waste and kick-start the composting process.
To speed up the composting process, make sure to regularly turn the contents of your compost bin to aerate it and distribute moisture and microorganisms evenly. This will help break down the materials faster and create nutrient-rich compost for your garden.
Adding Compost Materials
As you embark on your composting journey, the process of adding materials to your compost bin is fundamental to its success. By incorporating a balanced mix of organic waste, you can create an environment that fosters the decomposition of materials and the formation of nutrient-rich compost. Here’s a step-by-step guide to adding compost materials to your bin:
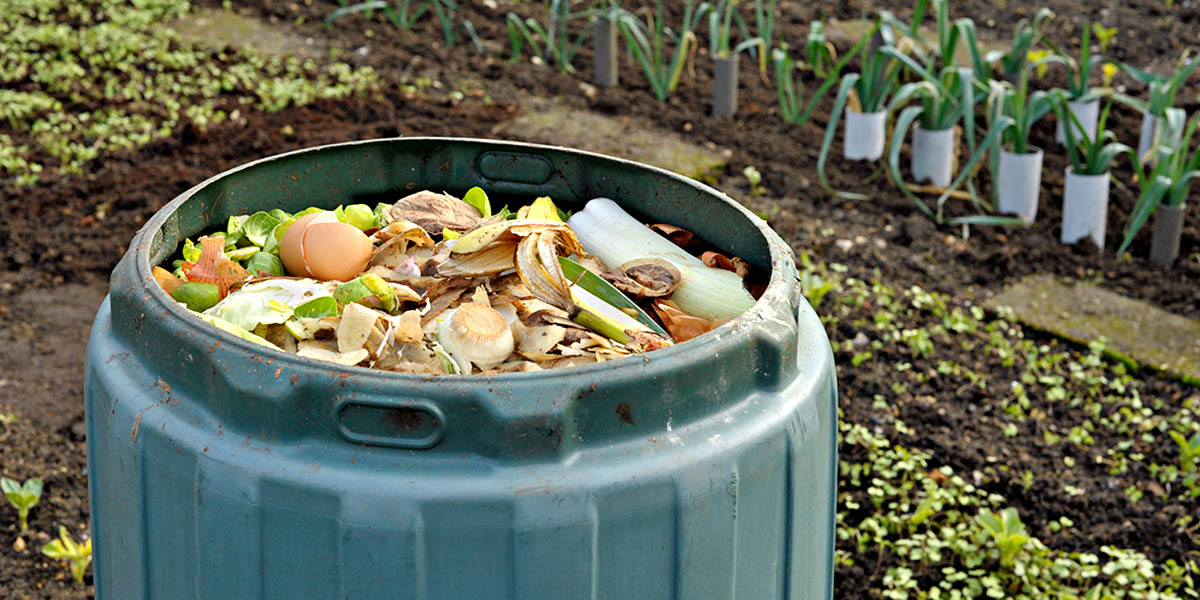
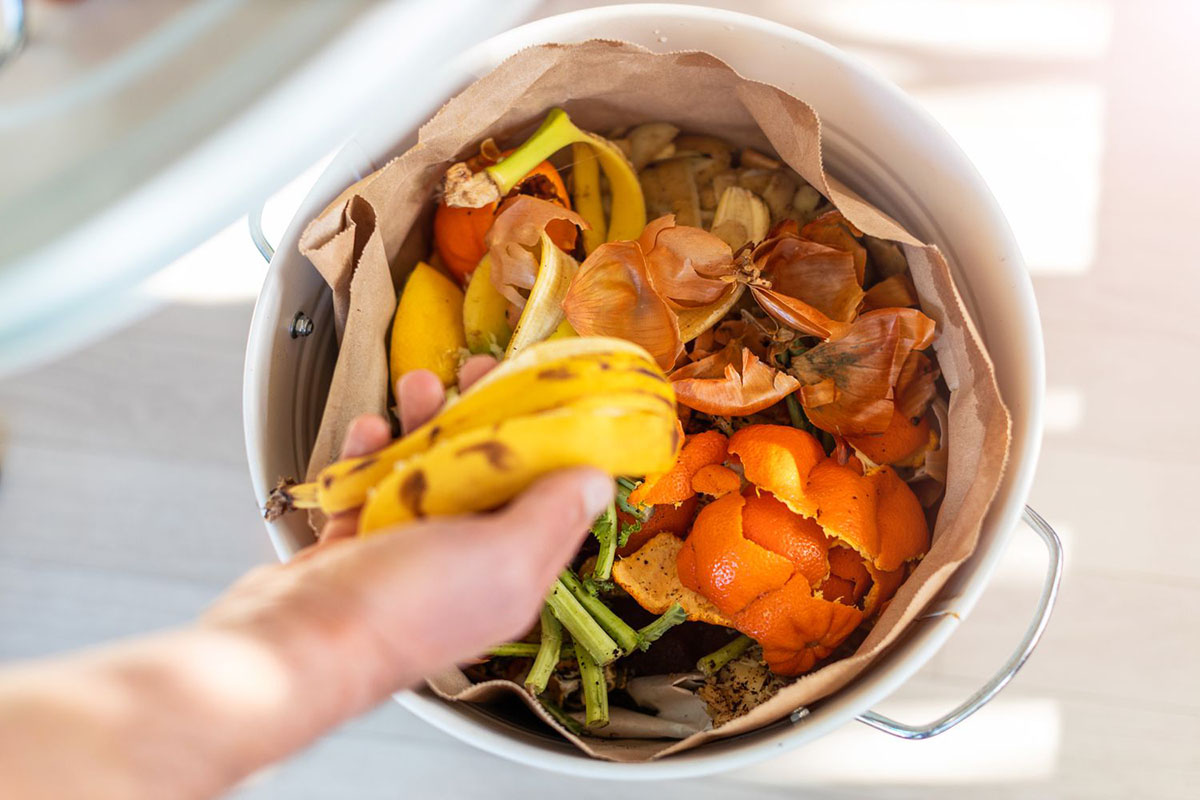
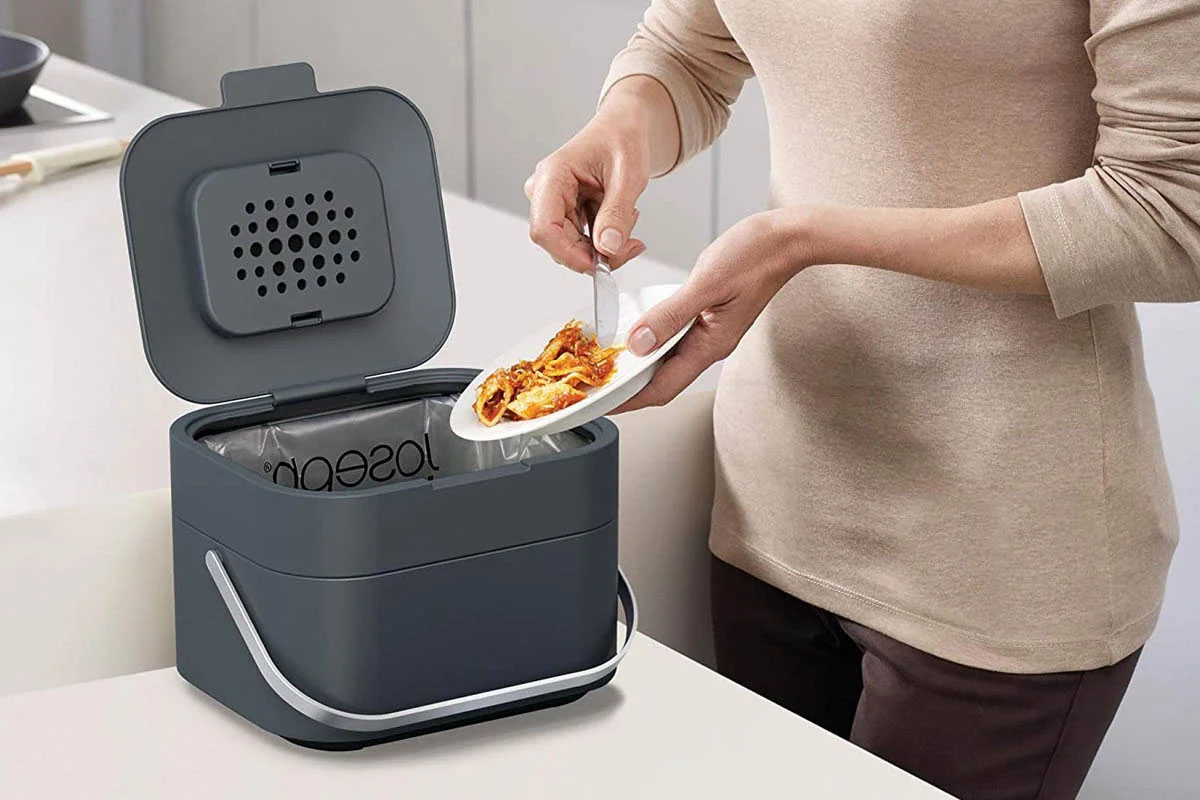
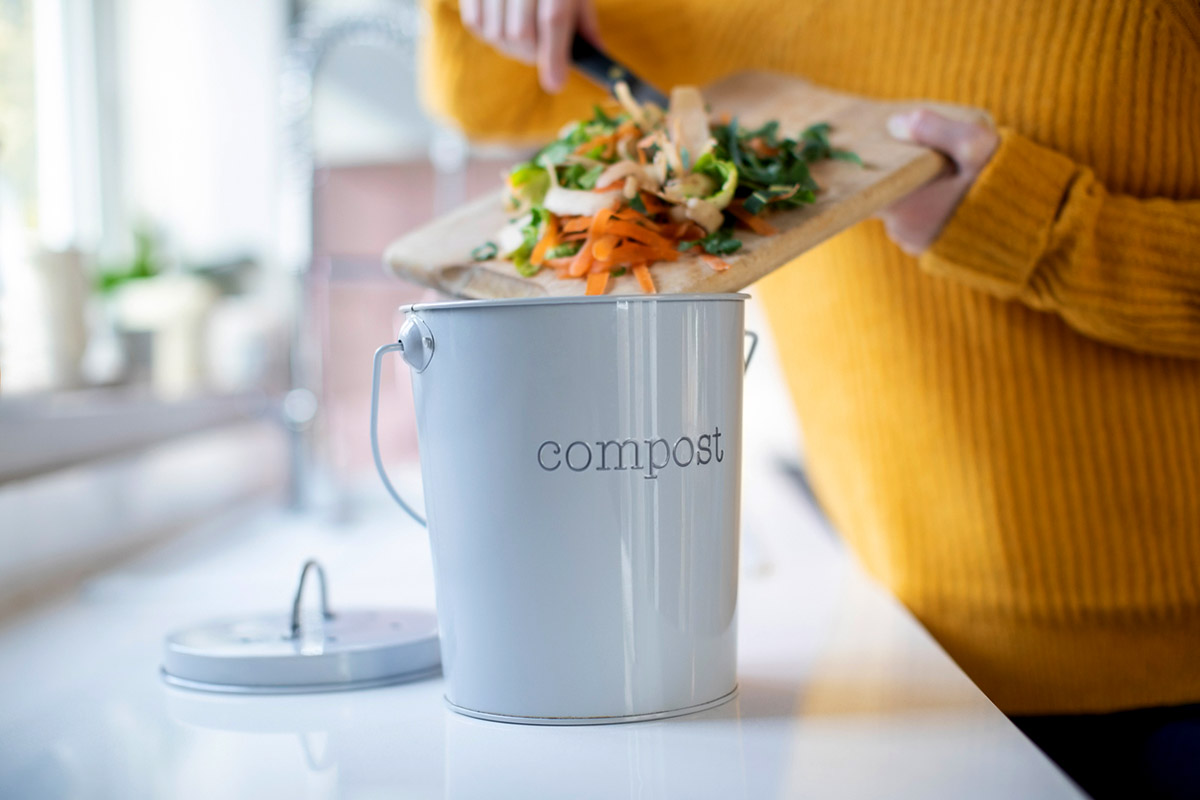
- Collect Kitchen Scraps: Gather a variety of kitchen scraps, including fruit and vegetable peels, coffee grounds, eggshells, and non-greasy food scraps. These materials provide valuable nutrients and organic matter for the compost pile.
- Include Yard Waste: Integrate yard waste such as grass clippings, leaves, and small prunings into the compost pile. These materials contribute to the carbon-to-nitrogen balance and enhance the structure of the compost.
- Balance Green and Brown Materials: Layer the kitchen scraps and yard waste to maintain a balanced mix of green (nitrogen-rich) and brown (carbon-rich) materials. This equilibrium supports the breakdown of organic matter and prevents the compost from becoming too wet or compacted.
- Avoid Certain Materials: Refrain from adding meat, dairy products, oily foods, and pet waste to the compost bin, as these items can attract pests and create unpleasant odors. Additionally, avoid adding diseased plants or weeds with mature seeds to prevent potential issues in the compost.
- Chop or Shred Large Items: To expedite the decomposition process, consider chopping or shredding large kitchen scraps and yard waste. Smaller pieces break down more quickly, accelerating the overall composting timeline.
- Moisten the Materials: After adding each layer of organic waste, moisten the materials with a watering can or hose to maintain adequate moisture levels. The compost pile should be consistently damp, but not waterlogged.
- Turn and Mix the Compost: Periodically turn and mix the compost materials using a shovel or pitchfork to ensure even distribution of moisture and oxygen. This promotes microbial activity and accelerates the decomposition process.
By following these steps, you can effectively add compost materials to your bin, creating an environment that supports the natural breakdown of organic waste. This process not only reduces kitchen and yard waste but also generates valuable compost that can enrich your garden and nourish your plants. With a mindful approach to adding materials, you’ll set the stage for a thriving compost pile that transforms organic waste into a valuable resource.
Read more: How To Make An Outdoor Compost Bin
Maintaining the Compost Bin
Maintaining your compost bin is essential for fostering a healthy and productive environment for decomposition. By implementing regular maintenance practices, you can optimize the conditions within the bin, facilitate the breakdown of organic materials, and produce nutrient-rich compost. Here are key steps for effectively maintaining your compost bin:
- Monitor Moisture Levels: Regularly check the moisture content of the compost pile. It should resemble a wrung-out sponge, with adequate dampness to support microbial activity. If the compost appears too dry, moisten it with a watering can. Conversely, if it’s overly wet, incorporate dry brown materials to enhance aeration.
- Aerate the Compost: Turn and aerate the compost pile every few weeks using a shovel or pitchfork. This process introduces oxygen, prevents compaction, and facilitates the decomposition of organic matter. Aeration also helps manage odors and promotes the activity of beneficial microorganisms.
- Balance Green and Brown Materials: Maintain a balanced mix of green and brown materials within the compost bin. This equilibrium supports the carbon-to-nitrogen ratio, ensuring efficient decomposition and preventing the formation of odors. Adjust the layers as needed to sustain this balance.
- Manage Odors: If the compost emits unpleasant odors, it may indicate anaerobic conditions or an imbalance in the compost pile. Increase aeration, incorporate dry materials, and refrain from adding meat, dairy, or oily foods to mitigate odors and restore a healthy composting environment.
- Monitor Internal Temperature: Use a compost thermometer to monitor the internal temperature of the compost pile. The ideal temperature range for active decomposition is 110-140°F (43-60°C). Adjust the compost materials and aeration to maintain optimal conditions for microbial activity.
- Address Pest Concerns: Keep an eye out for pests such as flies or rodents. To deter pests, avoid adding meat, dairy, and oily foods to the compost. Additionally, secure the bin with a lid or cover, and ensure that the compost materials are properly enclosed to minimize pest attraction.
- Harvest Compost as Needed: As the compost matures, harvest the finished compost for use in your garden. Screen the compost to remove any remaining large particles, and then apply the nutrient-rich compost to your plants, enriching the soil and promoting healthy growth.
By consistently tending to your compost bin and implementing these maintenance practices, you can create an environment that supports the natural decomposition of organic materials. This proactive approach not only fosters the transformation of waste into valuable compost but also ensures that your composting system remains productive and odor-free. With regular maintenance, you’ll cultivate a thriving compost bin that contributes to a sustainable and vibrant ecosystem.
Harvesting Compost
Harvesting compost is the culmination of your composting journey, offering the opportunity to reap the rewards of your efforts and enrich your garden with nutrient-dense organic matter. The process of harvesting compost involves extracting the mature, fully decomposed material from the compost bin and preparing it for use in your garden. Here’s a comprehensive guide to harvesting compost:
- Assess Compost Maturity: Evaluate the compost pile to determine its maturity. Mature compost is dark, crumbly, and earthy-smelling, with no recognizable traces of the original materials. It should have a uniform texture and a rich, soil-like appearance.
- Stop Adding New Materials: Several weeks before harvesting, refrain from adding new materials to the compost bin. This allows the existing materials to undergo final decomposition without additional organic waste being introduced.
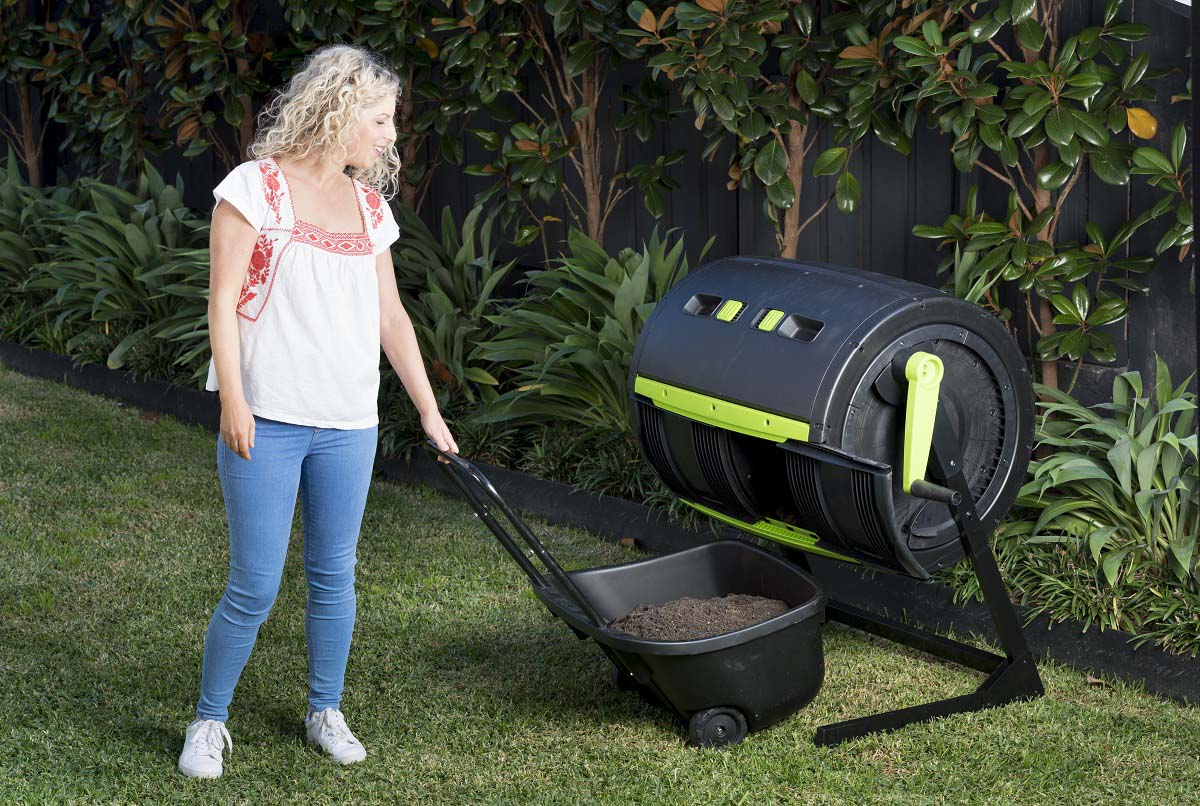
- Prepare for Harvest: Clear the area around the compost bin and gather the necessary tools, including a shovel, pitchfork, wheelbarrow, and a screen or mesh for sifting the compost.
- Extract the Compost: Use a shovel or pitchfork to remove the mature compost from the bottom and sides of the bin. Transfer the compost to a wheelbarrow or designated harvesting area, leaving any unfinished materials or undecomposed items in the bin to continue the composting process.
- Screen the Compost (Optional): If desired, sift the harvested compost through a screen or mesh to remove any remaining large particles, such as twigs or undecomposed matter. This produces a finer, uniform compost that is ready for application in the garden.
- Store or Apply the Compost: Store the harvested compost in a covered container or directly apply it to your garden soil. Spread a layer of compost over your garden beds, mix it into the soil for new plantings, or use it as a top dressing for existing plants to provide a nutrient boost.
- Replenish the Compost Bin: After harvesting the mature compost, replenish the compost bin with fresh green and brown materials to initiate a new composting cycle. This ensures that the composting process continues, generating a steady supply of nutrient-rich compost for your garden.
By following these steps, you can successfully harvest mature compost from your bin and integrate it into your gardening practices. The harvested compost serves as a valuable soil amendment, enriching the soil with essential nutrients, improving its structure, and fostering the health and vitality of your plants. Through the process of harvesting compost, you’ll witness the transformation of organic waste into a valuable resource that sustains and nourishes your garden.
Conclusion
Congratulations on embarking on the enriching journey of creating and maintaining a home compost bin. By embracing the art of composting, you’ve not only contributed to reducing waste but also fostered a sustainable and regenerative practice that benefits both the environment and your garden. As you reflect on your composting experience, consider the following key takeaways:
- Environmental Impact: Through composting, you’ve diverted organic materials from landfills, reducing methane emissions and minimizing the burden on waste management systems. Your commitment to composting has made a tangible and positive impact on the environment.
- Garden Enrichment: The nutrient-rich compost produced from your efforts serves as a natural fertilizer, enhancing the health and productivity of your garden. By nourishing the soil with compost, you’ve created a thriving ecosystem that supports vibrant plant growth and resilience.
- Sustainable Practices: Embracing home composting aligns with sustainable living practices, demonstrating a conscious and proactive approach to environmental stewardship. Your commitment to composting contributes to a more sustainable and ecologically balanced lifestyle.
- Continual Learning: Composting is an ongoing learning experience, offering opportunities to refine your techniques, experiment with different materials, and deepen your understanding of natural processes. Embrace the journey of continual learning and exploration within the realm of composting.
- Community Impact: By sharing your knowledge and experiences with composting, you have the potential to inspire others in your community to adopt sustainable practices and contribute to a collective effort towards environmental conservation.
As you continue your composting journey, remember that each contribution to your compost bin plays a vital role in the larger cycle of regeneration and sustainability. Your dedication to composting embodies a commitment to nurturing the Earth, fostering healthy ecosystems, and promoting a harmonious relationship with the natural world. With each batch of nutrient-rich compost, you’re sowing the seeds of a greener, more sustainable future for generations to come.
Embrace the joy of composting, celebrate the transformation of waste into valuable resources, and revel in the interconnectedness of all living things. Your commitment to composting is a testament to the power of individual actions in creating a more sustainable and thriving planet. Continue to nurture your compost bin, tend to your garden, and revel in the beauty of sustainable living. Together, we can cultivate a greener, healthier world, one compost pile at a time.
Frequently Asked Questions about How To Make A Home Compost Bin
Was this page helpful?
At Storables.com, we guarantee accurate and reliable information. Our content, validated by Expert Board Contributors, is crafted following stringent Editorial Policies. We're committed to providing you with well-researched, expert-backed insights for all your informational needs.

0 thoughts on “How To Make A Home Compost Bin”