Home>Others>Specialized Home Improvement Topics>How To Get Pine Sap Off Car Windows
Specialized Home Improvement Topics
How To Get Pine Sap Off Car Windows
Published: January 7, 2024
Learn effective methods for removing pine sap from car windows with specialized home improvement tips. Keep your car looking clean and clear.
(Many of the links in this article redirect to a specific reviewed product. Your purchase of these products through affiliate links helps to generate commission for Storables.com, at no extra cost. Learn more)
Introduction
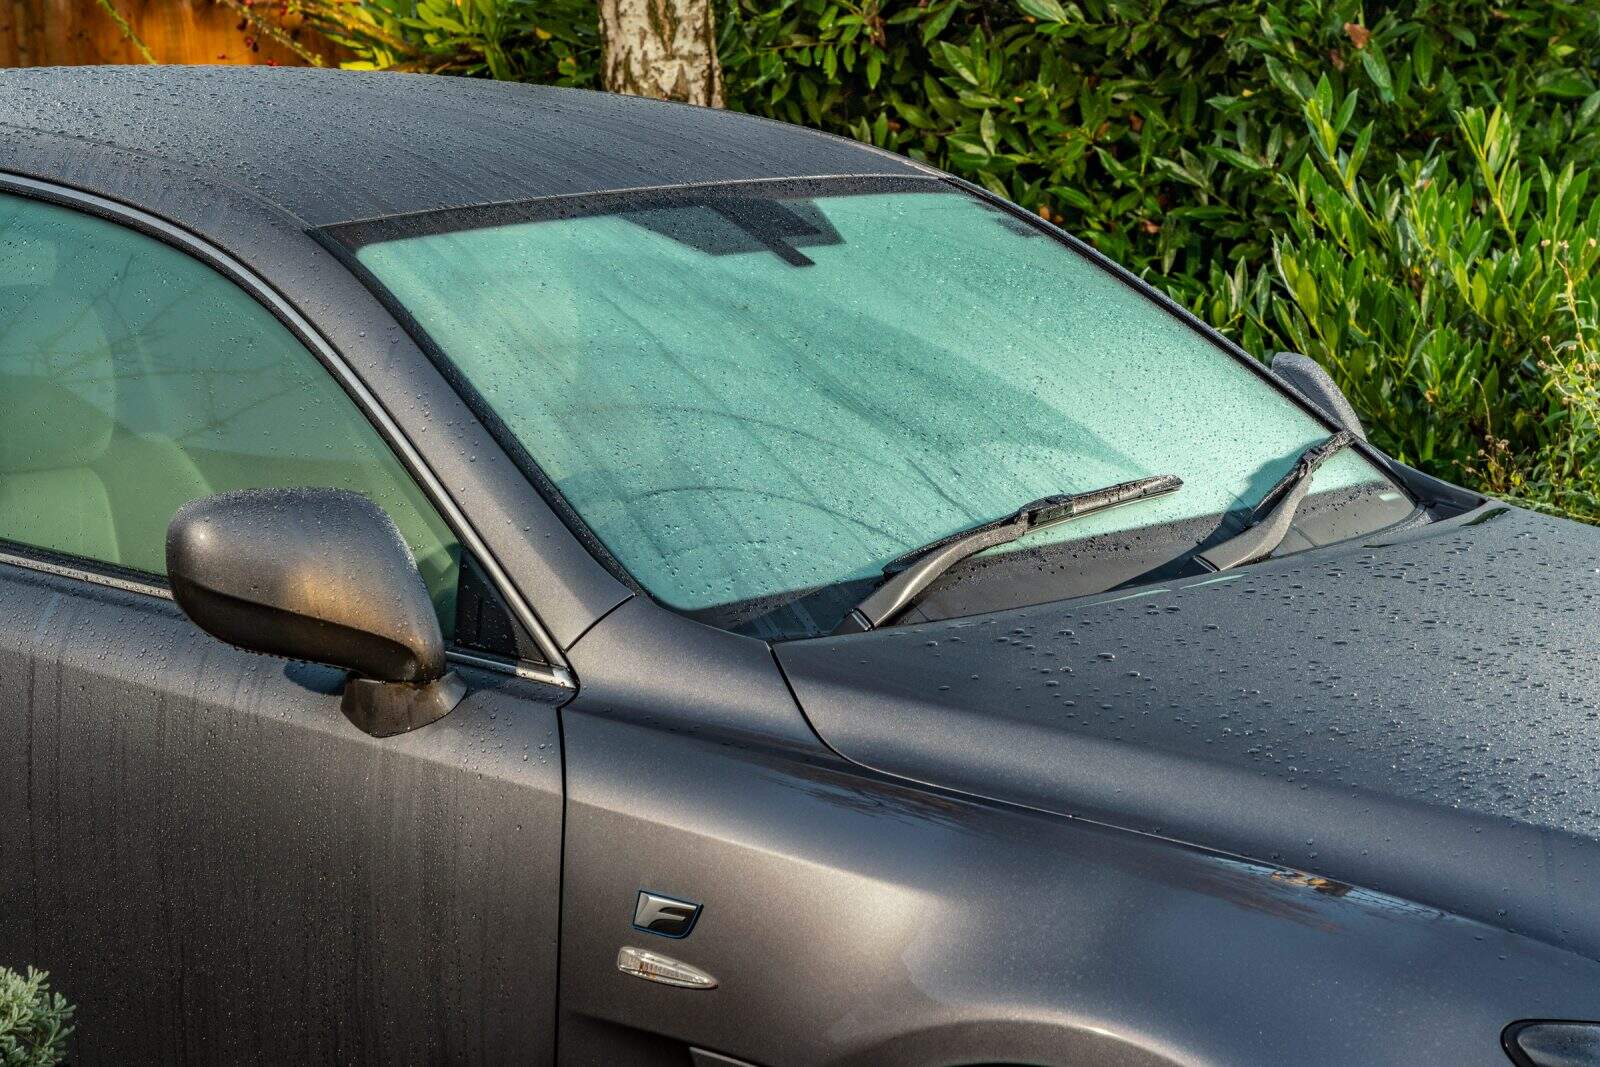
Welcome to the ultimate guide on how to effectively remove pine sap from car windows. Picture this: you park your car under a beautiful pine tree, only to find sticky, stubborn pine sap spots on your windows. It can be quite a frustrating sight, but fear not! With the right tools, materials, and techniques, you can restore your car windows to their pristine condition.
In this comprehensive guide, we will delve into the nature of pine sap, explore the tools and materials needed for the job, and walk you through a step-by-step process to effectively remove the sap without damaging your car windows. Additionally, we will provide you with valuable tips to ensure a successful outcome and highlight important precautions to consider during the process.
So, whether you're a seasoned car enthusiast or a newcomer to the world of automotive maintenance, this guide is designed to equip you with the knowledge and skills to tackle the sticky challenge of pine sap removal. Let's dive in and discover the secrets to restoring your car windows to their sparkling best!
Key Takeaways:
- Say goodbye to pine sap on car windows! Use isopropyl alcohol, a plastic razor blade, and patience to remove the sticky spots without damaging the glass. Enjoy a crystal-clear view once again!
- Prevent pine sap buildup by parking away from pine trees and applying automotive wax. Act promptly and handle solvents with care to keep your car windows pristine.
Read more: How To Get Sap Off Composite Decking
Understanding Pine Sap
Before delving into the removal process, it’s essential to understand the nature of pine sap. Also known as resin, pine sap is a sticky, viscous substance produced by pine trees. Its primary function is to protect the tree from insects, fungi, and other potential threats, while also sealing wounds on the tree’s bark.
When pine sap comes into contact with a car window, it can quickly harden and adhere to the surface, creating unsightly and challenging-to-remove spots. The sticky nature of pine sap makes it resistant to traditional cleaning methods, requiring specific solvents and techniques for effective removal.
It’s important to note that pine sap can vary in composition based on the species of pine tree and environmental factors. Factors such as temperature, humidity, and the tree’s overall health can influence the viscosity and adhesion properties of the sap.
Understanding the characteristics of pine sap is crucial for selecting the right approach to remove it from car windows. By recognizing its adhesive nature and resilience, you can approach the removal process with the necessary tools and techniques to achieve optimal results without causing damage to the glass.
Now that we have a better understanding of pine sap, let’s explore the essential tools and materials required to tackle this sticky challenge effectively.
Tools and Materials Needed
Before embarking on the pine sap removal process, it’s essential to gather the necessary tools and materials to ensure a smooth and effective operation. Here’s a comprehensive list of what you’ll need:
Tools:
- Gloves: A pair of protective gloves will shield your hands from the sticky sap and any cleaning solvents used in the process.
- Plastic Razor Blade or Scraper: This tool will aid in gently removing the hardened sap from the car window without scratching the glass surface.
- Microfiber Cloth: A soft, lint-free microfiber cloth is ideal for wiping and cleaning the window without leaving streaks or lint behind.
- Cotton Swabs: These are useful for applying cleaning solvents to precise areas and tackling smaller spots of pine sap.
Materials:
- Isopropyl Alcohol: An effective solvent for dissolving and removing pine sap from car windows. Ensure it is at least 70% concentration for optimal results.
- Commercial Sap Remover: Alternatively, a specialized sap remover designed for automotive use can provide an efficient solution for stubborn sap spots.
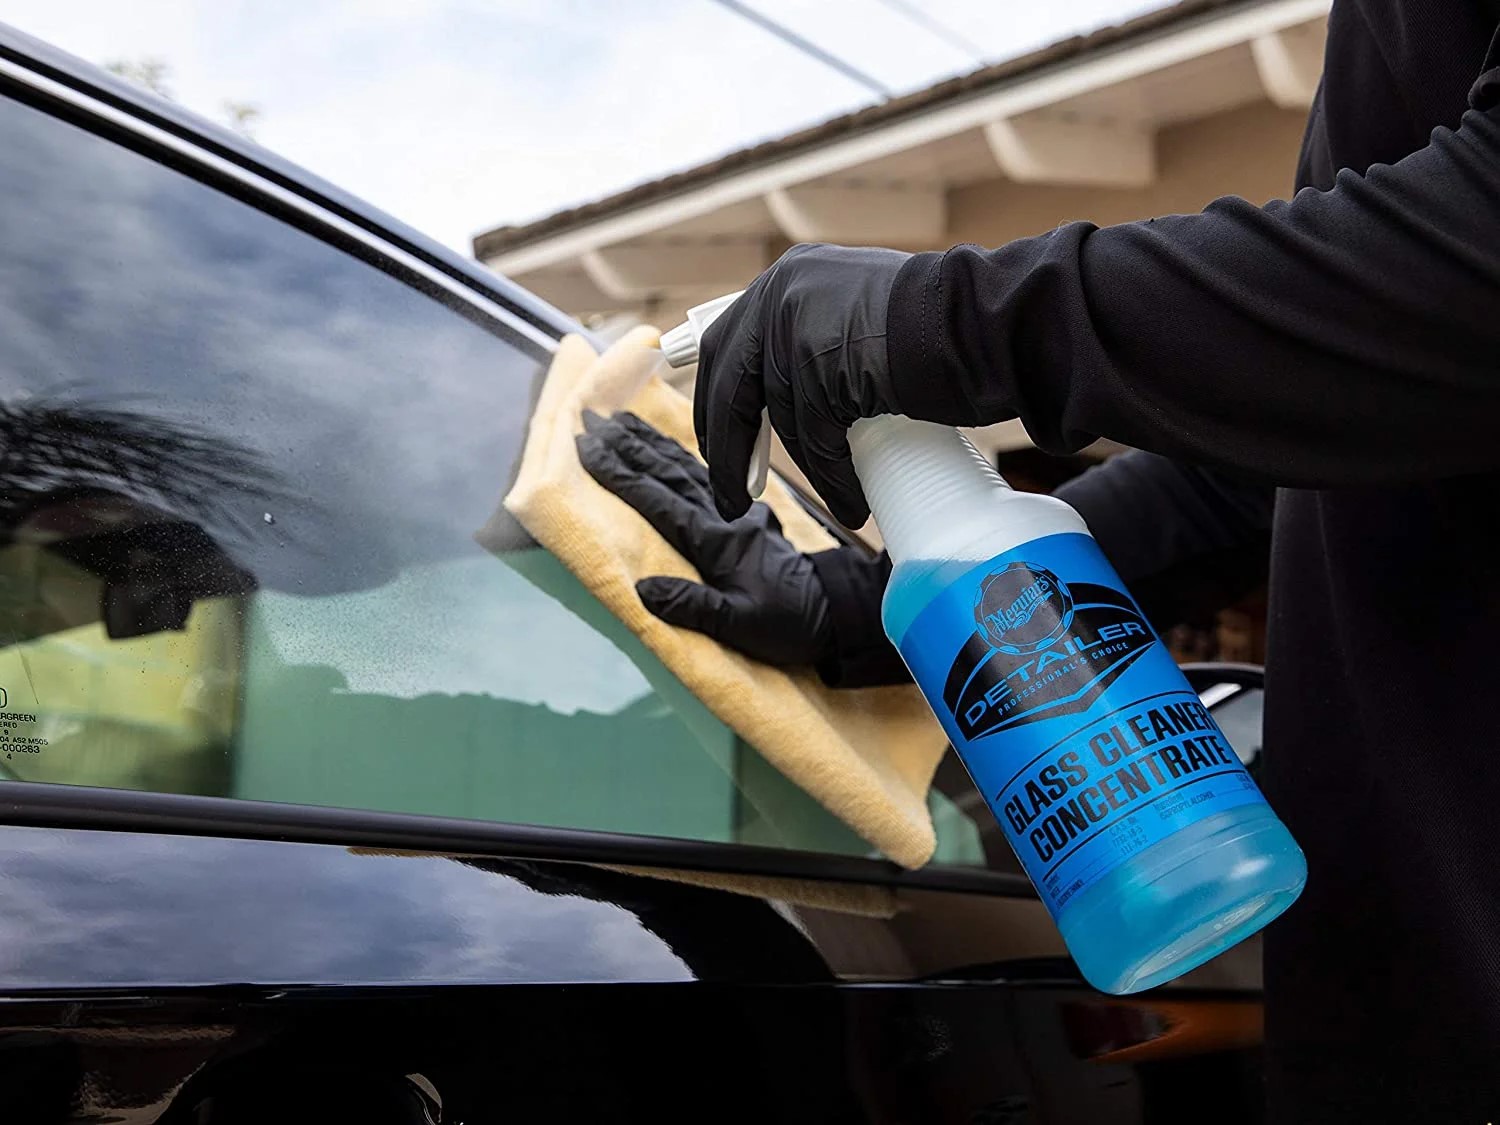
- Glass Cleaner: Once the sap is removed, a high-quality glass cleaner will help restore the window to a crystal-clear finish.
- Water and Mild Soap: A simple mixture of water and mild soap can be used for preliminary cleaning and preparation of the affected area.
By having these tools and materials at your disposal, you’ll be well-equipped to tackle the task of pine sap removal from your car windows. With the right approach and attention to detail, you can effectively restore your windows to their pristine condition without causing any damage.
Now that we’ve gathered our tools and materials, let’s move on to the step-by-step process of removing pine sap from car windows.
Read more: How To Get Sap Off Trex Decking
Step 1: Preparing the Area
Before diving into the actual removal process, it’s crucial to prepare the affected area to ensure a safe and effective operation. Here’s a detailed guide on how to prepare the area for pine sap removal:
1. Park in a Shaded Area: To prevent the cleaning solvents from evaporating too quickly, park your car in a shaded area or perform the removal process during cooler parts of the day.
2. Put on Protective Gloves: Before handling any cleaning solvents or tools, it’s important to wear protective gloves to shield your hands from the sticky sap and any chemicals used in the process.
3. Clean the Window: Start by washing the affected window with a mixture of water and mild soap. This initial cleaning will remove any surface dirt and debris, allowing for better access to the pine sap spots.
4. Test the Solvent: If you’re using a commercial sap remover or isopropyl alcohol, perform a small test on a discreet area of the window to ensure that the solvent does not cause any damage or discoloration. This precaution is especially important for tinted windows.
5. Gather the Tools and Materials: Ensure that all the necessary tools and materials, including the plastic razor blade or scraper, microfiber cloth, cotton swabs, isopropyl alcohol, and any additional cleaning solvents, are within reach.
By following these preparatory steps, you’ll create an optimal environment for the pine sap removal process. With the area prepared and the necessary precautions in place, you’re ready to move on to the next step: applying the solvent to tackle the stubborn pine sap.
Now that the area is prepped, let’s proceed to the next crucial step in the pine sap removal process.
Step 2: Applying the Solvent
Now that the area is prepared, it’s time to apply the solvent to effectively tackle the stubborn pine sap spots. Here’s a detailed guide on how to apply the solvent for optimal results:
1. Dampen a Cotton Swab: Moisten a cotton swab with isopropyl alcohol or the chosen commercial sap remover. Ensure that the swab is not dripping with excess solvent to prevent it from running onto unaffected areas of the window.
2. Apply the Solvent to the Sap Spots: Gently dab the moistened cotton swab onto the individual pine sap spots on the window. Allow the solvent to penetrate the hardened sap, softening it for easier removal in the next step.
3. Let the Solvent Sit: After applying the solvent to the sap spots, allow it to sit for a few minutes to effectively break down the adhesive properties of the pine sap. This dwell time will make the removal process more manageable and prevent the need for excessive scrubbing.
4. Avoid Excessive Pressure: While applying the solvent and allowing it to work its magic, refrain from applying excessive pressure to the window. This precaution will minimize the risk of spreading the sap or causing scratches during the process.
By following these steps, you’ll effectively prepare the pine sap for removal, making the subsequent cleaning process more efficient and less abrasive to the window’s surface. With the solvent applied and given sufficient time to work its magic, you’re now ready to move on to the next critical step: removing the pine sap from the car window.
Now that the solvent has been applied, let’s proceed to the pivotal step of removing the softened pine sap from the car window.
Use rubbing alcohol or hand sanitizer to dissolve the pine sap, then gently scrape it off with a razor blade or credit card. Wash the area with soap and water to remove any residue.
Step 3: Removing the Pine Sap
With the solvent applied and the pine sap softened, it’s time to delicately remove the stubborn spots from the car window. Follow these steps to effectively remove the pine sap without causing damage to the glass:
1. Use a Plastic Razor Blade or Scraper: Gently glide the plastic razor blade or scraper along the surface of the window, targeting the areas where the pine sap has been softened by the solvent. Exercise caution and use light pressure to lift the softened sap from the glass without scratching it.
2. Work in Small Sections: Focus on small sections of the window at a time, especially if there are multiple sap spots. Working in manageable sections allows for better control and precision, minimizing the risk of spreading the sap or causing damage during the removal process.
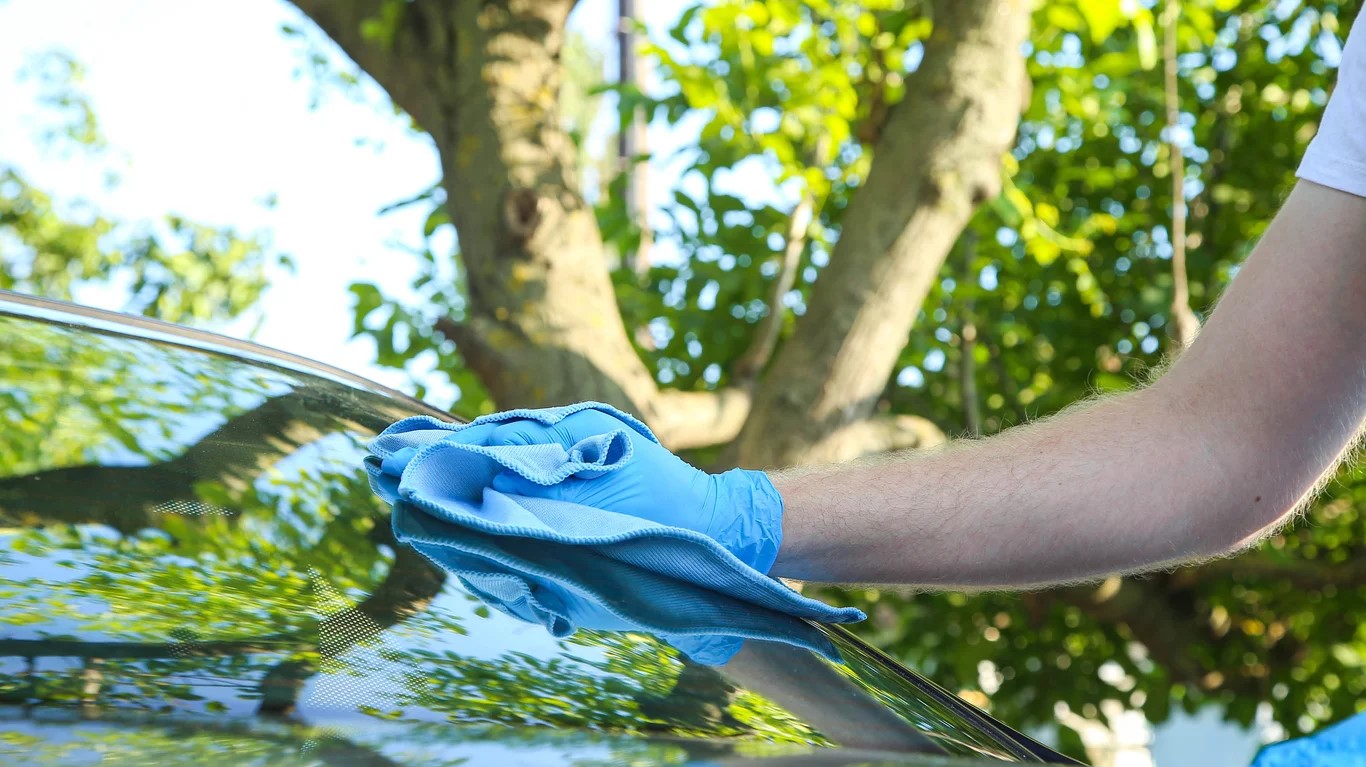
3. Wipe Away the Sap Residue: As you remove the softened sap, use a microfiber cloth to gently wipe away the residue. The cloth will help lift the loosened sap from the window’s surface, leaving it clean and free of sticky residue.
4. Inspect and Repeat if Necessary: After the initial removal process, inspect the window for any remaining sap spots. If needed, repeat the application of solvent and gentle scraping in targeted areas to ensure thorough removal of the pine sap.
5. Avoid Abrasive Tools: Refrain from using abrasive tools or harsh scraping materials that could scratch or damage the glass. The plastic razor blade or scraper, along with the solvent, should suffice for safe and effective pine sap removal.
By following these steps, you’ll be able to delicately and effectively remove the pine sap from your car window, restoring its clarity and pristine appearance. With the sap removed, the final step involves cleaning the window to ensure a crystal-clear finish.
Now that the pine sap has been successfully removed, let’s proceed to the next crucial step: cleaning the window to complete the restoration process.
Step 4: Cleaning the Window
With the pine sap successfully removed, it’s time to give the car window a thorough cleaning to restore its pristine clarity. Follow these steps to ensure a crystal-clear finish after the sap removal process:
1. Use Glass Cleaner: Apply a high-quality glass cleaner to the entire surface of the window. Opt for a cleaner specifically formulated for automotive glass to achieve optimal results. Spray the cleaner evenly across the window’s surface.
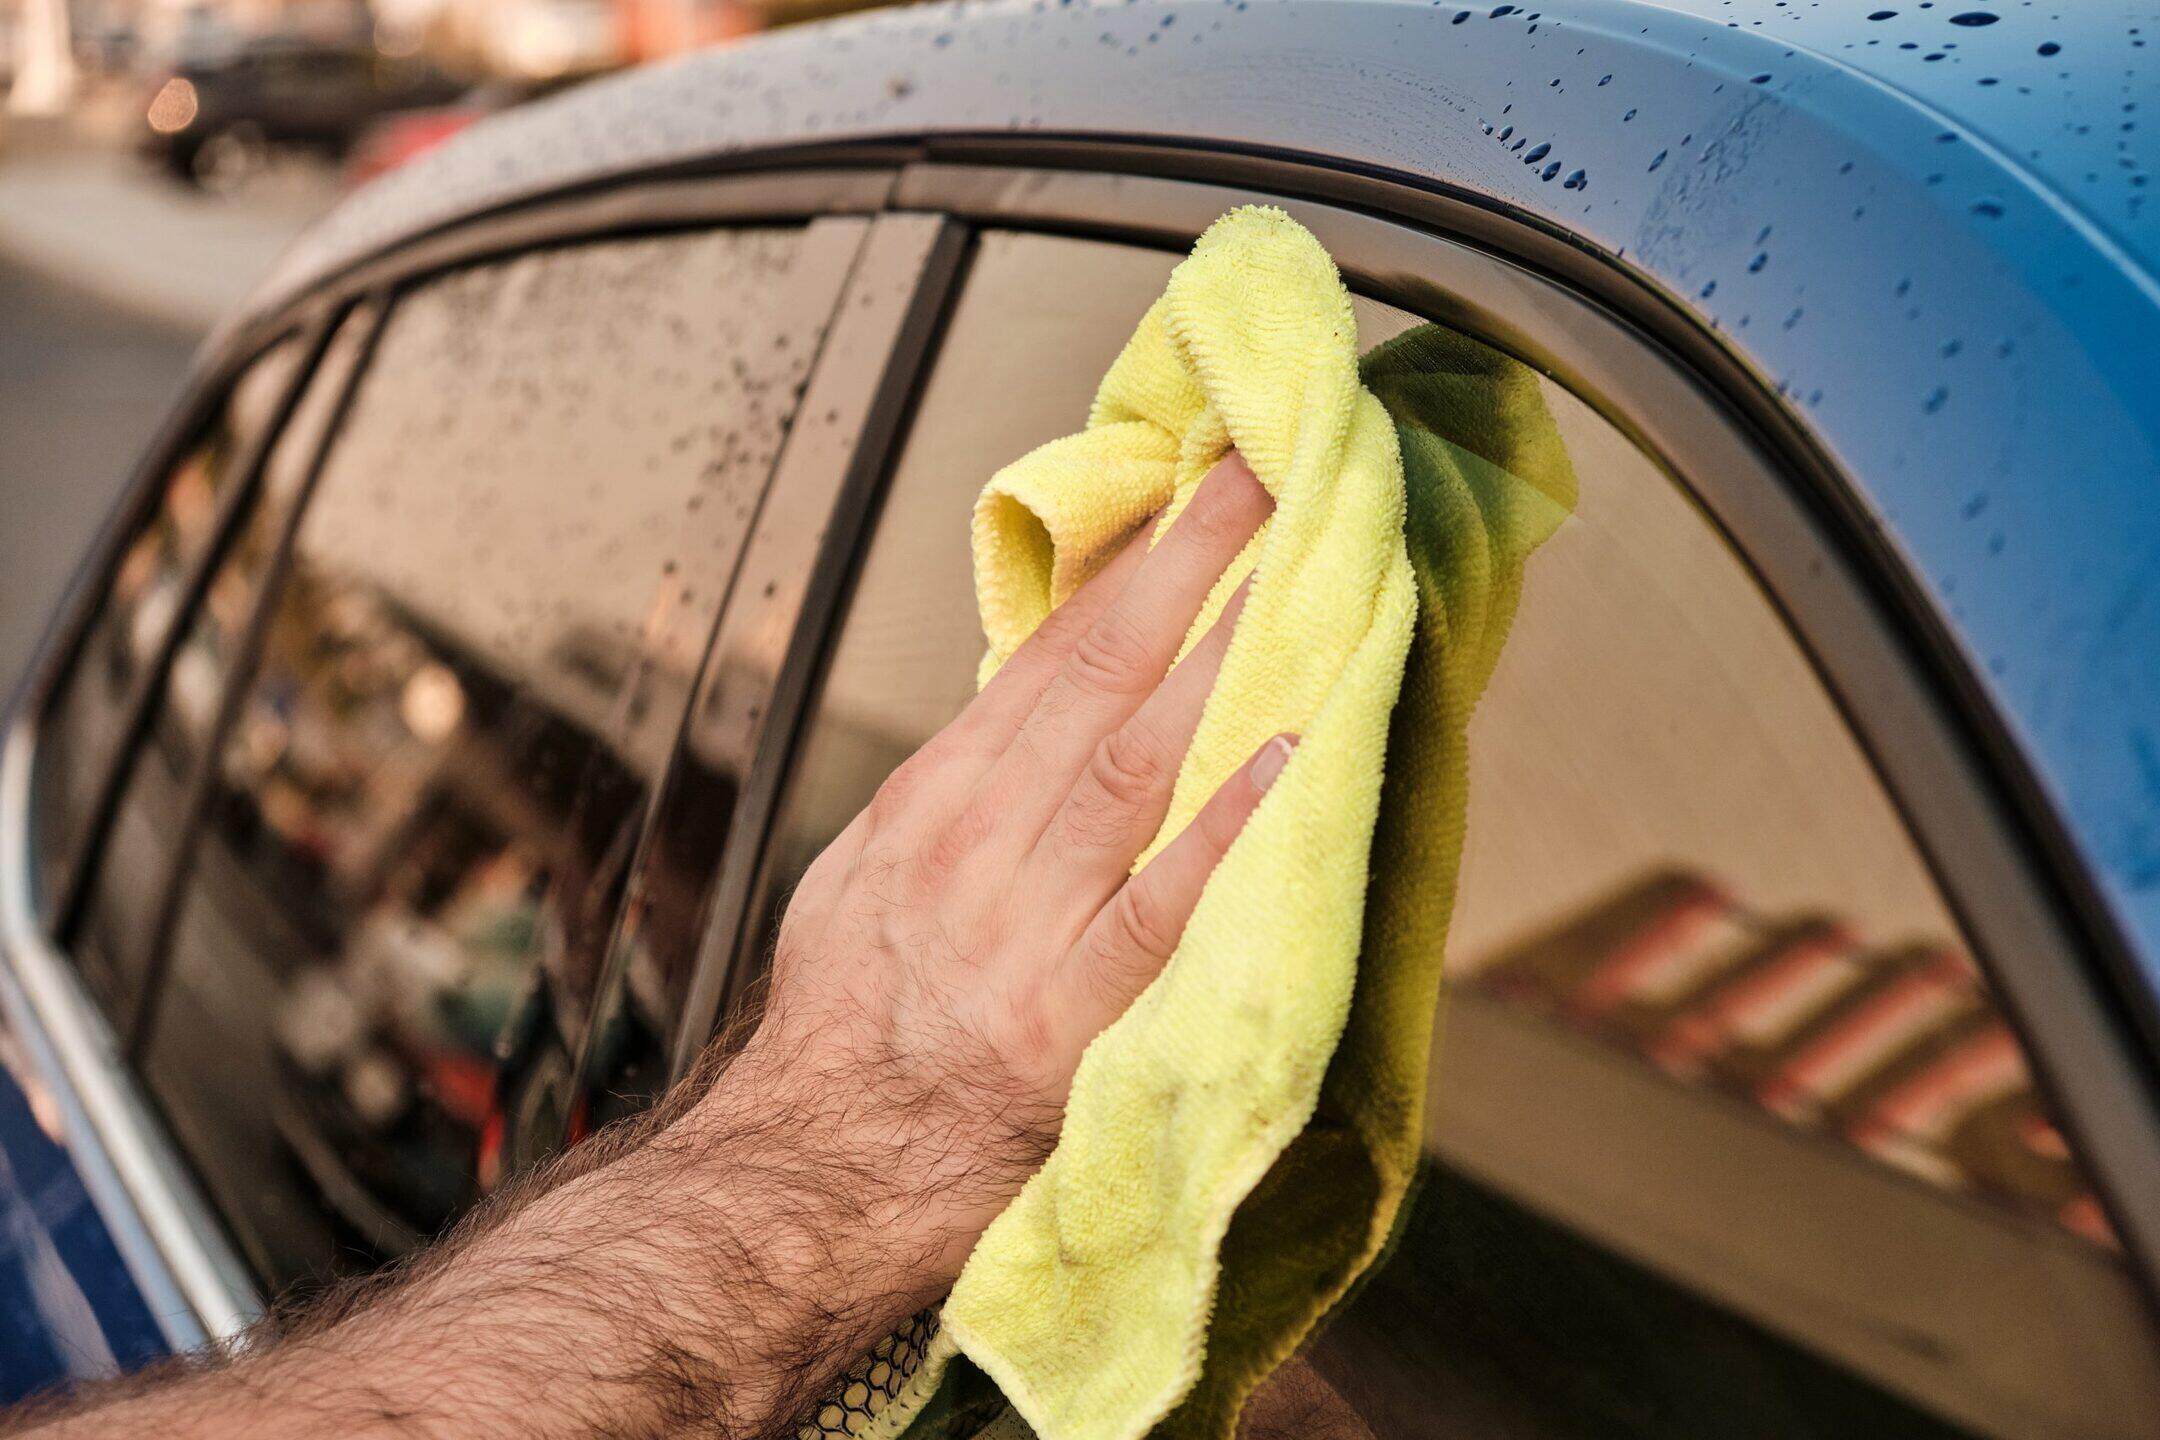
2. Wipe with a Microfiber Cloth: Use a clean microfiber cloth to wipe the glass cleaner across the window, ensuring complete coverage. The microfiber cloth will help remove any remaining residue from the pine sap removal process and leave the window streak-free.
3. Inspect for Streaks or Residue: After cleaning the window, inspect it for any streaks or residue. If necessary, reapply the glass cleaner and wipe the window with a fresh microfiber cloth to achieve a flawless, streak-free finish.
4. Address Interior Cleaning if Needed: If any cleaning solvents or residue made their way to the interior of the car during the process, take the opportunity to clean the interior surfaces as well. Use appropriate cleaners for the interior materials to maintain a clean and polished look.
5. Enjoy the Crystal-Clear Finish: Once the window is thoroughly cleaned and free of any streaks or residue, take a moment to appreciate the crystal-clear finish achieved through the combination of pine sap removal and meticulous cleaning.
By following these steps, you’ll ensure that your car window is not only free of pine sap but also sparkling clean, enhancing the overall appearance of your vehicle. With the window restored to its pristine condition, you can now enjoy the clear view and renewed aesthetic appeal of your car.
With the window now sparkling clean, let’s explore some additional tips and warnings to further enhance your pine sap removal experience.
Read more: Where To Get Car Windows Fixed
Additional Tips and Warnings
As you navigate the process of removing pine sap from car windows, consider the following additional tips and warnings to ensure a successful and safe experience:
Tips:
- Regular Maintenance: To prevent the buildup of pine sap on your car windows, consider parking in areas that are not directly under pine trees. Regularly cleaning your windows and applying a protective automotive wax can also help repel sap and make future removal easier.
- Immediate Action: Address pine sap spots as soon as possible to prevent them from hardening and becoming more challenging to remove. Prompt action can minimize the effort required for successful removal.
- Test on Small Areas: When using solvents or cleaners, always perform a small test on a discreet area of the window to ensure compatibility and prevent potential damage or discoloration.
- Patience and Precision: Approach the pine sap removal process with patience and precision. Working carefully and methodically will help safeguard the integrity of the car window while effectively tackling the sap spots.
Warnings:
- Avoid Harsh Abrasives: Refrain from using harsh abrasives, such as metal scrapers or abrasive pads, as they can scratch and damage the glass surface of the car window.
- Protective Gear: When handling solvents and cleaning agents, ensure adequate ventilation and wear protective gloves to safeguard your skin from potential irritation or allergic reactions.
- Tinted Windows: Exercise caution when removing pine sap from tinted windows, as certain solvents and aggressive cleaning methods may damage the tint film. Test any solvents on a small area and proceed with care.
- Professional Assistance: If you encounter stubborn or extensive pine sap spots that are challenging to remove, consider seeking professional automotive detailing services for specialized assistance.
By incorporating these tips and heeding the warnings, you can navigate the pine sap removal process with confidence and ensure that your car windows remain in optimal condition throughout the maintenance process.
With these additional insights in mind, you are well-equipped to conquer the challenge of pine sap removal from your car windows while maintaining the integrity and clarity of the glass surfaces.
Frequently Asked Questions about How To Get Pine Sap Off Car Windows
Was this page helpful?
At Storables.com, we guarantee accurate and reliable information. Our content, validated by Expert Board Contributors, is crafted following stringent Editorial Policies. We're committed to providing you with well-researched, expert-backed insights for all your informational needs.


0 thoughts on “How To Get Pine Sap Off Car Windows”