Home>Others>Specialized Home Improvement Topics>How To Install Electric Windows In Car

Specialized Home Improvement Topics
How To Install Electric Windows In Car
Modified: August 28, 2024
Learn how to install electric windows in your car with our specialized home improvement topics. Step-by-step guide for a smooth installation process. Achieve convenience and comfort in your vehicle today!
(Many of the links in this article redirect to a specific reviewed product. Your purchase of these products through affiliate links helps to generate commission for Storables.com, at no extra cost. Learn more)
Introduction
So, you've decided to upgrade your car by installing electric windows. Congratulations! This enhancement can significantly improve the convenience and functionality of your vehicle. No more struggling with manual window cranks – with electric windows, you can effortlessly control the opening and closing of your car windows with just the push of a button.
In this comprehensive guide, we will walk you through the step-by-step process of installing electric windows in your car. Whether you're a seasoned DIY enthusiast or a novice looking to delve into the world of automotive enhancements, this article will provide you with the knowledge and confidence to tackle this project.
Before we dive into the nitty-gritty details, it's important to note that safety should always be a top priority when working on your vehicle. Be sure to work in a well-ventilated area, wear appropriate safety gear, and follow all recommended safety precautions outlined in your vehicle's manual.
Now, let's gather the necessary tools and materials to get started on this exciting project.
Key Takeaways:
- Upgrade your car with electric windows for convenience and functionality. Follow the step-by-step guide for a seamless installation process, ensuring safety and compatibility with your vehicle’s make and model.
- Gain valuable hands-on experience in automotive customization while enhancing the comfort and convenience of your vehicle. Embrace the modern enhancement of electric windows and the rewarding outcome of your dedication and attention to detail.
Read more: Who Repairs Electric Car Windows
Gather the Necessary Tools and Materials
Before embarking on the electric window installation process, it’s essential to ensure that you have all the required tools and materials at your disposal. Here’s a comprehensive list to help you prepare for the task:
Tools:
- Socket set and ratchet
- Screwdrivers (flathead and Phillips)
- Trim removal tools
- Wire crimping tool
- Electric drill with drill bits
- Multimeter (for electrical testing)
- Trim panel removal tool
- Heat gun or hairdryer (for removing adhesive)
- Protective gloves and eyewear
Materials:
- Electric window conversion kit (including regulators, switches, and wiring harness)
- Adhesive remover
- Electrical tape
- Wire connectors
- Protective sheeting or tarp (to cover interior)
- Replacement door panel clips (if needed)
- Corrosion-resistant fasteners (if original fasteners are worn or damaged)
Before starting the installation, it’s crucial to ensure that the electric window conversion kit is compatible with your specific make and model of vehicle. Double-check the contents of the kit to confirm that it includes all the necessary components for a seamless installation.
With your tools and materials at the ready, you’re now prepared to move on to the next phase: removing the door panel.
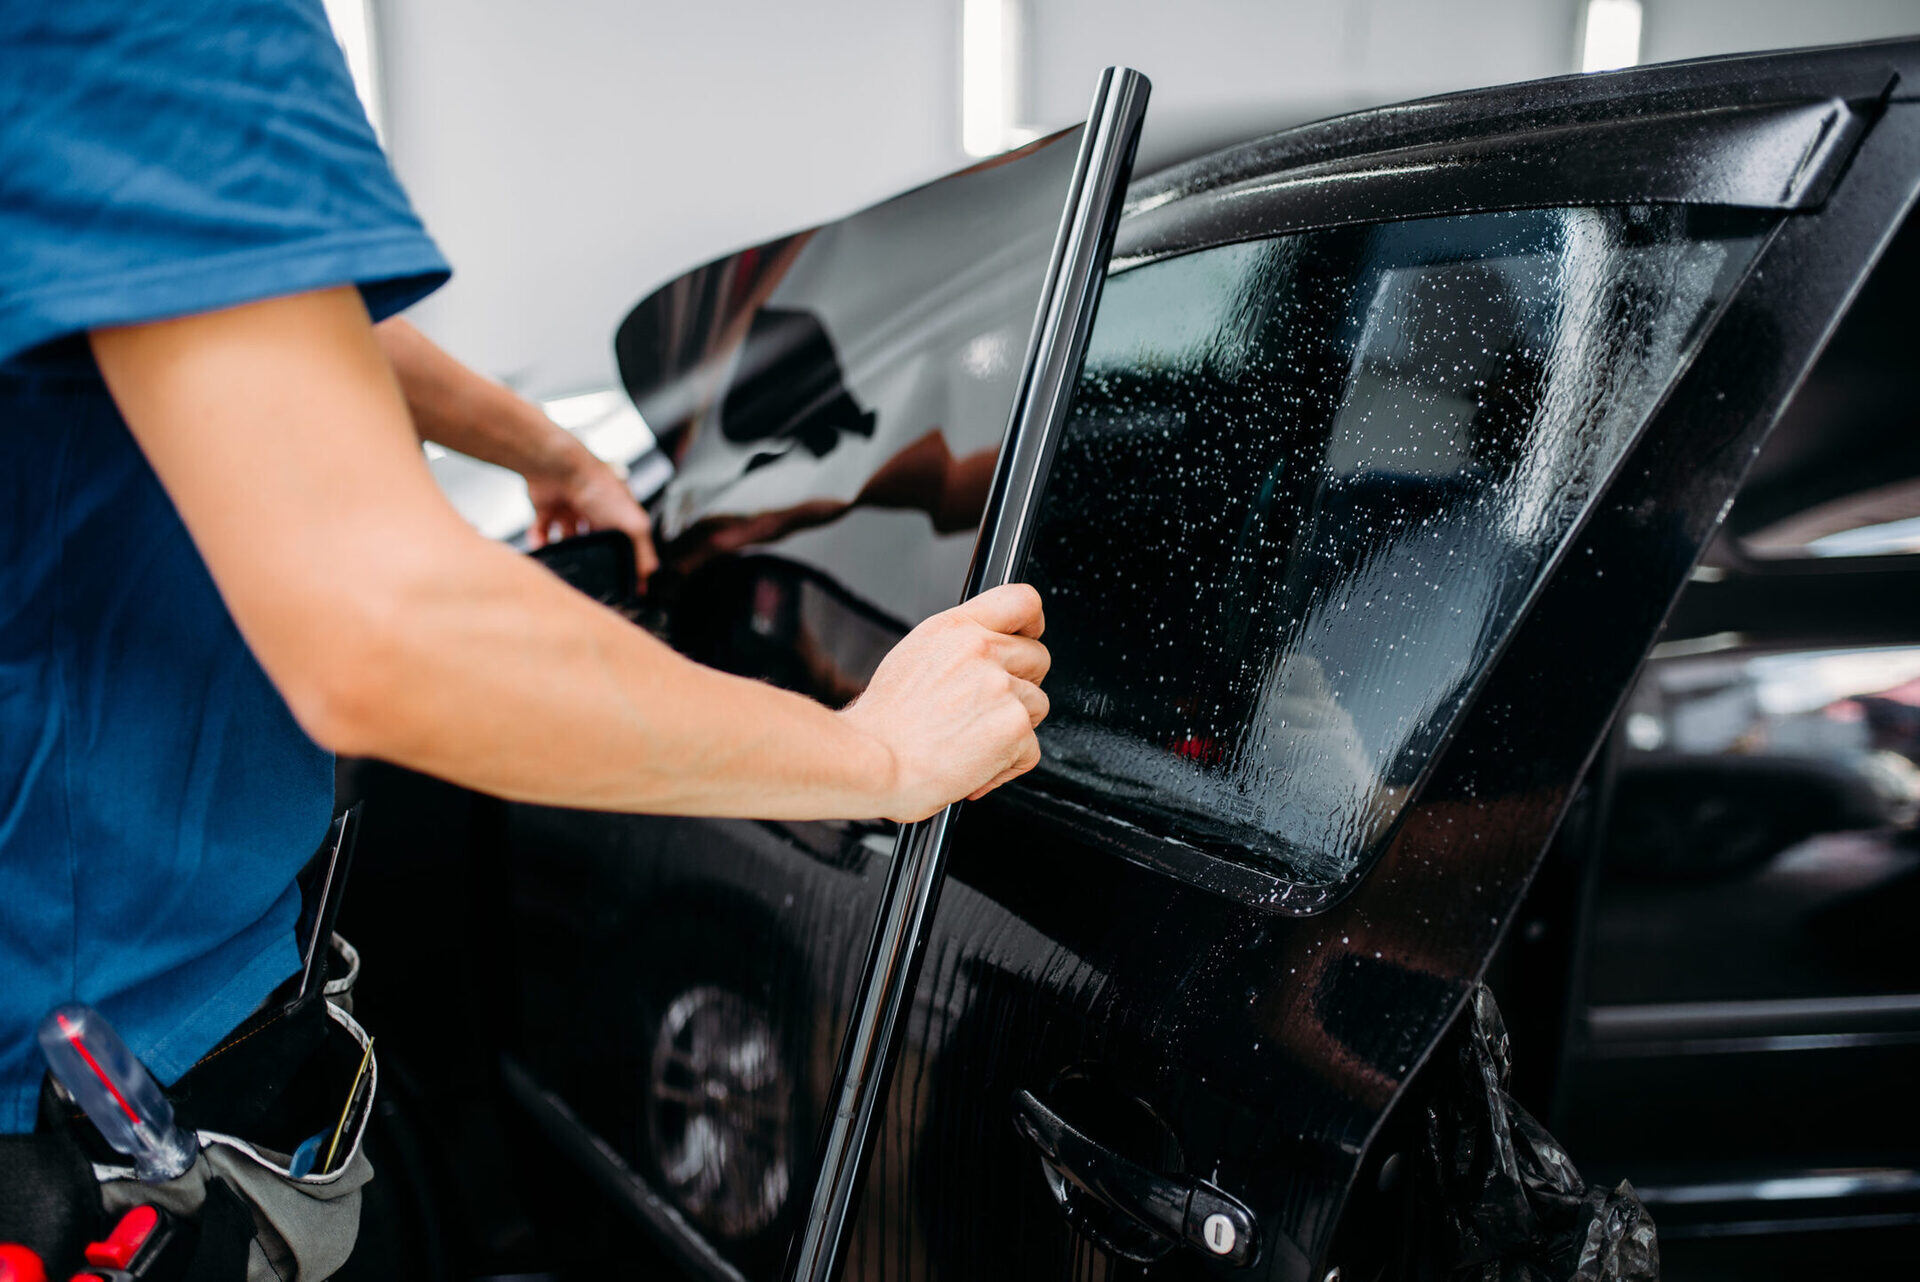
Remove the Door Panel
Removing the door panel is the crucial first step in the electric window installation process. This task requires precision and care to avoid damaging the panel or the surrounding components. Here’s a detailed guide to help you navigate this stage:
Read more: How To Install Rain Guards On Car Windows
Step 1: Disconnect the Battery
Before beginning any work on the door panel, it’s essential to disconnect the vehicle’s battery to prevent any electrical mishaps during the installation process.
Step 2: Identify and Remove Fasteners
Using the appropriate tools, carefully locate and remove any screws, bolts, or fasteners securing the door panel to the door frame. These fasteners are typically found around the perimeter of the panel, as well as near the door handle and armrest.
Step 3: Remove Trim and Accessories
Once the fasteners are detached, gently pry away any trim pieces, such as the door handle bezel and armrest, using a trim removal tool to avoid causing damage to the panel or the surrounding surfaces.
Step 4: Release Panel Clips
The door panel is held in place by a series of clips along its edges. Carefully disengage these clips by applying even pressure and pulling the panel away from the door frame. Take care not to force the panel, as this could lead to breakage or damage.
Read more: How To Bulletproof Car Windows
Step 5: Disconnect Wiring and Controls
As the panel loosens, identify and disconnect any wiring harnesses, electrical connectors, or control modules attached to the panel. Exercise caution and refer to your vehicle’s manual for guidance on disconnecting these components.
Step 6: Remove the Panel
Once all fasteners, clips, and wiring connections are detached, carefully lift the door panel away from the door frame, ensuring that no components are snagged or caught during the removal process.
With the door panel successfully removed, you’re now ready to proceed to the next phase: installing the electric window regulator. This pivotal step will bring you closer to experiencing the convenience and functionality of electric windows in your vehicle.
Install the Electric Window Regulator
With the door panel successfully removed, you’re now poised to install the electric window regulator, a critical component that facilitates the smooth operation of the electric window system. Follow these steps to seamlessly integrate the regulator into your vehicle:
Step 1: Prepare the Regulator
Carefully unpack the electric window regulator from the conversion kit, ensuring that all components are accounted for and undamaged. Familiarize yourself with the regulator's assembly and orientation to streamline the installation process.
Read more: How To Lubricate Car Windows
Step 2: Position the Regulator
Align the electric window regulator with the designated mounting points inside the door cavity. Ensure that the regulator is oriented correctly and that any pre-existing mounting hardware is in place and secure.
Step 3: Secure the Regulator
Using the appropriate fasteners and tools, securely affix the regulator to the door frame, following the manufacturer's guidelines for torque specifications and mounting procedures. Double-check the alignment and stability of the regulator to prevent any potential issues during operation.
Step 4: Connect Mechanical Components
Attach the mechanical components of the electric window regulator to the window glass, ensuring that the connections are secure and that the regulator operates smoothly without any binding or misalignment. Follow the provided instructions to ensure proper attachment and functionality.
Step 5: Test the Regulator
Prior to proceeding with the wiring process, conduct a preliminary test of the electric window regulator to verify that it operates smoothly and without obstruction. This step allows you to address any potential issues before proceeding to the electrical wiring phase.
With the electric window regulator successfully installed and tested, you’re now ready to move on to the next crucial stage: wiring the electric window system. This phase will integrate the electrical components and bring you closer to experiencing the convenience of electric windows in your vehicle.
Wire the Electric Window System
As you progress through the electric window installation process, the wiring phase plays a pivotal role in integrating the electrical components that enable seamless window operation. Follow these steps to effectively wire the electric window system in your vehicle:
Step 1: Prepare the Wiring Harness
Carefully unpack the wiring harness from the conversion kit, ensuring that all components are accounted for and undamaged. Familiarize yourself with the layout of the harness and identify the specific connections for the electric window system.
Step 2: Route the Wiring
Carefully route the wiring harness through the door cavity, ensuring that the wires are neatly organized and free from any potential obstructions or sharp edges that could cause damage over time. Take care to avoid interference with moving components such as the window regulator.
Step 3: Connect the Components
Identify the corresponding electrical components, including the electric window switches and the window regulator motor. Follow the provided wiring diagram or instructions to make the necessary connections, ensuring that each connection is secure and properly insulated.
Read more: How To Unfreeze Car Windows
Step 4: Test the Electrical Connections
Prior to finalizing the wiring process, conduct a thorough test of the electrical connections to verify proper functionality. Test each window switch to ensure that it operates the corresponding window smoothly and without any issues. Address any connectivity problems or malfunctions before proceeding.
Step 5: Insulate and Secure the Wiring
Once the electrical connections are verified, carefully insulate and secure the wiring harness to prevent chafing, interference, or exposure to moisture. Utilize electrical tape, wire loom, or cable ties to organize and protect the wiring, ensuring long-term reliability.
With the electric window system effectively wired and tested, you’re now on the cusp of experiencing the convenience and functionality of electric windows in your vehicle. The next step will bring you closer to this reality: testing the electric windows to ensure seamless operation.
Test the Electric Windows
With the electric window system successfully wired and integrated into your vehicle, it’s time to conduct comprehensive testing to ensure seamless operation and functionality. Follow these steps to methodically test the electric windows and address any potential issues:
Step 1: Verify Individual Window Operation
Begin by testing each electric window individually to confirm that the regulator and electrical components function as intended. Use the corresponding window switches to raise and lower each window, paying close attention to the smoothness and stability of the operation.
Read more: How To Reseal Car Windows
Step 2: Check for Binding or Obstructions
During the testing phase, be vigilant for any signs of binding, unusual noises, or obstructions that may impede the smooth operation of the electric windows. If any irregularities are observed, promptly investigate and address the underlying causes to ensure optimal performance.
Step 3: Verify Synchronization
If your vehicle is equipped with multiple electric windows, ensure that they operate in synchronization, particularly when using the master window switch to control all windows simultaneously. This step helps identify any discrepancies in operation that may require adjustment.
Step 4: Test Auto-Down and Auto-Up Functions
If applicable, test the auto-down and auto-up functions of the electric windows to confirm that these features operate reliably and consistently. This includes verifying that the windows stop automatically when fully raised or lowered.
Step 5: Address Any Issues
If any issues or irregularities are detected during the testing process, take the time to diagnose and address the root causes. This may involve adjusting the regulator, inspecting the electrical connections, or troubleshooting the window switches to ensure optimal performance.
By meticulously testing the electric windows and addressing any potential issues, you can instill confidence in the reliability and functionality of this enhancement. With the windows operating seamlessly, you’re now prepared to proceed to the final phase: reassembling the door panel to complete the installation process.
Read more: How To Defog Car Windows
Reassemble the Door Panel
With the electric window system successfully installed and tested, the final phase of the installation process involves reassembling the door panel. This step is crucial for restoring the aesthetic appeal and functionality of the interior while ensuring that all components are securely in place. Follow these steps to seamlessly reassemble the door panel:
Step 1: Reconnect Wiring and Controls
Carefully reattach any wiring harnesses, electrical connectors, and control modules to the door panel, ensuring that each connection is secure and properly seated. Refer to your vehicle’s manual for guidance on reconnecting these components.
Step 2: Position the Door Panel
Align the door panel with the door frame, taking care to position it correctly and ensuring that no components are caught or obstructed during the reassembly process. Engage the panel clips by applying gentle pressure to secure the panel in place.
Step 3: Secure the Fasteners
Using the appropriate screws, bolts, or fasteners, reattach the door panel to the door frame, ensuring that each fastener is tightened to the manufacturer’s specifications. Double-check the alignment and stability of the panel to prevent any potential issues.
Read more: What To Wipe Car Windows With
Step 4: Reinstall Trim and Accessories
Carefully affix any trim pieces, such as the door handle bezel and armrest, to their respective locations on the door panel. Ensure that each trim piece is securely in place and that any retaining clips or fasteners are properly engaged.
Step 5: Test Panel Functionality
Prior to finalizing the reassembly, conduct a comprehensive test of the door panel functionality, including the operation of any switches, handles, and controls. Verify that all components operate smoothly and without any issues.
Step 6: Verify Window Operation
Once the door panel is reassembled, test the electric windows to confirm that they operate seamlessly and without any interference from the panel or surrounding components. Pay close attention to the smoothness and stability of the window operation.
With the door panel successfully reassembled and all components functioning as intended, you’ve completed the electric window installation process. This accomplishment marks the integration of a valuable enhancement that enhances the convenience and comfort of your vehicle. Congratulations on successfully installing electric windows in your car!
Conclusion
Congratulations on completing the installation of electric windows in your car! By embarking on this project, you’ve not only enhanced the functionality and convenience of your vehicle but also gained valuable hands-on experience in automotive customization. As you reflect on the journey from gathering the necessary tools and materials to seamlessly integrating the electric window system, it’s evident that your dedication and attention to detail have yielded a rewarding outcome.
With the newfound ability to effortlessly control the opening and closing of your car windows at the push of a button, you’ve embraced a modern enhancement that aligns with the evolving standards of automotive comfort and convenience. The seamless integration of the electric window regulator, meticulous wiring of the electrical components, and comprehensive testing have culminated in a transformation that enriches your driving experience.
Throughout the installation process, your commitment to safety, precision, and thoroughness has been paramount. By adhering to best practices and following the outlined steps with care and diligence, you’ve not only achieved a successful outcome but also cultivated a deeper understanding of your vehicle’s intricate systems.
As you reassemble the door panel and revel in the seamless functionality of the electric windows, take pride in the accomplishment and the newfound expertise you’ve gained. Whether you’re a seasoned DIY enthusiast or a novice exploring the realm of automotive enhancements, this project has equipped you with valuable skills and insights that extend beyond the realm of electric window installation.
As you embark on future automotive endeavors, may the knowledge and confidence gained from this experience serve as a foundation for further exploration and customization. Embrace the spirit of innovation and continue to elevate your vehicle to reflect your unique preferences and aspirations.
With the installation of electric windows, you’ve not only enhanced your car but have also expanded your capabilities as a discerning automotive enthusiast. Embrace the possibilities that lie ahead, and may your journey be filled with exciting opportunities for further customization and enhancement.
Frequently Asked Questions about How To Install Electric Windows In Car
Was this page helpful?
At Storables.com, we guarantee accurate and reliable information. Our content, validated by Expert Board Contributors, is crafted following stringent Editorial Policies. We're committed to providing you with well-researched, expert-backed insights for all your informational needs.


0 thoughts on “How To Install Electric Windows In Car”