Home>Others>Specialized Home Improvement Topics>How To Apply Stickers To Car Windows
Specialized Home Improvement Topics
How To Apply Stickers To Car Windows
Published: January 9, 2024
Learn the best techniques for applying stickers to car windows and make your vehicle stand out. Get expert tips on specialized home improvement topics.
(Many of the links in this article redirect to a specific reviewed product. Your purchase of these products through affiliate links helps to generate commission for Storables.com, at no extra cost. Learn more)
Introduction
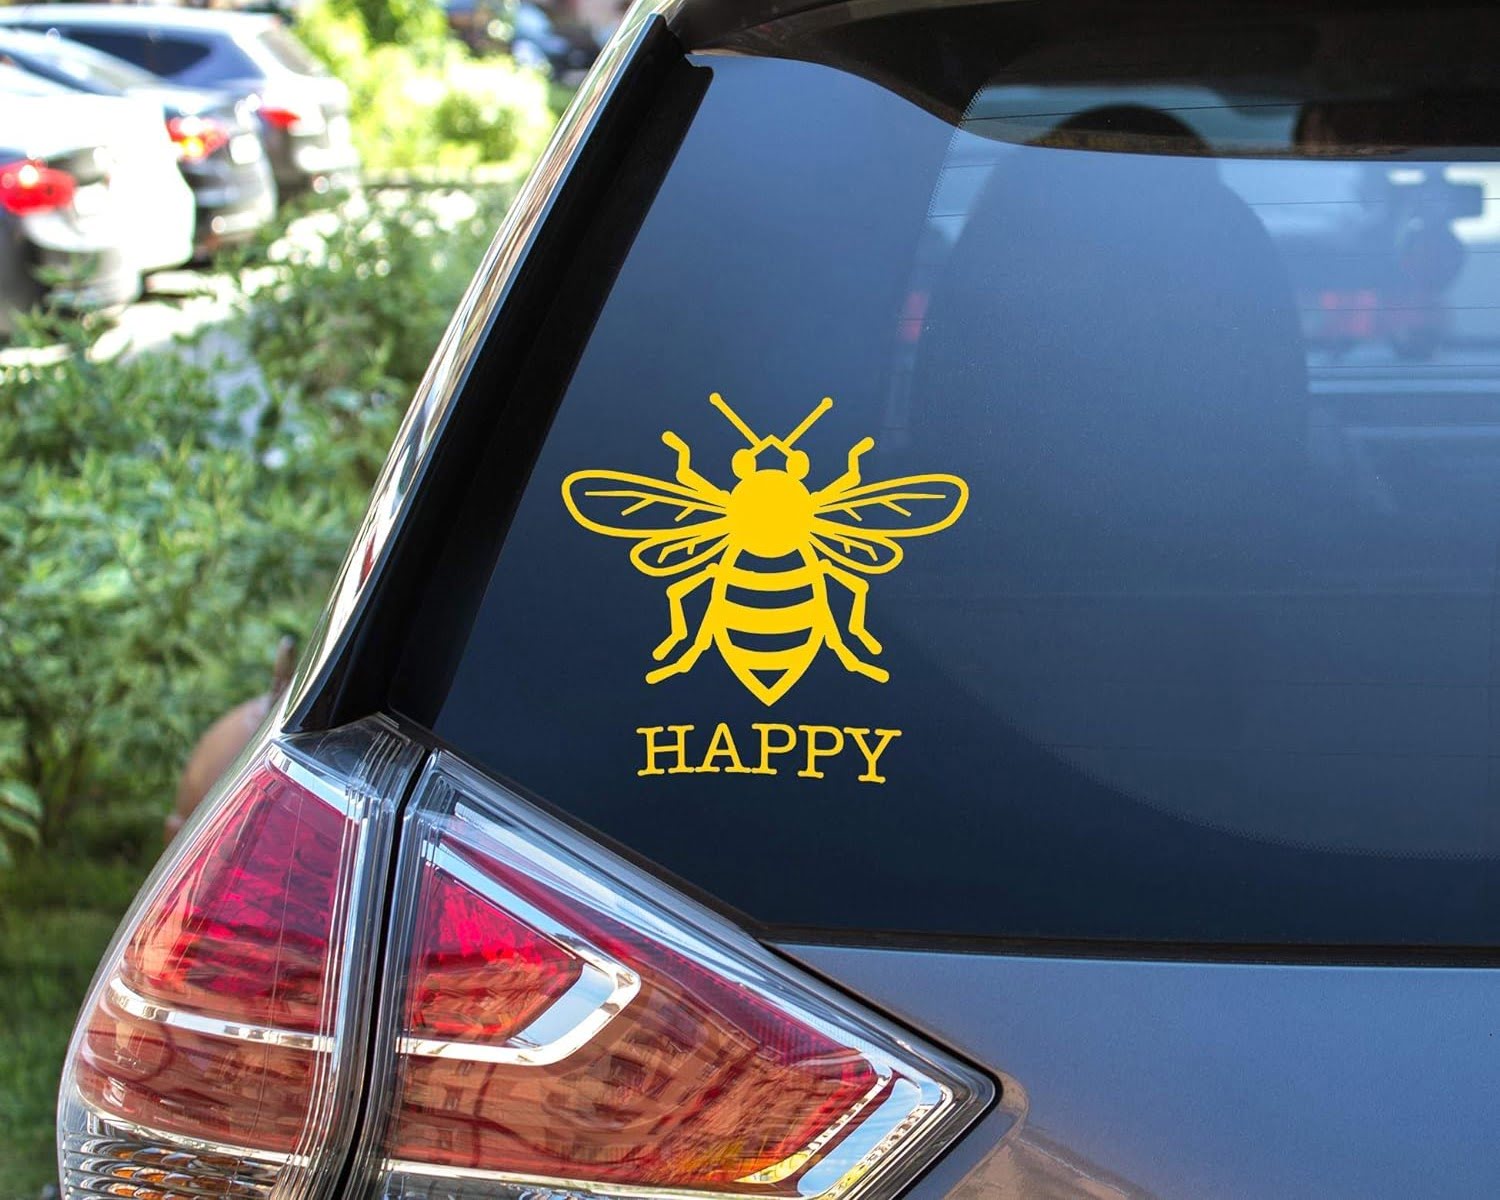
So, you've decided to add a personal touch to your car windows with some eye-catching stickers? Great choice! Applying stickers to your car windows is a fantastic way to showcase your personality, interests, or support for a cause. Whether you're a fan of quirky decals, proud of your favorite sports team, or want to display a meaningful message, stickers can instantly spruce up your vehicle's appearance.
Not only do car window stickers add a dash of individuality to your ride, but they can also serve as a conversation starter and a means of self-expression. However, before you embark on this creative endeavor, it's essential to familiarize yourself with the process of applying stickers to car windows to ensure a smooth and professional-looking result.
In this comprehensive guide, we'll walk you through the step-by-step process of choosing the right stickers, preparing your car window for application, applying the stickers with precision, removing air bubbles for a seamless finish, and providing the final touches and maintenance tips to keep your stickers looking pristine. With the right techniques and a touch of creativity, you'll transform your car windows into a captivating canvas that reflects your unique style. Let's dive in and make your car stand out on the road!
Key Takeaways:
- Personalize your car windows with stickers that reflect your interests and personality. Choose weather-resistant materials, clean the surface thoroughly, and apply stickers with care for a professional and long-lasting look.
- Keep your car window stickers looking fresh by addressing air bubbles, adding final touches, and practicing gentle maintenance. Showcase your style and passions on the road with confidence and creativity.
Read more: How To Apply Tint To Car Windows
Choosing the Right Stickers
Before diving into the application process, it's crucial to select the perfect stickers for your car windows. With a myriad of options available, ranging from playful designs to meaningful symbols, choosing the right stickers will set the tone for your vehicle's personalized aesthetic. Here are some essential considerations to guide your selection:
- Reflect Your Personality: Your car stickers are a reflection of your personality and interests, so opt for designs that resonate with you. Whether you're a nature enthusiast, a music lover, or a pet parent, there are stickers available to suit every passion.
- Consider Size and Placement: Determine the ideal size and placement of the stickers on your car windows. Smaller decals can add subtle accents, while larger ones can make a bold statement. Additionally, consider whether you want the stickers to adorn the side or rear windows for optimal visibility.
- Weather-Resistant Material: Since car windows are exposed to various weather conditions, ensure that the stickers are made from durable, weather-resistant materials. This will prevent premature fading or damage due to sunlight, rain, and other environmental factors.
- Compliance with Local Regulations: If you plan to include any messages or symbols on your car windows, be mindful of local regulations regarding permissible content. Certain areas may have restrictions on the type of stickers or messages displayed on vehicles.
- Theme and Color Harmony: If you aim to create a cohesive look, consider the overall theme and color scheme of your vehicle. Opt for stickers that complement the existing aesthetics and paint color, ensuring a harmonious and visually appealing result.
By carefully considering these factors, you can narrow down the options and choose stickers that not only resonate with your personal style but also enhance the overall visual impact of your car. Once you've selected the perfect stickers, you're ready to move on to the next step: preparing the car window for application.
Preparing the Car Window
Before applying the stickers, it’s essential to prepare the car window to ensure a clean and smooth surface for optimal adhesion. Follow these steps to get your car window ready for the sticker application:
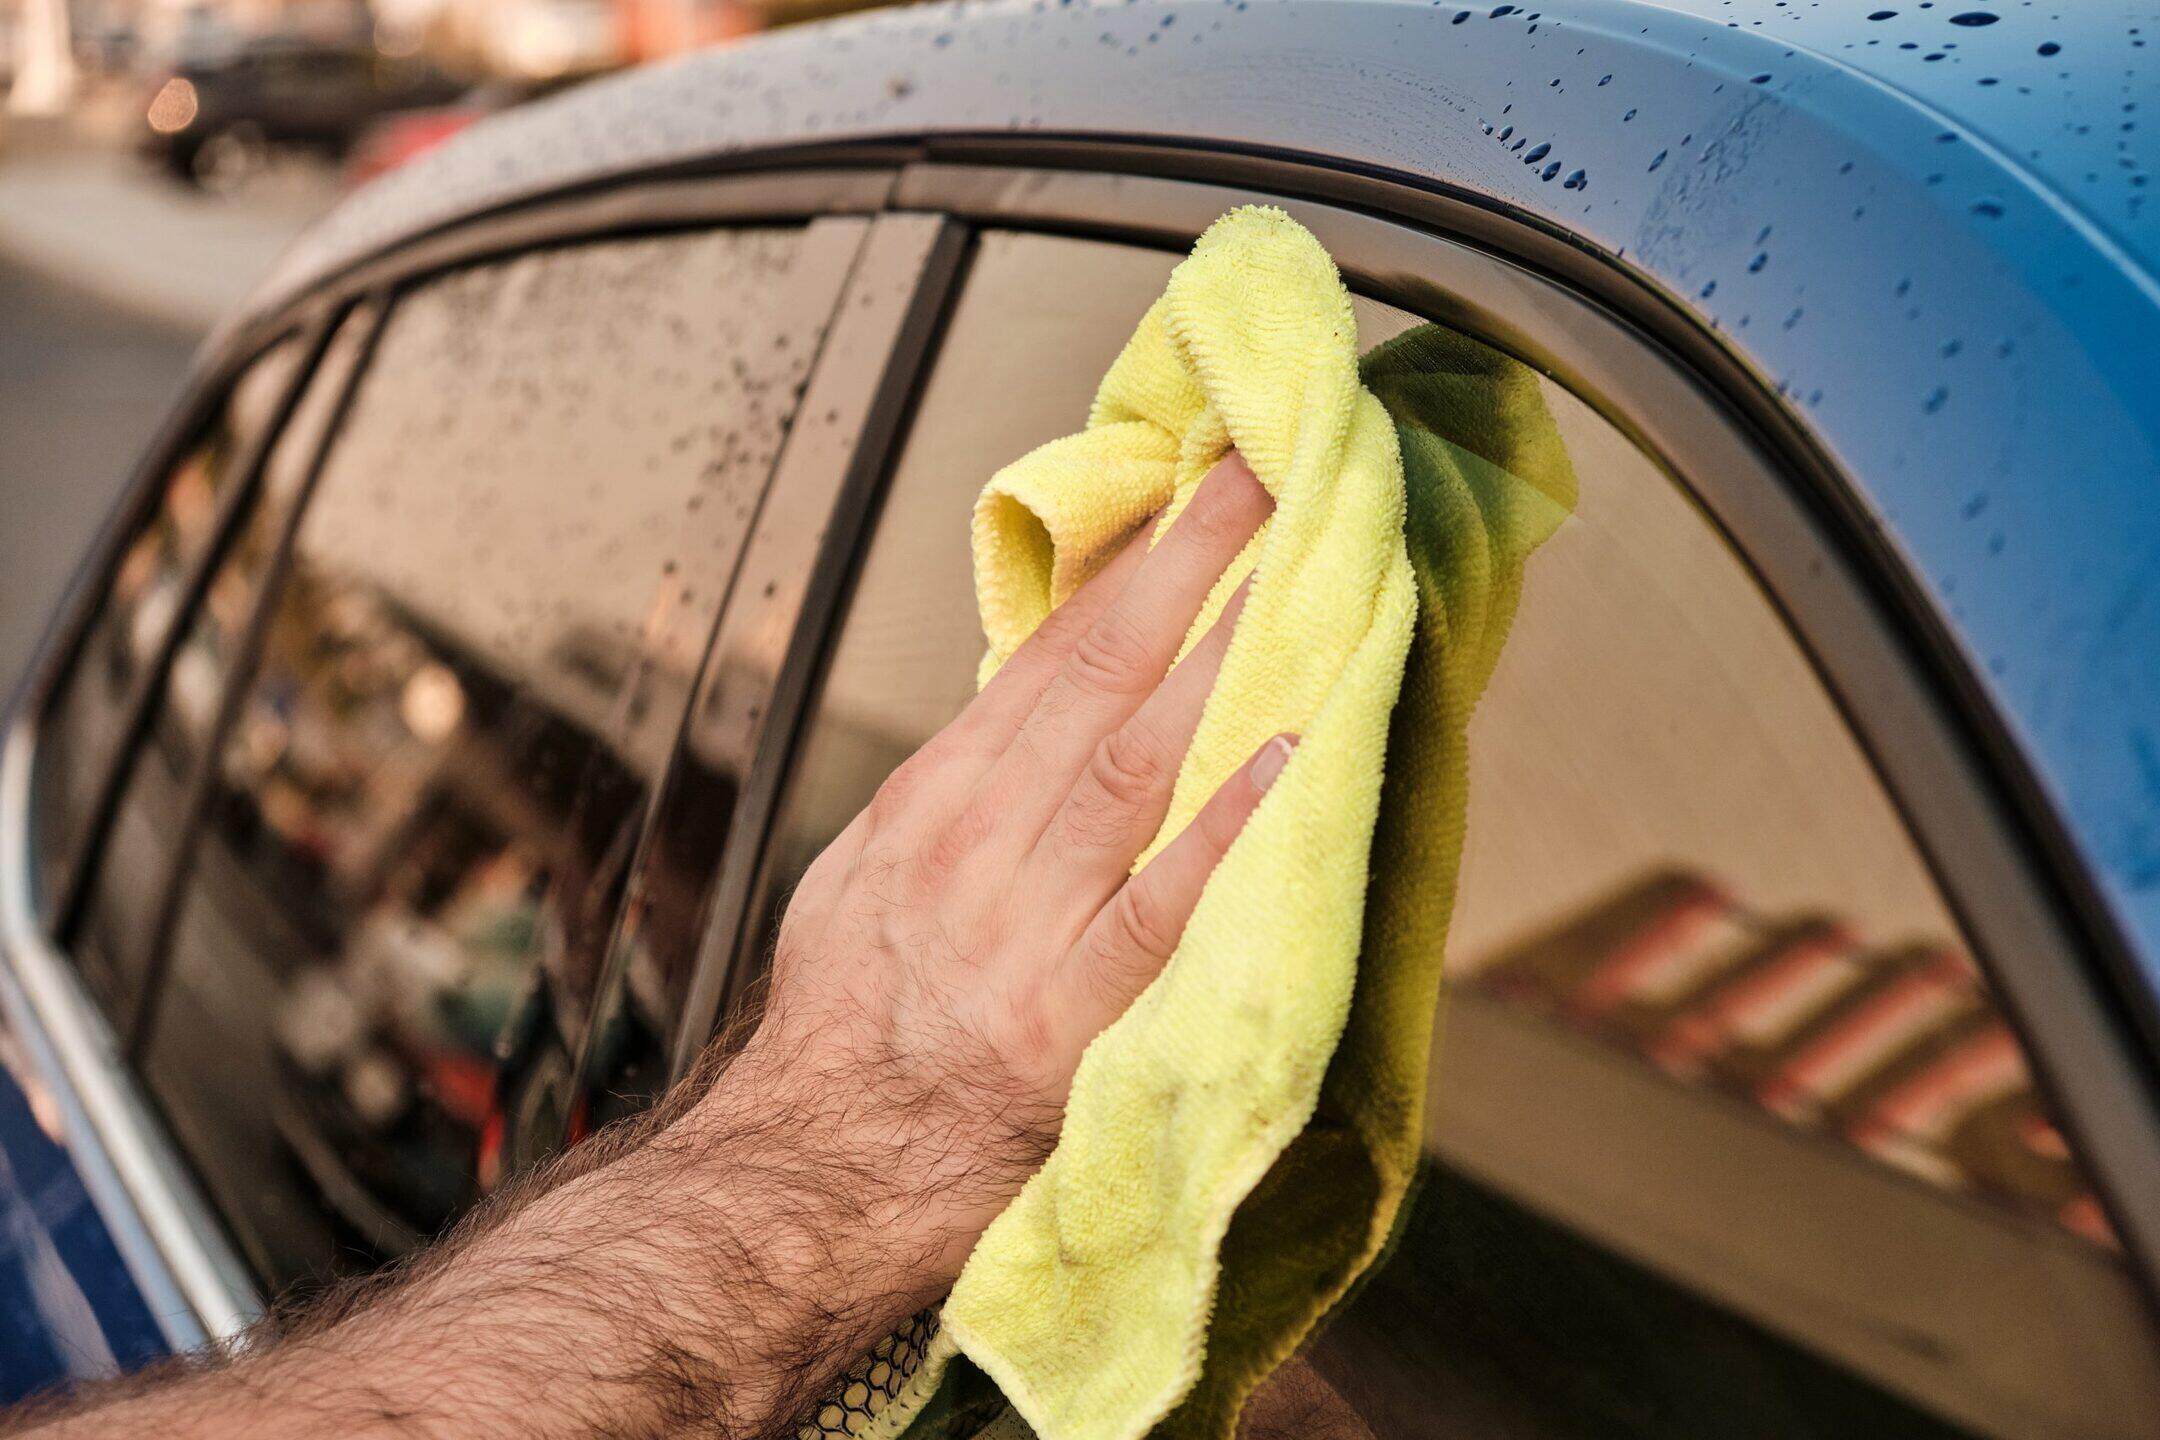
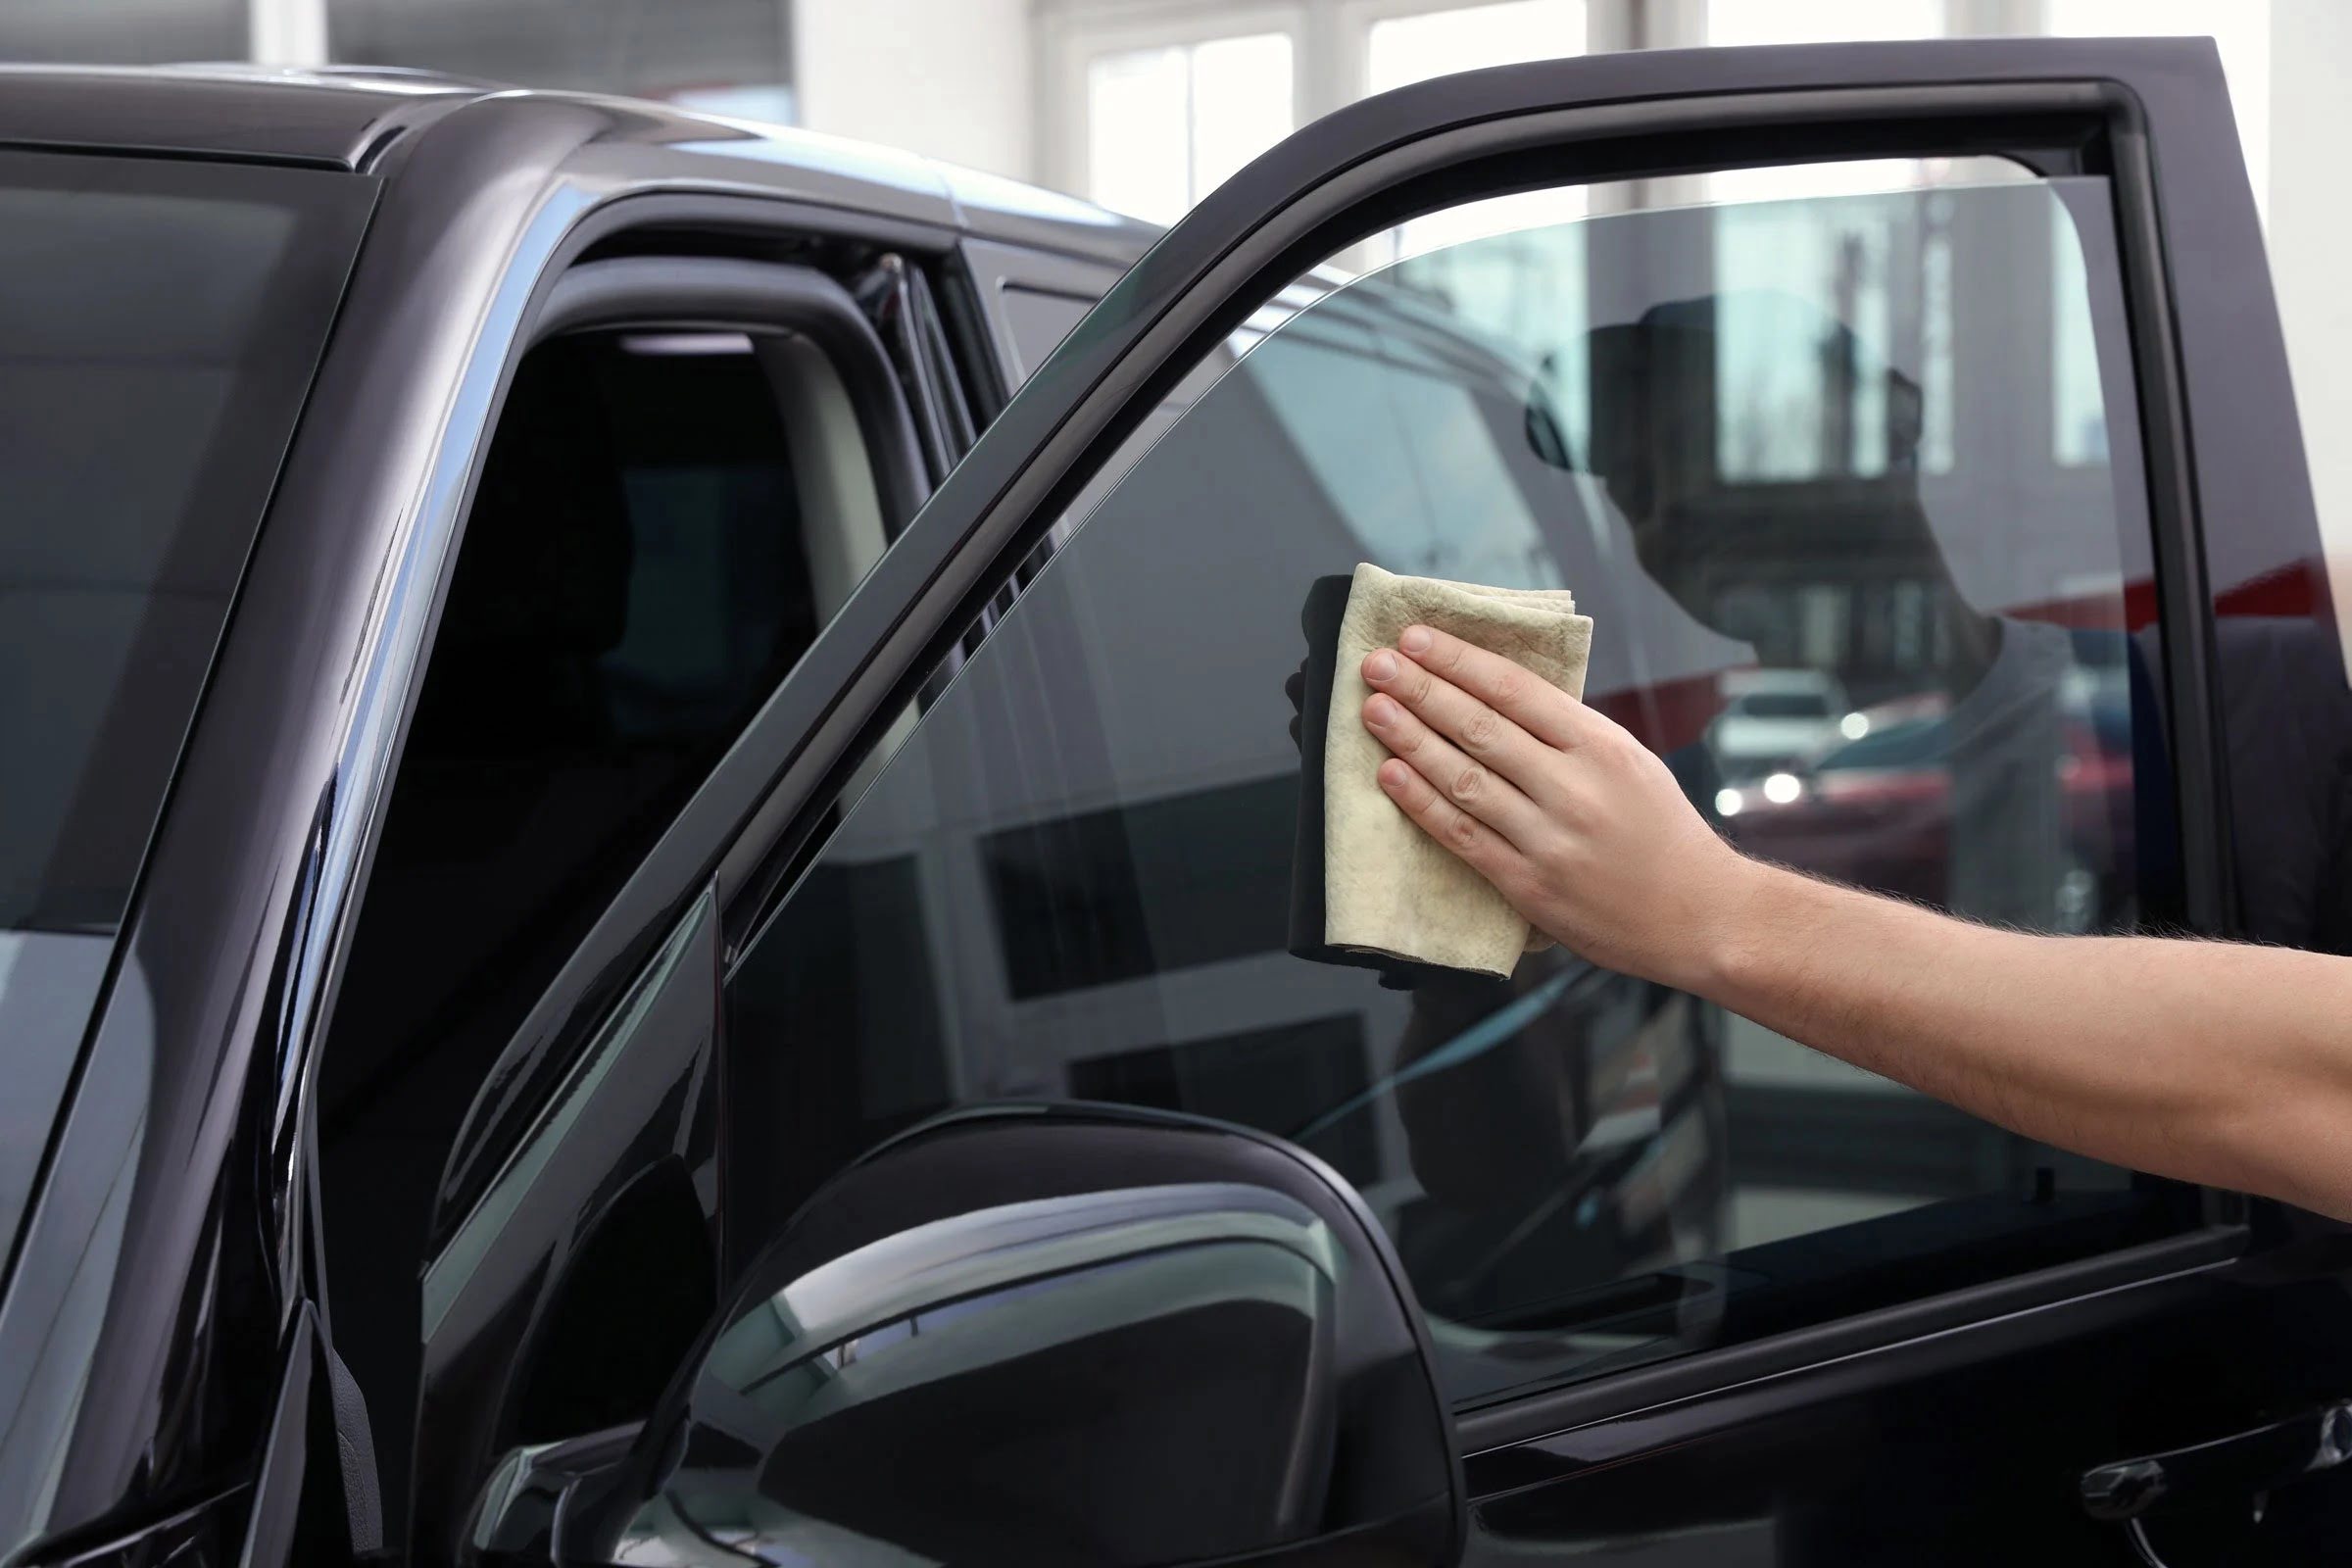
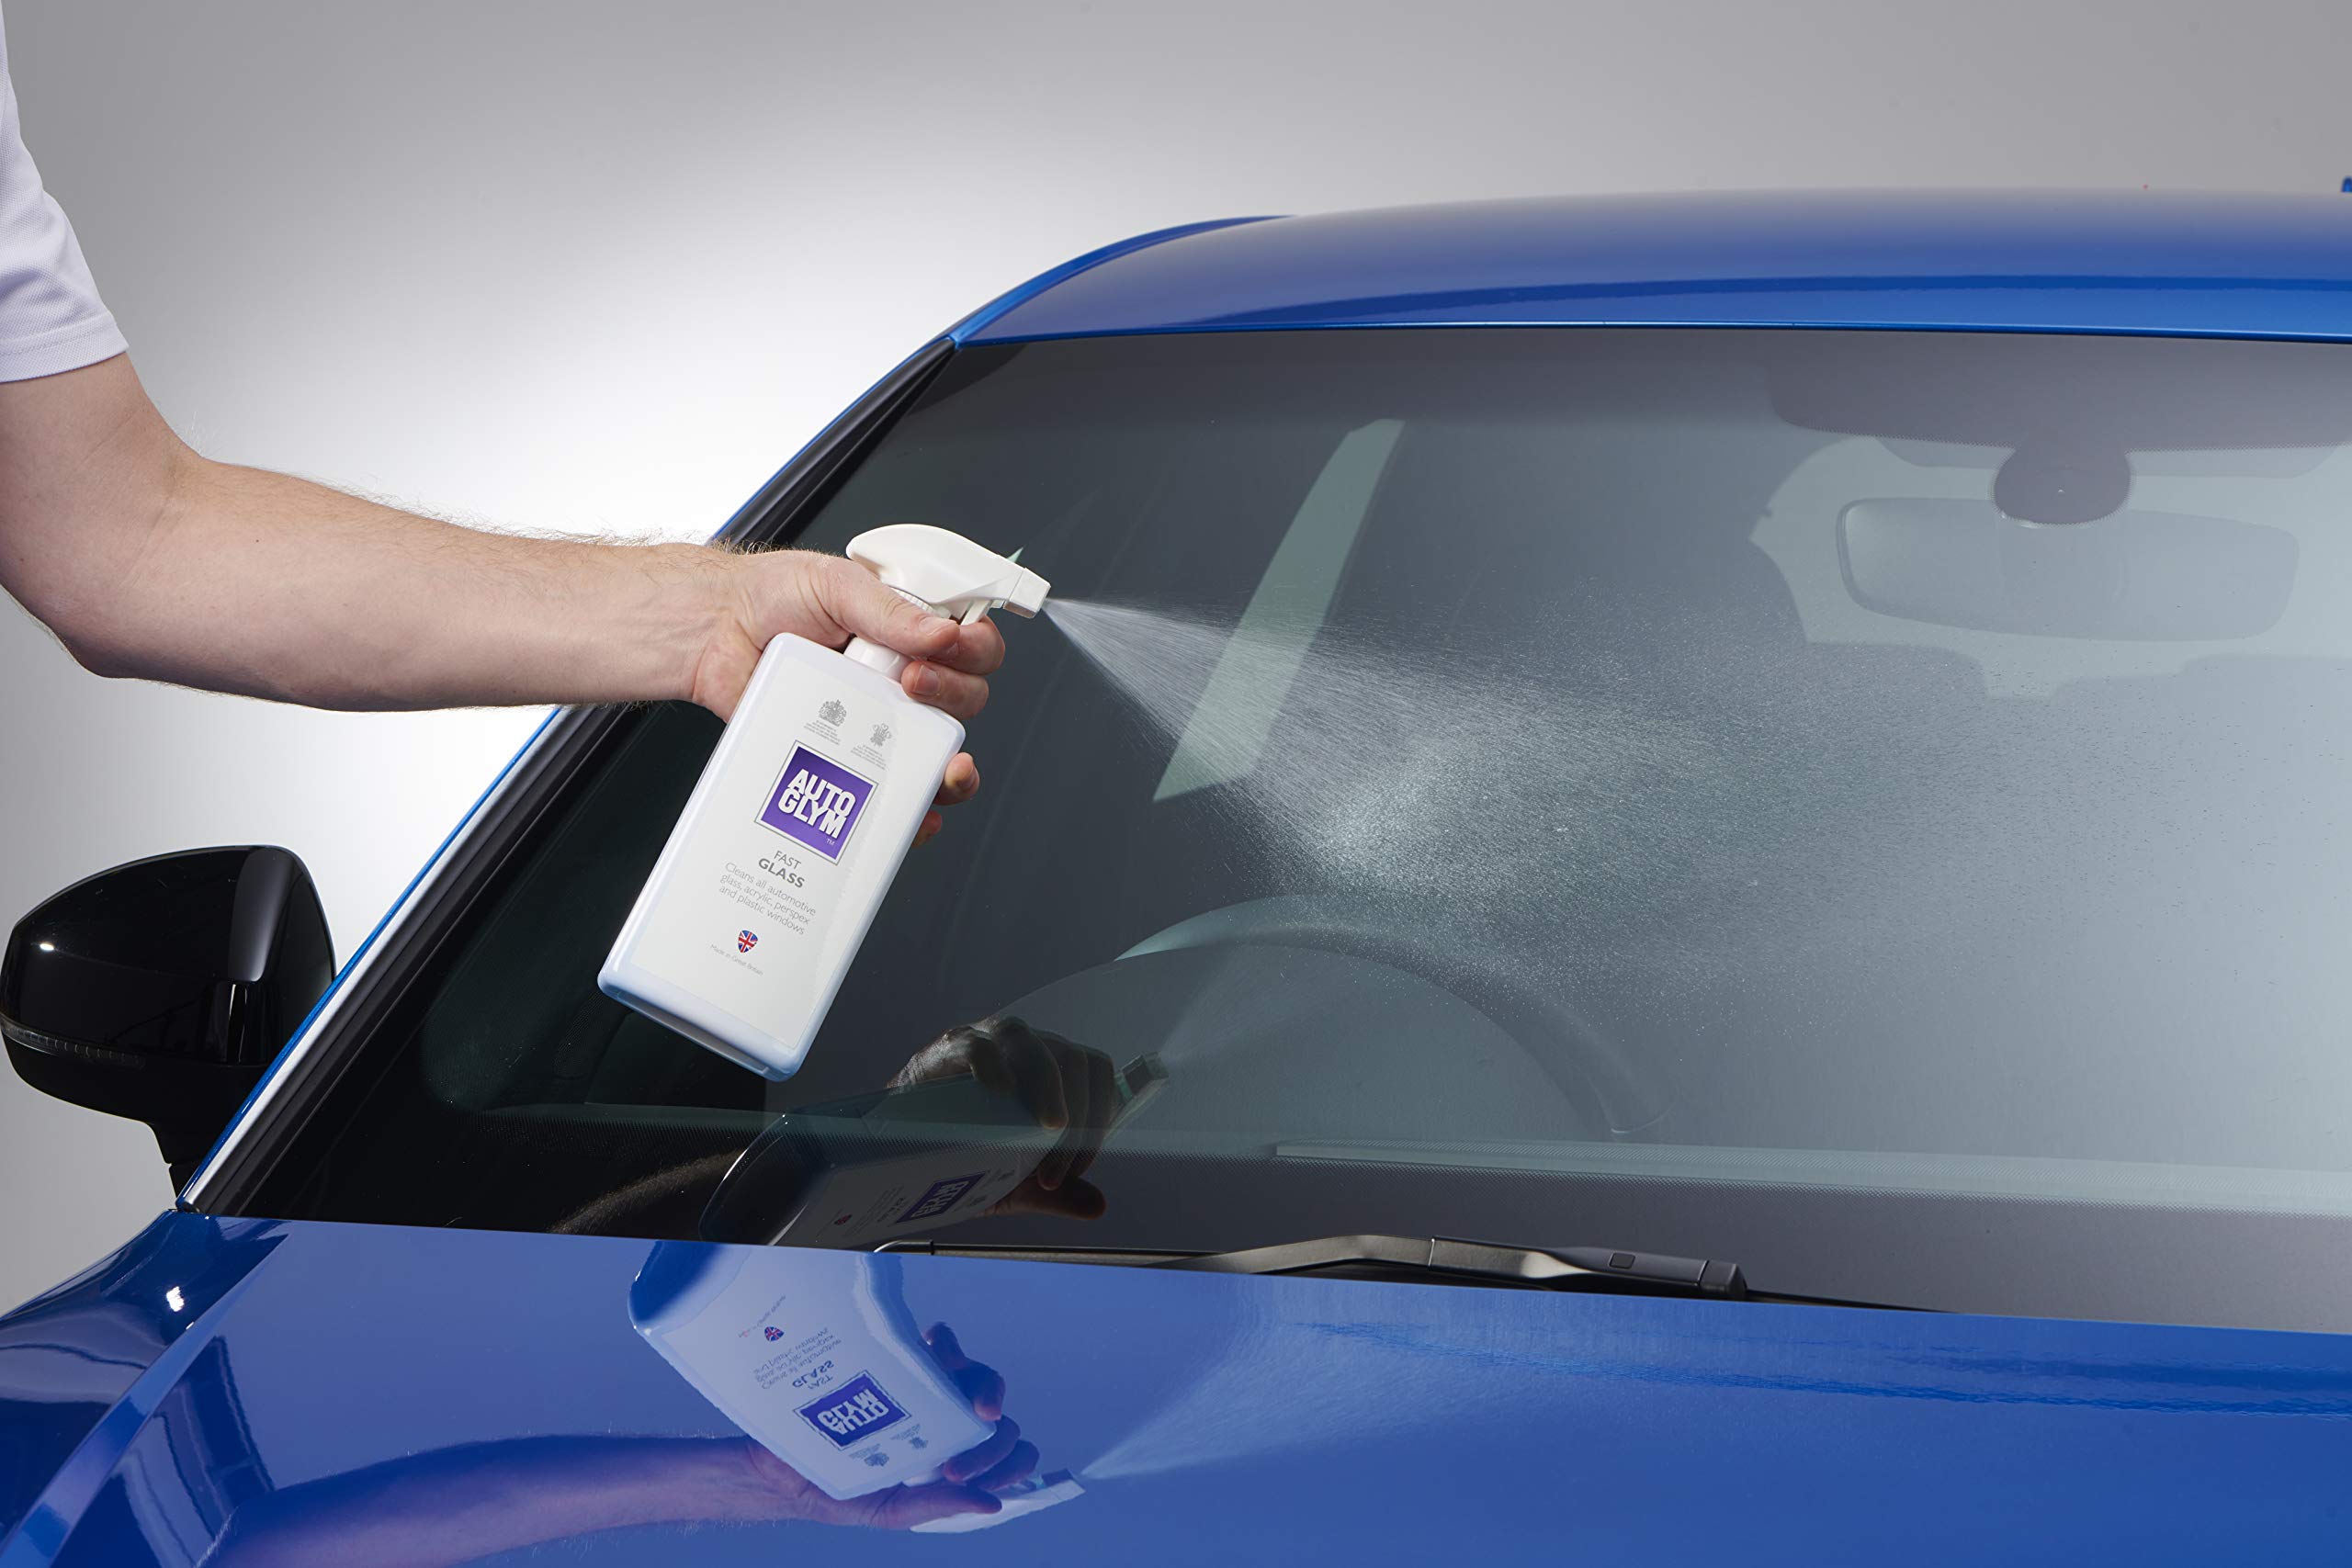
- Clean the Surface: Begin by thoroughly cleaning the inside surface of the car window where you intend to place the sticker. Use a gentle glass cleaner or a mixture of mild soap and water to remove any dirt, dust, or residue. Ensure that the entire area is free from debris and completely dry before proceeding.
- Positioning the Sticker: Carefully determine the desired placement of the sticker on the window. Use masking tape to create a guide or mark the precise location where the sticker will be applied. This step is crucial for ensuring accurate positioning and alignment.
- Temperature Consideration: It’s advisable to apply the stickers in moderate temperatures, ideally between 50°F and 70°F (10°C to 21°C). Extreme heat or cold can affect the adhesive properties of the stickers, so choose a comfortable environment for the application process.
- Surface Inspection: Thoroughly inspect the window surface for any existing damage, such as scratches or chips. If any imperfections are present, consider addressing them before applying the stickers to achieve a flawless and professional result.
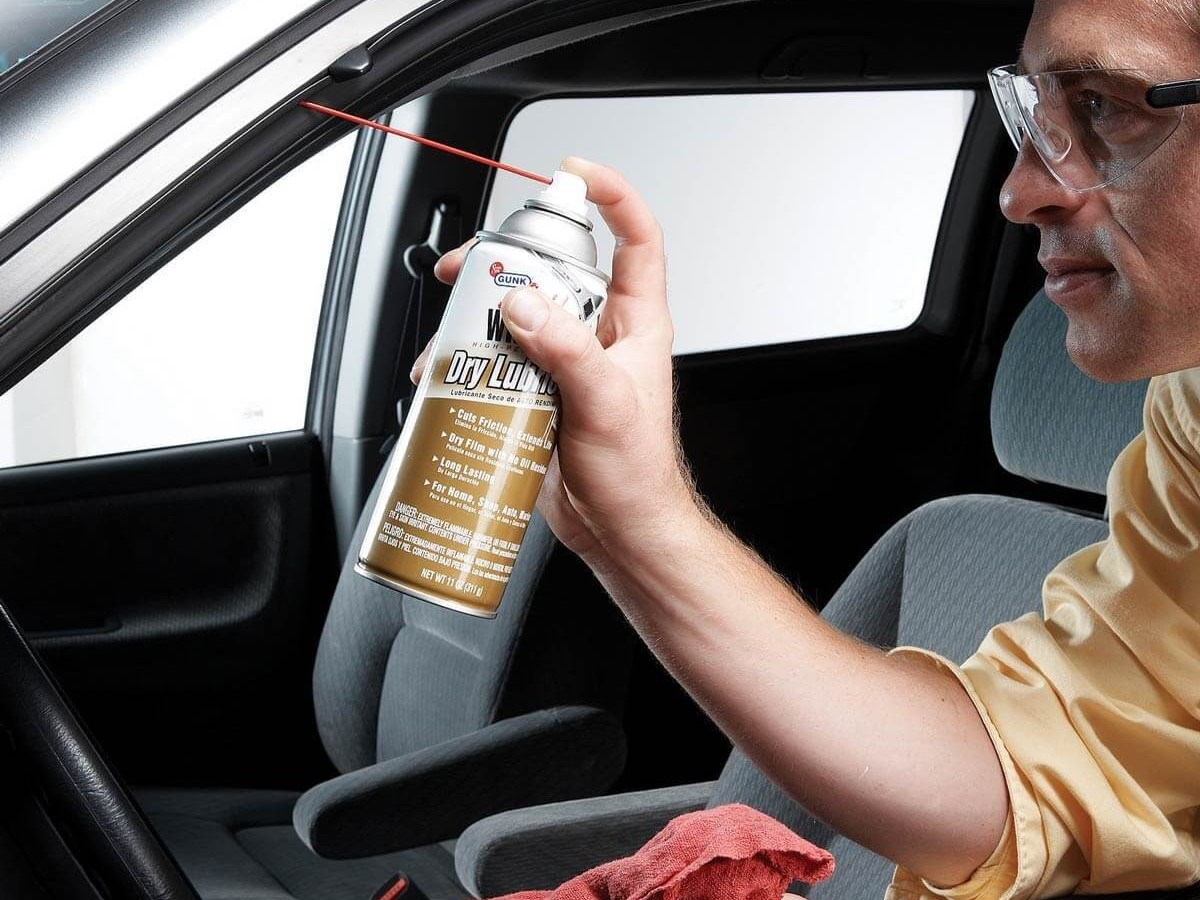
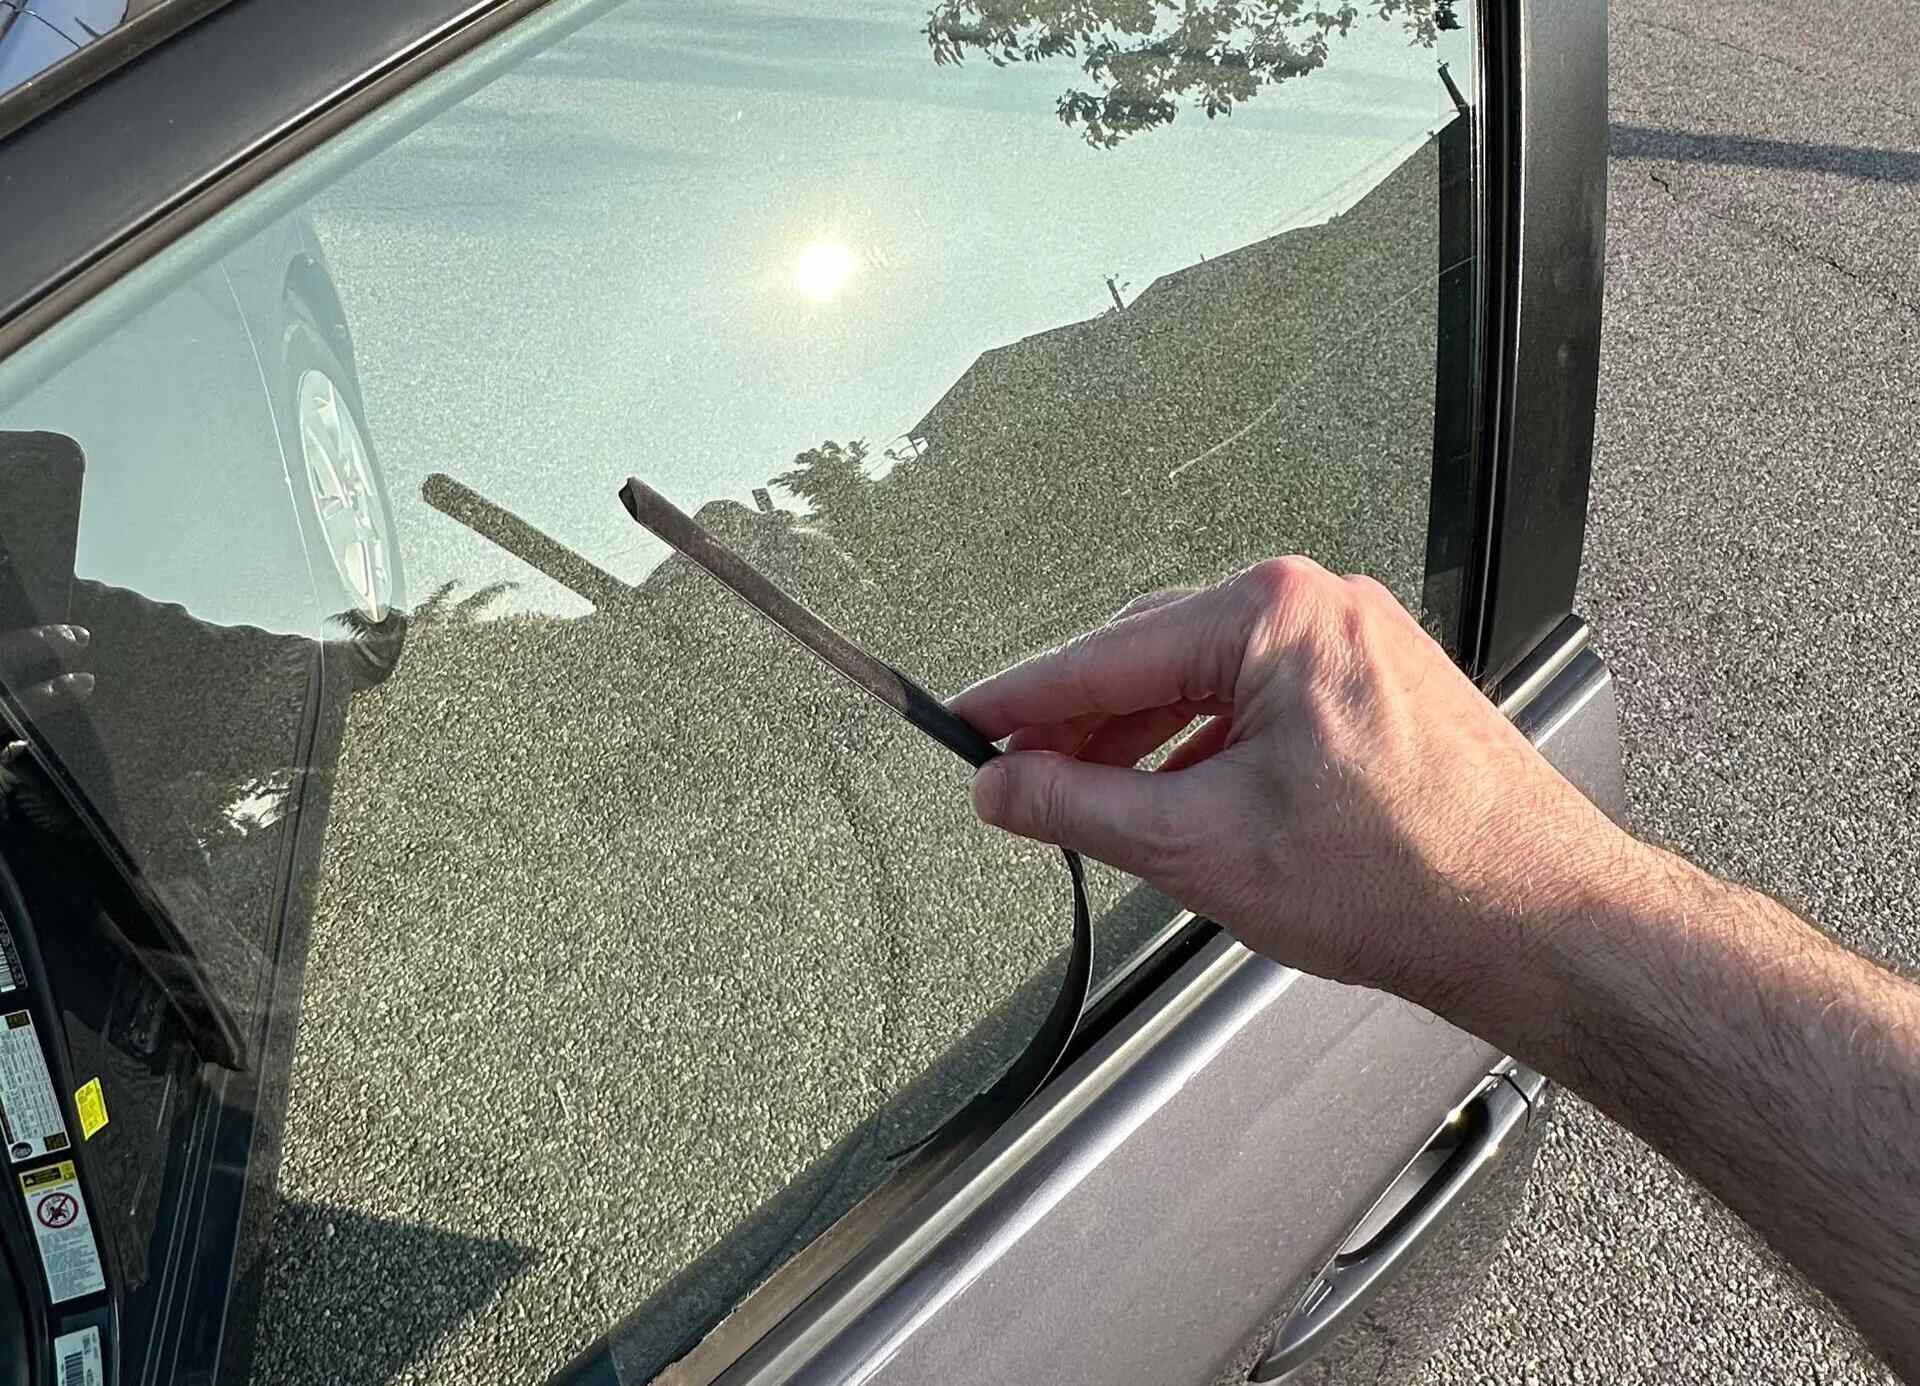
- Removing Residual Adhesives: In case there are remnants of old stickers or adhesive residue on the window, use a gentle adhesive remover or rubbing alcohol to eliminate any lingering sticky substances. This step will ensure a clean and uniform surface for the new stickers.
By meticulously preparing the car window, you create an optimal canvas for the sticker application, promoting strong adhesion and a polished appearance. With the surface primed and ready, you’re now set to proceed with the exciting step of applying the chosen stickers to your car window.
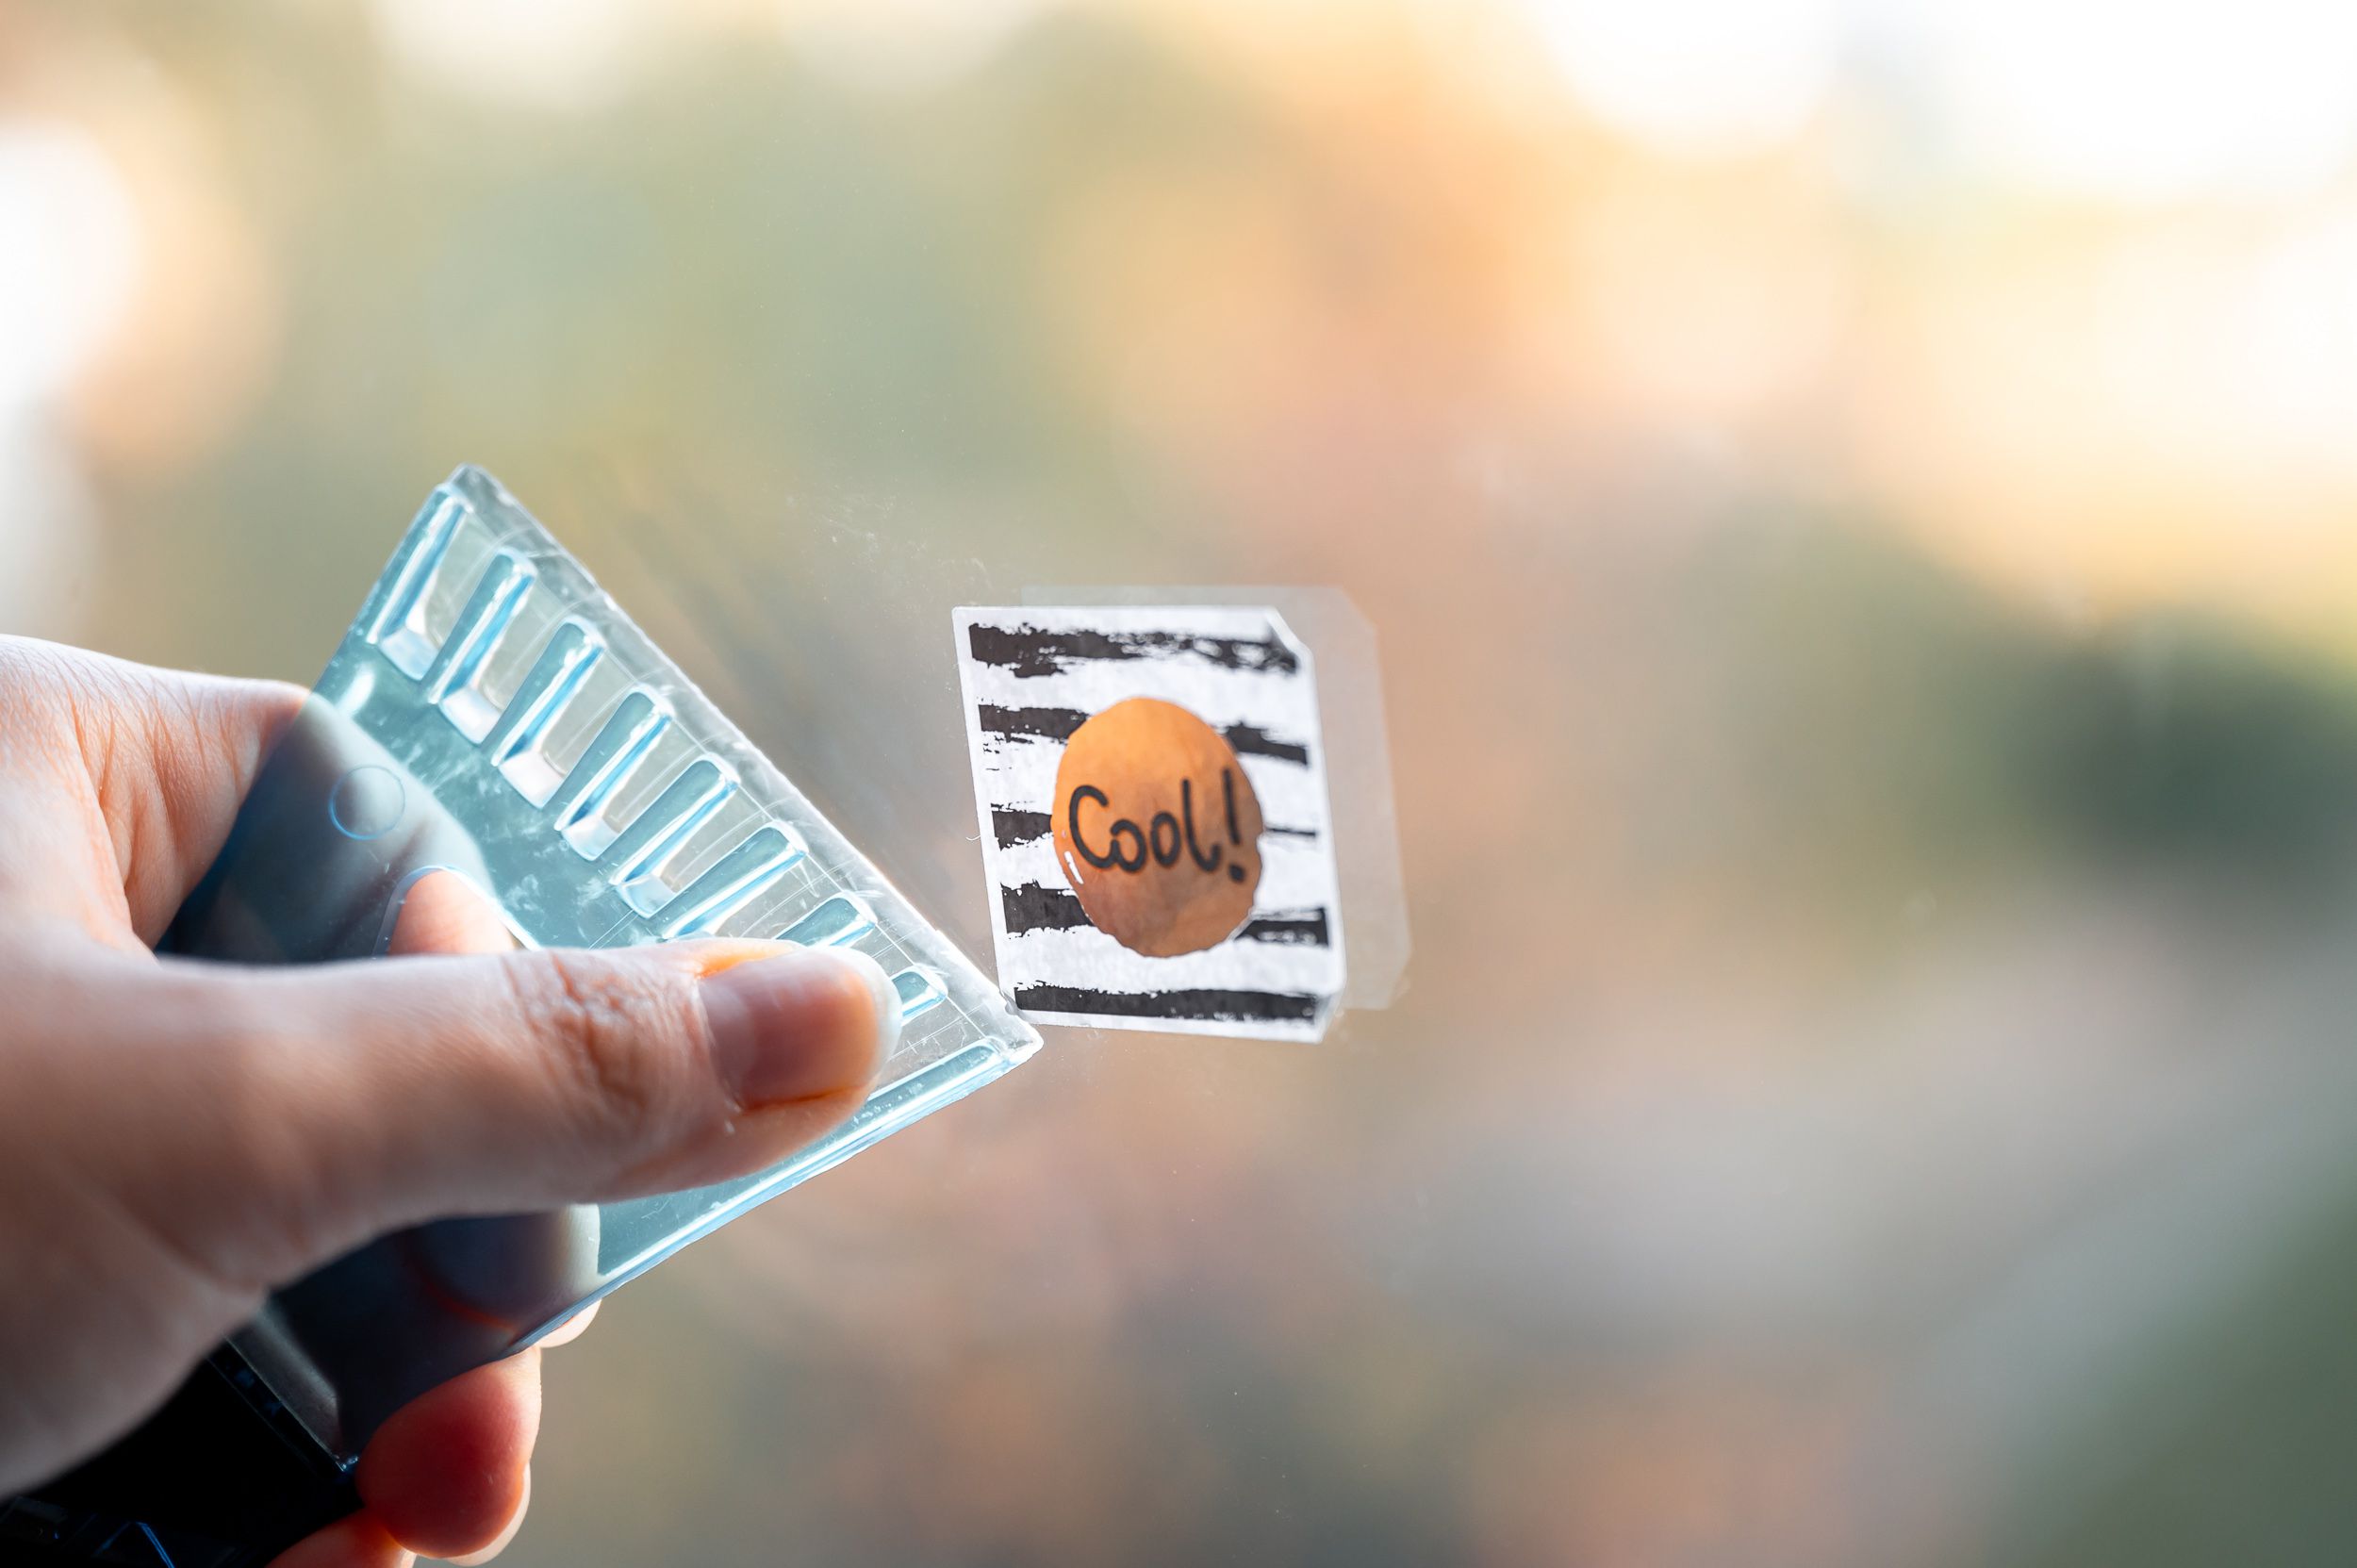
Clean the window thoroughly with glass cleaner and dry it completely. Peel the sticker from the backing and place it on the window, smoothing out any air bubbles with a credit card.
Applying the Stickers
Now comes the moment to bring your chosen stickers to life on your car window. Follow these steps to ensure a precise and professional application:
- Peel with Care: Carefully peel the backing off the sticker, ensuring that the adhesive side remains untouched. Take your time to avoid any accidental creases or folds in the sticker.
- Aligning the Sticker: Using the previously marked guide or positioning the sticker as desired, carefully align it with the designated spot on the window. Take into account any specific angles or placement preferences for the sticker.
- Smooth Application: Starting from the center of the sticker, gently press it onto the window surface, gradually working your way outwards. Use a soft cloth or squeegee to smooth out any air bubbles and ensure firm adhesion. This method helps to prevent wrinkles or air pockets under the sticker.
- Applying Even Pressure: Maintain consistent and even pressure while affixing the sticker to the window. This approach helps to eliminate air pockets and promotes a seamless bond between the sticker and the glass.
- Removing the Transfer Tape: If the sticker includes a transfer tape or backing, carefully peel it away at a 45-degree angle, ensuring that the sticker remains firmly attached to the window. Take your time to avoid any lifting or displacement of the sticker during this process.
By following these steps with precision and care, you can achieve a flawless application of the stickers, creating a visually striking and professional appearance on your car window. Once the stickers are in place, the next step involves addressing any air bubbles that may have formed during the application process.
Removing Air Bubbles
After applying the stickers, it’s common to encounter air bubbles trapped beneath the surface. Don’t worry – addressing these air bubbles is a straightforward process. Here’s how to effectively remove them for a smooth and polished finish:
- Identifying Air Bubbles: Carefully inspect the sticker for any trapped air bubbles. They may appear as small pockets or wrinkles beneath the surface. Identifying their locations will guide you in addressing them effectively.
- Creating a Release Hole: For larger air bubbles, use a small pin or needle to gently puncture the center of the bubble. This tiny release hole will allow the air to escape without causing damage to the sticker or compromising its adhesion.
- Smoothing Out the Bubble: Once a release hole is created, use a soft cloth or squeegee to gently press the air bubble towards the release point. Applying consistent pressure will help the air to escape through the puncture, gradually smoothing out the surface of the sticker.
- Gradual Progression: For multiple air bubbles, address them one at a time, starting from the largest ones. Work methodically to release the trapped air and smooth out the sticker surface, ensuring a uniform and bubble-free appearance.
- Patience and Precision: Take your time when addressing air bubbles, especially with intricate or detailed stickers. Slow and deliberate movements will prevent accidental damage to the sticker and result in a flawless finish.
By following these steps, you can effectively eliminate air bubbles, leaving your car window stickers with a pristine and professional appearance. With the bubbles removed, your personalized decals will showcase their designs without any distracting imperfections. After addressing the air bubbles, it’s time to add the final touches and maintain the longevity of your newly applied stickers.
Read more: How To Remove Stickers From Car Windows
Final Touches and Maintenance
With the stickers expertly applied and any air bubbles removed, your car windows now boast a personalized and eye-catching display. To ensure the longevity and visual appeal of your stickers, consider the following final touches and maintenance tips:
- Sealing the Edges (Optional): If desired, you can apply a thin, transparent sealant around the edges of the stickers to provide an extra layer of protection. This step can help safeguard the stickers from moisture and environmental elements, enhancing their durability.
- Gentle Cleaning: When cleaning your car windows, use a soft cloth and mild glass cleaner to gently wipe around the stickers. Avoid abrasive materials or harsh chemicals that could potentially damage the stickers or their adhesive properties.
- Regular Inspection: Periodically inspect the stickers for any signs of peeling, lifting, or damage. Address any issues promptly to maintain the stickers’ integrity and prevent potential deterioration over time.
- Weather Considerations: Be mindful of extreme weather conditions, such as prolonged exposure to direct sunlight or harsh winter conditions. While high-quality stickers are designed to withstand varying climates, taking precautions can help prolong their vibrancy and adhesion.
- Replacement and Refreshing: Over time, you may wish to replace or update the stickers on your car windows. When doing so, follow the preparation and application steps outlined earlier to ensure a seamless transition and a renewed personalized touch.
By incorporating these final touches and practicing attentive maintenance, you can preserve the striking appearance of your car window stickers and enjoy their impactful presence for the long haul. Whether you’re showcasing your favorite hobbies, supporting a cause, or adding a touch of whimsy to your vehicle, the carefully applied stickers will continue to captivate onlookers and reflect your unique style.
With these comprehensive steps and maintenance tips, you’ve mastered the art of applying and maintaining stickers on your car windows, transforming them into a dynamic canvas that speaks volumes about your individuality and passions. Now, hit the road and let your personalized stickers turn heads and spark conversations wherever your journey takes you!
Frequently Asked Questions about How To Apply Stickers To Car Windows
Was this page helpful?
At Storables.com, we guarantee accurate and reliable information. Our content, validated by Expert Board Contributors, is crafted following stringent Editorial Policies. We're committed to providing you with well-researched, expert-backed insights for all your informational needs.


0 thoughts on “How To Apply Stickers To Car Windows”