Home>Storage & Organization>Closet & Wardrobe Organization>How To Organize Cricut Vinyl
Closet & Wardrobe Organization
How To Organize Cricut Vinyl
Published: March 2, 2024
Learn how to organize Cricut vinyl for your closet and wardrobe with these simple and effective tips. Keep your vinyl collection neat and accessible.
(Many of the links in this article redirect to a specific reviewed product. Your purchase of these products through affiliate links helps to generate commission for Storables.com, at no extra cost. Learn more)
Introduction
Are you tired of rummaging through a pile of Cricut vinyl every time you start a new project? Organizing your vinyl not only saves time but also keeps your workspace clutter-free. In this article, we will guide you through the process of organizing Cricut vinyl efficiently. From choosing the right vinyl to storing your completed projects, we've got you covered. Let's dive in and discover the best ways to keep your Cricut vinyl neat and tidy.
Key Takeaways:
- Choose the right vinyl for your project to ensure long-lasting adhesion, easy repositioning, or fabric compatibility. Consider the specific needs of your projects before organizing your Cricut vinyl collection.
- Create an efficient workspace with good lighting, storage solutions, and comfortable seating to streamline your vinyl crafting experience. Keep essential tools within arm’s reach and maintain a clutter-free environment for optimal creativity.
Read more: How To Store Cricut Vinyl
Choosing the Right Vinyl
When it comes to organizing your Cricut vinyl, the first step is to ensure that you have the right type of vinyl for your projects. Here are some popular options to consider:
1. Permanent Vinyl
This type of vinyl is ideal for projects that require long-term adhesion, such as outdoor signs or car decals. It is water-resistant and can withstand exposure to the elements, making it a durable choice for a variety of applications.
2. Removable Vinyl
If you're working on projects that may need to be repositioned or removed without leaving residue, removable vinyl is the way to go. It's perfect for indoor decor, wall decals, and temporary signage.
3. Heat Transfer Vinyl (HTV)
HTV is designed for use on fabric and is perfect for creating custom apparel, tote bags, and other textile-based projects. It comes in a variety of finishes, including matte, glossy, and metallic, allowing you to add a personal touch to your clothing and accessories.
Read more: How To Organize Vinyl Records
4. Adhesive Foil
For a metallic finish that adds a touch of elegance to your projects, adhesive foil vinyl is an excellent choice. It's perfect for creating eye-catching designs on paper, fabric, and other surfaces.
Before organizing your Cricut vinyl collection, consider the specific needs of your projects and choose the type of vinyl that best suits your creative endeavors.
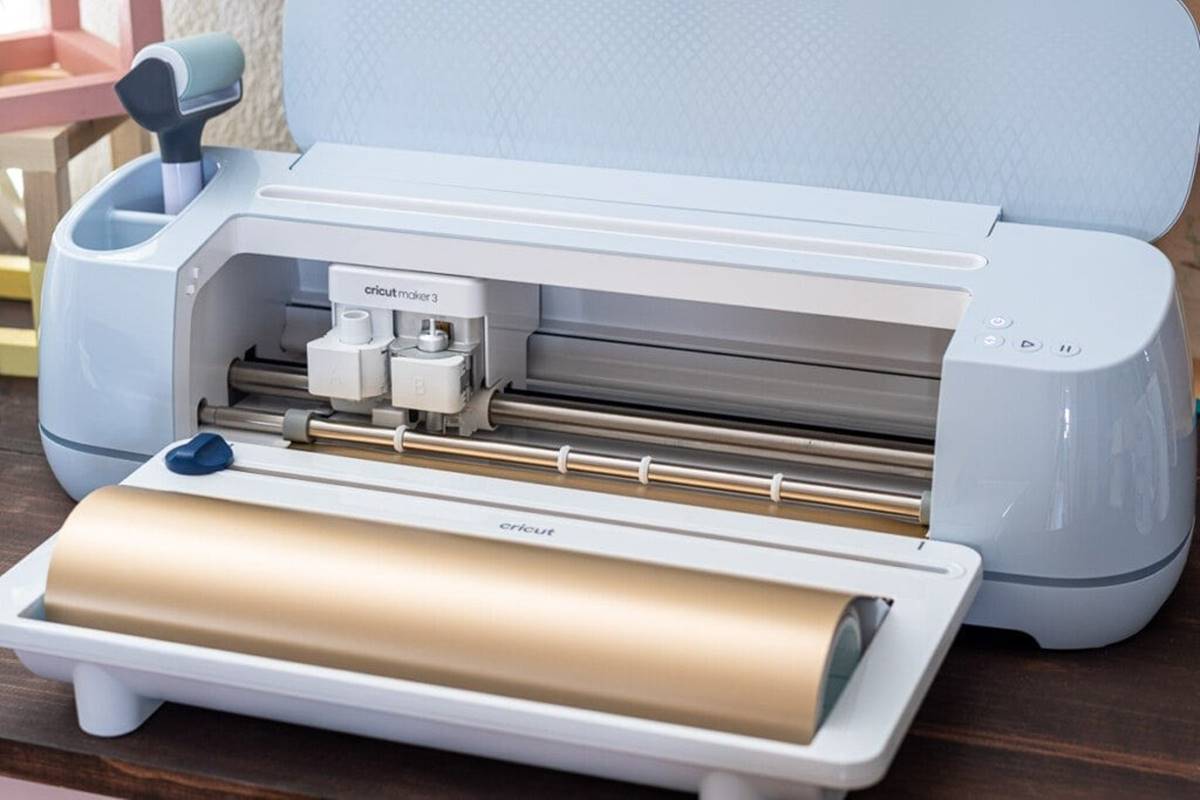
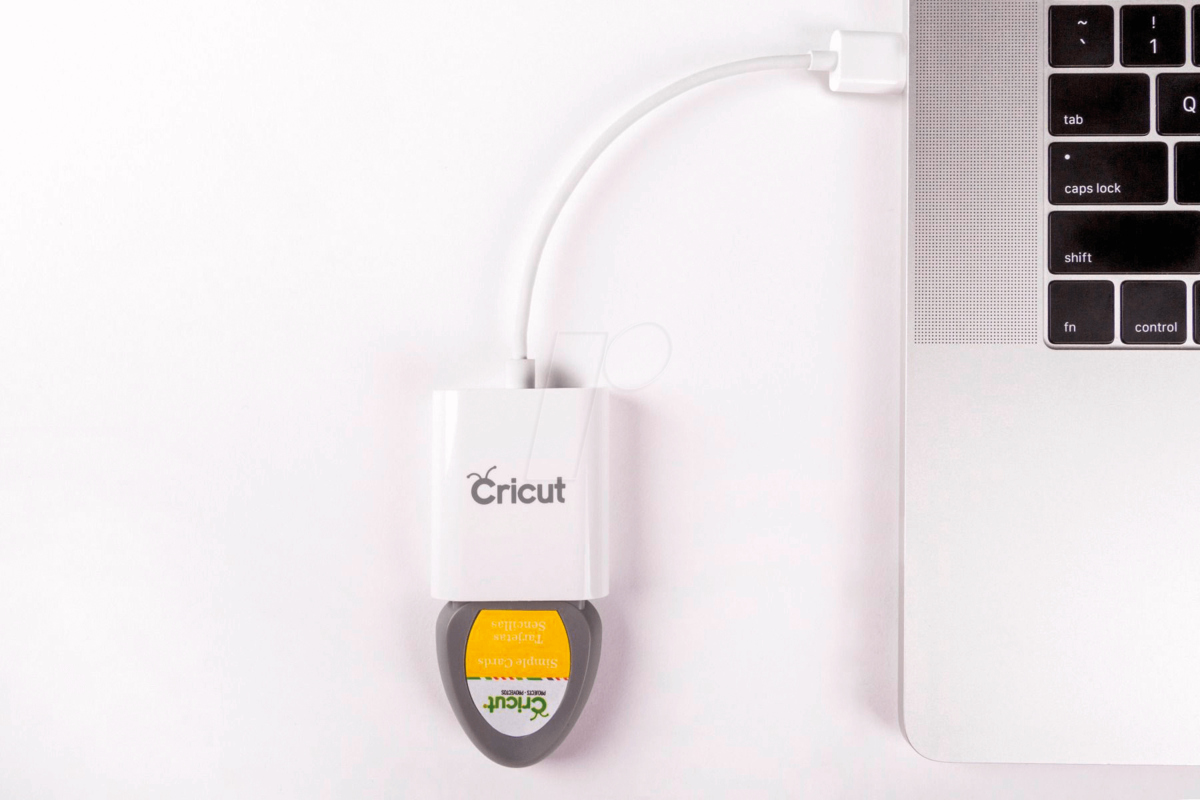
Preparing Your Cricut Machine
Before diving into your vinyl projects, it's essential to ensure that your Cricut machine is ready for action. Here's a step-by-step guide to preparing your Cricut machine for flawless vinyl cutting:
-
Update Firmware: Check for any firmware updates for your Cricut machine and ensure that it is running the latest version. This will optimize its performance and ensure compatibility with the Cricut Design Space software.
-
Calibration: Calibrate your machine if you haven't done so recently. Calibration ensures that the blade cuts accurately, resulting in precise designs and minimizing material wastage.
-
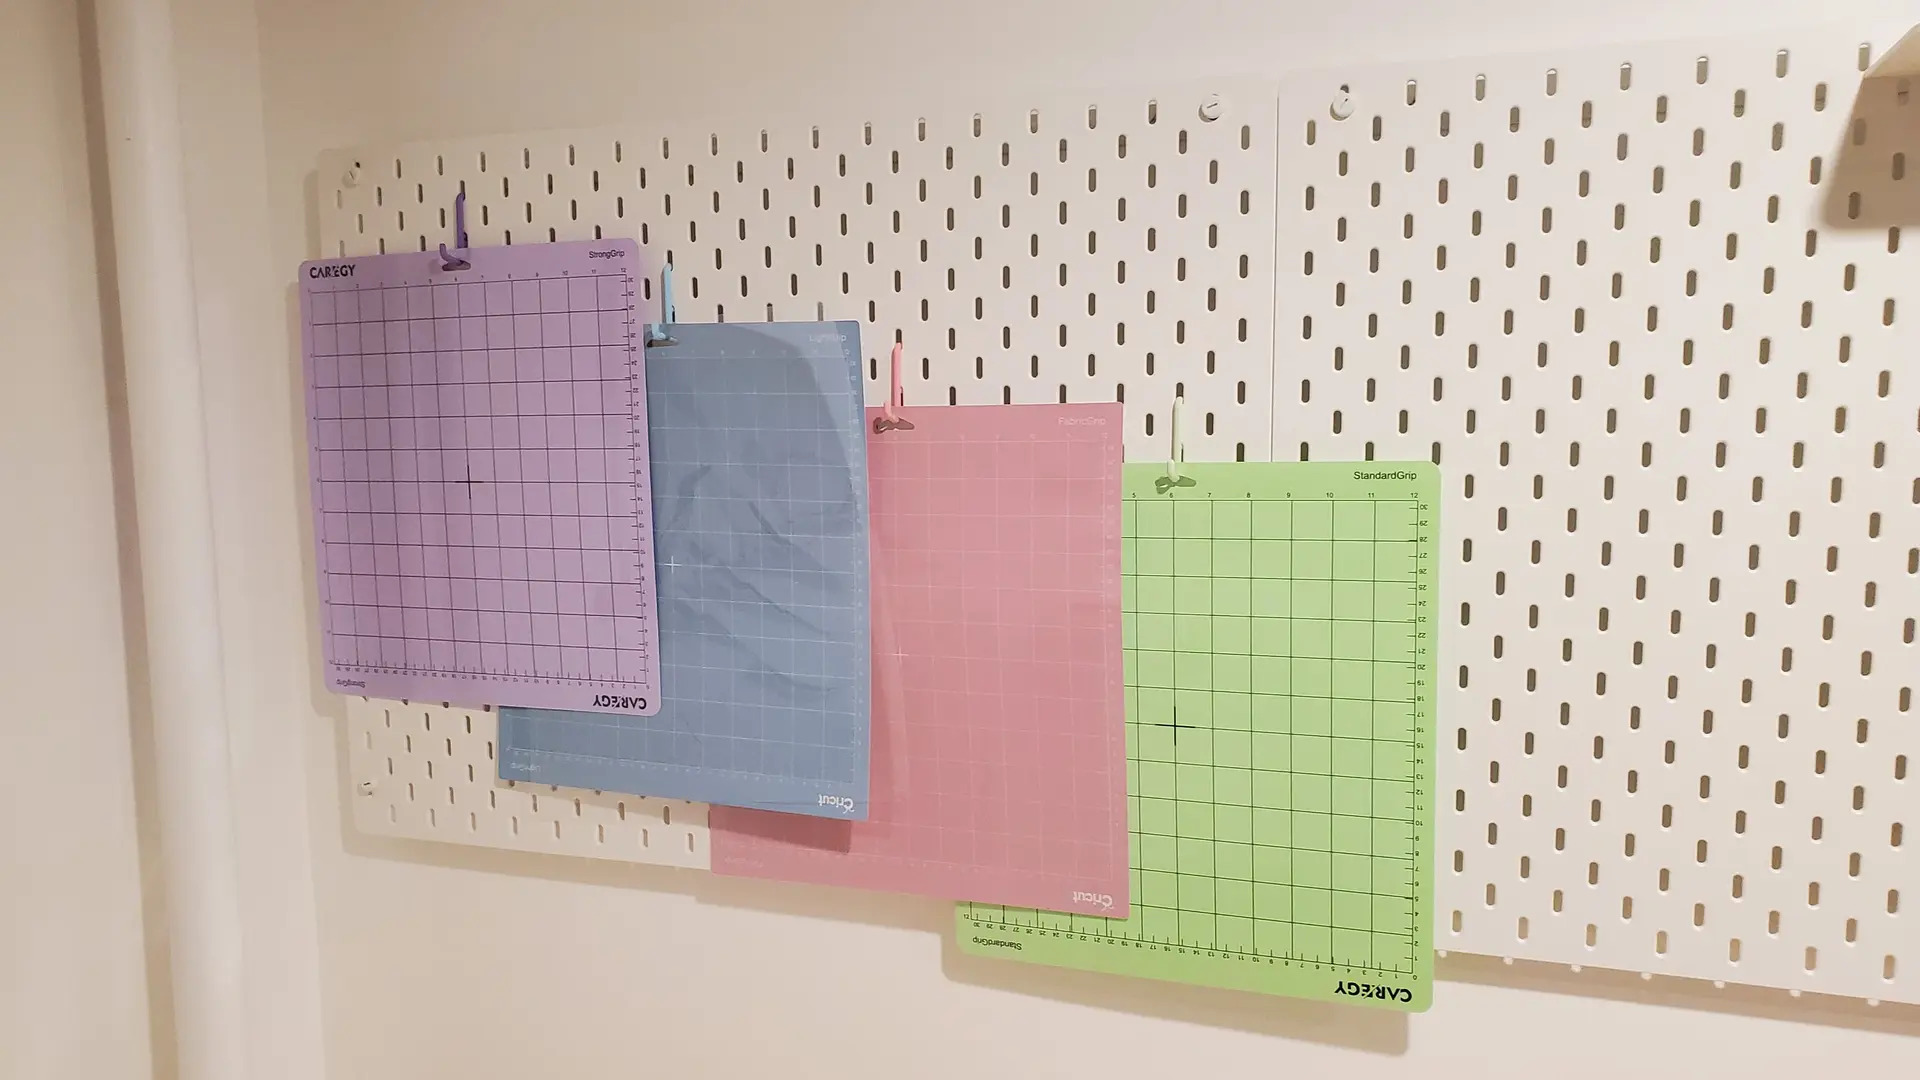
Blade and Mat Inspection: Examine the cutting blade for any signs of wear and tear. If it's dull or damaged, replace it with a new blade to achieve clean and crisp cuts. Additionally, ensure that your cutting mat is clean and free from debris to prevent any imperfections in the cutting process.
-
Load the Correct Tools: Depending on the type of vinyl you're using, ensure that the appropriate blade and tools are loaded into the machine. Different vinyl materials may require specific blades or accessories for optimal results.
-
Connectivity: Ensure that your Cricut machine is properly connected to your computer or mobile device. A stable and reliable connection is crucial for seamless communication between the Cricut Design Space software and your machine.
By following these preparatory steps, you can set the stage for a smooth and efficient vinyl cutting experience with your Cricut machine.
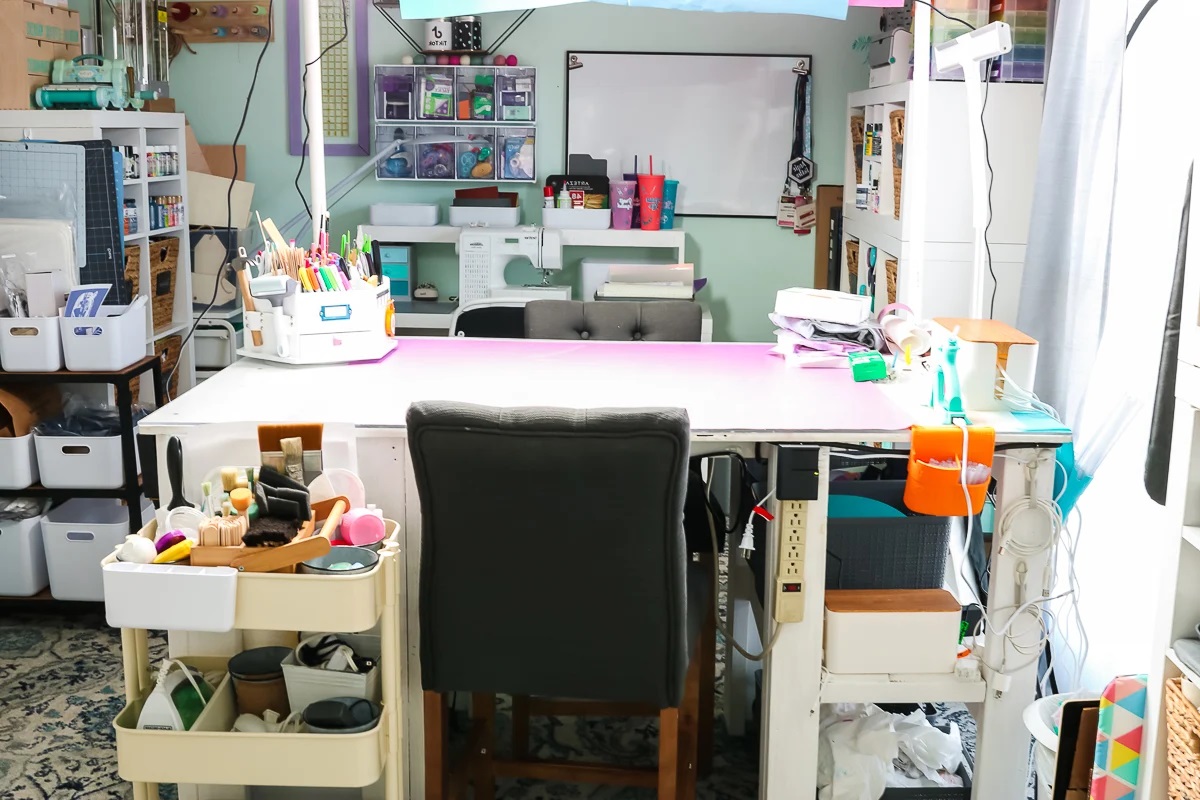
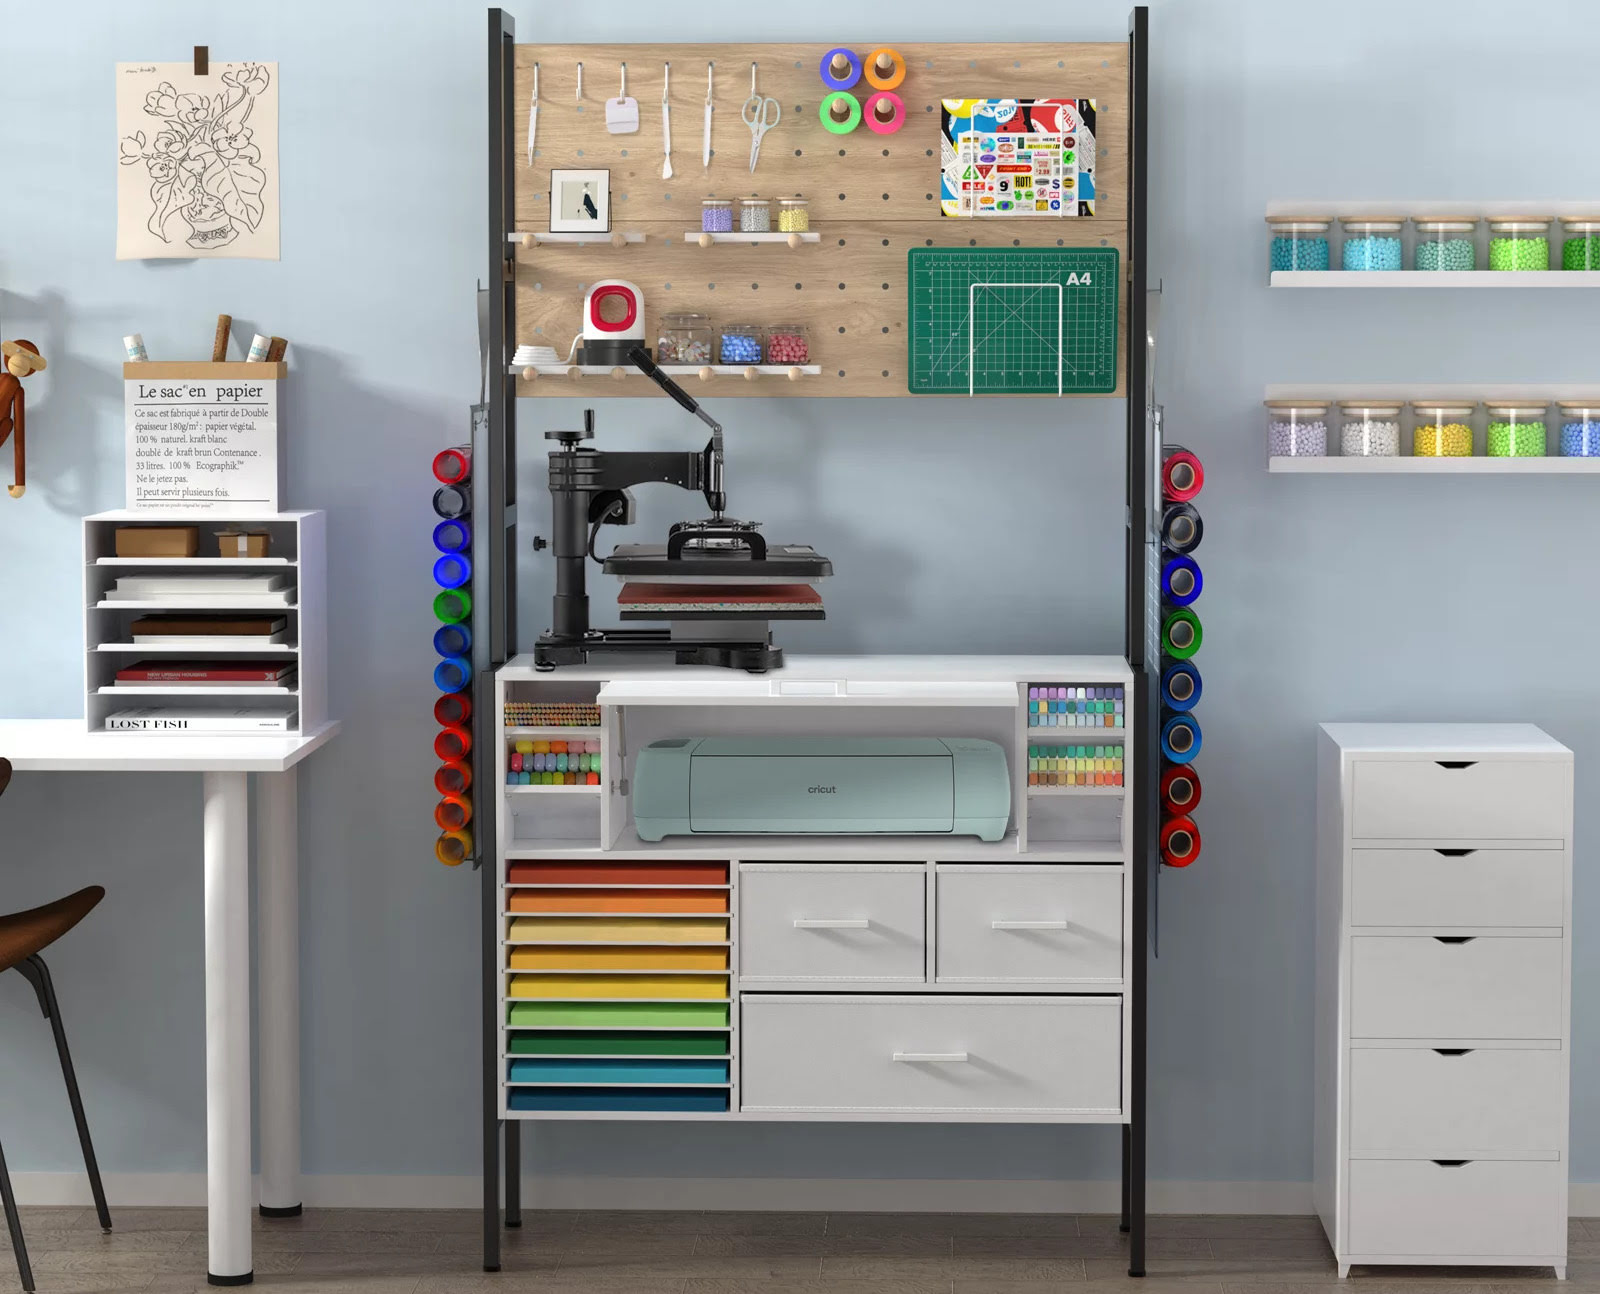
Setting Up Your Workspace
Creating an organized and functional workspace is crucial for a seamless vinyl crafting experience. Here's how to set up your workspace for optimal efficiency:
-
Designated Work Surface: Dedicate a specific area for your vinyl projects. Whether it's a crafting table, desk, or countertop, having a designated work surface allows you to focus on your projects without distractions.
-
Good Lighting: Adequate lighting is essential for weeding and working with intricate vinyl designs. Position your workspace near a natural light source or invest in bright, adjustable LED lamps to illuminate your projects.
-
Storage Solutions: Invest in storage containers, shelves, or drawers to keep your vinyl rolls, tools, and accessories neatly organized. Utilize clear containers or labeled bins to easily identify and access your materials.
-
Tool Accessibility: Keep your essential tools within arm's reach. Whether it's weeding tools, scissors, or application squeegees, having them readily available streamlines your workflow.
-
Ventilation: If you're using adhesive vinyl or engaging in heat transfer projects, ensure adequate ventilation in your workspace. Proper ventilation prevents the buildup of fumes and enhances comfort during crafting sessions.
-
Inspiration Board: Create an inspiration board or wall to display your completed projects, design ideas, and color swatches. This not only adds a personal touch to your workspace but also serves as a visual reference for future projects.
-
Organized Cricut Machine: Position your Cricut machine on a stable surface with sufficient space for material loading and unloading. Keep the necessary cords and accessories neatly organized to avoid clutter.
-
Comfortable Seating: If your projects involve extended crafting sessions, invest in a comfortable chair with good back support to prevent discomfort or fatigue.
By implementing these workspace setup tips, you can create an environment that fosters creativity, organization, and efficiency for your Cricut vinyl projects.
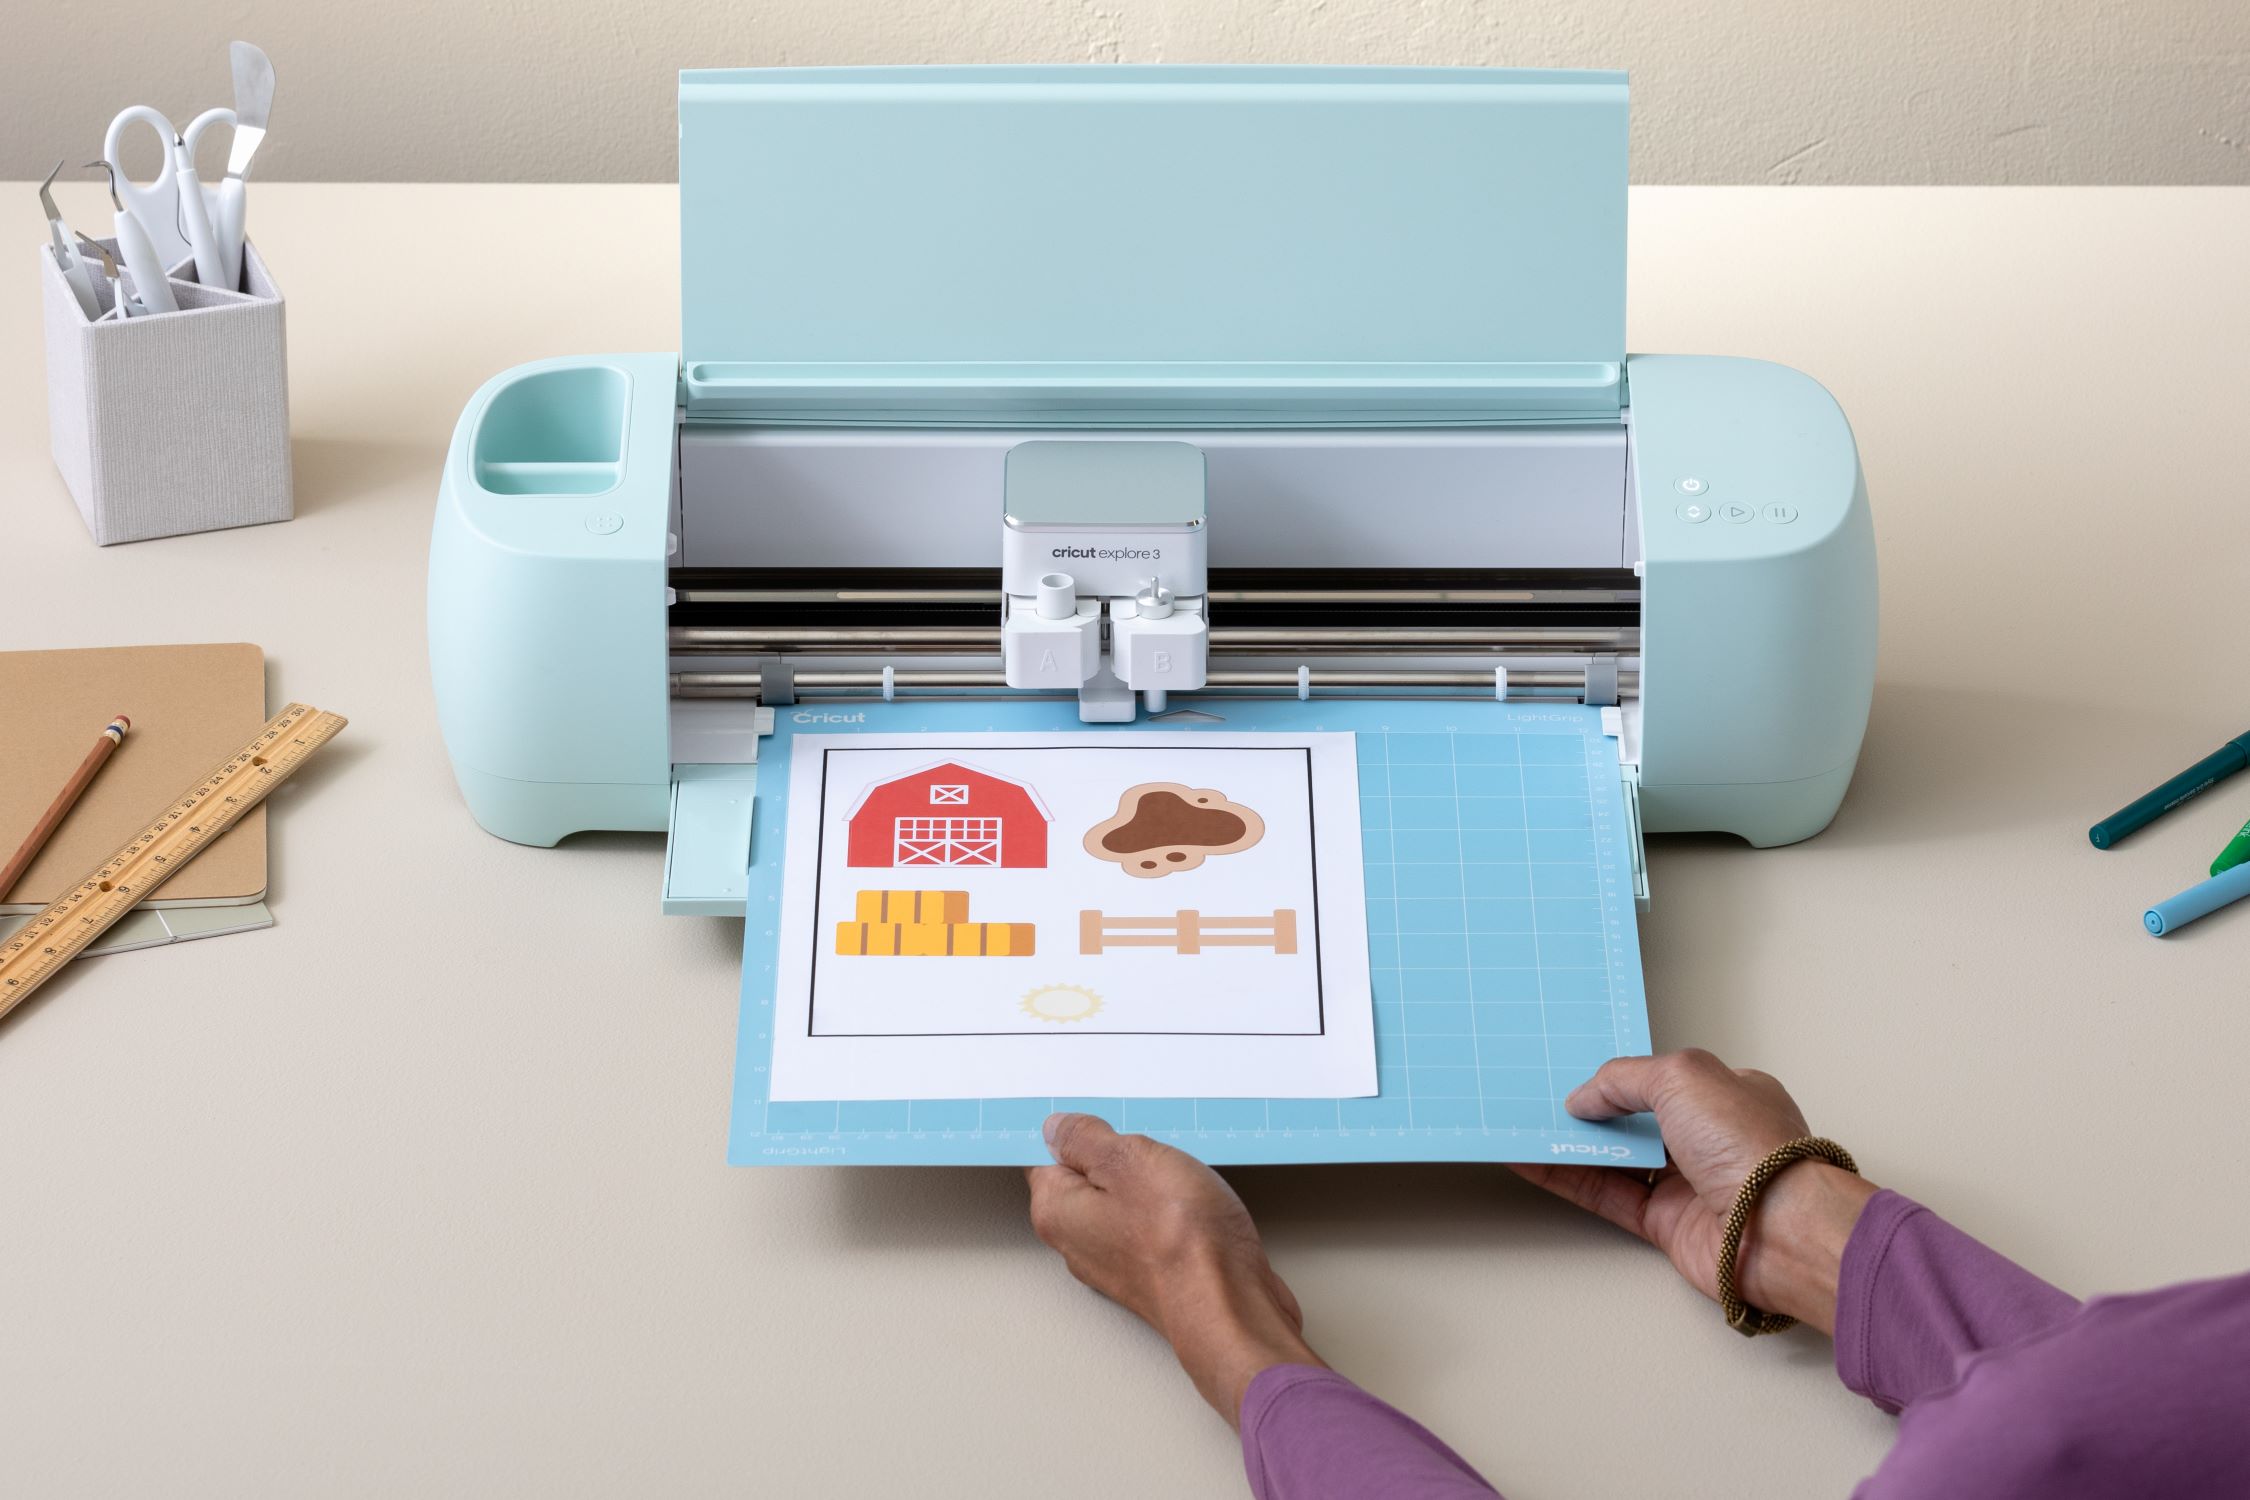
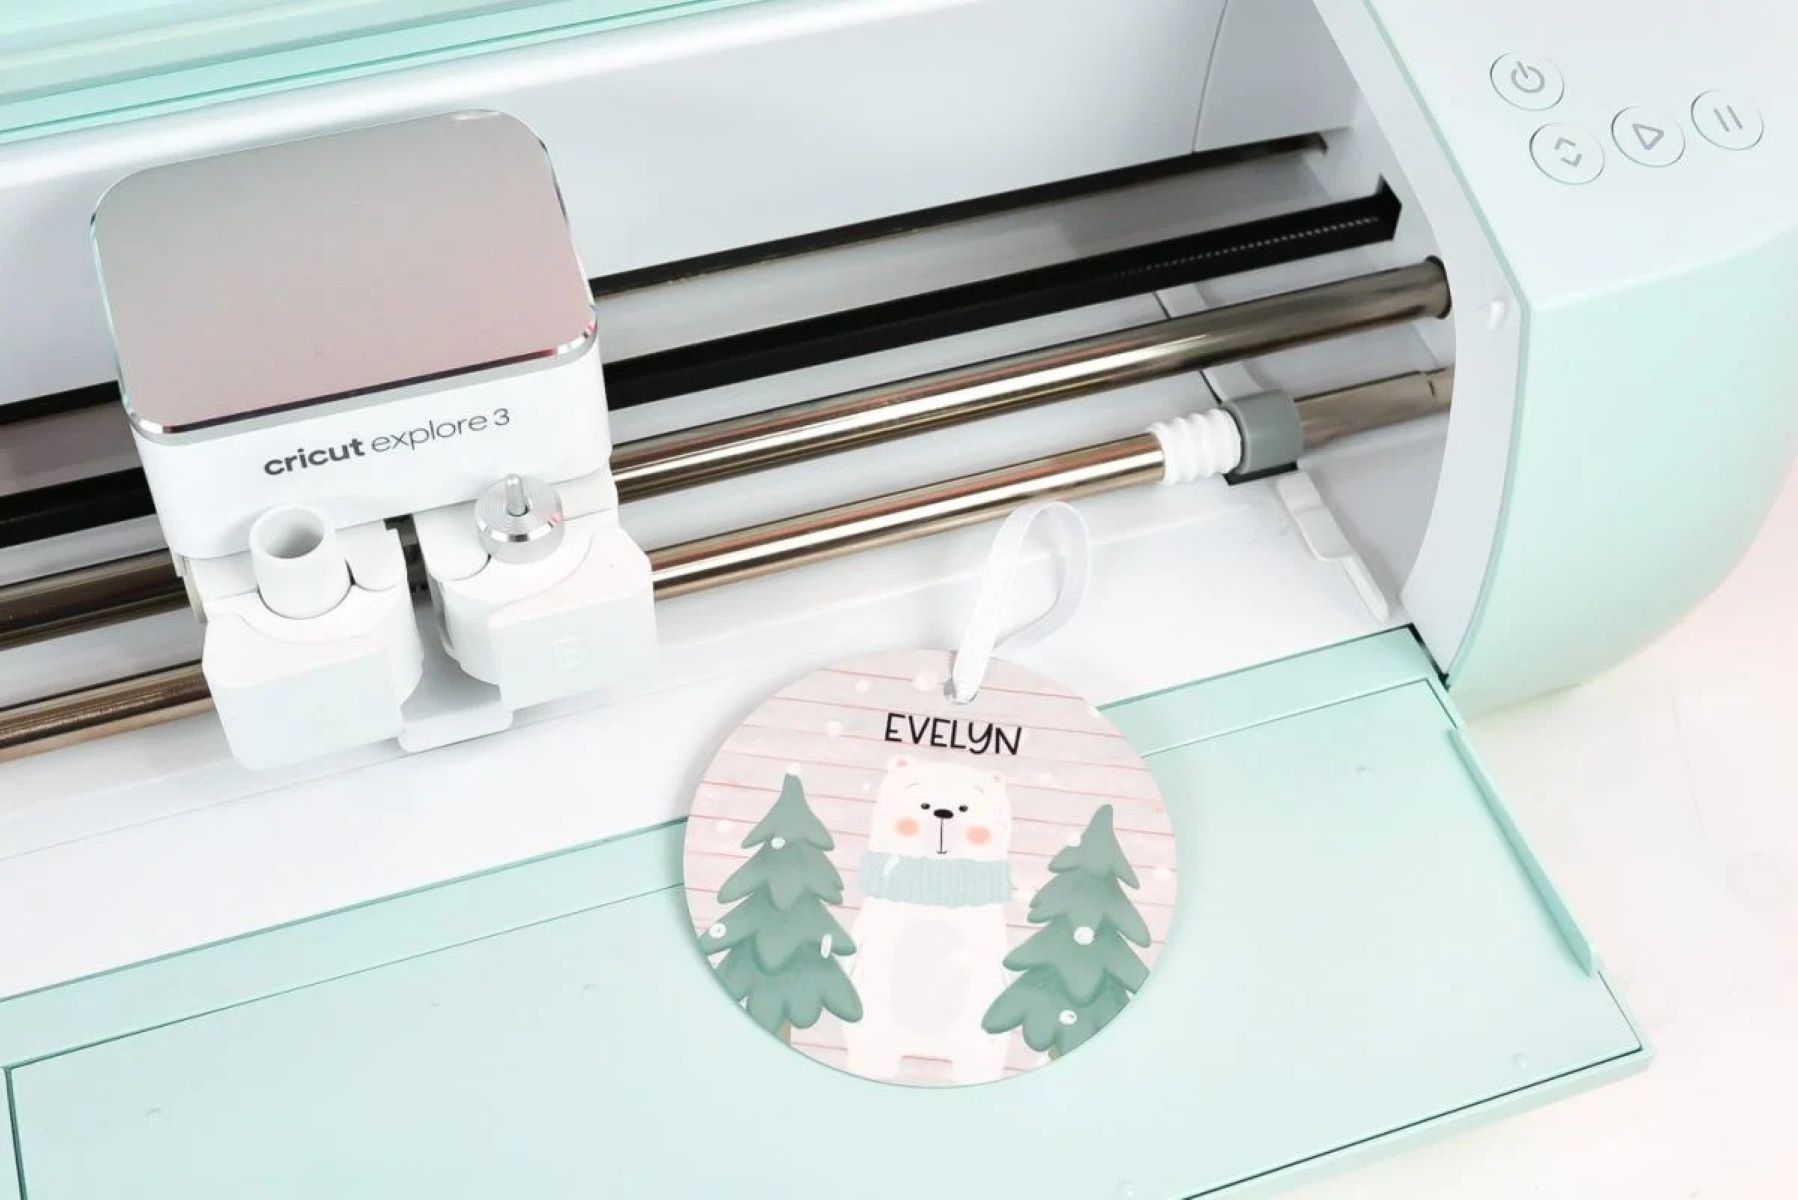
Cutting Vinyl with Your Cricut
When it comes to cutting vinyl with your Cricut machine, precision is key to achieving professional-looking results. Here's a detailed guide to mastering the art of cutting vinyl with your Cricut:
-
Selecting the Right Settings: In the Cricut Design Space software, choose the appropriate material setting for the type of vinyl you're using. Whether it's permanent vinyl, removable vinyl, heat transfer vinyl (HTV), or adhesive foil, selecting the correct settings ensures that the machine applies the ideal amount of pressure and speed for clean cuts.
-
Loading the Vinyl: Place the vinyl onto a cutting mat, ensuring that it is smooth and free from wrinkles or bubbles. Secure the vinyl onto the mat, aligning it with the grid lines for accuracy. Gently smooth out the vinyl to ensure proper adhesion to the mat.
-
Setting the Blade Depth: Adjust the blade depth based on the thickness of the vinyl. The blade should penetrate the vinyl material without cutting through the backing paper. Perform a test cut if necessary to fine-tune the blade depth before proceeding with your design.
-
Sending the Design to the Machine: Once your design is ready in the Cricut Design Space, send it to the machine for cutting. Ensure that the machine is properly connected and powered on. Follow the on-screen prompts to initiate the cutting process.
-
Monitoring the Cut: Keep a close eye on the cutting process, especially during the initial cuts. This allows you to ensure that the blade is cutting through the vinyl without causing any tearing or misalignment. If you notice any issues, such as incomplete cuts or jagged edges, pause the machine and make necessary adjustments before resuming.
-
Unloading the Mat: Once the cutting is complete, carefully remove the cutting mat from the machine. Gently peel off the excess vinyl from around your design, leaving the desired cutouts on the mat.
-
Weeding the Design: Use a weeding tool to remove the excess vinyl from the backing sheet, leaving behind the intricate design or lettering. Take your time and work methodically to avoid accidentally removing parts of the design.
-
Transferring the Vinyl: If your design requires transfer to another surface, use transfer tape to lift the vinyl from the backing sheet and position it onto the target surface. Smooth out the vinyl to ensure proper adhesion, then carefully remove the transfer tape to reveal the completed design.
By following these steps, you can master the art of cutting vinyl with your Cricut machine, allowing you to create intricate and professional-quality designs for a wide range of projects.
Read more: How To Add Printer To Cricut
Weeding and Transferring Vinyl
Weeding is a crucial step in the vinyl crafting process that involves removing the excess vinyl from around the design or lettering. This meticulous task requires patience and precision to ensure that the final design appears clean and professional. Here's a detailed guide to mastering the weeding and transferring process for your Cricut vinyl projects:
Weeding the Design
-
Start Small: Begin by identifying a corner or edge of the design where you can gently lift the excess vinyl using a weeding tool or craft tweezers. Carefully peel back the unwanted vinyl, working gradually to avoid damaging the intricate parts of the design.
-
Detail Work: As you progress, focus on the finer details of the design, such as small letters or intricate shapes. Use the weeding tool to lift and remove the tiny vinyl pieces, ensuring that the desired design remains intact.
-
Patience is Key: Take your time during the weeding process, especially for complex designs. Working methodically and patiently prevents accidental removal of essential parts of the design and ensures a flawless outcome.
-
Inspect the Design: Once the weeding is complete, inspect the design to ensure that all unwanted vinyl has been removed. Check for any stray pieces or imperfections that may affect the final appearance of the design.
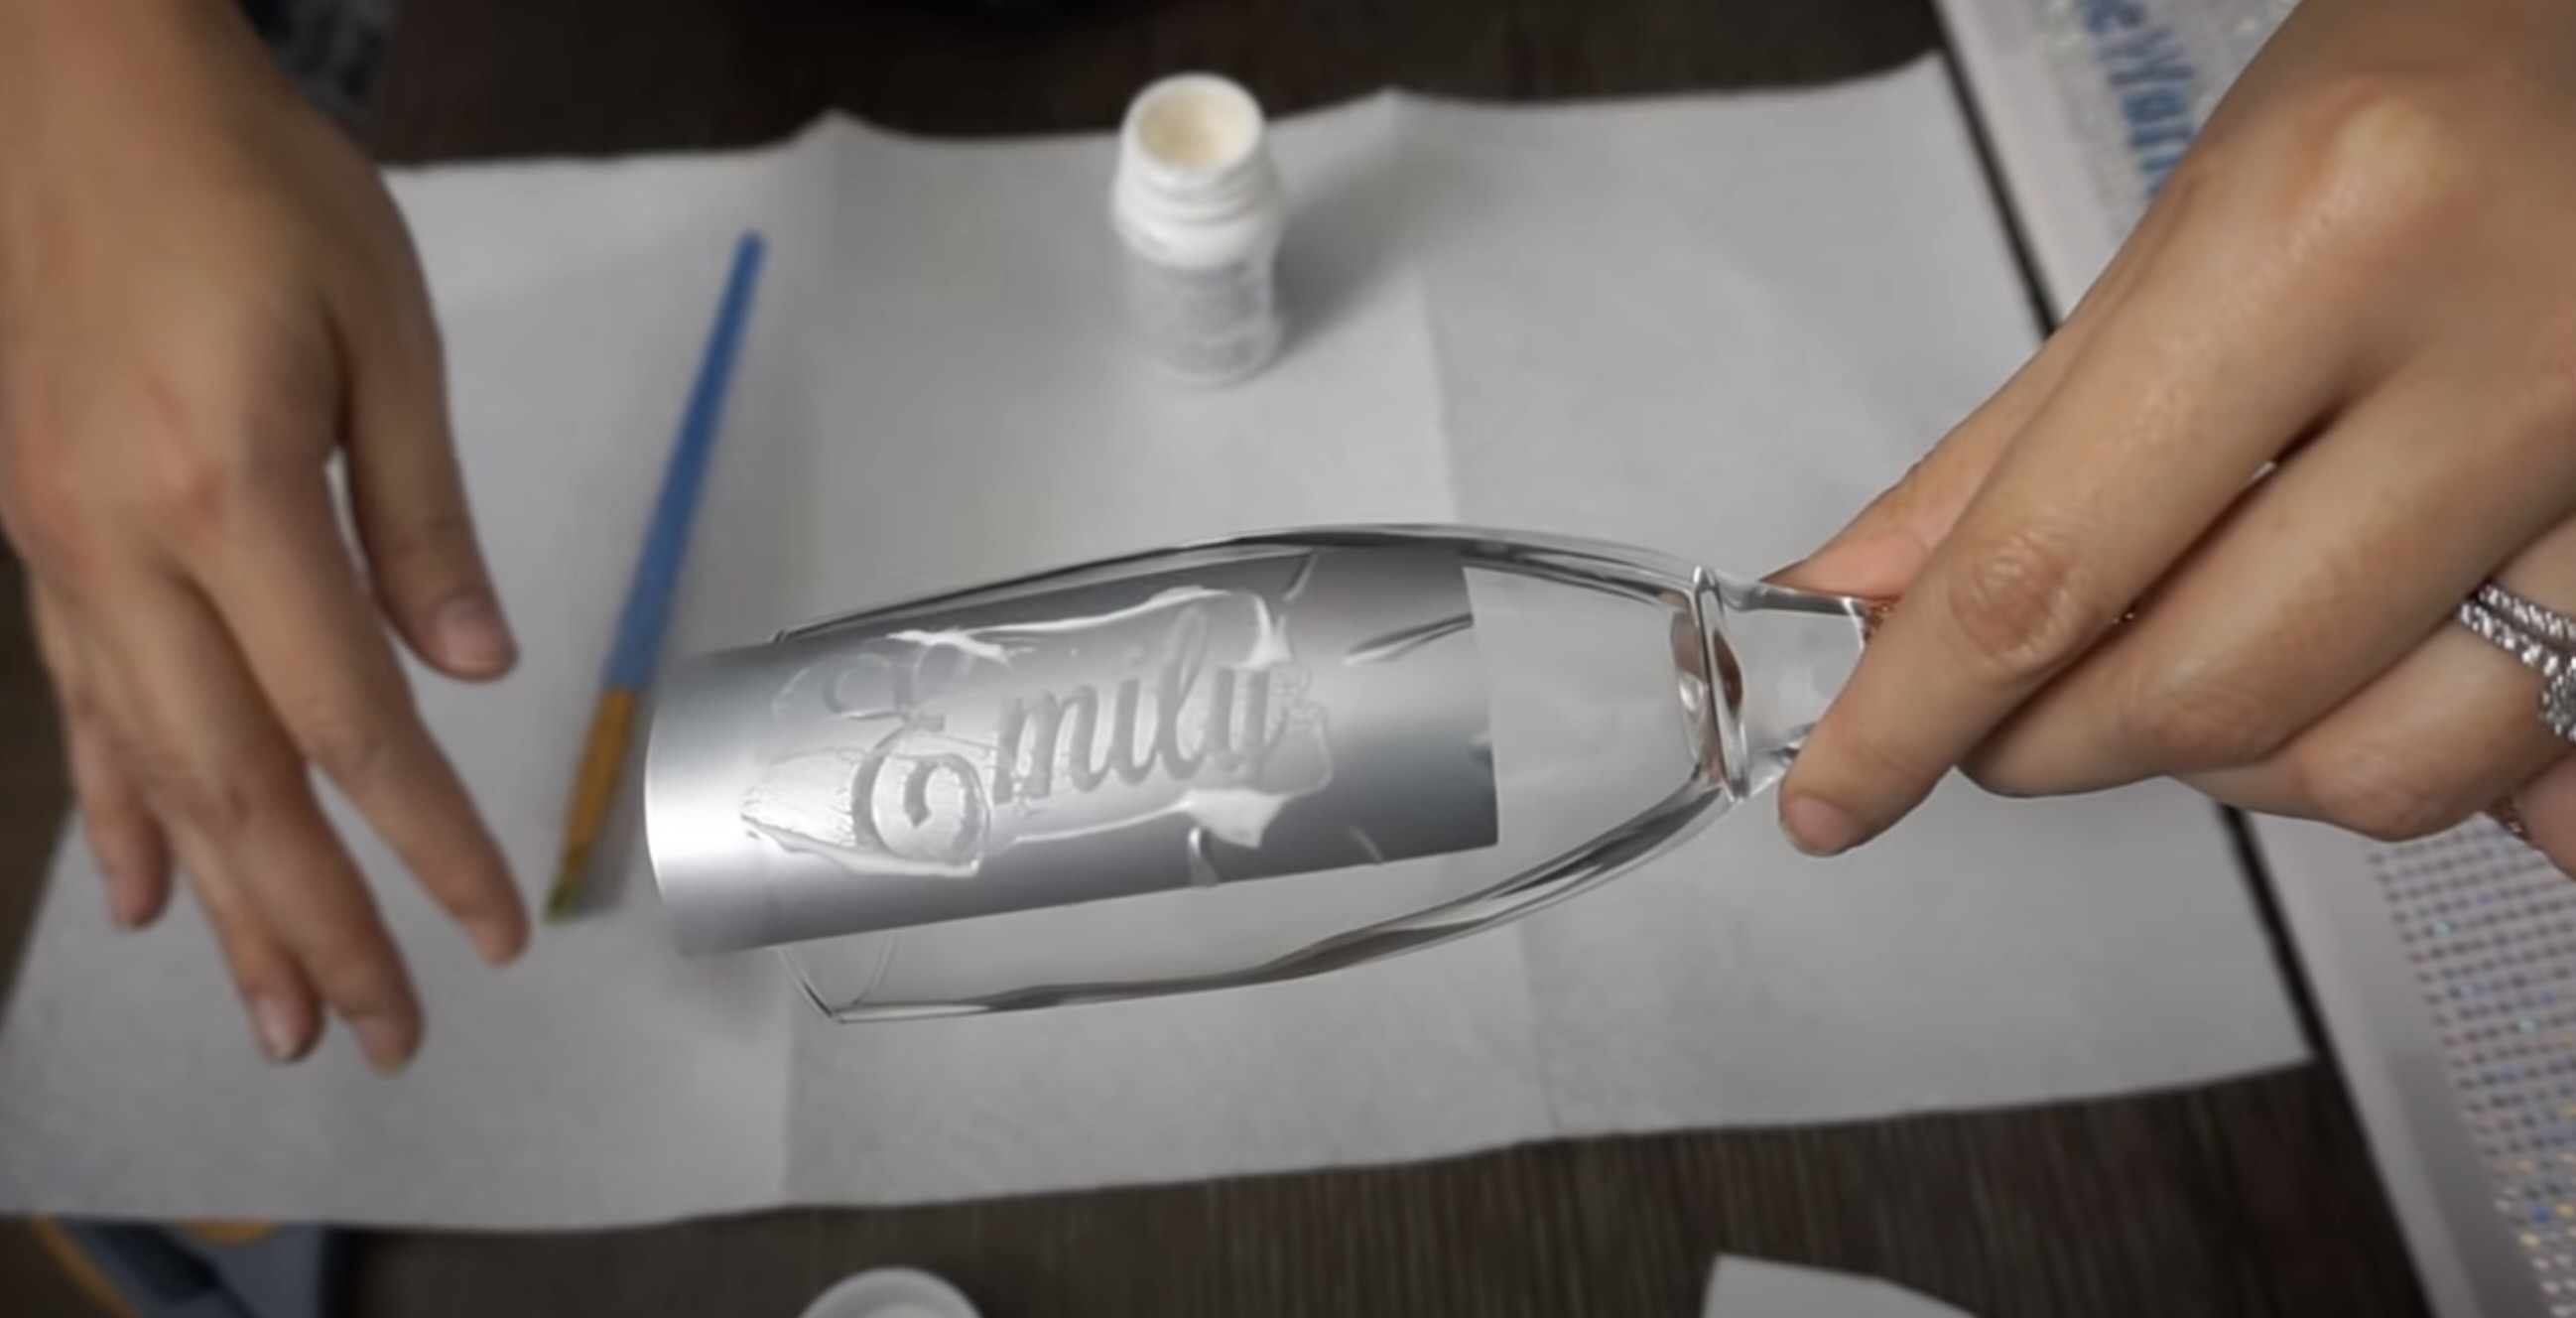
Transferring the Vinyl
-
Prepare Transfer Tape: Cut a piece of transfer tape slightly larger than the size of your design. Carefully peel the backing from the transfer tape, ensuring that it remains free from wrinkles or creases.
-
Positioning the Transfer Tape: Place the sticky side of the transfer tape onto the weeded vinyl design, starting from one edge and gradually smoothing it over the entire design. Use a scraper tool or squeegee to ensure firm adhesion between the vinyl and the transfer tape.
-
Lifting the Design: Gently lift the transfer tape, bringing the vinyl design along with it. The design should adhere to the transfer tape, allowing you to reposition it onto the desired surface without losing its shape or alignment.
-
Applying the Design: Carefully position the transfer tape with the vinyl design onto the target surface, ensuring that it is aligned and centered as intended. Use the scraper tool to firmly press the vinyl onto the surface, ensuring proper adhesion.
-
Removing the Transfer Tape: Slowly peel back the transfer tape at a sharp angle, ensuring that the vinyl design remains attached to the surface. Take your time during this process to prevent any lifting or misalignment of the design.
By mastering the weeding and transferring process, you can achieve professional-looking results with your Cricut vinyl projects, whether it's intricate designs, lettering, or decorative elements for various applications.
Storing Your Vinyl and Tools
Proper storage of your Cricut vinyl and tools is essential for maintaining their quality and prolonging their lifespan. Here's a comprehensive guide to organizing and storing your vinyl rolls, sheets, and essential crafting tools:
Read more: How To Store Cricut Pens
Vinyl Storage Solutions
-
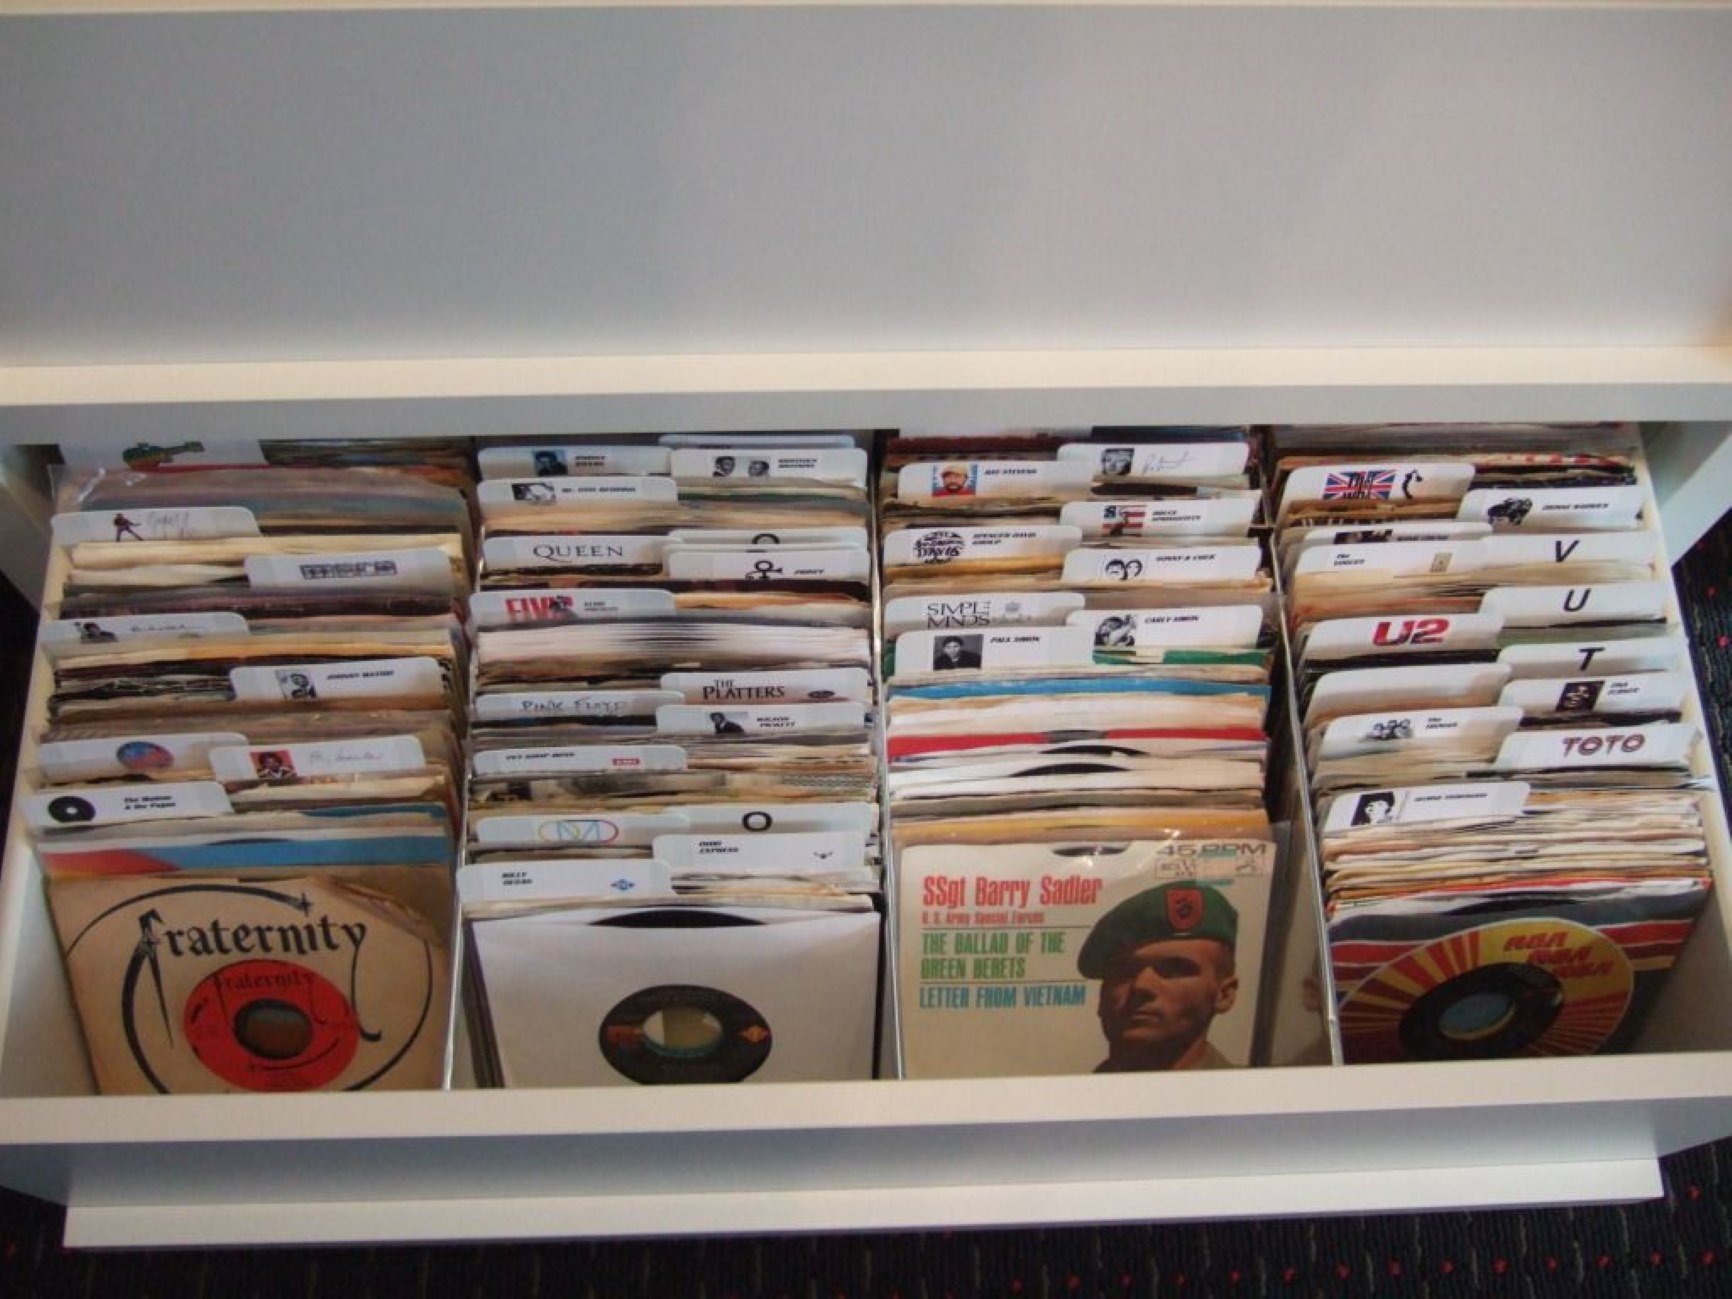
Vertical Storage: Consider storing your vinyl rolls vertically in a designated storage rack or organizer. This method prevents the vinyl from becoming creased or warped, ensuring that it remains in optimal condition for future use.
-
Clear Plastic Bins: Utilize clear plastic bins or containers to store individual vinyl rolls or sheets. Clear containers allow you to easily identify the colors and types of vinyl without the need to rummage through multiple containers.
-
Labeling: Label each storage container with the color, type, and specifications of the vinyl it contains. This labeling system streamlines the process of locating specific vinyl materials for your projects.
-
Climate-Controlled Environment: Store your vinyl in a cool, dry, and climate-controlled environment to prevent exposure to extreme temperatures or humidity, which can affect the adhesive properties and overall quality of the vinyl.
Tool Organization
-
Tool Caddy or Organizer: Invest in a tool caddy or organizer to keep your essential crafting tools, such as weeding tools, scissors, and application squeegees, neatly arranged and easily accessible.
-
Drawer Dividers: If you prefer storing your tools in drawers, use drawer dividers to create designated compartments for each type of tool. This prevents them from becoming tangled or misplaced.
-
Wall-Mounted Tool Rack: Consider installing a wall-mounted tool rack near your workspace to hang frequently used tools, keeping them within arm's reach while maximizing workspace efficiency.
-
Portable Tool Tote: For crafting on the go, use a portable tool tote with compartments to store and transport your essential Cricut tools to different locations or crafting events.
Vinyl Roll Management
-
Rubber Bands or Velcro Straps: Use rubber bands or Velcro straps to secure partially used vinyl rolls, preventing them from unraveling and becoming damaged during storage.
-
Core Organization: If you have multiple vinyl rolls, consider organizing them by core size to optimize storage space and maintain a tidy collection.
-
Storage Rotation: Periodically rotate the position of your vinyl rolls to prevent prolonged pressure on specific areas, ensuring that the vinyl maintains its shape and adhesive quality.
By implementing these storage solutions and organization tips, you can maintain a well-organized and efficient workspace for your Cricut vinyl projects while preserving the quality of your vinyl materials and essential crafting tools.
Tips for Organizing Vinyl Projects
-
Color Coding: Consider implementing a color-coding system for your vinyl rolls and sheets. Assign specific colors or patterns to different categories or project types, making it easier to locate the desired vinyl for each project.
-
Project Planning: Before starting a new project, plan and gather all the necessary vinyl colors and types. This prevents interruptions during the crafting process and ensures a smooth workflow from design to completion.
-
Inventory Management: Regularly take inventory of your vinyl collection to track the quantity, colors, and types of vinyl you have on hand. This helps avoid duplicate purchases and ensures that you always have the right materials for your projects.
-
Project Log: Keep a project log or planner to record details of each completed project, including the vinyl types used, design specifications, and any challenges encountered. This serves as a valuable reference for future projects and allows you to track your progress and improvements.
-
Workspace Maintenance: Dedicate time to tidy up your workspace after completing each project. Properly store the remaining vinyl, clean your tools, and organize your work surface to maintain an efficient and inviting crafting environment.
-
Inspiration Catalog: Create a digital or physical catalog of design inspirations, color schemes, and project ideas. This serves as a valuable resource for brainstorming and planning future vinyl projects, ensuring a constant source of creative inspiration.
-
Collaborative Storage: If you share your crafting space with others, establish clear storage guidelines and collaborative organization methods to ensure that everyone can easily locate and return vinyl materials and tools to their designated spaces.
-
Material Testing: Before using a new type of vinyl for a project, conduct test cuts and application trials to familiarize yourself with its properties and adhesion. This helps prevent unexpected challenges during the actual project.
-
Community Engagement: Join online crafting communities or forums to exchange organizing tips, project ideas, and troubleshooting advice with fellow Cricut enthusiasts. Engaging with a supportive community can provide valuable insights and inspiration for organizing and executing vinyl projects.
By incorporating these tips into your vinyl project organization, you can streamline your crafting process, maintain a well-organized workspace, and maximize the creative potential of your Cricut vinyl projects.
Frequently Asked Questions about How To Organize Cricut Vinyl
Was this page helpful?
At Storables.com, we guarantee accurate and reliable information. Our content, validated by Expert Board Contributors, is crafted following stringent Editorial Policies. We're committed to providing you with well-researched, expert-backed insights for all your informational needs.

0 thoughts on “How To Organize Cricut Vinyl”