Home>Storage & Organization>Kitchen Organizing Tools>How To Change A Scoopfree Litter Box
Kitchen Organizing Tools
How To Change A Scoopfree Litter Box
Published: February 23, 2024
Learn how to change a Scoopfree litter box with our essential kitchen organizing tools. Keep your space clean and tidy effortlessly.
(Many of the links in this article redirect to a specific reviewed product. Your purchase of these products through affiliate links helps to generate commission for Storables.com, at no extra cost. Learn more)
Introduction
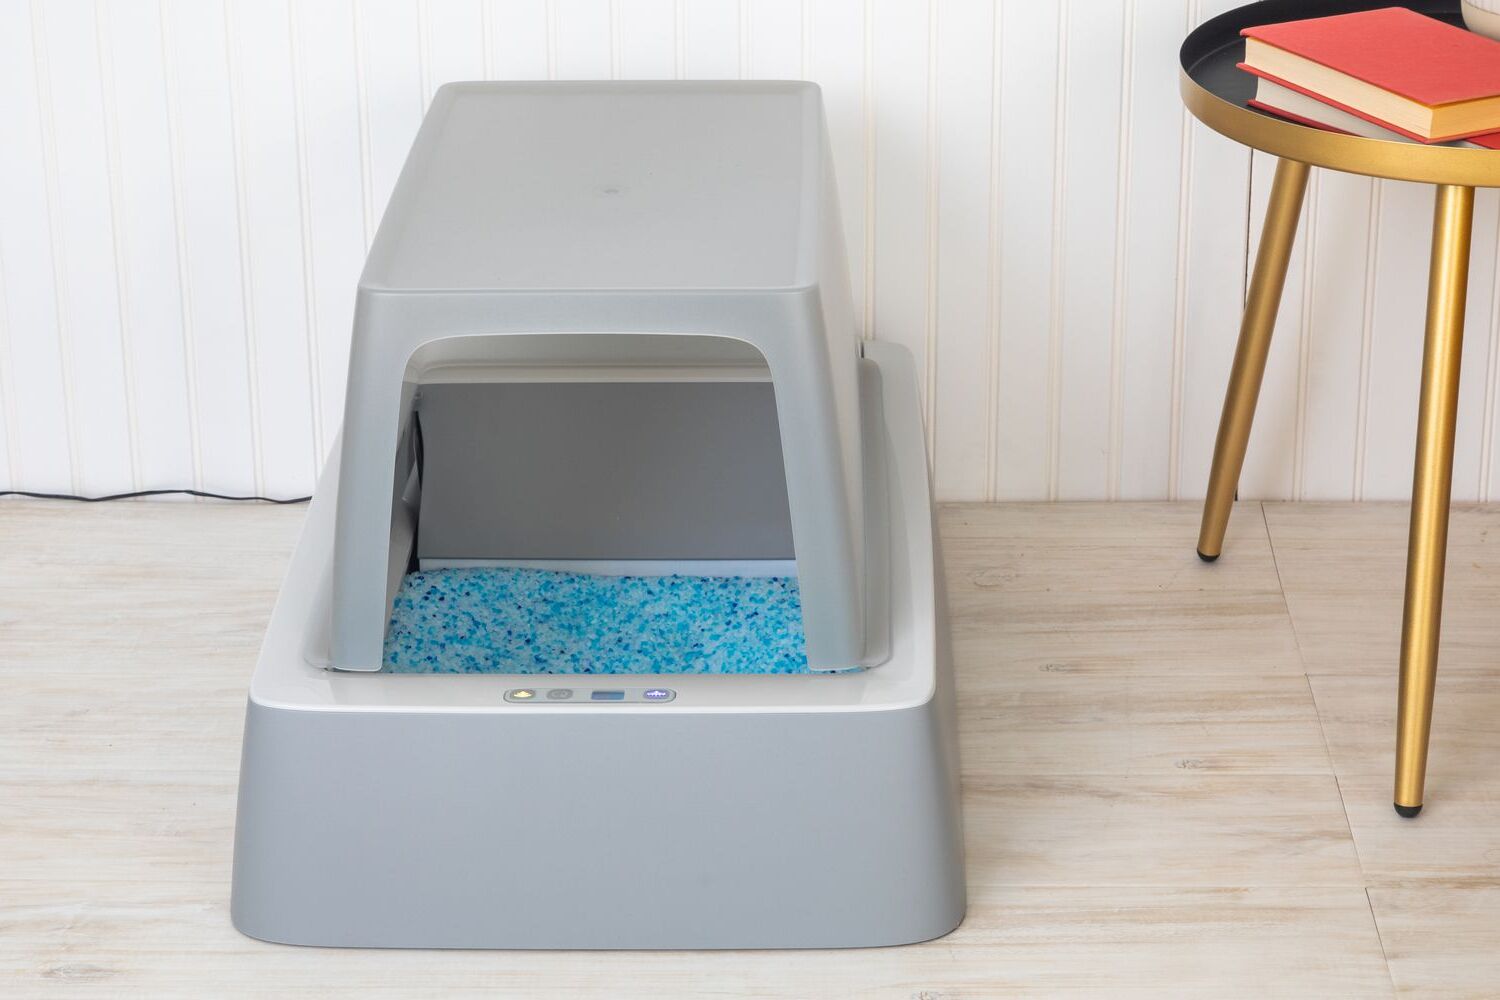
Changing the litter in your ScoopFree self-cleaning litter box is an essential part of maintaining a clean and odor-free environment for your feline friend. Regularly replacing the litter tray ensures that your cat has a fresh and hygienic space to do their business, while also minimizing unpleasant odors in your home. While the thought of changing the litter box may seem daunting at first, fear not! With the right guidance and a few simple steps, you can effortlessly complete this task and keep your cat's litter box in top-notch condition.
In this comprehensive guide, we will walk you through the step-by-step process of changing the litter in your ScoopFree litter box. Whether you're a seasoned pet owner or a first-time cat parent, this guide will equip you with the knowledge and confidence to tackle this essential chore with ease. By following these instructions, you'll ensure that your cat's litter box remains a clean and inviting space for your beloved pet.
So, grab your supplies and get ready to embark on this quick and straightforward journey to a fresher, cleaner litter box for your furry companion. With a few simple steps, you'll be well on your way to maintaining a hygienic and pleasant environment for both you and your cat. Let's dive in and learn how to change the litter in your ScoopFree litter box!
Key Takeaways:
- Keep your cat’s litter box clean and odor-free by following these simple steps to change the litter in your ScoopFree box. With the right supplies and precautions, you can ensure a hygienic environment for your feline friend.
- By turning off, removing, and replacing the litter tray in your ScoopFree box, you can provide your cat with a fresh and inviting space for their essential needs. Follow the steps to maintain a clean and comfortable environment for your beloved pet.
Step 1: Gather Necessary Supplies
Before embarking on the task of changing the litter in your ScoopFree self-cleaning litter box, it's essential to gather all the necessary supplies. Having the right tools at hand will streamline the process and ensure a smooth and efficient litter replacement. Here's a comprehensive list of supplies you'll need for this task:
-
Replacement Litter Tray: Ensure that you have a new, compatible litter tray specifically designed for your ScoopFree litter box. These trays are equipped with a disposable litter cartridge, making them convenient and easy to replace.
-
Disposable Gloves: It's advisable to wear disposable gloves to maintain hygiene and minimize direct contact with used litter and waste.
-
Trash Bags: Have a few sturdy trash bags on hand for the disposal of the used litter tray. Opt for bags with ample capacity to accommodate the entire tray without risk of leakage.
-
Cleaning Wipes or Paper Towels: Keeping cleaning wipes or paper towels nearby will allow you to quickly tidy up any stray litter or spills during the replacement process.
-
Optional: Odor Control Spray or Litter Deodorizer: If desired, you may choose to have an odor control spray or litter deodorizer on hand to freshen up the litter box area after the replacement.
-
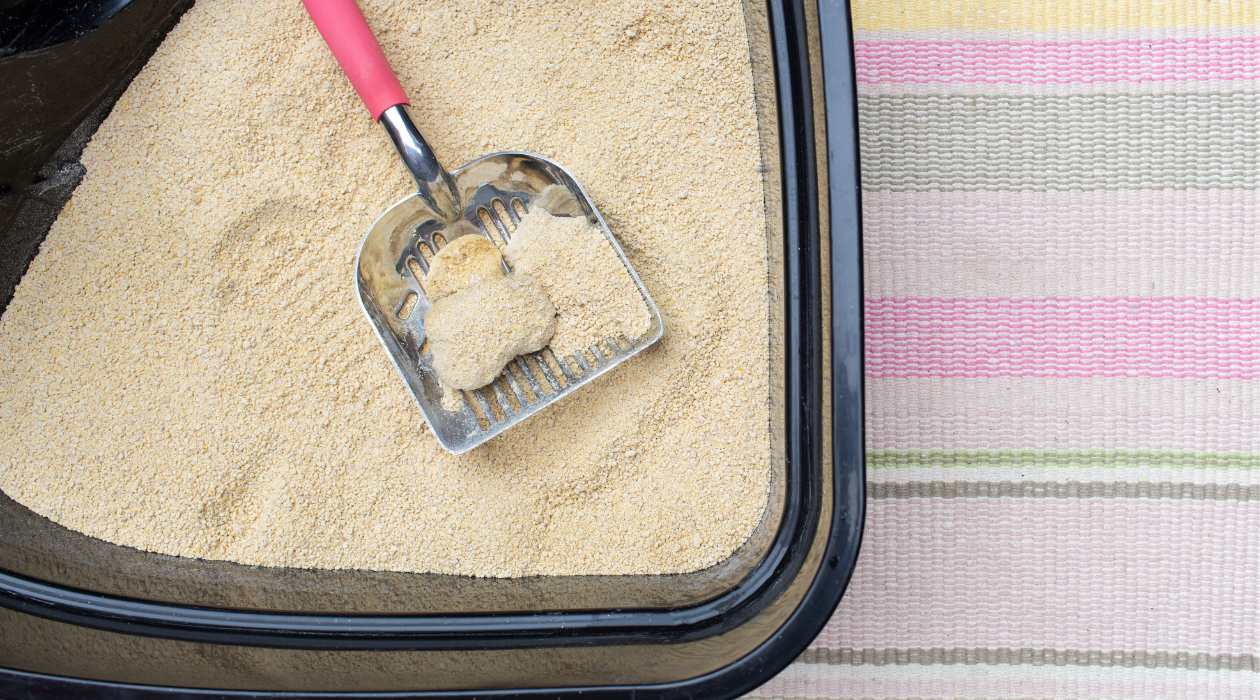
Optional: Scoop or Litter Scooper: While the ScoopFree litter box is designed for self-cleaning, having a scoop or litter scooper can be handy for tidying up any residual litter around the box.
By ensuring that you have all these supplies within reach, you'll be well-prepared to proceed with confidence to the next step of the litter replacement process. With these essentials at your disposal, you can look forward to a hassle-free and efficient experience as you maintain a clean and inviting environment for your feline companion.
Step 2: Turn Off and Unplug the Litter Box
Before proceeding with the replacement of the litter tray, it is crucial to ensure the safety of both you and your feline friend by turning off and unplugging the ScoopFree litter box. This step is essential to prevent any potential mishaps and to create a safe environment for the litter replacement process.
To begin, locate the power cord connected to the ScoopFree litter box. Carefully follow the cord to its point of connection, typically located at the back or side of the unit. Once you have identified the plug, gently disconnect it from the power outlet. This simple action ensures that the litter box is completely powered down and eliminates the risk of electrical accidents during the litter replacement.
Turning off and unplugging the litter box serves as a precautionary measure, safeguarding both you and your cat from any unexpected activation of the self-cleaning mechanism during the replacement process. By taking this proactive step, you create a secure environment in which you can confidently proceed with the subsequent steps of the litter tray replacement.
Additionally, unplugging the litter box minimizes the risk of any accidental spills or messes caused by the self-cleaning mechanism. This further contributes to a smooth and hassle-free litter replacement experience, allowing you to focus on maintaining a clean and hygienic environment for your cat without any unnecessary interruptions.
By following this crucial step of turning off and unplugging the litter box, you set the stage for a safe and efficient litter tray replacement process. With the power source disconnected, you can proceed to the next steps with peace of mind, knowing that you have taken the necessary precautions to ensure a smooth and incident-free experience for both you and your beloved feline companion.
Step 3: Remove the Used Litter Tray
With the ScoopFree litter box safely turned off and unplugged, it's time to proceed to the next crucial step: removing the used litter tray. This step is pivotal in maintaining a clean and hygienic environment for your cat, and it sets the stage for the seamless replacement of the litter tray.
Begin by locating the compartment or drawer that houses the used litter tray within the ScoopFree litter box. Depending on the specific model of your ScoopFree unit, this compartment is typically accessible from the front or side of the litter box. Gently pull open the compartment to reveal the used litter tray nestled within.
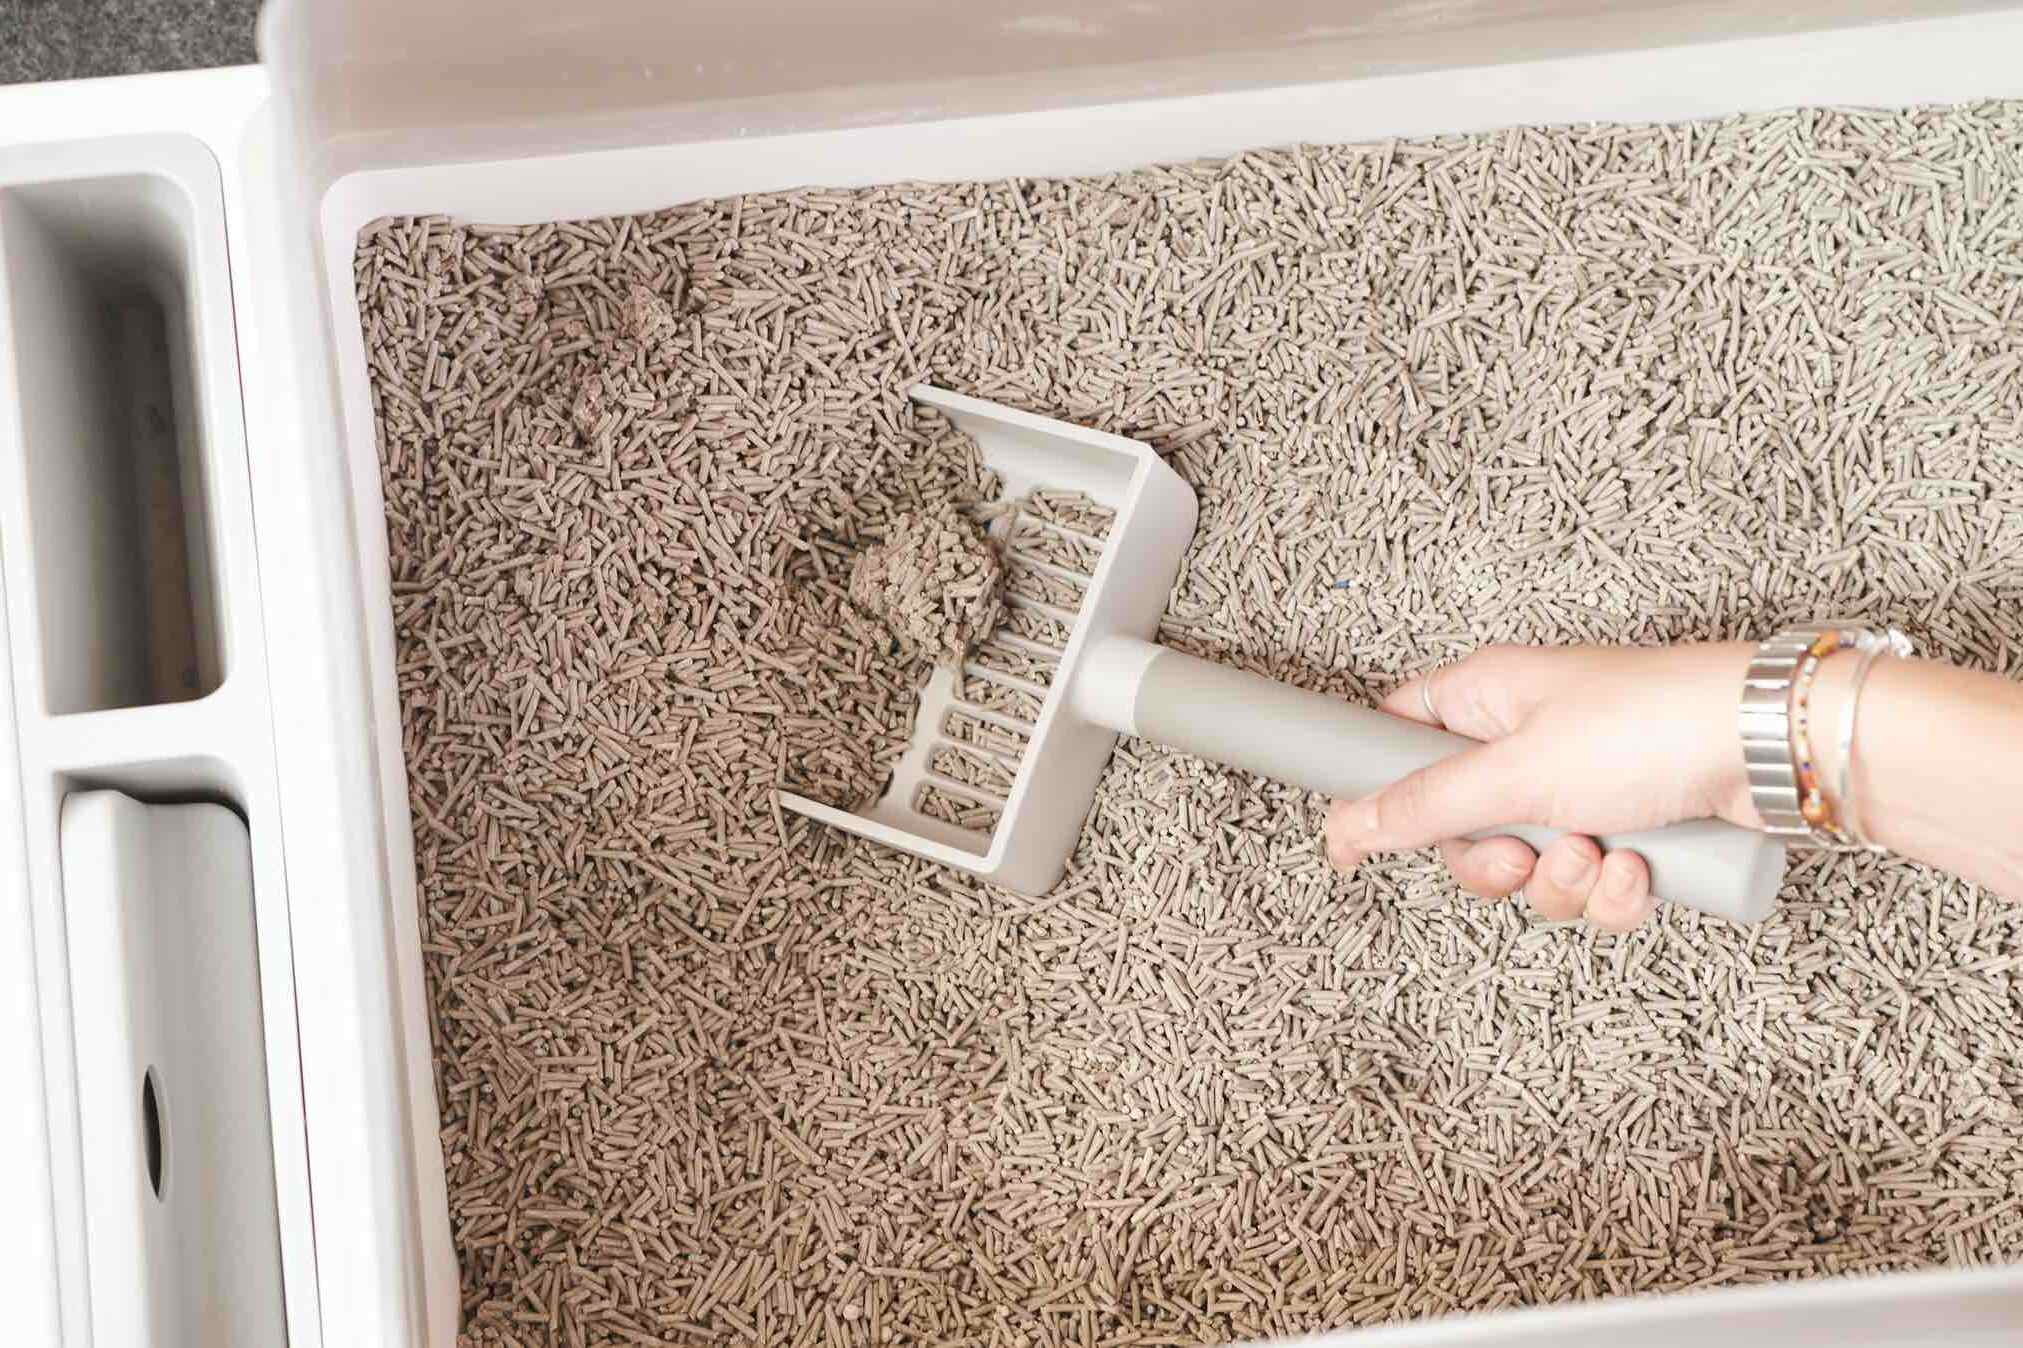
Using caution and ensuring a firm grip, carefully lift the used litter tray out of the compartment. It's important to handle the tray with care, especially if it contains any residual waste or clumps of used litter. If you're wearing disposable gloves, this is the ideal time to make use of them to maintain hygiene and minimize direct contact with the used litter.
As you remove the used litter tray, be mindful of any loose litter or debris that may have accumulated around the tray or within the compartment. Taking a moment to tidy up any stray litter at this stage will contribute to a cleaner and more organized environment as you proceed with the replacement process.
Once the used litter tray has been successfully removed from the compartment, place it in a designated area for disposal. It's advisable to have a sturdy trash bag ready to accommodate the used litter tray, ensuring that it is securely sealed to prevent any spillage or odors.
By carefully and methodically removing the used litter tray from the ScoopFree litter box, you pave the way for the subsequent steps of the replacement process. This pivotal step not only facilitates the maintenance of a clean and odor-free environment for your cat but also sets the stage for the seamless insertion of a fresh litter tray, ensuring that your feline companion has a hygienic and inviting space for their essential needs.
With the used litter tray safely removed and disposed of, you're now prepared to proceed to the next step of inserting a new litter tray into the ScoopFree litter box, continuing the journey toward a clean and comfortable environment for your beloved pet.
When changing the Scoopfree litter box, make sure to unplug the unit first. Remove the used litter tray and replace it with a new one. Dispose of the used tray properly. Plug the unit back in and reset the counter if necessary.
Step 4: Dispose of the Used Litter Tray
Once the used litter tray has been carefully removed from the ScoopFree litter box, the next crucial step is to ensure its proper disposal. This process not only contributes to maintaining a clean and hygienic environment for your cat but also plays a vital role in minimizing any potential odors or mess associated with the used litter tray.
To begin the disposal process, it's essential to have a sturdy and reliable trash bag readily available. Opt for a bag with ample capacity to accommodate the entire used litter tray, ensuring that it can be securely sealed to prevent any spillage or odors from escaping. Placing the used litter tray directly into the trash bag helps contain any residual waste and used litter, maintaining a clean and odor-free environment throughout the disposal process.
As you carefully lower the used litter tray into the trash bag, be mindful of maintaining a firm grip to prevent any accidental spills or messes. If the used litter tray contains any clumps of waste or residual litter, take care to ensure that these are fully contained within the bag, further contributing to a clean and hygienic disposal process.
Once the used litter tray is securely placed within the trash bag, it's advisable to tie the bag securely to seal in the contents. This step not only prevents any potential odors from escaping but also ensures that the used litter tray is safely contained for disposal. By securely sealing the bag, you create a clean and hygienic environment, minimizing any potential odors or mess associated with the disposal process.
With the used litter tray safely contained and sealed within the trash bag, it's ready for proper disposal. Depending on your local waste disposal regulations, you can proceed to place the sealed trash bag containing the used litter tray in your designated outdoor waste receptacle. Alternatively, if there are specific guidelines for the disposal of pet waste in your area, be sure to adhere to these regulations to ensure responsible and environmentally friendly disposal.
By following these steps to properly dispose of the used litter tray, you contribute to maintaining a clean, hygienic, and odor-free environment for both you and your feline companion. This essential process sets the stage for the seamless insertion of a fresh litter tray, ensuring that your cat has a clean and inviting space for their essential needs.
Read more: How Does Scoopfree Litter Box Work?
Step 5: Insert a New Litter Tray
With the used litter tray safely disposed of and the ScoopFree litter box prepared for the next phase, it's time to proceed with the pivotal step of inserting a new litter tray. This step is essential in maintaining a clean and hygienic environment for your cat, providing them with a fresh and inviting space for their essential needs.
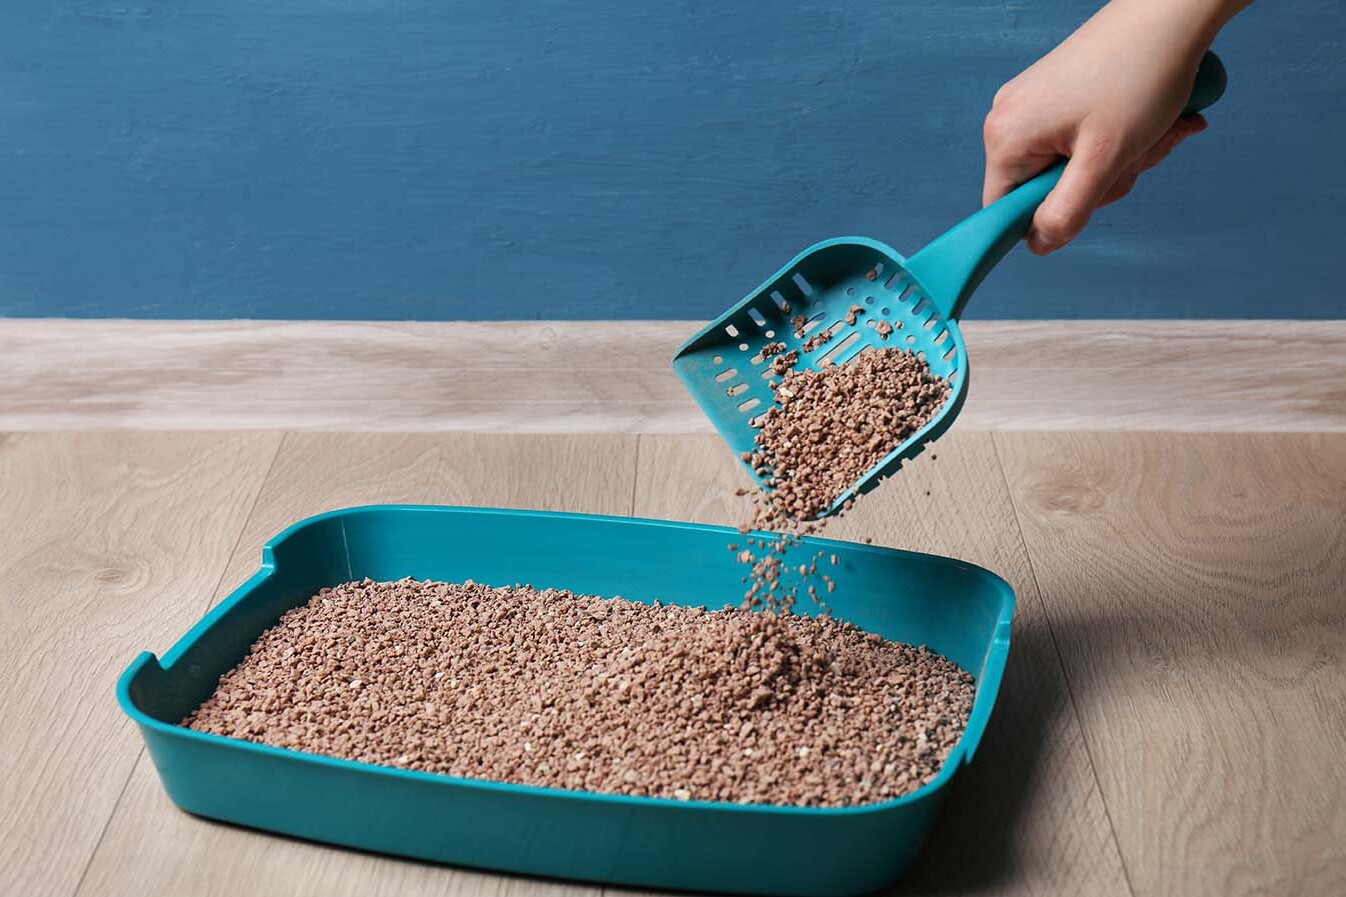
Begin by ensuring that you have a new, compatible litter tray specifically designed for your ScoopFree litter box. These replacement trays are equipped with a disposable litter cartridge, making them convenient and easy to install. Carefully unpack the new litter tray, taking care to handle it with clean hands or disposable gloves to maintain hygiene.
Locate the compartment or drawer within the ScoopFree litter box where the new litter tray will be inserted. Depending on the specific model of your ScoopFree unit, this compartment is typically accessible from the front or side of the litter box. Gently open the compartment to reveal the space where the new litter tray will be placed.
With the compartment open and ready, position the new litter tray securely within the designated space. Ensure that the tray is aligned correctly and sits flush within the compartment, allowing for smooth and unhindered operation of the self-cleaning mechanism. Taking a moment to confirm the proper placement of the new litter tray sets the stage for a seamless and efficient replacement process.
Once the new litter tray is securely in place, take a moment to tidy up the surrounding area, ensuring that any stray litter or debris is neatly contained. Using cleaning wipes or paper towels, quickly wipe down the exterior of the litter box to maintain a clean and polished appearance. This attention to detail contributes to a tidy and inviting environment for your cat, ensuring that their litter box remains a comfortable and hygienic space.
By successfully inserting a new litter tray into the ScoopFree litter box, you have taken a significant step toward maintaining a clean and inviting environment for your feline companion. This essential process ensures that your cat has a fresh and hygienic space for their essential needs, contributing to their overall well-being and comfort.
With the new litter tray securely in place, you're now prepared to proceed to the next step of turning on and testing the ScoopFree litter box, ensuring that the replacement process is complete and that your cat's litter box is ready to provide a clean and comfortable environment for your beloved pet.
Step 6: Turn On and Test the Litter Box
With the new litter tray securely in place, the final step in the process of changing the litter in your ScoopFree self-cleaning litter box is to turn on and test the unit. This crucial step ensures that the replacement process is complete and that the litter box is ready to resume its essential function of providing a clean and comfortable environment for your beloved pet.
Begin by carefully reconnecting the power cord of the ScoopFree litter box to the designated power outlet. Ensure that the plug is securely inserted, and take a moment to confirm that the connection is stable and free from any potential hazards. Once the power cord is securely in place, proceed to switch on the power to activate the litter box.
As the ScoopFree litter box powers up, take a moment to observe its operation. Listen for any unusual sounds or irregularities in the self-cleaning mechanism, ensuring that the unit is functioning smoothly and efficiently. As the litter box undergoes its initial startup process, it's normal for the self-cleaning mechanism to engage briefly as it readies itself for use.
To further test the functionality of the litter box, consider placing a small amount of clean litter within the tray to simulate your cat's typical usage. This allows you to observe the self-cleaning process in action, ensuring that the unit effectively rakes and disposes of waste, leaving behind a clean and fresh litter bed for your cat.
As the ScoopFree litter box completes its startup process and undergoes a test cycle, take note of any indicators or lights on the unit that provide information about its status. Familiarize yourself with the normal operating behavior of the litter box, ensuring that you can readily identify any potential issues or malfunctions that may arise in the future.
Once you have confirmed that the ScoopFree litter box is operating smoothly and efficiently, take a moment to tidy up the surrounding area, ensuring that any stray litter or debris is neatly contained. This final touch contributes to maintaining a clean and inviting environment for your cat, ensuring that their litter box remains a comfortable and hygienic space.
By successfully turning on and testing the ScoopFree litter box, you have completed the essential process of changing the litter in your self-cleaning litter box. With the unit operating smoothly and efficiently, you can rest assured that your cat's litter box is ready to provide a clean and comfortable environment for your beloved pet, contributing to their overall well-being and comfort.
Conclusion
Congratulations on successfully completing the process of changing the litter in your ScoopFree self-cleaning litter box! By following the step-by-step guide outlined in this comprehensive tutorial, you have taken a proactive and essential step toward maintaining a clean, hygienic, and inviting environment for your beloved feline companion.
As a responsible pet owner, your dedication to ensuring a fresh and comfortable space for your cat's essential needs is commendable. By regularly replacing the litter tray in your ScoopFree litter box, you contribute to your cat's overall well-being and comfort, while also minimizing unpleasant odors in your home.
The journey of changing the litter in your ScoopFree litter box began with gathering the necessary supplies, ensuring that you were well-equipped to tackle the task with confidence. From disposable gloves to a new replacement litter tray, each supply played a crucial role in facilitating a smooth and efficient replacement process.
Turning off and unplugging the litter box served as a pivotal safety measure, creating a secure environment for both you and your cat as you proceeded with the replacement process. This proactive step minimized the risk of any potential mishaps and ensured a safe and incident-free experience.
Carefully removing the used litter tray and disposing of it in a responsible manner further demonstrated your commitment to maintaining a clean and hygienic environment. By securely sealing the used litter tray in a trash bag and adhering to local waste disposal regulations, you contributed to responsible and environmentally friendly waste management.
The insertion of a new litter tray marked a significant milestone in the process, providing your cat with a fresh and inviting space for their essential needs. By ensuring the proper placement of the new tray and tidying up the surrounding area, you created a clean and polished environment for your feline companion.
Finally, turning on and testing the ScoopFree litter box allowed you to confirm that the replacement process was complete and that the unit was ready to resume its essential function. Observing the smooth and efficient operation of the litter box provided peace of mind, knowing that your cat's litter box was primed to provide a clean and comfortable environment.
As you reflect on the journey of changing the litter in your ScoopFree litter box, take pride in the proactive steps you've taken to maintain a clean and inviting space for your cat. Your dedication to providing a fresh and hygienic environment reflects your commitment to your pet's well-being and comfort, fostering a strong and loving bond between you and your beloved feline companion.
Frequently Asked Questions about How To Change A Scoopfree Litter Box
Was this page helpful?
At Storables.com, we guarantee accurate and reliable information. Our content, validated by Expert Board Contributors, is crafted following stringent Editorial Policies. We're committed to providing you with well-researched, expert-backed insights for all your informational needs.


0 thoughts on “How To Change A Scoopfree Litter Box”