Home>Storage & Organization>Kitchen Organizing Tools>How To Make A Litter Box Enclosure
Kitchen Organizing Tools
How To Make A Litter Box Enclosure
Modified: March 19, 2024
Discover the best kitchen organizing tools and learn how to make a litter box enclosure to keep your space tidy and stylish. Simplify your life with these practical solutions.
(Many of the links in this article redirect to a specific reviewed product. Your purchase of these products through affiliate links helps to generate commission for Storables.com, at no extra cost. Learn more)
Introduction
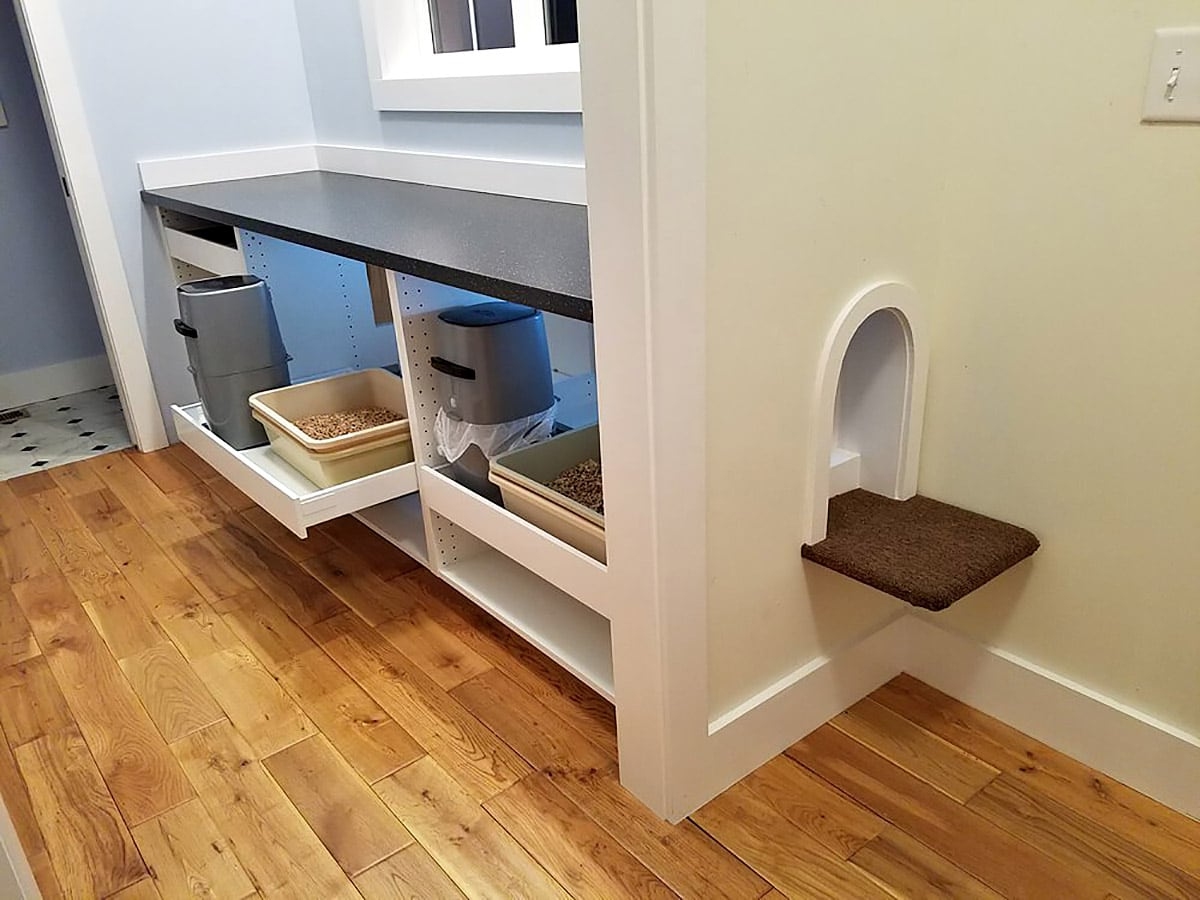
Creating a litter box enclosure is a fantastic way to maintain a clean and organized living space while ensuring your furry friend has a private and comfortable area for their bathroom needs. This DIY project allows you to customize the enclosure to suit your home's aesthetic and your pet's preferences. By following these simple steps and using the right materials, you can construct a stylish and functional litter box enclosure that seamlessly blends into your home decor.
A well-designed litter box enclosure not only provides your cat with a secluded and peaceful space for their essential activities but also helps to contain any mess and odor, keeping your home fresh and tidy. With the right tools and a bit of creativity, you can transform a mundane chore into an enjoyable and rewarding project that benefits both you and your pet.
In this comprehensive guide, we will walk you through the process of creating a litter box enclosure step by step. From gathering the necessary materials to adding the finishing touches, you will learn how to construct a practical and visually appealing enclosure that complements your home. Whether you are a seasoned DIY enthusiast or a novice looking to embark on your first project, this guide will equip you with the knowledge and confidence to tackle this endeavor with ease.
By the end of this tutorial, you will have a beautiful and functional litter box enclosure that not only serves its practical purpose but also enhances the overall ambiance of your living space. So, roll up your sleeves, gather your materials, and let's get started on this exciting journey to create a litter box enclosure that both you and your feline companion will love.
Key Takeaways:
- Creating a litter box enclosure is a fun DIY project that keeps your home clean and gives your cat a private space. With the right materials and steps, you can make a stylish and functional enclosure that fits your home’s style.
- By measuring, cutting, assembling, and adding finishing touches, you can create a personalized litter box enclosure that enhances your home decor and provides a comfortable space for your cat.
Read more: How To Make Litter Boxes Not Smell
Materials Needed
To embark on the journey of creating a litter box enclosure, you will need a selection of materials that are essential for constructing a sturdy and visually appealing enclosure. Here's a comprehensive list of the items you will require to bring this project to life:
-
Wood: Select high-quality plywood or medium-density fiberboard (MDF) to form the structure of the enclosure. Ensure that the wood is durable and resistant to moisture, as it will be exposed to the litter box environment.
-
Saw: A reliable saw, such as a circular saw or a jigsaw, will be indispensable for cutting the wood to the required dimensions. This tool is crucial for achieving precise and clean cuts, ensuring that the enclosure comes together seamlessly.
-
Measuring Tape: Accurate measurements are the foundation of a well-constructed enclosure. A measuring tape will enable you to determine the precise dimensions for the enclosure's components, ensuring a perfect fit and a polished final product.
-
Screws and Nails: Select high-quality screws and nails to secure the wood pieces together. Opt for rust-resistant options to ensure the longevity of the enclosure, especially in the potentially humid environment of the litter box area.
-
Hinges and Latch: These hardware components are essential for creating a functional door for the enclosure. Choose sturdy hinges and a reliable latch to ensure easy access for cleaning while keeping the enclosure securely closed.
-
Sandpaper: Smooth out rough edges and surfaces using sandpaper. This will not only enhance the visual appeal of the enclosure but also prevent any splinters or rough spots that could pose a hazard to your pet.
-
Paint or Stain: Select a pet-safe paint or stain to add a decorative finish to the enclosure. This step allows you to customize the enclosure to match your home decor while providing a protective layer for the wood.
-
Paintbrushes or Rollers: Appropriate tools for applying the paint or stain evenly onto the wood surfaces. Choose brushes or rollers suitable for the type of finish you have selected to achieve a professional and polished look.
-
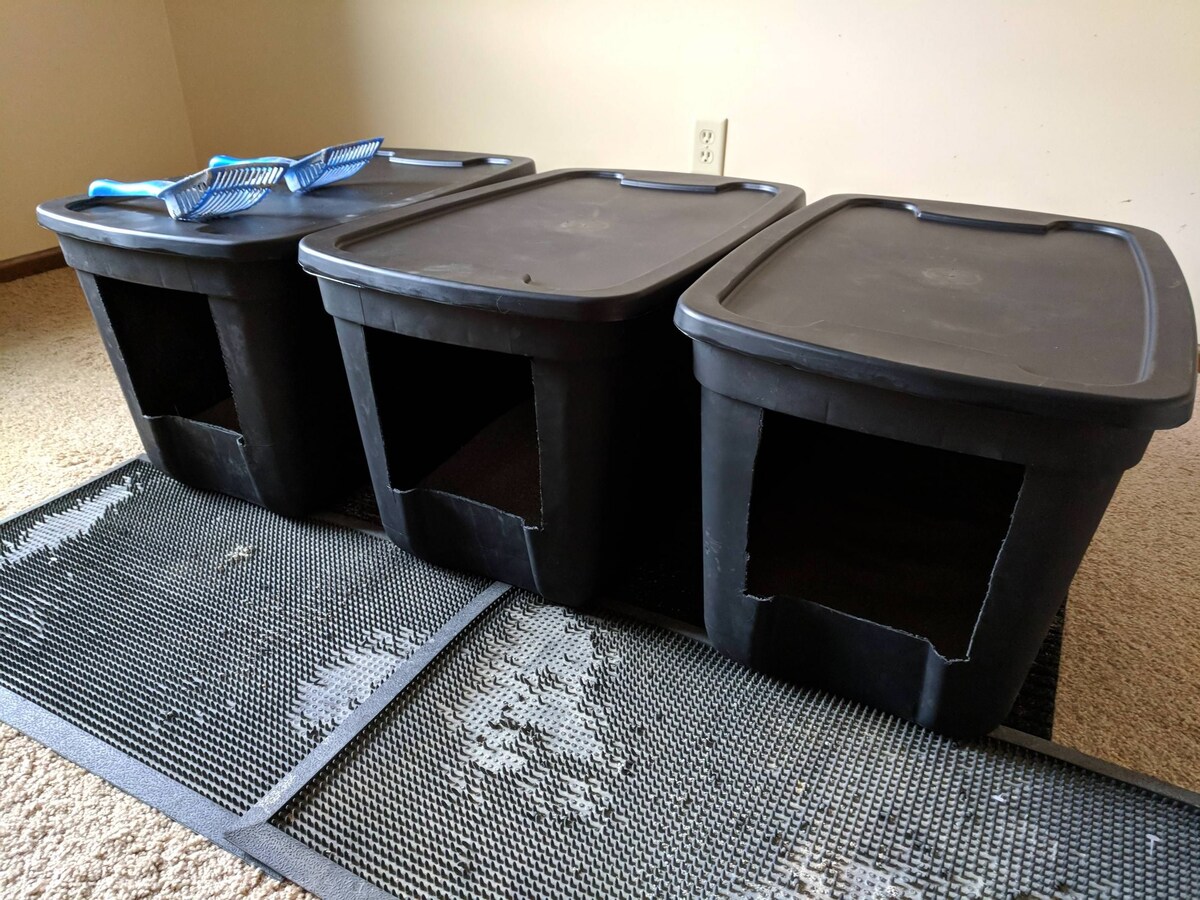
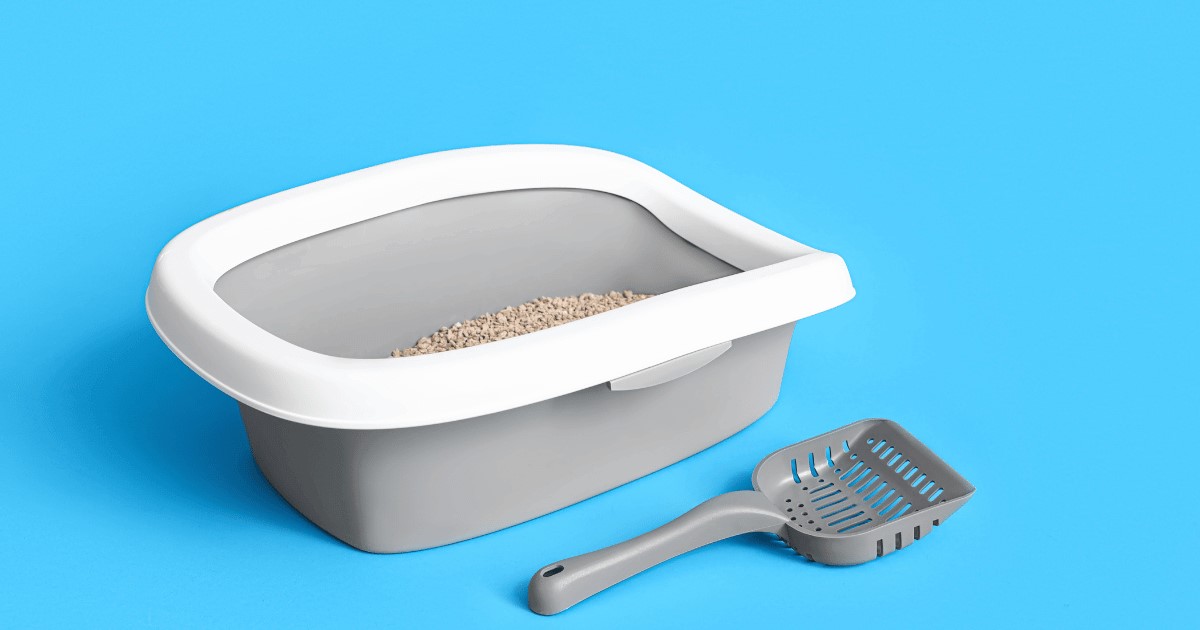
Litter Box: The enclosure will need to accommodate your cat's litter box comfortably. Ensure that the dimensions of the enclosure are suitable for the specific litter box you intend to use.
-
Optional Accessories: Depending on your design preferences, you may consider additional accessories such as decorative knobs for the door, rubber feet to elevate the enclosure, or a mat to place under the litter box to capture any stray litter.
By gathering these materials, you will be well-equipped to commence the construction of your litter box enclosure. With these essentials at your disposal, you can proceed to the next steps with confidence, knowing that you have everything you need to create a functional and aesthetically pleasing space for your feline companion.
Step 1: Measure and Plan
Before diving into the construction process, it is crucial to start with precise measurements and a well-thought-out plan. This initial step lays the foundation for a successful and visually appealing litter box enclosure. Here's a detailed breakdown of how to approach this critical phase of the project:
Assess the Space:
Begin by identifying the location where you intend to place the litter box enclosure. Take into account the available space and the dimensions of the area to ensure that the enclosure will fit seamlessly into your home environment. Consider factors such as accessibility for your cat, ease of cleaning, and the overall aesthetic impact on the space.
Measure the Litter Box:
If you already have a litter box, take accurate measurements of its dimensions. This includes the length, width, and height of the litter box, as well as any additional space required for your cat to move comfortably within the enclosure. These measurements will serve as a guide for determining the internal dimensions of the enclosure, ensuring a perfect fit for the litter box.
Read more: How To Make A Litter Box For Cats
Sketch the Design:
With the space and litter box dimensions in mind, sketch out a rough design for the enclosure. Consider the overall shape, the placement of the entrance, and any additional features you may want to incorporate, such as ventilation openings or decorative elements. This visual representation will help you conceptualize the final product and make any necessary adjustments before proceeding to the construction phase.
Plan for Ventilation and Access:
While planning the design, factor in ventilation to ensure proper air circulation within the enclosure. Adequate ventilation is essential for maintaining a fresh environment and preventing the buildup of odors. Additionally, plan for easy access to the litter box for cleaning purposes. This may involve incorporating a hinged door or a removable panel that allows convenient access to the interior of the enclosure.
Consider Aesthetic Details:
Think about how the enclosure will complement your home decor. Consider the color scheme, finish, and any decorative elements that will harmonize with the surrounding space. Visualizing the aesthetic details at this stage will guide your material and color selections, ensuring that the enclosure seamlessly integrates into your home environment.
By meticulously measuring the space, assessing the litter box dimensions, sketching the design, planning for ventilation and access, and considering aesthetic details, you will lay the groundwork for a well-executed and personalized litter box enclosure. This thoughtful approach sets the stage for the subsequent steps, ensuring that the construction process unfolds smoothly and results in a tailored enclosure that meets both your and your cat's needs.
Step 2: Cut the Wood
With the meticulous planning and measurements in place, it's time to bring the design to life by cutting the wood for the enclosure. This step is crucial in shaping the structural components that will form the enclosure, and precision is key to ensuring a seamless assembly process. Here's a detailed breakdown of how to approach this essential phase of the project:
Read more: How To Make A Ferret Litter Box
Select the Wood:
Begin by selecting the high-quality plywood or medium-density fiberboard (MDF) that will serve as the primary material for the enclosure. Opt for wood that is sturdy, durable, and resistant to moisture, as it will be exposed to the litter box environment. Ensure that the wood is of the appropriate thickness to provide stability and longevity to the enclosure.
Transfer Measurements:
Using the measurements and design sketch from the planning phase, transfer the dimensions onto the selected wood. Use a measuring tape and a pencil to mark the precise cuts for each component of the enclosure, including the sides, top, bottom, and any additional panels required for the design.
Cut with Precision:
Employ a reliable saw, such as a circular saw or a jigsaw, to execute the cuts with precision. Follow the marked lines carefully to achieve clean and accurate cuts, ensuring that each wood piece aligns perfectly with the intended dimensions. Take your time to maintain accuracy, as precise cuts are fundamental to the structural integrity and visual appeal of the enclosure.
Smooth the Edges:
After cutting the wood pieces, use sandpaper to smooth out any rough edges or surfaces. This step not only enhances the visual appeal of the wood but also ensures that there are no splinters or rough spots that could pose a hazard to your pet. Pay attention to detail, as smooth edges contribute to the overall safety and aesthetic quality of the enclosure.
Read more: How To Make Your Litter Box Not Smell
Check for Fit:
Once the wood pieces are cut and smoothed, perform a test assembly to ensure that the components fit together as intended. This step allows you to make any necessary adjustments before proceeding to the assembly phase, ensuring that the enclosure comes together seamlessly and aligns with the initial design vision.
By meticulously cutting the wood according to the specified dimensions, you set the stage for a well-constructed and visually appealing litter box enclosure. This phase requires attention to detail and precision, laying the groundwork for the subsequent assembly and finishing steps. With the wood components prepared, you are one step closer to creating a customized and functional space for your feline companion.
Step 3: Assemble the Frame
With the wood components cut to precision, it's time to embark on the pivotal phase of assembling the frame of the litter box enclosure. This step brings the individual pieces together, forming the structural foundation of the enclosure. Here's a detailed breakdown of how to approach this essential phase of the project:
Arrange the Components:
Begin by organizing the cut wood pieces in the designated workspace. Lay out the sides, top, bottom, and any additional panels according to the design plan. This step allows you to visually assess the components and ensure that everything is ready for assembly.
Secure the Sides:
Using high-quality screws and a reliable screwdriver, attach the sides of the enclosure to the bottom panel. Position the sides carefully, ensuring that they align perfectly with the edges of the bottom panel. Secure the screws firmly, creating a stable and secure connection between the sides and the base of the enclosure.
Read more: How Deep Should Litter Be In A Litter Box
Add the Top Panel:
Once the sides are securely attached to the bottom panel, proceed to affix the top panel. Position the top panel over the assembled sides, ensuring that it aligns evenly with the edges. Secure the top panel to the sides using screws, creating a unified structure that forms the main body of the enclosure.
Reinforce the Joints:
To enhance the stability and durability of the frame, reinforce the joints by adding additional screws where necessary. Focus on areas where panels meet, ensuring that the connections are robust and capable of withstanding regular use. This reinforcement step contributes to the overall strength and longevity of the enclosure.
Install Ventilation Openings (Optional):
If your design includes ventilation openings, this is the ideal stage to incorporate them into the frame. Use a saw to carefully create the designated openings, allowing for proper air circulation within the enclosure. Ensure that the openings are strategically positioned to promote airflow while maintaining the structural integrity of the frame.
Verify Stability:
Once the frame is assembled, perform a thorough inspection to verify its stability and structural integrity. Check for any wobbling or unevenness, and make any necessary adjustments to ensure that the frame stands securely and uniformly. This step is crucial in preparing the frame for the subsequent addition of the door and finishing touches.
By meticulously assembling the frame according to the design specifications, you establish the core structure of the litter box enclosure. This phase requires precision and attention to detail, laying the groundwork for the seamless integration of the door and the application of the finishing touches. With the frame in place, the enclosure begins to take shape, bringing you one step closer to a personalized and functional space for your feline companion.
Read more: How To Make Your Cat Pee In The Litter Box
Step 4: Add the Door
Adding the door to the litter box enclosure is a pivotal step that enhances both the functionality and aesthetic appeal of the structure. The door provides easy access for cleaning while offering your feline companion a sense of privacy within their designated space. Here's a detailed breakdown of how to approach this essential phase of the project:
Select the Door Material:
Begin by selecting a suitable material for the door. Opt for a sturdy yet lightweight material that complements the overall design of the enclosure. Common options include plywood, MDF, or a pre-made pet door insert. Ensure that the chosen material aligns with the dimensions and style of the enclosure, contributing to a cohesive and visually appealing final product.
Determine the Door Placement:
Carefully assess the most practical and aesthetically pleasing location for the door within the enclosure. Consider factors such as ease of access for cleaning, your cat's comfort, and the overall flow of the design. Mark the precise placement of the door, ensuring that it aligns seamlessly with the frame and allows for smooth opening and closing.
Cut and Install the Door:
Using the selected material, cut the door to the appropriate dimensions, ensuring a perfect fit within the designated opening. If using a pre-made pet door insert, follow the manufacturer's instructions for installation. Secure the door in place using durable hinges, allowing it to swing open and closed with ease. Consider adding a reliable latch to ensure that the door remains securely closed during regular use.
Incorporate Ventilation and Privacy Features:
If desired, incorporate ventilation openings into the door to promote airflow within the enclosure. Additionally, consider adding decorative elements or frosted panels to provide your cat with a sense of privacy while maintaining a visually appealing design. These features contribute to a comfortable and inviting environment for your feline companion.
Test the Door Functionality:
Once the door is installed, test its functionality by opening and closing it multiple times. Ensure that it moves smoothly and securely latches closed, providing easy access for cleaning while containing the litter box within the enclosure. Verify that the door aligns perfectly with the frame, creating a seamless and polished appearance.
By adding the door to the litter box enclosure with precision and attention to detail, you elevate the functionality and visual appeal of the structure. This phase marks a significant milestone in the construction process, bringing you one step closer to a personalized and practical space that enhances both your home environment and your feline companion's well-being.
Step 5: Add the Finish
With the structural elements of the litter box enclosure in place, it's time to add the finishing touches that will elevate its visual appeal and ensure long-term durability. This crucial step involves applying a protective finish to the wood, enhancing its aesthetic charm, and preparing it for the rigors of housing a litter box. Here's a detailed exploration of how to approach this essential phase of the project:
Sand and Smooth the Surface:
Before applying the finish, thoroughly sand the wood surfaces to achieve a smooth and even texture. Use fine-grit sandpaper to remove any imperfections, rough spots, or uneven edges. This meticulous preparation ensures that the finish adheres seamlessly to the wood, creating a polished and professional appearance.
Read more: How To Make A Cat Litter Box Out Of A Tote
Select the Finish:
Choose a pet-safe paint or stain that not only complements your home decor but also provides a protective layer for the wood. Opt for finishes that are resistant to moisture, easy to clean, and capable of withstanding the occasional wear and tear associated with a litter box environment. Consider colors and tones that harmonize with the surrounding space, adding a touch of personal flair to the enclosure.
Apply the Finish:
Using high-quality paintbrushes or rollers, apply the selected finish evenly across the wood surfaces. Take care to cover the entire enclosure, including the interior and exterior, ensuring comprehensive protection and a cohesive aesthetic. Apply multiple coats as needed, allowing sufficient drying time between each application to achieve a smooth and durable finish.
Incorporate Decorative Elements (Optional):
If desired, consider adding decorative elements to personalize the enclosure further. This may include decorative knobs for the door, custom stenciling, or embellishments that align with your home decor style. These thoughtful additions infuse the enclosure with character and charm, transforming it into a seamless extension of your living space.
Verify Quality and Durability:
Once the finish has been applied and allowed to dry thoroughly, inspect the enclosure to verify the quality and durability of the finish. Ensure that the wood surfaces are protected, the color is consistent, and the overall appearance aligns with your design vision. This meticulous assessment sets the stage for the final phase of the project: placing the litter box within the completed enclosure.
By adding the finish to the litter box enclosure with care and attention to detail, you not only enhance its visual appeal but also fortify its structural integrity for long-term use. This phase marks the transition from a functional structure to a personalized and aesthetically pleasing addition to your home, reflecting your dedication to creating a comfortable and inviting space for your feline companion.
Read more: How Much Litter To Put In A Litter Box
Step 6: Place the Litter Box
With the litter box enclosure fully constructed and adorned with a protective finish, the final step involves placing the litter box within its designated space. This pivotal phase completes the transformation of the enclosure into a functional and inviting area for your feline companion. Here's a detailed exploration of how to approach this essential phase of the project:
Ensure Proper Alignment:
Carefully position the litter box within the enclosure, ensuring that it aligns centrally and allows sufficient space for your cat to enter and exit comfortably. Verify that the dimensions of the enclosure accommodate the litter box without crowding the space, promoting unhindered movement for your pet.
Verify Accessibility:
Confirm that the door of the enclosure allows easy access to the litter box for cleaning and maintenance. The door should open smoothly, providing convenient entry to the enclosure's interior while facilitating hassle-free removal and replacement of the litter box as needed.
Assess Ventilation and Privacy:
Take a moment to assess the ventilation and privacy features within the enclosure. Ensure that any incorporated ventilation openings promote adequate airflow, contributing to a fresh and odor-free environment. Additionally, verify that any privacy elements, such as frosted panels or decorative embellishments, create a cozy and secluded space for your cat's bathroom activities.
Read more: How To Make Your Own Cat Litter Box
Evaluate Aesthetic Harmony:
Step back and assess the overall aesthetic harmony of the completed enclosure with the integrated litter box. Consider how the finish, color, and design elements complement your home decor, seamlessly blending the enclosure into its surroundings. This visual integration ensures that the enclosure not only serves a practical purpose but also enhances the ambiance of your living space.
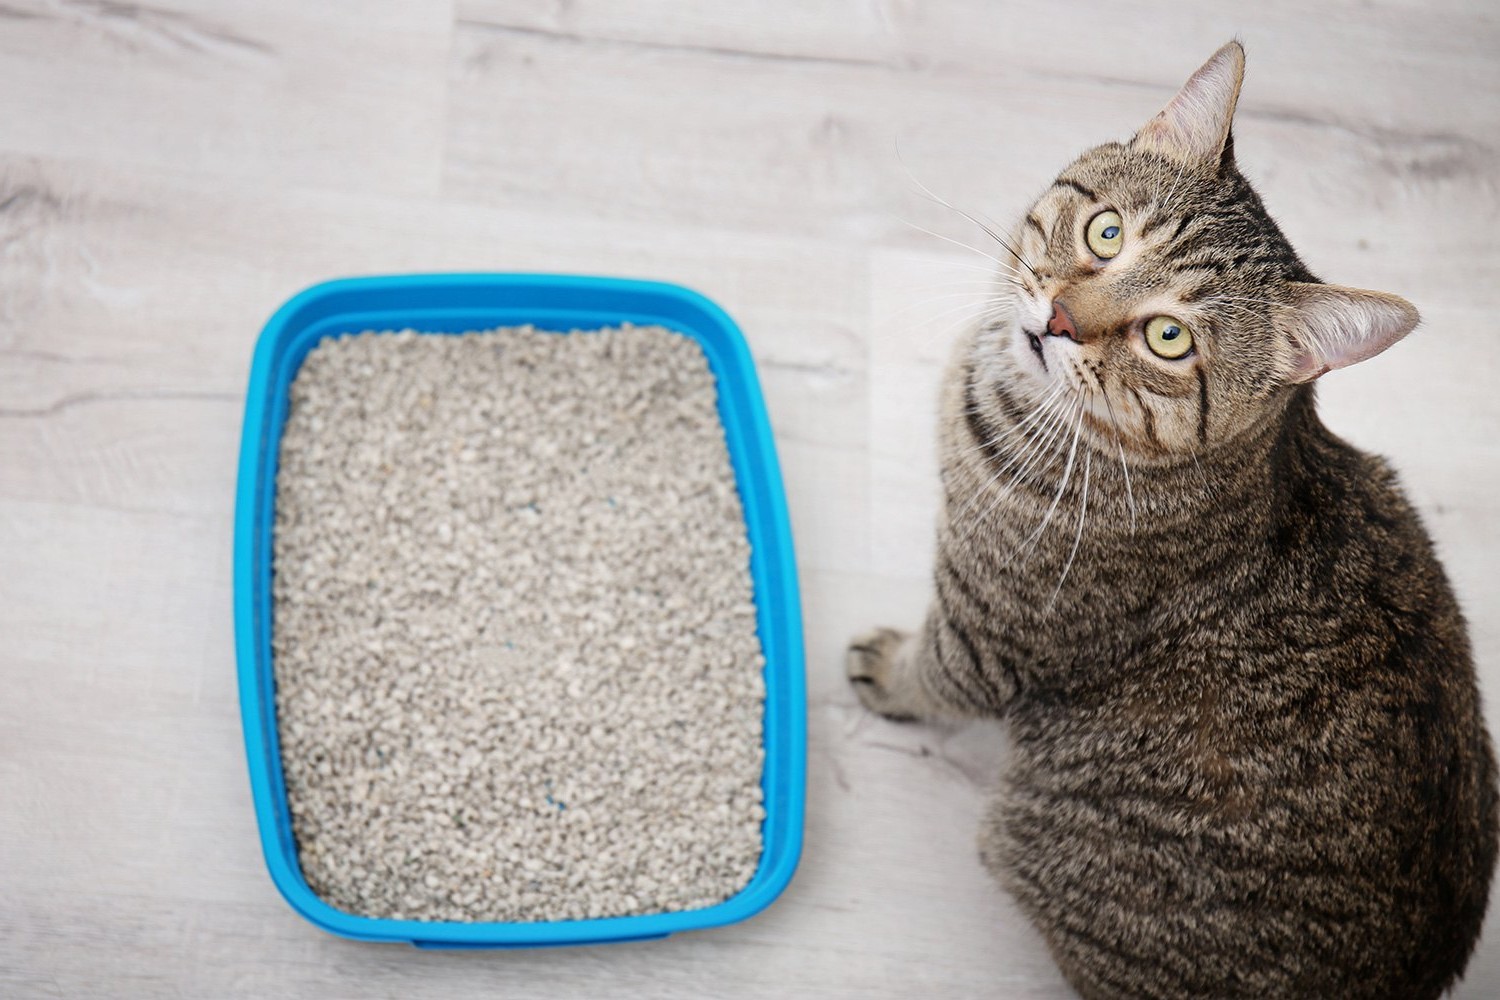
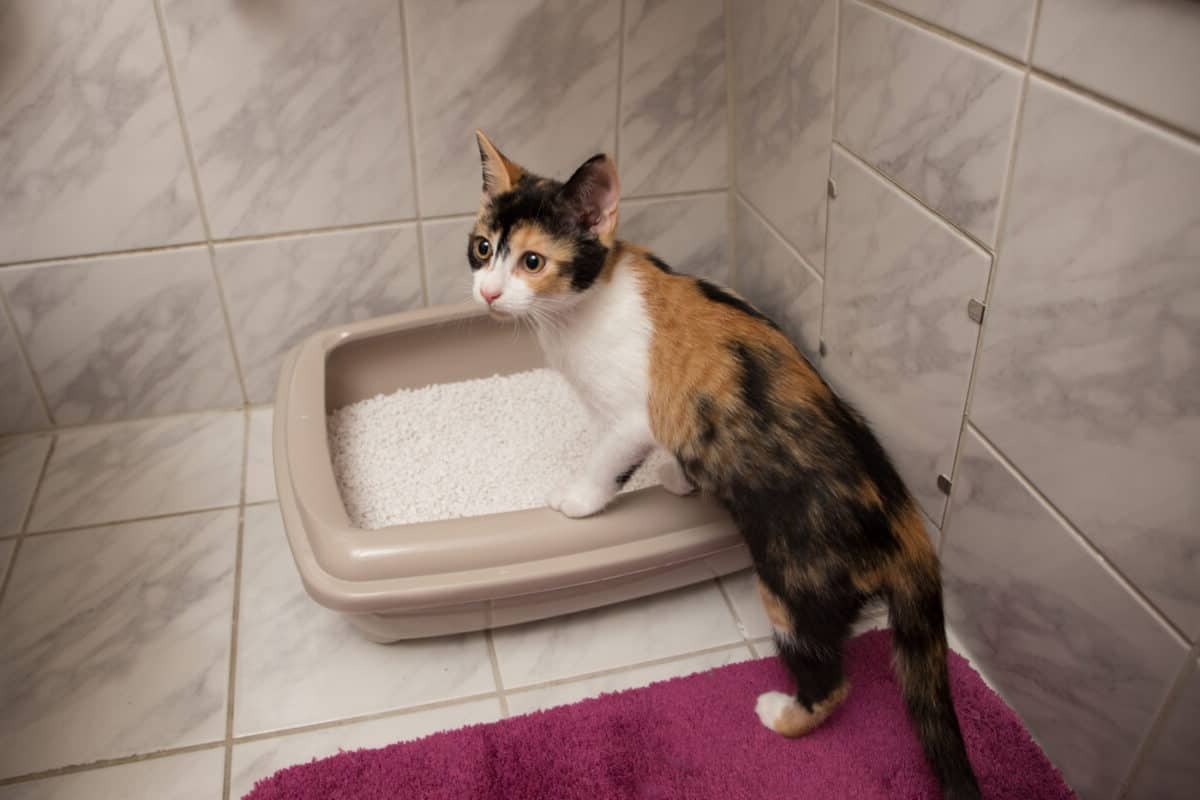
Introduce Your Feline Companion:
Once the litter box is securely positioned within the enclosure, introduce your cat to their new space. Allow them to explore and acclimate to the enclosure at their own pace, providing reassurance and positive reinforcement as they familiarize themselves with the designated area for their bathroom needs.
By placing the litter box within the completed enclosure with attention to detail and consideration for your cat's comfort, you finalize the creation of a personalized and functional space that enriches both your home environment and your feline companion's well-being. This phase marks the culmination of your efforts, resulting in a thoughtfully crafted and inviting area that caters to your pet's essential needs while enhancing the overall harmony of your living space.
Conclusion
In conclusion, the journey of creating a litter box enclosure has been a fulfilling and rewarding endeavor, culminating in the transformation of a practical necessity into a personalized and aesthetically pleasing addition to your home. Through meticulous planning, precise construction, and thoughtful finishing touches, you have crafted a space that not only serves your feline companion's needs but also harmonizes with your living environment.
The process began with careful measurements and strategic planning, laying the groundwork for a well-executed construction phase. By selecting high-quality materials and employing precision in cutting and assembling the wood components, you established a sturdy and visually appealing frame for the enclosure. The addition of a functional door, complete with ventilation and privacy features, elevated the enclosure's practicality while enhancing its overall charm.
The application of a protective finish not only fortified the wood surfaces but also allowed for personalization, infusing the enclosure with character and style. The careful consideration of aesthetic details and the seamless integration of the litter box within the completed enclosure further underscored the dedication to creating a space that seamlessly blends into your home environment.
As you introduce your feline companion to their new space, observe their acclimation and comfort within the enclosure. Your efforts have provided them with a secluded and inviting area for their essential activities, ensuring their well-being while containing any mess and odors. The enclosure not only serves as a functional solution but also contributes to the overall ambiance of your home, reflecting your commitment to creating a harmonious living space for both you and your pet.
With the completion of this project, you have not only constructed a practical and visually appealing litter box enclosure but also embarked on a journey of creativity and personalization. Your dedication to providing a comfortable and inviting space for your feline companion is evident in every detail of the enclosure, from its structural integrity to its seamless integration into your home decor.
As you witness your cat embracing their new space, take pride in the accomplishment of creating a customized and functional area that enriches both your living environment and your pet's daily life. The litter box enclosure stands as a testament to your creativity, care, and dedication to fostering a harmonious and inviting home for all its inhabitants.
Frequently Asked Questions about How To Make A Litter Box Enclosure
Was this page helpful?
At Storables.com, we guarantee accurate and reliable information. Our content, validated by Expert Board Contributors, is crafted following stringent Editorial Policies. We're committed to providing you with well-researched, expert-backed insights for all your informational needs.

0 thoughts on “How To Make A Litter Box Enclosure”