
Articles
How To Use Ninja Professional Blender
Modified: August 28, 2024
Learn how to make delicious smoothies and soups with the Ninja Professional Blender. Read our informative articles and start blending like a pro!
(Many of the links in this article redirect to a specific reviewed product. Your purchase of these products through affiliate links helps to generate commission for Storables.com, at no extra cost. Learn more)
Introduction
Welcome to our comprehensive guide on how to use the Ninja Professional Blender. If you’re looking for a versatile and high-powered blender that can handle all your blending needs, then you’ve come to the right place. The Ninja Professional Blender is a popular choice among home cooks and culinary enthusiasts for its exceptional performance and user-friendly design.
In this article, we’ll walk you through everything you need to know about using the Ninja Professional Blender, from its power and design features to assembly, basic operation, blending techniques, safety precautions, cleaning, and troubleshooting. Whether you’re a beginner in the world of blending or a seasoned pro, this guide will help you make the most out of your Ninja blender.
Before we dive into the details, let’s take a brief look at the power and design of the Ninja Professional Blender. With a robust motor and sharp blades, this blender is specifically designed to deliver smooth and consistent results, whether you’re making smoothies, sauces, or crushing ice. Its sleek and modern design will complement any kitchen countertop, and its sturdy construction ensures durability and longevity.
In the next section, we will guide you through the assembly and setup process of the Ninja Professional Blender, ensuring that you have a hassle-free experience right from the start. Stay tuned!
Key Takeaways:
- Master the Ninja Professional Blender’s power and design, assembly and setup, basic operation, blending techniques, safety precautions, cleaning, and troubleshooting to unleash your culinary creativity and impress with delicious creations.
- Prioritize safety, proper cleaning, and maintenance to ensure optimal performance and longevity of your Ninja Professional Blender. Embrace its power and versatility to embark on a delightful culinary journey.
Power and Design
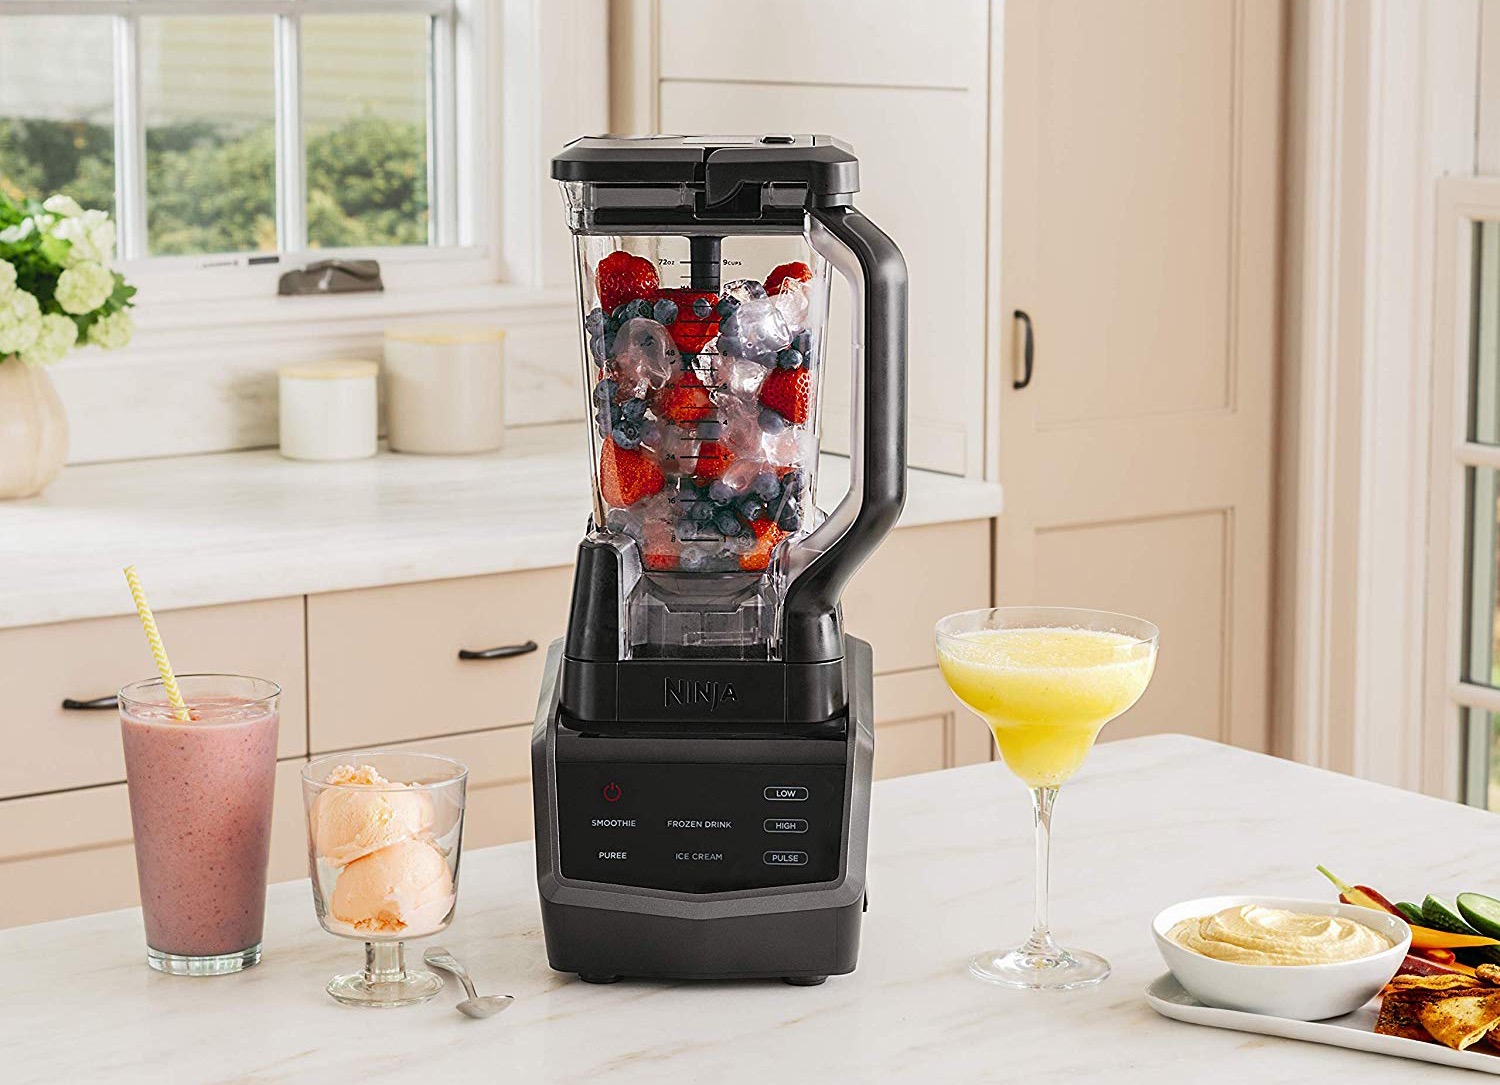
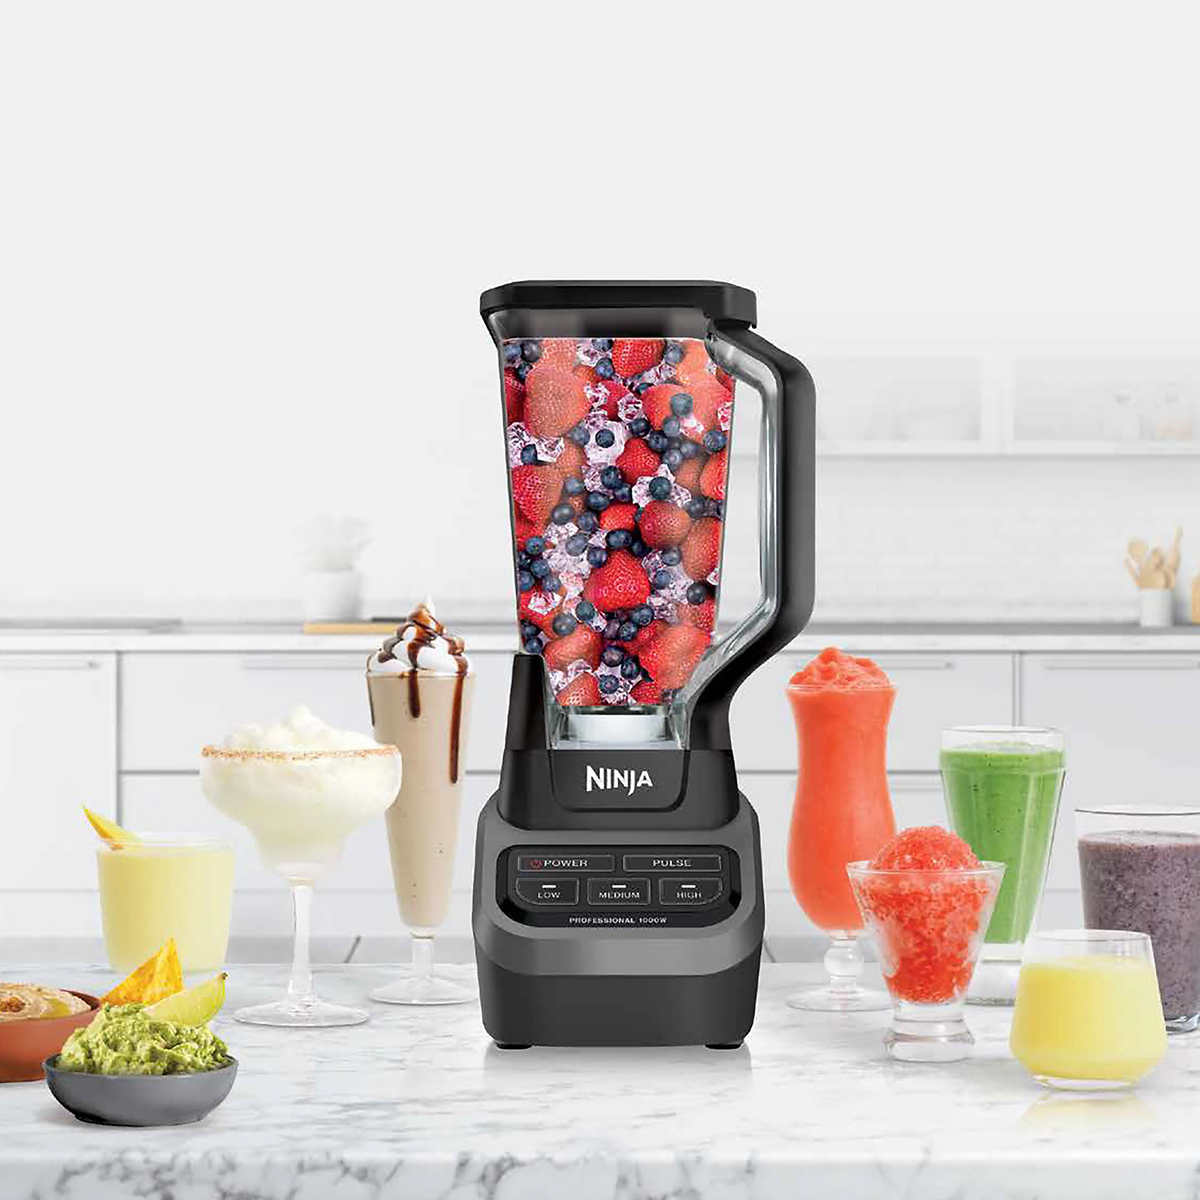
The Ninja Professional Blender is equipped with a powerful motor that can easily tackle tough ingredients and deliver smooth and consistent results. It typically comes with a motor that ranges from 1000 to 1500 watts, providing enough power to blend everything from fruits and vegetables to ice and frozen ingredients. The high-speed blades of the blender are designed to crush, blend, and puree with precision, ensuring that your recipes turn out silky smooth.
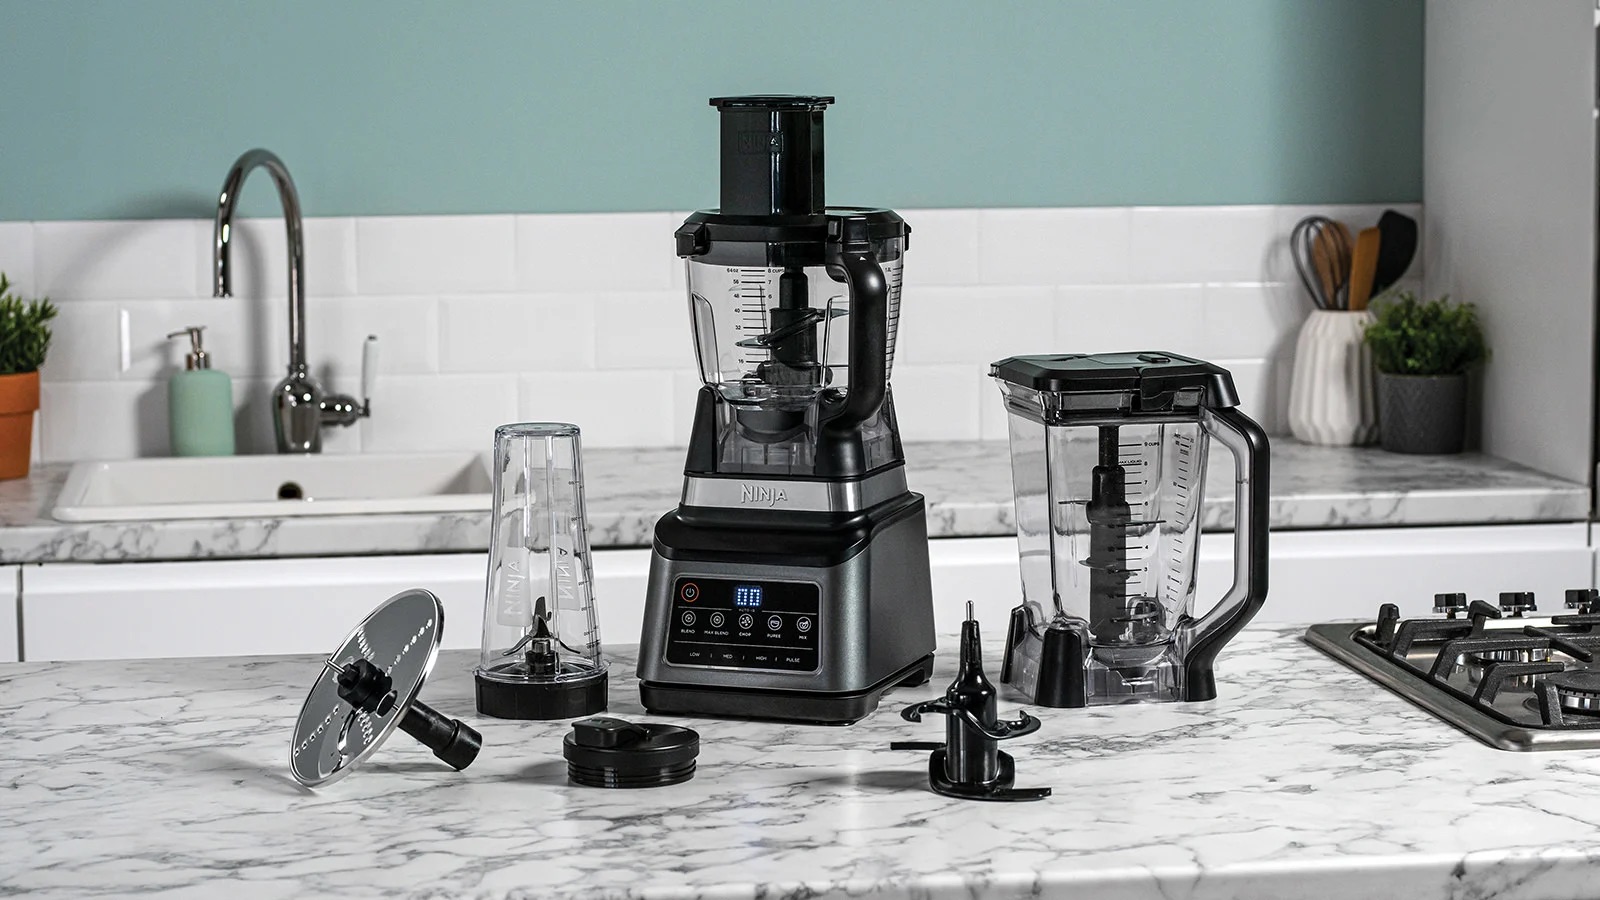
When it comes to design, the Ninja Professional Blender combines functionality with aesthetics. It features a sleek and modern look that will complement any kitchen decor. The base of the blender is usually made of durable and sturdy materials to ensure stability during operation. A control panel is conveniently located on the front of the blender, allowing for easy access and effortless blending.
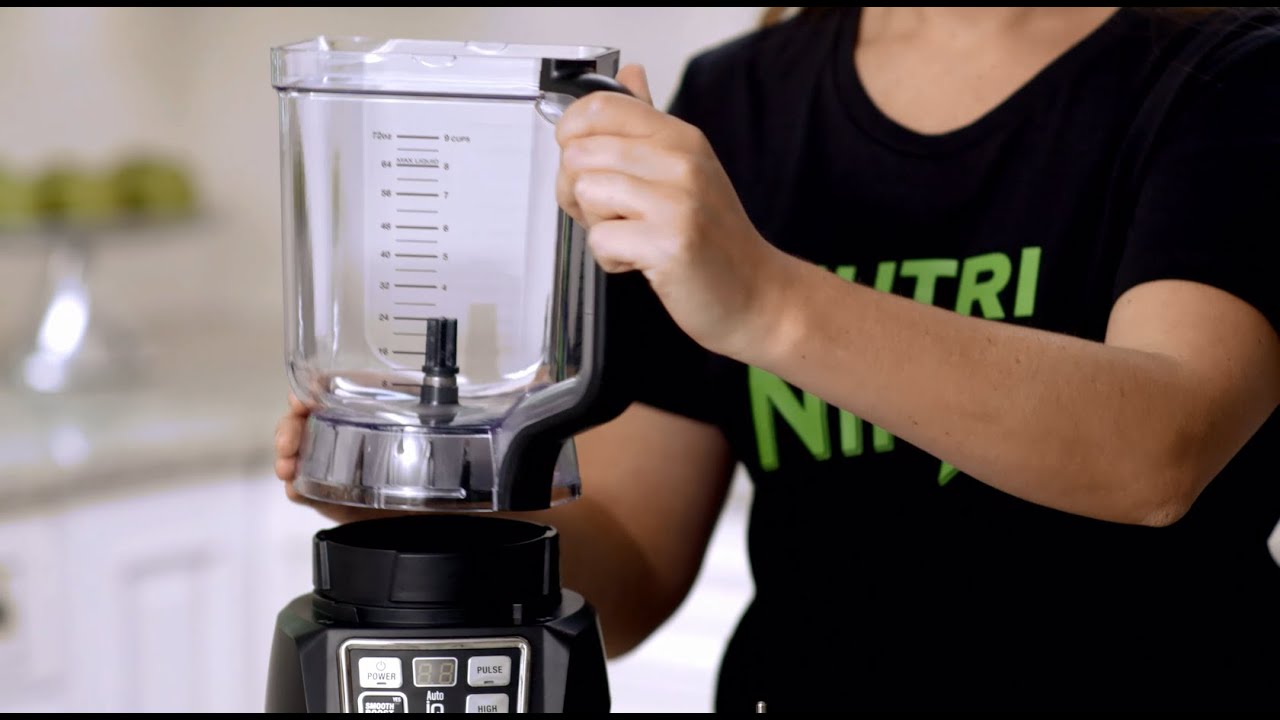
The blender also typically comes with a large and sturdy pitcher, usually made of BPA-free plastic or glass, depending on the model. The pitcher has a generous capacity, ranging from 72 to 72 ounces, making it suitable for both single-serve smoothies and large-batch recipes. Many models also come with a detachable blade assembly, making it convenient for cleaning and maintenance.
In terms of controls, the Ninja Professional Blender offers a range of options to suit your blending needs. It usually includes multiple speed settings, allowing you to adjust the blending speed according to the ingredients and recipe requirements. Some models also come with pre-programmed settings for specific recipes, such as smoothies, soups, and frozen desserts, making it even easier to achieve the desired consistency.
Overall, the power and design of the Ninja Professional Blender make it a reliable and versatile kitchen appliance. The combination of a powerful motor, sharp blades, and user-friendly controls ensures that you can achieve professional-level blending results in the comfort of your own home. Now that we’ve covered the power and design, let’s move on to the next section, where we’ll guide you through the assembly and setup process.
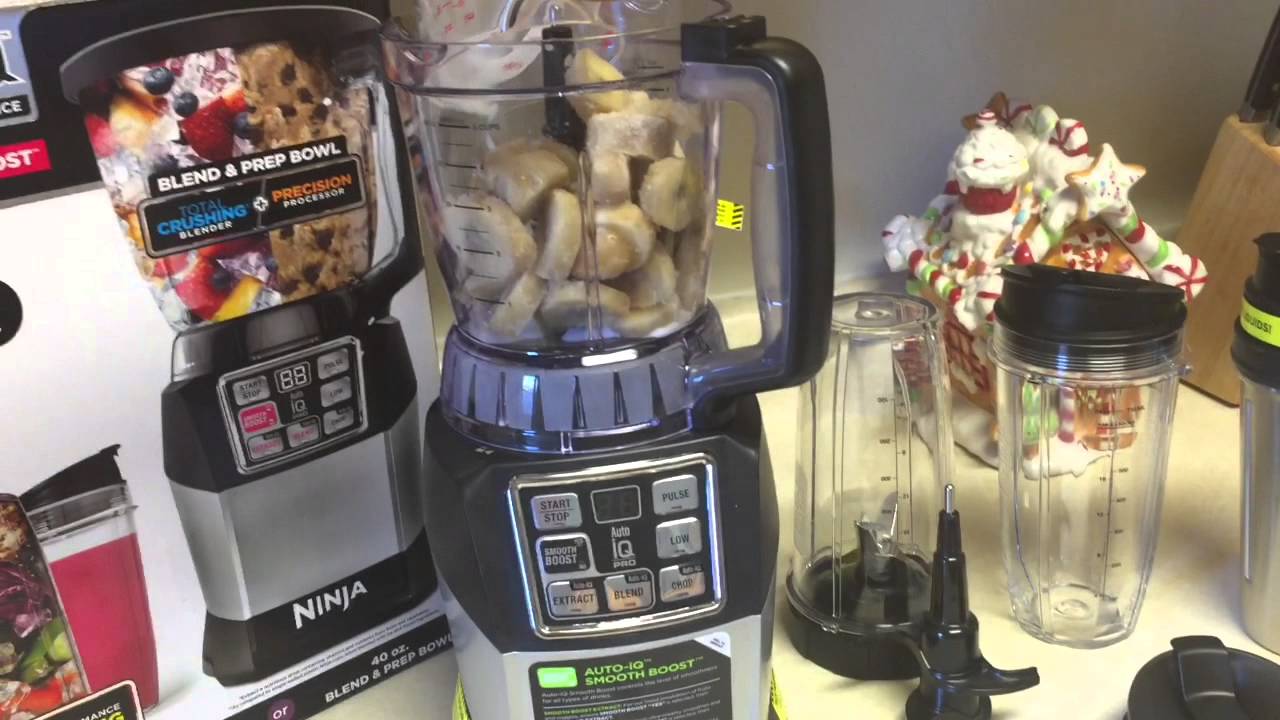
Assembly and Setup
Assembling and setting up the Ninja Professional Blender is a straightforward process. Follow these simple steps to get your blender ready for use:
- Unbox the blender and remove all packaging materials.
- Place the blender base on a sturdy and level surface.
- If applicable, attach the pitcher to the blender base by aligning the pitcher tabs with the grooves on the base and twisting it clockwise until it locks into place.
- Attach the blade assembly to the pitcher by aligning the tabs on the assembly with the grooves on the pitcher and twisting it clockwise until it is securely in place.
- Make sure the pitcher lid is clean and dry. Place it on top of the pitcher and align the arrows or marks on the lid with the handle of the pitcher.
- For models with a locking lid, twist the lid clockwise until it locks into place. For models without a locking lid, ensure that the lid is securely in place.
- Check that all parts are properly assembled and securely attached.
Once you have completed the assembly, it’s time to set up the blender for operation. Follow these steps to ensure a smooth setup:
- Plug in the blender to a power outlet.
- Ensure that the blender is in the “Off” position before plugging it in.
- Confirm that the blender pitcher is empty or contains the desired ingredients for your recipe.
- Place the pitcher on the blender base and ensure it is properly aligned.
- If applicable, select the desired speed or pre-programmed setting for your recipe using the control panel.
- You’re now ready to start blending! Press the power button or start/stop button to begin the blending process.
By following these simple steps, you can easily assemble and set up the Ninja Professional Blender for your blending needs. In the next section, we will walk you through the basic operation of the blender, so you can start creating delicious recipes with ease.
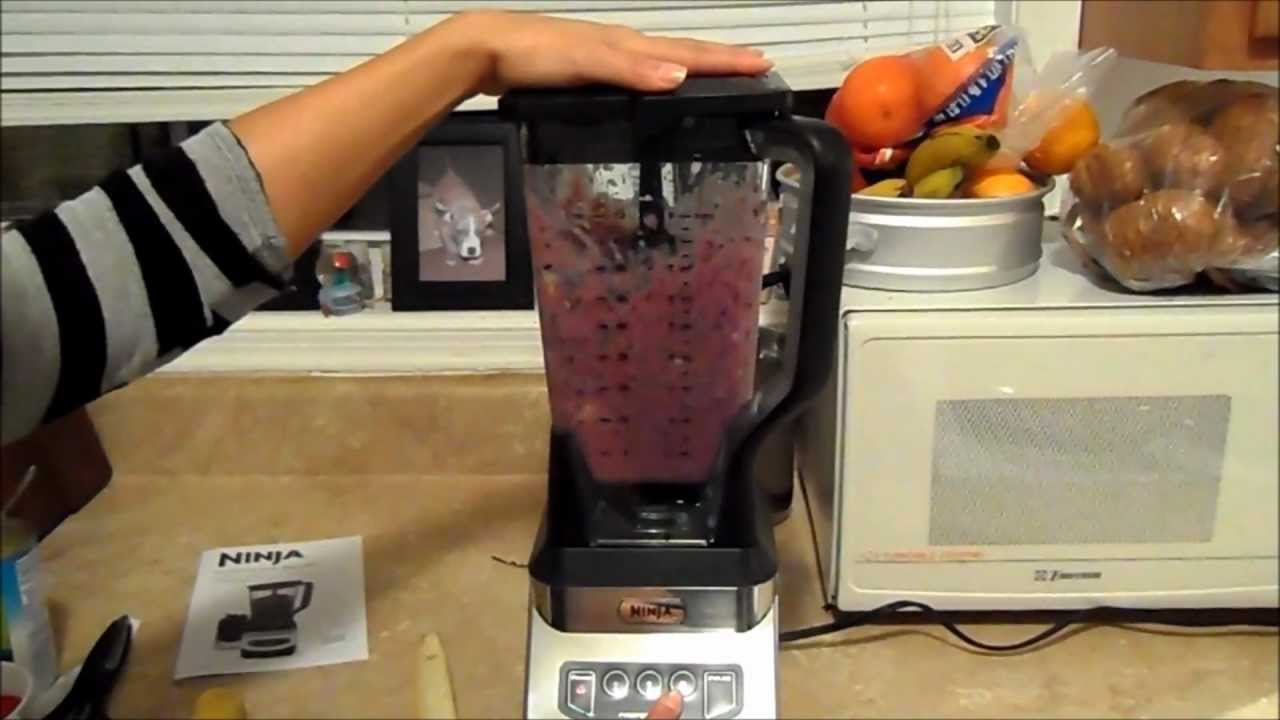
Basic Operation
Operating the Ninja Professional Blender is a straightforward process that allows you to blend ingredients with ease. Follow these steps to master the basic operation of the blender:
- After assembling and setting up the blender, ensure that the pitcher is securely in place on the blender base.
- If applicable, select the desired speed or pre-programmed setting for your recipe using the control panel. Many models offer several speed options, ranging from low to high, providing flexibility for various ingredients and blending needs.
- If you prefer a hands-on approach, you can start the blending process by simply pressing the power button. This will activate the blender and start blending the ingredients at the selected speed.
- For models with pre-programmed settings, you can choose the appropriate setting for your recipe, such as smoothies, soups, or ice crushing. The blender will automatically adjust the speed and blend time to achieve the desired consistency.
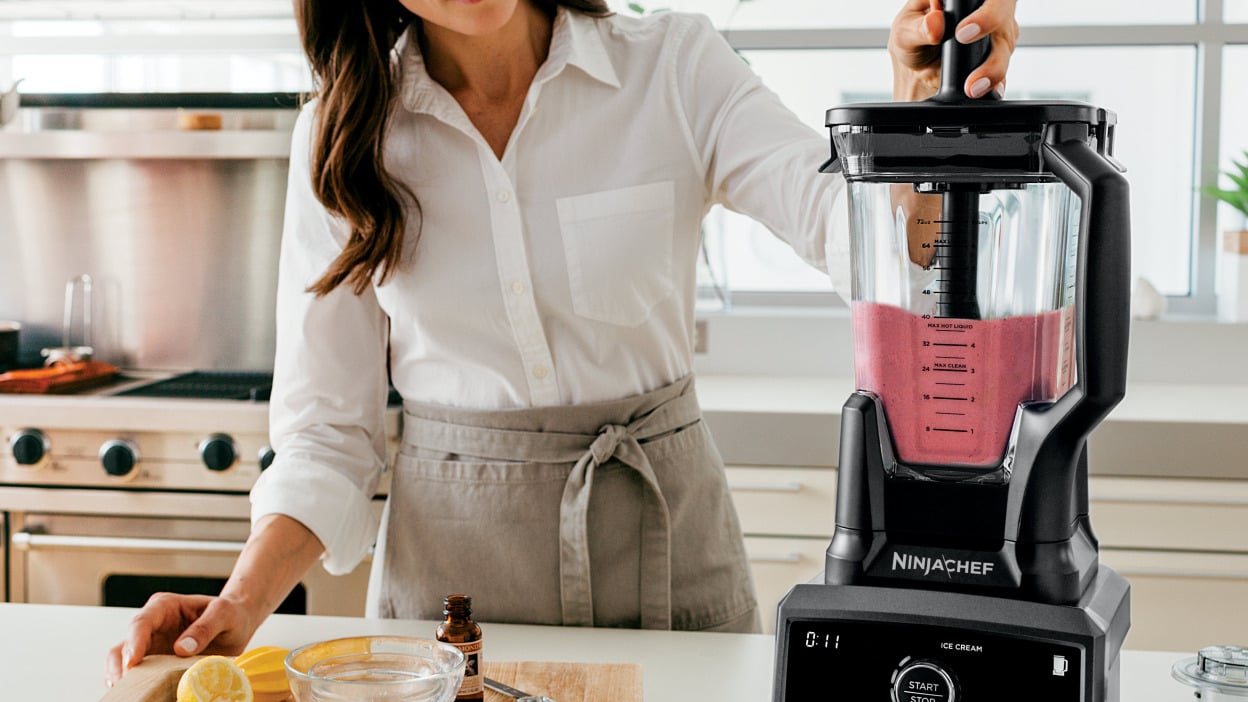
- During the blending process, you can use the tamper (if provided) to push down ingredients and ensure proper blending. The tamper is a convenient tool for breaking air pockets and assisting in the blending process.
- Blend the ingredients for the recommended time or until you have achieved the desired consistency. Keep an eye on the blending process, and if necessary, stop and scrape down the sides of the pitcher with a spatula to ensure even blending.
- Once you have finished blending, press the power button or start/stop button to stop the blender’s operation.
- Carefully remove the pitcher from the blender base and transfer the blended mixture to a serving container or storage jar.
Remember to always follow the specific instructions provided in the user manual of your Ninja Professional Blender model, as features and operation may vary slightly between different models. Now that you understand the basic operation of the blender, let’s move on to the next section, where we’ll explore different blending techniques to take your culinary creations to the next level.
Blending Techniques
The Ninja Professional Blender offers a variety of blending techniques that allow you to create a wide range of recipes with ease. Here are some blending techniques to enhance your culinary creations:
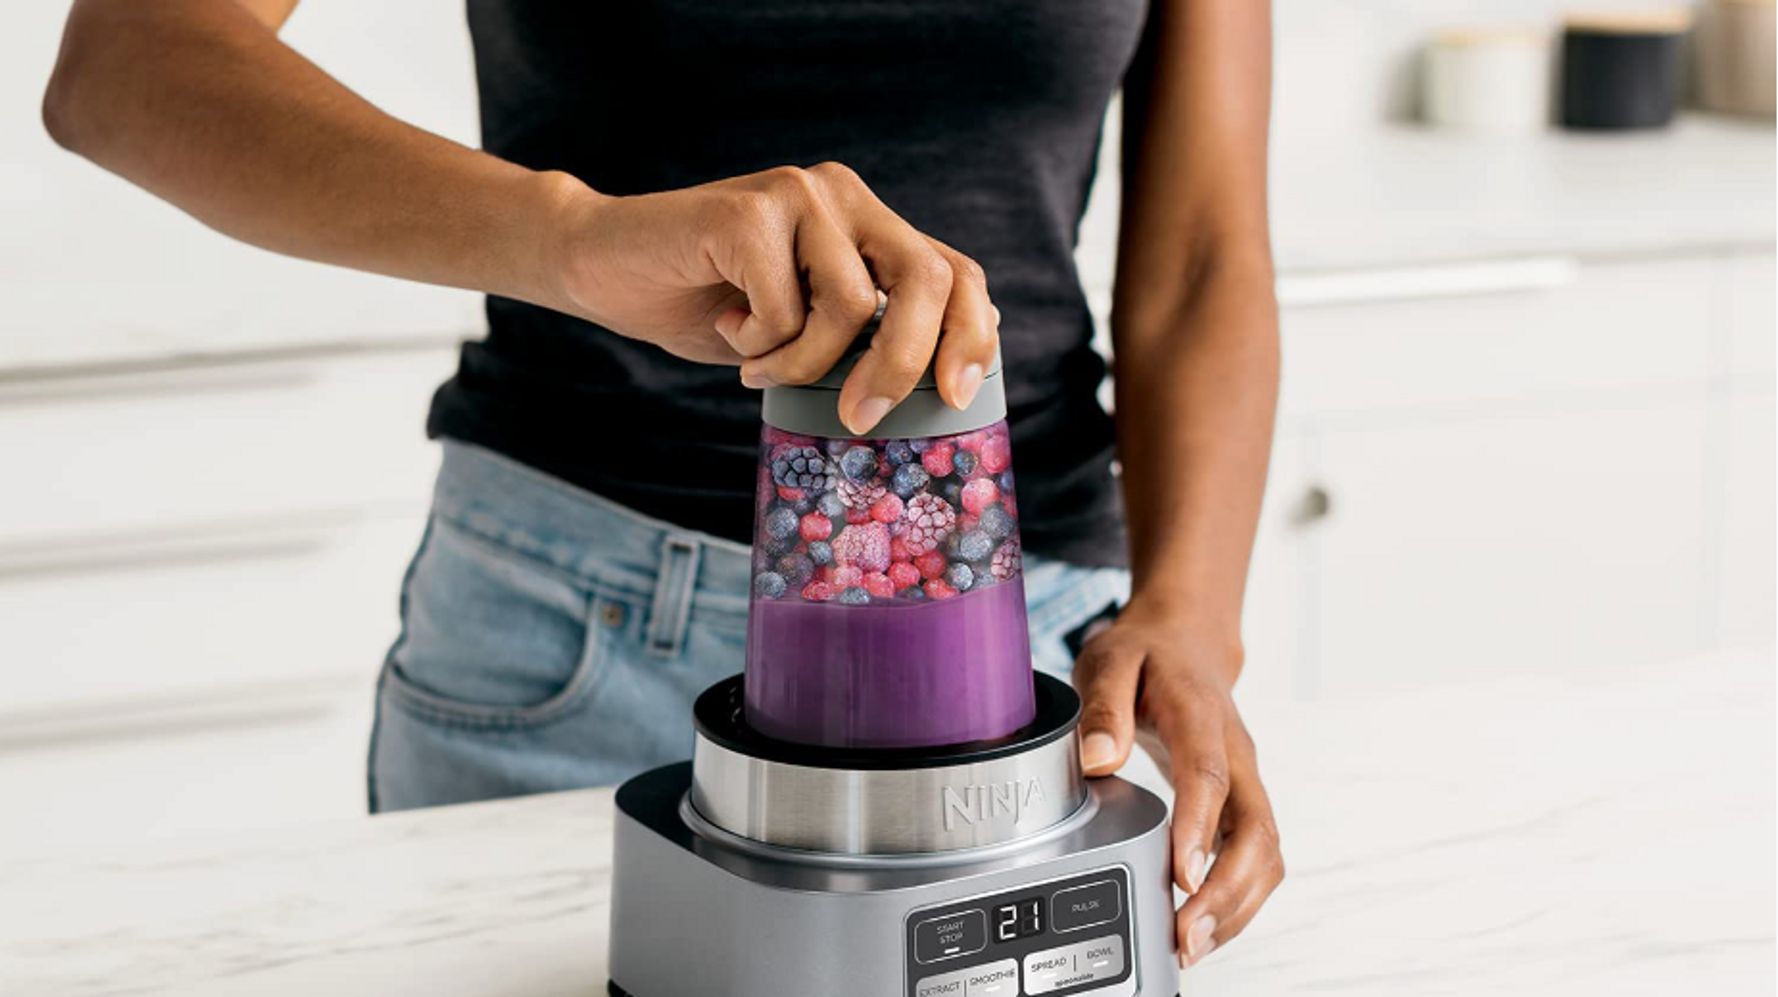
- Smoothies: To make delicious and creamy smoothies, start by adding your choice of fruits, such as bananas, berries, or mangoes, to the pitcher. You can also include a liquid base, such as milk, yogurt, or juice, for added creaminess. Blend on high speed until smooth and well combined. Experiment with different combinations of fruits and liquid ingredients to create your favorite smoothie flavors.
- Sauces and Dips: Making homemade sauces and dips is a breeze with the Ninja Professional Blender. Combine your desired ingredients, such as tomatoes, garlic, onions, herbs, and spices, in the pitcher. Blend on low to medium speed until you achieve the desired texture. Adjust the seasonings according to your taste preferences and enjoy a flavorful sauce or dip.
- Ice Crushing: The Ninja Professional Blender is equipped with powerful blades that can easily crush ice. Add ice cubes to the pitcher and blend on high speed until the ice is crushed to your desired consistency. Use the crushed ice for refreshing beverages, frozen cocktails, or to create homemade frozen treats.
- Soup: For quick and easy homemade soups, the Ninja Professional Blender can be your go-to appliance. Combine cooked vegetables, broth, and seasonings in the pitcher. Blend on high speed until smooth and well blended. Transfer the mixture to a pot and heat it on the stove until it reaches the desired temperature. Serve hot and enjoy a comforting bowl of soup.
- Nut Butters: You can also create your own nut butters using the Ninja Professional Blender. Add roasted nuts of your choice, such as almonds, peanuts, or cashews, to the pitcher. Blend on high speed until the nuts break down and release their natural oils, gradually transforming them into a creamy nut butter. This process may take a few minutes, so be patient and scrape down the sides of the pitcher as needed.
These are just a few examples of the many blending techniques you can explore with the Ninja Professional Blender. Feel free to experiment with different ingredients and recipes to unlock the full potential of your blender. Remember to clean the pitcher and blade assembly thoroughly after each use to maintain optimal performance and longevity. Now that you’ve mastered the blending techniques, let’s move on to the next section, where we’ll discuss essential safety precautions to ensure your blending experience is safe and enjoyable.
When using the Ninja Professional Blender, start with the liquid ingredients at the bottom to ensure smooth blending. Then add the solid ingredients and use the pulse function for a few seconds before blending continuously for a smooth consistency.
Safety Precautions
While using the Ninja Professional Blender, it’s important to prioritize safety to avoid any accidents or injuries. Here are some essential safety precautions to keep in mind:
- Read the User Manual: Before using the blender, carefully read the user manual that comes with your Ninja Professional Blender. Familiarize yourself with the instructions, warnings, and safety guidelines provided by the manufacturer.
- Unplug When Not in Use: Always ensure that the blender is unplugged from the power outlet when not in use, especially during assembly, cleaning, or when adding or removing the blade assembly.
- Avoid Overfilling: Do not exceed the maximum fill line indicated on the pitcher when adding ingredients. Overfilling may cause spillage and could potentially lead to damage to the blender or injury.
- Securely Attach the Pitcher: Ensure that the pitcher is securely attached to the blender base before operating the blender. This will prevent any accidents caused by a loose or unbalanced pitcher.
- Use Caution with Hot Ingredients: If blending hot ingredients, allow them to cool slightly before adding them to the pitcher. Hot liquids can create pressure inside the blender and may cause splattering. To avoid burns, ensure the lid is securely in place and use caution when removing the lid after blending hot ingredients.
- Avoid Contact with Blades: Exercise caution when handling the blades, whether during assembly, cleaning, or when emptying the pitcher. The blades are sharp and can cause cuts or injuries if mishandled.
- Keep Hands and Utensils Clear: Never insert your hands or utensils into the pitcher while the blender is in operation. Use the tamper or a spatula to push down ingredients if necessary, ensuring they are well away from the blades.
- Keep Children and Pets Away: When using the blender, ensure that children and pets are kept at a safe distance to prevent accidental contact with the blender or its rotating parts.
- Clean with Care: Always unplug the blender before cleaning it. Take care when handling the blades and use a brush or sponge to clean them thoroughly, taking care to avoid contact with the sharp edges.
By following these safety precautions, you can ensure a safe and enjoyable blending experience with your Ninja Professional Blender. Remember, it’s better to prioritize safety over speed or convenience. Now that you’re aware of the safety guidelines, let’s move on to the next section, which covers cleaning and maintenance tips for your blender.
Cleaning and Maintenance
Proper cleaning and maintenance of your Ninja Professional Blender are essential for optimal performance and longevity. Here are some tips to keep your blender clean and well-maintained:
- Unplug the Blender: Always unplug the blender from the power outlet before cleaning it to ensure your safety.
- Disassemble the Parts: Carefully disassemble the pitcher, lid, and blade assembly. Follow the instructions provided in the user manual for your specific model.
- Wash with Warm, Soapy Water: Wash the pitcher, lid, and blade assembly with warm, soapy water. Use a non-abrasive sponge or brush to remove any residue or buildup. If necessary, you can also use a mild dish detergent for tougher stains.
- Pay Attention to the Blades: Take special care when cleaning the blades, as they are sharp. Use a brush or a toothpick to remove any food particles stuck in the blades. Be cautious not to cut yourself while cleaning.
- Do Not Submerge the Base: The blender base should never be submerged in water or placed in a dishwasher. Wipe it down with a damp cloth to remove any spills or splatters. Ensure that the base is completely dry before using it again.
- Dry Thoroughly: After cleaning, thoroughly dry all the parts before reassembling the blender. Moisture can lead to mold or bacteria growth, which can affect the performance and purity of future blends.
- Store Properly: When not in use, store the blender in a clean and dry area. Securely place the pitcher, lid, and blade assembly together to prevent any misplacement or damage.
- Regularly Check for Wear and Tear: Regularly inspect the pitcher, lid, and blade assembly for any signs of wear and tear. If you notice any cracks, loose parts, or damage, replace them immediately to maintain the blender’s performance and safety.
- Follow Maintenance Schedule: Follow the maintenance schedule recommended by the manufacturer. This may include regular lubrication of the blades or replacing parts after a certain period of use.
By following these cleaning and maintenance tips, you can ensure that your Ninja Professional Blender remains in top shape and continues to deliver excellent blending results. Now that you know how to keep your blender clean, let’s move on to the next section, where we’ll discuss common troubleshooting tips.
Troubleshooting
While the Ninja Professional Blender is designed to provide excellent performance, you may occasionally encounter some issues. Here are some common troubleshooting tips to help you address any problems you may come across:
- Blender Not Turning On: If your blender doesn’t turn on, ensure that it is properly plugged into a working power outlet. Check that the pitcher and lid are correctly assembled and securely attached to the base. If the issue persists, try plugging the blender into a different outlet or contact customer support for further assistance.
- Blades Not Rotating Properly: If the blades are not rotating smoothly, it could be due to overloading the pitcher or a blockage in the blade assembly. Stop the blender, unplug it, and remove the pitcher. Clear any obstructions and ensure that the ingredients are not exceeding the maximum fill line. After resolving the issue, reassemble the blender and start again.
- Blender Making Unusual Noise: If your blender is making unusual noises, it could indicate a problem with the blade assembly or motor. Check that the blades are properly attached and secure. If the noise persists, contact customer support for guidance or to arrange for repairs.
- Leaking: If you notice any liquid leaking from the pitcher during blending, check that the lid is properly secured and that the pitcher is not overfilled. Ensure that the rubber gasket or seal on the blade assembly is in good condition. If the leak continues, contact customer support for assistance.
- Blending Results Not Satisfactory: If you’re not getting the desired blending results, check that you are using the correct speed or setting for your recipe. Make sure the ingredients are properly distributed in the pitcher and not clumped together. Consider adjusting the blending time or using the tamper to assist in achieving the desired consistency.
If none of these troubleshooting tips resolve the issue you’re experiencing with your Ninja Professional Blender, it’s recommended to consult the user manual or contact the manufacturer’s customer support for further assistance. They will be able to provide more specific guidance based on your blender model and the nature of the problem.
Now that you’re equipped with troubleshooting know-how, you can confidently address any issues that may arise. In the next section, we’ll wrap up the article with a summary and final thoughts.
Conclusion
Congratulations! You are now well-equipped with the knowledge and understanding of how to use the Ninja Professional Blender to its full potential. This versatile and powerful blender is a valuable tool in the kitchen, allowing you to create a wide array of recipes with ease.
We’ve covered the important aspects of the Ninja Professional Blender, starting with its power and design features. We discussed the assembly and setup process, ensuring that you have a hassle-free experience right from the start. The basic operation section provided you with the necessary steps to operate the blender smoothly, while the blending techniques gave you ideas for creating delicious smoothies, sauces, dips, and more.
We emphasized the importance of safety precautions and provided useful tips for cleaning and maintenance to keep your blender in excellent condition. And if you encounter any issues along the way, our troubleshooting section offered practical solutions to common problems.
Remember, always refer to the user manual for your specific model’s instructions and recommendations, as features and functionalities may vary. Additionally, reach out to the manufacturer’s customer support if you require further assistance or experience any unresolved issues.
With the Ninja Professional Blender, you can explore your culinary creativity, experiment with new recipes, and impress your family and friends with your delicious creations. So embrace the power and versatility of this amazing blender and let your culinary journey begin!
Happy blending!
Ready to whip up some smoothies but don't have a blender? No worries! Our next guide will show you how to create delicious smoothies using simple kitchen tools. Get ready to learn some nifty tricks that'll have you making refreshing drinks in no time, even without the usual equipment. Perfect for those quick, nutritious snacks or meals when you're short on time but still want something tasty and healthy.
Frequently Asked Questions about How To Use Ninja Professional Blender
Was this page helpful?
At Storables.com, we guarantee accurate and reliable information. Our content, validated by Expert Board Contributors, is crafted following stringent Editorial Policies. We're committed to providing you with well-researched, expert-backed insights for all your informational needs.


0 thoughts on “How To Use Ninja Professional Blender”