Articles
How To Use Oster Blender
Modified: August 25, 2024
Learn how to use the Oster blender to prepare delicious smoothies, soups, and sauces. Find helpful articles and tips on how to maximize the functionality of your blender.
(Many of the links in this article redirect to a specific reviewed product. Your purchase of these products through affiliate links helps to generate commission for Storables.com, at no extra cost. Learn more)
Introduction
Welcome to the ultimate guide on how to use the Oster blender! Whether you’re a seasoned home cook or a beginner in the kitchen, the Oster blender is a versatile and powerful appliance that can help you create a wide range of delicious recipes.
With its sleek design and high-performance features, the Oster blender is designed to make your blending experience effortless and enjoyable. From creating smoothies and shakes to pureeing soups and sauces, this blender can handle it all.
In this comprehensive guide, we will walk you through the step-by-step process of using the Oster blender to achieve perfect results every time. From setting up the blender to cleaning it afterward, we’ll cover all the essential tips and techniques to ensure a seamless blending experience.
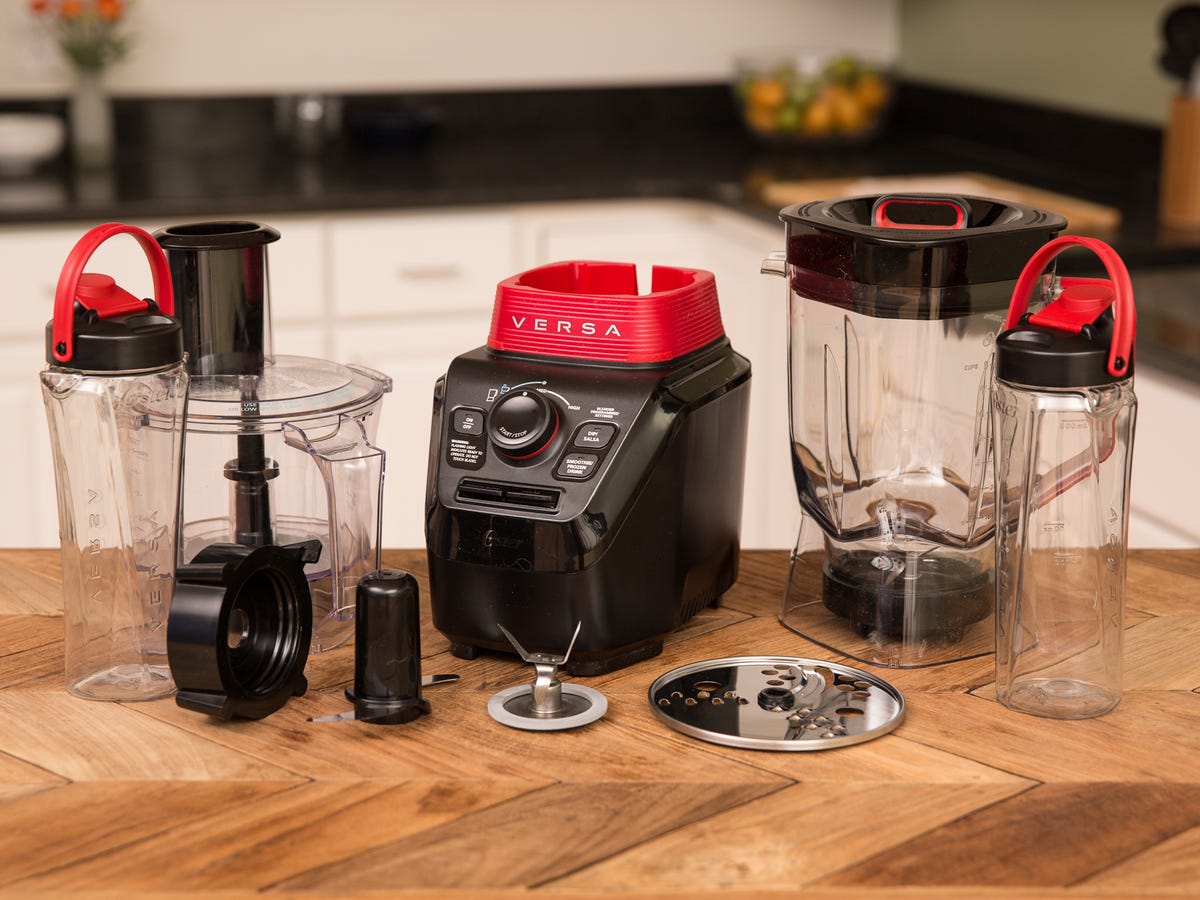
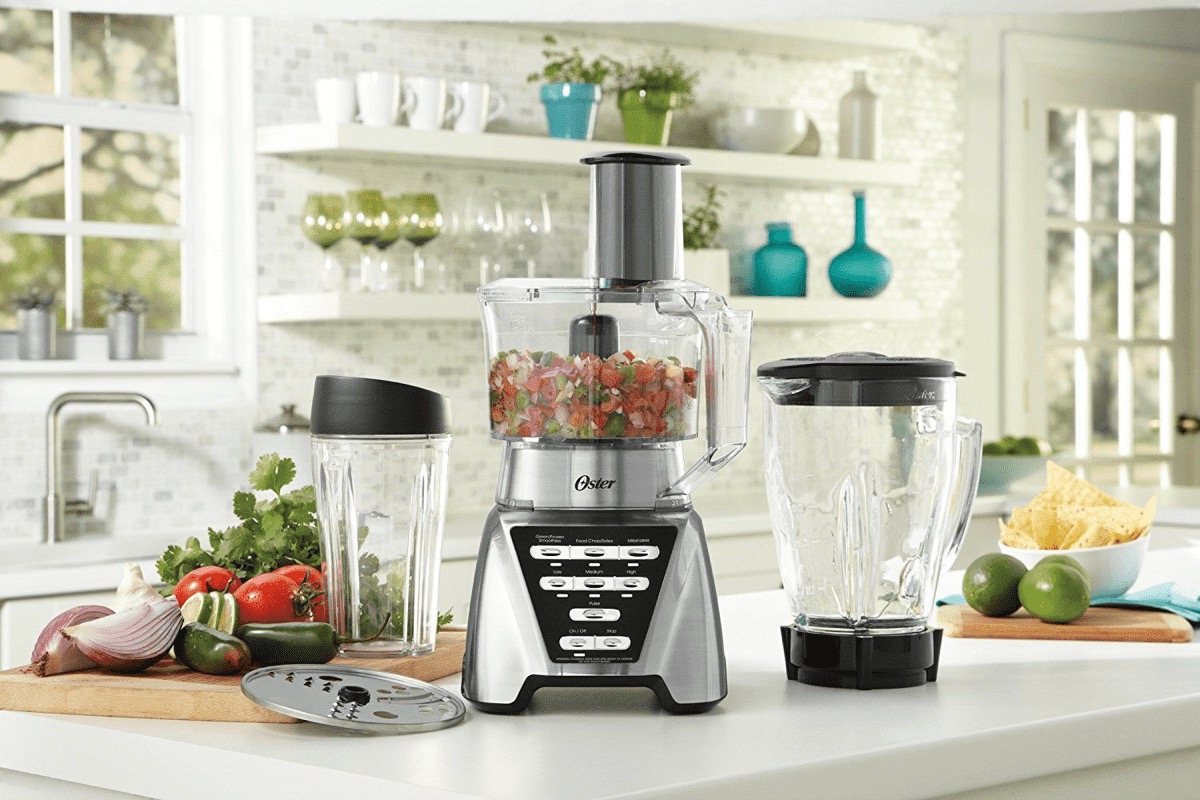
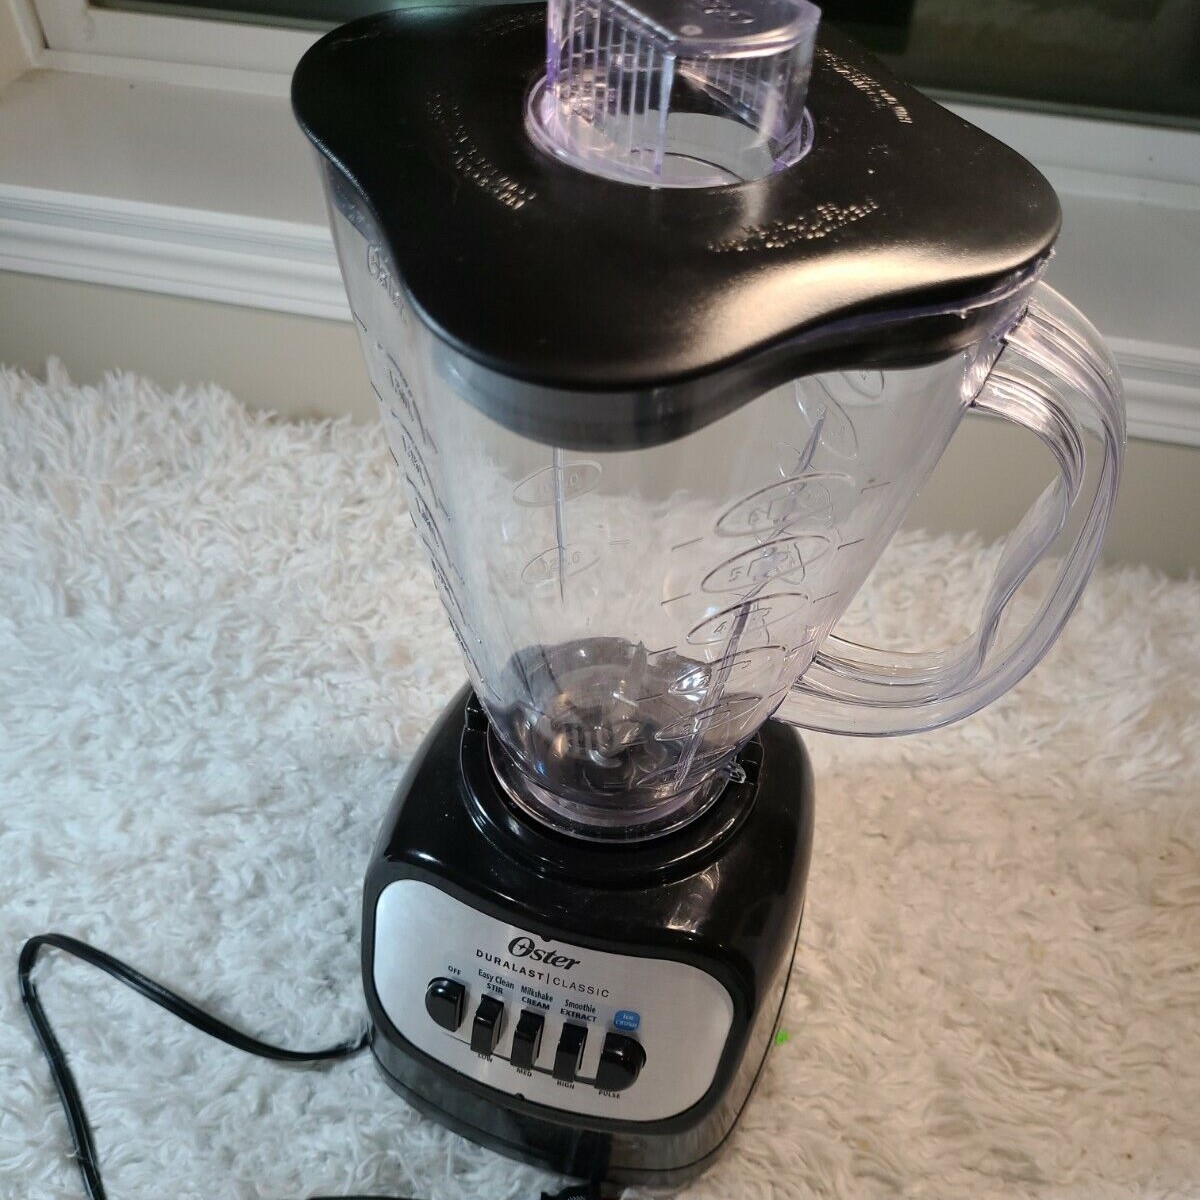
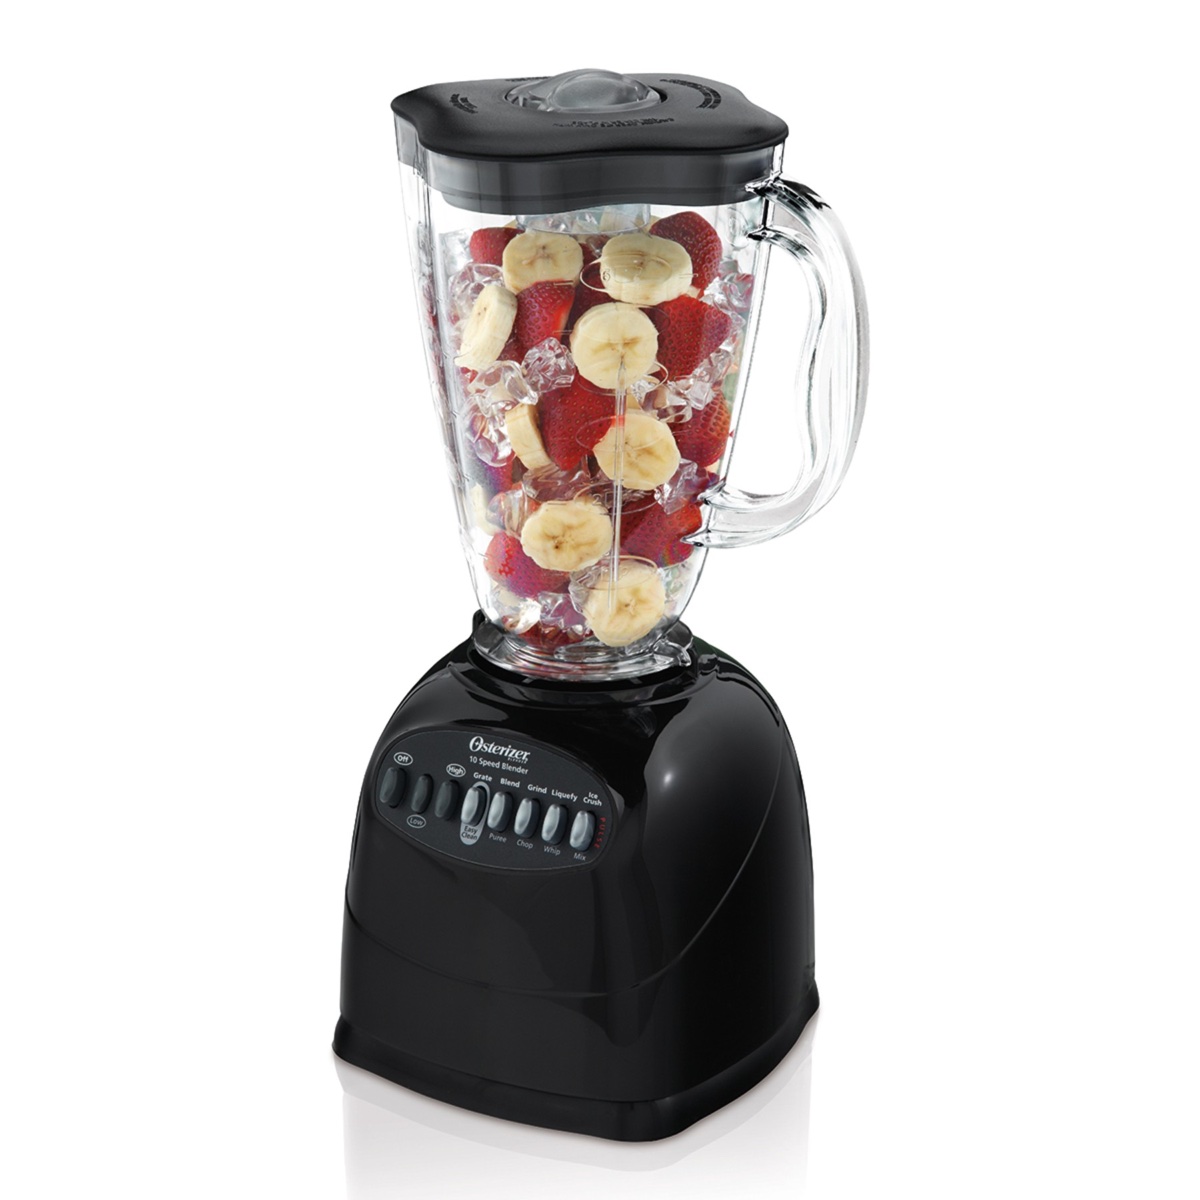
Before we dive into the details, let’s take a moment to familiarize ourselves with the Oster blender’s key features and components. The Oster blender is equipped with a powerful motor, a durable blending pitcher, and a variety of speed settings and functions. It also comes with a lid that seals tightly to prevent any spills or leaks.
Now that we have a basic understanding of the Oster blender, let’s get started on our blending adventure!
Key Takeaways:
- Master the art of using the Oster blender by following simple steps to set up, blend, and serve delicious creations. Don’t forget to prioritize safety and proper cleaning for a seamless blending experience.
- Elevate your blending game with the Oster blender’s versatile features, from selecting the right settings to achieving the perfect consistency. Unleash your creativity and enjoy a wide variety of delectable blends.
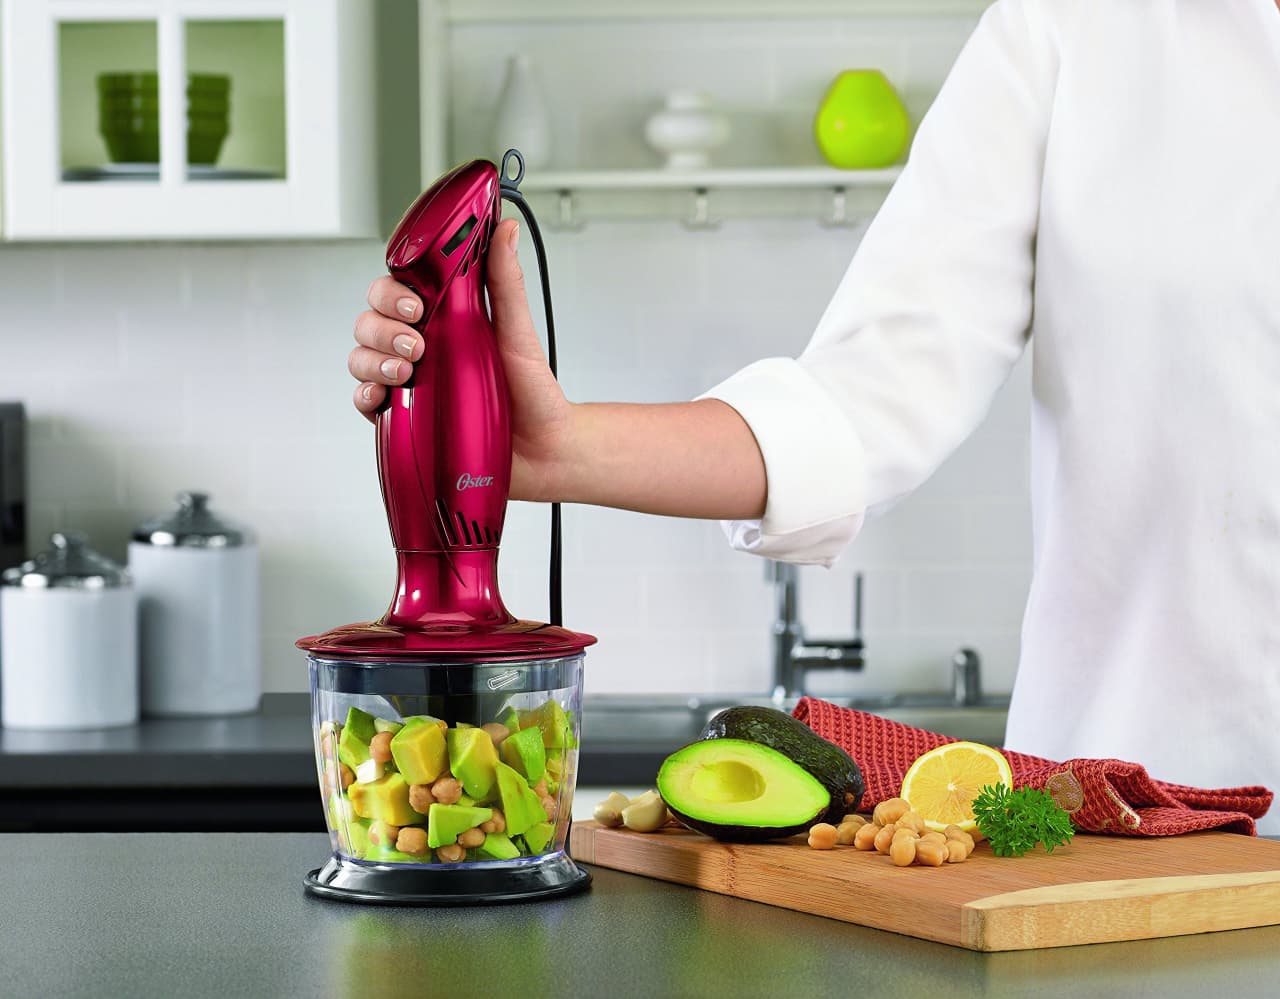
Read also: 11 Amazing Blender Oster for 2025
Step 1: Setting Up the Blender
Setting up the Oster blender is a simple and straightforward process. Follow these steps to get started:
- Find a stable and flat surface for your blender. It’s important to ensure that the blender is placed on a secure surface to prevent any accidents.
- Check if the blending pitcher is clean and dry. Before using the blender, make sure the blending pitcher is free from any residue or moisture. This will help maintain the quality and hygiene of your blends.
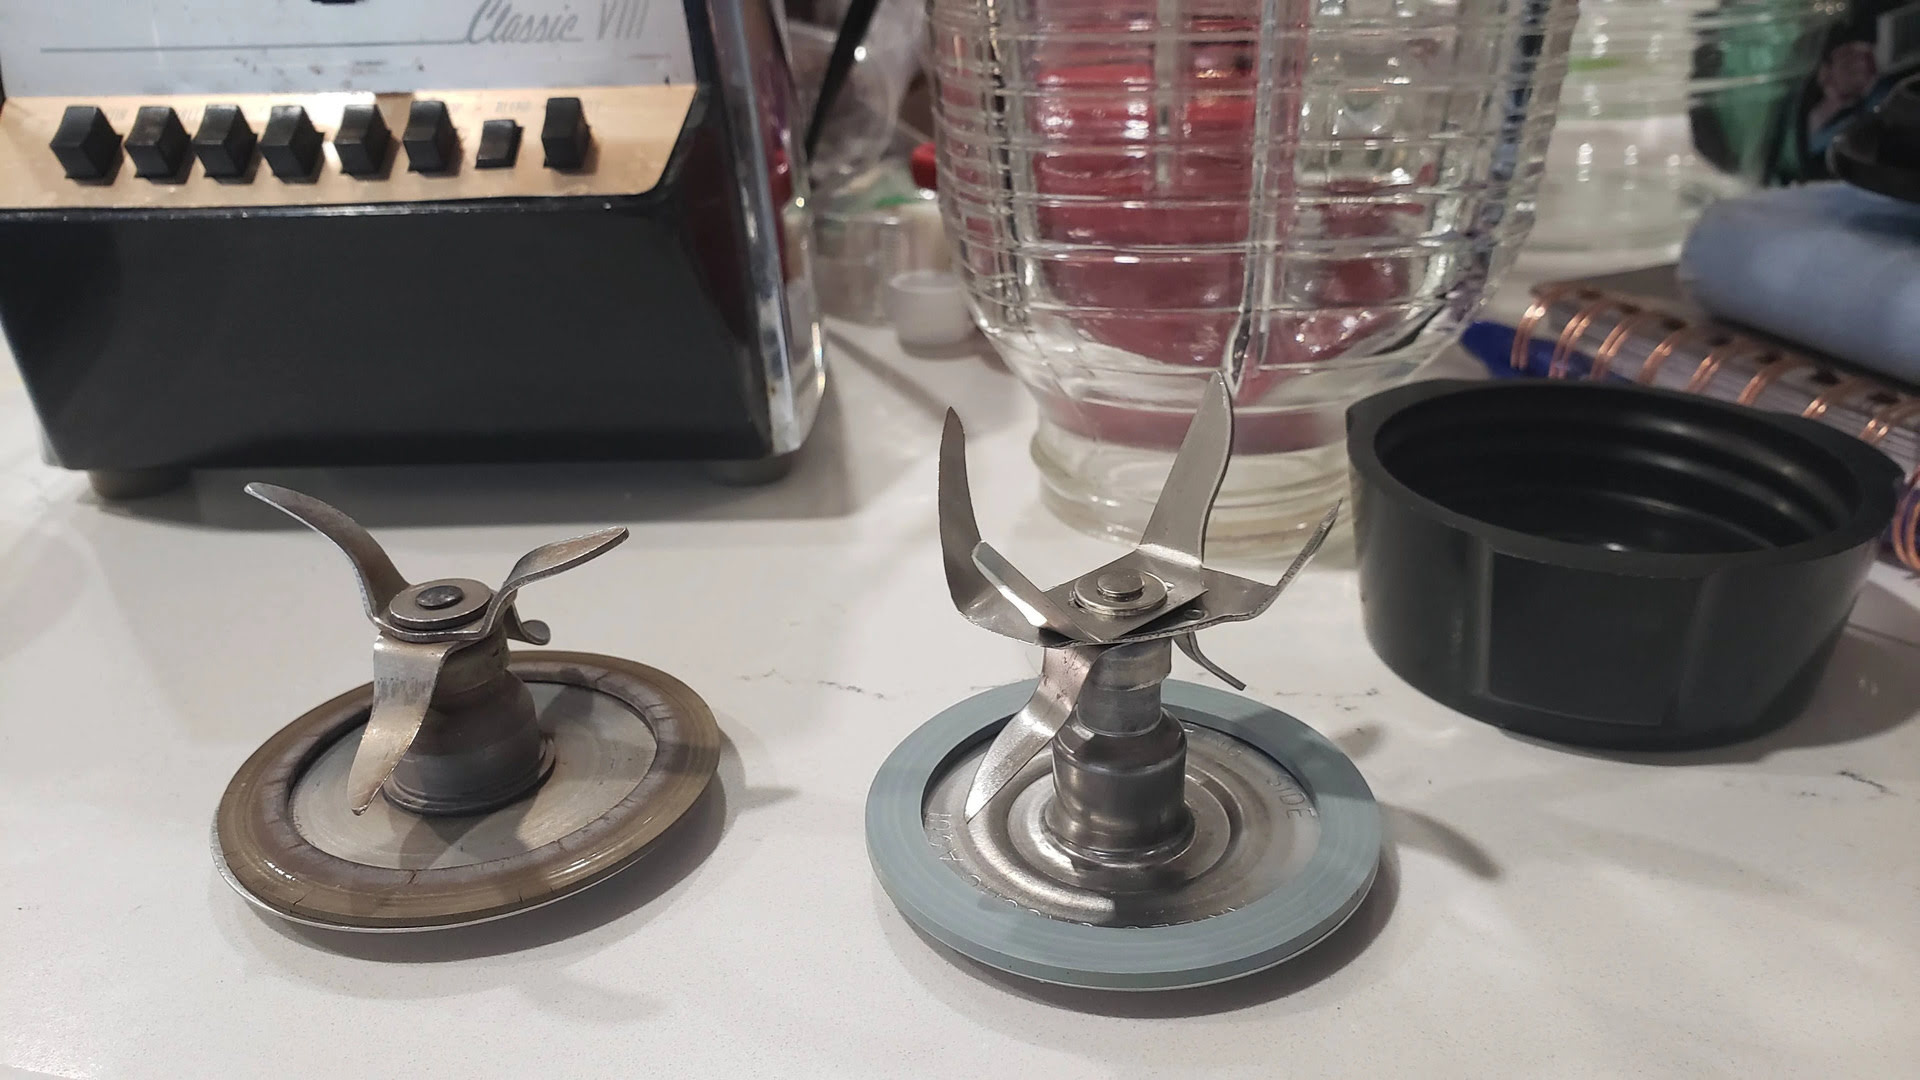
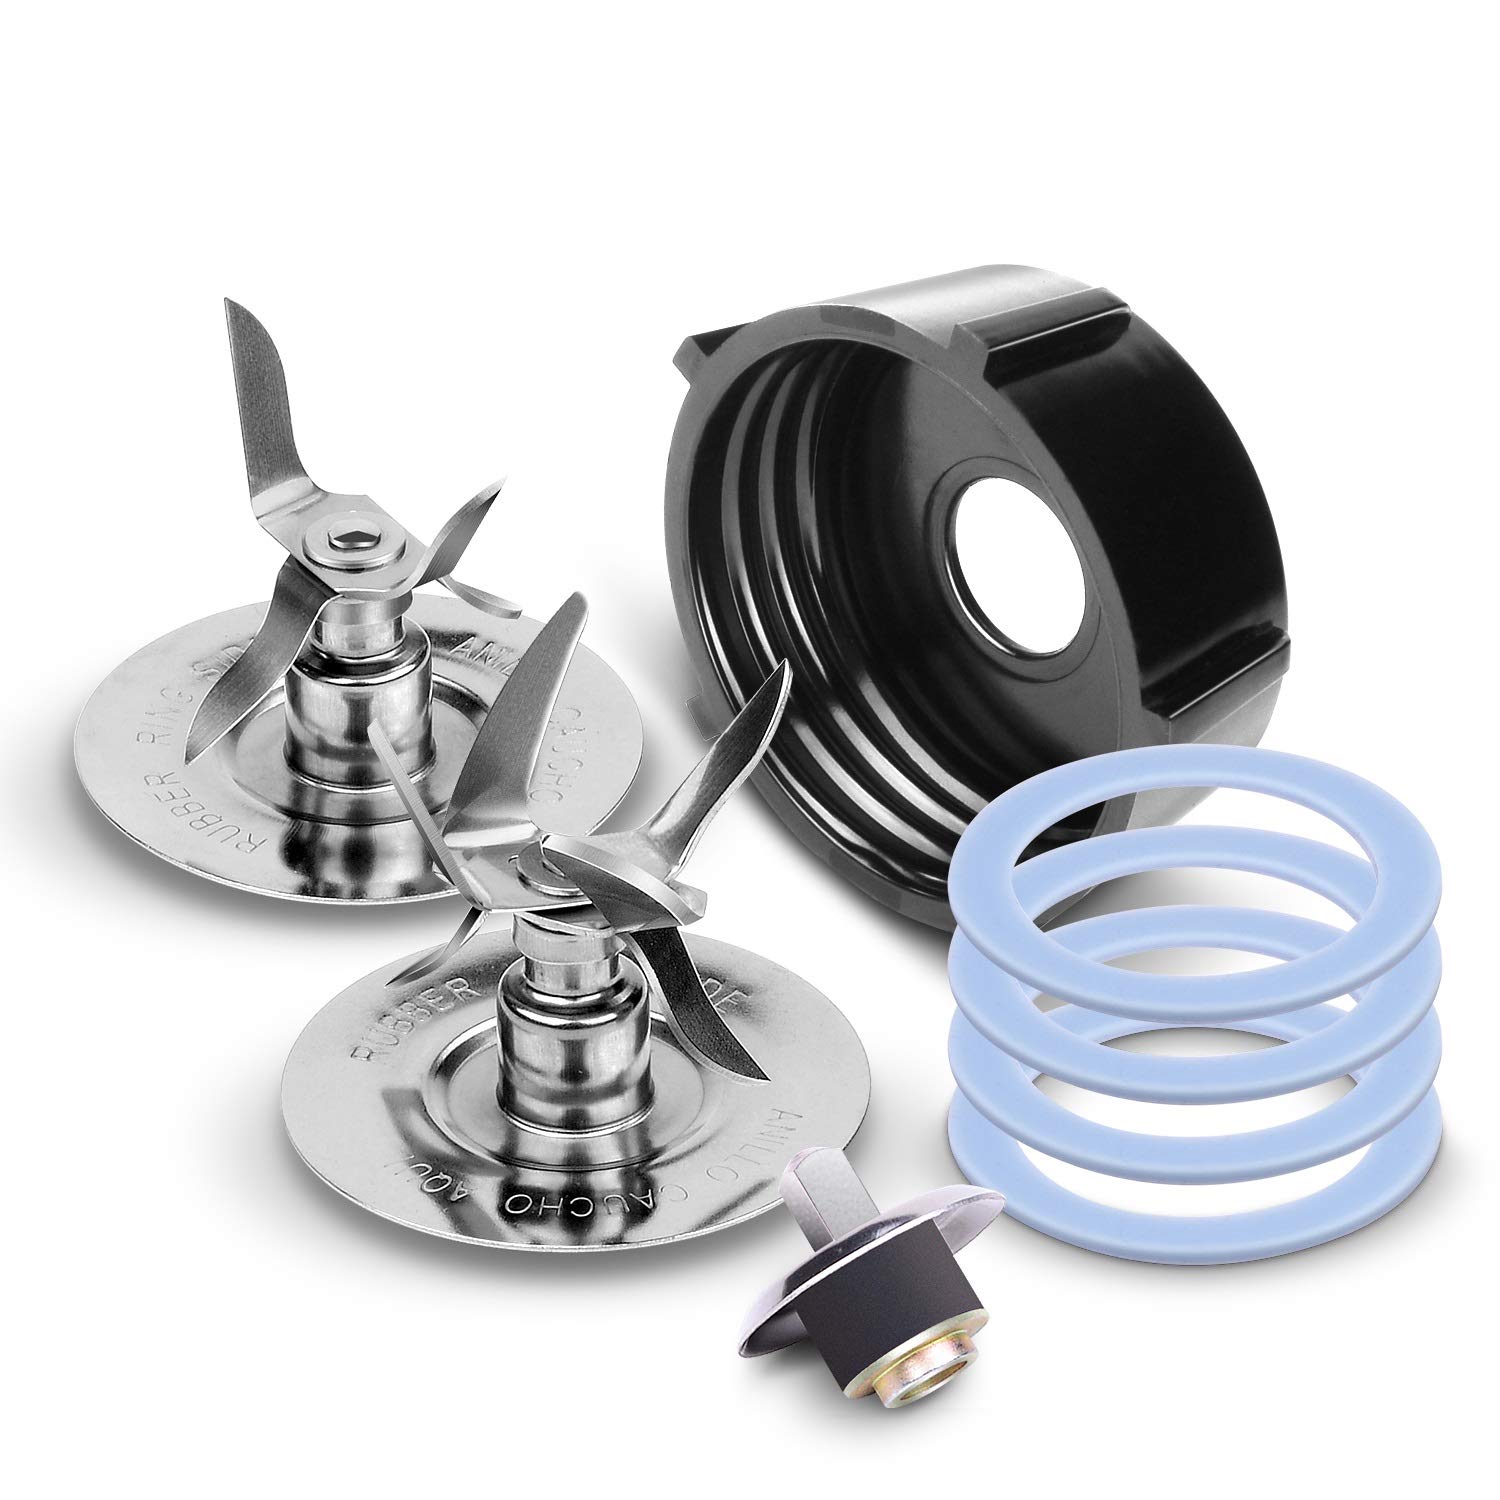
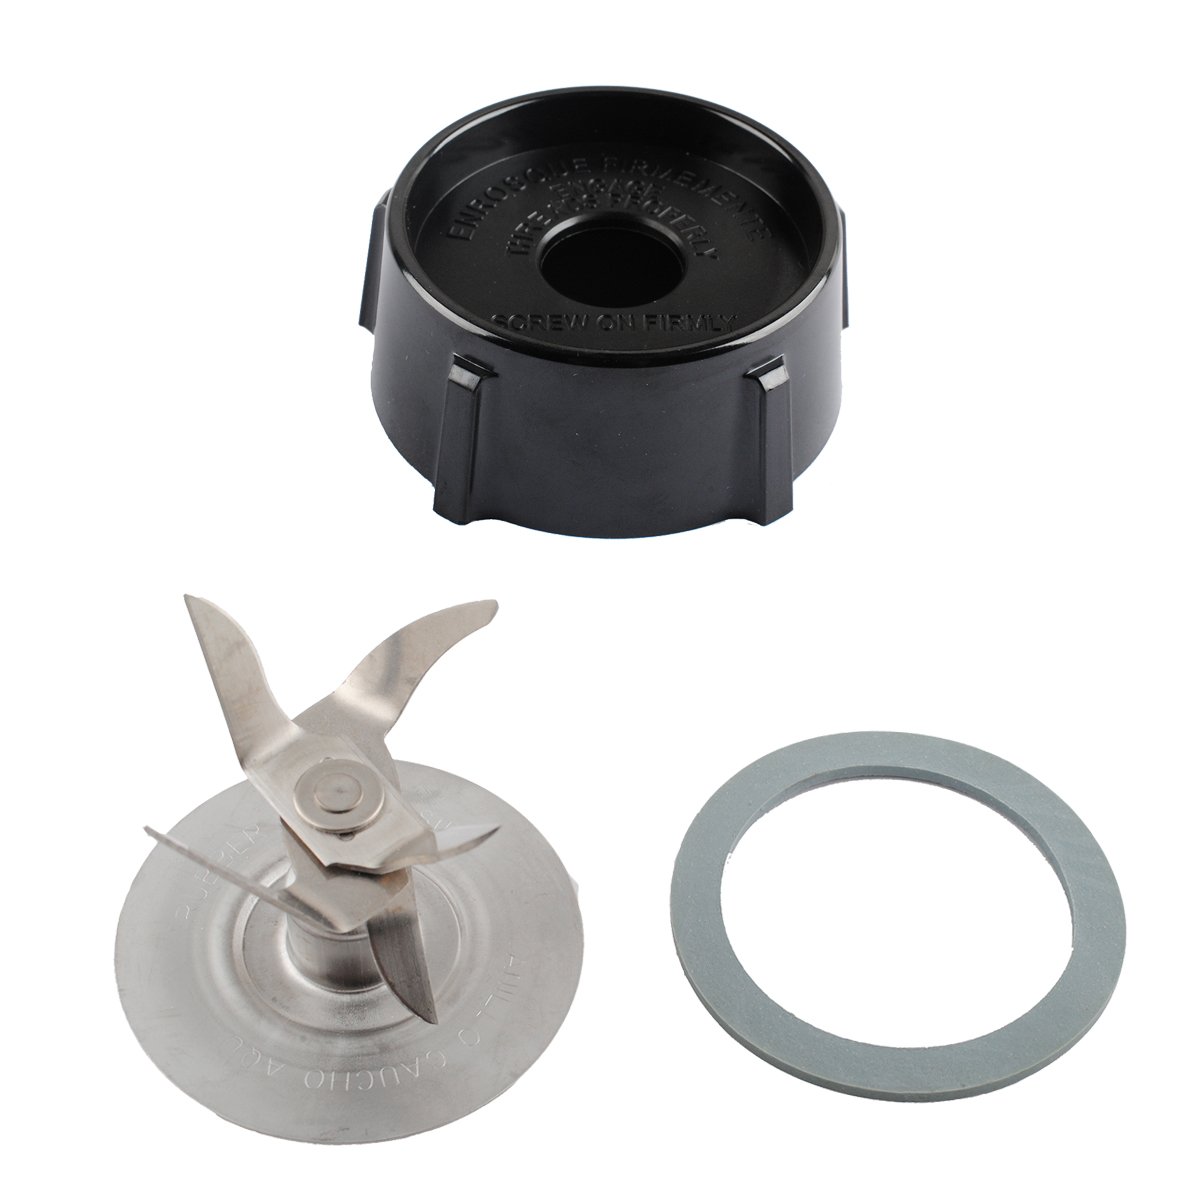
- Attach the blade assembly to the bottom of the blending pitcher. The blade assembly is the key component that will blend your ingredients to perfection. Simply align it with the designated markings on the pitcher and twist it gently until it locks into place.
- Place the blending pitcher on the base of the blender. The base of the blender is where the motor is located. Ensure that the pitcher is properly aligned with the base and securely placed to avoid any accidents.
- Secure the lid onto the blending pitcher. The lid of the blender is designed to prevent any spills or leaks during the blending process. Place it firmly on top of the pitcher and ensure it is properly sealed before proceeding.
- Plug the blender into a power source. Locate the power cord of the blender and connect it to a nearby power outlet. Ensure that the power source is stable and reliable.
- Once the blender is set up, you are ready to move on to the next step of adding your ingredients.
Setting up the Oster blender is quick and easy, allowing you to start blending your favorite recipes in no time. Now that your blender is ready to go, let’s move on to the next step of adding ingredients to create a delicious blend.
Step 2: Adding Ingredients
Now that your Oster blender is set up, it’s time to add the ingredients for your desired recipe. Follow these steps to ensure a successful blending experience:
- Gather all the ingredients you will need for your recipe. This could include fruits, vegetables, liquids, spices, or any other ingredients specified in the recipe.
- Start by pouring the liquid ingredients into the blending pitcher. It’s important to add the liquid first, as it helps create a smooth and consistent blend. This could be water, juice, milk, or any other liquid of your choice.
- Add the solid ingredients to the blending pitcher. This includes fruits, vegetables, or any other components that need to be blended. Cut them into smaller pieces if necessary to ensure they can blend smoothly.
- If your recipe calls for any additional ingredients such as spices or flavorings, add them to the blender as well. These ingredients will enhance the taste and aroma of your blend.
- Be mindful of the maximum capacity of the blending pitcher. Avoid overfilling it, as this can lead to spills and uneven blending. It’s best to leave some room at the top to allow the ingredients to expand during the blending process.
- Once all the ingredients are added, securely place the lid back onto the blending pitcher. Double-check that it is sealed properly to avoid any leaks while blending.
Now that the ingredients are added to the blender, you’re one step closer to enjoying a delicious blend. In the next step, we’ll explore how to select the right blender settings for your recipe to achieve the desired consistency and texture.
Step 3: Selecting the Right Blender Settings
Choosing the right blender settings is crucial to achieving the perfect consistency and texture for your blend. The Oster blender offers a variety of speed settings and functions that you can adjust based on your recipe. Follow these steps to select the right blender settings:
- Refer to your recipe for guidance on the recommended blender settings. Many recipes will specify the speed or function to use for optimal results.
- Identify the speed settings on your Oster blender. Most blenders have a range of speed options, typically indicated by numbers or labels such as “low,” “medium,” and “high.”
- Start with the lowest speed setting and gradually increase if needed. This allows you to control the blending process and achieve the desired texture without overprocessing the ingredients.
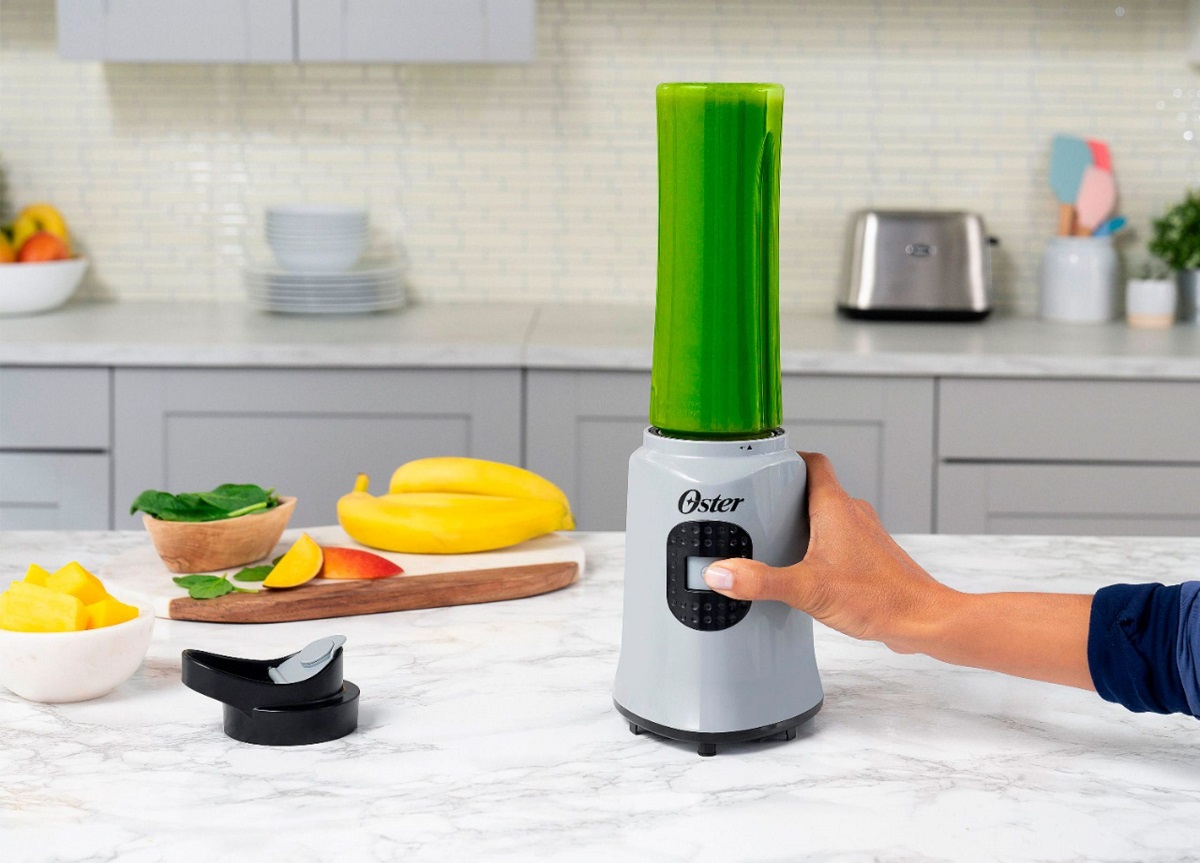
- If your Oster blender has preset functions, such as “smoothie” or “ice crush,” consider using them for specific recipes. These functions are designed to automatically adjust the blending speed and time for optimal results.
- Experiment with different blender settings to achieve your desired texture. For example, if you want a smooth and creamy blend, you may need to blend on a higher speed for longer. If you prefer a chunkier texture, blend on a lower speed for a shorter duration.
- Keep an eye on the blending process and pause as needed to scrape down the sides of the blending pitcher. This helps ensure that all the ingredients are evenly incorporated and avoids any lumps or chunks.
By selecting the right blender settings, you can achieve the desired consistency and texture for your blend. In the next step, we’ll move on to blending the ingredients to create a delicious concoction.
When using an Oster blender, always start with the liquid ingredients at the bottom to ensure smooth blending. Then add the solid ingredients and blend in short bursts to avoid over-processing.
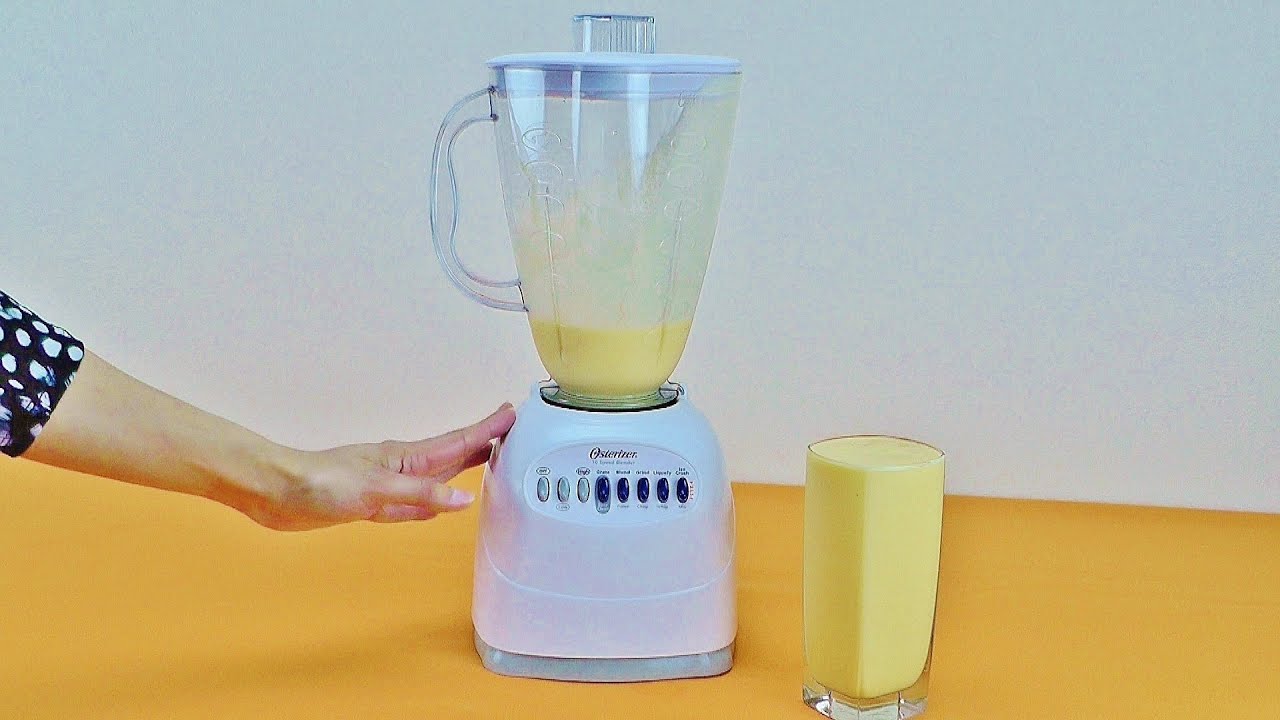
Step 4: Blending the Ingredients
Now that you have set the right blender settings, it’s time to blend the ingredients in your Oster blender. Follow these steps to ensure a smooth and efficient blending process:
- Double-check that the lid of the blending pitcher is securely in place. This prevents any spills or leaks during the blending process.
- Place your hand firmly on the lid while blending to ensure it stays in place. The high speed of the blender can create pressure, so it’s important to hold the lid down for added safety.
- Start the blending process by turning on the blender. If your Oster blender has a power button, press it to start the blending process. If it has a knob, turn it to the appropriate speed setting.
- Allow the ingredients to blend for the recommended duration specified in your recipe. Keep an eye on the blending process to ensure that everything is blending smoothly.
- If necessary, pause the blending process to scrape down the sides of the blending pitcher. This helps incorporate any ingredients that may have stuck to the sides and ensures a consistent blend.
- If you notice that the blend is too thick or not blending evenly, add small amounts of liquid to the pitcher. This will help facilitate the blending process and create a smoother texture.
- Continue blending until you achieve the desired consistency. This may vary depending on your recipe and personal preference. Some blends may need to be pureed until completely smooth, while others may benefit from a slightly chunky texture.
Once you are satisfied with the blending process, it’s time to move on to the next step of pouring and serving your delicious blend. But before we do that, let’s take a moment to appreciate the power and efficiency of your Oster blender!
Read also: 12 Amazing Oster Hand Blender for 2025
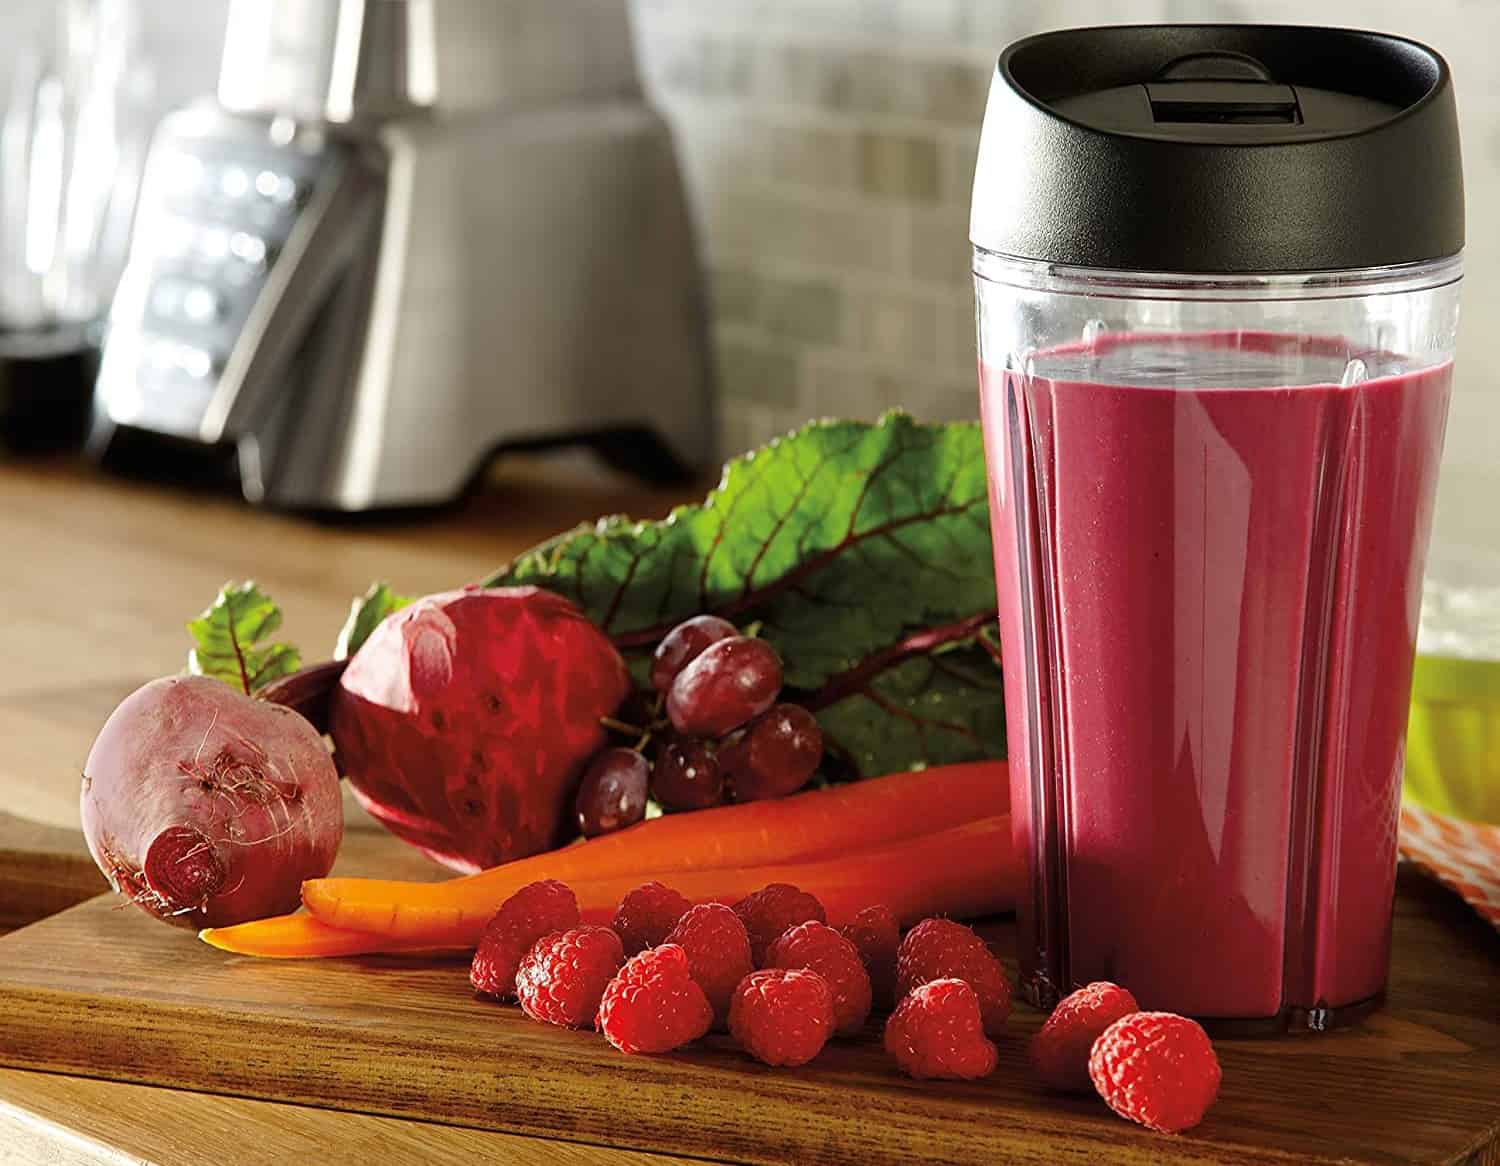
Step 5: Pouring and Serving
After blending your ingredients to perfection in your Oster blender, it’s time to pour and serve your delicious creation. Follow these steps to ensure an elegant and enjoyable serving experience:
- Carefully remove the lid from the blending pitcher. Set it aside, making sure not to spill any content in the process.
- Hold the blending pitcher with one hand and use the other hand to guide the pour. Slowly and steadily pour the blended mixture into your desired serving containers, such as glasses, bowls, or storage jars.
- If your blend contains any ingredients that may settle at the bottom, give it a gentle stir before pouring to ensure an even distribution.
- Once you have poured the blend, you can garnish it or add any additional toppings or garnishes as desired. This can include fruits, herbs, nuts, or a drizzle of sauce to enhance the presentation and taste of your dish.
- Serve your blend immediately to enjoy it at its freshest and most flavorful state. If the blend needs to be chilled, transfer it to the refrigerator for a brief period before serving.
- Store any leftover blend in airtight containers in the refrigerator for later use. Ensure that the containers are properly sealed to maintain the freshness and quality of the blend.
- Remember to clean the blending pitcher and other parts of the Oster blender after serving. This will prevent any residue from hardening and make the cleaning process easier.
Now that you have successfully poured and served your delicious blend, it’s time to clean the blender in the next and final step of our guide.
Step 6: Cleaning the Blender
Properly cleaning your Oster blender is essential for maintaining its performance and longevity. Follow these steps to ensure a thorough and effective cleaning process:
- Unplug the blender from the power source. Safety should always be the first priority when handling any electrical appliance.
- Carefully remove the blending pitcher from the base of the blender. Take caution to avoid cutting yourself on the sharp blades.
- Disassemble any removable parts of the blender, such as the blade assembly and the lid. Refer to the manufacturer’s instructions for guidance on how to safely remove these parts.
- Rinse all the removable parts under warm running water to remove any residual food or liquid. Use a gentle scrub brush to clean any stubborn stains or debris.
- Fill the blending pitcher with warm water and a few drops of dish soap. Let it sit for a few minutes to loosen any remaining residue or buildup.
- Use a sponge or soft cloth to scrub the inside of the blending pitcher, paying close attention to the areas around the blades. Rinse thoroughly to remove any traces of soap.
- Clean the base of the blender with a damp cloth or sponge. Be cautious not to immerse the base in water or expose it to excessive moisture.
- Allow all the parts to air dry completely before reassembling the blender. This helps prevent any moisture buildup that can lead to mold or mildew.
- Once all the parts are dry, reassemble the blender, making sure that all components fit securely into place.
- Store the blender in a clean and dry location, ready for your next blending adventure.
By following these cleaning steps regularly, you can ensure that your Oster blender remains in optimal condition and ready to create delicious blends time and time again.
Conclusion
Congratulations! You have successfully learned how to use the Oster blender from start to finish. With this powerful and versatile appliance, you can now create a wide variety of delicious blends, from smoothies and shakes to soups and sauces. Here’s a recap of the steps we covered:
- Setting up the blender: Ensure stability, clean the blending pitcher, attach the blade assembly, and secure the lid.
- Adding ingredients: Gather all the ingredients, pour the liquids first, add the solids, and any additional flavorings as needed.
- Selecting the right blender settings: Refer to the recipe’s recommendations, start with low speed, test different speeds, and adjust as necessary.
- Blending the ingredients: Keep the lid secure, start the blender, pause to scrape down the sides if needed, and blend to the desired consistency.
- Pouring and serving: Remove the lid, pour the blend into serving containers, garnish if desired, and serve immediately.
- Cleaning the blender: Unplug the blender, disassemble removable parts, rinse and scrub, air dry, reassemble, and store in a clean and dry location.
By following these steps, you can make the most out of your Oster blender and create delicious blends to satisfy your taste buds. Remember to always prioritize safety when handling any kitchen appliance and take proper care of your blender to ensure its longevity.
So, what are you waiting for? Gather your favorite ingredients, unleash your creativity, and let your Oster blender take your culinary creations to new heights. Happy blending!
Frequently Asked Questions about How To Use Oster Blender
Was this page helpful?
At Storables.com, we guarantee accurate and reliable information. Our content, validated by Expert Board Contributors, is crafted following stringent Editorial Policies. We're committed to providing you with well-researched, expert-backed insights for all your informational needs.


0 thoughts on “How To Use Oster Blender”