
Articles
How To Put A Blender Together
Modified: August 28, 2024
Learn how to put a blender together with step-by-step instructions and expert tips. Find informative articles on assembling blenders and keeping them in top shape.
(Many of the links in this article redirect to a specific reviewed product. Your purchase of these products through affiliate links helps to generate commission for Storables.com, at no extra cost. Learn more)
Introduction
Welcome to the world of blenders! If you’ve just purchased a brand new blender or you’re considering getting one, you may be wondering how to put it together. Putting a blender together may seem like a daunting task, especially if you’re new to using kitchen appliances. However, with a little guidance and the right instructions, you’ll be blending up smoothies, soups, and sauces in no time.
In this article, we will walk you through the step-by-step process of putting a blender together. Whether you have a traditional countertop blender or a compact immersion blender, the basic principles remain the same. By following these instructions, you will have your blender set up and ready to use in no time.
Before we dive into the assembly process, let’s quickly go over the basic components of a blender. A typical blender consists of a base, a pitcher or jar, a blade assembly, a lid, and a power cord. Some blenders may have additional features such as speed controls, pre-programmed settings, or detachable parts for easy cleaning.
Now that you have an understanding of the main components, let’s get started on putting your blender together. Make sure to read the user manual provided by the manufacturer for specific instructions related to your blender model. Let’s begin with unboxing the blender in the next step.
Key Takeaways:
- Assembling a blender is a simple and enjoyable task with the right guidance. From unboxing to cleaning, following the step-by-step process ensures safe and efficient blending for a wide array of recipes.
- Proper cleaning and maintenance of the blender are essential for its longevity and optimal performance. Regular upkeep ensures hygienic and efficient blending, allowing for endless culinary creativity.
Read more: How To Put Plumbing Pipes Together
Step 1: Unboxing the Blender
The first step in the process is unboxing your blender. Carefully remove the packaging materials and place them aside. Take a moment to inspect the contents and ensure that you have all the necessary components, including the base, pitcher, blade assembly, lid, and power cord.
Check for any additional accessories or attachments that may be included with your blender, such as blending cups, spatulas, or recipe booklets. It’s always a good idea to keep these extras in a safe place, as they can come in handy later on.
Once you’ve confirmed that everything is present, discard the packaging materials responsibly or keep them for recycling if applicable. Now that you have unboxed your blender, you’re ready to move on to the next step: assembling the base.
Step 2: Assembling the Base
Now that the blender is unboxed, it’s time to assemble the base. The base is the foundation of the blender and houses the motor and controls. Follow these simple steps to assemble the base:
- Place the base on a clean, dry surface.
- Ensure that the power switch or buttons are facing towards you for easy access.
- If your blender has suction cup feet, make sure they are clean and free from debris. This will help the blender stay securely in place during operation.
- Align the tabs on the pitcher with the slots on the base. Gently press down until you hear a click or feel the pitcher securely attach to the base.
- Some blenders may require you to twist the pitcher to lock it into place. Refer to your blender’s instruction manual for specific guidance.
- Double-check that the pitcher is firmly attached to the base before moving on to the next step.
With the base properly assembled, you’re one step closer to enjoying your delicious creations. The next step involves attaching the blade assembly, so let’s move on to that.
Step 3: Attaching the Blade Assembly
Now that you have assembled the base, it’s time to attach the blade assembly. The blade assembly is responsible for blending and chopping ingredients effectively. Follow these steps to attach the blade assembly:
- Make sure the pitcher is securely attached to the base.
- Carefully insert the blade assembly into the center of the pitcher’s base.
- Ensure that the blade assembly is aligned with the corresponding notch or mark on the pitcher.
- Gently press down on the blade assembly, making sure it is securely in place.
- Give the blade assembly a light twist to confirm that it is locked into position.
- Double-check that the blade assembly is properly attached and does not wobble.
It’s important to handle the blade assembly with care, as the blades are sharp. Always exercise caution when attaching or detaching the blade assembly.
Now that you have successfully attached the blade assembly, it’s time to move on to the next step: securing the pitcher in place.
Step 4: Securing the Pitcher
With the blade assembly attached, the next step is to secure the pitcher in place. The pitcher holds the ingredients and ensures they are blended properly. Follow these steps to secure the pitcher:
- Ensure that the blade assembly is securely attached to the base.
- Take the pitcher and align it with the base, ensuring that the handle is facing towards you.
- Place the pitcher on top of the base, making sure it sits snugly.
- Rotate the pitcher slightly if required, until it aligns with the tabs or grooves on the base.
- Press down on the pitcher gently, allowing it to lock into place.
- Gently give the pitcher a small twist to make sure it is secured.
It’s important to ensure that the pitcher is properly secured to avoid any accidents or spillage during blending. Now that the pitcher is in place, let’s move on to the next step: connecting the lid.
When putting a blender together, make sure to carefully read the instruction manual to ensure all parts are assembled correctly. This will help prevent any potential damage or malfunction.
Read more: How To Put Glass Back Together
Step 5: Connecting the Lid
Now that the pitcher is securely in place, it’s time to connect the lid. The lid plays a crucial role in preventing any splatters or spills while the blender is in operation. Follow these steps to connect the lid:
- Take the lid of the blender with one hand.
- Hold the lid above the pitcher, aligning it with the opening.
- Gently lower the lid onto the pitcher, ensuring that it fits snugly.
- Check for any locking mechanisms or tabs on the lid and pitcher that need to be aligned.
- Press down on the lid firmly until you hear or feel it click into place.
- Give the lid a gentle tug to confirm that it is securely attached.
It’s important to note that some blenders may have additional safety features on the lid, such as a removable cap or an opening for adding ingredients while blending. Refer to your blender’s instruction manual for specific details on any additional lid features.
Now that the lid is securely connected, your blender is almost ready for use. The next step is to plug in the power cord, so let’s move on to that.
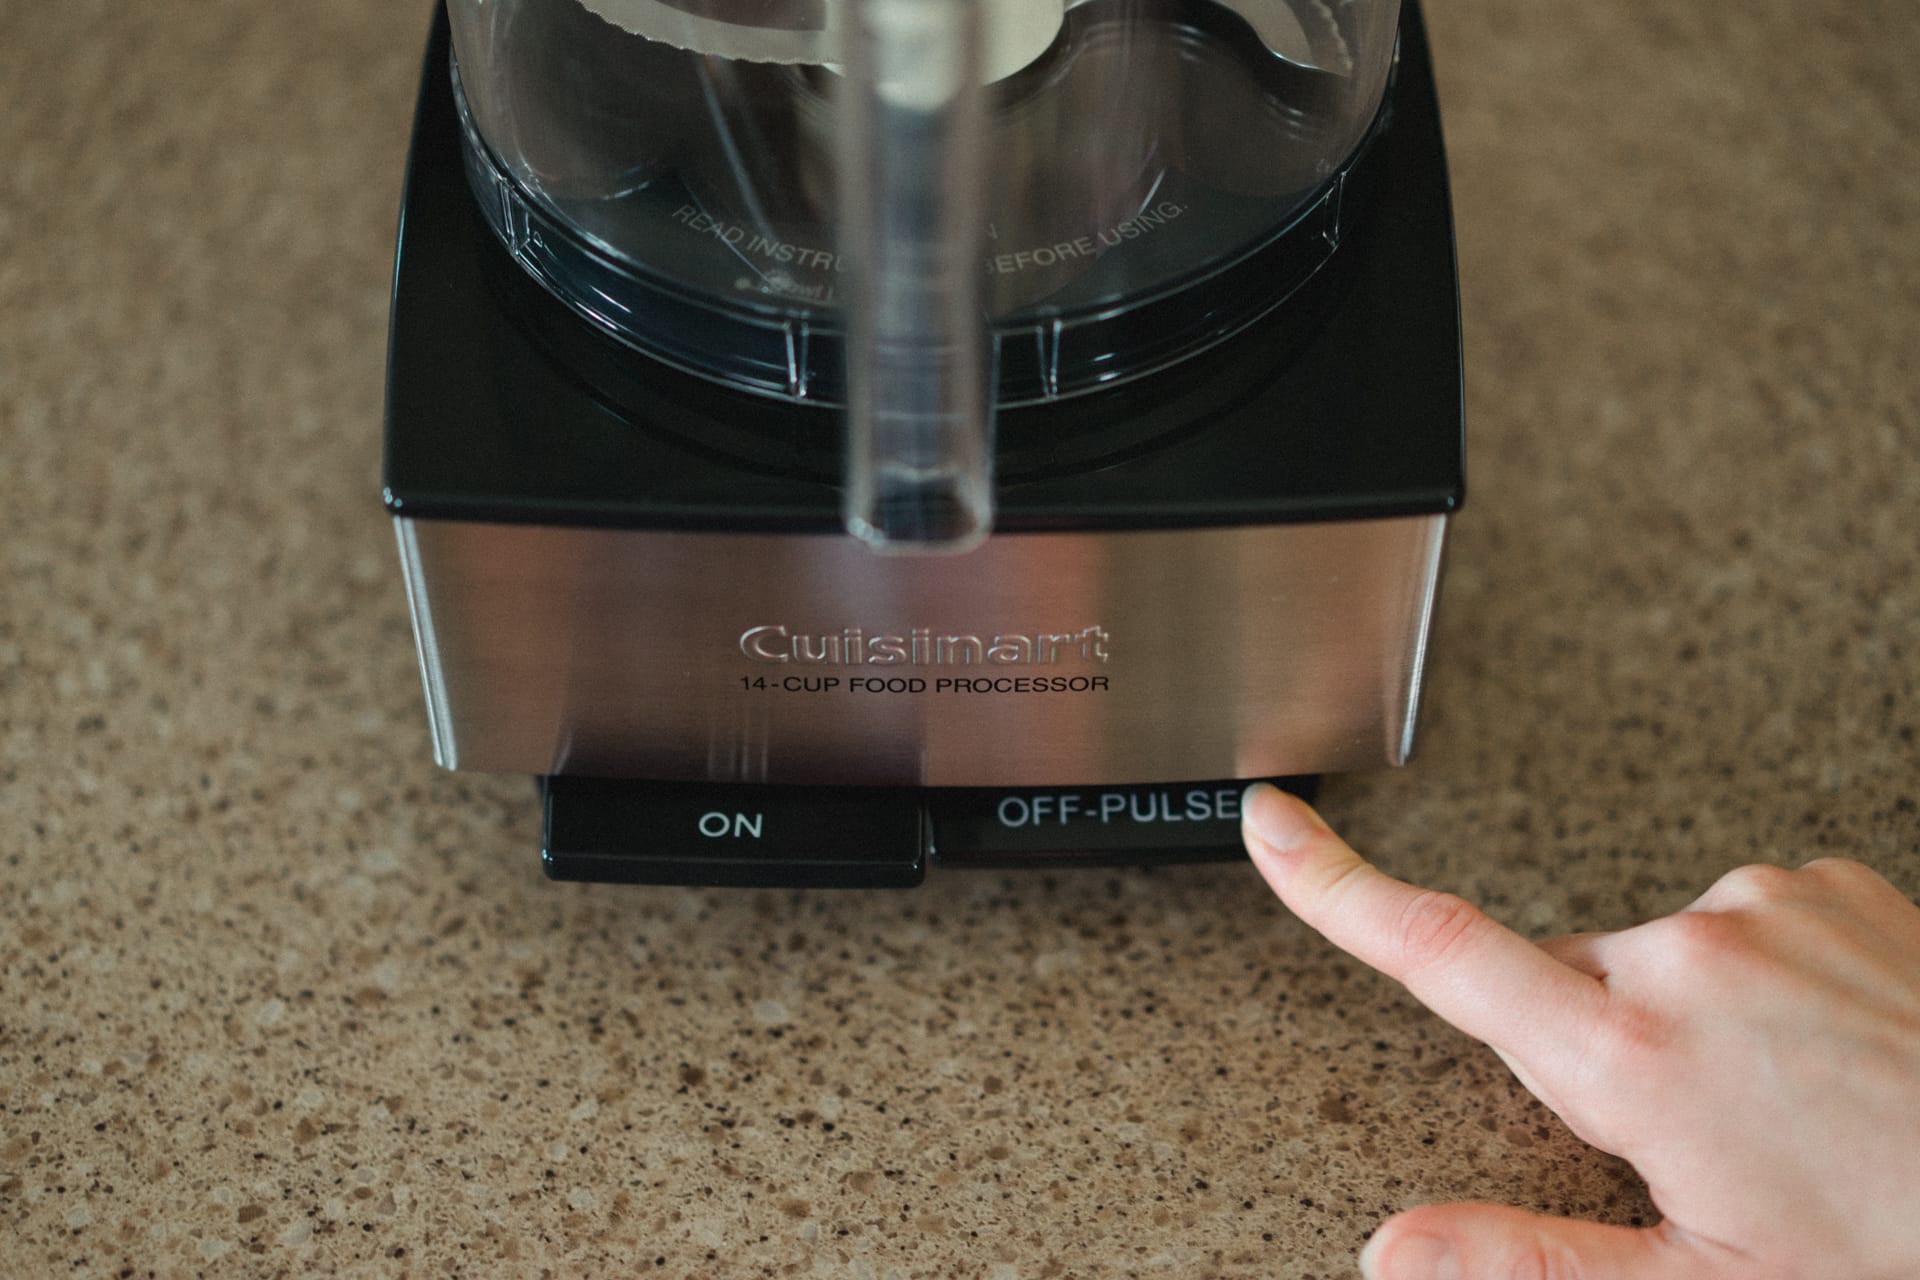
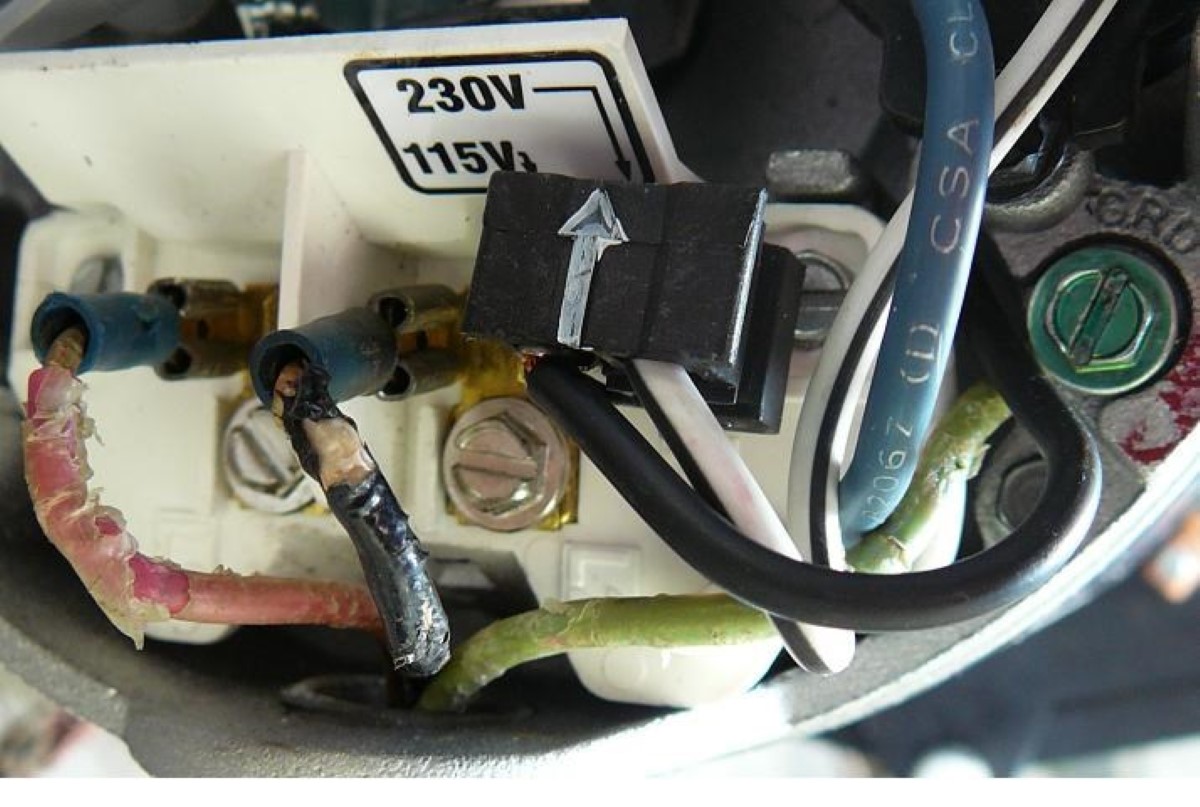
Step 6: Plugging in the Power Cord
With the blender fully assembled, it’s time to plug in the power cord. The power cord supplies the necessary electricity to operate the blender. Follow these steps to plug in the power cord:
- Locate the power cord at the back or bottom of the blender base.
- Ensure that the power switch or buttons are in the “off” or “zero” position.
- Take the plug of the power cord and find a nearby electrical outlet.
- Insert the plug into the outlet, making sure it fits snugly.
- Confirm that the blender is receiving power by checking for any indicator lights or displays.
- If your blender has a cord storage compartment, neatly coil and store any excess length of the cord.
It’s important to note that electrical safety is paramount. Make sure the outlet you are using is grounded and that the power cord is in good condition. Avoid using extension cords or power strips unless absolutely necessary and ensure they are rated for the appropriate power load.
Now that the blender is plugged in, it’s time to move on to the next step: operating the blender.
Step 7: Operating the Blender
You’ve reached the exciting step of using your blender! Operating the blender involves understanding the controls and settings to blend ingredients to your desired consistency. Follow these steps to operate the blender:
- Ensure that all the components are properly assembled, including the base, pitcher, blade assembly, and lid.
- Make sure the blender is on a stable surface and within reach.
- Check if the blender has speed controls, pre-programmed settings, or pulse options. Familiarize yourself with these features.
- Add the desired ingredients to the pitcher. Be mindful of any maximum fill levels indicated by the manufacturer.
- Place the lid securely on the pitcher, ensuring it is locked into place.
- Depending on your blender, select the desired speed or program for blending.
- If your blender has a pulse function, use short bursts of power to achieve the desired consistency.
- Press the power switch or button to start the blending process.
- Monitor the blending progress and stop the blender when the ingredients have reached your desired consistency.
- Once blending is complete, turn off the blender and unplug it from the electrical outlet.
- Carefully remove the lid from the pitcher and pour or transfer the blended mixture as needed.
Remember to follow any additional instructions or recommendations provided by the blender’s manufacturer regarding operation and safety precautions. Cleaning the blender and its components is covered in the next step.
Now that you know how to operate your blender, it’s time to transform those ingredients into delicious creations with a simple press of a button.
Step 8: Cleaning and Maintenance
After enjoying the delicious concoctions made with your blender, it’s important to clean and maintain it. Proper cleaning and regular maintenance will help to ensure the longevity and optimal performance of your blender. Follow these steps for cleaning and maintenance:
- Unplug the blender from the electrical outlet and disassemble the components.
- Rinse the pitcher, lid, and blade assembly under warm water to remove any residual ingredients.
- Use a mild dishwashing detergent or a blender-specific cleaning solution to wash the components.
- For stubborn residue, use a soft sponge or brush to gently scrub the surfaces.
- Make sure to clean the base of the blender as well, taking care to avoid contact with the electrical components.
- Rinse all the components thoroughly with water to remove any cleaning agents.
- Dry the components with a clean dish towel or allow them to air dry.
- Reassemble the components once they are completely dry.
- Store the blender in a clean and dry location, ensuring that all the parts are stored together.
- Perform regular maintenance tasks such as checking the power cord for any damage and inspecting the blades for sharpness and functionality.
- Refer to the manufacturer’s instructions for specific cleaning and maintenance recommendations for your blender model.
Regular cleaning and maintenance will not only keep your blender hygienic but also prevent any buildup that may affect its performance. Keeping your blender clean and well-maintained ensures that it can continue to serve you in creating delicious blends for years to come.
With the cleaning and maintenance steps completed, you have successfully learned how to put a blender together, operate it, and keep it in good condition. Now, it’s time to unleash your creativity and blend up your favorite recipes with ease!
Read more: How To Put Together A Rubbermaid Shed
Conclusion
Congratulations! You have successfully learned how to put a blender together and operate it with confidence. By following the step-by-step instructions in this article, you can assemble your blender correctly and enjoy its functionality to the fullest.
Remember to start with unboxing the blender and ensuring you have all the necessary components. Then, proceed to assemble the base, attach the blade assembly, secure the pitcher, connect the lid, plug in the power cord, operate the blender, and properly clean and maintain it after use.
Putting a blender together may seem intimidating at first, but it becomes a simple and enjoyable task with practice. A properly assembled blender ensures safe and efficient blending and allows you to create a wide array of recipes, ranging from smoothies and soups to sauces and purees.
Always refer to the manufacturer’s instructions specific to your blender model for any additional guidance or safety precautions. By following these guidelines, you can ensure the longevity and optimal performance of your blender.
Now that you have mastered the art of putting a blender together, it’s time to unleash your creativity in the kitchen. Experiment with various ingredients, flavors, and textures to whip up delicious and nutritious blends that satisfy your taste buds.
So go ahead, explore the world of blending and discover the limitless possibilities that a well-assembled blender brings to your culinary adventures. Enjoy the process, savor the flavors, and let your imagination run wild as you create mouthwatering masterpieces with your trusty blender!
Frequently Asked Questions about How To Put A Blender Together
Was this page helpful?
At Storables.com, we guarantee accurate and reliable information. Our content, validated by Expert Board Contributors, is crafted following stringent Editorial Policies. We're committed to providing you with well-researched, expert-backed insights for all your informational needs.


0 thoughts on “How To Put A Blender Together”