Home>Technology>Security & Surveillance>How To Chisel Door For Lock
Security & Surveillance
How To Chisel Door For Lock
Modified: January 24, 2024
Learn how to chisel a door for a lock installation to enhance your security and surveillance measures. Follow our step-by-step guide for a secure and professional result.
(Many of the links in this article redirect to a specific reviewed product. Your purchase of these products through affiliate links helps to generate commission for Storables.com, at no extra cost. Learn more)
Introduction
Welcome to the world of home security! One of the fundamental aspects of securing your home is installing a sturdy lock on your doors. Whether you’re upgrading an existing lock or fitting a new one, knowing how to chisel a door for a lock is a valuable skill that can enhance the safety of your living space. This guide will walk you through the process, providing step-by-step instructions and insights to help you accomplish this task with confidence.
Before we delve into the nitty-gritty of chiseling a door for a lock, it’s important to understand that this task requires precision and attention to detail. By following the guidelines outlined in this article, you’ll not only learn the practical skills needed for this project, but you’ll also gain a deeper understanding of the importance of proper lock installation in safeguarding your home and loved ones.
So, grab your tools and let’s embark on this journey together as we explore the art of chiseling a door for a lock!
Key Takeaways:
- Chiseling a door for a lock requires precision and patience, but it’s a valuable skill for enhancing home security. With the right tools and careful measurements, you can install a sturdy lock to safeguard your living space.
- Testing the lock after installation is crucial for ensuring smooth operation and security. By following the step-by-step process and making necessary adjustments, you can achieve peace of mind knowing that your home is well-protected.
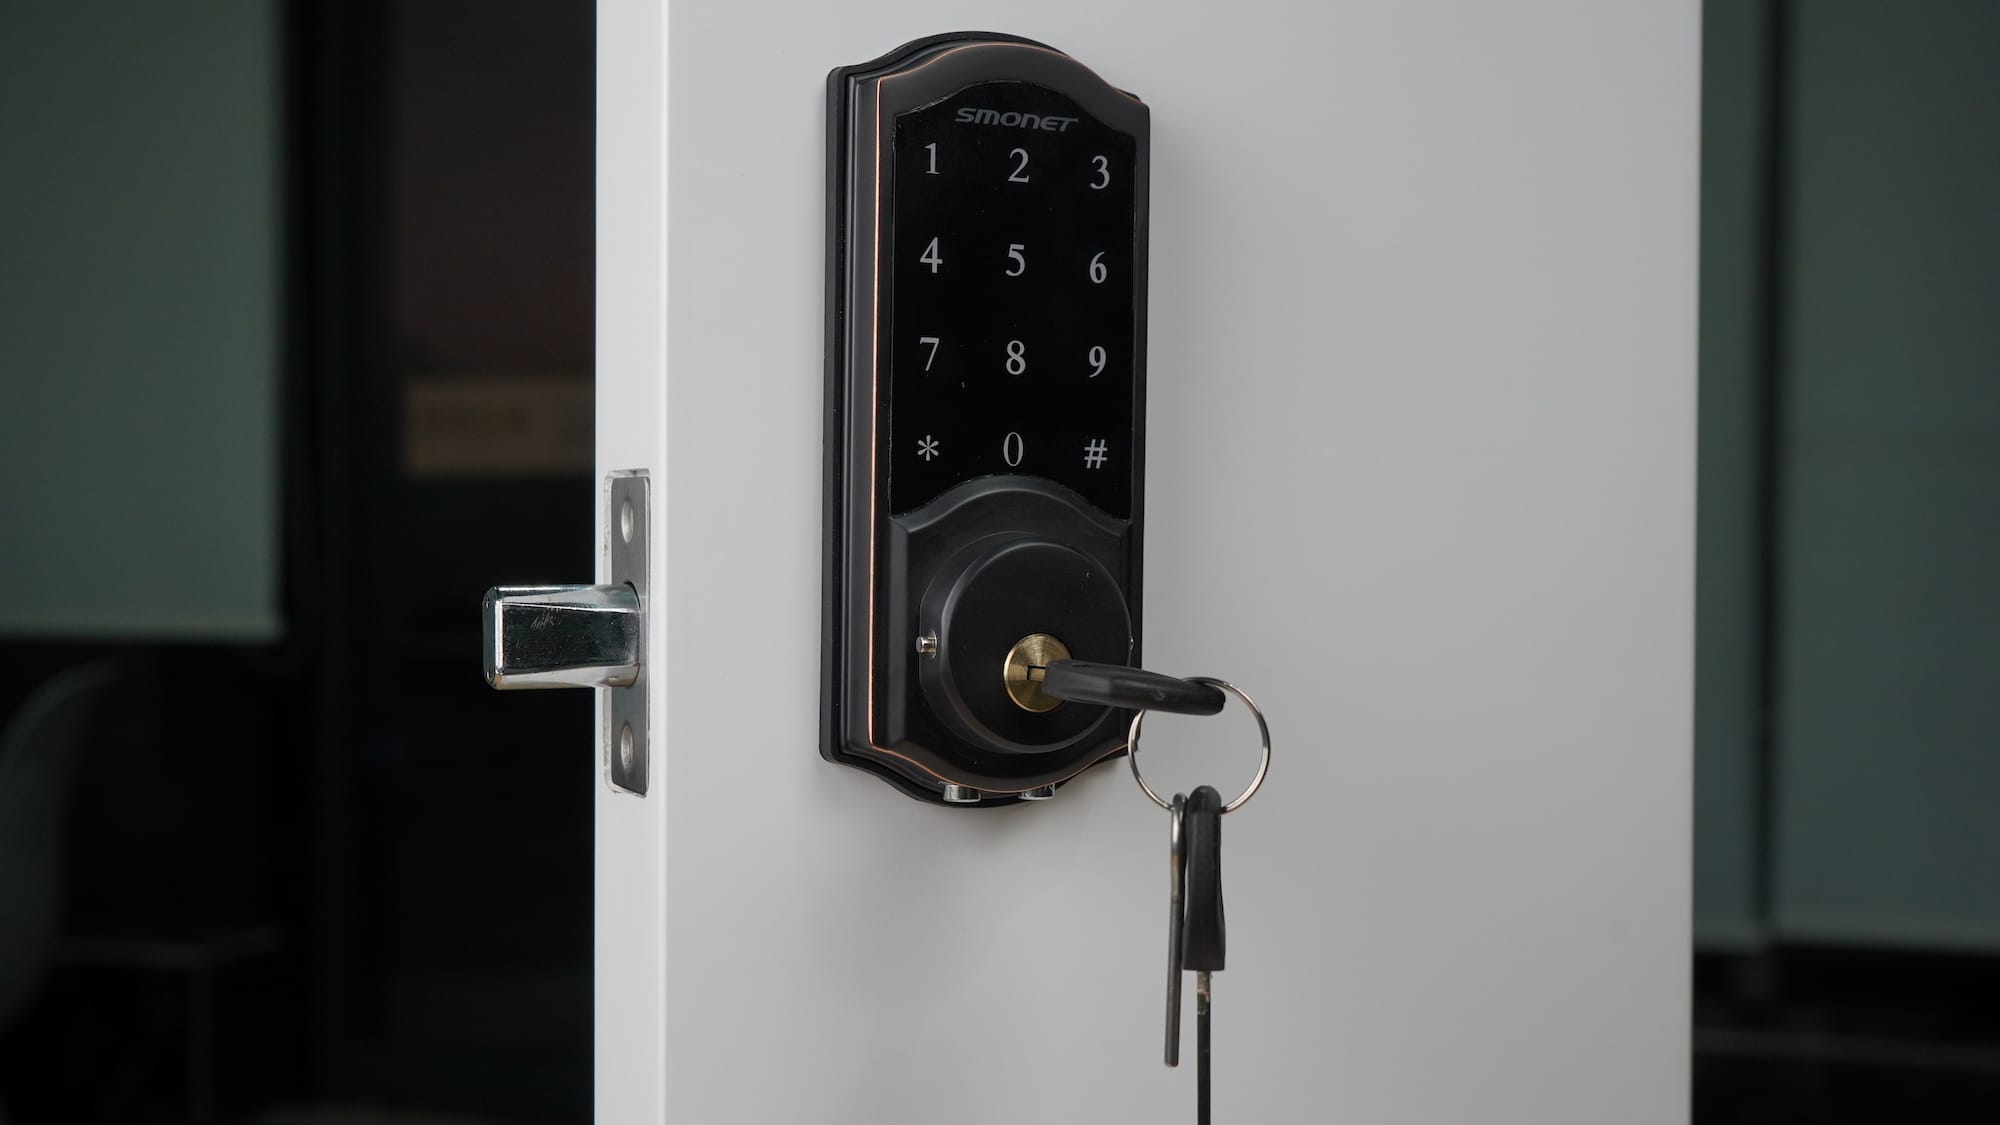
Read more: How To Lock A Digital Door Lock
Tools and Materials Needed
Before you begin chiseling a door for a lock, it’s essential to gather the necessary tools and materials to ensure a smooth and efficient process. Here’s a comprehensive list of what you’ll need:
Tools:
- Power drill
- Chisel (1-inch and 1/4-inch)
- Tape measure
- Pencil
- Screwdriver
- Hammer
- Door lock installation kit
- Wood rasp
- Masking tape
- Safety goggles
- Work gloves
Materials:
- Door lock
- Screws
- Wood putty
- Sandpaper
- Painter's tape
Having these tools and materials at your disposal will streamline the chiseling process and ensure that you have everything you need to complete the installation of the lock. Safety should always be a top priority, so don’t forget to wear your safety goggles and work gloves throughout the project to protect your eyes and hands from wood chips and debris.
Now that you’ve gathered your tools and materials, it’s time to move on to the next step: marking the door for the lock installation.
Marking the Door
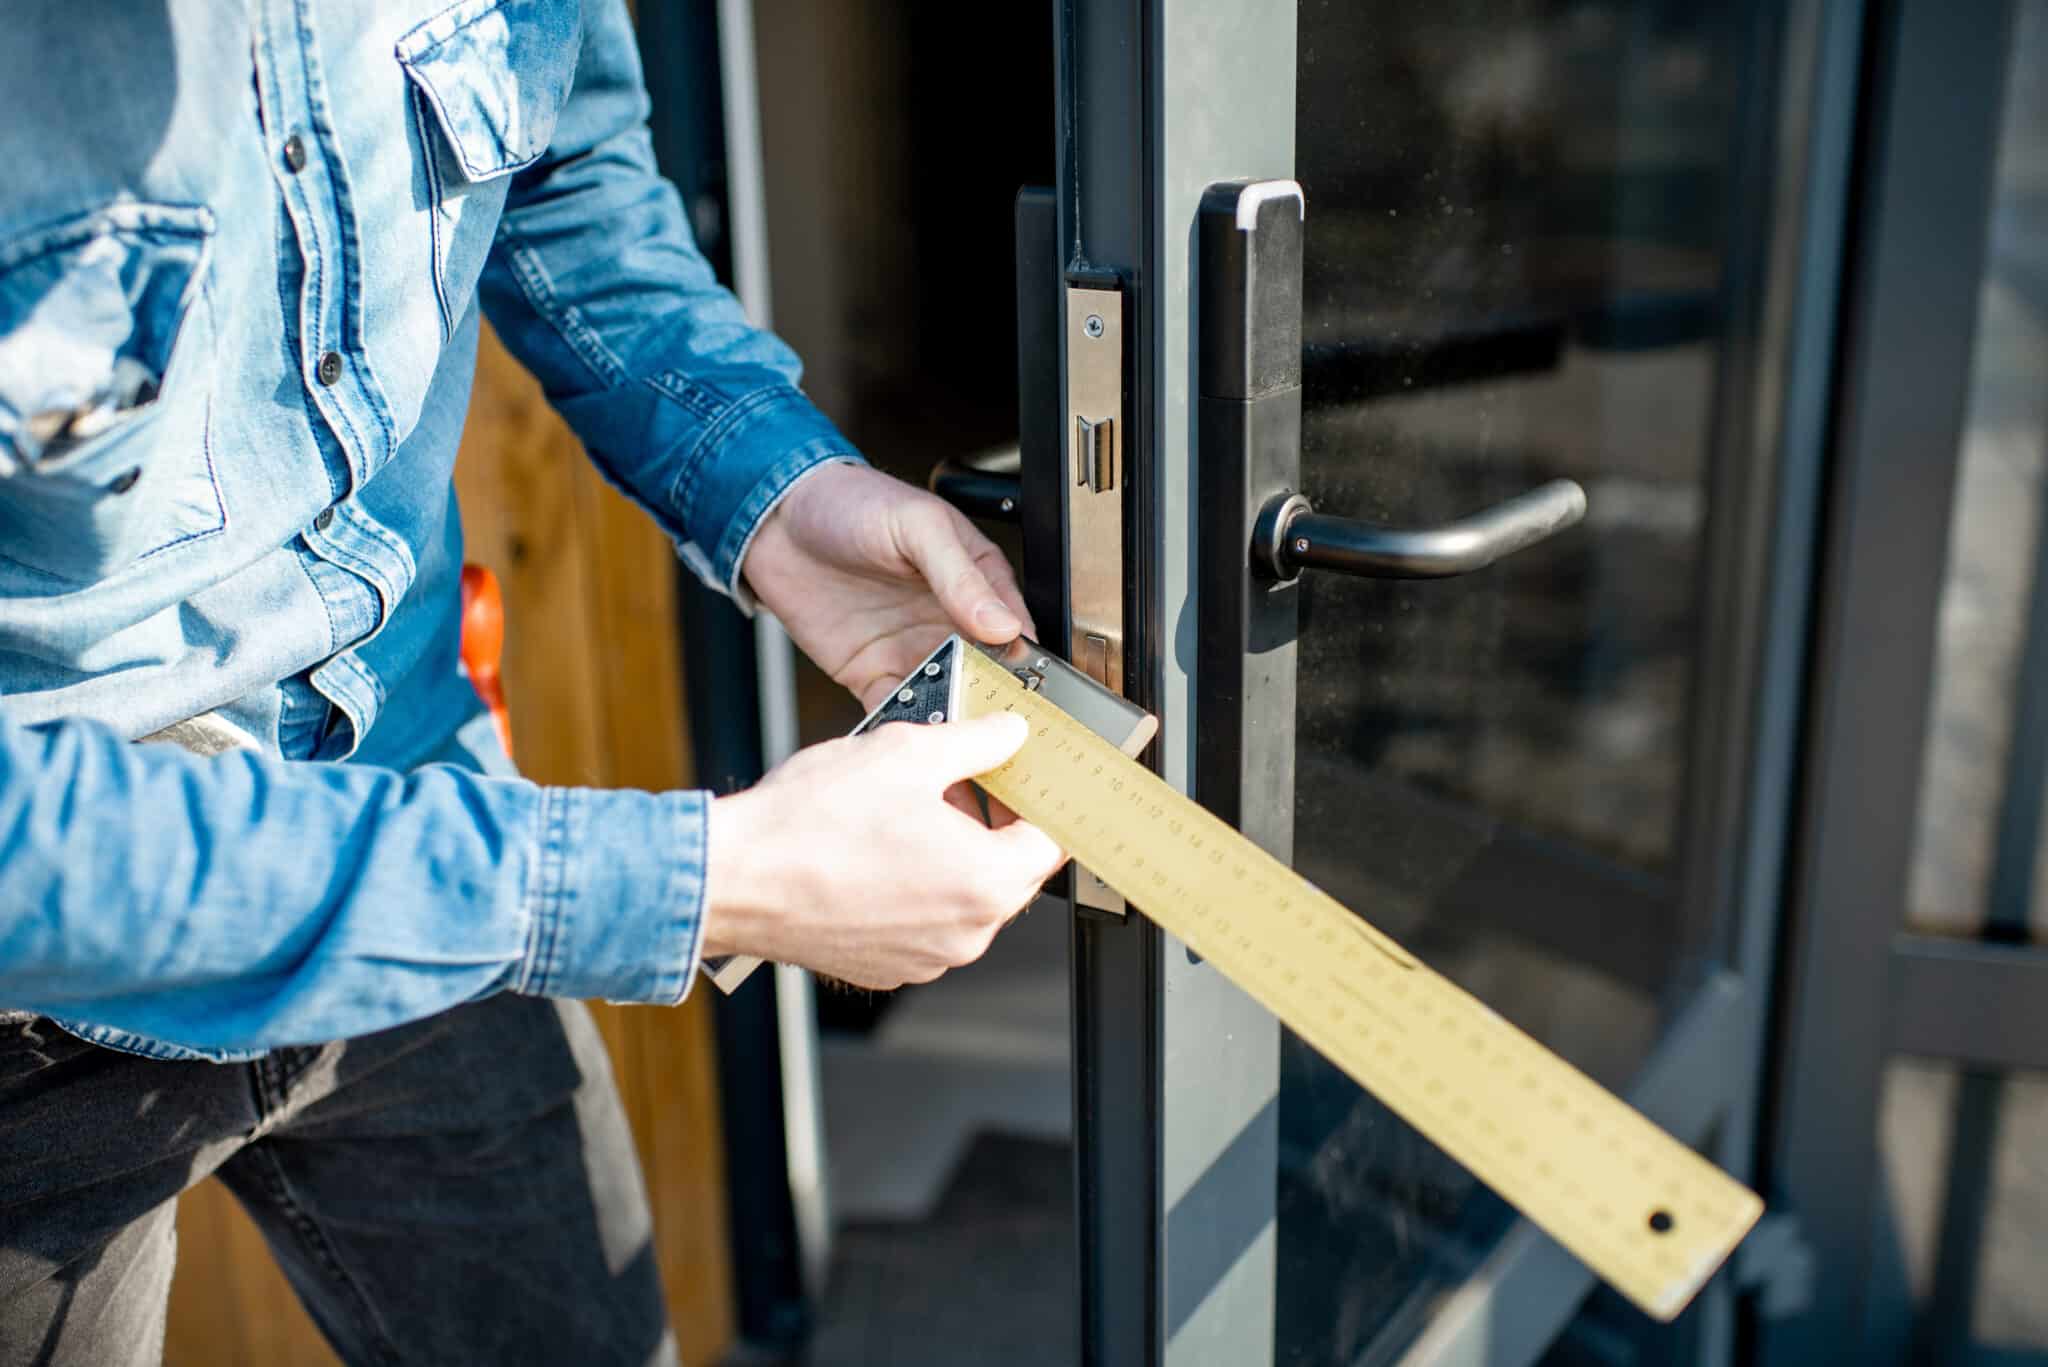
Before you start chiseling the door for the lock, precise measurements and markings are crucial for ensuring that the lock is positioned accurately. Here’s a step-by-step guide to marking the door for the lock installation:
- Measure and Mark: Begin by measuring the height of the door lockset, typically around 36 inches from the bottom of the door. Mark this height on the door edge using a pencil. Next, mark the center point of the door edge for the lockset’s placement.
- Transfer Measurements: Using a square, transfer the height and center point measurements to the door’s edge and face, ensuring that the lines are straight and aligned.
- Mark the Faceplate: Position the lock’s faceplate on the door edge, aligning it with the marked center point. Trace the outline of the faceplate onto the door to indicate where the mortise will be chiseled.
- Mark the Latch and Strike Plate: With the latch and strike plate in hand, mark their respective positions on the door edge and frame. This step ensures that the components align properly when the door is closed and latched.
Once you’ve completed these steps, you’ll have clear and accurate markings on the door, providing a solid foundation for the chiseling process. Double-check your measurements and markings to ensure precision before proceeding to the next phase: chiseling the door for the lock installation.
With the door accurately marked, you’re now ready to move on to the crucial step of chiseling the door to accommodate the lock components.
Read more: How To Lock Bedroom Door Without A Lock
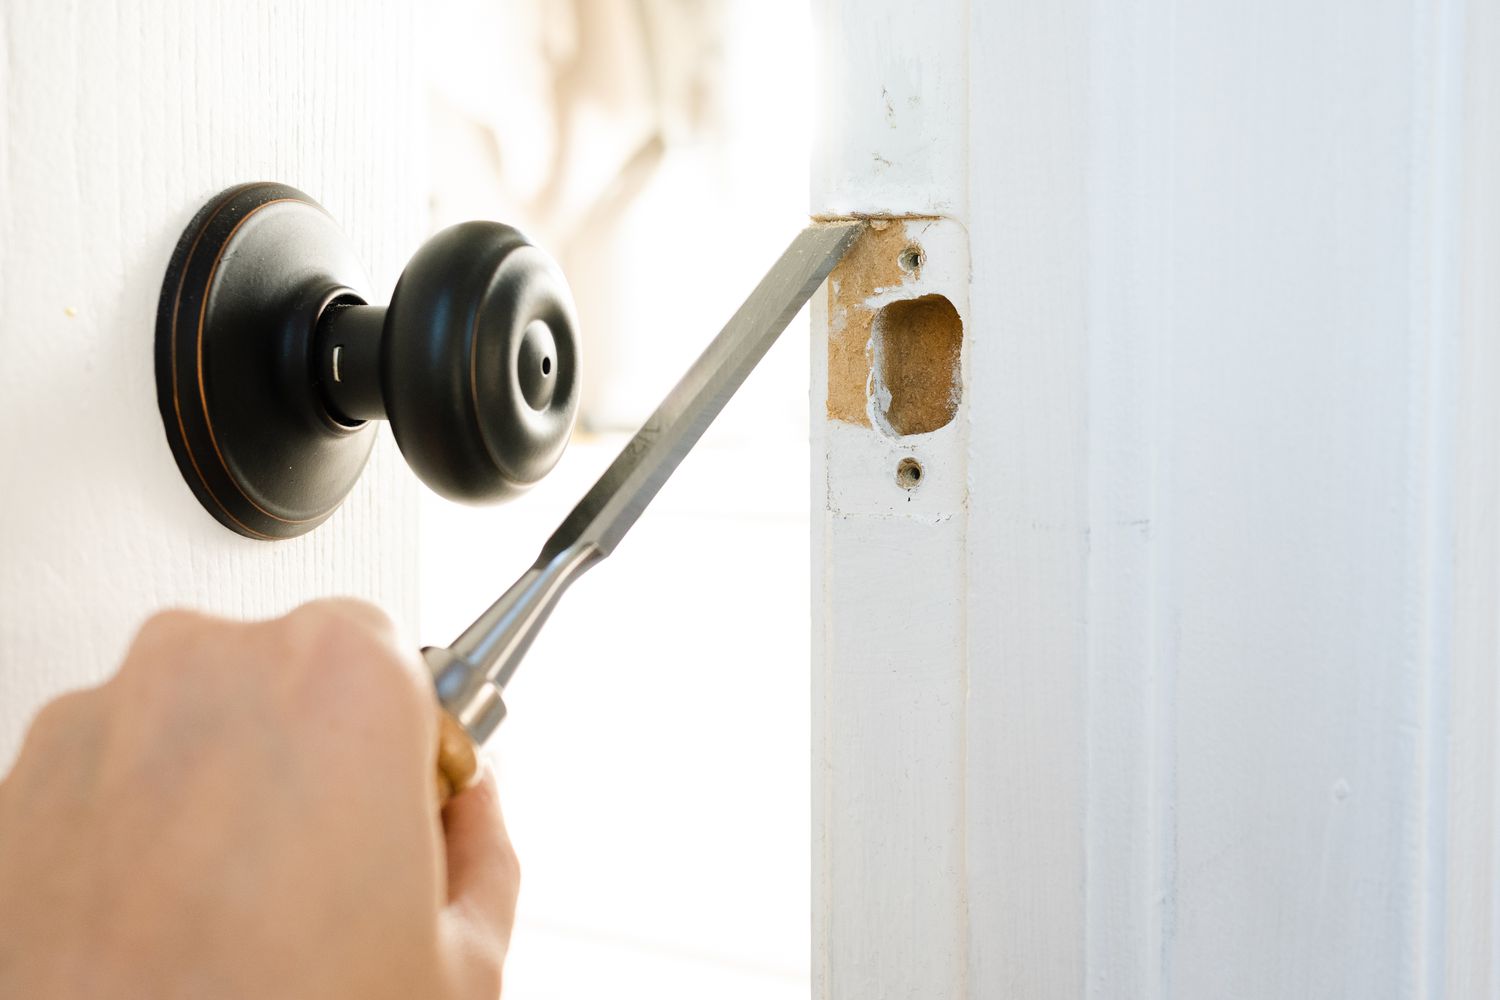
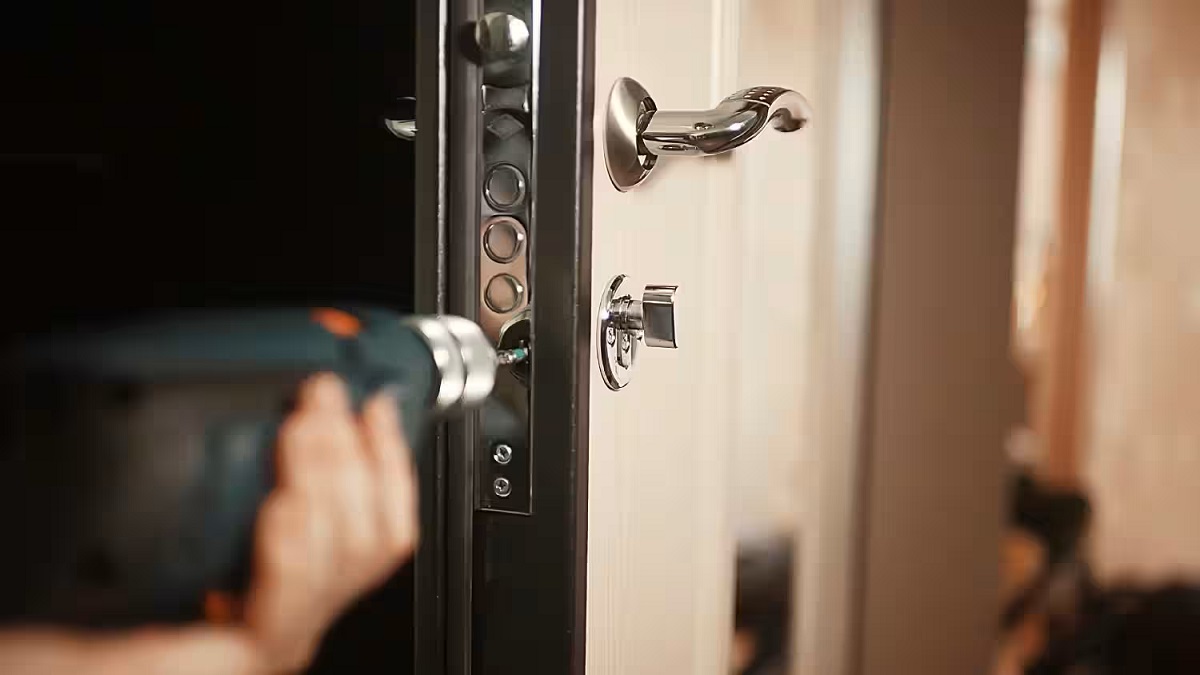
Chiseling the Door
Chiseling the door to create the necessary recesses for the lock components is a critical step in the installation process. Careful and precise execution is essential to ensure a proper fit for the lockset. Follow these steps to chisel the door effectively:
- Secure the Door: Place the door on a stable work surface, ensuring that it is well-supported and does not wobble during the chiseling process. This stability is crucial for maintaining accuracy and safety.
- Mark the Depth: Using the depth gauge on your chisel or a piece of masking tape wrapped around the chisel, mark the depth of the mortise on the chisel itself. This reference point will help you achieve the correct depth while chiseling.
- Chisel the Mortise: With the 1-inch chisel, carefully outline the mortise area marked for the lock body and latch. Make shallow cuts along the marked lines, gradually increasing the depth to match the thickness of the faceplate and latch. Take your time to ensure precision and avoid splintering the wood.
- Chisel the Strike Plate Recess: Using the 1/4-inch chisel, create a recess for the strike plate on the door frame. This recess should be deep enough to accommodate the plate flush with the frame surface.
- Test Fit: Periodically test the fit of the lock components in the chiseled recesses to ensure that they sit flush and align properly. Make any necessary adjustments to the depth and width of the mortise and strike plate recess as needed.
Chiseling the door demands patience and attention to detail. Take your time to achieve clean and precise recesses that will accommodate the lock components seamlessly. Once you’ve completed the chiseling process, you can proceed to fitting the lock components into the door.
With the door chiseled to perfection, you’re now ready to move on to the next step: fitting the lock components into the door.
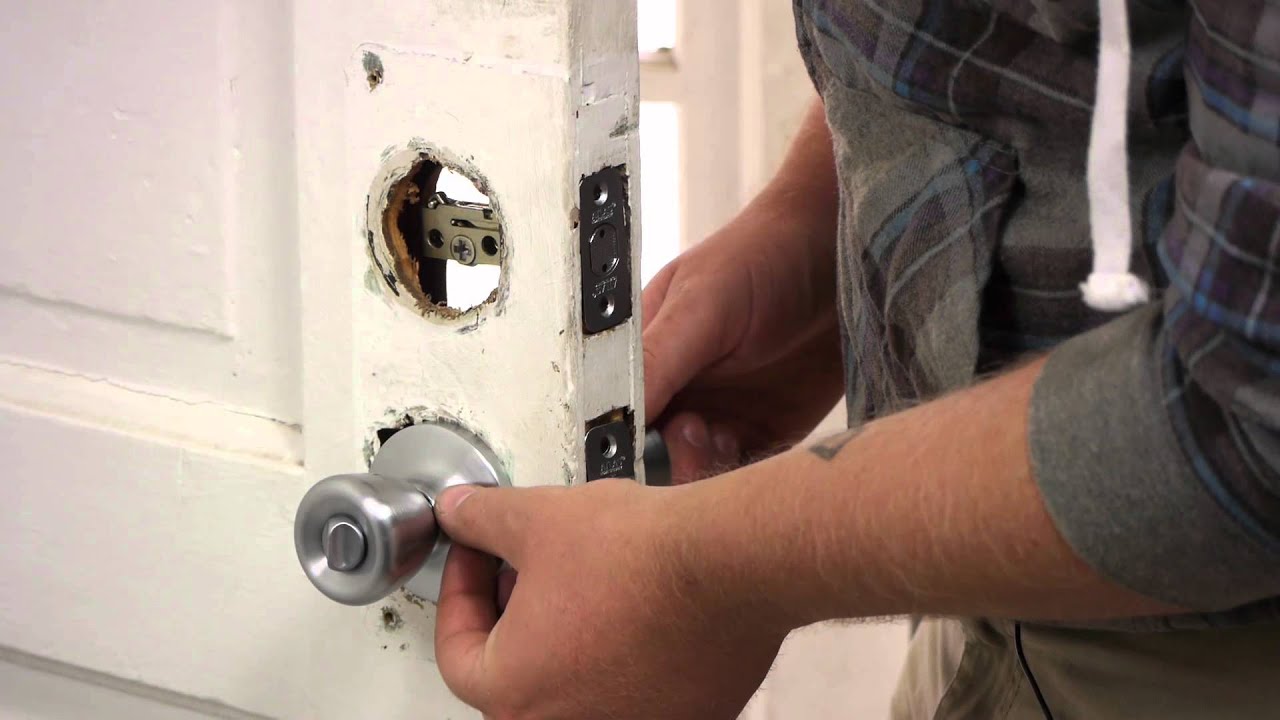
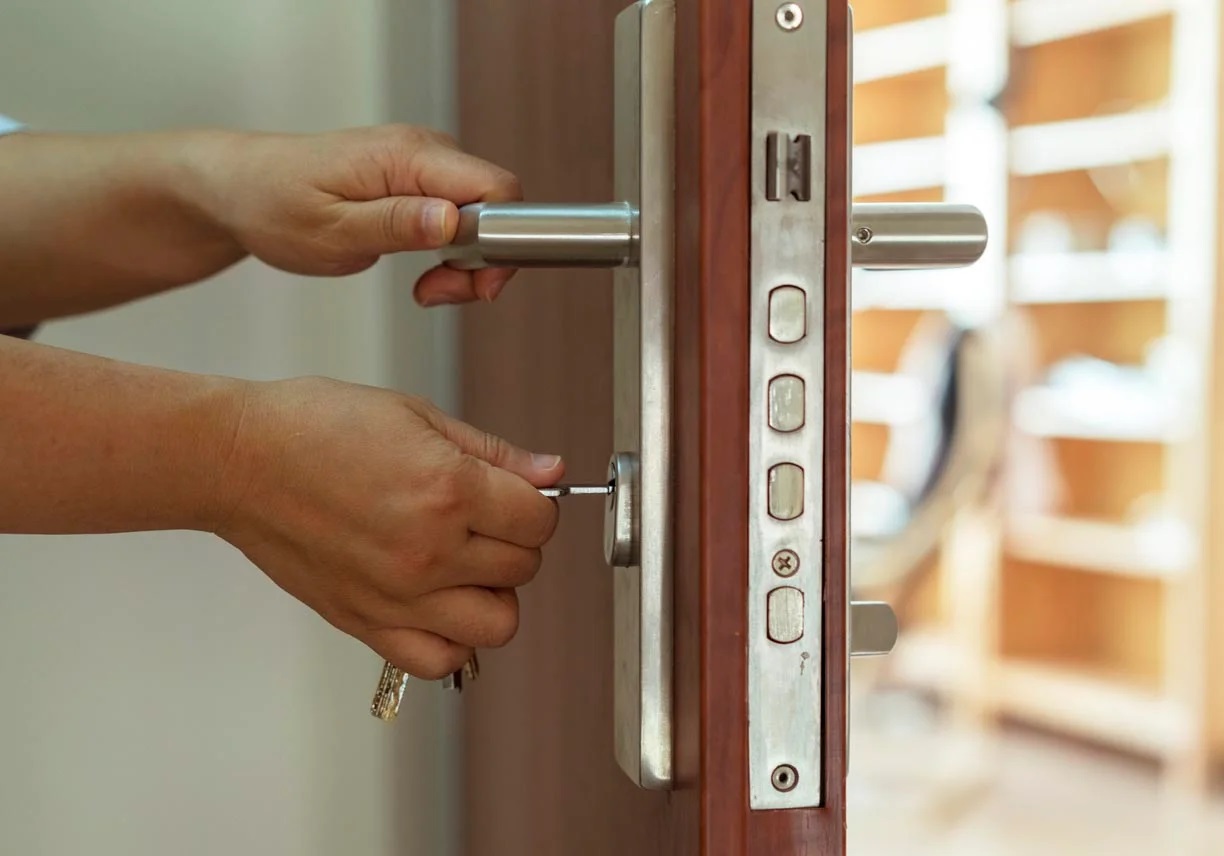
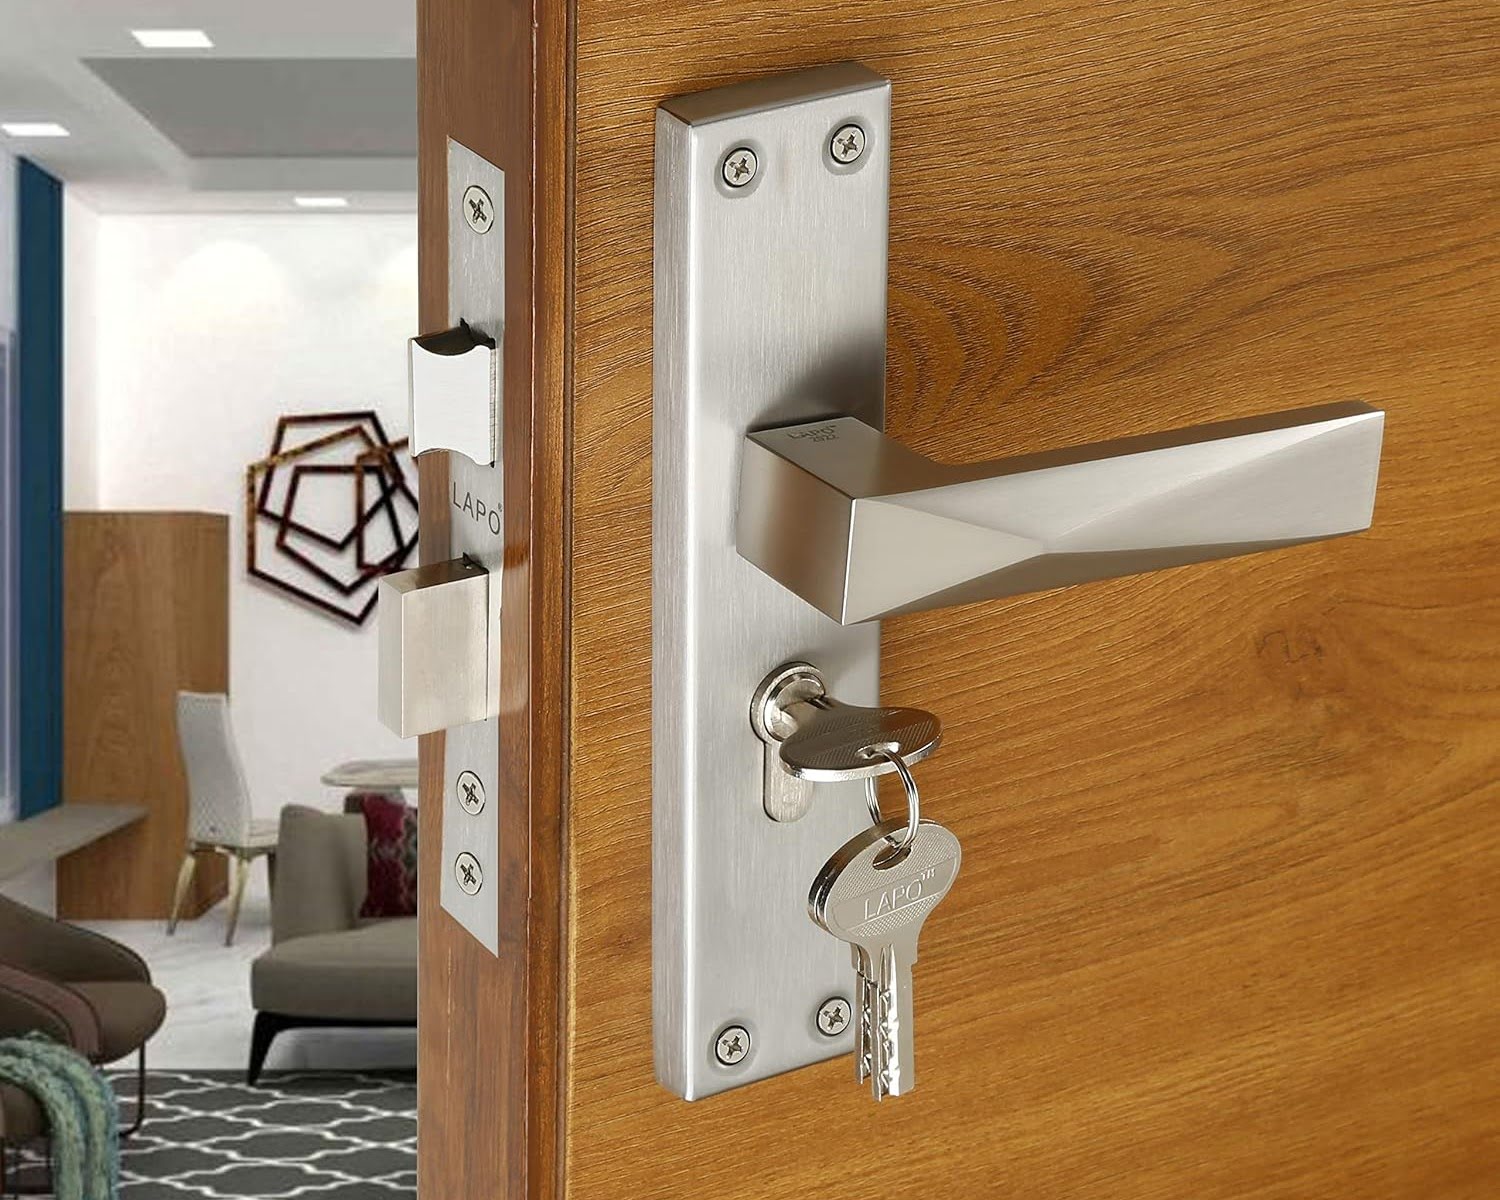
Fitting the Lock
With the door chiseled to accommodate the lock components, the next step is to fit the lock into the prepared recesses. This phase requires precision and attention to detail to ensure that the lock functions smoothly and securely. Here’s a detailed guide to fitting the lock into the door:
- Install the Latch: Begin by inserting the latch into the mortise on the door edge. Ensure that the latch faceplate sits flush with the door surface. Secure the latch in place using the provided screws, and test its operation to verify smooth movement.
- Mount the Lock Body: Position the lock body into the chiseled recess, aligning it with the markings on the door edge. Secure the lock body in place using the screws provided in the installation kit. Double-check that the lock operates correctly and that the faceplate sits flush with the door surface.
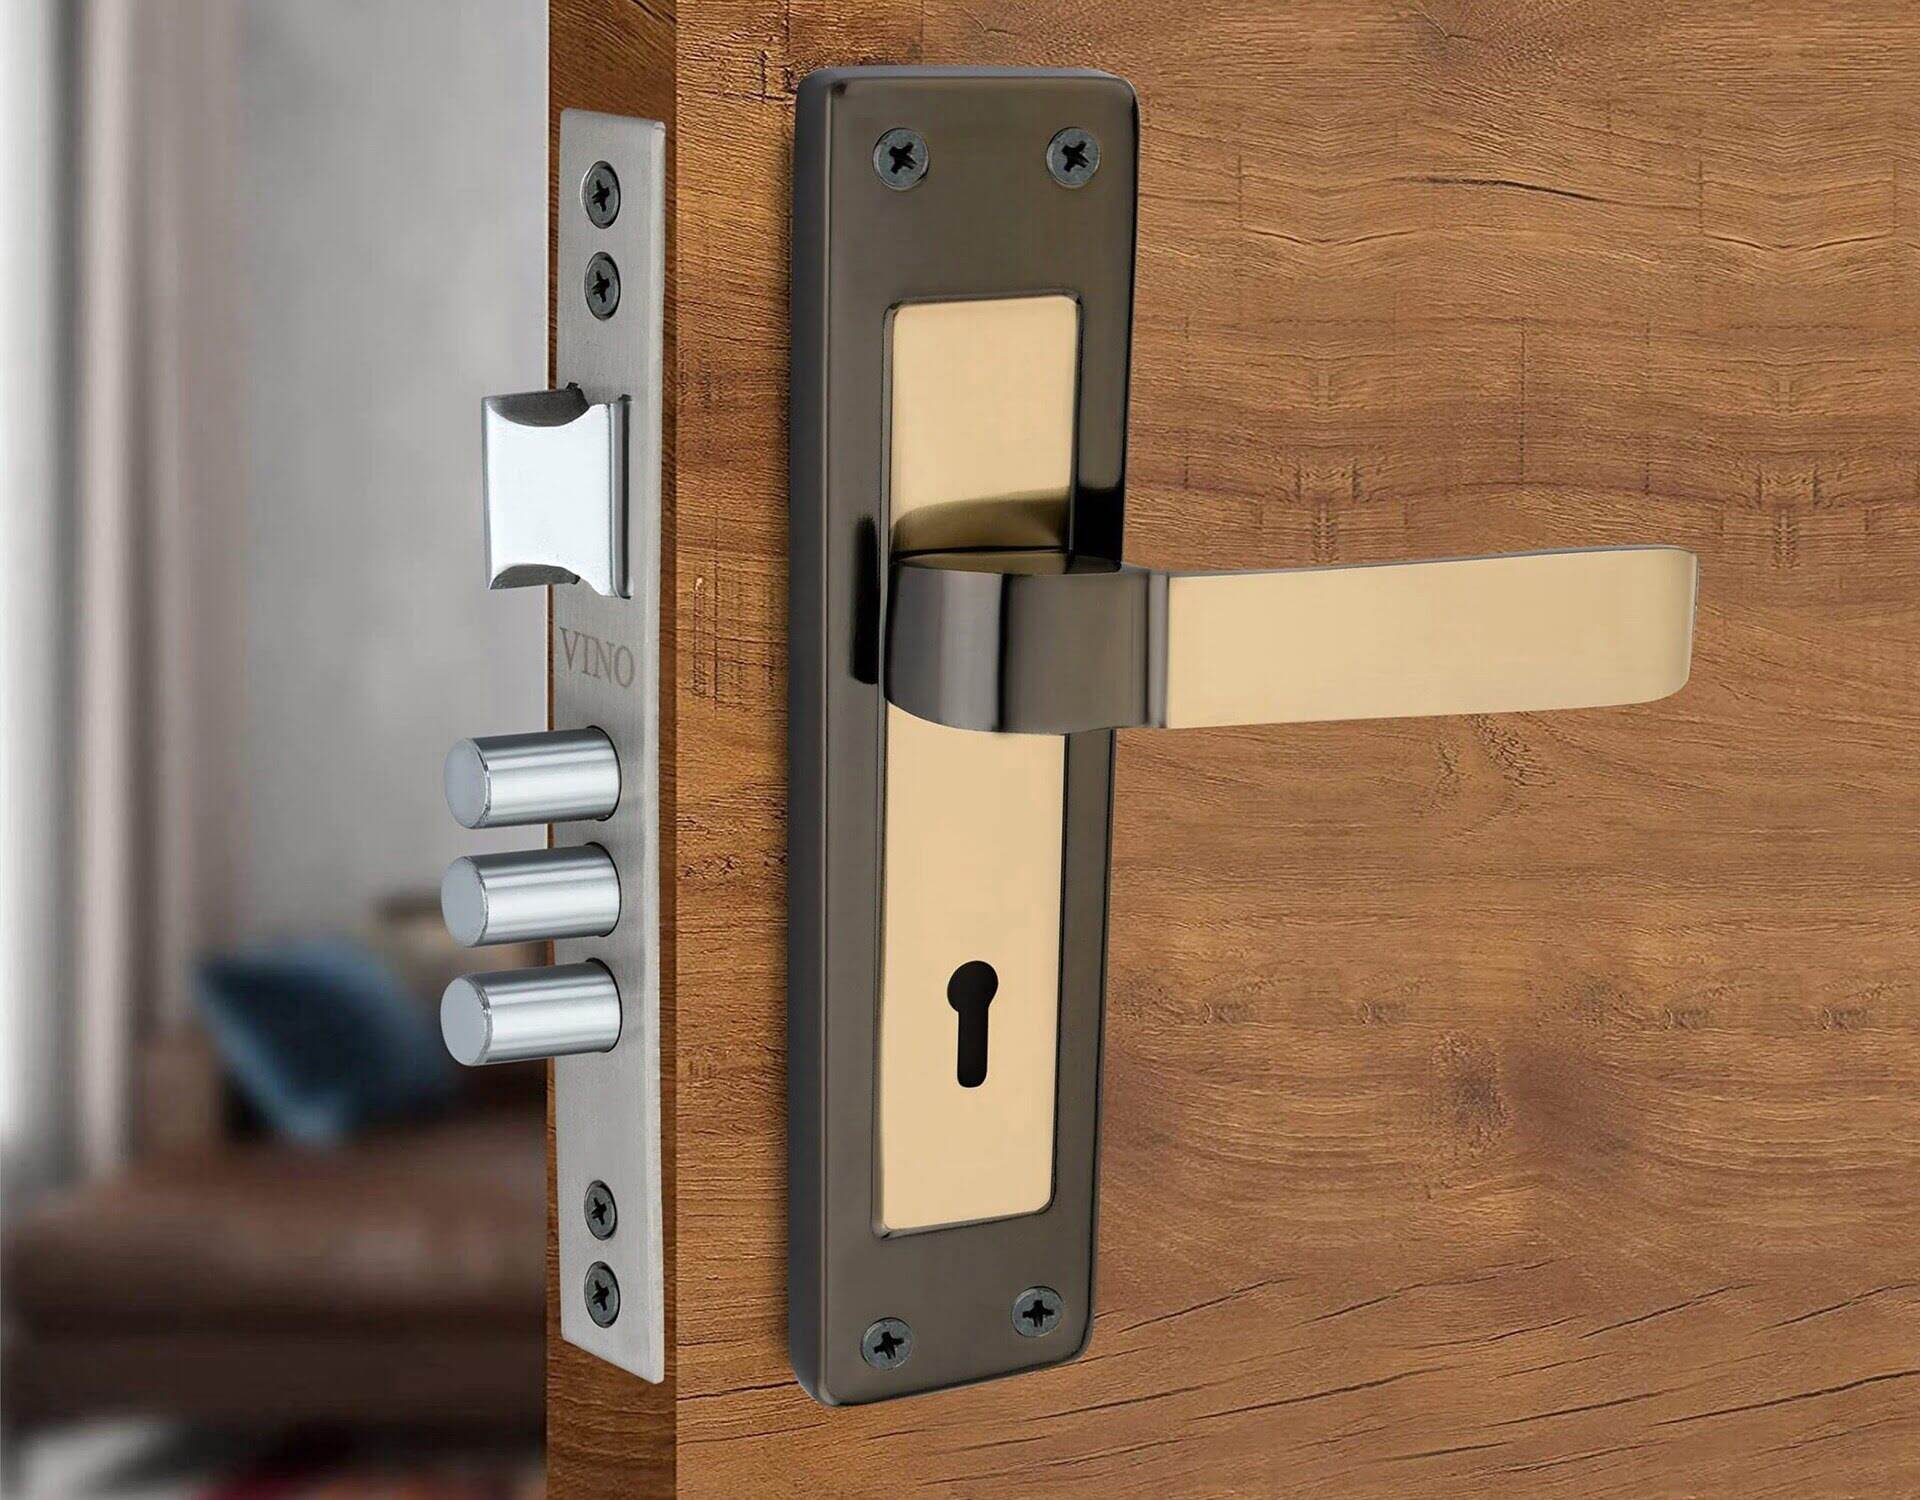
- Attach the Strike Plate: Align the strike plate with the chiseled recess on the door frame. Secure the strike plate in place using the provided screws, ensuring that it sits flush with the frame surface. Test the door’s closure and latching mechanism to confirm proper alignment with the strike plate.
- Adjust as Needed: If the components do not align correctly or the latch does not operate smoothly, make necessary adjustments to the depth and positioning of the mortise and strike plate recess. This fine-tuning ensures that the lock functions seamlessly.
As you fit the lock components into the door, pay close attention to the alignment, operation, and flushness of the installed parts. Taking the time to ensure a precise fit will contribute to the overall security and functionality of the lock.
With the lock components successfully fitted into the door, the final step is to test the lock’s operation and make any adjustments if necessary.
When chiseling a door for a lock, make sure to measure and mark the area accurately before starting. Use a sharp chisel and go slowly to avoid splintering the wood. Always wear safety goggles and work in a well-ventilated area.
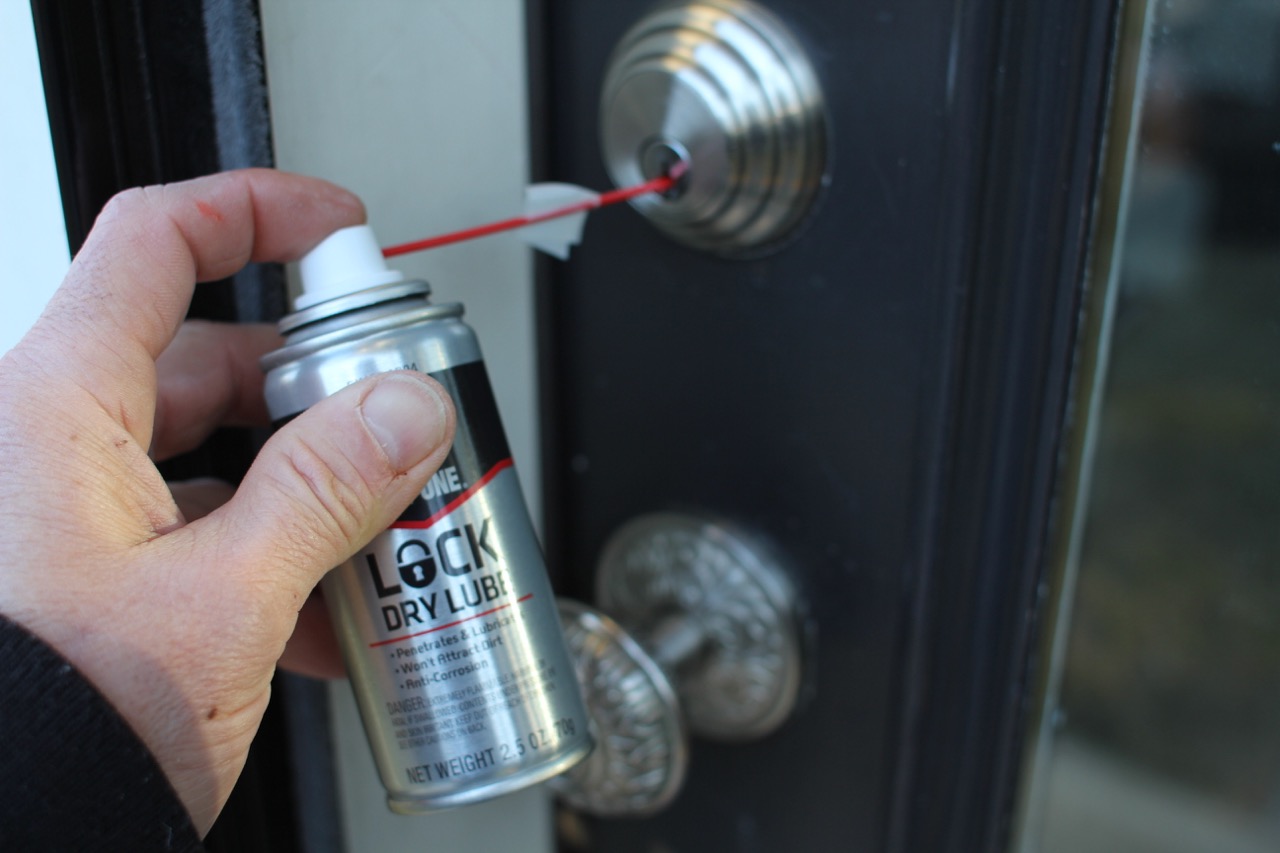
Testing the Lock
After completing the installation of the lock components, it’s crucial to thoroughly test the lock to ensure that it operates smoothly and securely. Proper testing helps identify any potential issues and allows for adjustments before considering the installation complete. Here’s a step-by-step guide to testing the lock:
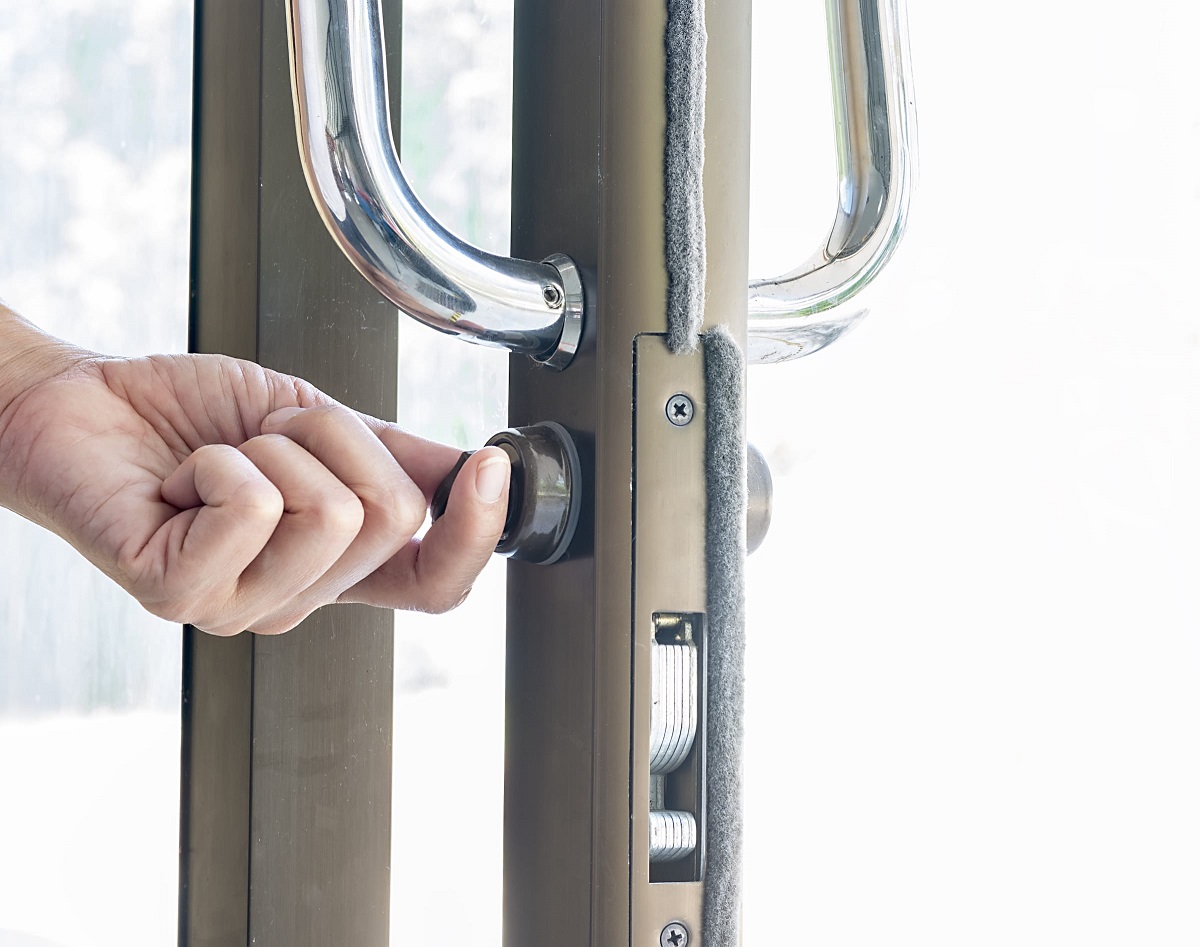
- Operate the Latch: Test the latch by opening and closing the door to verify that it engages smoothly and securely with the strike plate. Ensure that the latch retracts and extends without resistance, providing a seamless locking mechanism.
- Test the Locking Mechanism: Insert the key into the lock cylinder and turn it to lock and unlock the door. Verify that the lock operates effortlessly without sticking or jamming. Test the key from both the inside and outside to confirm consistent functionality.
- Check Alignment: Close the door and observe the alignment of the latch with the strike plate. Ensure that the latch aligns perfectly with the strike plate opening, allowing for a secure closure without excessive force.
- Inspect Door Closure: Confirm that the door closes smoothly and securely, with the latch engaging fully with the strike plate. Check for any signs of misalignment or resistance during the closing process.
- Make Necessary Adjustments: If you encounter any issues during the testing phase, such as misalignment, resistance, or inconsistent operation, make the required adjustments to the lock components, mortise, or strike plate to address the issues and ensure optimal functionality.
Thoroughly testing the lock is essential for guaranteeing its reliability and security. By carefully evaluating its operation and addressing any potential issues, you can ensure that the lock functions seamlessly, providing peace of mind and enhanced security for your home.
With the lock successfully tested and any necessary adjustments made, you have completed the installation process. Your efforts have contributed to bolstering the security of your home, and you can now enjoy the peace of mind that comes with a properly installed and fully functional door lock.
Conclusion
Congratulations on successfully chiseling a door for a lock! By mastering this essential skill, you’ve taken a significant step toward enhancing the security of your home. The meticulous process of marking, chiseling, fitting, and testing the lock components has equipped you with the knowledge and expertise needed to ensure a secure and functional door lock installation.
As you’ve discovered, the precision and attention to detail required for chiseling a door for a lock are essential for achieving a seamless and reliable result. Your dedication to this task reflects your commitment to safeguarding your living space and loved ones, and the value of your efforts cannot be overstated.
Remember, the security of your home is a continuous endeavor, and the skills you’ve acquired in chiseling a door for a lock will serve you well in future home improvement projects. Whether you’re upgrading existing locks, installing new ones, or assisting others with their security needs, your newfound expertise will be invaluable.
By following the step-by-step guidance provided in this article, you’ve not only gained practical skills but also developed a deeper understanding of the importance of proper lock installation. Your dedication to precision and thorough testing ensures that your door lock will function reliably, providing peace of mind and security for years to come.
As you embark on future home security projects, may your newfound knowledge empower you to create a safe and secure environment for yourself and those around you. Your commitment to home security is a testament to your care and responsibility as a homeowner, and your efforts in chiseling a door for a lock exemplify your dedication to maintaining a safe and protected living space.
With your expertise in chiseling a door for a lock, you’ve not only fortified the security of your home but also expanded your repertoire of valuable skills. Your commitment to precision and thoroughness sets a standard for home security excellence, and your dedication to this essential task is commendable.
As you continue to enhance the security of your home, may your newfound expertise serve as a foundation for future endeavors, solidifying your role as a vigilant and proactive guardian of your living space.
Frequently Asked Questions about How To Chisel Door For Lock
Was this page helpful?
At Storables.com, we guarantee accurate and reliable information. Our content, validated by Expert Board Contributors, is crafted following stringent Editorial Policies. We're committed to providing you with well-researched, expert-backed insights for all your informational needs.


0 thoughts on “How To Chisel Door For Lock”