Home>Technology>Security & Surveillance>How To Remove A Door Lock

Security & Surveillance
How To Remove A Door Lock
Modified: August 27, 2024
Learn how to remove a door lock and improve your home security with our step-by-step guide. Enhance your security and surveillance today!
(Many of the links in this article redirect to a specific reviewed product. Your purchase of these products through affiliate links helps to generate commission for Storables.com, at no extra cost. Learn more)
**
Introduction
**
Removing a door lock may seem like a daunting task, but with the right tools and a bit of know-how, it can be a straightforward process. Whether you're replacing an old lock, upgrading to a more secure option, or simply need to perform maintenance, understanding the steps involved can save you time and money. By following this guide, you'll be equipped with the knowledge to confidently tackle this DIY project.
In this comprehensive tutorial, we'll walk through the process of removing a door lock, covering everything from the essential tools and materials needed to the step-by-step instructions for disassembling and replacing the lock. Whether you're a seasoned DIY enthusiast or a novice looking to expand your home maintenance skills, this guide will provide you with the insights and techniques necessary to complete the task effectively.
So, gather your tools, roll up your sleeves, and let's dive into the process of removing a door lock. With a bit of patience and attention to detail, you'll soon master this essential home maintenance skill.
Key Takeaways:
- Removing a door lock is a manageable DIY project that enhances home security. With the right tools and step-by-step guidance, homeowners can confidently upgrade their living space.
- By mastering the process of removing and replacing a door lock, homeowners can improve security and hone their DIY skills, empowering them to tackle future home improvement projects with confidence.
Tools and Materials
Before embarking on the task of removing a door lock, it's crucial to gather the necessary tools and materials to ensure a smooth and efficient process. Here's a list of essential items you'll need:
Tools:
- Phillips head screwdriver
- Flat head screwdriver
- Allen wrench (if applicable)
- Needle-nose pliers
- Hammer
- Tape measure
Materials:
- New door lockset
- Lubricant (such as WD-40)
- Clean cloth
Having these tools and materials at your disposal will streamline the process of removing the door lock and ensure that you’re adequately prepared for any unexpected challenges that may arise.
Now that you have everything you need, it’s time to move on to the next step: removing the door knob.
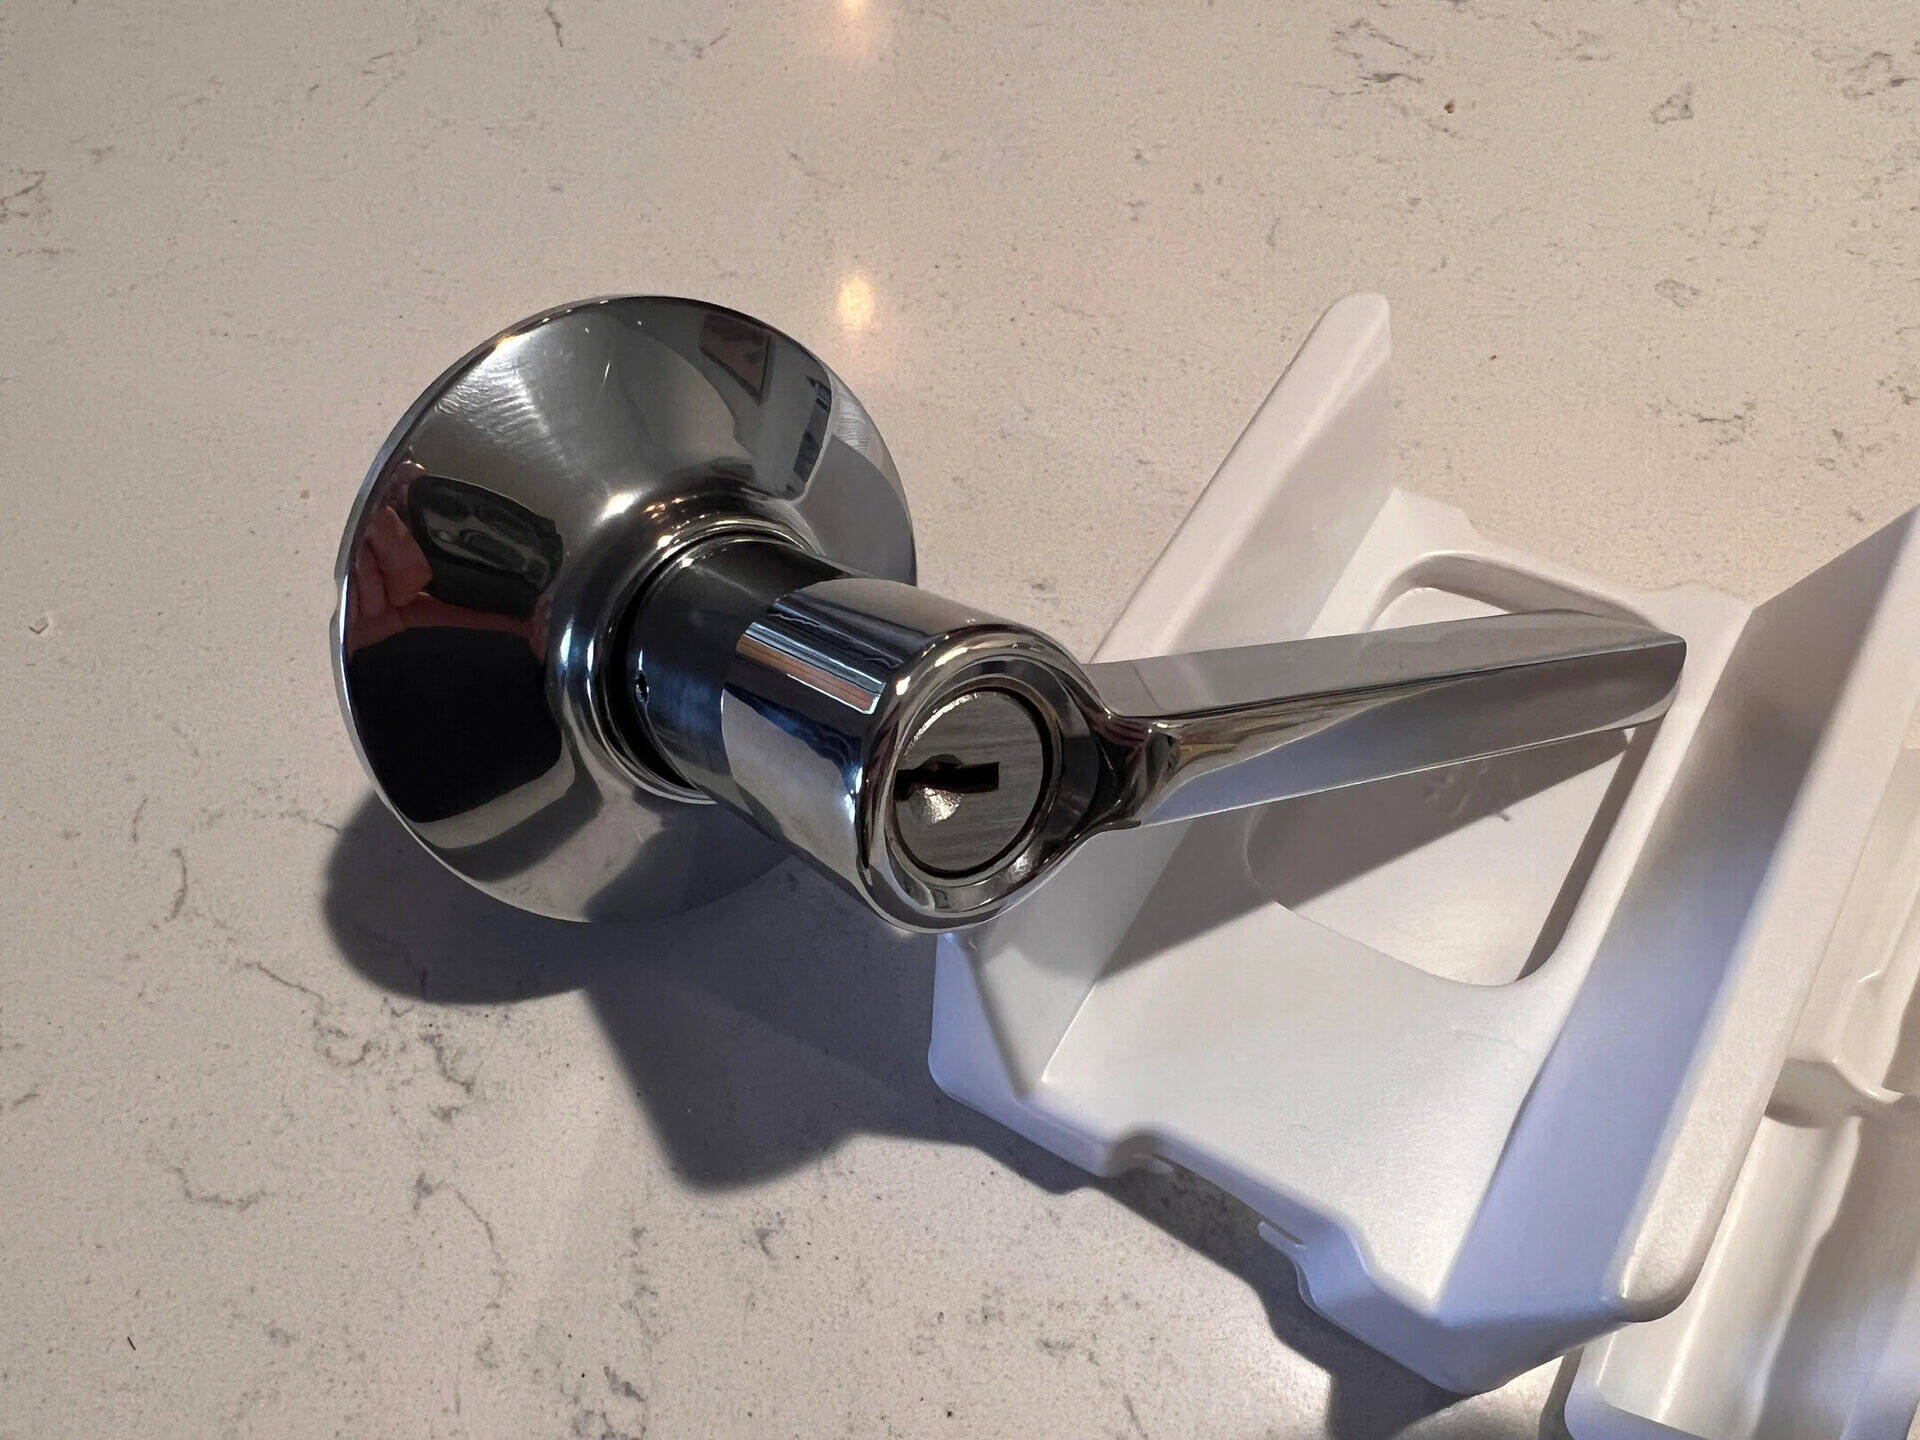
Removing the Door Knob
Removing the door knob is the first step in the process of removing a door lock. Follow these steps to successfully remove the knob:
- Examine the Knob:
- Locate the Release Mechanism:
- Unscrew the Knob:
- Separate the Knob Halves:
- Remove the Latch Assembly:
Before starting, take a close look at the knob to identify any visible screws, slots, or pins. Some knobs have concealed fastening mechanisms, so a careful inspection is essential.
Depending on the type of knob, there may be a release button, slot, or pin that needs to be depressed or engaged to remove the knob. Refer to the manufacturer’s instructions if available.
Using a screwdriver, carefully remove any visible screws securing the knob to the door. Keep the screws in a safe place for reassembly.
Once the screws are removed, gently pull the knob halves apart to reveal the inner mechanism. Be cautious not to damage any components during this process.
With the knob removed, the next step is to focus on the latch assembly. This component is crucial for the proper functioning of the door lock and must be handled with care.
By following these steps, you’ll successfully remove the door knob and gain access to the latch assembly, bringing you one step closer to completing the door lock removal process.
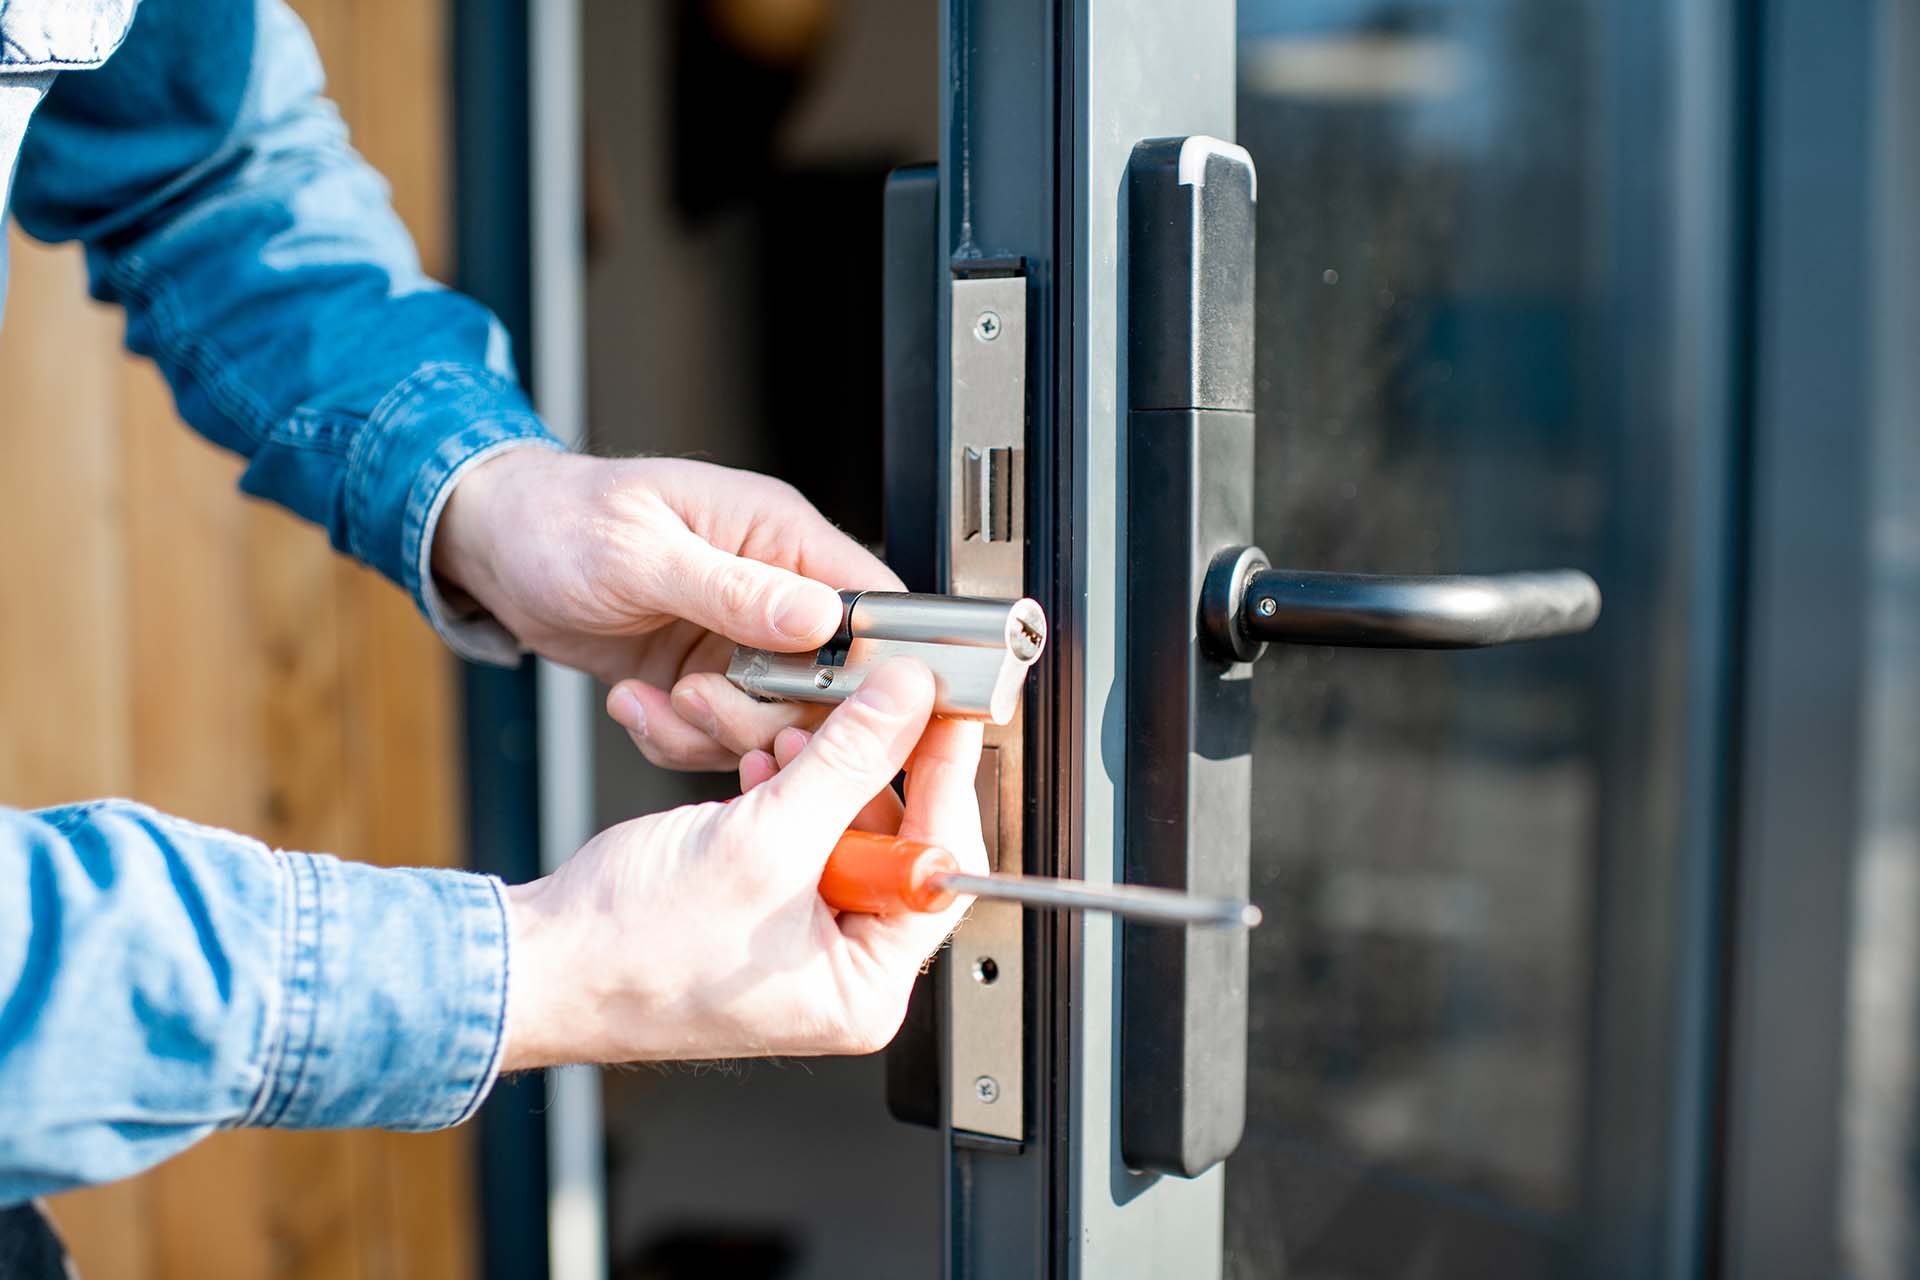
Use a screwdriver to remove the screws on the door lock plate. Then, use a key to turn the lock cylinder and release it from the door. Finally, unscrew the mounting screws and remove the lock from the door.
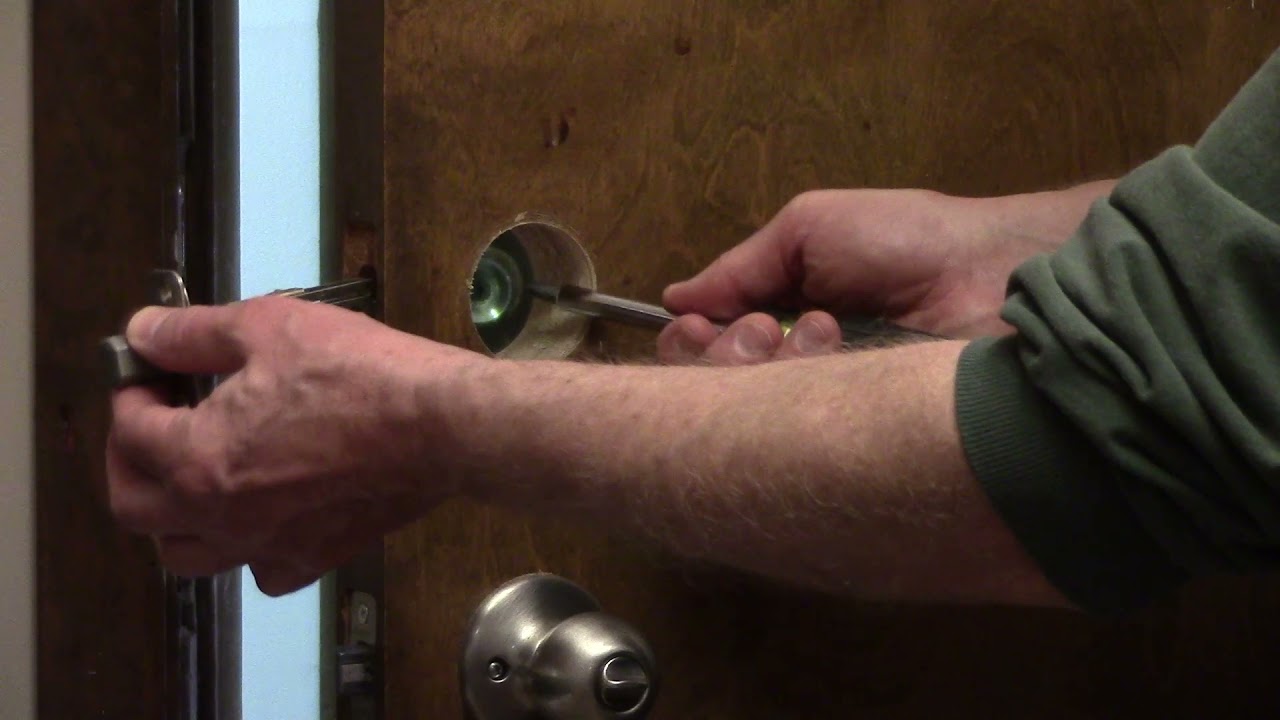
Removing the Latch Assembly
After successfully removing the door knob, the next crucial step in the process of removing a door lock is to focus on the latch assembly. Follow these steps to remove the latch assembly:
- Inspect the Latch Plate:
- Slide Out the Latch Assembly:
- Examine the Strike Plate:
- Clean and Lubricate:
Start by examining the latch plate on the edge of the door. Look for any screws or fasteners securing it in place. Use a screwdriver to remove these screws, allowing you to detach the latch plate from the door.
Once the latch plate is removed, you can proceed to slide out the latch assembly from the edge of the door. Hold onto the assembly as you remove it to prevent it from falling and causing damage.
While focusing on the latch assembly, take the opportunity to inspect the strike plate on the door frame. This is the counterpart to the latch assembly and is secured by screws. Use a screwdriver to remove the screws and detach the strike plate.
With the latch assembly and strike plate removed, take a moment to clean the components and the surrounding area. Use a clean cloth to wipe away any debris or buildup. Apply a small amount of lubricant to the latch assembly to ensure smooth operation when reassembling the lock.
By following these steps, you will successfully remove the latch assembly and strike plate, preparing the door for the installation of a new lock. With the old components out of the way, you’re now ready to move on to the final step: replacing the door lock.
Replacing the Door Lock
Now that the old door lock has been removed, it’s time to install a new lockset. Follow these steps to successfully replace the door lock:
- Select the New Lockset:
- Prepare the Door:
- Install the Latch Assembly:
- Mount the New Door Knob:
- Attach the Strike Plate:
- Test the Lock:
Choose a new lockset that meets your security and aesthetic requirements. Ensure that the dimensions and specifications align with the door’s requirements for a seamless installation.
Before installing the new lockset, take a moment to clean and inspect the door and surrounding areas. Remove any debris or residual adhesive from the previous lock to provide a clean surface for the new installation.
Begin by inserting the new latch assembly into the edge of the door, ensuring that it is oriented correctly. Secure it in place using the provided screws, and test the mechanism to confirm smooth operation.
Attach the new door knob by aligning the spindle with the latch assembly and guiding the halves into position. Secure the knob in place using the provided screws, and verify that it functions correctly by testing the turning mechanism.
Position the new strike plate on the door frame, ensuring proper alignment with the latch assembly. Secure it in place using the provided screws, and test the door’s closing and locking functionality to confirm a precise fit.
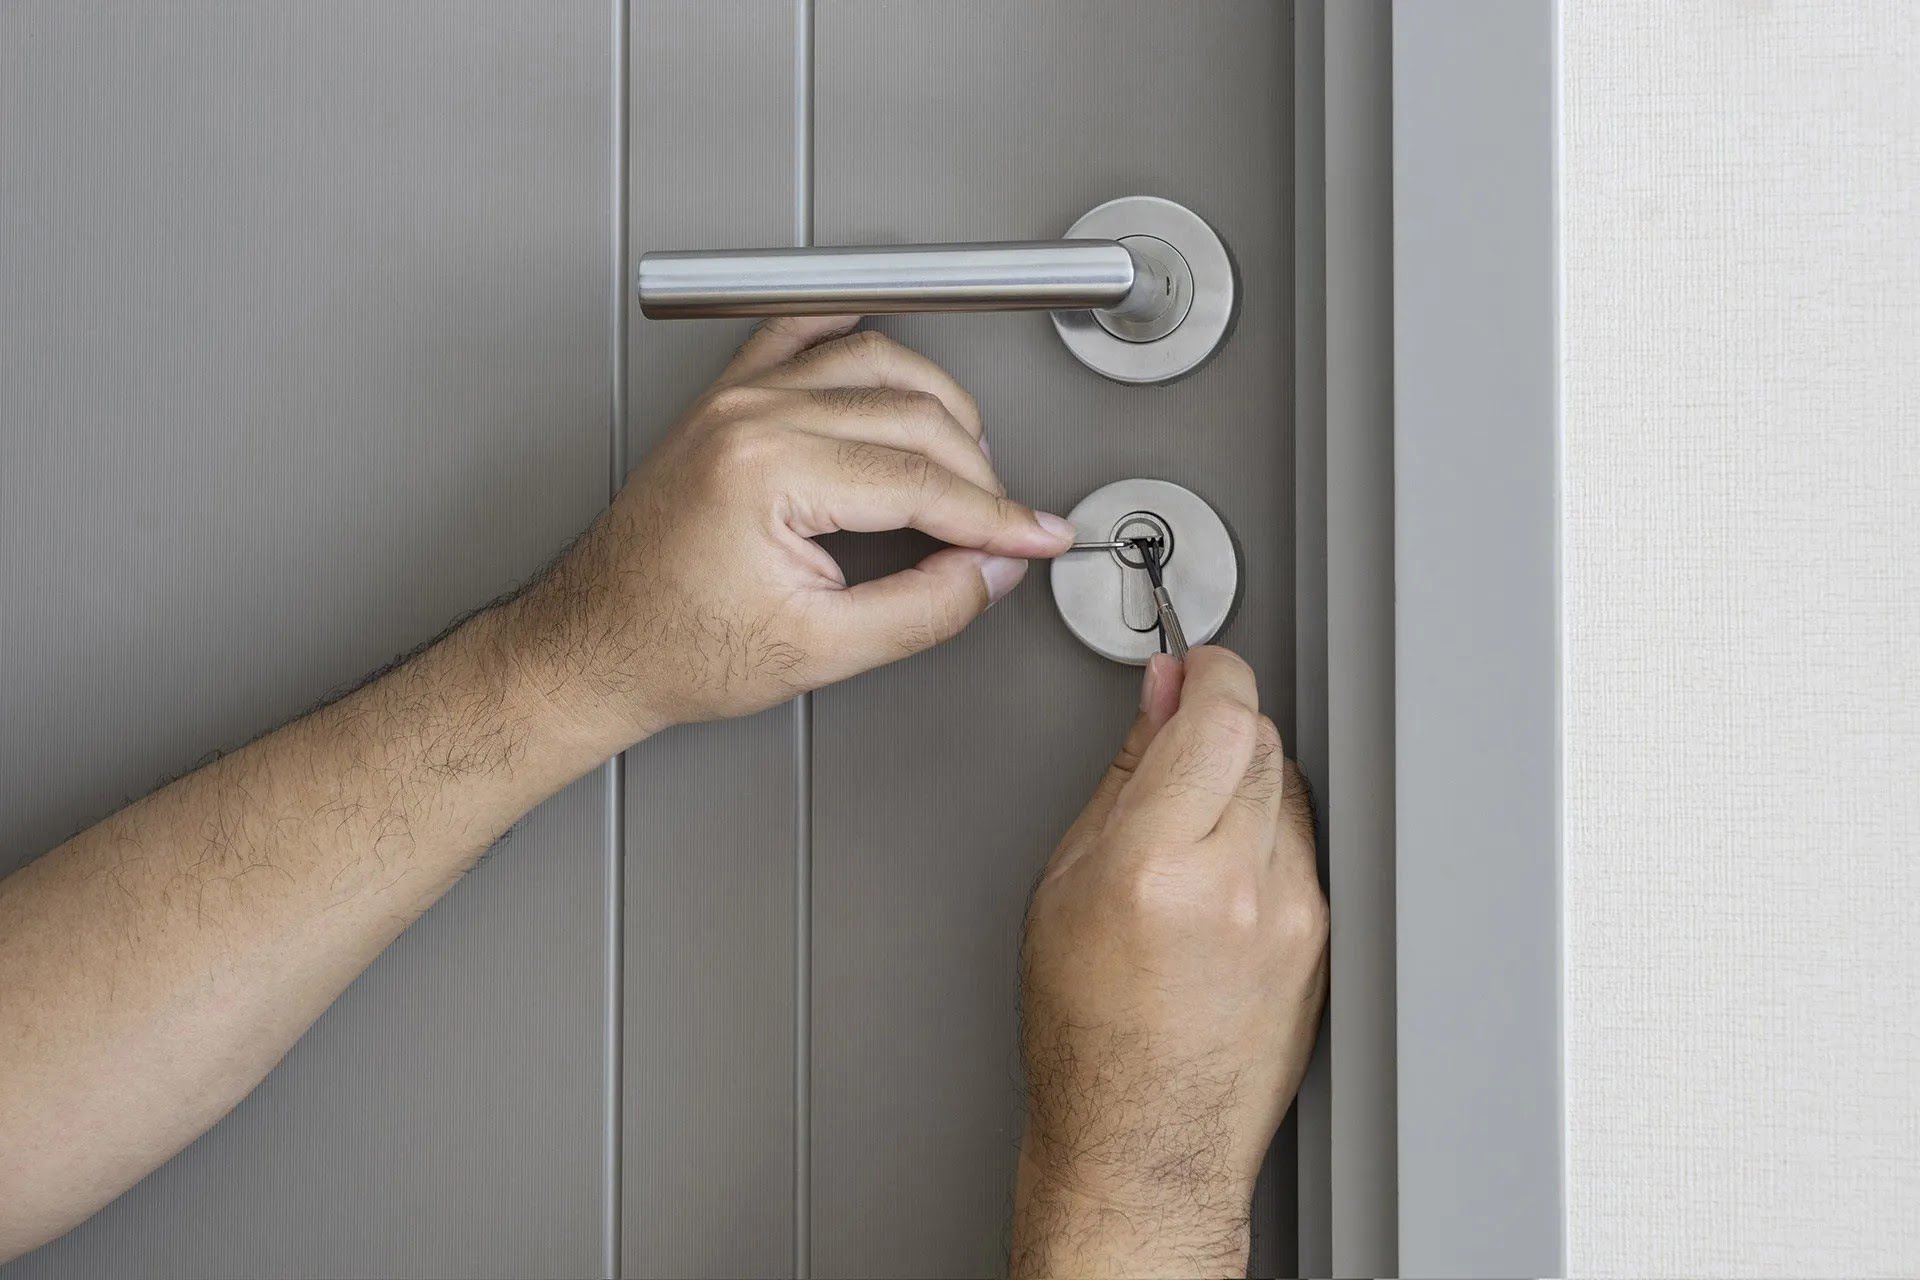
Before completing the installation, test the new lockset to ensure that it operates smoothly and securely. Verify that the key mechanism aligns with the latch assembly and that the door closes and locks without resistance.
By following these steps, you’ll successfully replace the door lock with a new, functional lockset, enhancing the security and functionality of your door. With the installation complete, take a moment to admire your handiwork and revel in the satisfaction of a job well done.
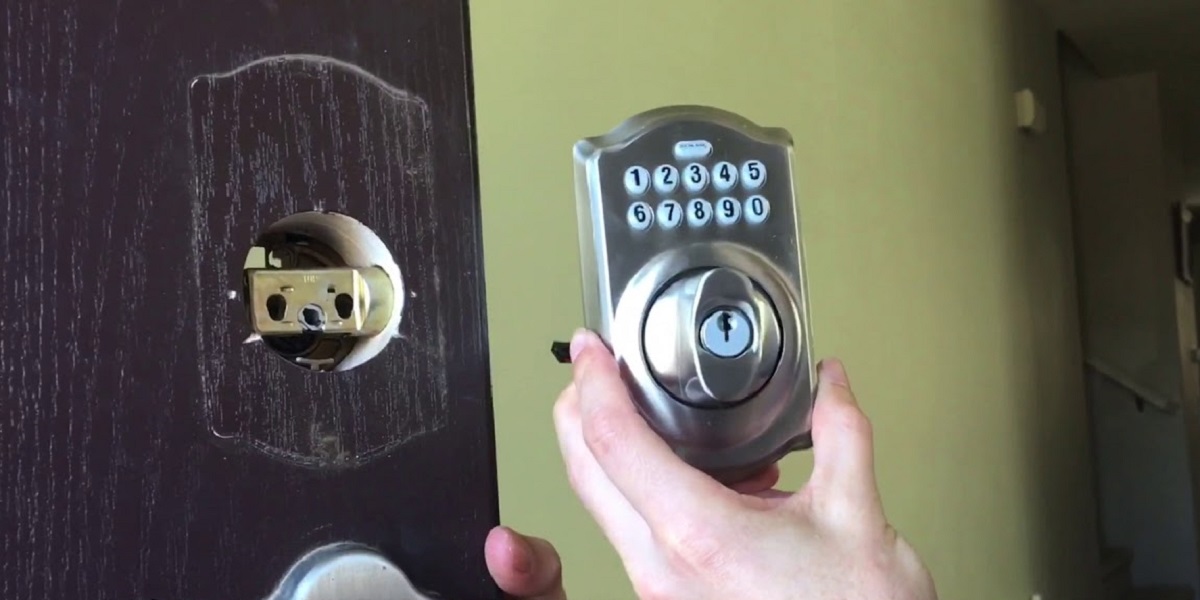
Read more: How To Remove Keypad Door Lock
Conclusion
Removing a door lock is a valuable skill that empowers homeowners to maintain and upgrade their living spaces with confidence. By following the step-by-step process outlined in this guide, you’ve gained the knowledge and expertise needed to tackle this essential home maintenance task.
From gathering the necessary tools and materials to meticulously disassembling the old lock and installing a new one, you’ve navigated each stage with precision and skill. By doing so, you’ve not only enhanced the security of your home but also honed your DIY capabilities.
As you reflect on the process, take pride in the hands-on approach you’ve taken to improve your living environment. Whether you’re replacing a worn-out lock, upgrading to a more secure option, or simply refreshing the appearance of your door, your efforts have made a tangible difference.
Remember, the ability to remove and replace a door lock is just one facet of home maintenance. As you continue to expand your DIY repertoire, consider exploring other projects that allow you to further enhance and personalize your living space.
With your newfound expertise in removing and replacing door locks, you’re well-equipped to tackle future home improvement endeavors with confidence and skill. So, celebrate your accomplishment, and embrace the satisfaction of a job well done. Your home is now safer and more secure, thanks to your dedication and resourcefulness.
Now, as you look to the future, consider the myriad possibilities that await as you continue to enhance and maintain your living space. With each new project, you’ll further refine your skills and create a home that reflects your unique vision and personality.
So, as you bid farewell to this door lock removal journey, carry forward the knowledge and experience you’ve gained, knowing that you’re capable of transforming your living space one project at a time.
Frequently Asked Questions about How To Remove A Door Lock
Was this page helpful?
At Storables.com, we guarantee accurate and reliable information. Our content, validated by Expert Board Contributors, is crafted following stringent Editorial Policies. We're committed to providing you with well-researched, expert-backed insights for all your informational needs.


0 thoughts on “How To Remove A Door Lock”