Home>Technology>Security & Surveillance>How To Fix A Schlage Door Lock
Security & Surveillance
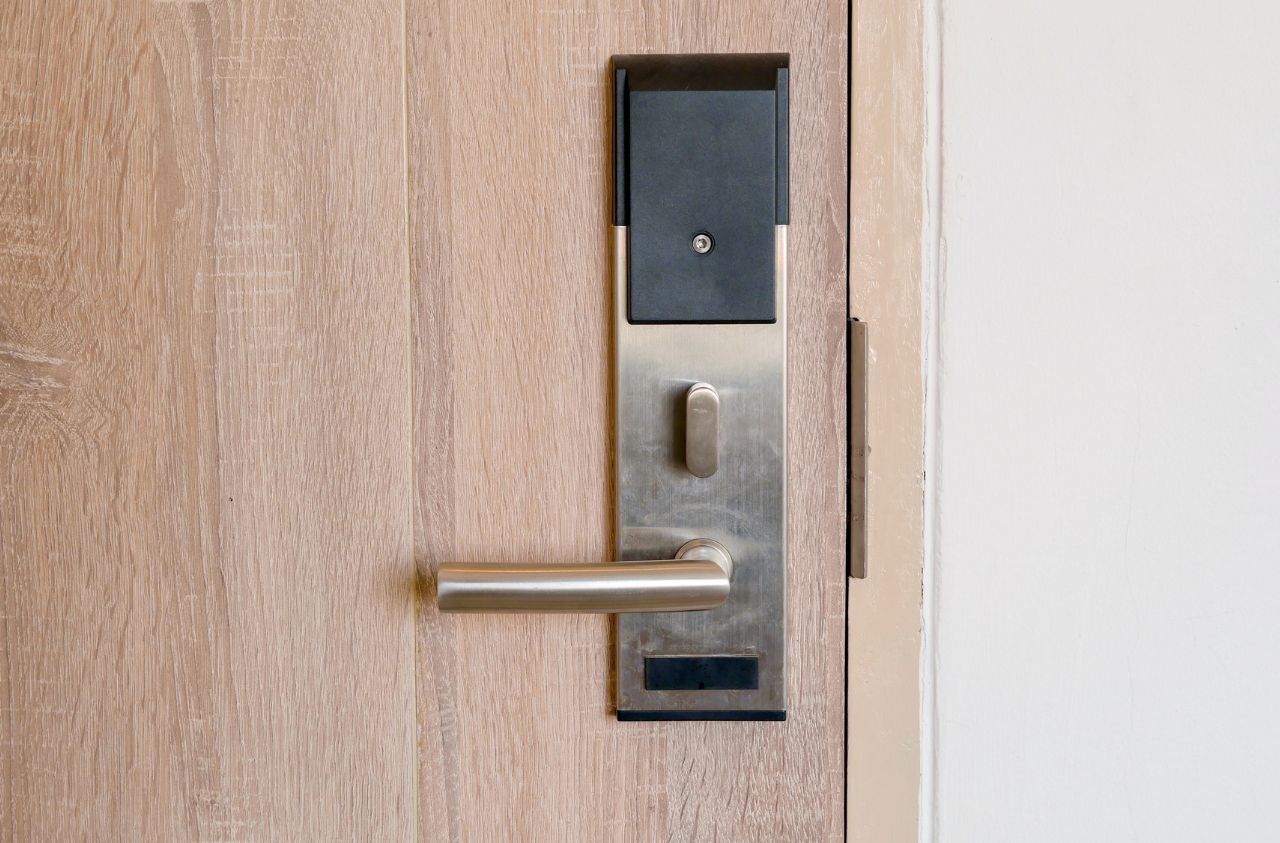
How To Fix A Schlage Door Lock
Modified: February 18, 2024
Learn how to fix a Schlage door lock for enhanced security and surveillance. Get expert tips and step-by-step instructions to ensure your home's safety.
(Many of the links in this article redirect to a specific reviewed product. Your purchase of these products through affiliate links helps to generate commission for Storables.com, at no extra cost. Learn more)
Introduction
Welcome to our comprehensive guide on fixing Schlage door locks. As a homeowner, encountering issues with your door lock can be frustrating and concerning. However, with the right knowledge and tools, you can address these problems effectively. In this article, we will walk you through the process of identifying and resolving issues with your Schlage door lock, empowering you to restore security and peace of mind to your home.
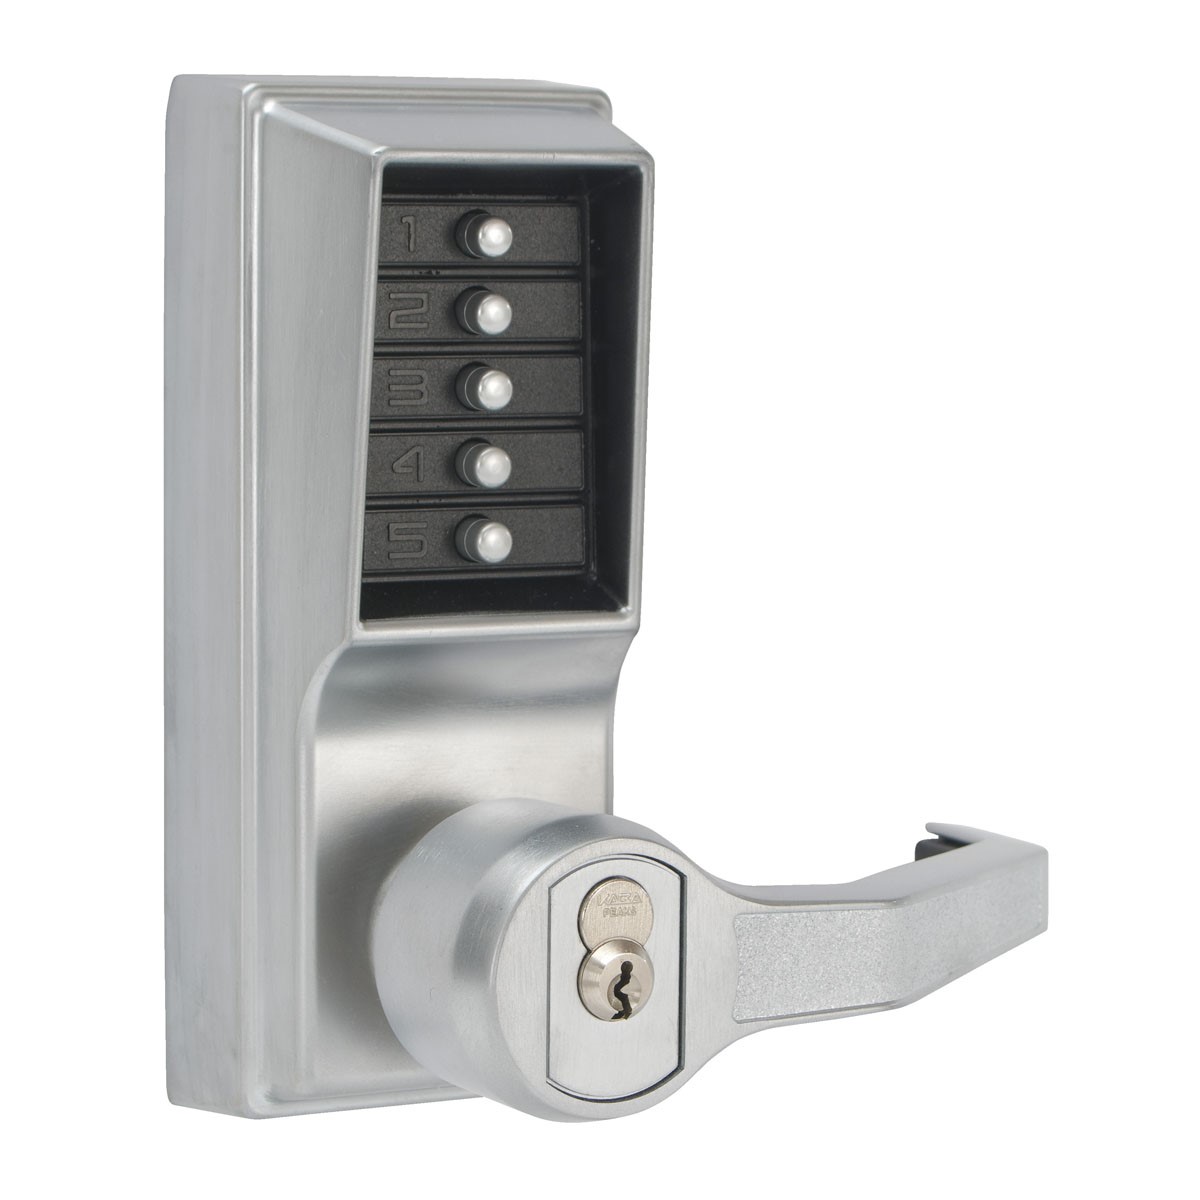
Schlage is a renowned brand in the security and surveillance industry, known for producing high-quality door hardware and locks. Despite their exceptional durability and reliability, even the most robust locks may encounter issues over time. Whether you're experiencing difficulty turning the key, a misaligned latch, or other operational concerns, this guide will equip you with the necessary steps to diagnose and address these issues.
By following the instructions outlined in this article, you will gain a deeper understanding of your Schlage door lock and the confidence to troubleshoot and resolve common problems. From disassembling the lock to identifying the issue, repairing or replacing components, and reassembling the lock, each step is designed to provide clarity and guidance throughout the repair process.
As we delve into the intricacies of fixing Schlage door locks, you will discover the tools and materials required for the job, along with expert tips to streamline the repair process. Whether you're a seasoned DIY enthusiast or a homeowner eager to learn new skills, this guide is tailored to help you successfully address issues with your Schlage door lock, ultimately enhancing the security and functionality of your home.
Join us as we embark on a journey to restore the reliability and performance of your Schlage door lock, ensuring that you can safeguard your home with confidence. Let's dive in and equip you with the knowledge and skills needed to tackle this common household challenge.
Key Takeaways:
- Fixing a Schlage door lock involves understanding, disassembling, identifying issues, repairing or replacing components, reassembling, and testing. It’s a DIY journey that empowers homeowners to maintain home security.
- By following the steps in this guide, homeowners can gain the knowledge and skills to troubleshoot and repair common issues with Schlage door locks, ensuring a safe and reliable home environment.
Read more: How To Lock Schlage Door
Understanding the Problem
Before embarking on the repair process, it’s essential to gain a clear understanding of the issues affecting your Schlage door lock. By recognizing the symptoms and behaviors exhibited by the lock, you can effectively diagnose the underlying problem and proceed with the appropriate course of action. Common issues with Schlage door locks may include difficulty turning the key, a misaligned or stuck latch, or general wear and tear that affects the lock’s functionality.
When encountering difficulty turning the key, it’s crucial to identify whether the resistance is due to a mechanical obstruction within the lock cylinder or a misalignment of internal components. Additionally, a misaligned or stuck latch can impede the smooth operation of the lock, leading to frustration and security concerns.
Furthermore, wear and tear over time can compromise the overall performance of the lock, necessitating targeted repairs or component replacements to restore its optimal functionality. By closely observing the behavior of your Schlage door lock and noting any irregularities, you can effectively pinpoint the root cause of the problem and proceed with the necessary repairs.
Throughout this guide, we will provide insights into the common issues that affect Schlage door locks, empowering you to address these challenges with confidence. Understanding the problem is the first step toward achieving a successful repair, and by taking the time to assess the symptoms exhibited by your lock, you are positioning yourself to make informed decisions throughout the repair process.
As we delve deeper into the intricacies of fixing Schlage door locks, we will equip you with the knowledge and expertise needed to troubleshoot and resolve a range of common issues. By gaining a comprehensive understanding of the problem at hand, you are laying the groundwork for a successful repair that will enhance the security and functionality of your door lock.
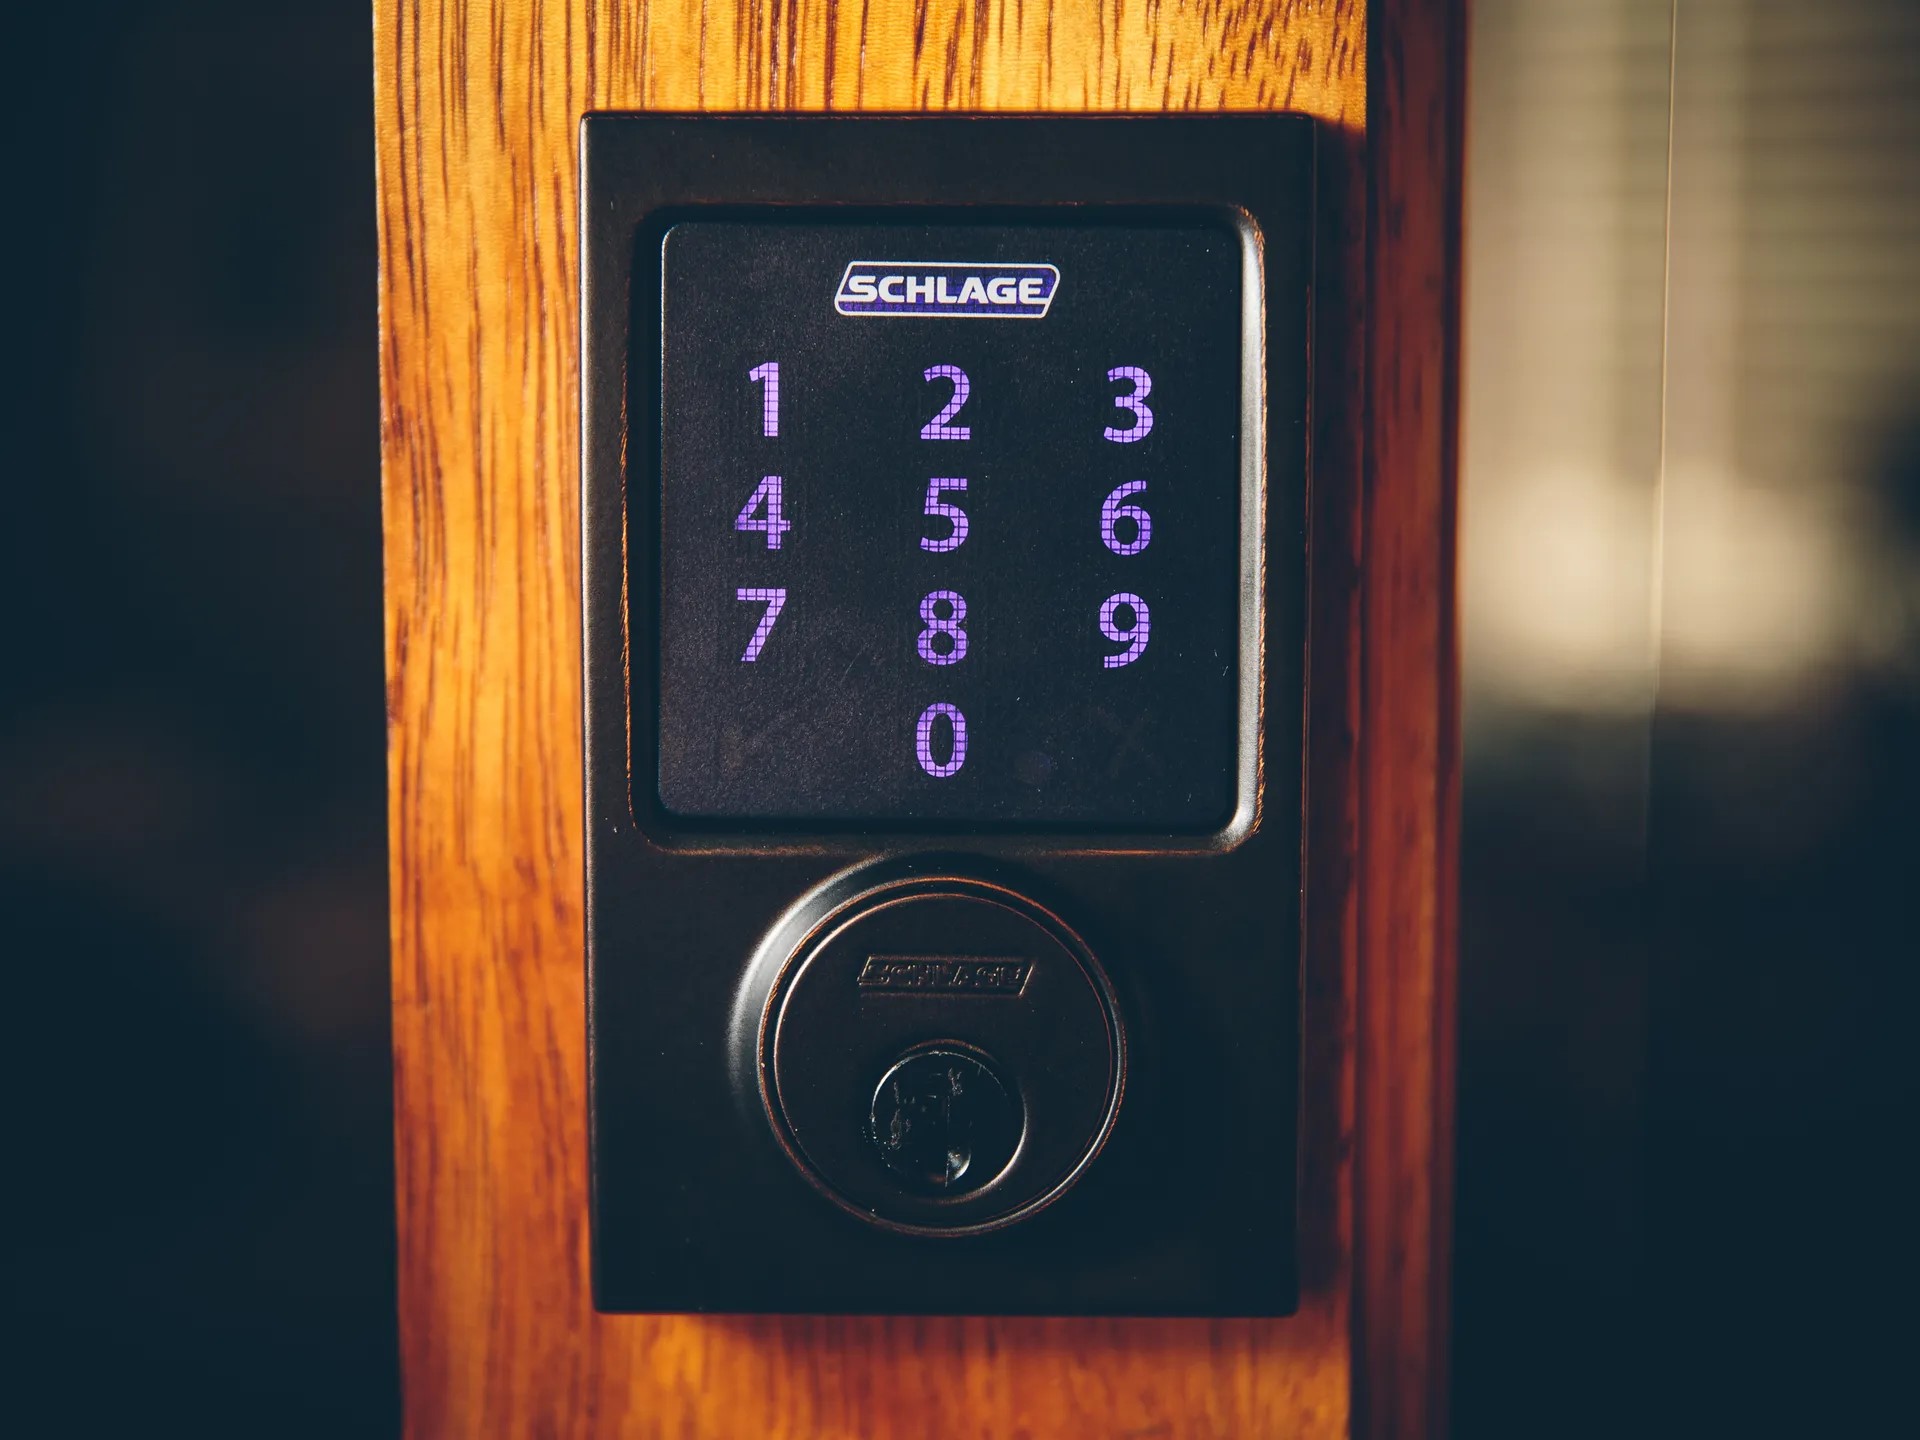
Tools and Materials Needed
Before commencing the repair of your Schlage door lock, it’s essential to gather the necessary tools and materials to facilitate a smooth and efficient process. Equipping yourself with the right resources will not only streamline the repair but also ensure that you can address the issue effectively. Here’s a comprehensive list of the tools and materials you’ll need:
- Screwdriver Set: A set of Phillips and flathead screwdrivers will be indispensable for disassembling and reassembling the lock components.
- Replacement Parts: Depending on the issue identified, you may require replacement components such as a new cylinder, latch, or other internal mechanisms. It’s advisable to have these parts on hand before beginning the repair.
- Lubricant: A high-quality lock lubricant will aid in addressing issues related to stiffness or resistance when turning the key.
- Needle-nose Pliers: These pliers will be useful for manipulating small components and addressing intricate issues within the lock.
- Allen Wrench Set: Some Schlage locks may feature set screws that require an Allen wrench for adjustment or removal.
- Replacement Screws: In the event of stripped or damaged screws, having replacement screws of the appropriate size will be essential for reassembly.
- Key Extractor (if applicable): If a key is broken or stuck in the lock, a key extractor tool will aid in its safe removal.
- Clean Cloth: Keeping a clean cloth on hand will allow you to wipe down components and remove any debris or old lubricant during the repair process.
By ensuring that you have these tools and materials readily available, you can approach the repair of your Schlage door lock with confidence and preparedness. Additionally, having replacement parts on hand, if needed, will minimize downtime and ensure that you can complete the repair in a single session.
As we progress through the subsequent steps of disassembling, identifying, and repairing the lock, these tools and materials will prove invaluable in addressing a wide range of issues that may arise. With a well-equipped toolkit and a clear understanding of the problem, you are poised to tackle the repair process effectively, ultimately restoring your Schlage door lock to optimal working condition.
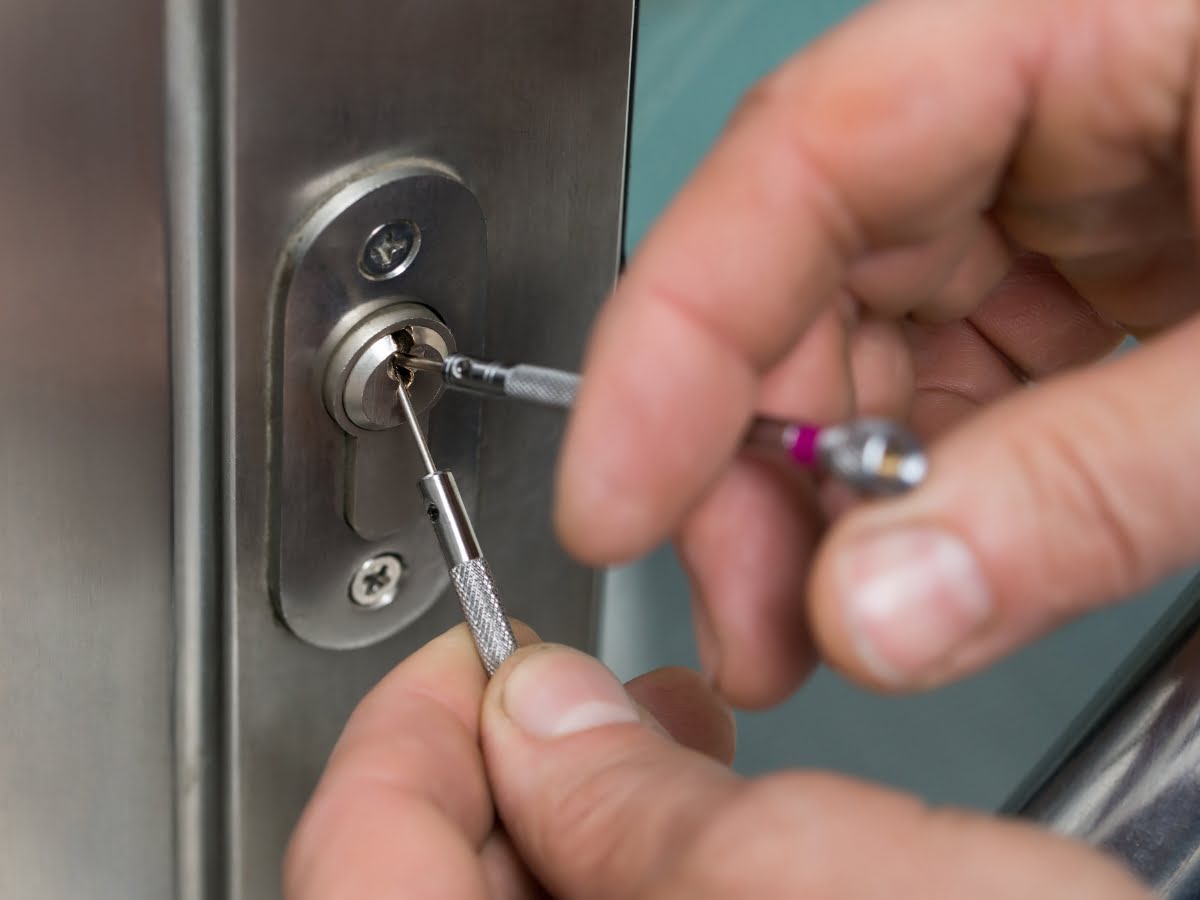
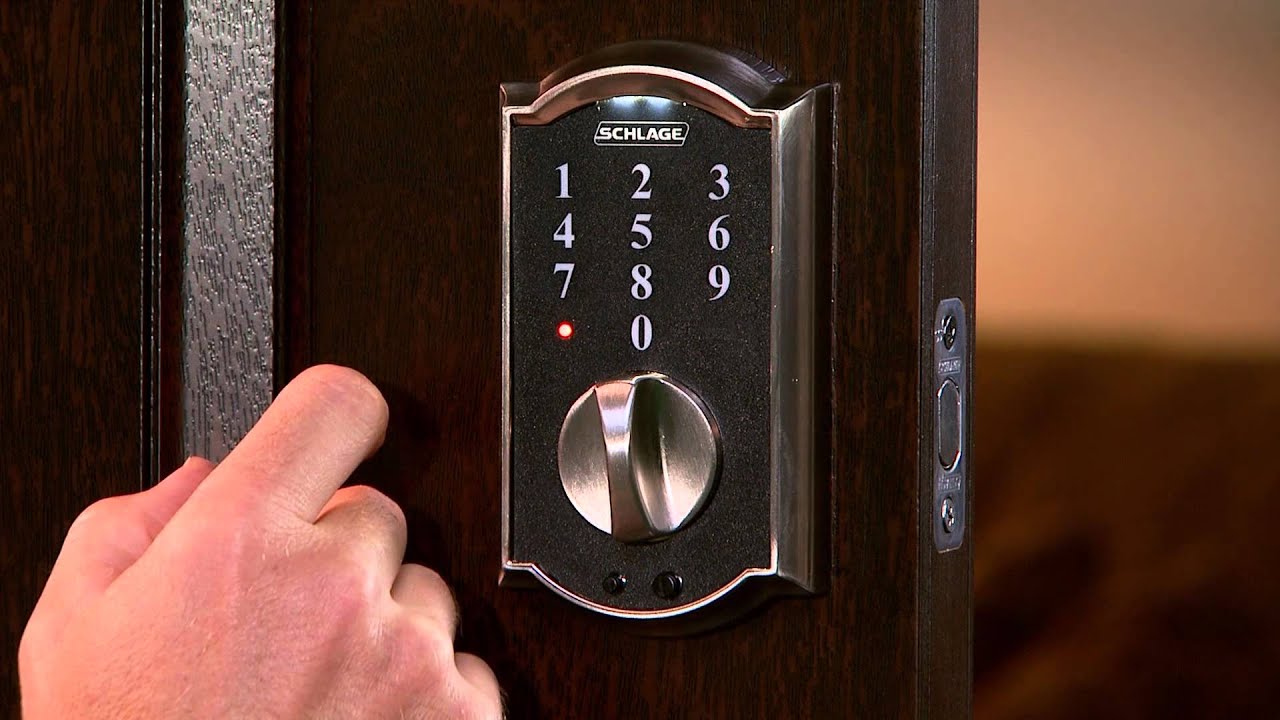
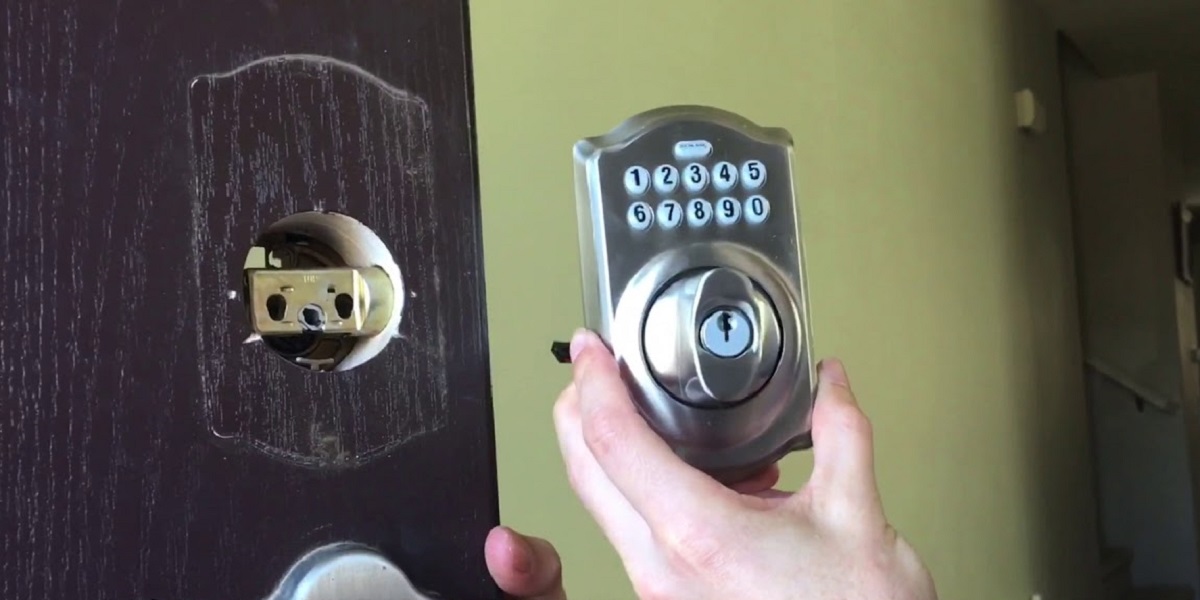
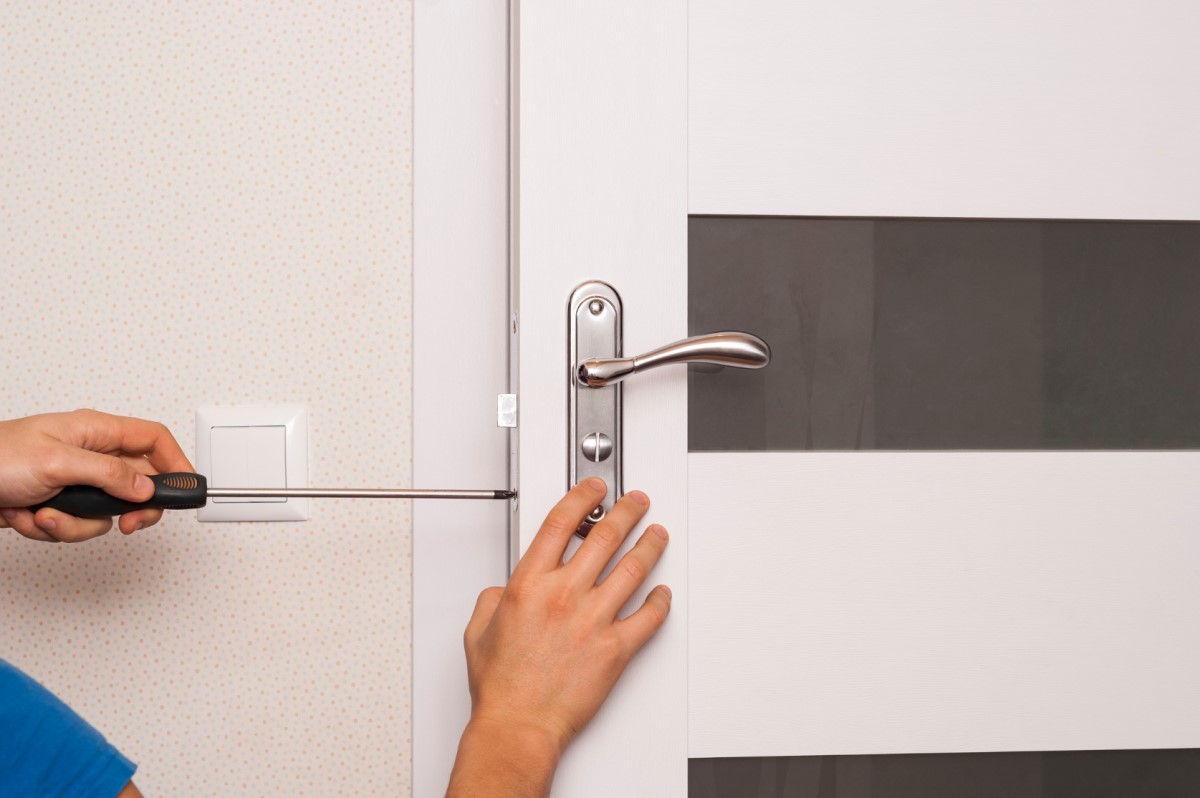
Step 1: Disassembling the Lock
Before delving into the intricate components of your Schlage door lock, it’s crucial to approach the disassembly process with care and precision. By following these steps, you can effectively dismantle the lock and gain access to its internal mechanisms:
- Prepare the Work Area: Begin by creating a clean and well-lit workspace where you can comfortably disassemble the lock without misplacing any components.
- Remove the Screws: Using the appropriate screwdriver from your set, carefully remove the screws securing the lock’s faceplate and outer components. Place the screws in a designated container to prevent loss.
- Separate the Components: Once the faceplate and outer components are removed, gently separate the lock’s exterior from the door, taking care not to force any components or cause damage.
- Access the Interior: With the exterior components removed, you can now access the interior of the lock, including the latch, cylinder, and other internal mechanisms.
By methodically disassembling the lock, you are laying the groundwork for a thorough assessment of its internal components and identifying any issues that may be affecting its functionality. Throughout this process, it’s essential to handle each component with care and keep track of the removed parts to facilitate seamless reassembly.
As you progress through the disassembly phase, take note of any visible damage, wear, or misalignments within the lock. These observations will inform the subsequent steps of identifying and addressing the specific issues affecting your Schlage door lock, ultimately guiding you toward an effective repair.
With the lock now disassembled and the internal components accessible, you are ready to proceed to the next step of identifying the underlying issue that has been impacting the lock’s performance. By approaching the disassembly process with patience and attention to detail, you are positioning yourself for a successful repair that will restore the security and functionality of your Schlage door lock.
Step 2: Identifying the Issue
As you delve into the internal components of your Schlage door lock, the next crucial step is to identify the specific issue or issues that have been affecting its performance. By closely examining the components and observing their behavior, you can pinpoint the root cause of the problem and proceed with targeted repairs. Here’s how to effectively identify the issue:
- Inspect the Cylinder: Begin by examining the lock’s cylinder for any signs of wear, damage, or obstruction. If the key is encountering resistance or difficulty turning, the cylinder may be a key area to focus on.
- Evaluate the Latch: Assess the latch mechanism to determine if it is misaligned, stuck, or exhibiting irregular behavior. A misaligned latch can impede the smooth operation of the lock and may require adjustments or repairs.
- Check Internal Components: Take a close look at the internal components of the lock, including springs, pins, and other moving parts. Any misalignments, damage, or debris within these components can impact the lock’s functionality.
- Observe Key Behavior: If you’ve been experiencing issues with the key, such as sticking or difficulty turning, observe its behavior within the lock to identify any points of interference or resistance.
By methodically assessing these key areas of the lock, you can gain valuable insights into the specific issues affecting its performance. Whether it’s a mechanical obstruction, misalignment, or general wear and tear, a thorough inspection will guide you toward the most effective course of action for the repair.
Throughout the identification process, it’s important to document any observations and note the areas that require attention. This documentation will serve as a valuable reference as you proceed with the subsequent steps of repairing or replacing components to address the identified issues.
With a clear understanding of the problem at hand, you are now equipped to move forward with targeted repairs to restore the optimal functionality of your Schlage door lock. By effectively identifying the issue, you are laying the groundwork for a successful repair that will enhance the security and reliability of your home’s entryway.
If your Schlage door lock is sticking or not working properly, try lubricating the keyhole with graphite powder. This can help smooth out any rough spots and improve the lock’s performance.
Read more: How To Unlock A Schlage Door Lock
Step 3: Repairing or Replacing Components
With a clear understanding of the issues affecting your Schlage door lock, the next step is to address these concerns through targeted repairs or component replacements. By focusing on the specific areas identified during the inspection, you can effectively restore the functionality and reliability of the lock. Here’s how to approach the process of repairing or replacing components:
- Repairing the Cylinder: If the cylinder shows signs of wear or obstruction, consider applying a high-quality lock lubricant to alleviate any stiffness or resistance. Additionally, addressing any misalignments or cleaning out debris within the cylinder can improve its performance.
- Adjusting the Latch: If the latch is misaligned or sticking, carefully adjust its position to ensure smooth operation. Lubricating the latch mechanism can also enhance its functionality and alleviate any friction-related issues.
- Replacing Damaged Components: In cases where internal components such as springs or pins show signs of damage or wear, consider replacing these components with high-quality replacements to restore the lock’s optimal performance.
- Addressing Key-Related Issues: If the key exhibits sticking or resistance, consider using a key extractor tool to safely remove any broken or stuck keys. Additionally, cleaning the keyway and ensuring that the key moves smoothly within the lock can address key-related issues.
Throughout the repair or replacement process, it’s essential to handle the components with care and precision, ensuring that each adjustment or replacement is carried out methodically. By addressing the specific issues identified during the inspection, you are taking proactive steps to restore the functionality and security of your Schlage door lock.
As you proceed with repairing or replacing components, refer to the observations and documentation made during the identification phase to guide your actions. This reference will ensure that you remain focused on addressing the root cause of the issues, ultimately leading to a successful repair.
By methodically addressing the identified issues and implementing targeted repairs or replacements, you are actively restoring the reliability and performance of your Schlage door lock. With each component carefully attended to, you are one step closer to completing the repair and ensuring that your home’s entryway is secure and fully operational.
Step 4: Reassembling the Lock
As you conclude the repair and replacement of components within your Schlage door lock, the final step involves reassembling the lock to its original configuration. This critical phase ensures that the components are securely in place and the lock functions seamlessly. Here’s a guide on how to effectively reassemble the lock:
- Organize the Components: Lay out the disassembled components in an organized manner, ensuring that each part is easily accessible for reassembly.
- Follow the Reverse Order: Reassemble the lock components in the reverse order of disassembly, beginning with the internal mechanisms and progressing to the exterior faceplate and outer components.
- Secure Screws and Fasteners: Carefully fasten the screws and other fasteners, ensuring that each component is securely attached without over-tightening, which may cause damage.
- Test the Operation: Once the lock is fully reassembled, test its operation to ensure that the key turns smoothly, the latch engages properly, and all components function as intended.
Throughout the reassembly process, it’s crucial to exercise patience and attention to detail, ensuring that each component is aligned and secured according to the manufacturer’s specifications. By following the reverse order of disassembly, you can effectively restore the lock to its original state, ready to provide reliable security for your home.
As you progress through the reassembly phase, refer to any documentation or notes made during the disassembly and identification stages to guide your actions. This reference will serve as a valuable aid in ensuring that each component is reassembled correctly, minimizing the risk of errors or oversights.
Upon completing the reassembly of your Schlage door lock, take the time to conduct thorough testing of its operation. By verifying that the lock functions smoothly and as intended, you can confirm the success of the repair and the restoration of security to your home’s entryway.
With the lock now reassembled and fully operational, you have successfully completed the repair process, addressing the identified issues and restoring the functionality and reliability of your Schlage door lock. Your diligence and attention to detail have ensured that your home’s security is once again safeguarded, providing peace of mind for you and your family.
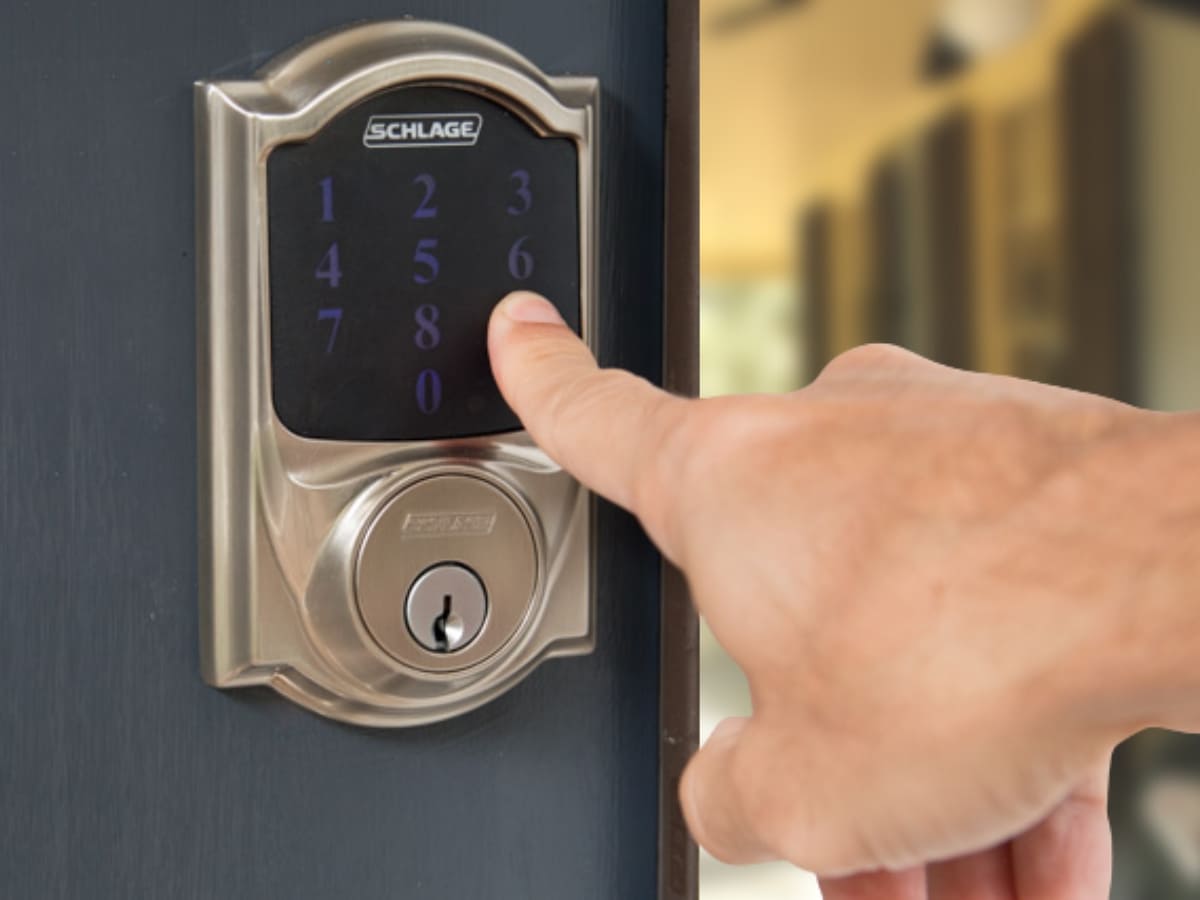
Testing the Lock
After completing the reassembly of your Schlage door lock, it’s crucial to conduct comprehensive testing to ensure that the repair has been successful and that the lock functions optimally. Thorough testing will validate the effectiveness of the repair process and provide assurance that your home’s security is restored. Here’s a guide on how to conduct testing:
- Key Operation: Test the key operation by inserting it into the lock and turning it to engage and disengage the locking mechanism. Ensure that the key turns smoothly without encountering resistance or sticking.
- Latch Engagement: Verify that the latch engages properly when the door is closed, and the lock functions as intended when the key is turned. Confirm that the latch retracts and extends smoothly without binding.
- Exterior and Interior Operation: Test the lock from both the exterior and interior sides to ensure that all components, including the handle or knob, operate seamlessly in conjunction with the locking mechanism.
- Security and Reliability: Assess the overall security and reliability of the lock by verifying that it effectively secures the door and provides peace of mind regarding the safety of your home.
During the testing phase, it’s essential to be thorough and methodical, ensuring that each aspect of the lock’s operation is scrutinized for optimal functionality. By conducting comprehensive testing, you can confirm that the repair has addressed the identified issues and that the lock is prepared to fulfill its critical role in safeguarding your home.
If, during testing, you encounter any irregularities or issues with the lock’s operation, take note of these observations and consider whether further adjustments or fine-tuning may be necessary. By addressing any remaining concerns promptly, you can ensure that the lock performs reliably and consistently in securing your home.
Upon completing the testing phase and confirming the successful operation of your Schlage door lock, you can take pride in the effective repair that has restored security and peace of mind to your home. Your diligence and attention to detail have culminated in a fully operational and reliable lock, providing assurance that your home is safeguarded against unauthorized access and intrusions.
By conducting thorough testing and confirming the lock’s optimal functionality, you have completed the repair process with confidence, knowing that your Schlage door lock is prepared to deliver dependable security for your household.
Conclusion
Congratulations on successfully navigating the process of fixing your Schlage door lock! By following the comprehensive steps outlined in this guide, you have demonstrated the capability to address common issues and restore the functionality and security of your home’s entryway. Throughout this journey, you’ve gained valuable insights and honed your skills in troubleshooting and repairing a critical component of your home’s security infrastructure.
As a homeowner, it’s empowering to possess the knowledge and expertise needed to tackle challenges such as repairing a door lock. Your commitment to maintaining the security and functionality of your home speaks volumes about your dedication to creating a safe and reliable living environment for yourself and your loved ones.
By understanding the problem, gathering the necessary tools and materials, disassembling the lock with precision, identifying the underlying issues, and executing targeted repairs or replacements, you have exemplified the determination and resourcefulness required to overcome household maintenance challenges.
The meticulous process of reassembling the lock and conducting thorough testing underscores your commitment to ensuring that the repair has been effective and that the lock operates seamlessly. Your attention to detail and dedication to achieving optimal results have culminated in a successful repair that enhances the security and reliability of your home’s entryway.
As you reflect on this experience, you can take pride in your newfound proficiency in addressing issues with Schlage door locks. The skills and knowledge you’ve acquired will serve you well in maintaining and preserving the security of your home, empowering you to address future challenges with confidence and expertise.
With your Schlage door lock now restored to optimal functionality, you can enjoy the peace of mind that comes with knowing your home is secure and protected. Your commitment to proactive maintenance and repair has contributed to a safe and resilient living environment, enriching the quality of life for you and your family.
Thank you for embarking on this journey of repair and restoration. Your dedication to safeguarding your home through effective maintenance is a testament to your role as a conscientious homeowner, dedicated to the well-being and security of your household.
As you continue to uphold the maintenance and security of your home, may this experience serve as a reminder of your capability to overcome challenges and preserve the comfort and safety of your living space. Your proactive approach to repair and maintenance sets a commendable example for homeowners seeking to create a secure and reliable home environment.
Well done on successfully fixing your Schlage door lock, and may your home continue to be a haven of security, comfort, and peace.
Frequently Asked Questions about How To Fix A Schlage Door Lock
Was this page helpful?
At Storables.com, we guarantee accurate and reliable information. Our content, validated by Expert Board Contributors, is crafted following stringent Editorial Policies. We're committed to providing you with well-researched, expert-backed insights for all your informational needs.


0 thoughts on “How To Fix A Schlage Door Lock”