Home>Technology>Security & Surveillance>How To Rekey Schlage Smart Lock
Security & Surveillance
How To Rekey Schlage Smart Lock
Modified: January 4, 2024
Learn how to rekey your Schlage smart lock for enhanced security and surveillance. Follow our step-by-step guide to ensure your home is protected.
(Many of the links in this article redirect to a specific reviewed product. Your purchase of these products through affiliate links helps to generate commission for Storables.com, at no extra cost. Learn more)
Introduction
Welcome to the world of smart home security, where convenience meets peace of mind. In this article, we will delve into the fascinating realm of rekeying a Schlage smart lock. Whether you've recently moved into a new home or simply want to bolster your security measures, understanding the process of rekeying a Schlage smart lock is invaluable.
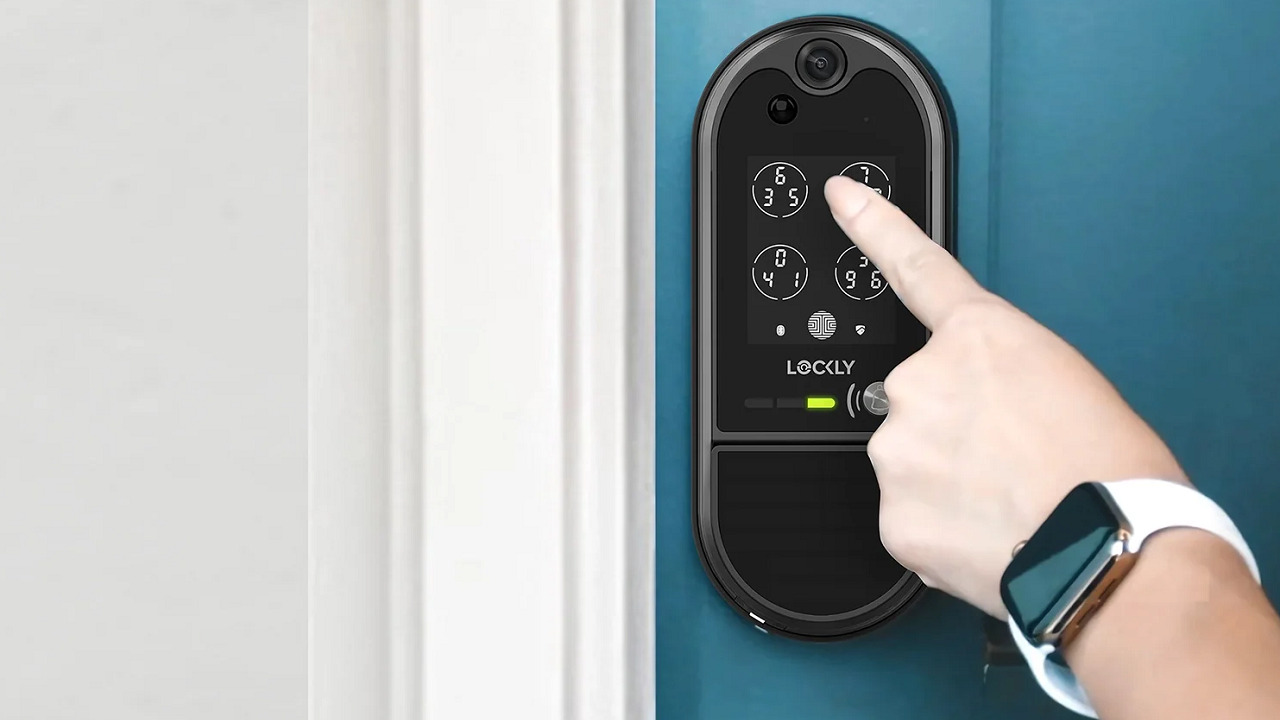
Schlage smart locks are renowned for their robust security features and seamless integration with modern smart home systems. These innovative devices offer a blend of advanced technology and traditional lock mechanisms, providing homeowners with a sophisticated yet user-friendly solution for safeguarding their properties.
Rekeying a Schlage smart lock is a practical skill that empowers homeowners to reset the lock to a new key, rendering previous keys inoperable. This process is particularly beneficial for enhancing security after a change in occupancy or in the event of misplaced keys. By rekeying your Schlage smart lock, you can rest assured that your home remains impenetrable to unauthorized access.
In the following sections, we will explore the intricacies of Schlage smart locks, the essential tools required for rekeying, and a comprehensive step-by-step guide to successfully rekeying your smart lock. Additionally, we will cover the crucial aspect of testing the rekeyed lock to ensure its functionality and security.
So, let's embark on this enlightening journey into the world of Schlage smart locks and equip ourselves with the knowledge and expertise to effectively rekey these cutting-edge security devices.
Key Takeaways:
- Rekeying your Schlage smart lock empowers you to reset it to a new key, enhancing home security after moving or misplacing keys. It’s a proactive and user-friendly way to safeguard your property.
- With the right tools and careful steps, rekeying your Schlage smart lock is a manageable process that ensures your home remains impenetrable to unauthorized access. It’s a keyless approach to bolstering security.
Read more: How To Use A Smart Key To Rekey A Lock
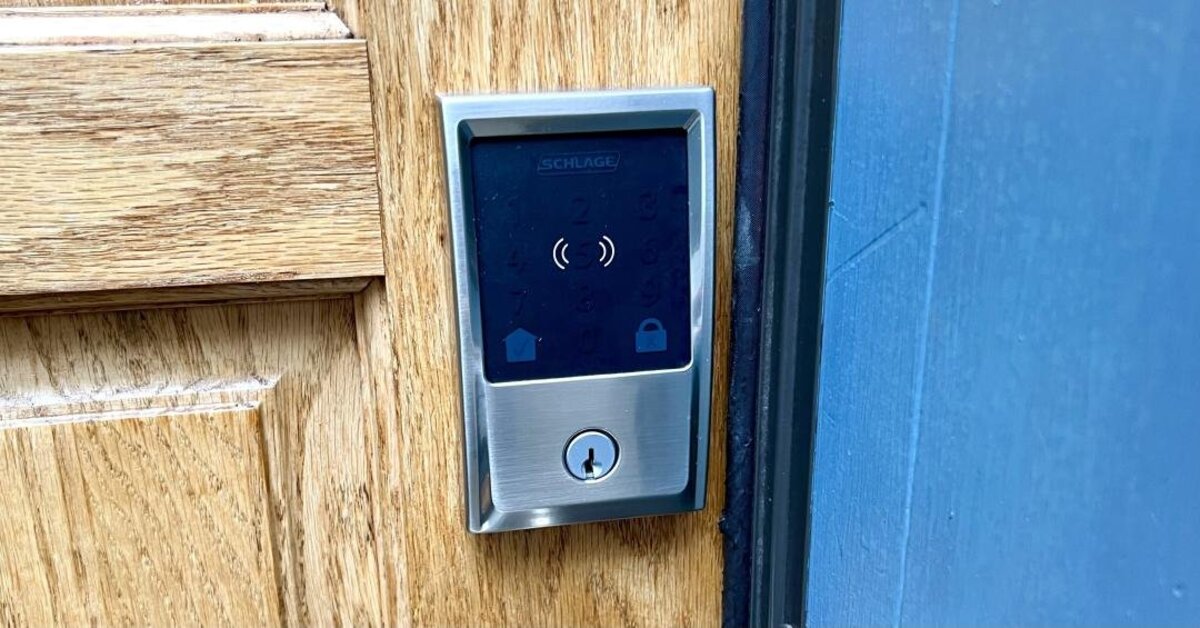
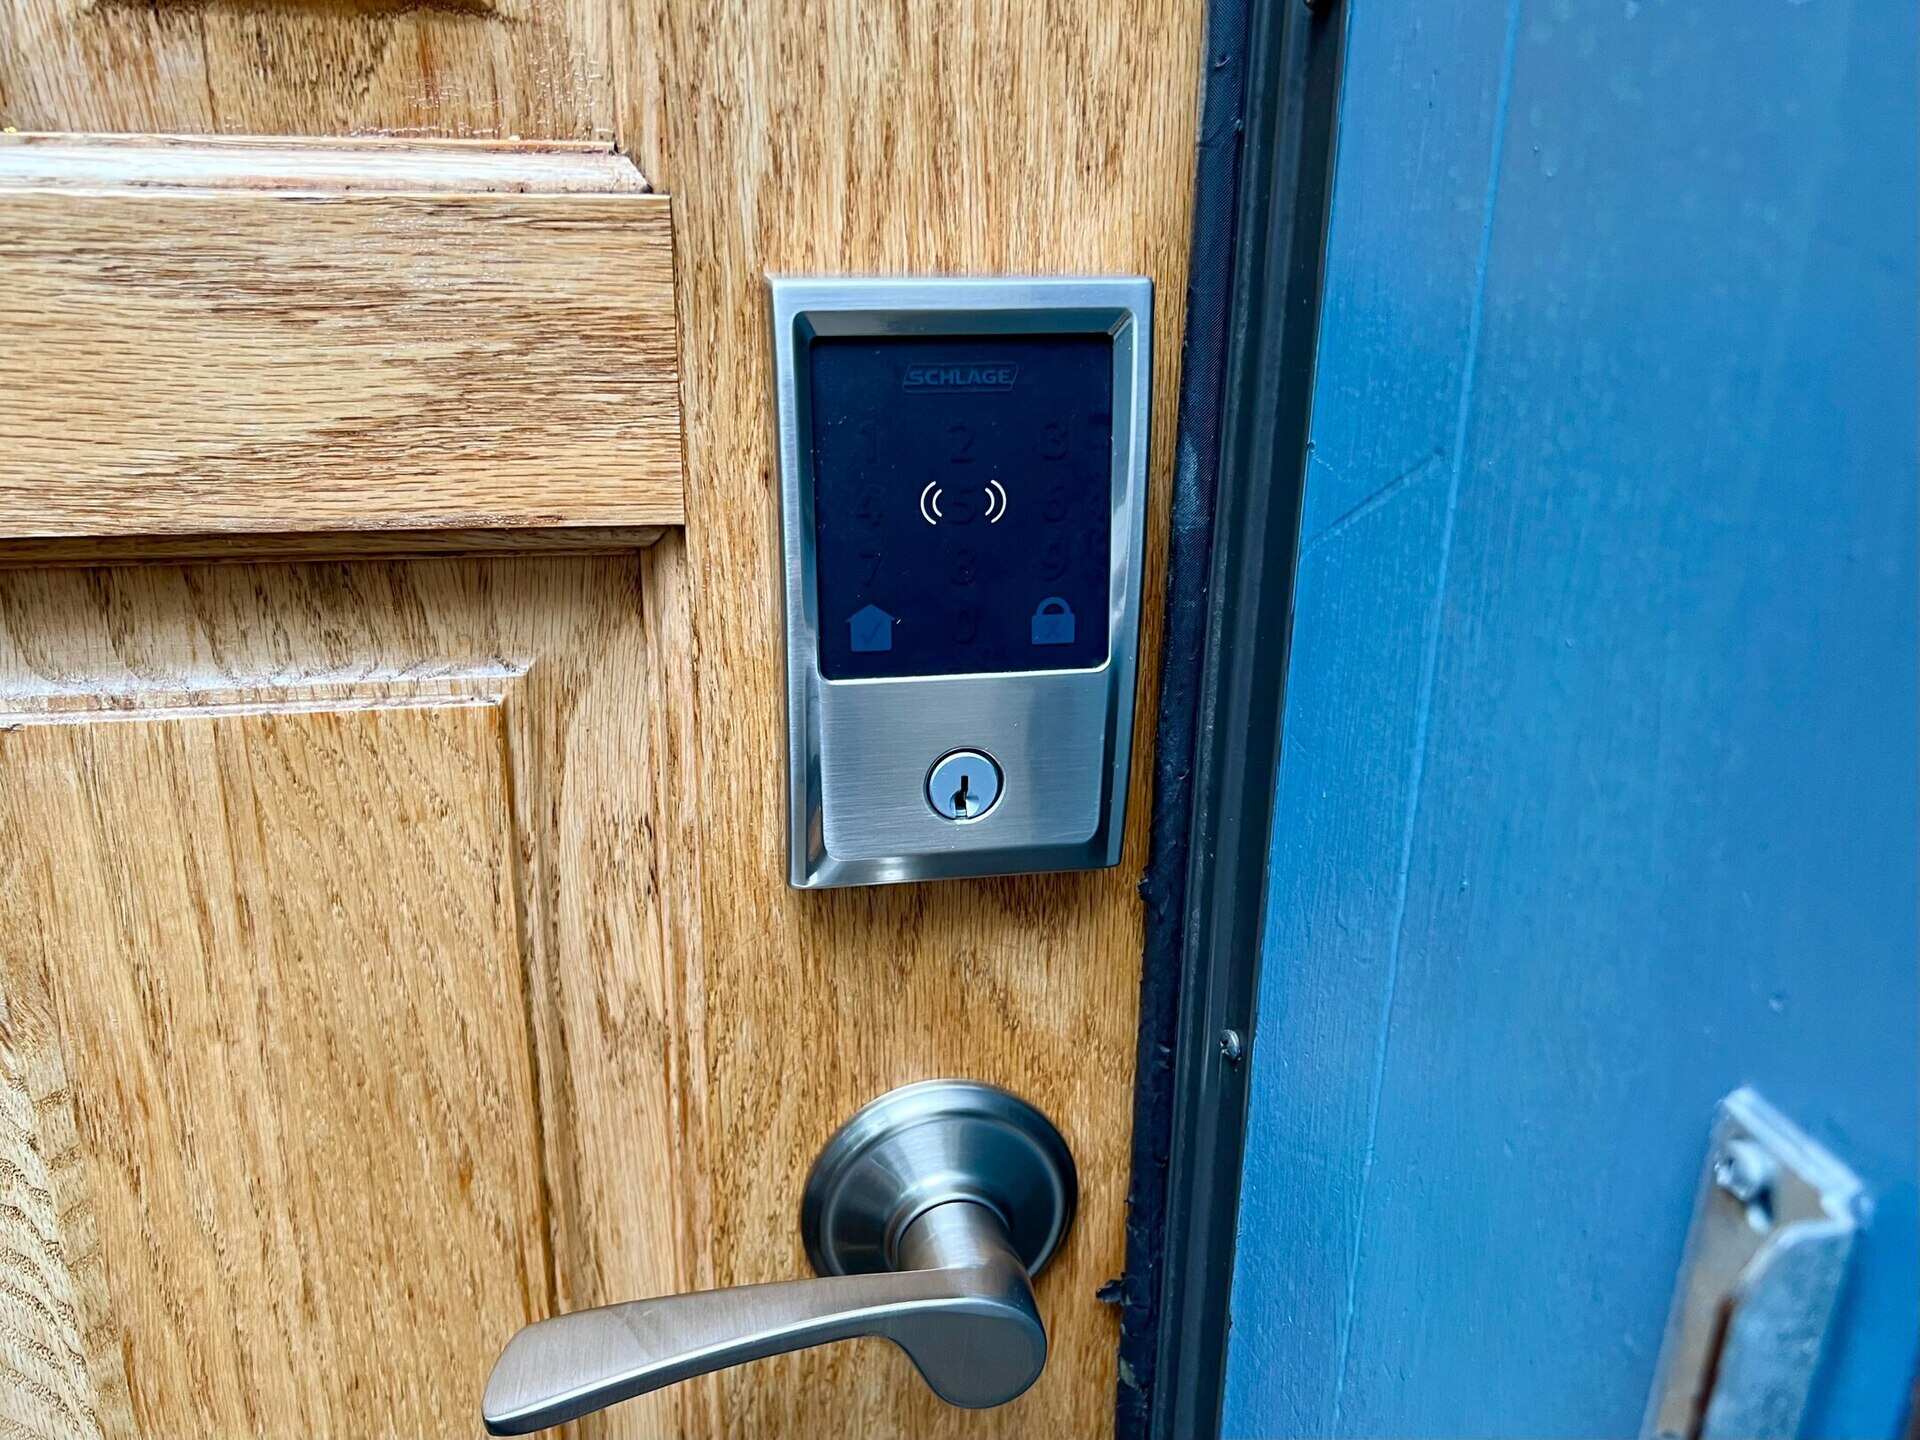
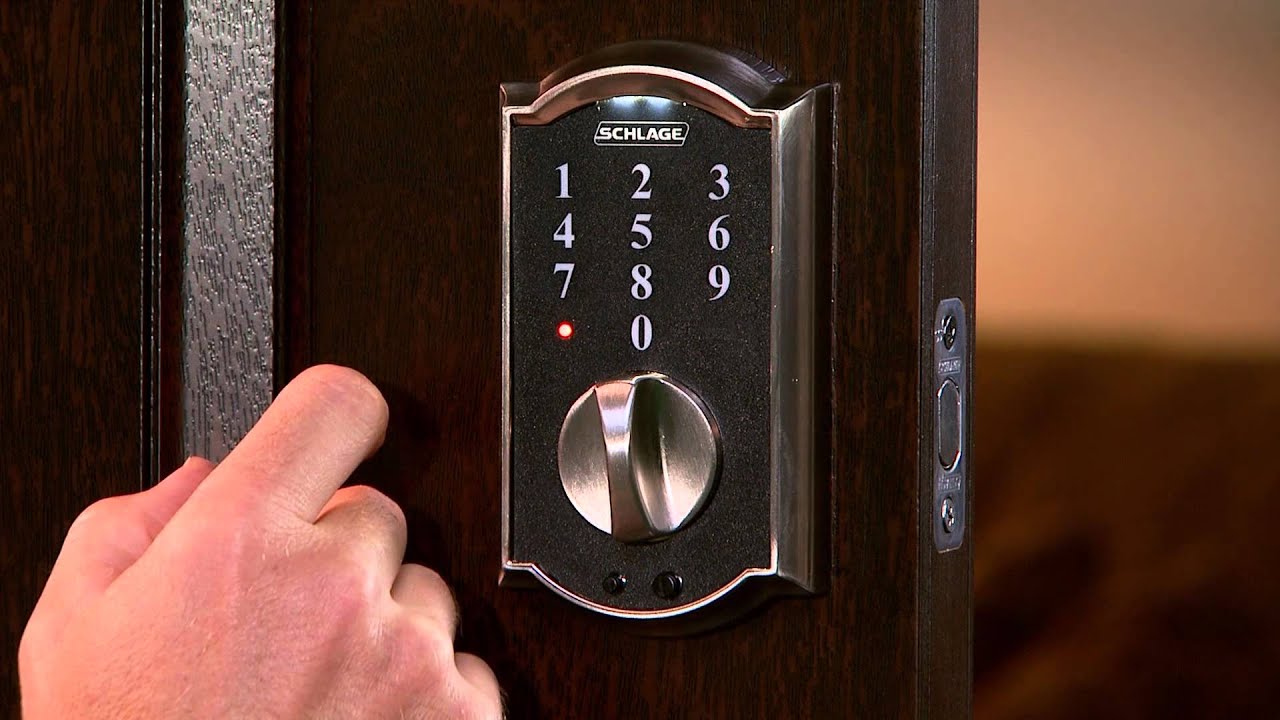
Understanding the Schlage Smart Lock
Before delving into the process of rekeying a Schlage smart lock, it’s essential to grasp the fundamental workings and features of this innovative security device. The Schlage smart lock represents a harmonious fusion of traditional lock mechanisms with advanced smart technology, offering homeowners a seamless and secure means of protecting their properties.
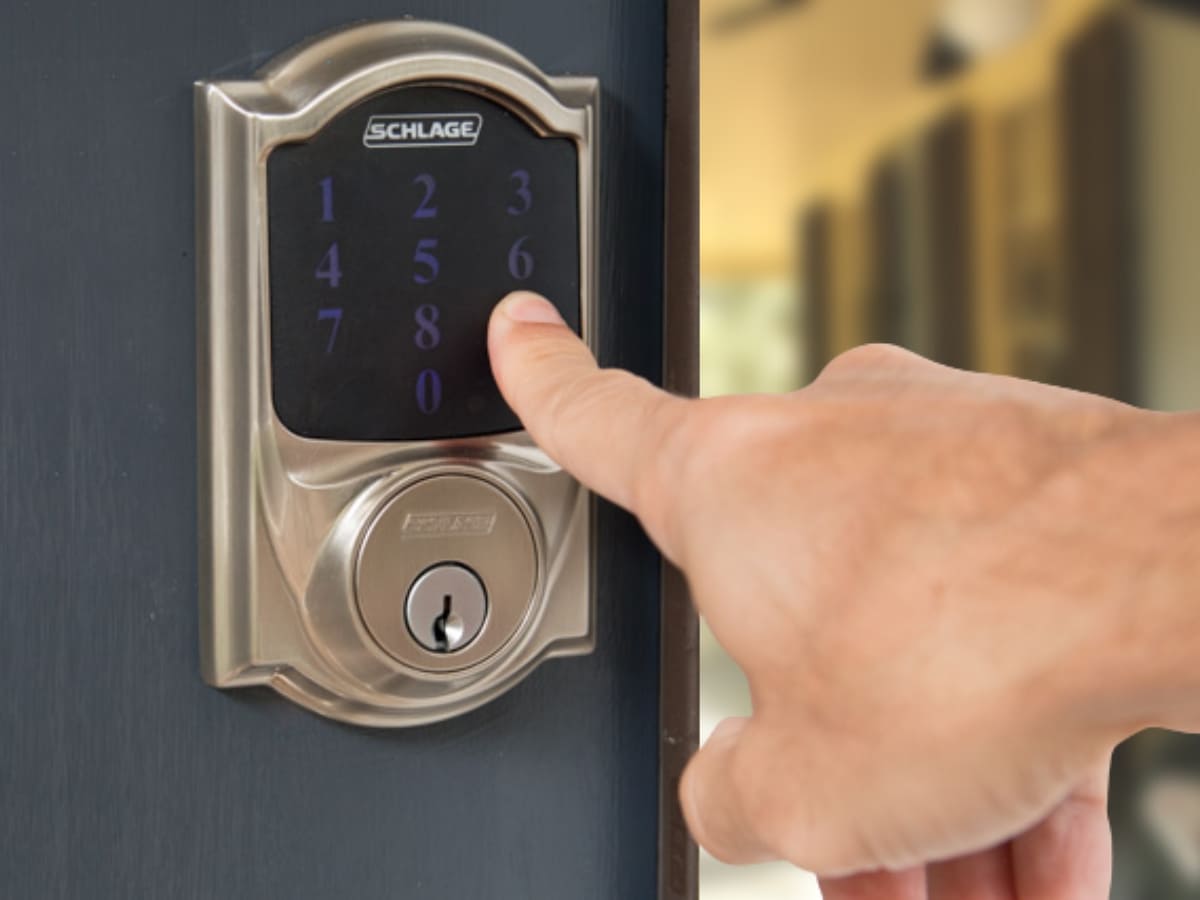
At the core of the Schlage smart lock is its keyless entry system, which eliminates the need for traditional keys and simplifies access control. Instead of fumbling for keys, users can effortlessly unlock their doors using personalized access codes, key fobs, or smartphone connectivity. This not only enhances convenience but also mitigates the risks associated with physical keys, such as loss or unauthorized duplication.
Furthermore, the Schlage smart lock integrates seamlessly with home automation and security systems, allowing for remote access and monitoring. Through compatible smart home platforms, users can remotely lock or unlock their doors, receive real-time activity notifications, and even grant temporary access to guests or service providers. This level of connectivity and control empowers homeowners with unparalleled flexibility and peace of mind.
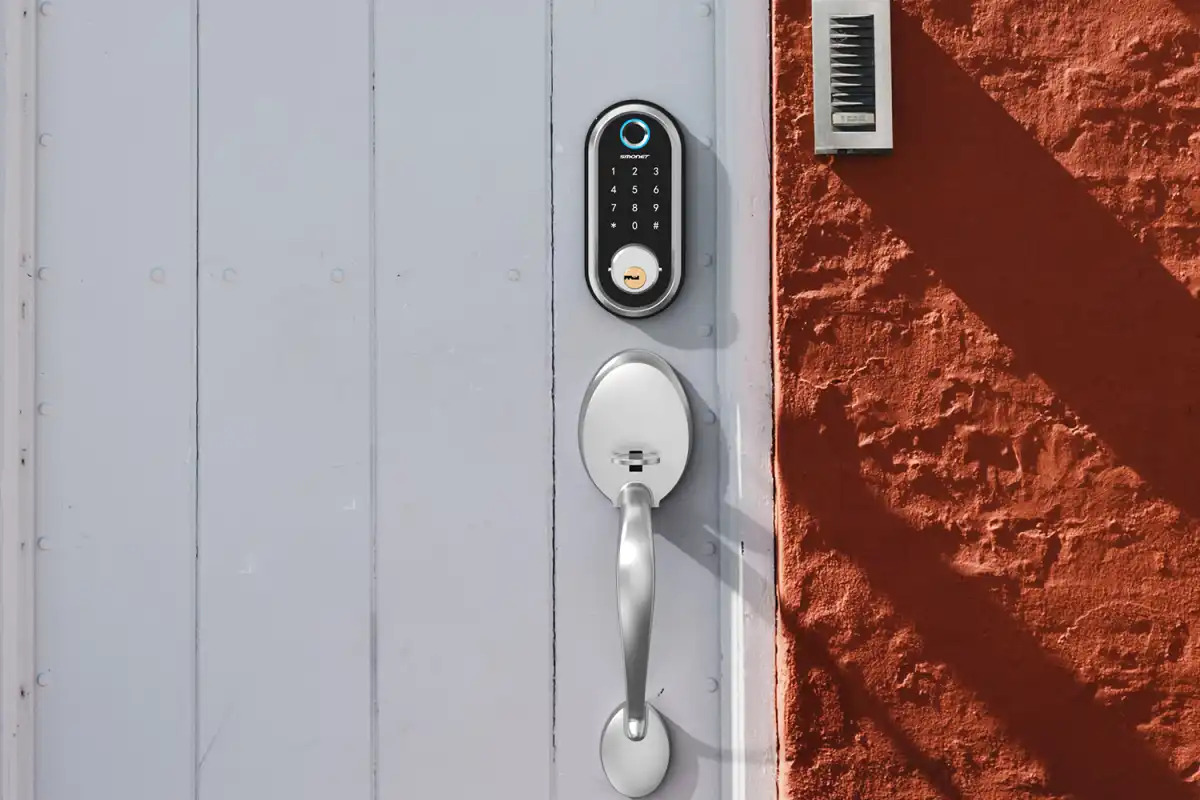
In terms of physical security, the Schlage smart lock boasts robust construction and tamper-resistant features. Its motorized deadbolt mechanism provides enhanced resistance against forced entry, while the built-in alarm technology alerts homeowners to potential security breaches. Additionally, the smart lock’s compatibility with existing door hardware and its straightforward installation process make it a versatile and practical choice for homeowners.
Overall, the Schlage smart lock epitomizes the evolution of traditional locks into sophisticated, digitally integrated security solutions. Its seamless blend of convenience, connectivity, and robust security features makes it a compelling choice for modern homeowners seeking to fortify their residential security.
With a comprehensive understanding of the Schlage smart lock’s capabilities and features, we are now primed to explore the process of rekeying this advanced security device.
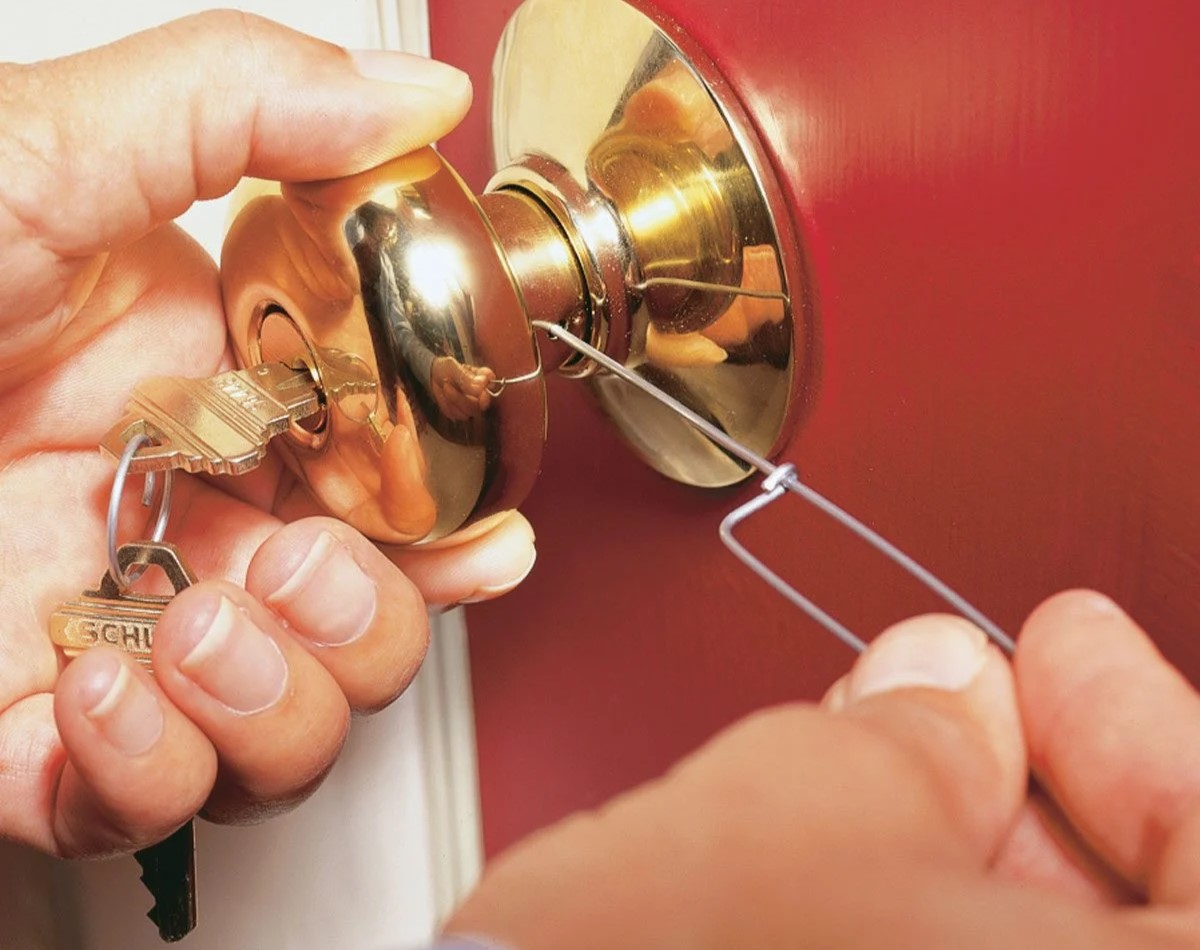
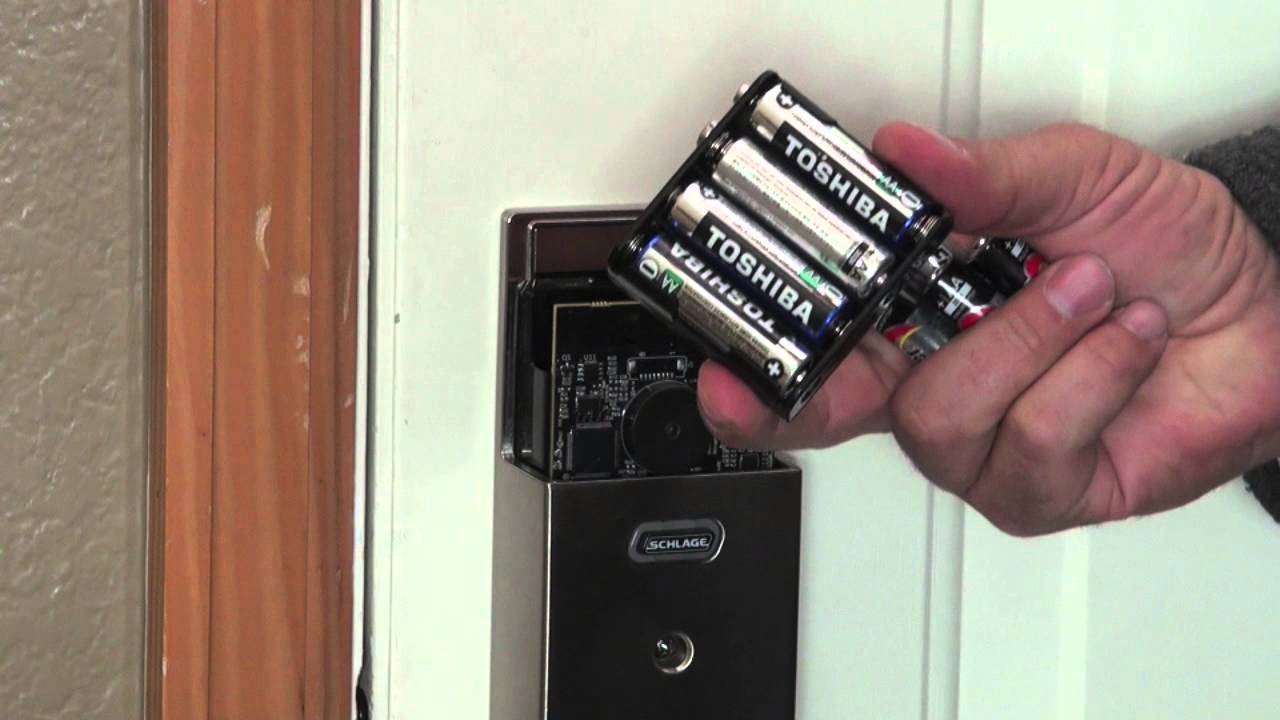
Tools Required for Rekeying
Before embarking on the rekeying process for your Schlage smart lock, it’s crucial to ensure that you have the necessary tools at your disposal. Rekeying a smart lock involves precision and attention to detail, and having the right tools will facilitate a smooth and successful rekeying experience.
Here are the essential tools required for rekeying a Schlage smart lock:
- Rekeying Kit: A comprehensive rekeying kit specifically designed for Schlage locks is indispensable for this process. The kit typically includes essential components such as follower tools, plug followers, and bottom pins, all of which are crucial for rekeying the lock cylinder.
- Original and New Keys: You will need the original key that currently operates the lock, as well as the new key that you intend to use after rekeying. Both keys are essential for verifying the success of the rekeying process and ensuring that the lock operates smoothly with the new key.
- Tweezers: Precision tweezers are invaluable for handling small pins and springs within the lock cylinder. They enable precise manipulation of internal components during the rekeying process, ensuring that each pin is accurately positioned.
- Plug Follower: A plug follower is a specialized tool that facilitates the removal and reinstallation of the lock cylinder. It helps maintain the alignment of internal components while the cylinder is removed, preventing accidental dislodging of pins and springs.
- Pinning Mat: A pinning mat provides a designated surface for organizing and arranging the bottom pins and springs during the rekeying process. This helps prevent mix-ups and ensures that the pins are reinstalled in the correct order and configuration.
- Screwdriver: A screwdriver, typically a Phillips or flat-head screwdriver depending on the specific lock model, is essential for removing the lock from the door and accessing the internal components for rekeying.
Equipped with these essential tools, you are well-prepared to undertake the rekeying process for your Schlage smart lock. These tools, in conjunction with careful attention to the rekeying steps, will enable you to reset the lock to your desired key and bolster the security of your home with confidence.
When rekeying a Schlage smart lock, make sure to have the current key and the new key on hand. Follow the manufacturer’s instructions carefully to ensure a successful rekeying process.
Steps to Rekey a Schlage Smart Lock
Rekeying a Schlage smart lock involves a series of meticulous steps to reset the lock cylinder to a new key. By following these steps with precision and care, you can effectively render previous keys inoperable and establish a new key for seamless access to your property.
Here are the essential steps to rekey a Schlage smart lock:
- Gather Your Rekeying Kit: Ensure that you have your Schlage-specific rekeying kit on hand, containing the necessary tools and components for the rekeying process.
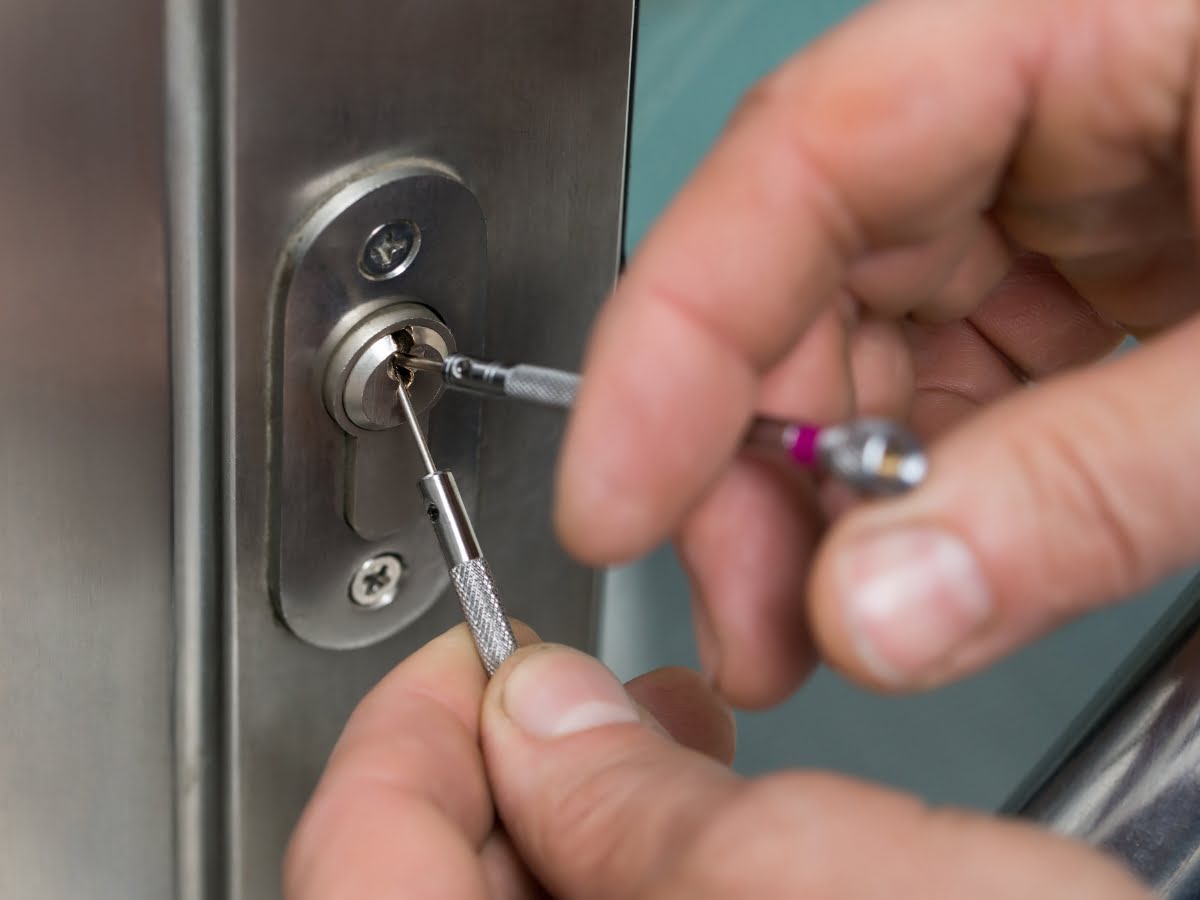
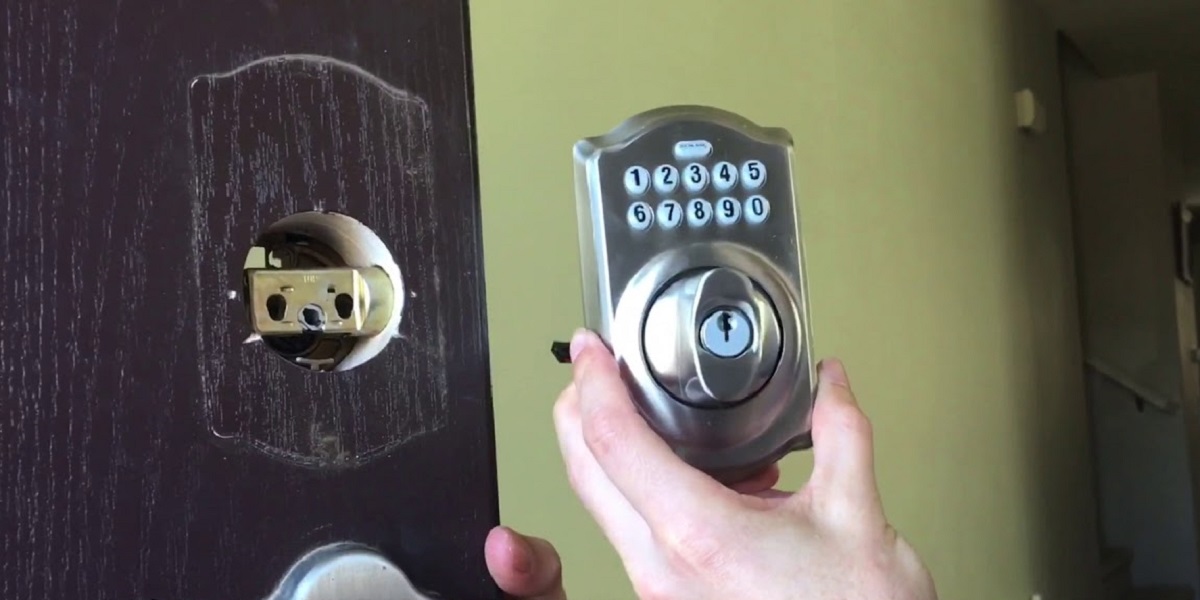
- Remove the Lock Cylinder: Using a screwdriver, carefully remove the lock cylinder from the door. This will provide access to the internal components that require rekeying.
- Extract the Current Pins: With the lock cylinder removed, use the key to retract the current bottom pins and top pins from the cylinder. Carefully extract these pins and set them aside in an organized manner on a pinning mat to prevent mix-ups.
- Insert New Bottom Pins: Insert the new bottom pins from your rekeying kit into the pin chambers of the lock cylinder, aligning them according to the specifications of your new key.
- Reinstall the Top Pins: Once the new bottom pins are in place, reinsert the top pins from the original lock configuration, ensuring that they correspond to the new bottom pins and align with the new key’s specifications.
- Reassemble the Lock Cylinder: Carefully reassemble the lock cylinder, ensuring that the pins and springs are securely in place. Use the plug follower to guide the cylinder back into its housing, maintaining the alignment of internal components.
- Test the Rekeyed Lock: Insert the new key into the reassembled lock and test its functionality. Ensure that the key smoothly operates the lock, indicating a successful rekeying process. Repeat the testing process to validate the consistent performance of the rekeyed lock.
By meticulously following these steps and leveraging the tools provided in your rekeying kit, you can effectively rekey your Schlage smart lock to align with your new key. This process empowers you to maintain control over access to your property and reinforce the security of your home with a fresh key configuration.
Testing the Rekeyed Smart Lock
After completing the intricate process of rekeying your Schlage smart lock, it is crucial to conduct thorough testing to ensure the successful transition to the new key configuration. Testing the rekeyed smart lock serves as a vital validation step, providing confidence in the lock’s functionality and the seamless operation of the new key.
Here are the essential steps for testing the rekeyed smart lock:
- Key Insertion and Rotation: Insert the new key into the rekeyed lock and smoothly rotate it to engage the locking mechanism. Pay close attention to the key’s movement and the responsiveness of the lock, ensuring that the key operates the lock without resistance or irregularities.
- Locking and Unlocking: Test the locking and unlocking functionality of the rekeyed smart lock multiple times to assess its consistency. Verify that the lock smoothly transitions between the locked and unlocked states with each operation of the new key.
- Key Removal: After unlocking the rekeyed smart lock, remove the key and observe the ease of extraction. The key should disengage from the lock without undue effort, reflecting a well-aligned and properly rekeyed lock mechanism.
- Remote Access (If Applicable): If your Schlage smart lock is integrated with a smart home system or mobile app for remote access, utilize the associated platform to remotely lock and unlock the door. Confirm that the rekeyed lock responds promptly and accurately to remote commands, validating its seamless integration with smart home technology.
- Guest Access (If Applicable): If you have configured temporary access codes for guests or service providers, test the functionality of these codes with the rekeyed smart lock. Ensure that the access codes operate the lock as intended, granting temporary entry without any issues.
Throughout the testing process, maintain a keen eye for any irregularities or unexpected behaviors exhibited by the rekeyed smart lock. Any deviations from smooth and consistent operation may indicate the need for further adjustments or reassessment of the rekeying process.
By diligently testing the rekeyed smart lock and verifying its seamless integration with your new key, you can instill confidence in the security and accessibility of your home. This meticulous validation process ensures that the rekeying endeavor has been executed successfully, providing peace of mind and reliable control over access to your property.
Read also: 8 Best Schlage Smart Lock For 2025
Conclusion
Congratulations on embarking on the journey to rekey your Schlage smart lock, a pivotal step in fortifying the security of your home. Through this comprehensive guide, you have gained valuable insights into the intricacies of Schlage smart locks, the essential tools required for rekeying, and a detailed step-by-step process to successfully rekey your smart lock.
Rekeying a Schlage smart lock represents a proactive approach to security, allowing you to reset the lock to a new key and effectively nullify previous access credentials. This capability is especially beneficial in scenarios such as moving into a new home, changing occupancy, or simply enhancing the security protocols of your property.
By understanding the technological prowess and robust security features of the Schlage smart lock, you have embraced a modern, keyless approach to home security. The seamless integration with smart home systems, remote access capabilities, and tamper-resistant design make the Schlage smart lock a formidable safeguard for your residential space.
Equipped with the essential tools and a clear understanding of the rekeying process, you have the knowledge and capability to confidently rekey your Schlage smart lock. The meticulous steps outlined in this guide, coupled with thorough testing of the rekeyed lock, ensure that your home security remains uncompromised and reliable.
As you conclude the rekeying process and validate the seamless operation of your new key with the smart lock, you can take pride in your proactive approach to home security. The peace of mind and control over access to your property that result from rekeying your Schlage smart lock are invaluable assets in safeguarding your home and loved ones.
With your Schlage smart lock rekeyed to align with your desired key configuration, you can confidently embrace the convenience, connectivity, and robust security that this innovative device offers. Your proactive stance in rekeying your smart lock exemplifies a commitment to maintaining a safe and secure living environment, reflecting a proactive and vigilant approach to home security.
May your rekeyed Schlage smart lock serve as a steadfast guardian of your home, providing peace of mind and unwavering protection against unauthorized access. Your dedication to fortifying your home’s security through rekeying is a testament to your proactive and responsible stewardship of residential safety.
Frequently Asked Questions about How To Rekey Schlage Smart Lock
Was this page helpful?
At Storables.com, we guarantee accurate and reliable information. Our content, validated by Expert Board Contributors, is crafted following stringent Editorial Policies. We're committed to providing you with well-researched, expert-backed insights for all your informational needs.

0 thoughts on “How To Rekey Schlage Smart Lock”