Home>Technology>Security & Surveillance>How To Fix Door Lock Actuator
Security & Surveillance
How To Fix Door Lock Actuator
Modified: August 27, 2024
Learn how to fix a door lock actuator for improved security and surveillance. Follow our step-by-step guide to ensure your door lock is functioning properly.
(Many of the links in this article redirect to a specific reviewed product. Your purchase of these products through affiliate links helps to generate commission for Storables.com, at no extra cost. Learn more)
Introduction
Welcome to the ultimate guide on fixing a door lock actuator. Whether you're a seasoned DIY enthusiast or a novice looking to save on repair costs, understanding how to troubleshoot and replace a faulty door lock actuator is a valuable skill. A malfunctioning door lock actuator can be a frustrating inconvenience, leaving you struggling to secure or access your vehicle. However, with the right knowledge and tools, you can tackle this issue with confidence.
In this comprehensive guide, we'll delve into the inner workings of door lock actuators, explore the symptoms of a faulty unit, and provide a detailed, step-by-step walkthrough of the replacement process. By the end of this journey, you'll be equipped to identify, address, and resolve door lock actuator issues like a pro.
So, roll up your sleeves, gather your tools, and let's embark on this empowering DIY adventure. Whether you're seeking to remedy a stubborn lock or simply expand your automotive repair repertoire, this guide is your go-to resource for mastering the art of door lock actuator maintenance and replacement. Let's dive in and unlock the secrets of a smooth-operating door lock system.
Key Takeaways:
- Understanding the symptoms of a faulty door lock actuator, such as inconsistent locking, unusual noises, and unresponsive doors, empowers you to proactively address potential issues and safeguard your vehicle’s security.
- By mastering the step-by-step process of replacing a door lock actuator, including removing the door panel, locating the actuator, and testing the door lock, you gain the confidence and skills to maintain and repair essential components of your vehicle.
Read more: How To Test Door Lock Actuator
Understanding the Door Lock Actuator
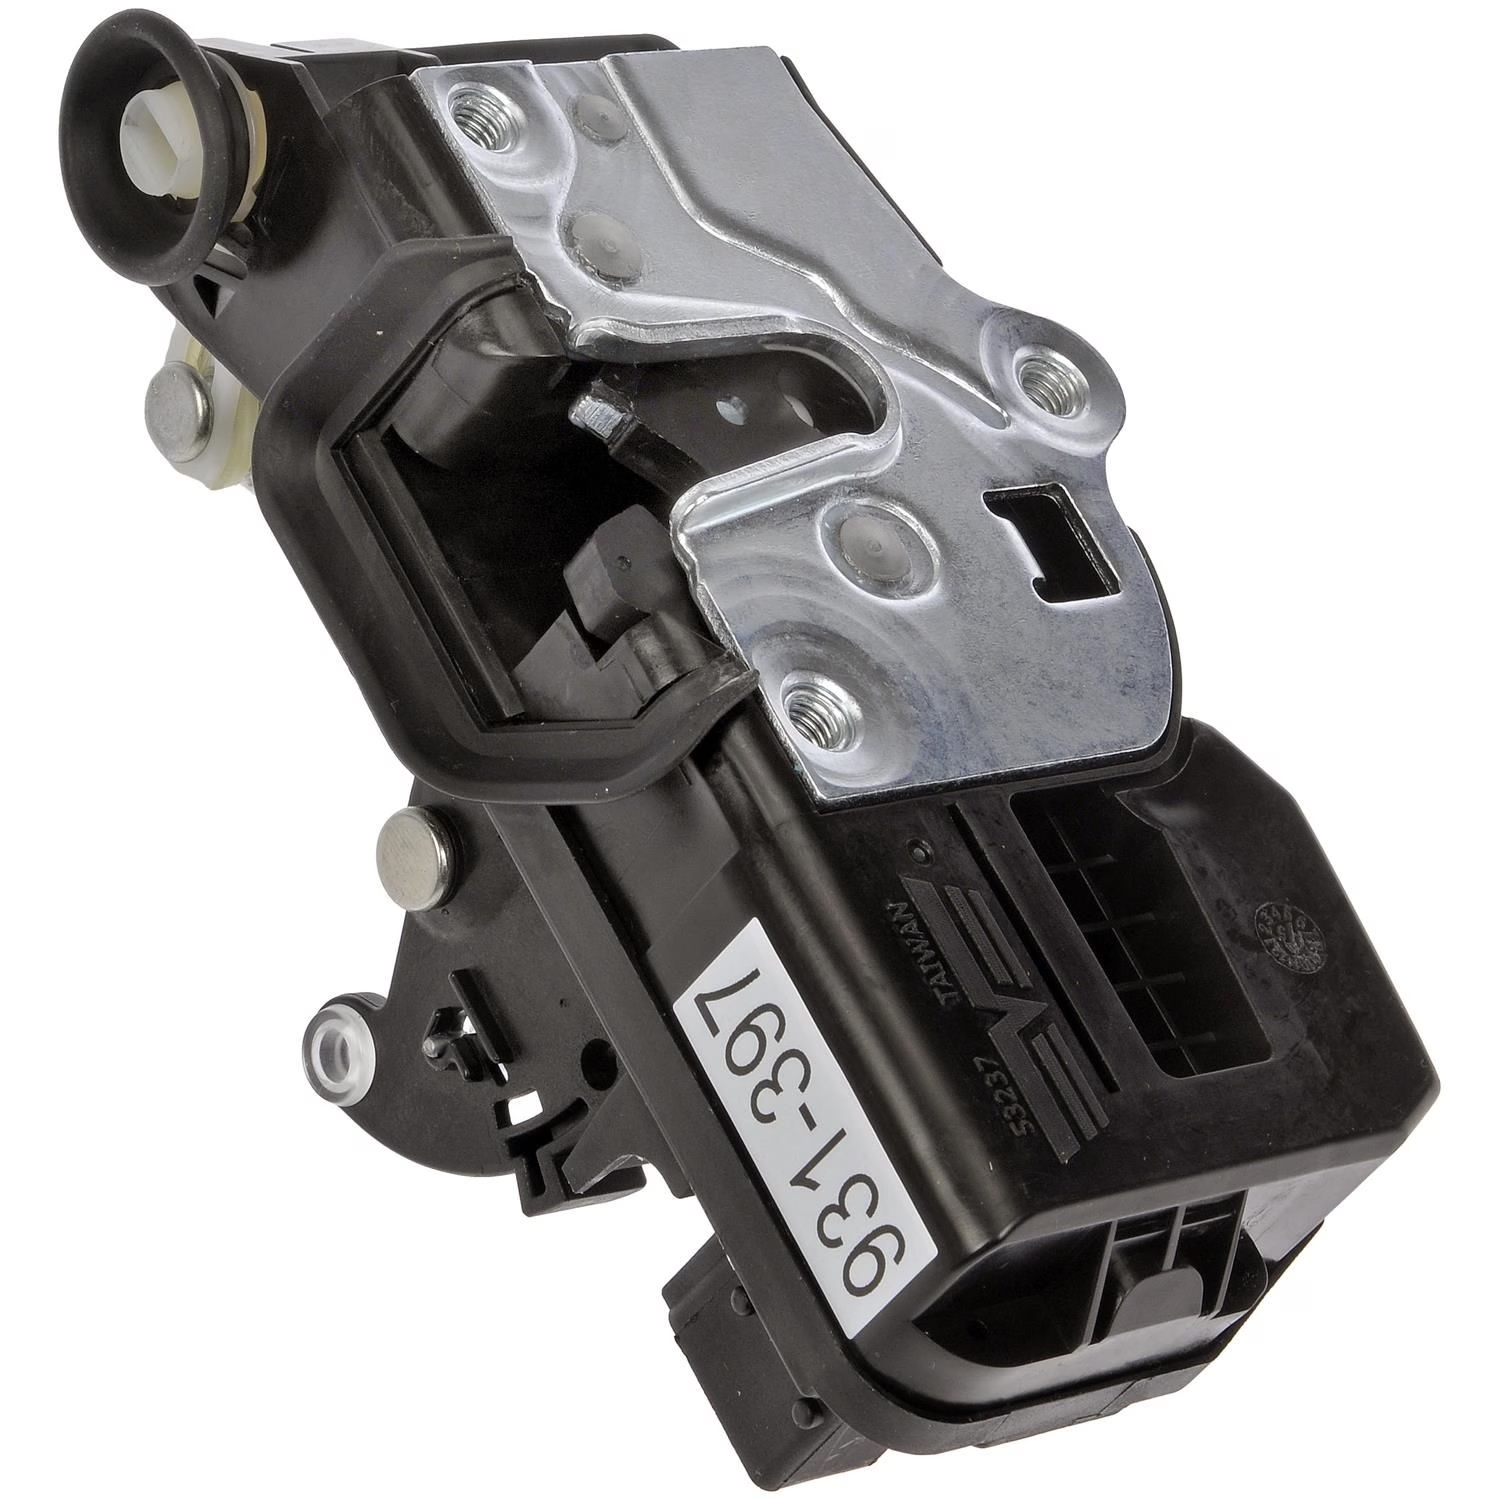
Before delving into the repair process, it’s essential to grasp the fundamental role of the door lock actuator within your vehicle’s locking mechanism. The door lock actuator serves as the powerhouse behind the locking and unlocking of your vehicle’s doors. It is an electrically powered component that converts electrical signals from the door lock switch or remote keyless entry module into physical action, allowing the doors to be securely locked or conveniently unlocked.
Most modern vehicles are equipped with centralized locking systems, where a single master actuator controls the locking and unlocking of all doors. In contrast, some models feature individual actuators for each door, providing a more tailored approach to door control. Regardless of the specific configuration, the primary function of the door lock actuator remains consistent – to facilitate the seamless operation of the locking mechanism.
Internally, the door lock actuator comprises a small electric motor, a series of gears, and mechanical linkages. When an electrical signal is received, the motor engages, driving the gear mechanism to either extend or retract the actuator’s arm. This, in turn, activates the door lock or unlock mechanism, allowing for effortless access to the vehicle’s interior.
Understanding the intricacies of the door lock actuator not only demystifies its function but also lays the groundwork for diagnosing potential issues. By familiarizing yourself with this vital component, you’ll be better equipped to identify symptoms of a malfunctioning actuator and take the necessary steps to address them effectively.
Now that we’ve established a foundational understanding of the door lock actuator, let’s transition into recognizing the telltale signs of a faulty unit, empowering you to swiftly diagnose and remedy any related issues.
Symptoms of a Faulty Door Lock Actuator
Recognizing the symptoms of a faulty door lock actuator is crucial in preempting potential lock-related inconveniences. By staying attuned to these indicators, you can promptly address underlying issues, ensuring the continued functionality of your vehicle’s locking system. Here are the common symptoms that may signal a malfunctioning door lock actuator:
- Inconsistent Locking or Unlocking: A prominent sign of a failing actuator is erratic behavior when attempting to lock or unlock the doors. You may notice that certain doors respond intermittently or fail to engage altogether, indicating a potential issue with the corresponding actuators.
- Unusual Noises: When operating the door locks, the presence of unusual grinding, clicking, or buzzing noises can point to underlying actuator problems. These sounds often stem from worn-out gears or motor components within the actuator assembly.
- Unresponsive Doors: If one or more doors remain unresponsive to lock or unlock commands, it may signify a malfunctioning actuator. This can impede the overall security and accessibility of the vehicle, necessitating timely intervention.
- Stuck or Jammed Locks: A door that becomes stuck in a locked or unlocked position, despite repeated attempts to operate the lock, may indicate an issue with the corresponding actuator. This can lead to inconvenience and potential safety concerns, especially in emergency situations.
- Delayed Locking or Unlocking: When experiencing delays in the locking or unlocking process, such as a noticeable lag between activating the door lock switch and the corresponding door’s response, the door lock actuator’s functionality may be compromised.
By remaining vigilant for these telltale signs, you can proactively address potential door lock actuator issues before they escalate, safeguarding the operational integrity of your vehicle’s locking system. Armed with this awareness, you’ll be well-prepared to undertake the necessary steps to diagnose, replace, or repair a malfunctioning door lock actuator.
Now that we’ve shed light on the symptoms of a faulty door lock actuator, it’s time to equip ourselves with the essential tools and materials required to embark on the repair process.
Tools and Materials Needed
Before diving into the repair process, it’s essential to gather the requisite tools and materials to ensure a seamless and efficient repair experience. Here’s a comprehensive list of the items you’ll need to have on hand:
Tools:
- Socket Set: A versatile socket set with a range of metric and standard sockets will be indispensable for removing various fasteners and components.
- Screwdriver Set: Ensure you have both flathead and Phillips-head screwdrivers to tackle different types of fasteners on the door panel and actuator assembly.
- Trim Removal Tools: These specialized tools are designed to safely pry and remove interior trim pieces without causing damage to the surrounding surfaces.
- Clip Removal Tool: A clip removal tool will aid in detaching door panel clips without risking breakage or deformation.
- Multimeter: This electrical testing device will enable you to assess the continuity and voltage of electrical connections, aiding in diagnosing potential electrical issues.
- Panel Popper Tool: Ideal for safely removing door panel clips and fasteners without causing damage to the panel or surrounding components.
- Trim Clip Pliers: These specialized pliers facilitate the safe removal and installation of trim clips, streamlining the disassembly and reassembly process.
Read more: How To Replace Door Lock Actuator
Materials:
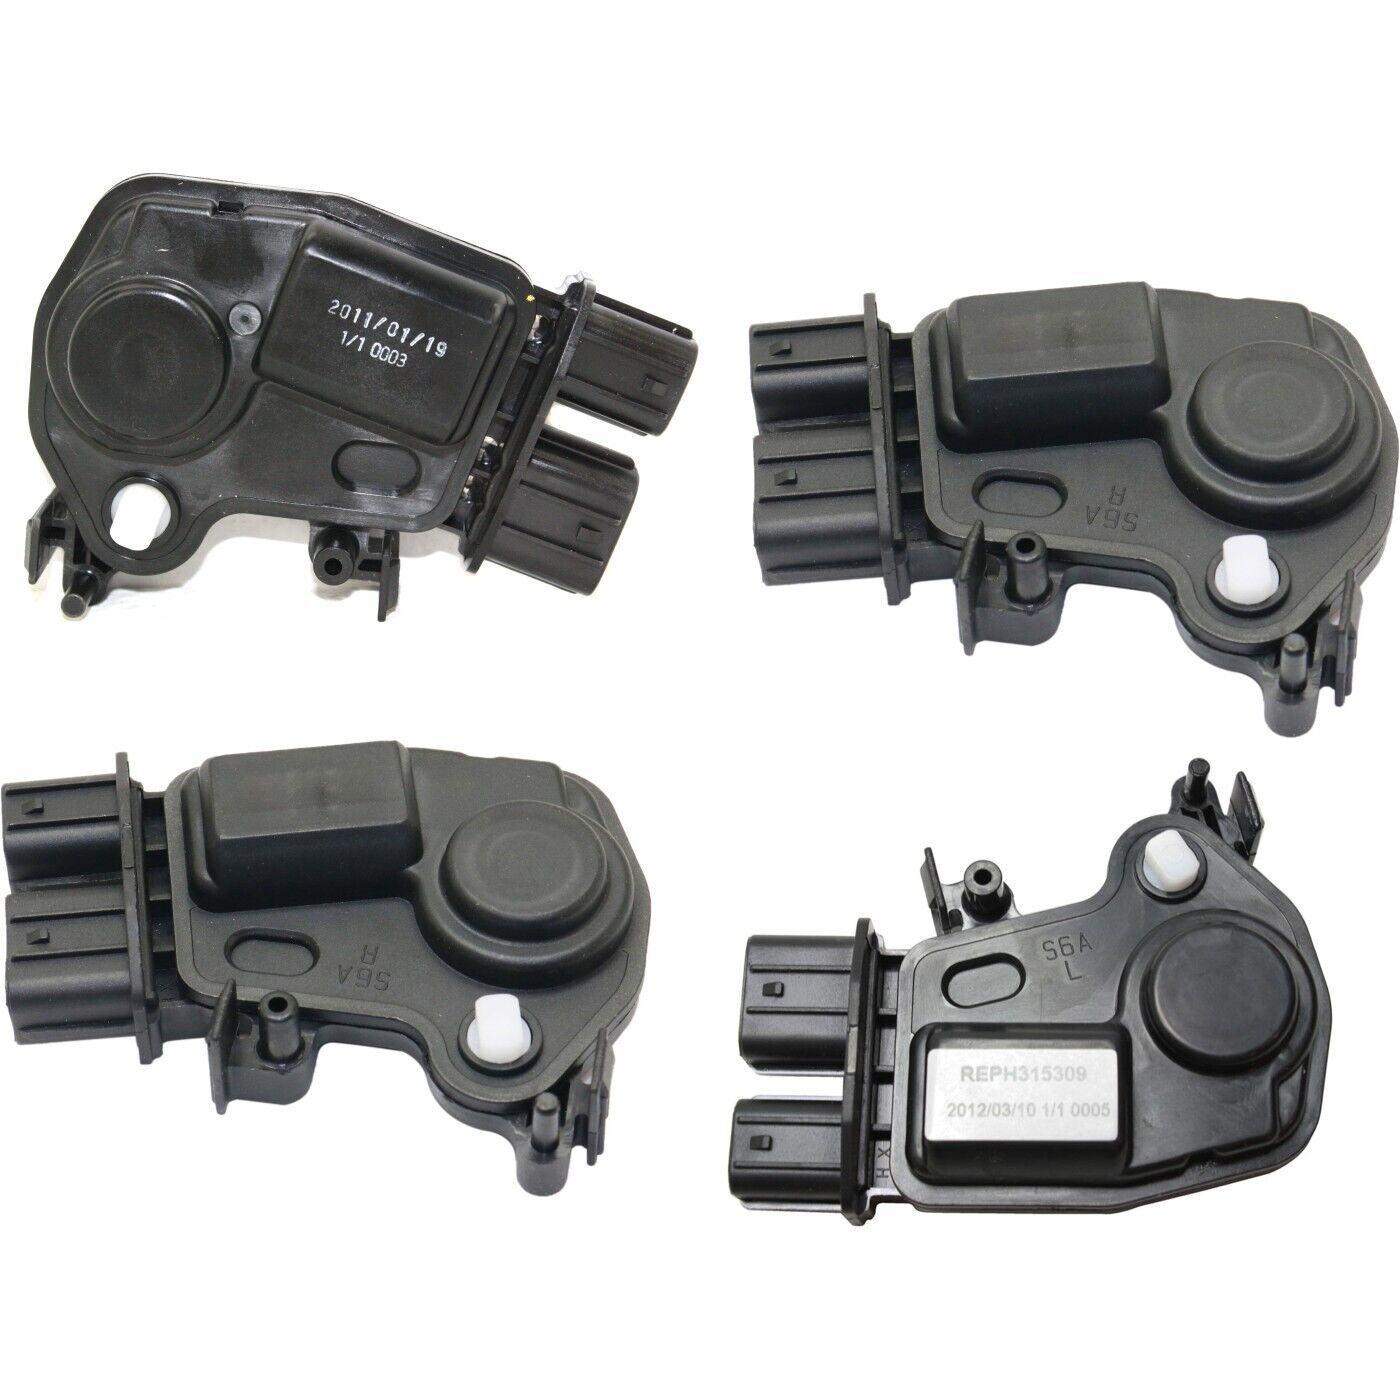
- New Door Lock Actuator: Ensure you have the correct replacement door lock actuator tailored to your vehicle's make, model, and specific door position.
- Replacement Fasteners: It's advisable to have a supply of replacement fasteners, such as clips and screws, to accommodate any damaged or missing hardware encountered during the repair.
- Lubricating Grease: High-quality lubricating grease will aid in ensuring smooth actuator operation and longevity, especially when applying it to the actuator's moving components.
- Electrical Contact Cleaner: This cleaner is essential for removing dirt, grime, and corrosion from electrical connections, promoting optimal electrical conductivity.
- Protective Gloves: A pair of protective gloves will shield your hands during the repair process, especially when handling sharp components or applying lubricants.
- Shop Towels: Having a supply of shop towels on hand will facilitate the cleanup of any spills, debris, or residual lubricants encountered during the repair.
By ensuring you have these essential tools and materials at your disposal, you’ll be well-prepared to tackle the door lock actuator repair process with confidence and efficiency. With our toolkit assembled, it’s time to move on to the first step of the repair journey: removing the door panel.
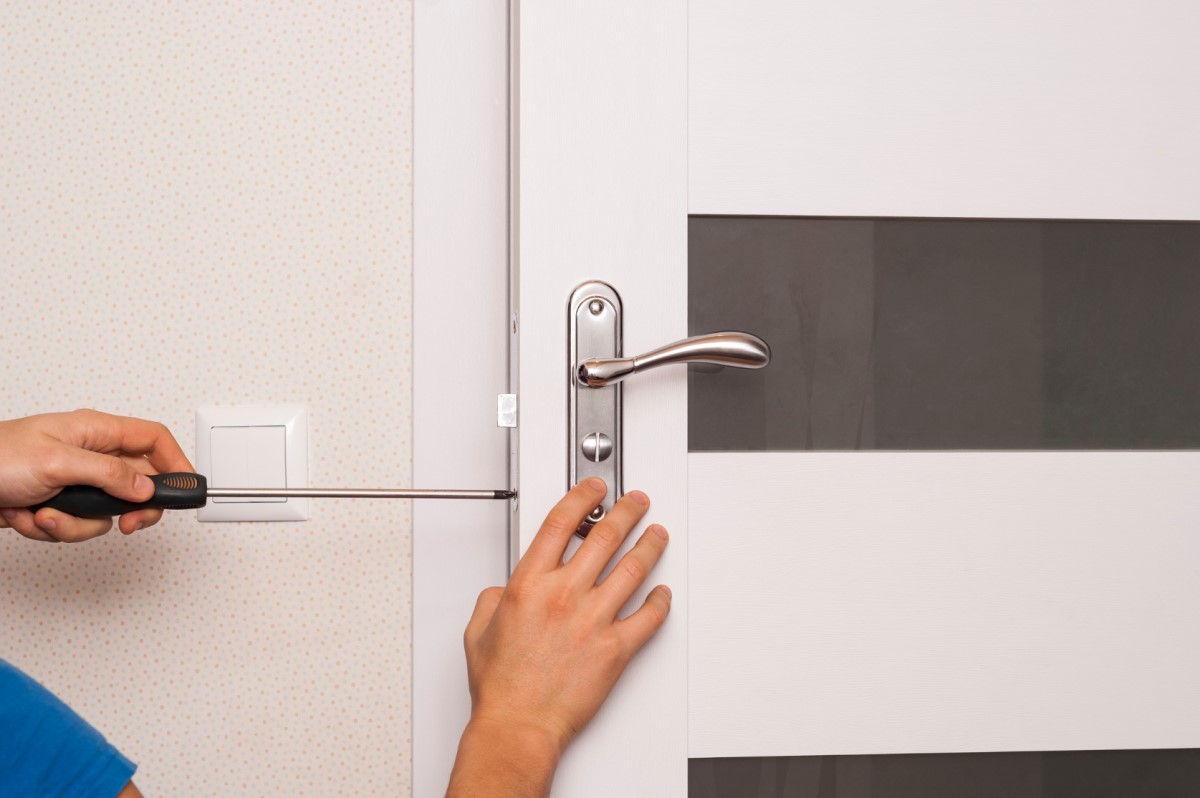
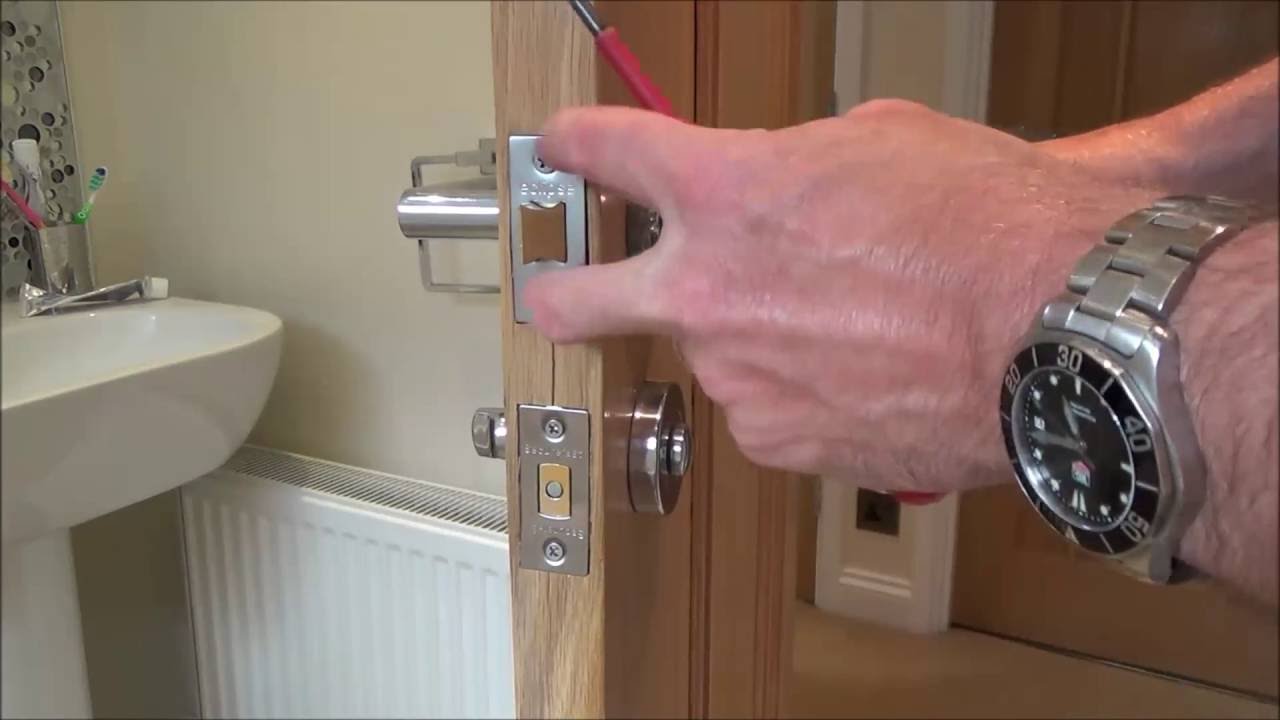
Step 1: Removing the Door Panel
Before gaining access to the inner workings of the door lock actuator, the door panel must be carefully removed to unveil the components housed within. This initial step sets the stage for a methodical approach to the actuator replacement process. Follow these steps to effectively remove the door panel:
- Locate and Remove Screws: Identify and remove any visible screws securing the door panel to the door frame. These are commonly found near the door handle, armrest, and along the lower perimeter of the panel. Utilize the appropriate screwdriver to carefully extract the fasteners without causing damage.
- Pry and Release Trim Pieces: Using a trim removal tool, gently pry and release any trim pieces or covers that conceal additional fasteners or mounting points. Exercise caution to avoid marring the surrounding surfaces during this process.
- Detach Door Panel Clips: With the aid of a clip removal tool, carefully detach the door panel clips by inserting the tool between the panel and the door frame. Apply gradual and even pressure to release the clips, ensuring a methodical and gentle approach to prevent breakage.
- Disconnect Electrical Connections: Once the panel is loosened, locate and disconnect any electrical connections linked to components such as power window switches, door lock switches, and interior lighting. Exercise care and attention to avoid damaging the connectors or wiring harnesses during disconnection.
- Remove the Door Panel: With all fasteners, clips, and electrical connections released, carefully lift the door panel upwards to disengage it from the door frame. Take care to maneuver the panel clear of the door handle and lock mechanism, ensuring a smooth and controlled removal process.
With the door panel successfully removed, you now have clear access to the inner mechanisms of the door, including the door lock actuator and related components. This pivotal accomplishment sets the stage for the subsequent steps in the actuator replacement process, allowing for a comprehensive assessment and targeted intervention.
Now that we’ve seamlessly navigated through the door panel removal process, we’re primed to delve deeper into the heart of the door, where the door lock actuator awaits our attention. In the next step, we’ll locate and identify the door lock actuator, setting the stage for its eventual replacement.
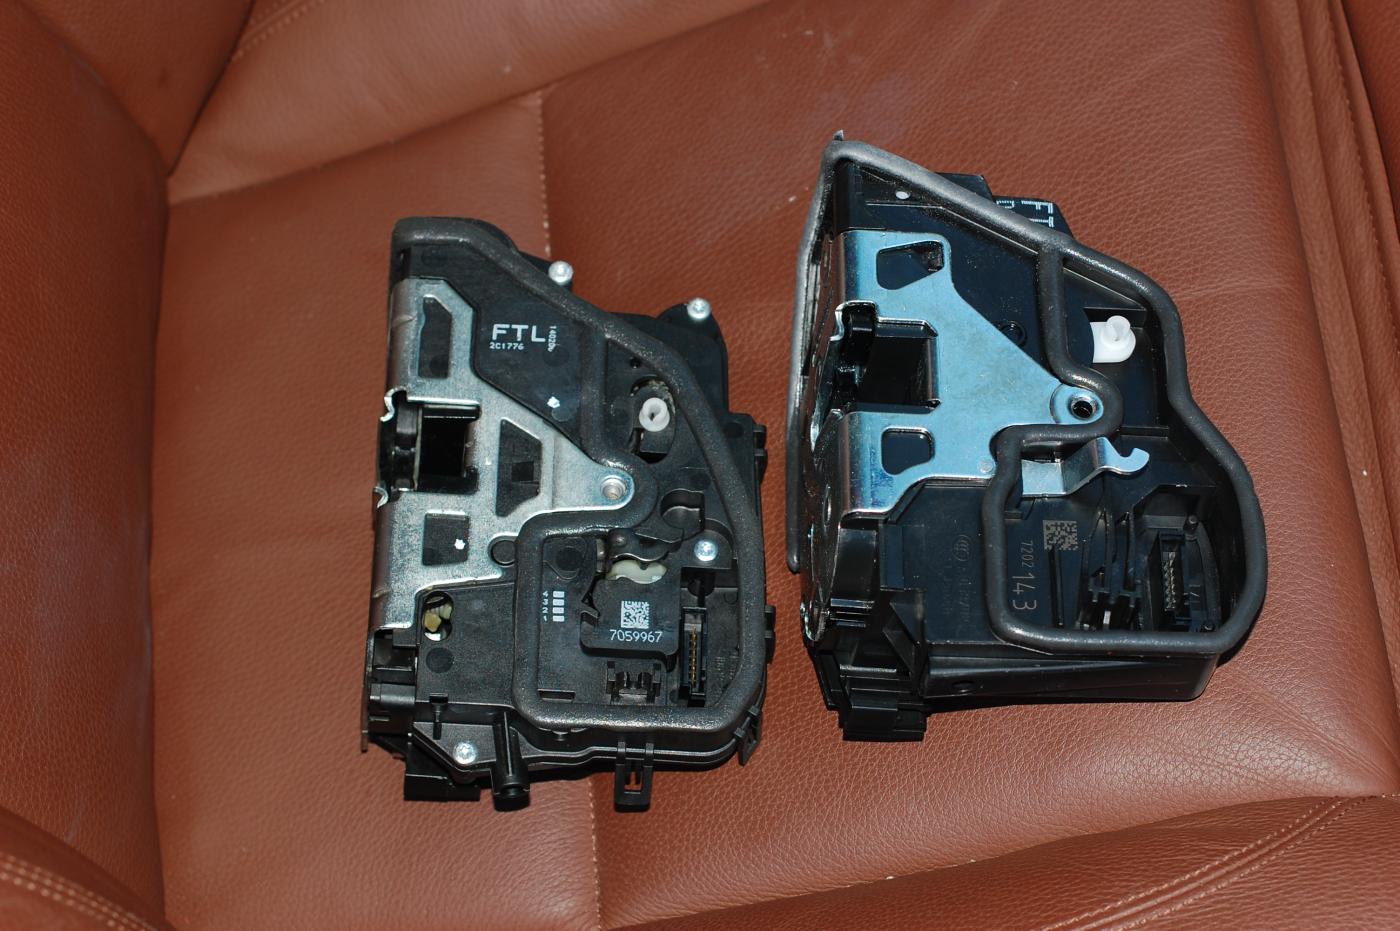
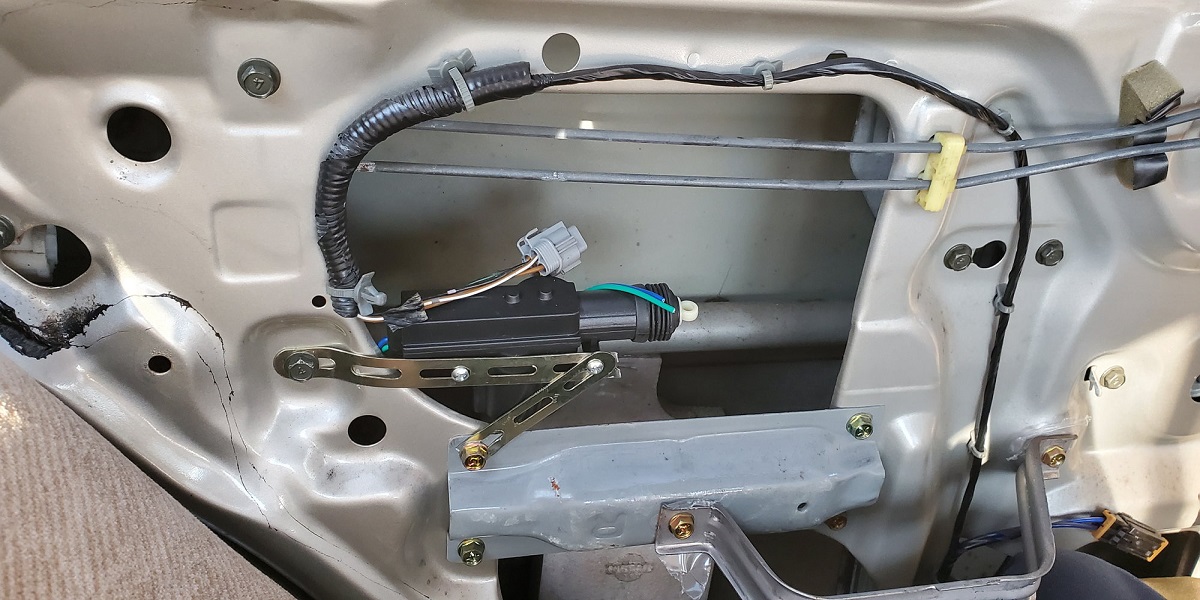
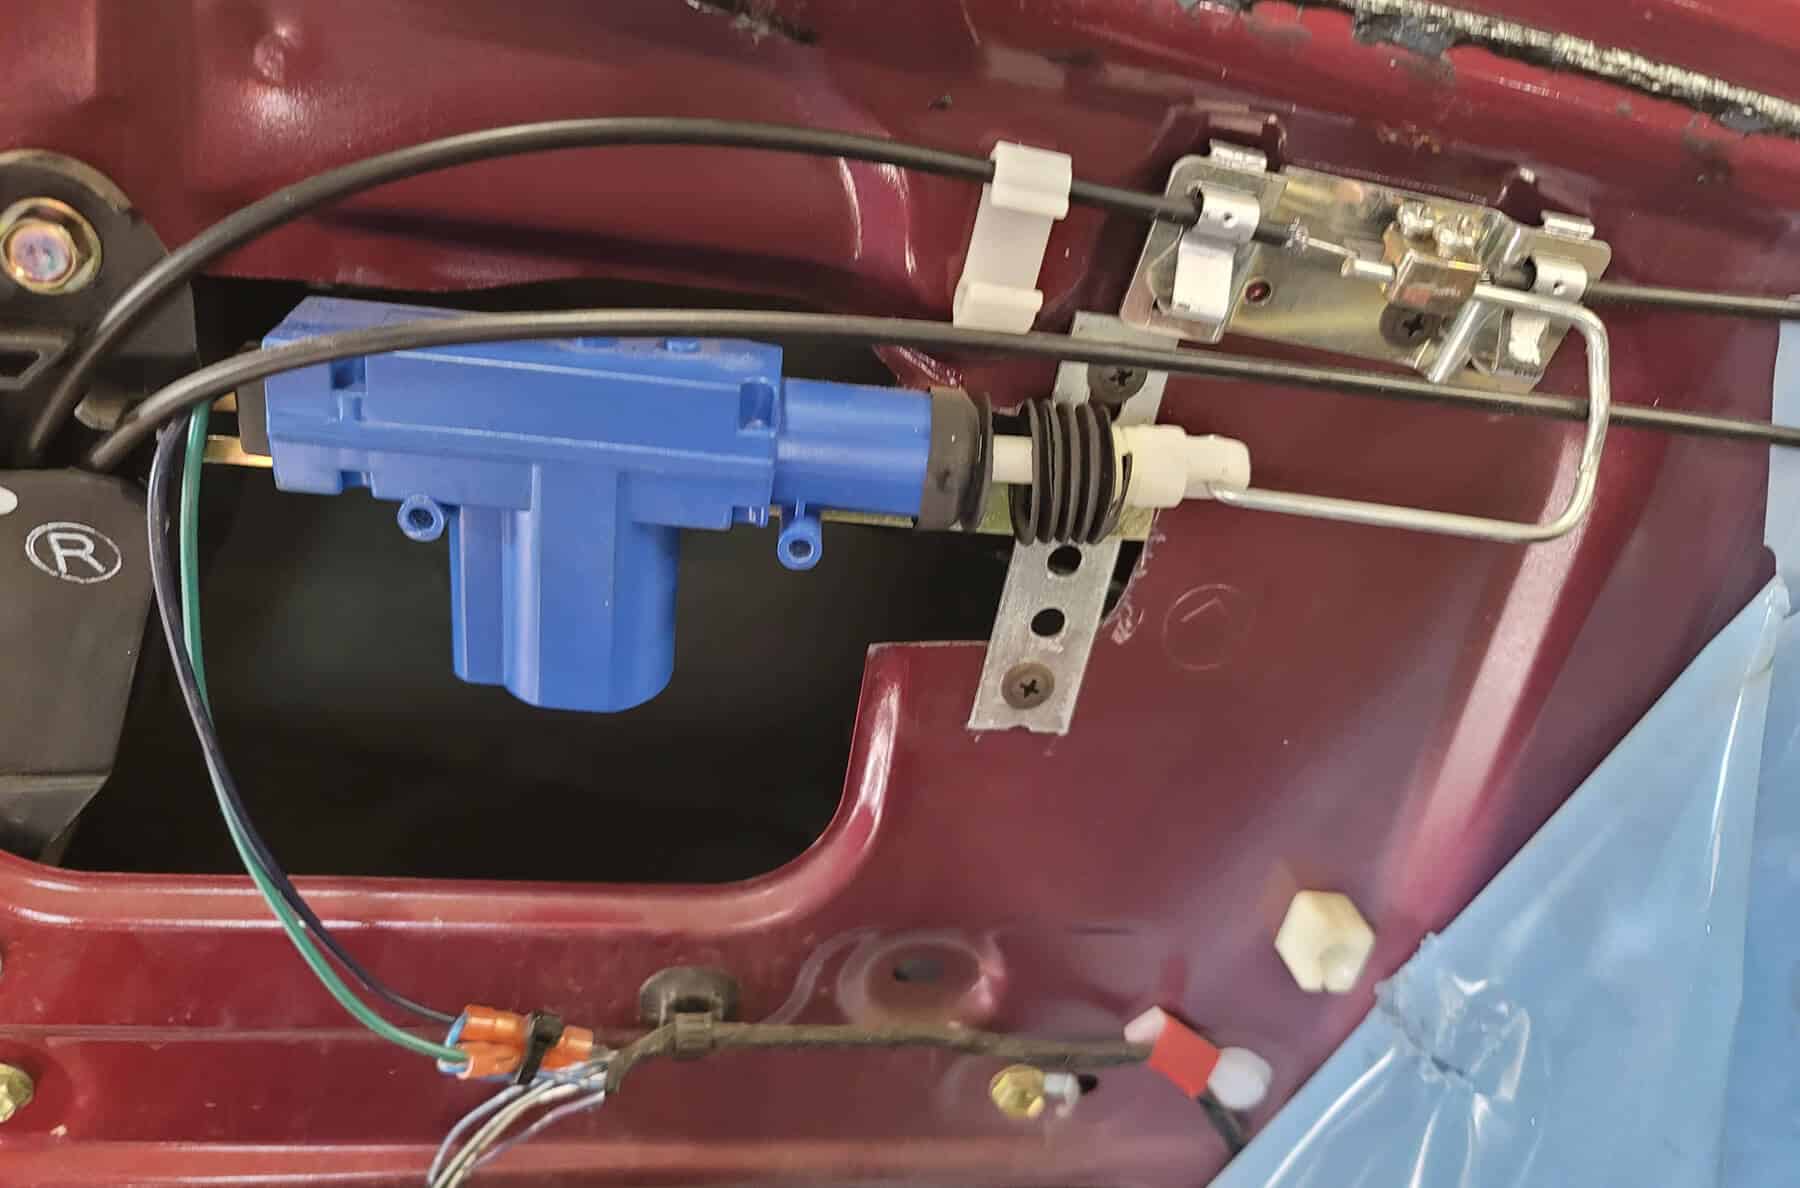
Step 2: Locating the Door Lock Actuator
With the door panel successfully removed, the next critical phase involves locating the door lock actuator within the door structure. The actuator, a pivotal component of the locking system, is strategically positioned to facilitate seamless operation. Follow these steps to effectively locate the door lock actuator:
- Identify Actuator Position: Survey the inner door structure to pinpoint the position of the door lock actuator. It is typically situated near the door latch mechanism, often concealed behind a protective cover or insulation material. Exercise patience and attention to detail during this visual inspection.
- Refer to Vehicle Manual or Schematics: If necessary, consult the vehicle manual or relevant schematics to gain insights into the specific location of the door lock actuator. These resources can provide invaluable guidance, especially for first-time repair endeavors or complex door configurations.
- Recognize Actuator Wiring and Linkages: As you identify the actuator, take note of the electrical wiring and mechanical linkages connected to it. Understanding the interplay between these elements is essential for a comprehensive grasp of the actuator’s integration within the door’s locking mechanism.
- Assess Access Points: Evaluate the accessibility of the actuator, considering any potential obstructions or additional components that may need to be temporarily repositioned or removed to facilitate unhindered access. This assessment sets the stage for a methodical and efficient actuator replacement process.
By diligently navigating through these steps, you’ll gain a clear understanding of the door lock actuator’s positioning and integration within the door assembly. This foundational knowledge sets the stage for the subsequent phases of the replacement process, empowering you to proceed with confidence and precision.
With the door lock actuator successfully located, the next step involves removing the faulty actuator to pave the way for the installation of its replacement. In the forthcoming step, we’ll delve into the meticulous process of removing the malfunctioning actuator, setting the stage for the seamless integration of a new, reliable unit.
If your door lock actuator is not working, try checking the fuse and wiring first before replacing the actuator. Sometimes a simple fix can solve the problem.
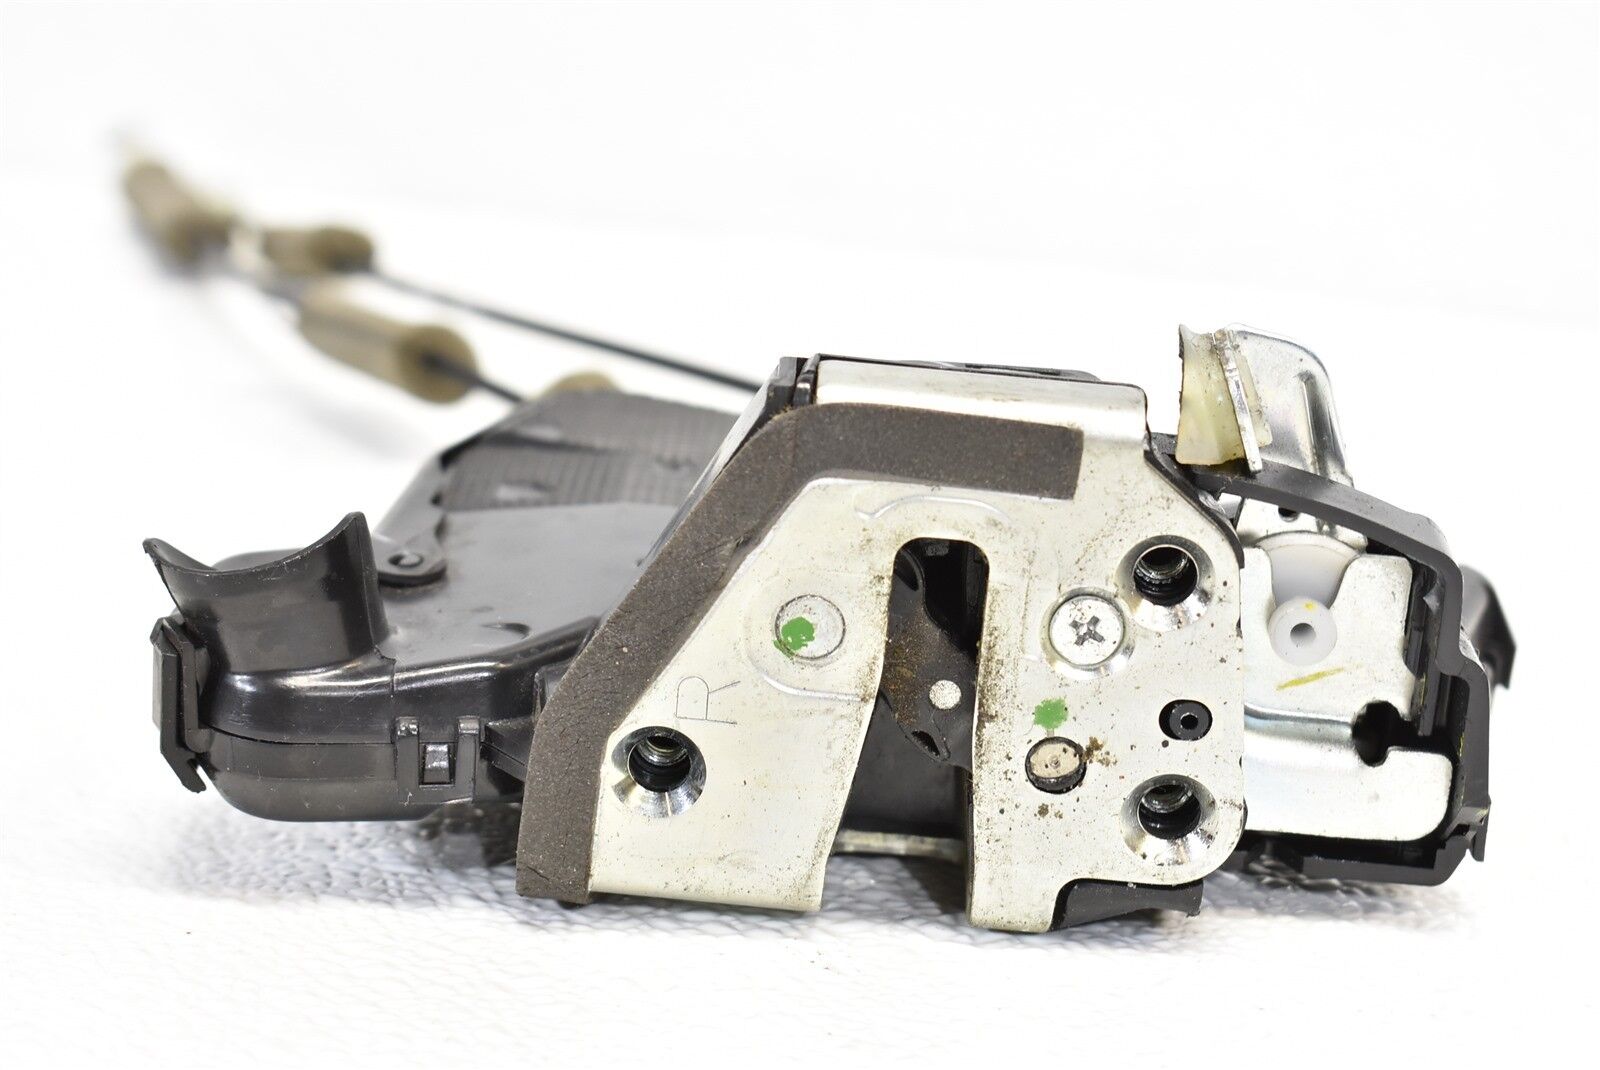
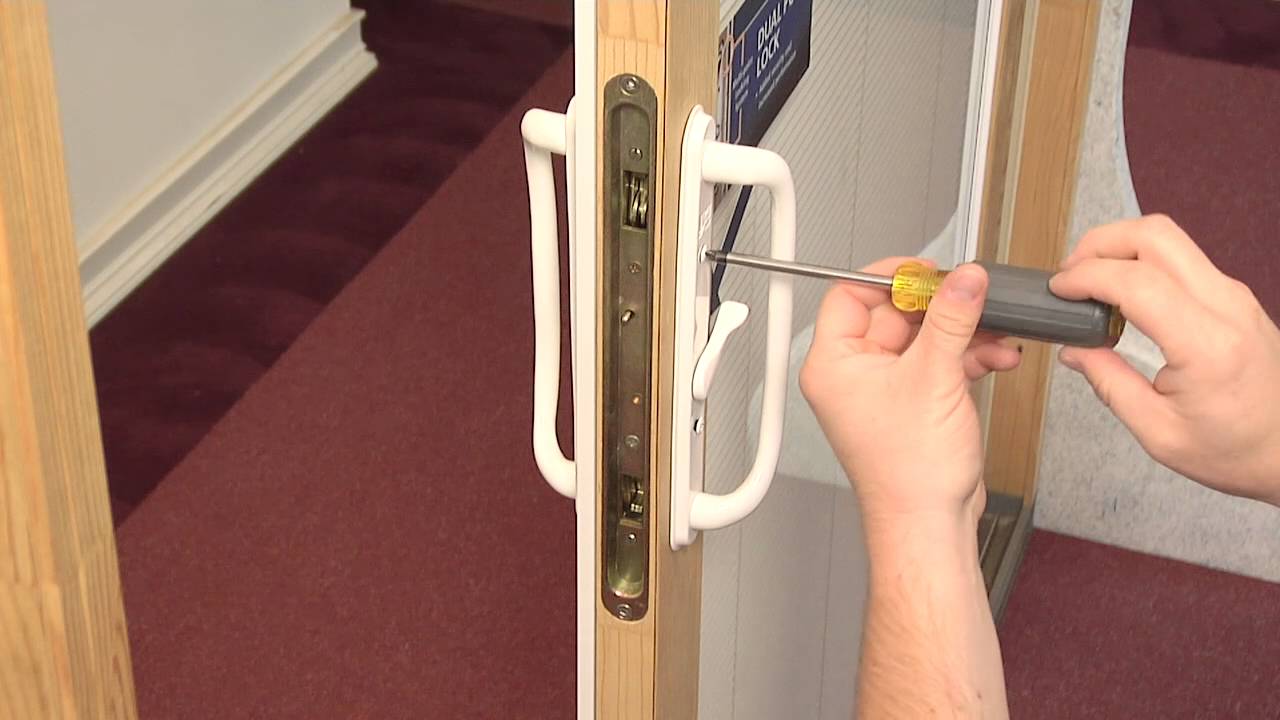
Step 3: Removing the Faulty Actuator
Now that the door lock actuator has been located, the subsequent pivotal phase involves the meticulous removal of the faulty actuator from its position within the door structure. This step sets the groundwork for the seamless integration of a new, fully functional actuator. Follow these comprehensive steps to effectively remove the faulty actuator:
- Disconnect Electrical Connections: Prior to removing the actuator, carefully disconnect the electrical connections linked to the unit. This typically involves unplugging the wiring harness and any associated connectors, ensuring a methodical and gentle approach to prevent damage to the electrical components.
- Release Mounting Fasteners: Identify and release the mounting fasteners securing the actuator to the door structure. These fasteners may consist of screws, bolts, or other specialized hardware, necessitating the use of the appropriate tools for their removal. Exercise caution to prevent damage to the surrounding components during this process.
- Extract Actuator from Position: With the electrical connections and mounting fasteners released, carefully extract the faulty actuator from its position within the door structure. Exercise patience and precision to navigate any potential obstructions or tight clearances, ensuring a smooth and controlled removal process.
- Assess Actuator Operation: Upon removing the actuator, take the opportunity to assess its operation and mechanical condition. This evaluation can provide valuable insights into the nature of the fault and any visible signs of wear, damage, or malfunction within the unit.
- Compare with Replacement Actuator: Compare the removed actuator with the replacement unit, ensuring that the new actuator is an exact match in terms of design, dimensions, and electrical connections. This verification step is crucial to guarantee a seamless integration of the replacement actuator.
By meticulously navigating through these steps, you’ll effectively remove the faulty door lock actuator, paving the way for the subsequent phase of installing the new, reliable unit. This methodical approach ensures a seamless transition from the removal of the old actuator to the integration of its replacement, setting the stage for a fully operational door lock system.
With the faulty actuator successfully removed, the next critical phase involves the meticulous installation of the new actuator, ensuring a precise and secure integration within the door structure. In the forthcoming step, we’ll delve into the detailed process of installing the replacement actuator, culminating in the restoration of a fully functional door locking mechanism.
Read more: How To Install Power Door Lock Actuator
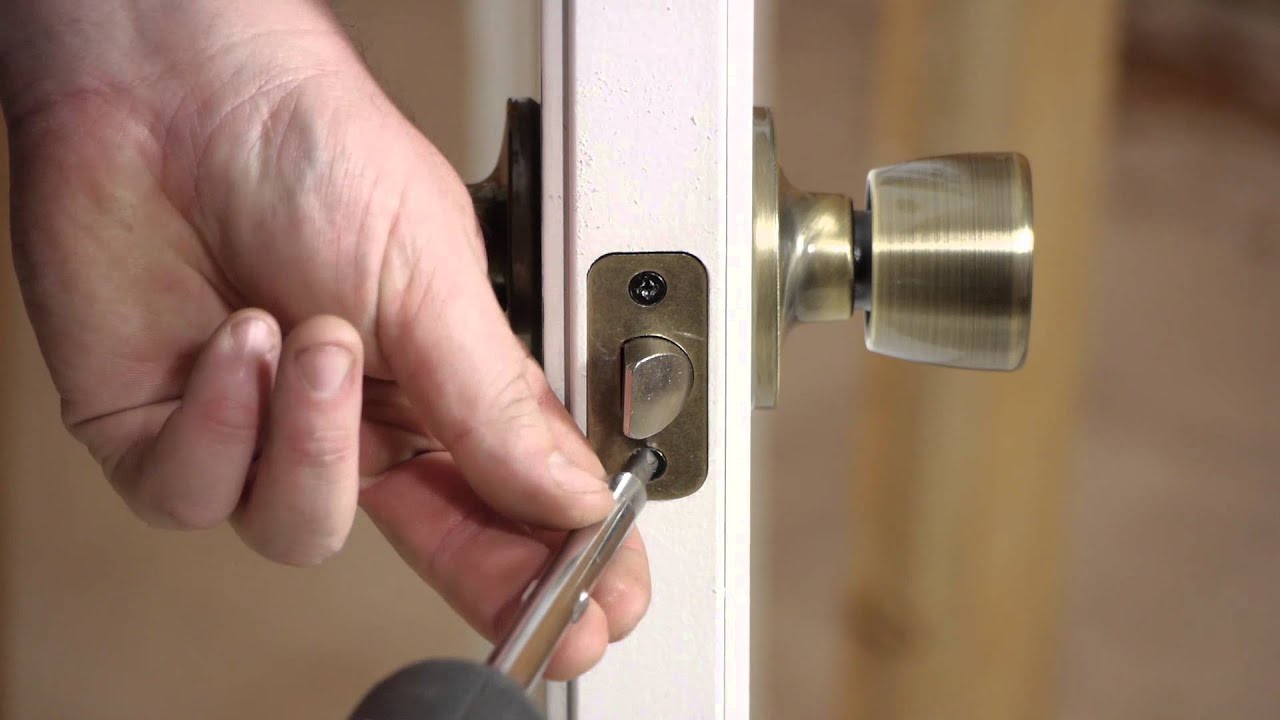
Step 4: Installing the New Actuator
With the faulty door lock actuator successfully removed, the subsequent pivotal phase involves the meticulous installation of the new, reliable actuator within the door structure. This step marks a critical transition towards the restoration of a fully operational door locking mechanism. Follow these comprehensive steps to effectively install the replacement actuator:
- Position the New Actuator: Carefully position the new actuator within the designated location, aligning it with the mounting points and ensuring a secure and snug fit within the door structure. Exercise precision and attention to detail during this initial placement to facilitate a seamless integration process.
- Secure Mounting Fasteners: Once the actuator is positioned, proceed to secure the mounting fasteners to affix the unit firmly within the door structure. Utilize the appropriate tools to tighten the fasteners to the specified torque, ensuring a stable and reliable attachment of the actuator.
- Connect Electrical Wiring: Reconnect the electrical connections to the new actuator, ensuring a secure and snug fit of the wiring harness and associated connectors. Exercise care and precision during this step to prevent any loose or strained electrical connections that may compromise the actuator’s functionality.
- Test Actuator Operation: Prior to reassembling the door panel, conduct a preliminary test of the newly installed actuator to verify its operation. Utilize the door lock switch or remote keyless entry to activate the actuator, ensuring that it effectively locks and unlocks the door in response to the commands.
- Verify Smooth Operation: Confirm that the actuator operates smoothly and without any unusual noises or resistance. This assessment ensures that the new actuator is seamlessly integrated and functions optimally within the door locking mechanism.
By meticulously navigating through these steps, you’ll effectively install the new door lock actuator, culminating in the restoration of a fully operational and reliable door locking system. This methodical approach ensures a seamless transition from the removal of the old actuator to the integration of its replacement, setting the stage for the continued functionality of the door lock mechanism.
With the new actuator successfully installed and verified for smooth operation, the next critical phase involves testing the door lock to ensure its seamless functionality. In the forthcoming step, we’ll delve into the detailed process of testing the door lock, affirming the successful replacement of the actuator and the restoration of secure and convenient door operation.
Step 5: Testing the Door Lock
With the new door lock actuator seamlessly installed, the final critical phase involves testing the door lock to ensure its seamless functionality. This step marks the ultimate verification of the successful replacement of the actuator and the restoration of secure and convenient door operation. Follow these comprehensive steps to effectively test the door lock:
- Reconnect Electrical Connections: If not already done, reconnect any electrical connections related to the door lock actuator, ensuring secure and snug fittings to facilitate optimal electrical conductivity.
- Reassemble the Door Panel: Carefully reassemble the door panel, ensuring that all trim pieces, fasteners, and electrical connections are reinstated in their respective positions. Utilize the appropriate tools and techniques to secure the panel firmly to the door frame without causing damage to the components.
- Test Door Lock Functionality: Utilize the door lock switch or remote keyless entry to test the functionality of the door lock. Activate the locking and unlocking commands, ensuring that the newly installed actuator responds promptly and effectively to secure and release the door lock mechanism.
- Verify All Doors: Test the door lock functionality for all doors, including any additional doors controlled by the centralized locking system. Confirm that each door responds consistently and reliably to the lock and unlock commands, ensuring uniform operation across the vehicle’s locking system.
- Assess Smooth Operation: Verify that the door locks operate smoothly and without any unusual noises or resistance. Ensure that the locking and unlocking process is seamless, reflecting the successful integration of the new actuator and the restoration of optimal door lock functionality.
By meticulously navigating through these steps, you’ll effectively test the door lock, affirming the successful replacement of the actuator and the restoration of secure and convenient door operation. This methodical approach ensures a comprehensive validation of the door locking system’s functionality, culminating in the successful resolution of the actuator-related issues.
With the door lock successfully tested and verified for seamless functionality, you’ve accomplished the comprehensive replacement of the door lock actuator, empowering you to address and resolve potential issues with confidence and precision. By mastering the art of door lock actuator maintenance and replacement, you’ve expanded your automotive repair repertoire and embraced the empowerment of DIY repair endeavors.
Congratulations on successfully completing the journey of fixing a door lock actuator. Your newfound expertise and hands-on experience in this essential automotive repair task will undoubtedly serve you well in maintaining the functionality and reliability of your vehicle’s door locking system.
Conclusion
Congratulations on embarking on the empowering journey of fixing a door lock actuator. Throughout this comprehensive guide, we’ve navigated the intricate process of troubleshooting, replacing, and testing the door lock actuator, equipping you with the knowledge and confidence to address potential issues with your vehicle’s door locking system. By mastering the art of door lock actuator maintenance and replacement, you’ve expanded your automotive repair repertoire and embraced the empowerment of DIY repair endeavors.
From understanding the fundamental role of the door lock actuator to identifying the symptoms of a faulty unit, we’ve delved into the intricacies of this critical component, laying the groundwork for effective diagnosis and intervention. Armed with a comprehensive toolkit and a methodical approach, you’ve seamlessly navigated through the meticulous process of removing the door panel, locating the actuator, and replacing the faulty unit with a new, reliable actuator.
By ensuring a precise and secure integration of the replacement actuator, and meticulously testing the door lock for seamless functionality, you’ve achieved the successful restoration of a fully operational and reliable door locking system. Your dedication to mastering this essential automotive repair task exemplifies your commitment to maintaining the functionality and reliability of your vehicle’s critical components.
As you reflect on this transformative journey, you’ve not only honed your DIY skills but also embraced the satisfaction of overcoming a complex automotive challenge. Your newfound expertise in fixing a door lock actuator empowers you to tackle future repair endeavors with confidence and precision, ensuring the continued performance and security of your vehicle.
Remember, the knowledge and skills you’ve gained extend beyond this specific repair task, positioning you as a capable and resourceful automotive enthusiast. Whether you’re exploring new repair opportunities or sharing your expertise with fellow enthusiasts, your journey of fixing a door lock actuator serves as a testament to your dedication to automotive maintenance and your unwavering commitment to mastering essential repair skills.
As you celebrate this achievement, may the knowledge and confidence you’ve gained continue to propel you forward in your automotive endeavors, enriching your passion for hands-on maintenance and fostering a deeper connection with the vehicles that inspire your automotive journey.
Frequently Asked Questions about How To Fix Door Lock Actuator
Was this page helpful?
At Storables.com, we guarantee accurate and reliable information. Our content, validated by Expert Board Contributors, is crafted following stringent Editorial Policies. We're committed to providing you with well-researched, expert-backed insights for all your informational needs.
0 thoughts on “How To Fix Door Lock Actuator”