Home>Technology>Security & Surveillance>How To Remove Schlage Lock From Door
Security & Surveillance
How To Remove Schlage Lock From Door
Modified: August 27, 2024
Learn how to remove a Schlage lock from your door with our step-by-step guide. Ensure the security and surveillance of your property with this easy DIY process.
(Many of the links in this article redirect to a specific reviewed product. Your purchase of these products through affiliate links helps to generate commission for Storables.com, at no extra cost. Learn more)
Introduction
Removing a Schlage lock from a door may seem like a daunting task, but with the right tools and a clear understanding of the process, it can be a straightforward and manageable endeavor. Whether you're looking to replace the lock, repaint the door, or perform maintenance, knowing how to remove a Schlage lock is a valuable skill for any homeowner or DIY enthusiast.
In this guide, we will walk you through the step-by-step process of removing a Schlage lock from a door, providing detailed instructions and tips to ensure a smooth and successful outcome. From gathering the necessary tools to reassembling the door, we've got you covered. So, roll up your sleeves and let's dive into the world of Schlage lock removal.
Key Takeaways:
- Removing a Schlage lock from a door is a manageable task that requires basic tools like screwdrivers and a hammer. Carefully disassemble and reassemble the lock to ensure a smooth and successful process.
- Gather the necessary tools and follow step-by-step instructions to remove and reassemble a Schlage lock from a door. Take your time and handle each component with care for a hassle-free experience.
Read more: How To Unlock A Schlage Door Lock
Tools and Materials Needed
Before embarking on the task of removing a Schlage lock from a door, it’s essential to gather the necessary tools and materials to ensure a seamless and efficient process. Here’s what you’ll need:
- Screwdriver: A Phillips head or flathead screwdriver, depending on the type of screws used in your Schlage lock.
- Allen Wrench: If your Schlage lock features set screws, an appropriate-sized Allen wrench will be required to loosen and remove them.
- Hammer: A hammer may be needed to gently tap the lock components for removal, especially if they are snugly in place.
- Replacement Parts (Optional): If you plan to reinstall the same lock or replace it with a new one, having the replacement parts on hand is advisable.
- Cleaning Supplies (Optional): Depending on your maintenance or replacement goals, you may want to have cleaning supplies such as a mild detergent, a soft cloth, and lubricant for the lock components.
By ensuring that you have these tools and materials at your disposal, you’ll be well-prepared to tackle the task of removing a Schlage lock from your door with confidence and ease.
Step 1: Gather the Necessary Tools
Before initiating the process of removing a Schlage lock from your door, it’s crucial to gather the required tools and materials to streamline the task and avoid interruptions. Here’s a detailed guide on how to gather the necessary tools:
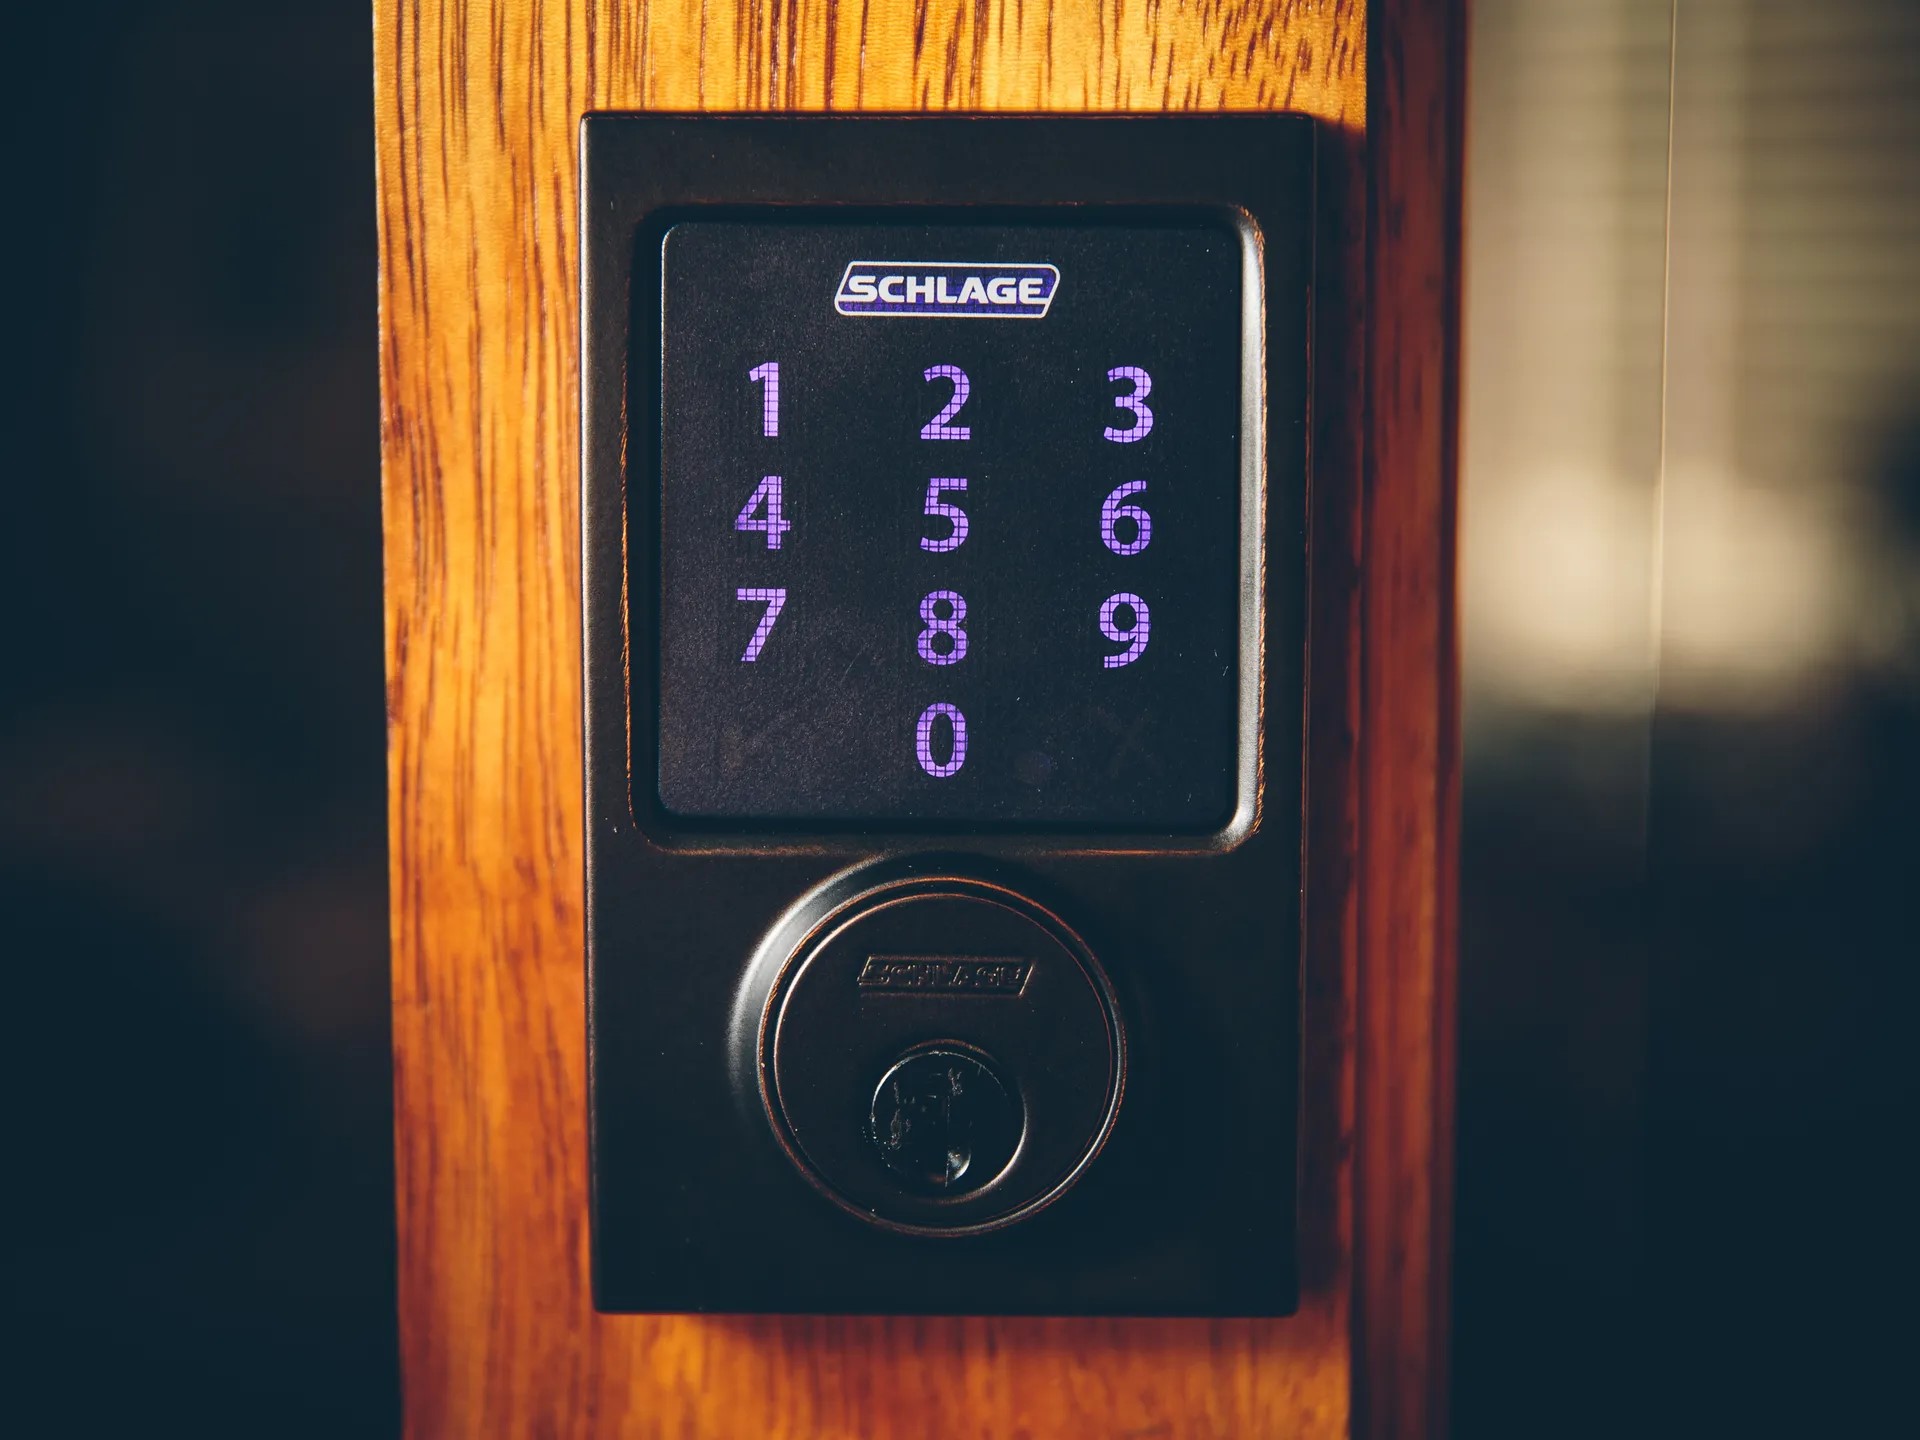
- Assess the Lock Type: Begin by identifying the type of screws used in your Schlage lock. This will determine whether you need a Phillips head or flathead screwdriver for the removal process.
- Check for Set Screws: If your Schlage lock features set screws, ascertain the size of the Allen wrench needed to loosen and remove them. This will ensure that you have the appropriate tool on hand.
- Inspect the Door and Frame: Take a moment to examine the condition of the door and frame where the lock is installed. This visual inspection can help you anticipate any potential challenges and prepare accordingly.
- Organize the Workspace: Clear the area around the door to create a conducive workspace. Having ample room to maneuver and place your tools within reach will facilitate a smoother removal process.
- Prepare Replacement Parts (If Applicable): If you plan to reinstall the same lock or replace it with a new one, ensure that the replacement parts are readily available. This includes the new lock, strike plate, and any additional components required for installation.
By meticulously gathering the necessary tools and materials, you’ll set the stage for a well-organized and efficient Schlage lock removal process, minimizing potential delays and ensuring a successful outcome.
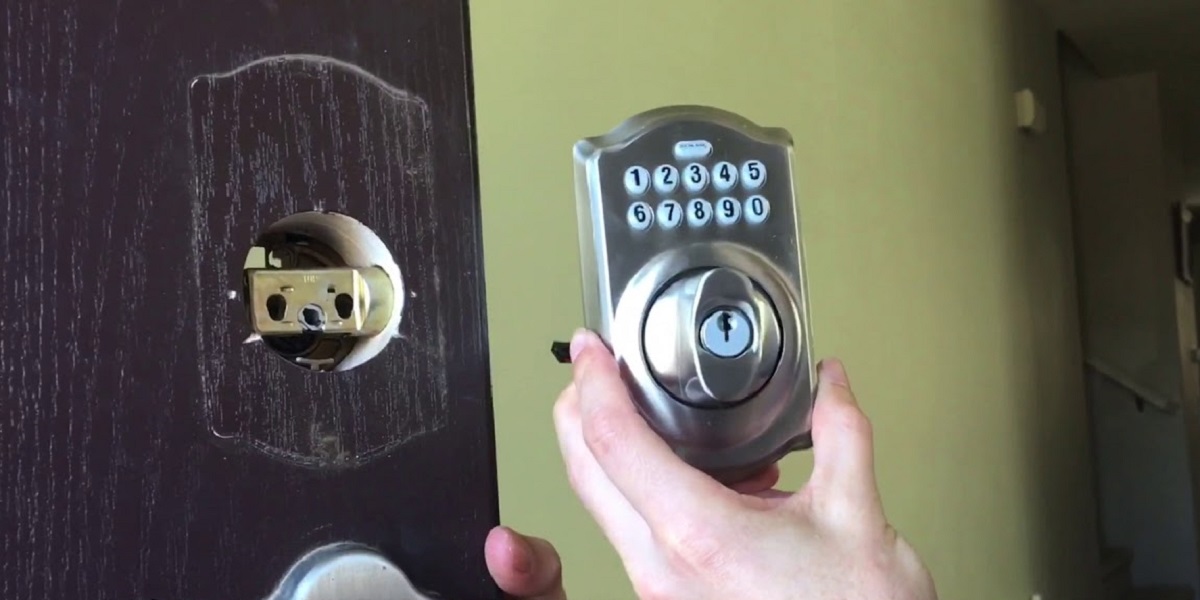
Step 2: Remove the Doorknob
Removing the doorknob is the initial step in the process of removing a Schlage lock from a door. This step requires precision and attention to detail to ensure a smooth transition to the subsequent removal stages. Here’s a comprehensive guide on how to remove the doorknob:
- Locate the Screws: Inspect the doorknob for any visible screws securing it to the door. Depending on the model, the screws may be located on the rosette plate, the collar connecting the knob to the door, or the striker plate.
- Unscrew the Fasteners: Utilize the appropriate screwdriver to carefully remove the screws holding the doorknob in place. Ensure that the screws are set aside in a secure location to prevent misplacement.
- Separate the Doorknob Halves: Once the screws are removed, gently separate the two halves of the doorknob to reveal the internal components. Take note of the orientation and arrangement of the components for reassembly.
- Remove the Spindle: Extract the spindle, which is the metal shaft connecting the two doorknob halves. This step may require slight maneuvering and gentle pressure to release the spindle from its housing.
- Set Aside the Doorknob: Place the removed doorknob and its components in a designated area, ensuring that they are kept together and protected from damage or misplacement.
By following these steps meticulously, you’ll effectively remove the doorknob, laying the groundwork for the subsequent stages of Schlage lock removal. This methodical approach sets the stage for a successful and hassle-free process, ensuring that each component is handled with care and precision.
To remove a Schlage lock from a door, start by unscrewing the screws on the interior side of the lock. Then, use a screwdriver to release the latch and pull the lock off the door.
Step 3: Remove the Mounting Plate
After successfully removing the doorknob, the next crucial step in the process of removing a Schlage lock from a door is the removal of the mounting plate. This component plays a pivotal role in securing the lock to the door, and its careful removal is essential for a seamless transition to the subsequent stages. Here’s a detailed guide on how to remove the mounting plate:
- Assess the Mounting Plate: Take a moment to inspect the mounting plate, which is the flat metal piece affixed to the door. Identify any screws or fasteners securing it in place.
- Unscrew the Fasteners: Using the appropriate screwdriver, carefully remove the screws or fasteners holding the mounting plate to the door. Ensure that each screw is set aside in a secure location to prevent misplacement.
- Detach the Mounting Plate: Once the fasteners are removed, gently detach the mounting plate from the door. Exercise caution to prevent any damage to the surrounding door surface or the internal components of the lock.
- Inspect for Set Screws (If Applicable): In some Schlage lock models, set screws may be present on the mounting plate. If this is the case, utilize an appropriate-sized Allen wrench to loosen and remove the set screws before detaching the mounting plate completely.
- Set Aside the Mounting Plate: Place the removed mounting plate and any accompanying screws in a designated area, ensuring that they are kept together and protected from damage or misplacement.
By following these steps meticulously, you’ll effectively remove the mounting plate, paving the way for the subsequent stages of Schlage lock removal. This methodical approach ensures that each component is handled with care and precision, setting the stage for a successful and hassle-free removal process.
Read more: How To Program A Schlage Door Lock
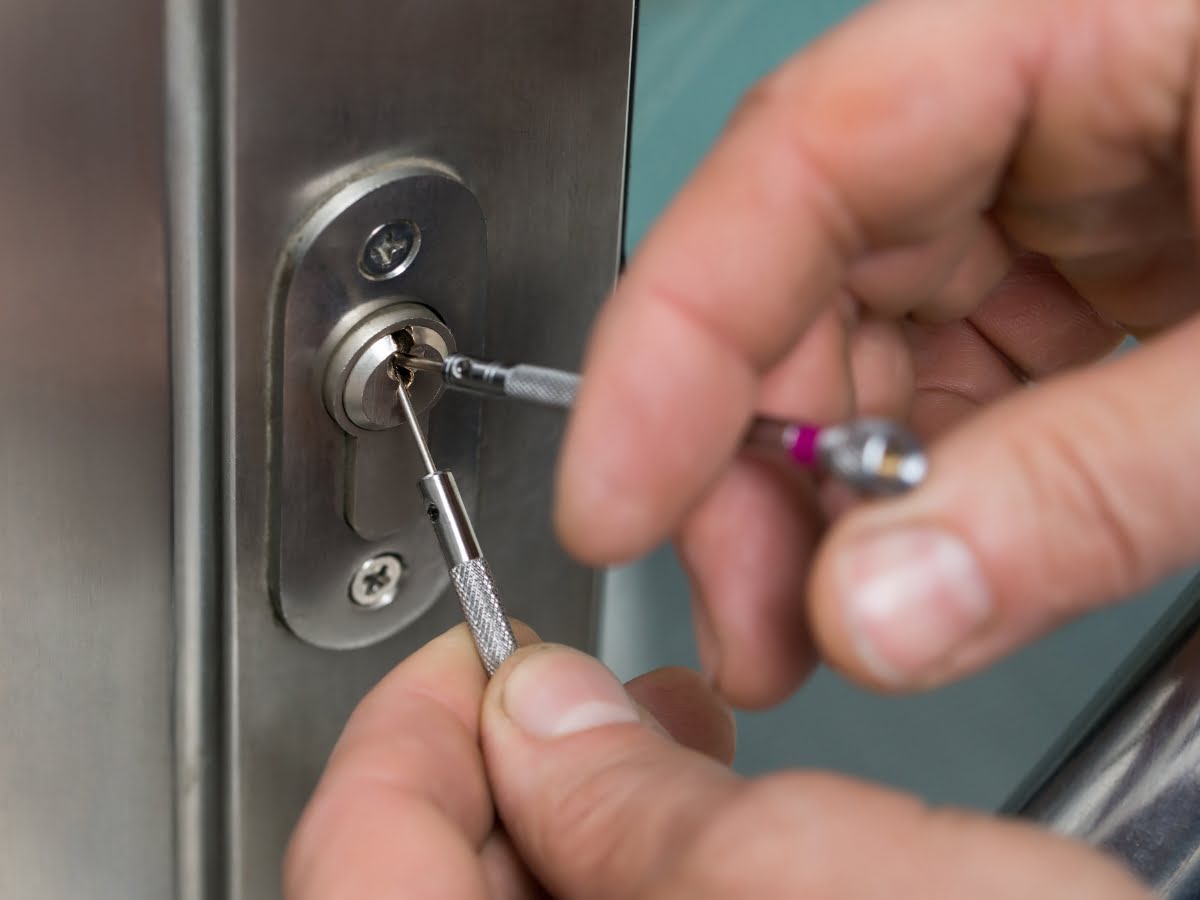
Step 4: Remove the Latch Assembly
As you progress through the process of removing a Schlage lock from a door, the next critical step involves the removal of the latch assembly. This component, responsible for securing the door, requires careful handling to ensure a smooth transition to the subsequent stages of lock removal. Here’s a comprehensive guide on how to remove the latch assembly:
- Identify the Latch Assembly: Locate the latch assembly, which is the mechanism installed on the edge of the door. It comprises the latch, faceplate, and associated screws or fasteners.
- Inspect the Fasteners: Assess the latch assembly for any visible screws or fasteners securing it to the door. Depending on the model, these fasteners may be located on the faceplate or the latch itself.
- Unscrew the Fasteners: Utilize the appropriate screwdriver to carefully remove the screws or fasteners holding the latch assembly in place. Ensure that each fastener is set aside in a secure location to prevent misplacement.
- Release the Latch: Once the fasteners are removed, gently retract the latch from its housing in the door. Exercise caution to prevent any damage to the surrounding door surface or the internal components of the lock.
- Detach the Faceplate: If the latch assembly includes a faceplate, carefully detach it from the door, ensuring that any remaining screws or fasteners are removed to free the assembly completely.
- Set Aside the Latch Assembly: Place the removed latch assembly and any accompanying screws in a designated area, ensuring that they are kept together and protected from damage or misplacement.
By meticulously following these steps, you’ll effectively remove the latch assembly, setting the stage for the subsequent stages of Schlage lock removal. This methodical approach ensures that each component is handled with care and precision, facilitating a successful and hassle-free removal process.
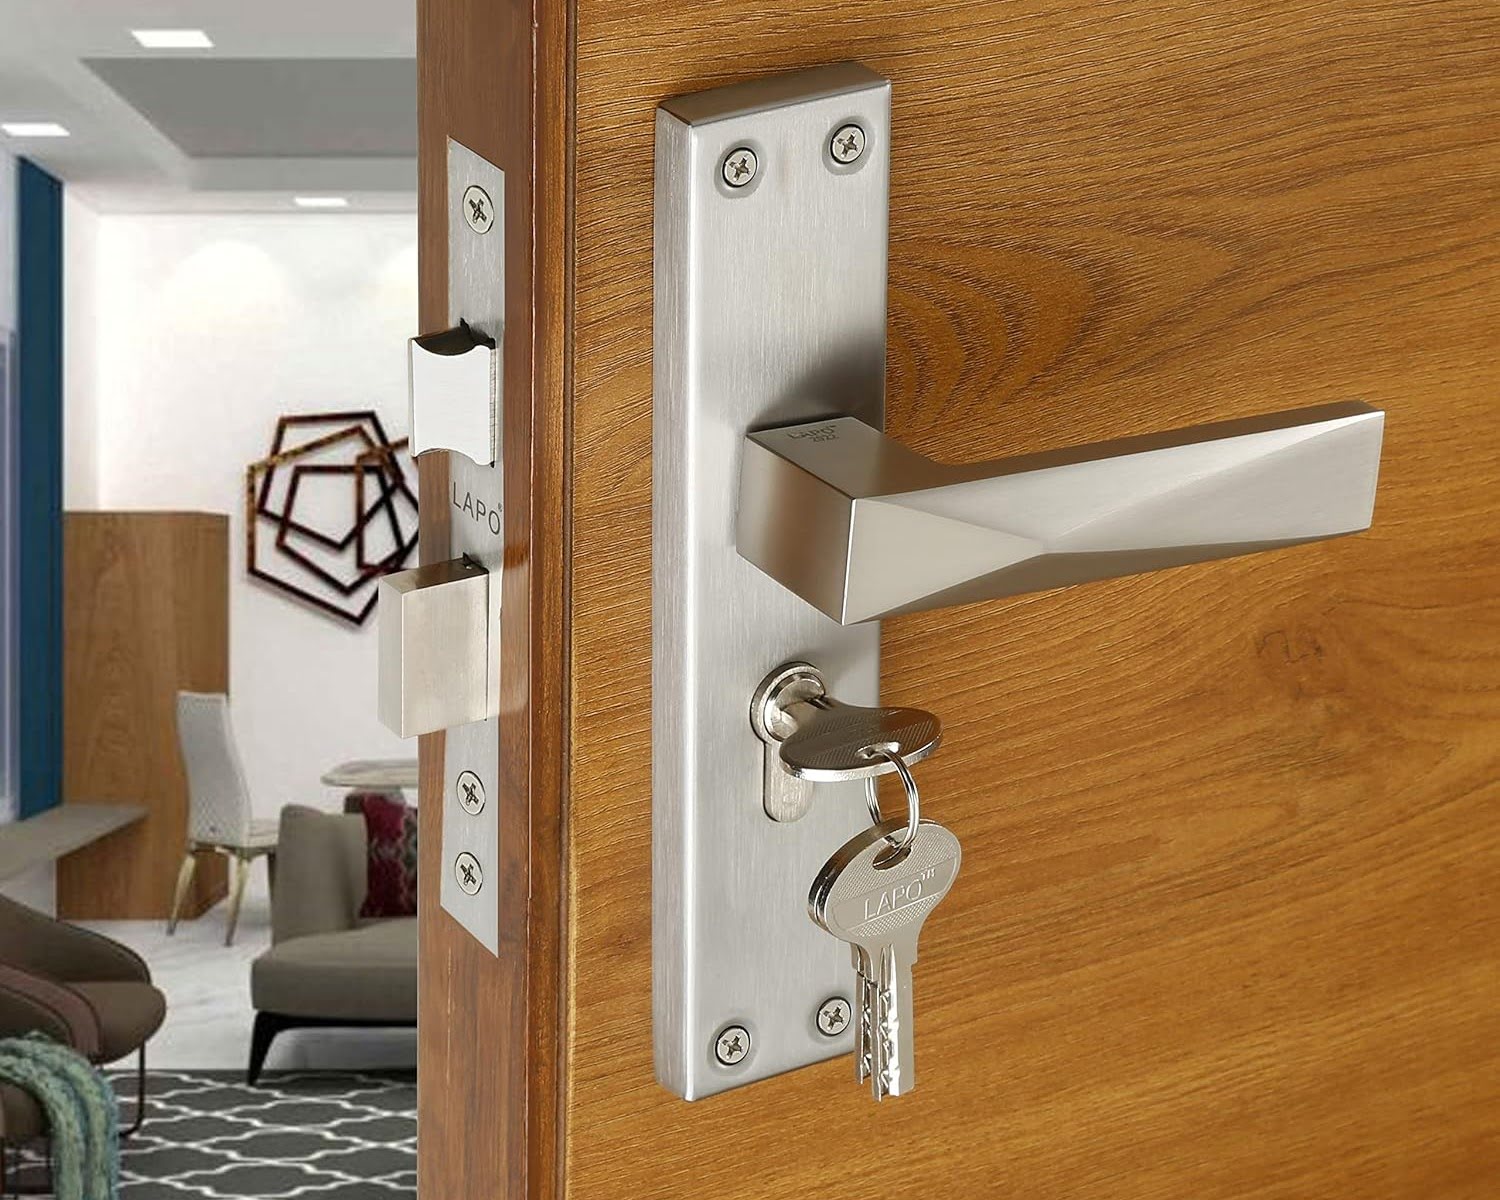
Step 5: Remove the Strike Plate
As you proceed with the process of removing a Schlage lock from a door, the next pivotal step involves the removal of the strike plate. This essential component, located on the door frame, requires meticulous attention to detail to ensure a seamless transition to the subsequent stages of lock removal. Here’s a comprehensive guide on how to remove the strike plate:
- Locate the Strike Plate: Identify the strike plate, which is affixed to the door frame opposite the latch. Inspect the area around the strike plate for any visible screws or fasteners.
- Inspect the Fasteners: Assess the strike plate for any screws or fasteners securing it to the door frame. Depending on the model, these fasteners may be located on the plate itself or the surrounding frame.
- Unscrew the Fasteners: Using the appropriate screwdriver, carefully remove the screws or fasteners holding the strike plate in place. Ensure that each fastener is set aside in a secure location to prevent misplacement.
- Detach the Strike Plate: Once the fasteners are removed, gently detach the strike plate from the door frame. Exercise caution to prevent any damage to the surrounding frame or the door’s finish.
- Inspect for Additional Fasteners: In some cases, additional screws or fasteners may be concealed beneath the strike plate. Ensure that all fasteners are removed to free the strike plate completely.
- Set Aside the Strike Plate: Place the removed strike plate and any accompanying screws in a designated area, ensuring that they are kept together and protected from damage or misplacement.
By meticulously following these steps, you’ll effectively remove the strike plate, setting the stage for the subsequent stages of Schlage lock removal. This methodical approach ensures that each component is handled with care and precision, facilitating a successful and hassle-free removal process.
Step 6: Reassemble the Door
After successfully removing the Schlage lock components, it’s time to reassemble the door, ensuring that each part is reinstated with precision and care. This step is crucial to restore the functionality and security of the door. Here’s a comprehensive guide on how to reassemble the door:
- Organize the Components: Gather all the removed components, including the latch assembly, mounting plate, strike plate, and any accompanying screws or fasteners. Arrange them in a designated area for easy access during reassembly.
- Position the Latch Assembly: Align the latch assembly with the recess on the edge of the door, ensuring that the latch extends and retracts smoothly. Secure the assembly in place using the appropriate screws or fasteners.
- Attach the Mounting Plate: Position the mounting plate on the door, aligning it with the corresponding recesses or cutouts. Secure the plate using the previously removed screws or fasteners, ensuring a snug fit against the door surface.
- Install the Strike Plate: Place the strike plate on the door frame, aligning it with the latch. Secure the plate using the appropriate screws or fasteners, ensuring that it complements the latch assembly for seamless operation.
- Reinstall the Doorknob: Carefully position the doorknob halves on each side of the door, ensuring that they align with the spindle and internal components. Secure the doorknob in place using the previously removed screws.
- Test the Operation: After reassembling the door, test the functionality of the Schlage lock by operating the doorknob and latch. Ensure that the components engage smoothly and that the door closes securely.
By meticulously following these steps, you’ll effectively reassemble the door, restoring the Schlage lock to its functional and secure state. This methodical approach ensures that each component is reinstated with precision and care, culminating in a successful and hassle-free reassembly process.
Frequently Asked Questions about How To Remove Schlage Lock From Door
Was this page helpful?
At Storables.com, we guarantee accurate and reliable information. Our content, validated by Expert Board Contributors, is crafted following stringent Editorial Policies. We're committed to providing you with well-researched, expert-backed insights for all your informational needs.


0 thoughts on “How To Remove Schlage Lock From Door”